• Notice for iPhone users: DO NOT use the image size reduction option when uploading photos to the forum. This causes portrait images to post as landscape. We have added a warning to the image insert pop-up as well.

New To Me 83--Parts Needed

Any one in the market for a gallon of PPG Deltron Sherwood Green Paint? I have a extra gallon I'd sell. If anyone knows about paint you'll know what the quality and cost of a gallon is. Thanks!

 
Any one in the market for a gallon of PPG Deltron Sherwood Green Paint? I have a extra gallon I'd sell. If anyone knows about paint you'll know what the quality and cost of a gallon is. Thanks!

Yep, that is some great paint:thumbsup:

Unfortunately, it would be wasted on someone like me who is not a great painter, and it would blow the budget:crazy:
 
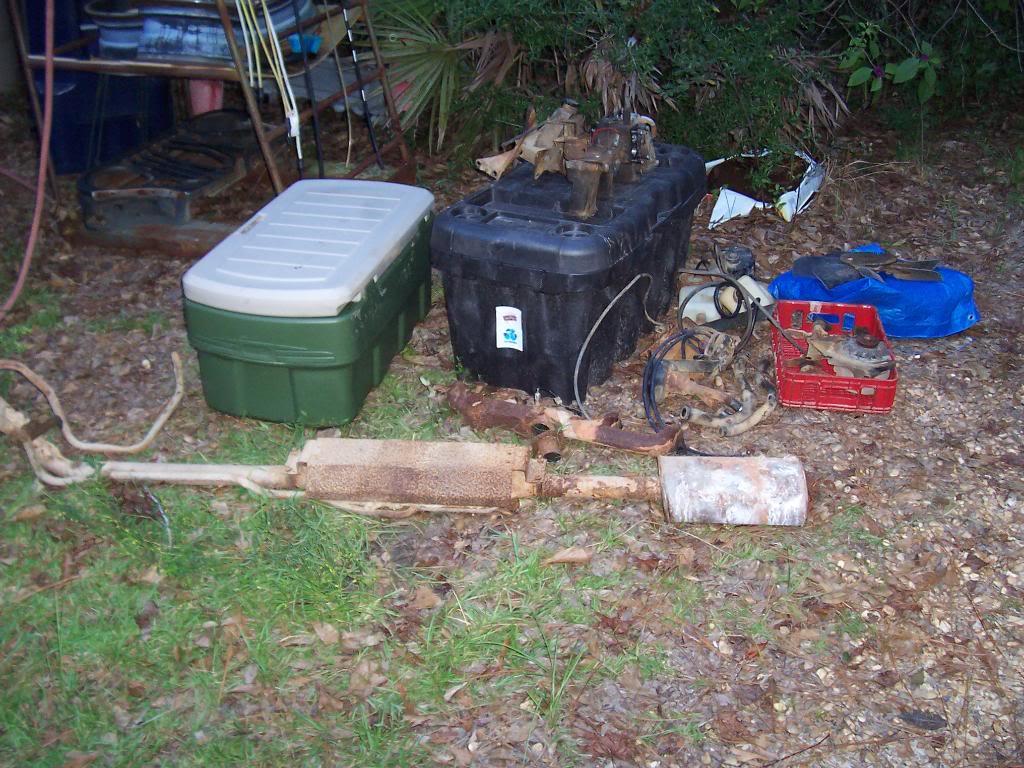
Finished pulling the exhaust out last night. The engine is now ready to be pulled.

00119-1.jpg


Picture of some of the under hood engine parts that were removed.


00219-1.jpg


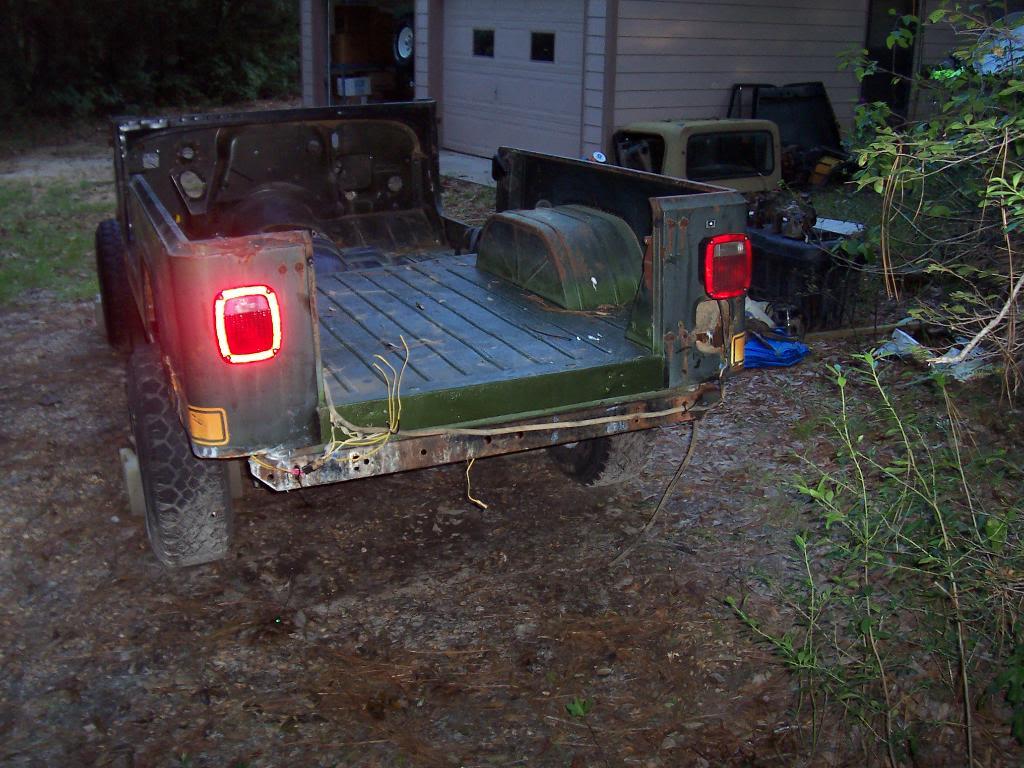
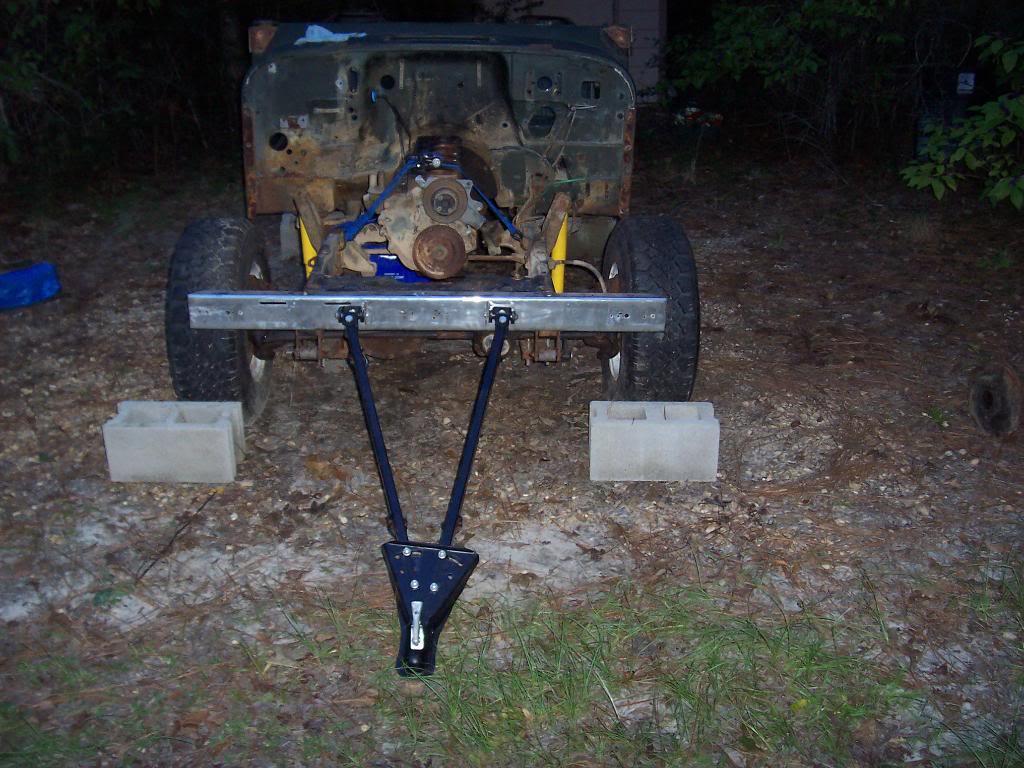
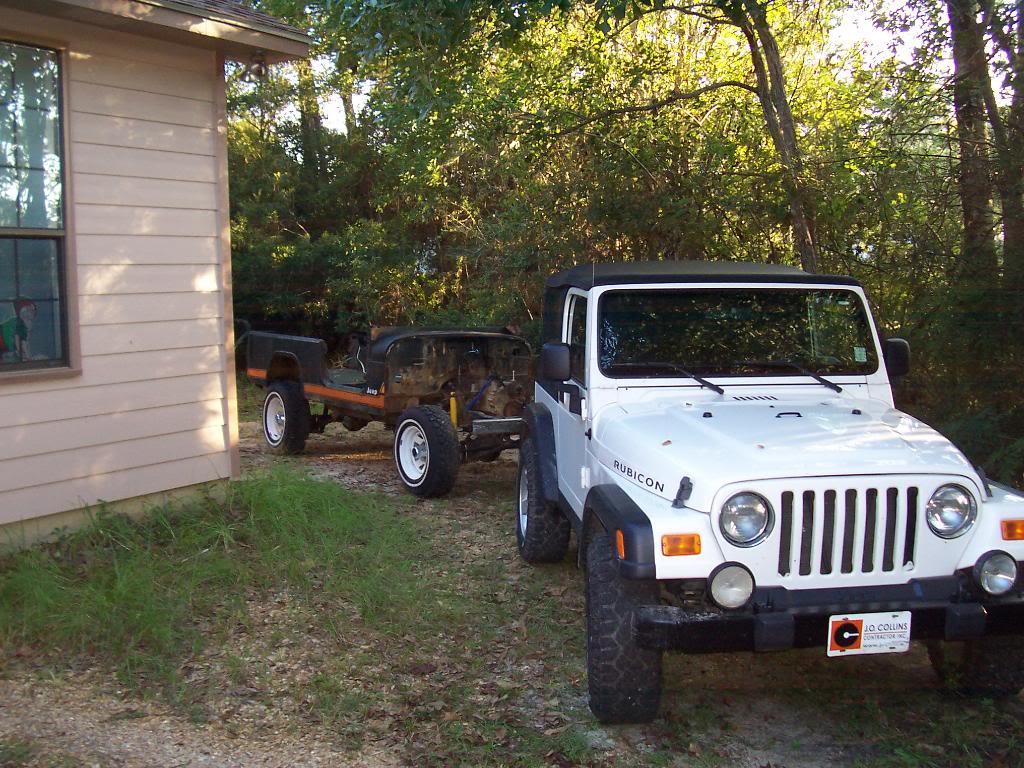
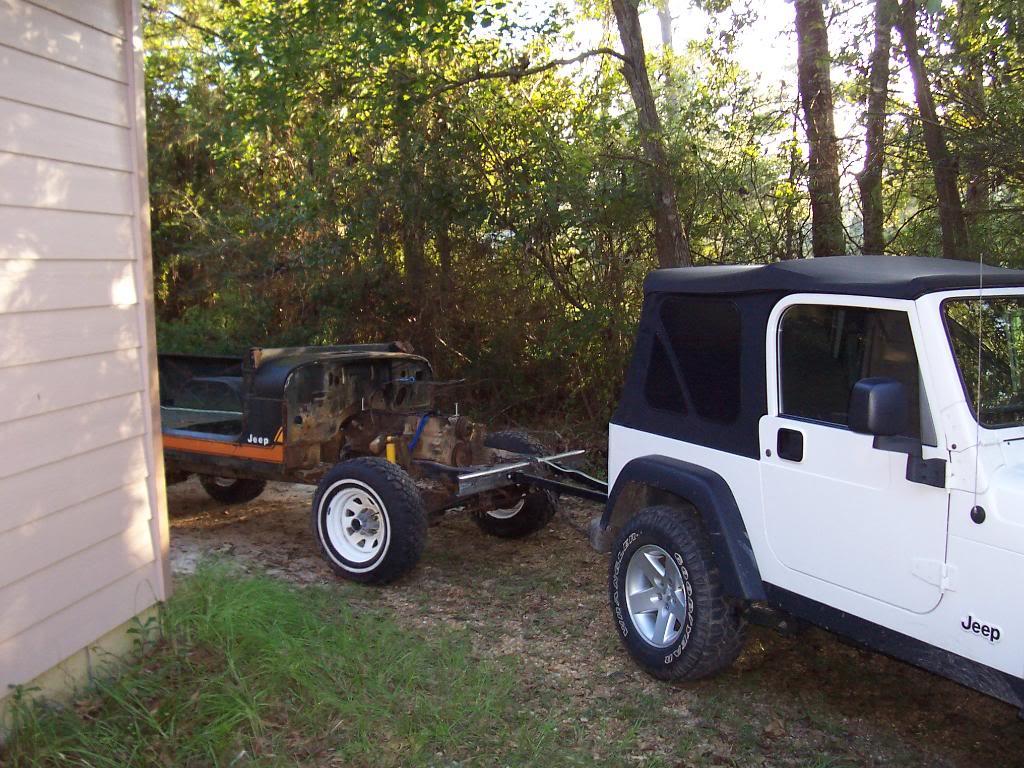
Since I don't have room in my garage right now to pull this motor out, I am going to flat tow "Yard Scrambler" to the mechanics shop at work this weekend to pull this engine. Since I am flat towing, I need some temporary lights, and what works better then the stock set up.


00320-1.jpg


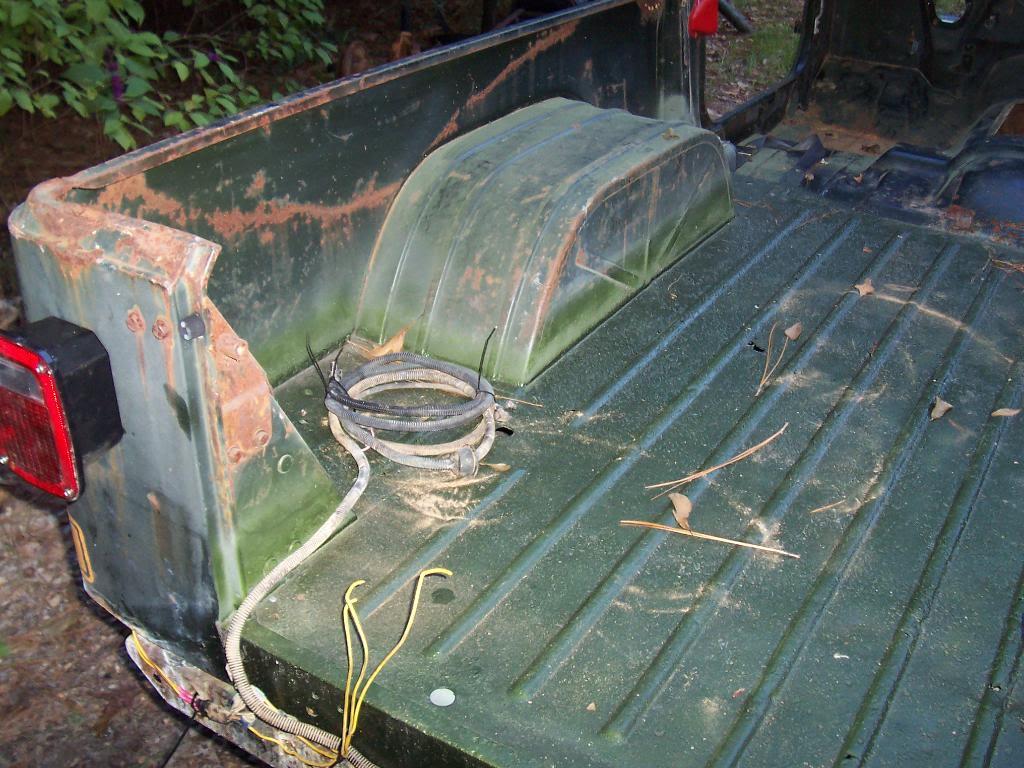
The three yellow wires that are sticking up in the picture above are from a previous owner splice into the factory rear light harness, the only other "hack" in the entire harness. I am just going to spice into this to wire up the lights.

I coiled up and zip tied the rest of the rear light harness to keep it from falling out of the Scrambler.

00417-1.jpg


I slightly enlarged two existing holes in the front bumper and mounted up the tow bar.

00515-1.jpg


My plans for this weekend:

Tow the Scrambler to the mechanics shop at work
Steam clean the engine
Pull the engine
Put "Yard Scrambler" on the big lift and steam clean the entire underside of the body and frame

Superdome on Sunday to watch the Saints beat Washington:headbang::headbang:

That's it for now.
 
What happened to the weekly progress bump on the red project. I think it helped to keep Tommy focused.


There is no helping that boy, he has the attention span of a squirrel high on crystal meth:crazy::crazy::crazy::rotfl:

But, I will go bump the thread:thumbsup:

Thanks for reminding me about the weekly "bumps":thumbsup::wave:
 
Well, since Tommy wont do any Jeep work, I figured I would do enough for the both of us this Saturday. I got a bunch of work done, I will let the pictures do the talking.


Since I sold my V8 CJ-7, I had to use my back up tow rig. Worked perfectly.

00714-1.jpg


00814-1.jpg


I towed "Yard Scrambler" to work to pull the engine and steam clean everything.

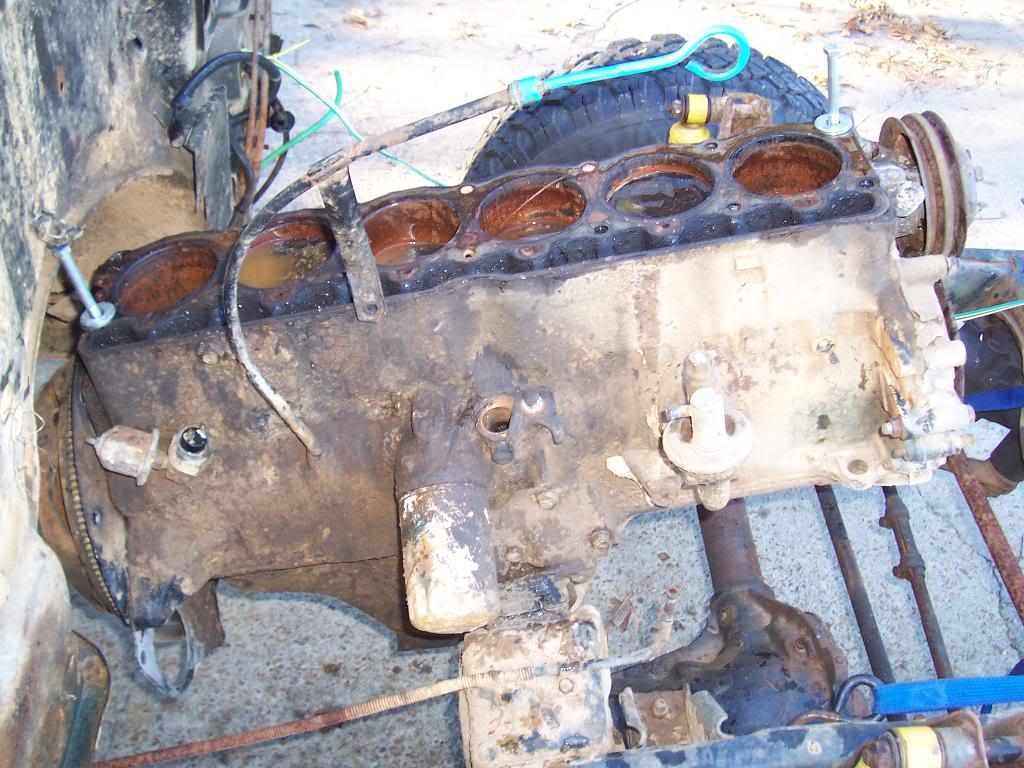
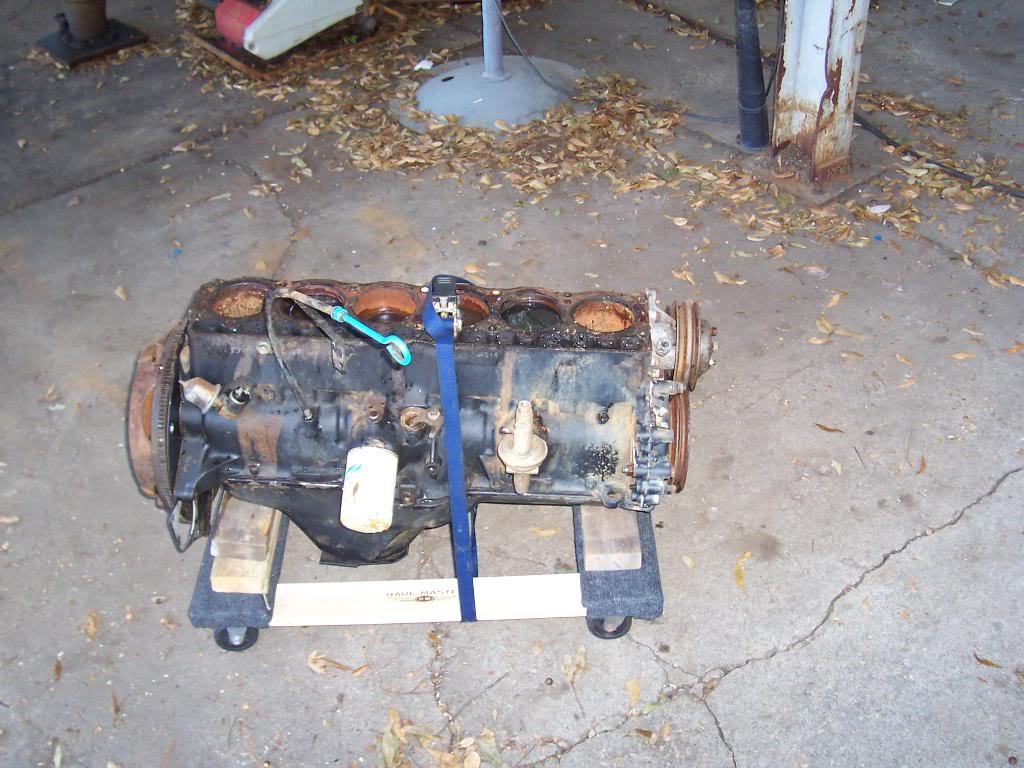
Before picture of engine block.

00912-1.jpg


After steam cleaning.

01012-1.jpg


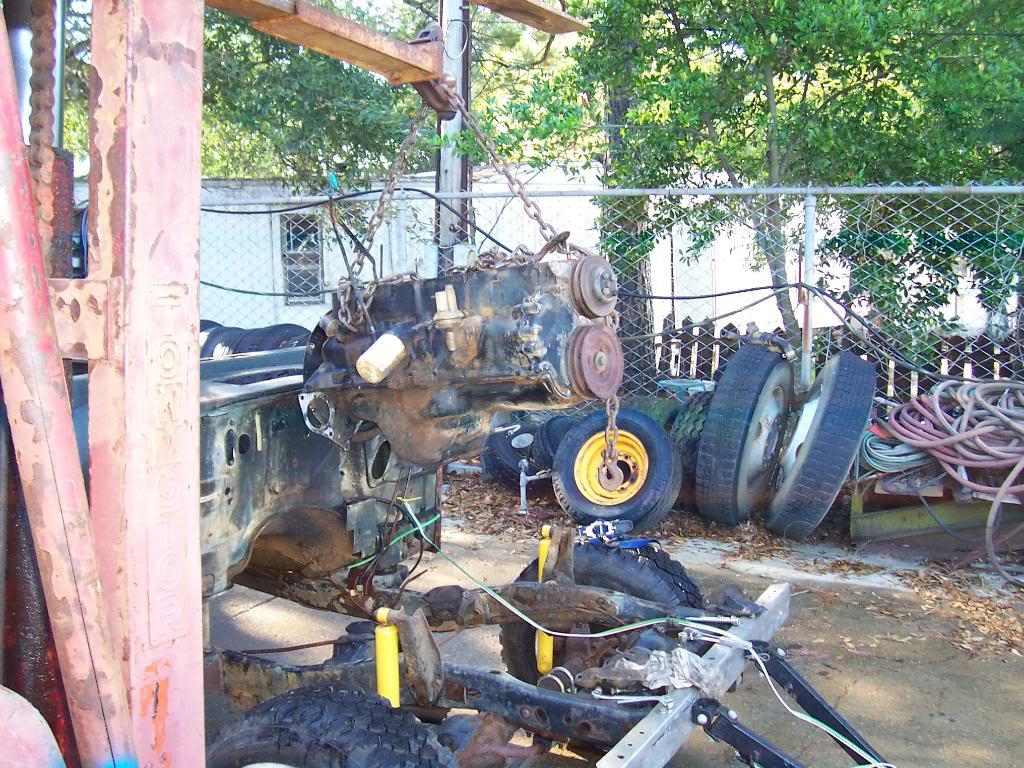
Fork lifts make pulling engines super easy.

0118-1.jpg


And the engine strapped down to my $16 Harbor Freight engine dolly. I am keeping this block to hopefully rebuild. It only has 70,000 miles, but I am a little concerned about possible internal corrosion due to the head being removed for so long.

0127-1.jpg


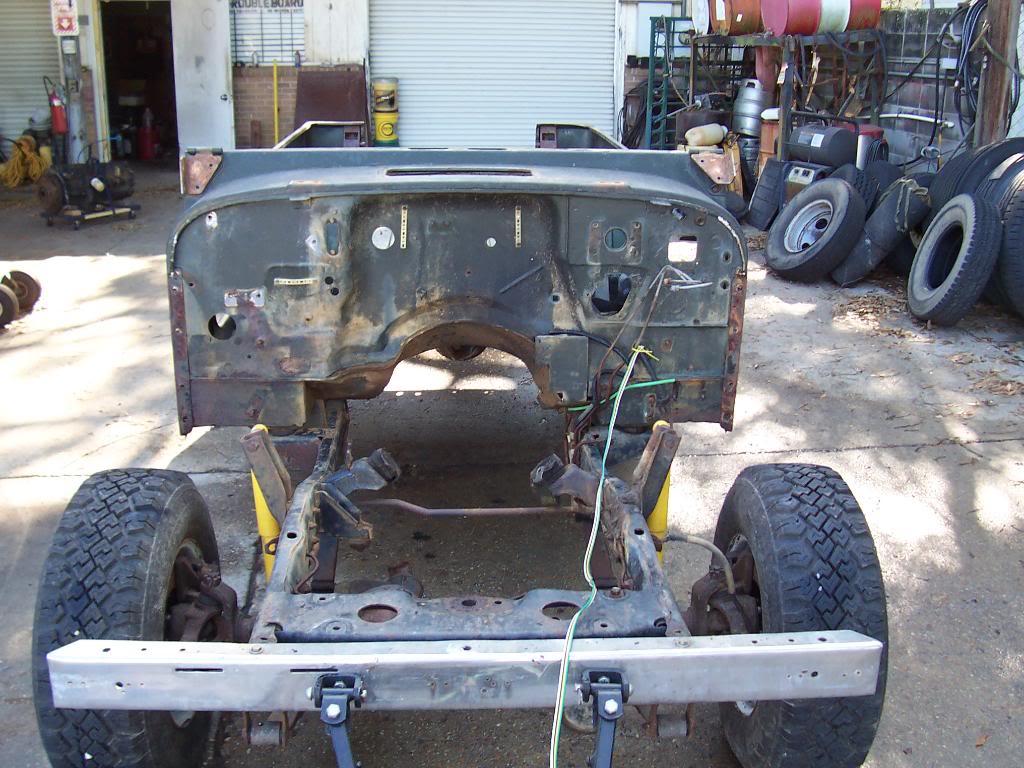
Quick picture of the front of "Yard Scrambler", minus engine.

0137-1.jpg
 
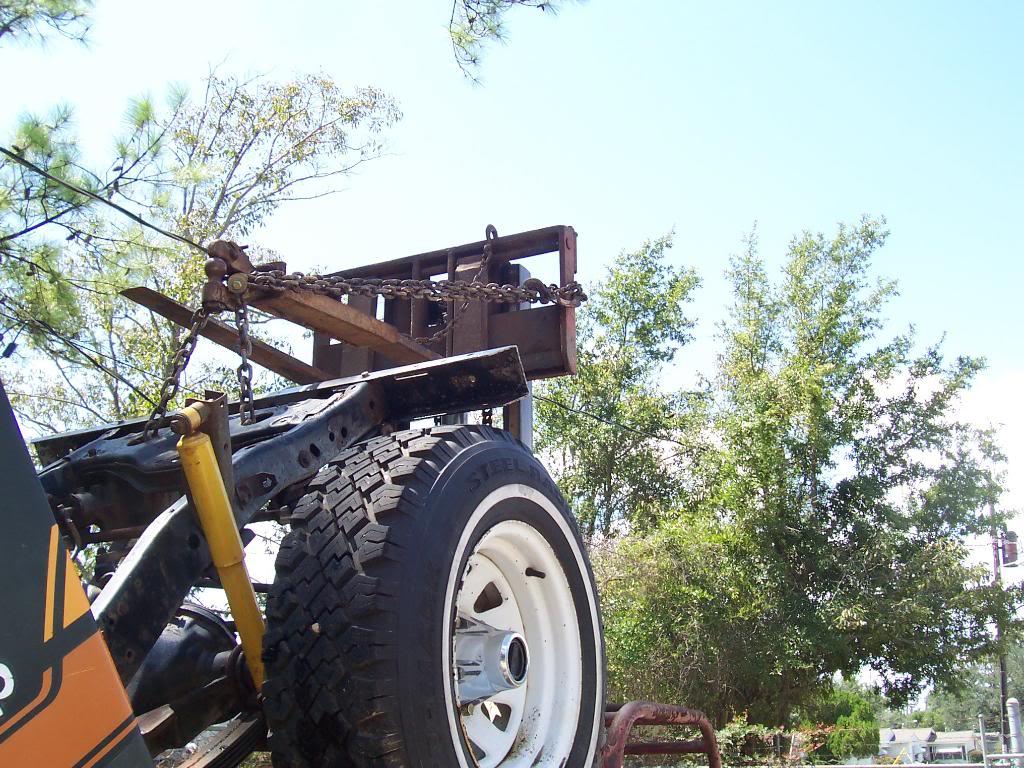
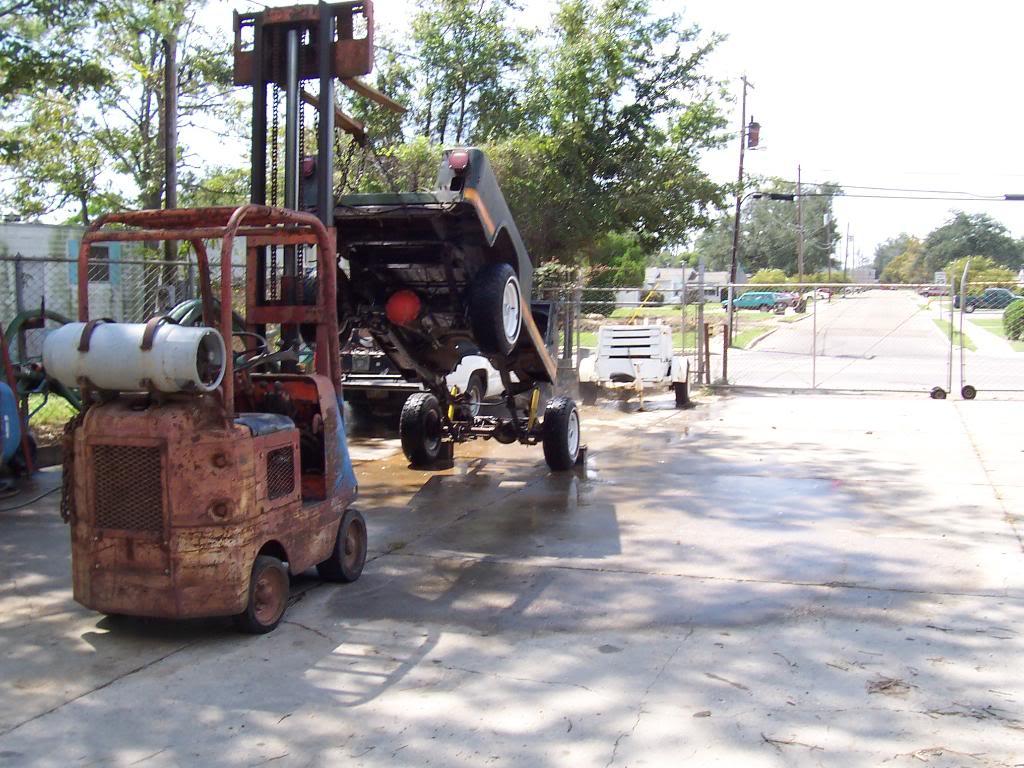
And another reason why fork lifts are super duper great! They make cleaning easy!

0147-1.jpg


Close up of chain attatchment. Even though it is secure, I DID NOT go underneath the Scrambler to clean. The steam cleaner has a long wand, so I was able to stay safely away from the underside.

0176-1.jpg


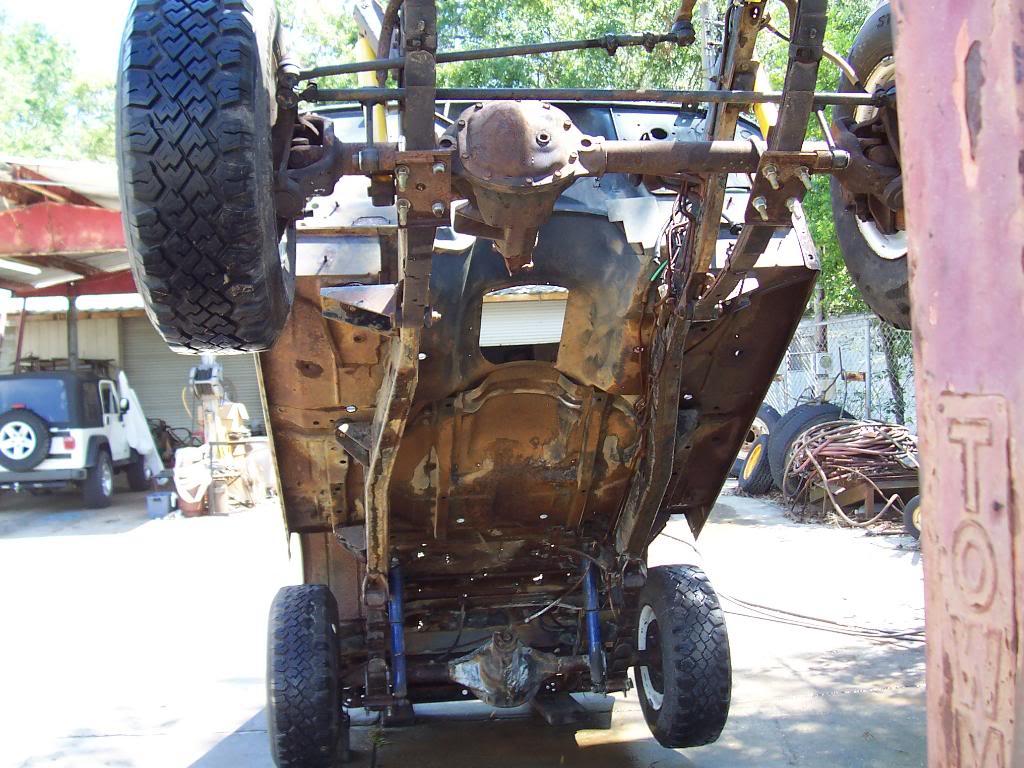
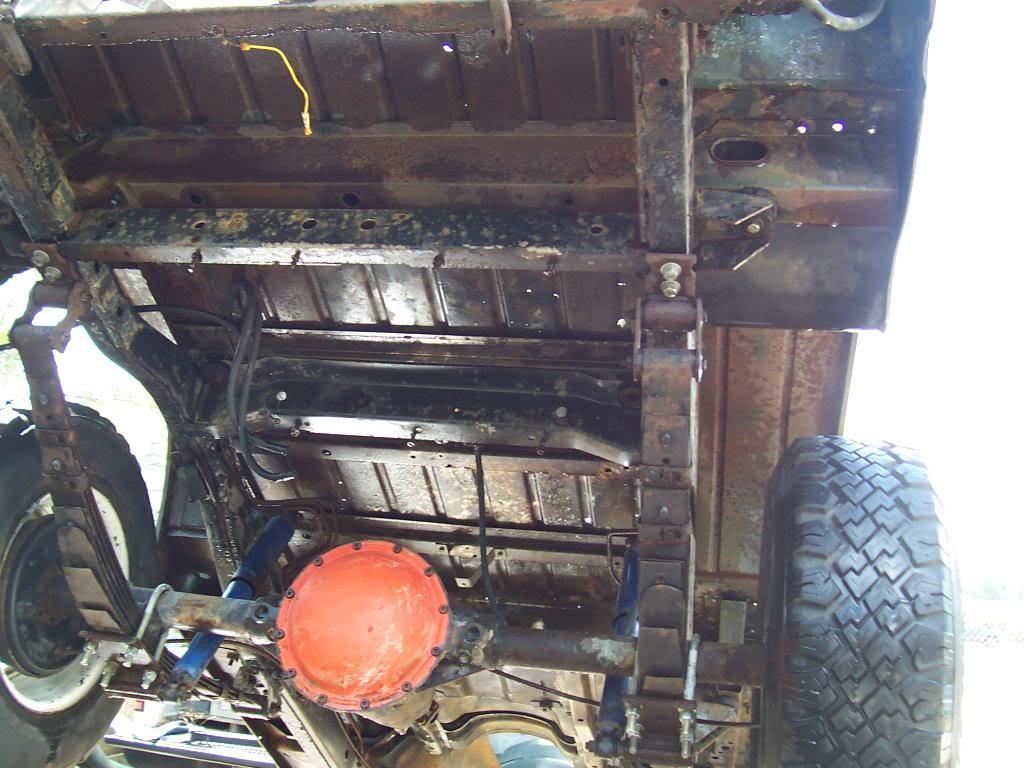
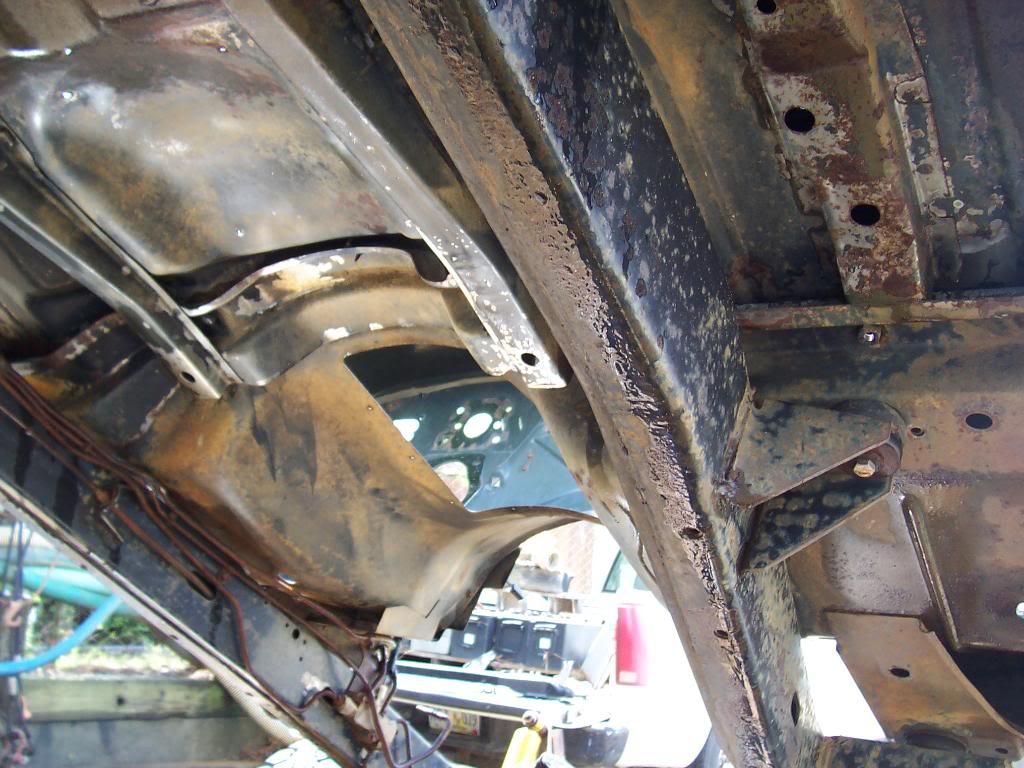
A few pictures of the underside.

0157-1.jpg


0166-1.jpg


And then i did the reverse.

0183-1.jpg


0193-1.jpg


And some more pictures of the under side. I probably removed 300 pounds of red clay from the body/frame.

0203-1.jpg


0213-1.jpg


0221-1.jpg


023-1.jpg
 
Last edited:
Don't forget about the white walls. :smokin: The steam cleaner will do a great job of cleaning them. I remember as a kid growing up with snow tires like that with white walls. On a FSJ cherokee.

Great job so far.
 
Don't forget about the white walls. :smokin: The steam cleaner will do a great job of cleaning them. I remember as a kid growing up with snow tires like that with white walls. On a FSJ cherokee.

Great job so far.


Appreciate it:cheers: The steam cleaner is one of my favorite tools:thumbsup:


Oops :D

To be fair, I'd have lost money on that game if I were a betting man.

In Jeep related news, loving the progress :thumbsup:


Yep, Washington has our number. We have had 1 win out of 8 games against them at the Superdome. We played terrible, and because Washington started to show us a little mercy/run out the clock too early, we almost came back and won!! RG3 is the real deal. I never watched him in college, thought he was hype, but he is awesome. Washington has a franchise quarterback in him:twocents:


Man, Raymond, your progress make me feel like a slacker. Keep up the good work.:eek::popcorn:

I have more progress to report from this weekend, just haven't had time to post it up:thumbsup:
 
I have more progress to report from this weekend, just haven't had time to post it up:thumbsup:[/QUOTE]

Man this guy's like Action Jackson.
 
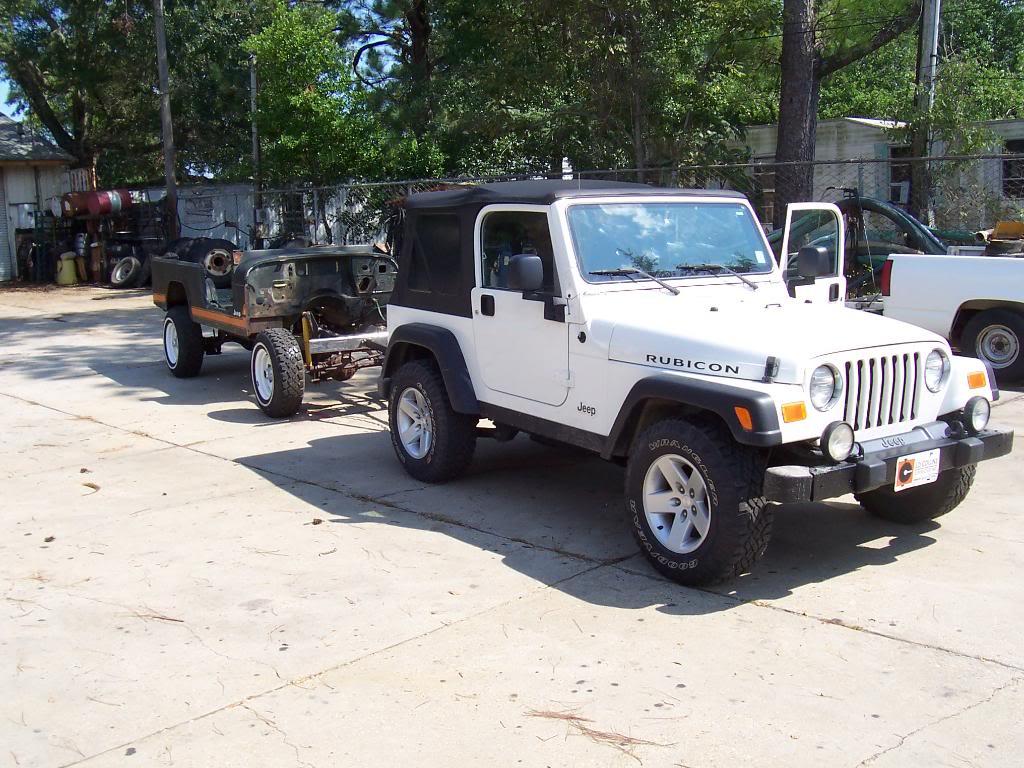
After engine and crud removal, hooked "Yard Scrambler" back up to the tow rig.

024-1.jpg


And when I got home I decided to mess with the 3 stuck body mount bolts. The one I was worried about came right out. I thought that I had heard the captured nut spin, but it turns out it was just the rubber mount twisting against the body. The two very rear bolts required some pry bar action on the tops of the sheet metal enclosures to keep them from spinning, but they also came out. I then did a happy dance.

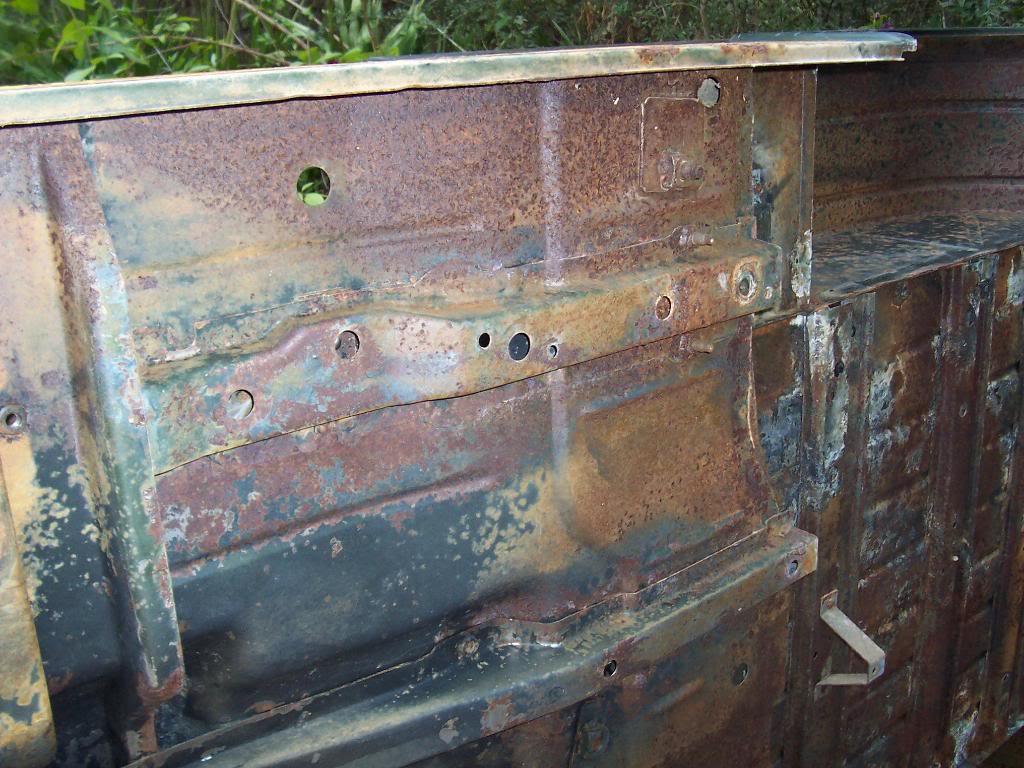
Picture of the very rear body mount captured nut sheet metal enclosures. A little pry bar and hammer action and the bolts came out no problem.

00220-1.jpg


032-1.jpg


And a picture of all the body mount bolts removed. The one that is missing in this picture fell out during the towing operation, I forgot to tighten it down.

025-1.jpg


And then pulled the tub. I decided to stand it on edge to make it easier to work on.

026-1.jpg


027-1.jpg
 
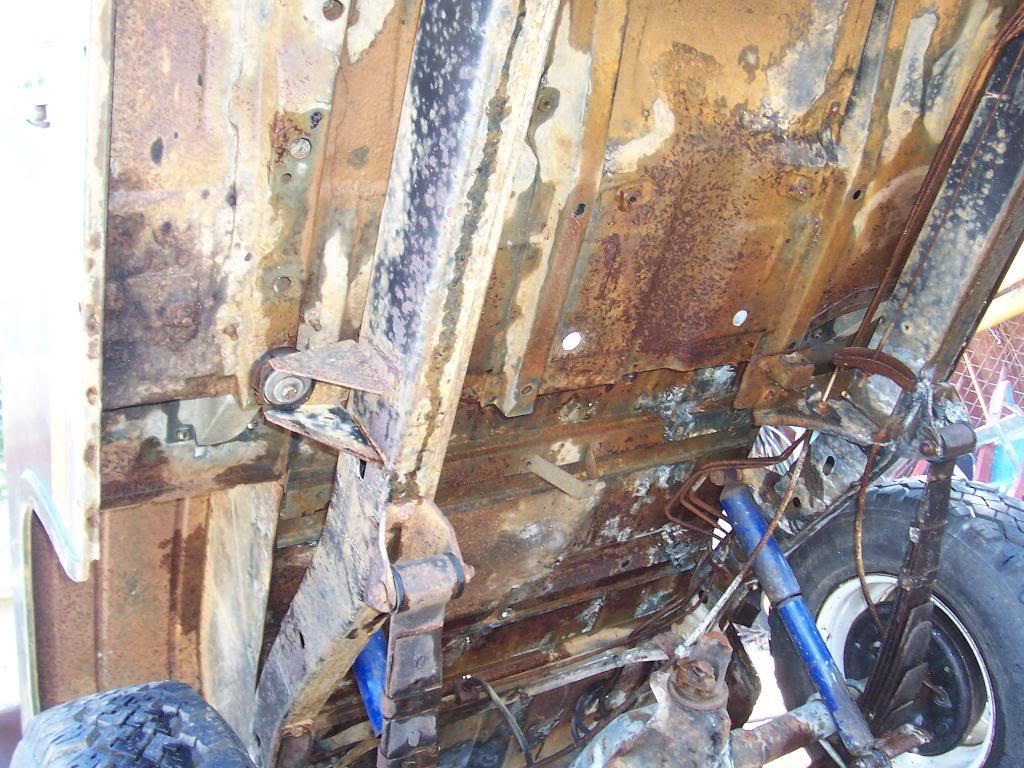
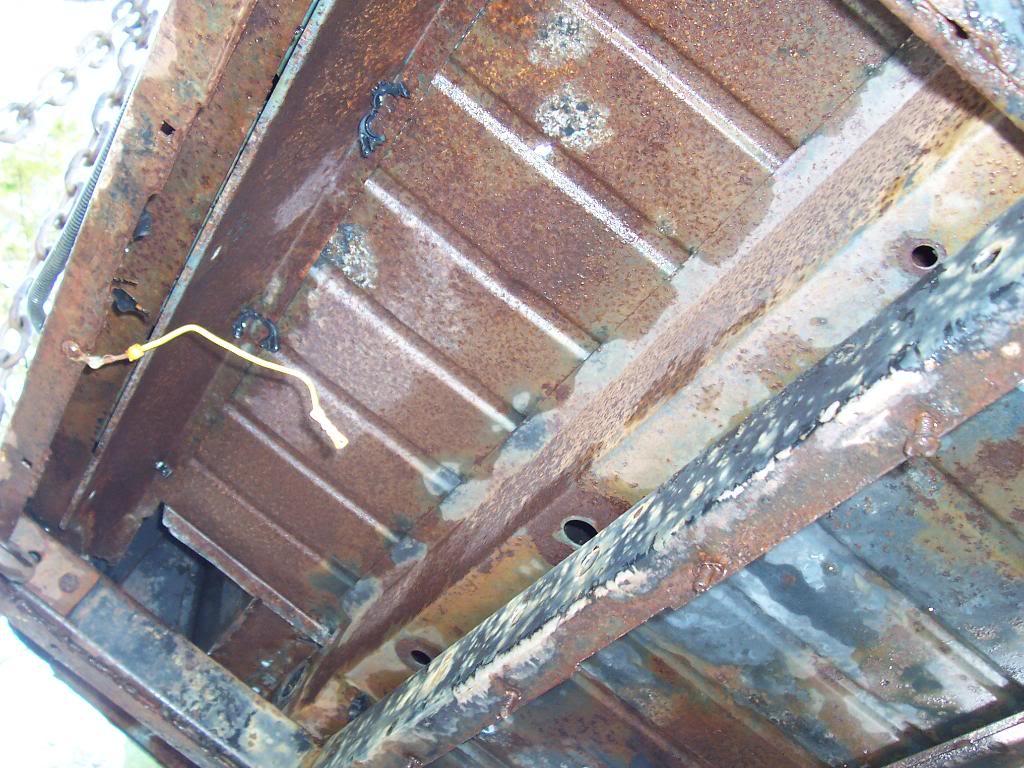
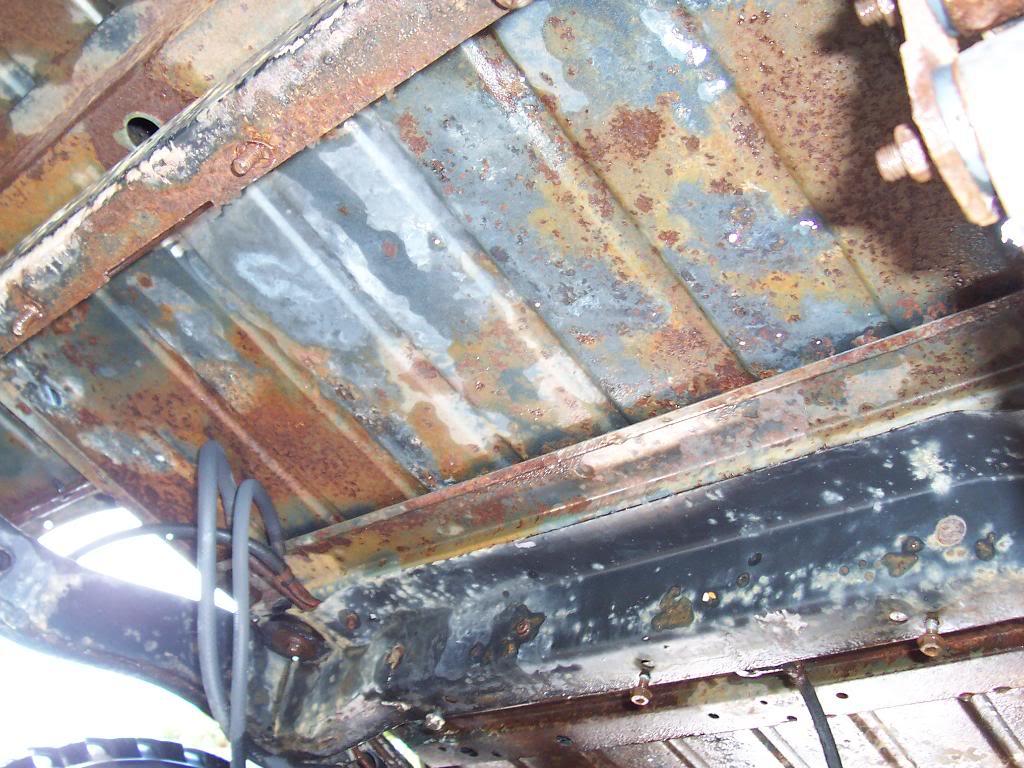
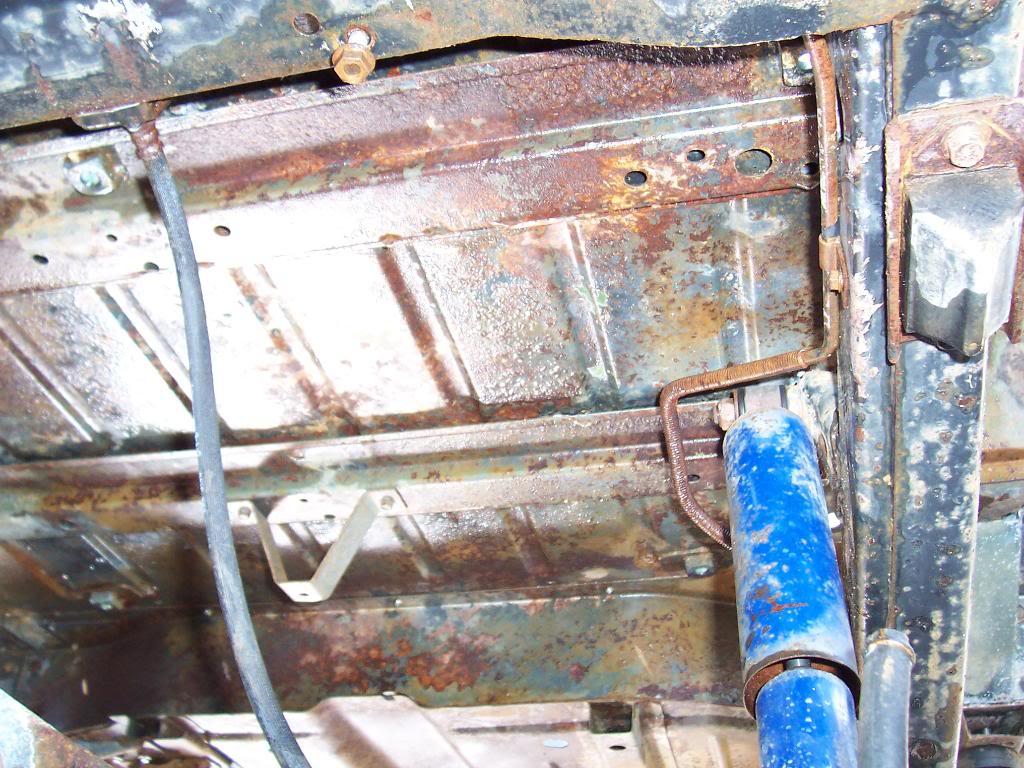
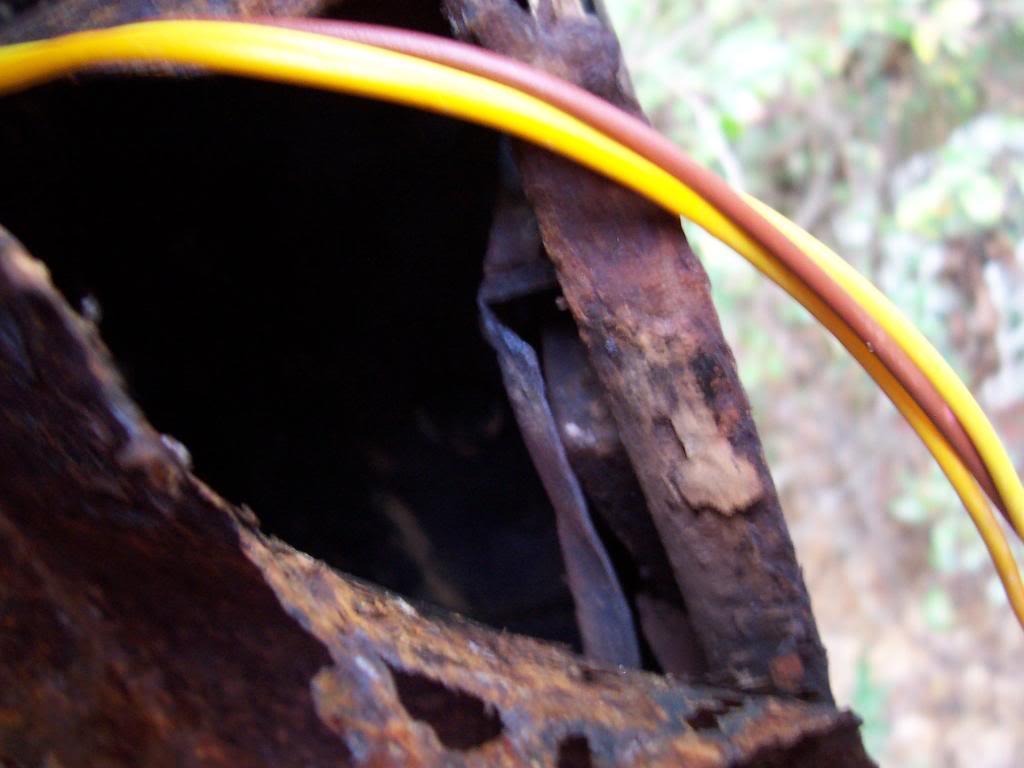
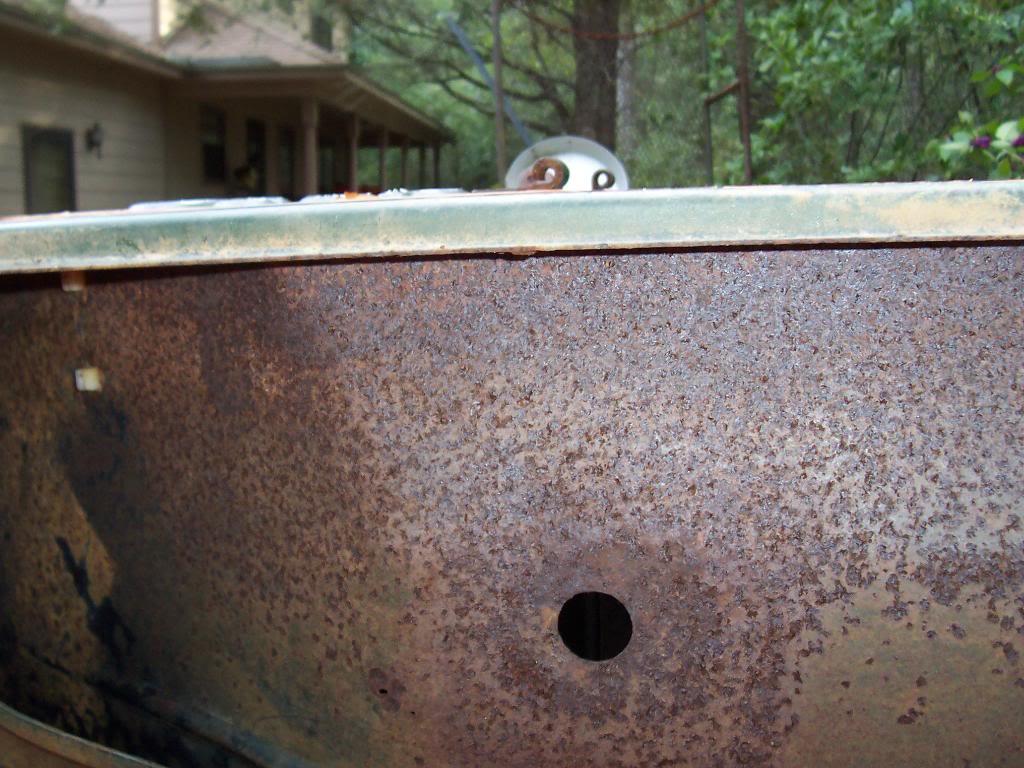
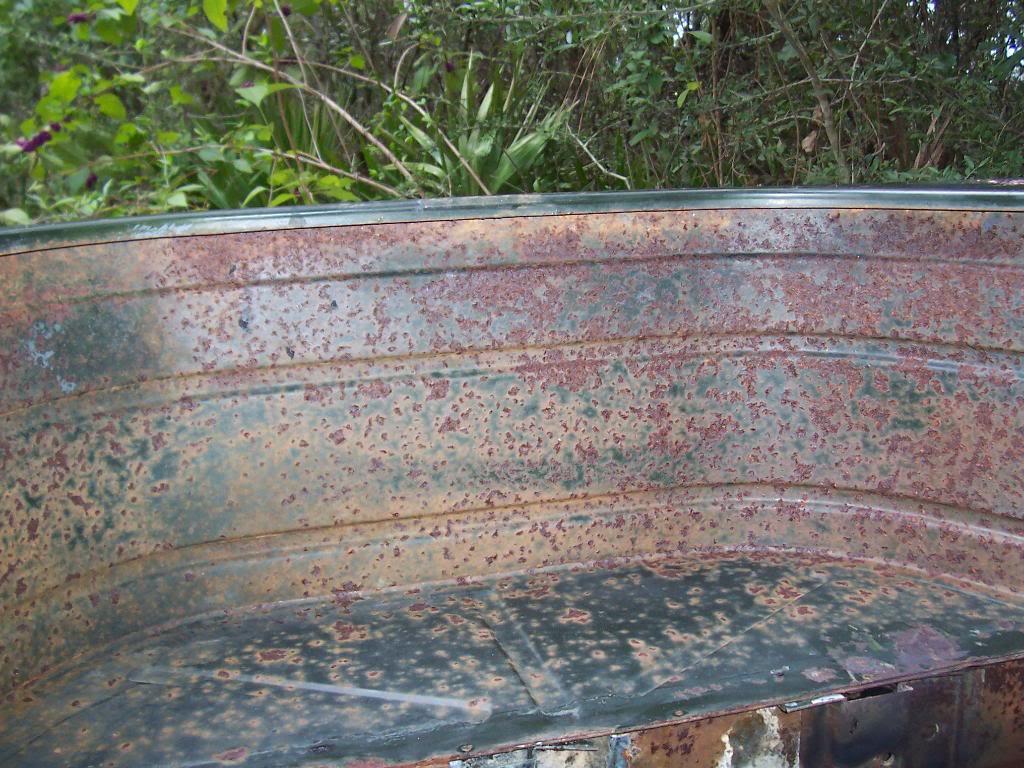
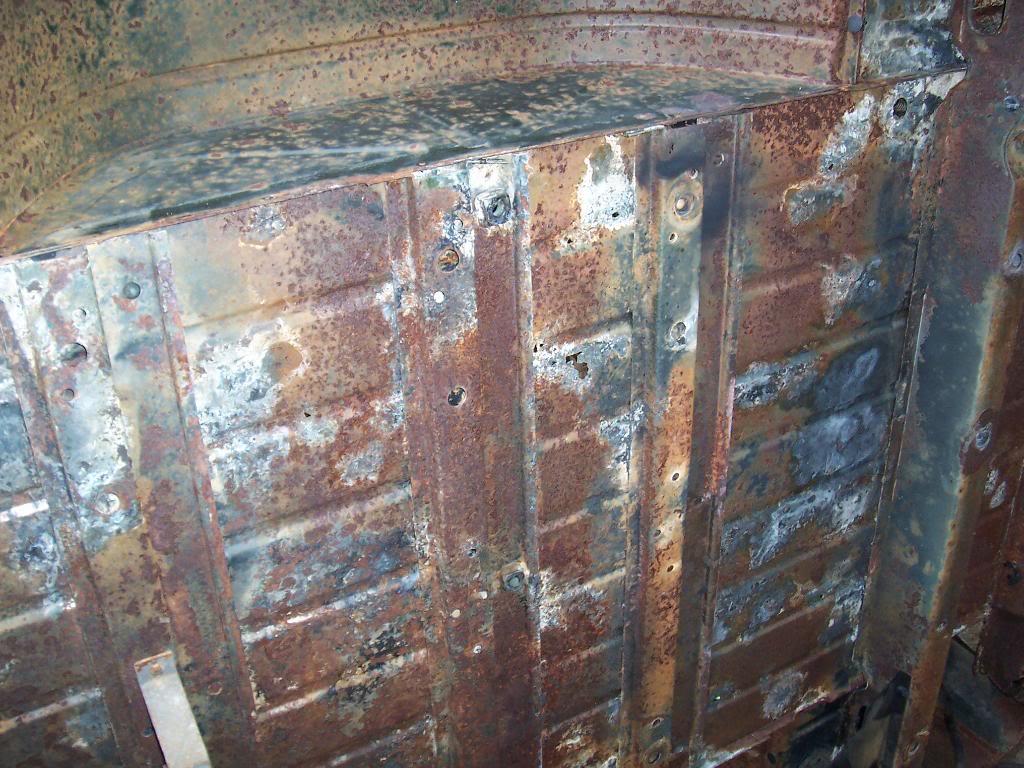
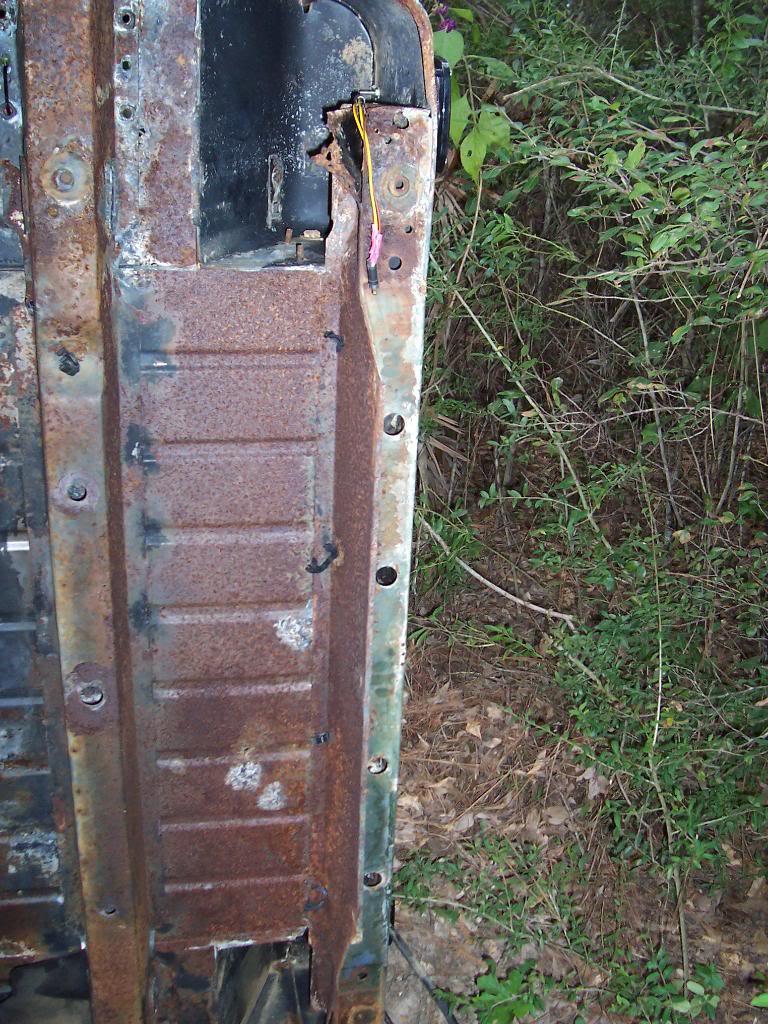
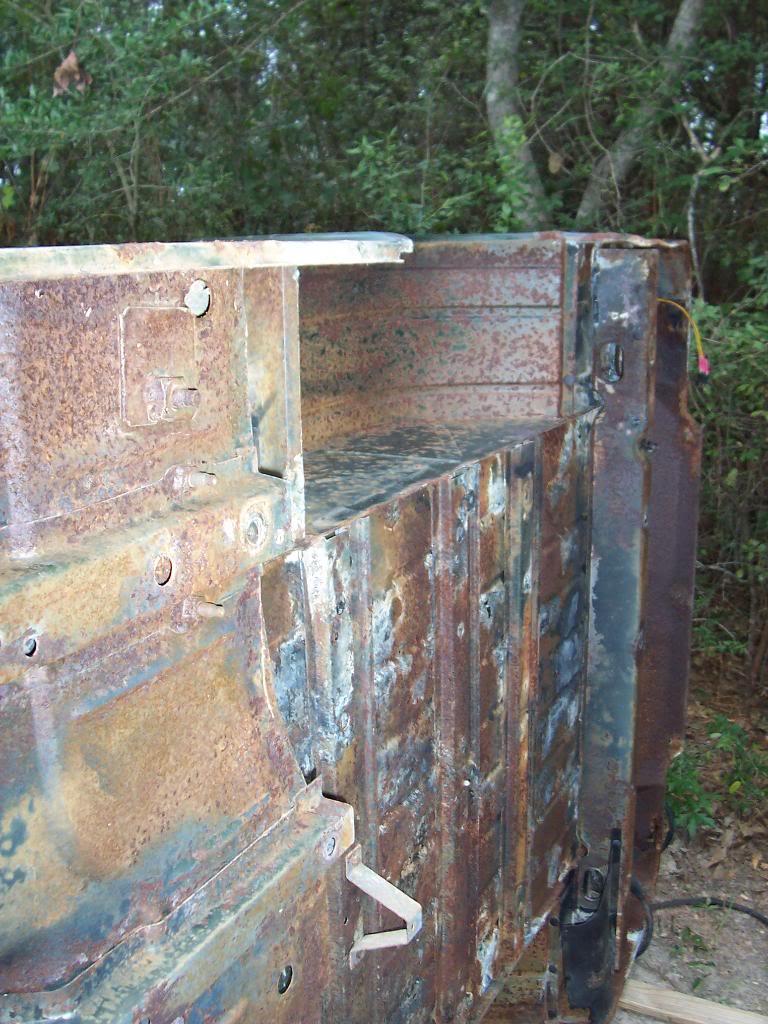
The following pictures will show the rust on the bottom of the tub, starting toward the cowl and working backwards. All rust is only surface rust, no structural rot.

028-1.jpg


029-1.jpg


030-1.jpg


031-1.jpg


00321-1.jpg


And one more overall shot.

00418-1.jpg


The pictures make this thing look bad, but it is solid. The rear body mount enclosure box is pitted and looks bad, but it is solid. Most of this rust comes off very easily. This tub wont take too much rust removal work to prep for paint.


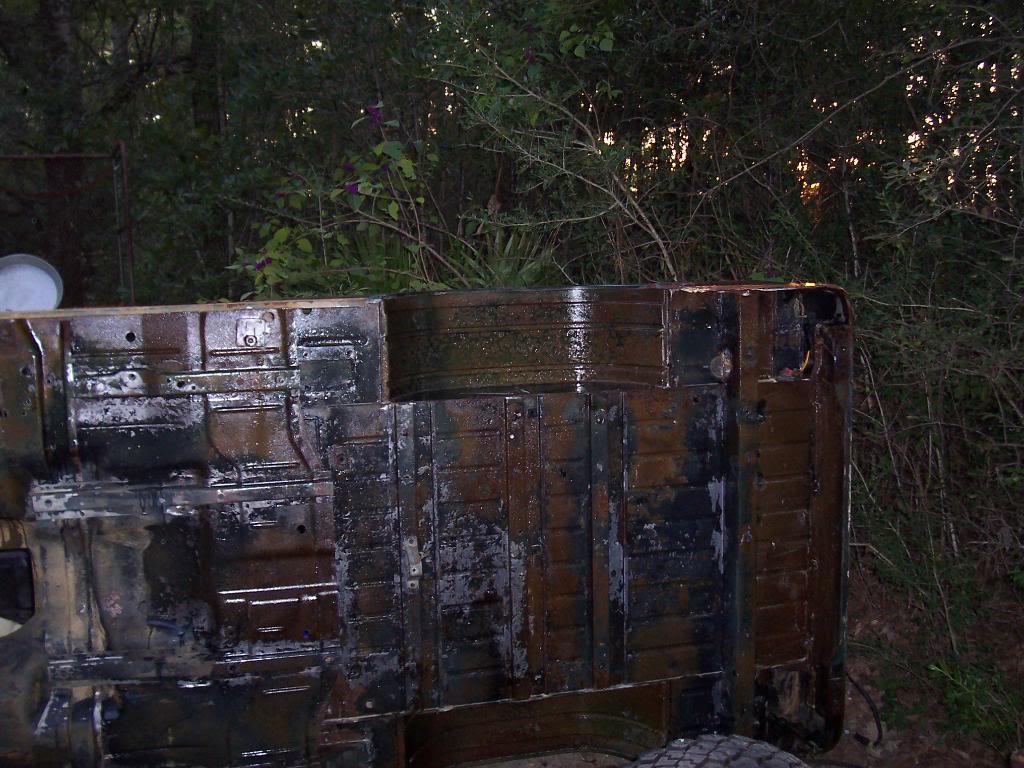
Since I had a bunch of phosphoric acid left i put a coat on the bottom of the tub.

00516-1.jpg


00615-1.jpg


After the game on Sunday I checked the tub. The acid removed a good chunk of the light rust. I put a second coat on yesterday, will put a third coat on today, then I will wash it all off and see what I need to do. So far, the acid is working great on the light rust. Obviously, the heavily rusted areas will need to be wire wheeled.

The frame is in excellent shape EXCEPT for the rear cross member. I told JeepAddict to buy me a new one from the "Chief".

That's it for now.
 
Back
Top