• Notice for iPhone users: DO NOT use the image size reduction option when uploading photos to the forum. This causes portrait images to post as landscape. We have added a warning to the image insert pop-up as well.

New To Me 83--Parts Needed
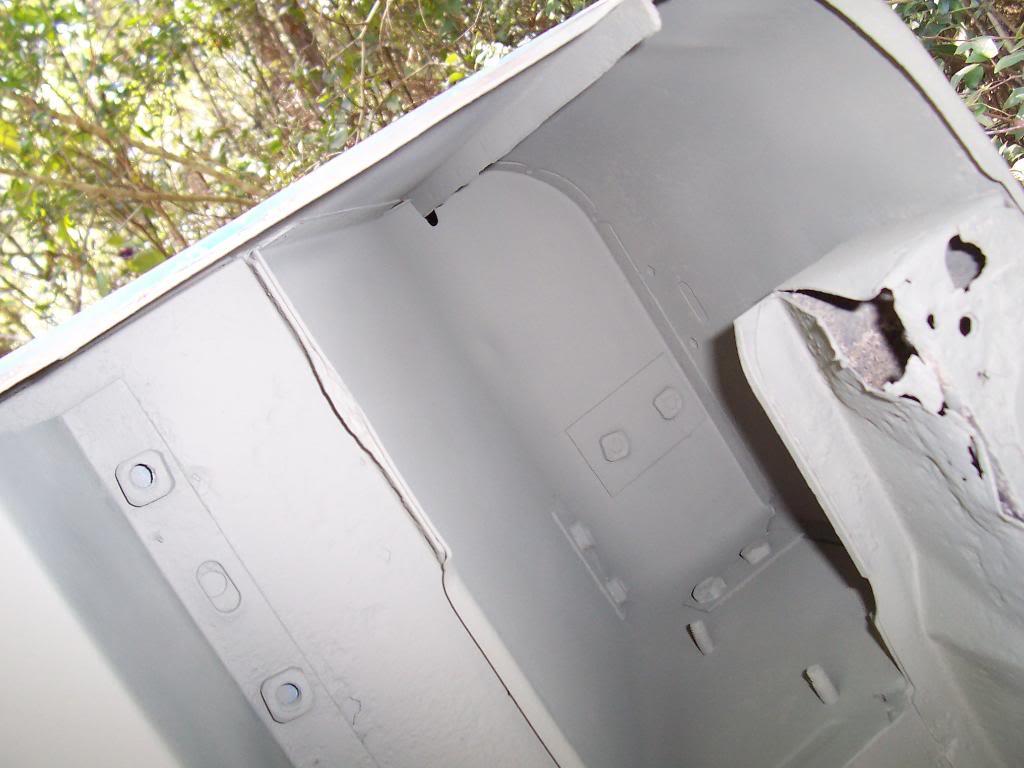
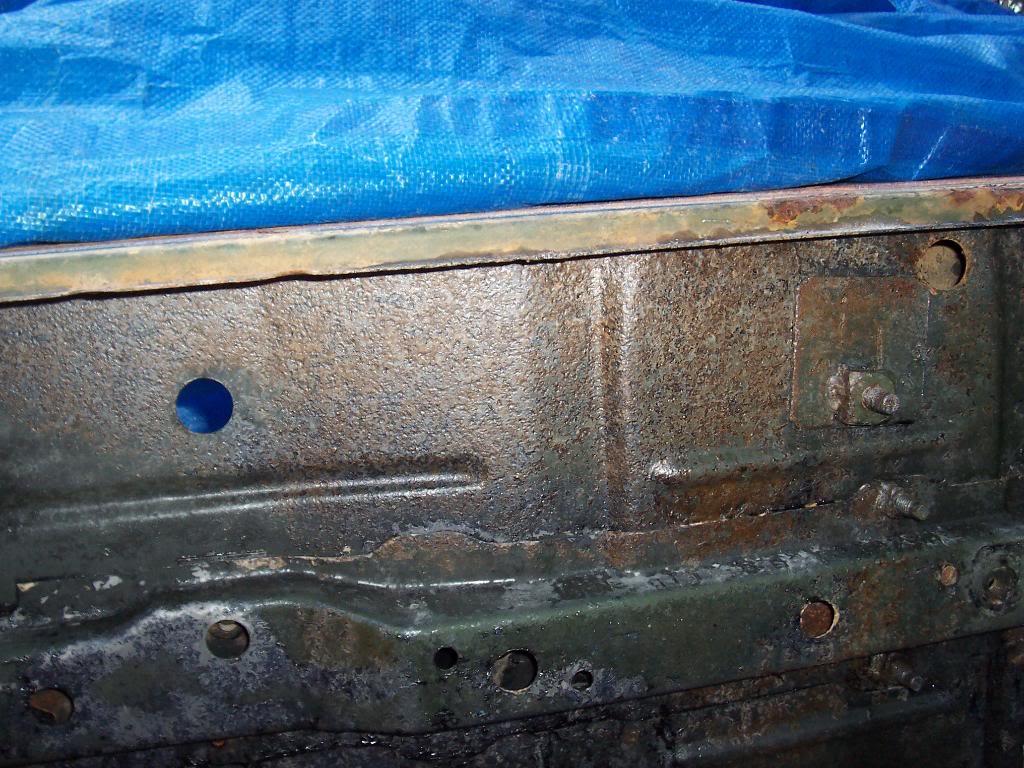
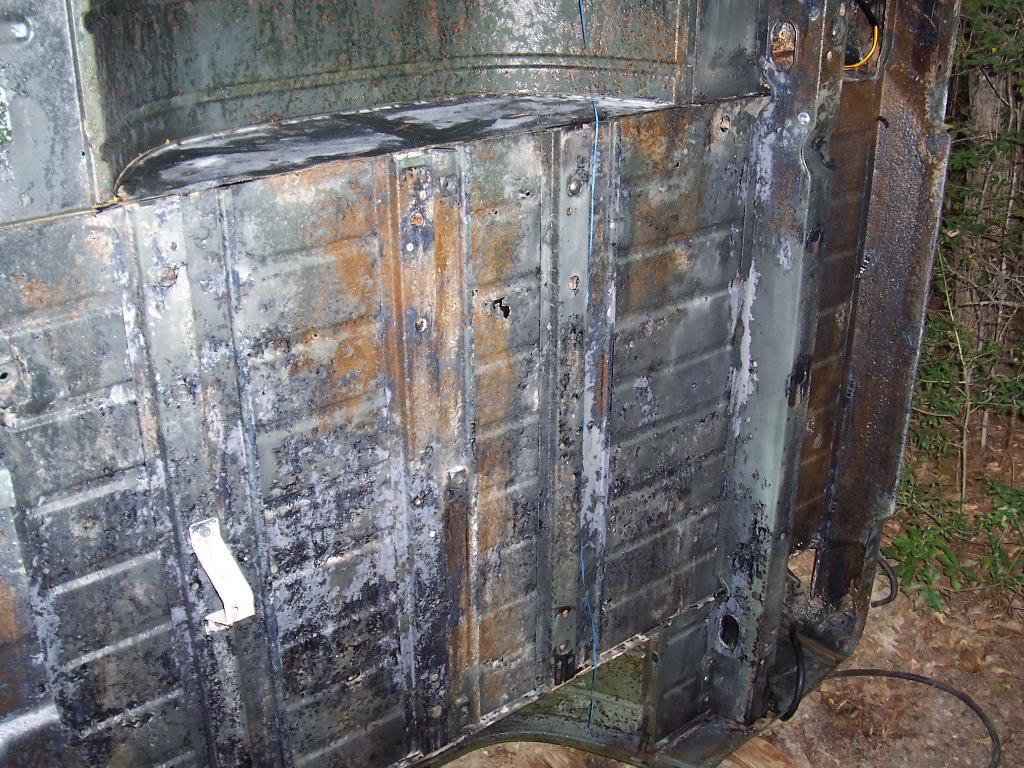
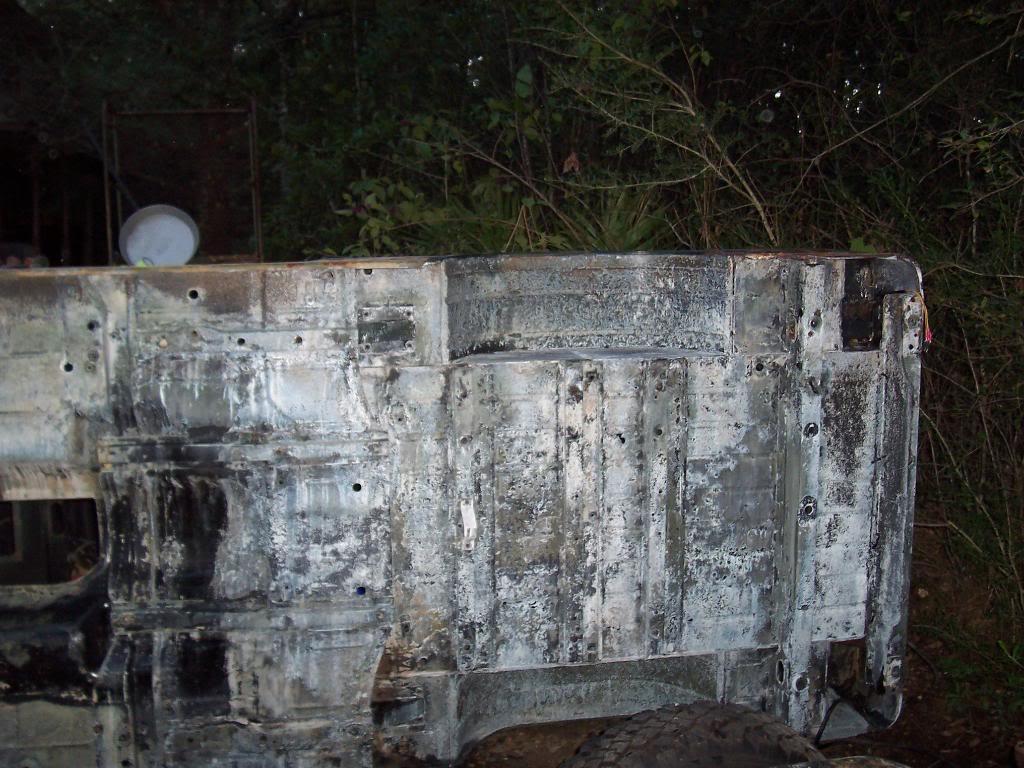
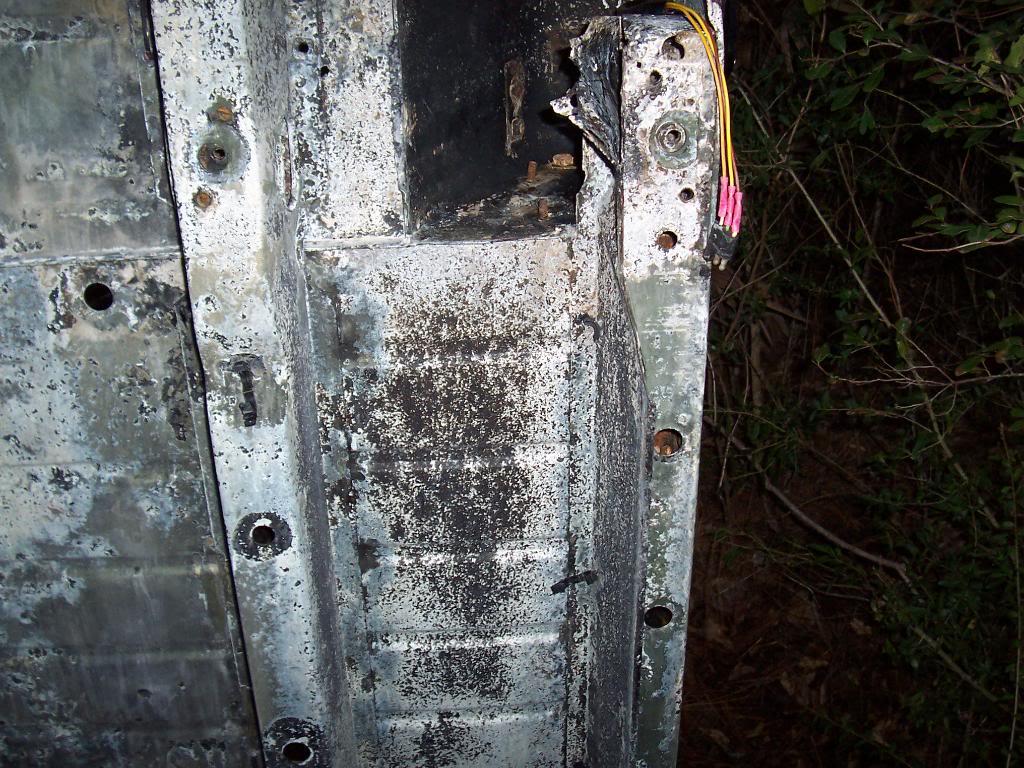
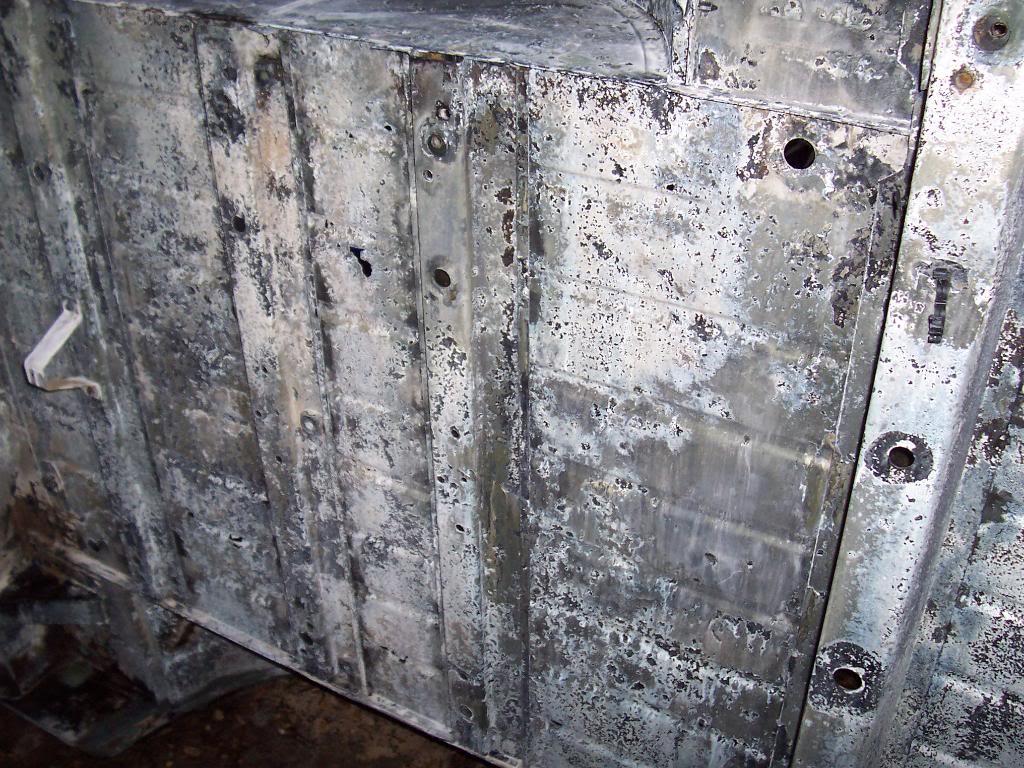
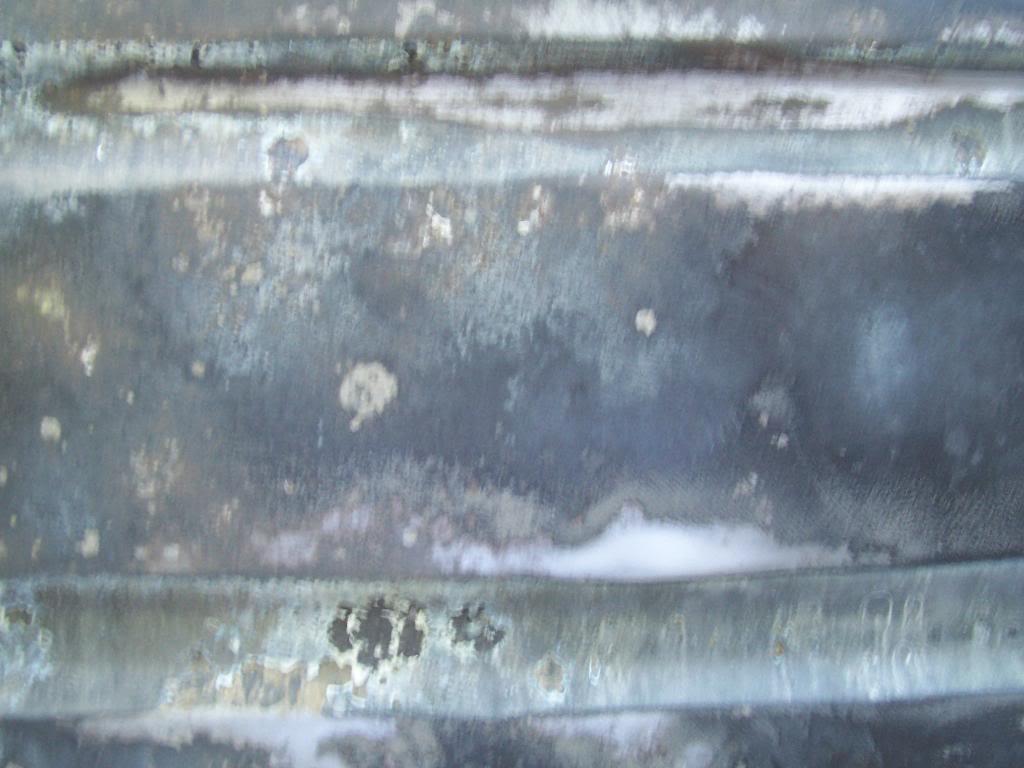
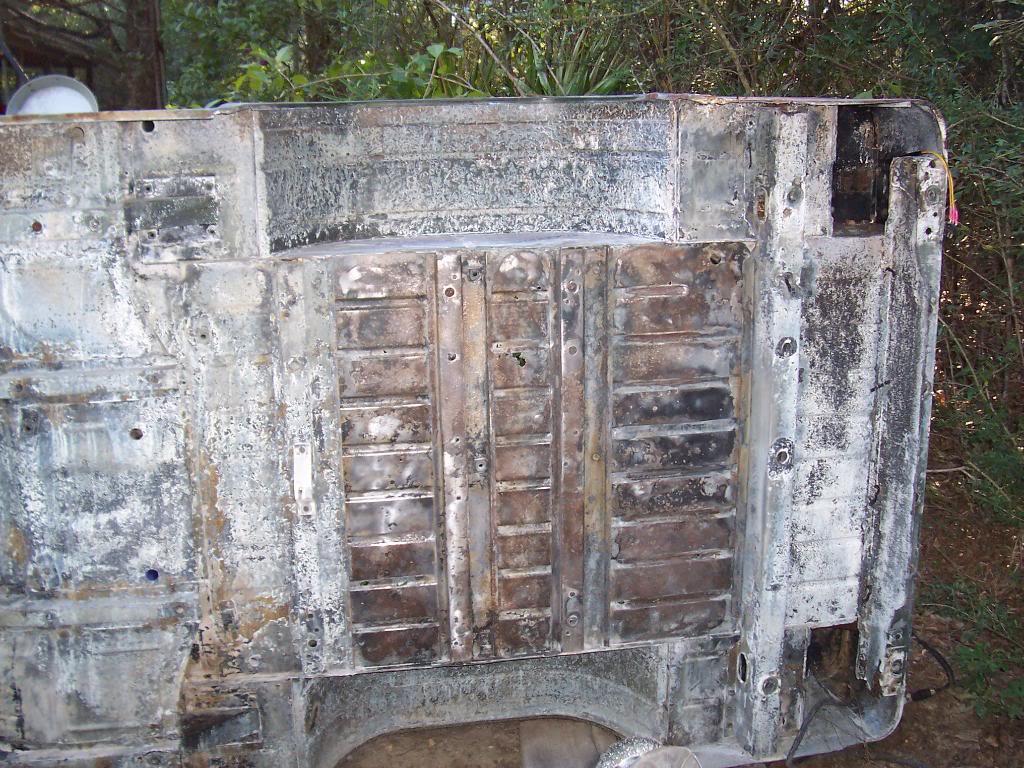
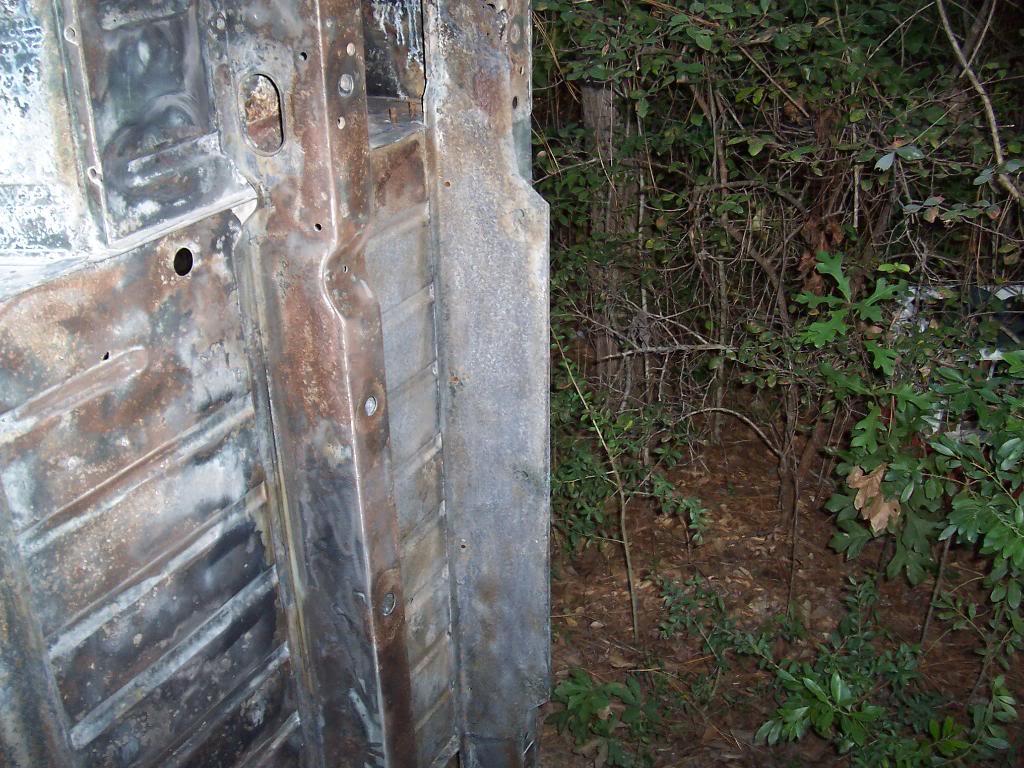
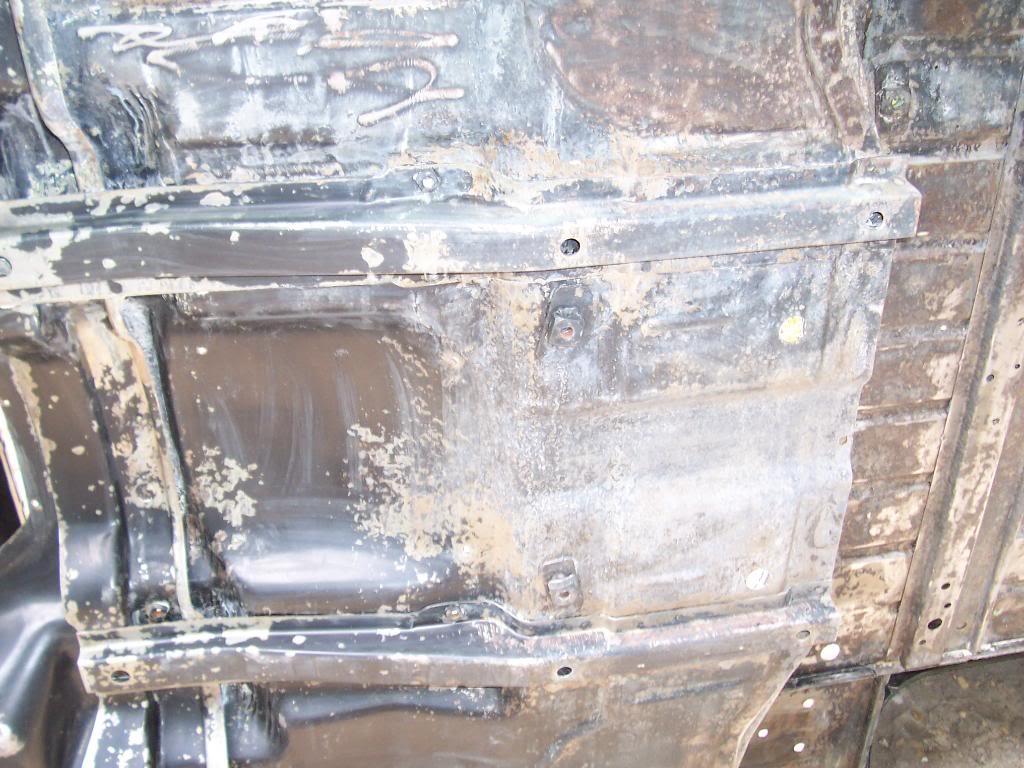
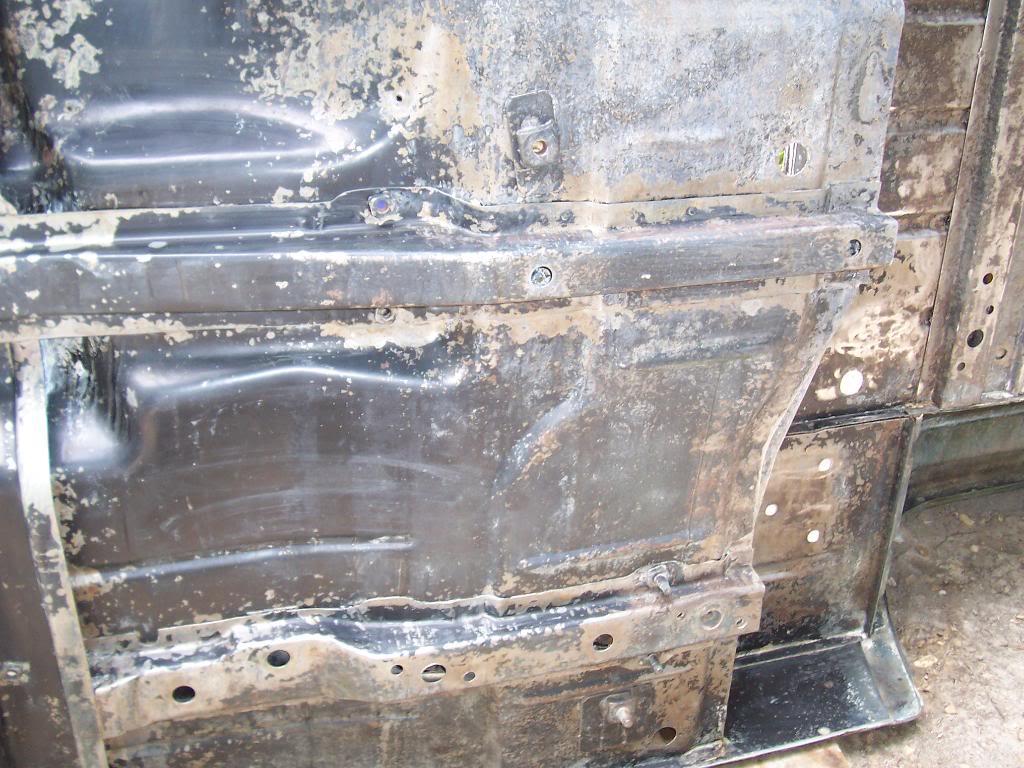
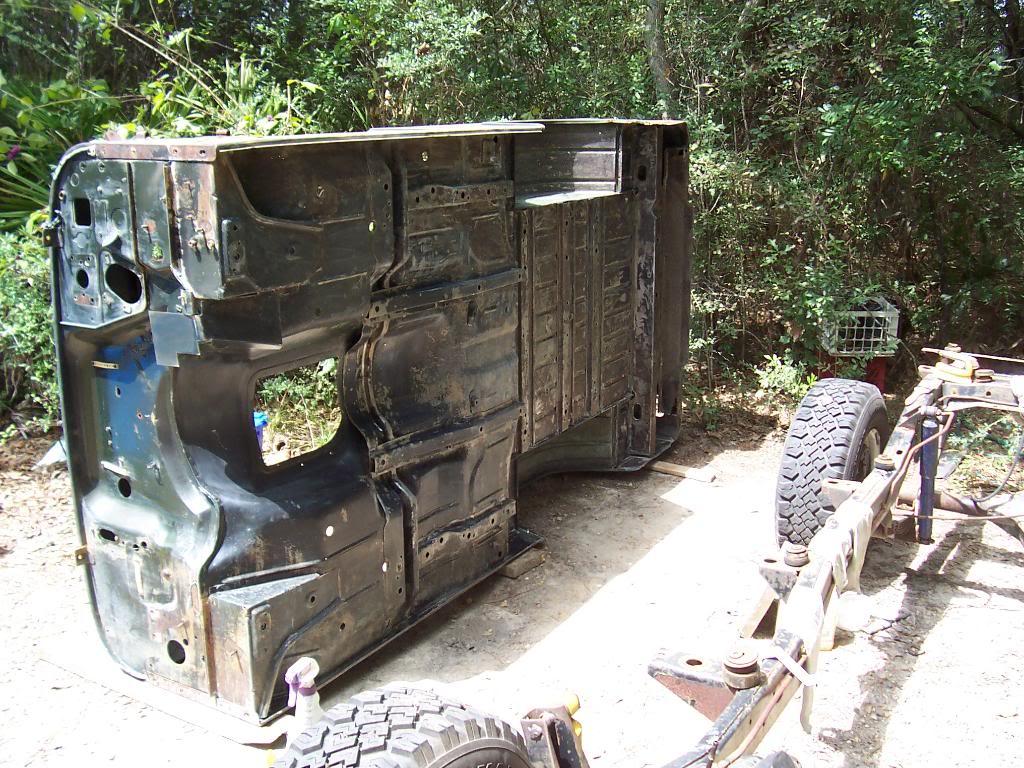
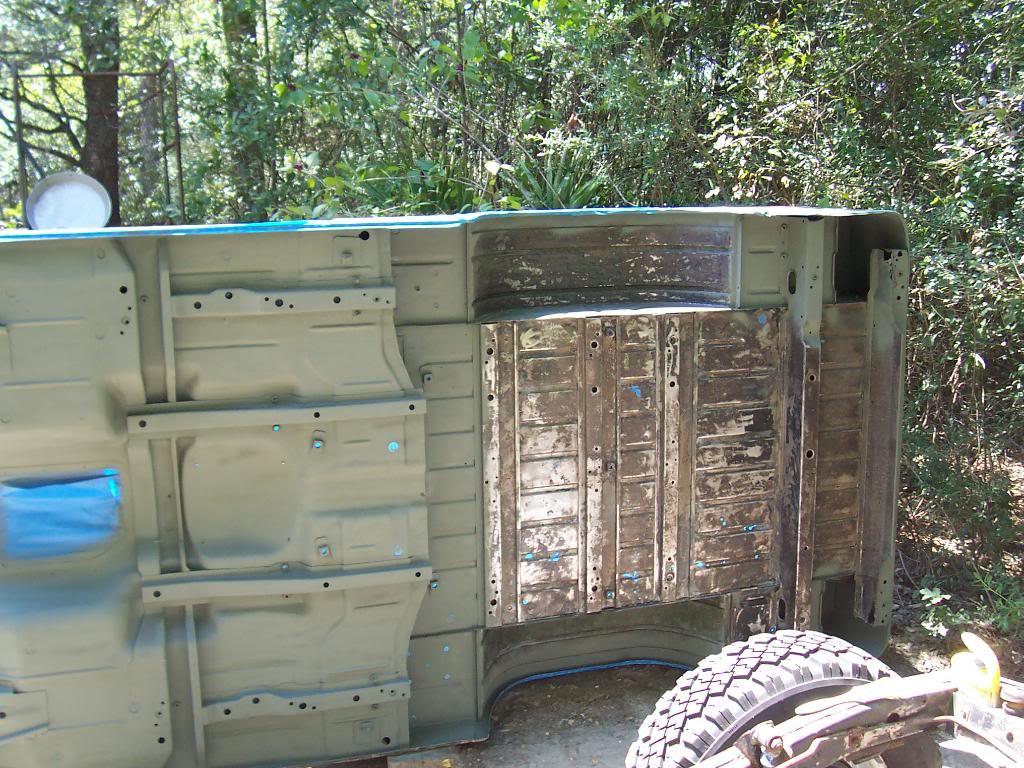
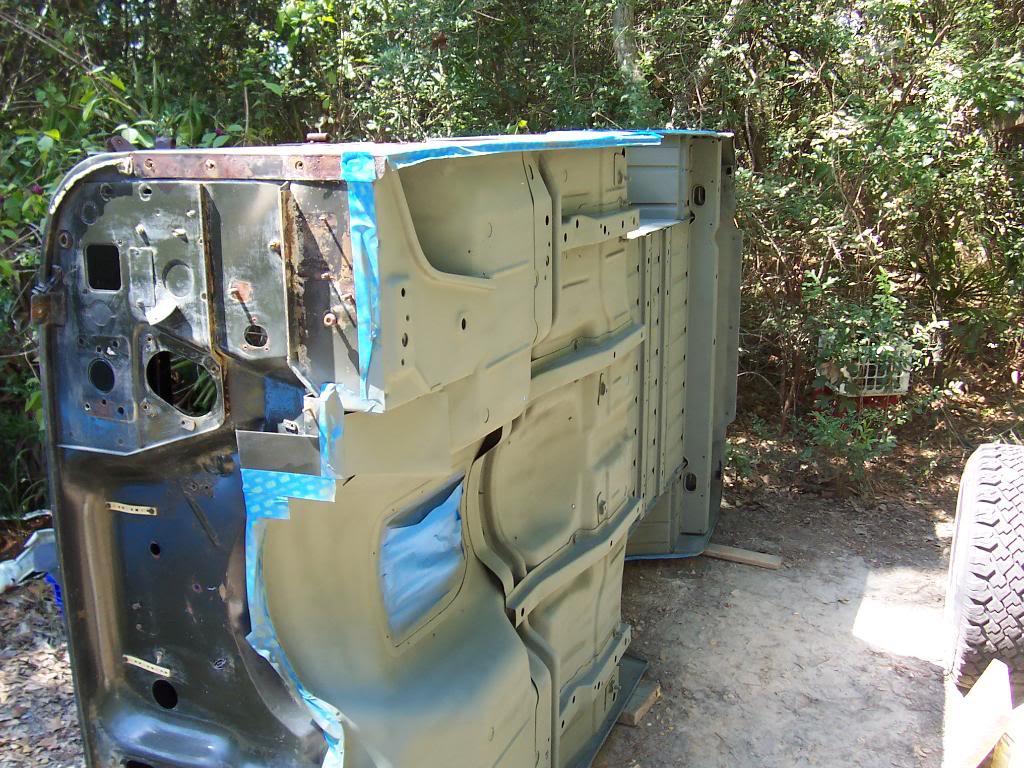
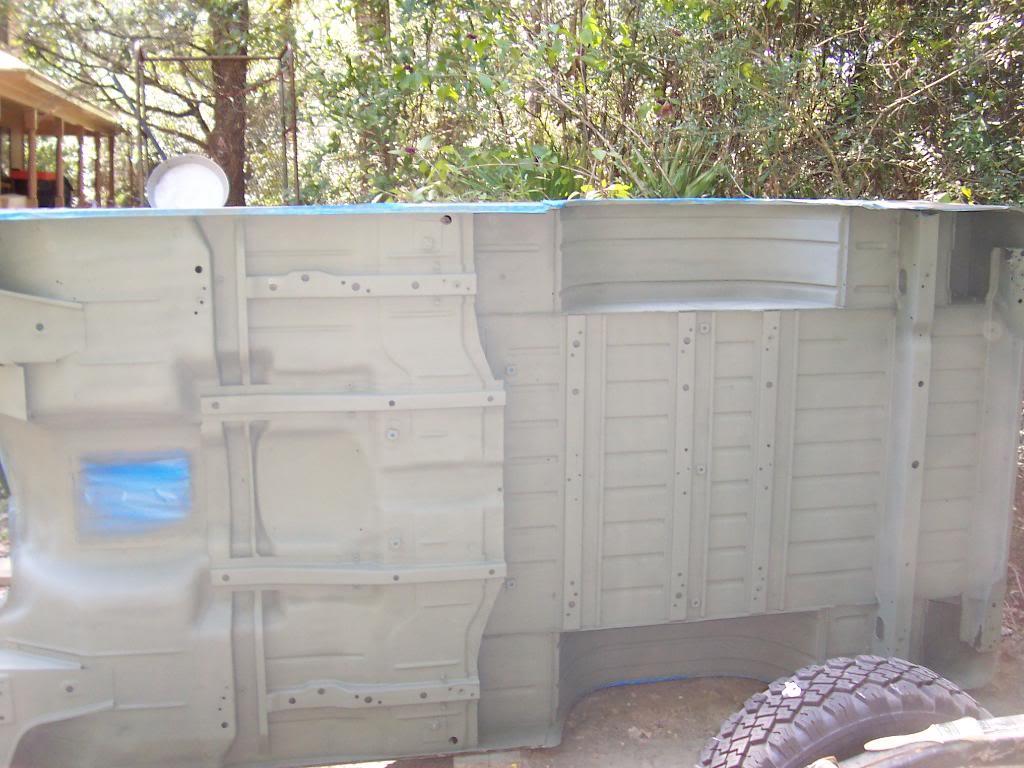
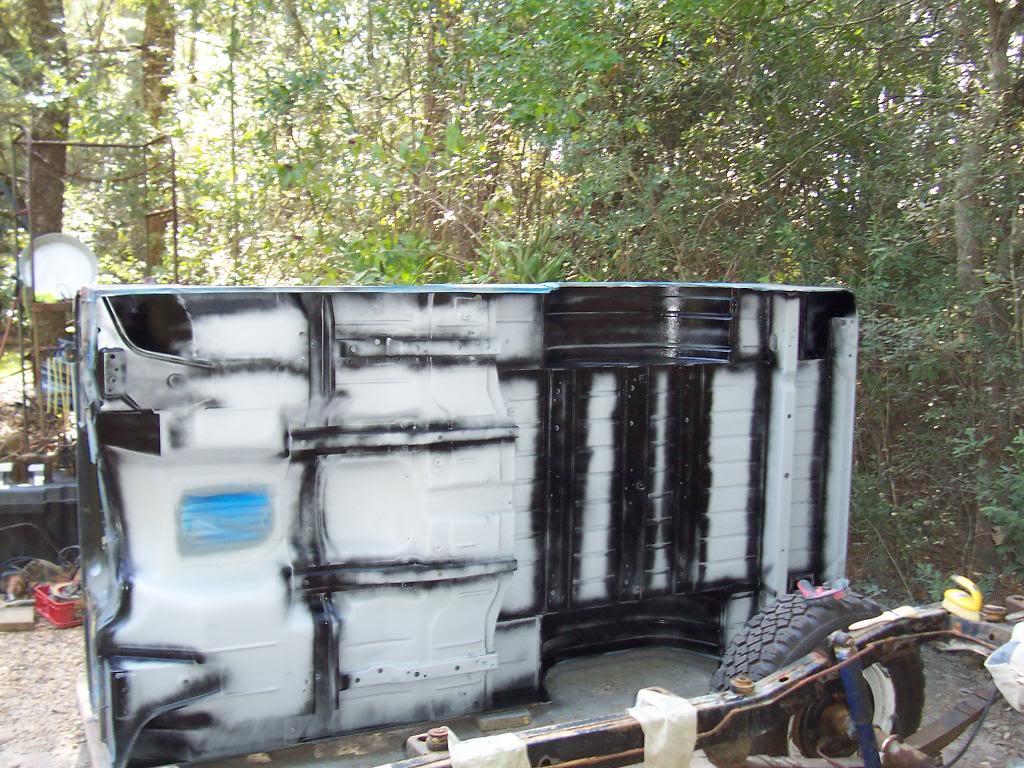
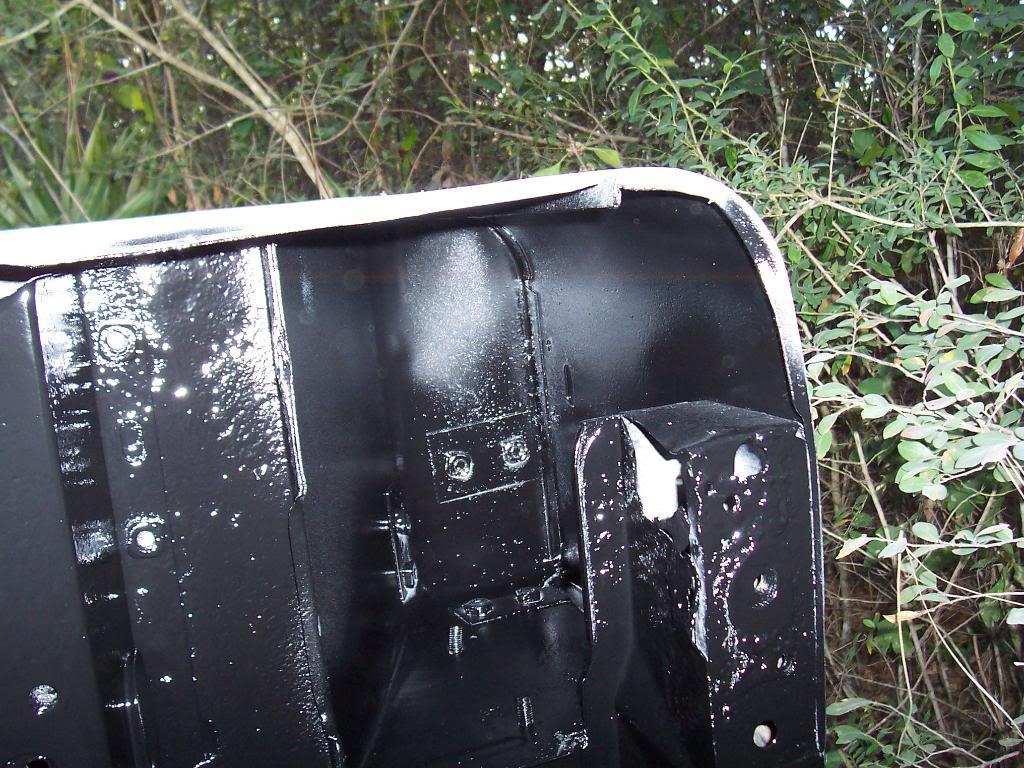
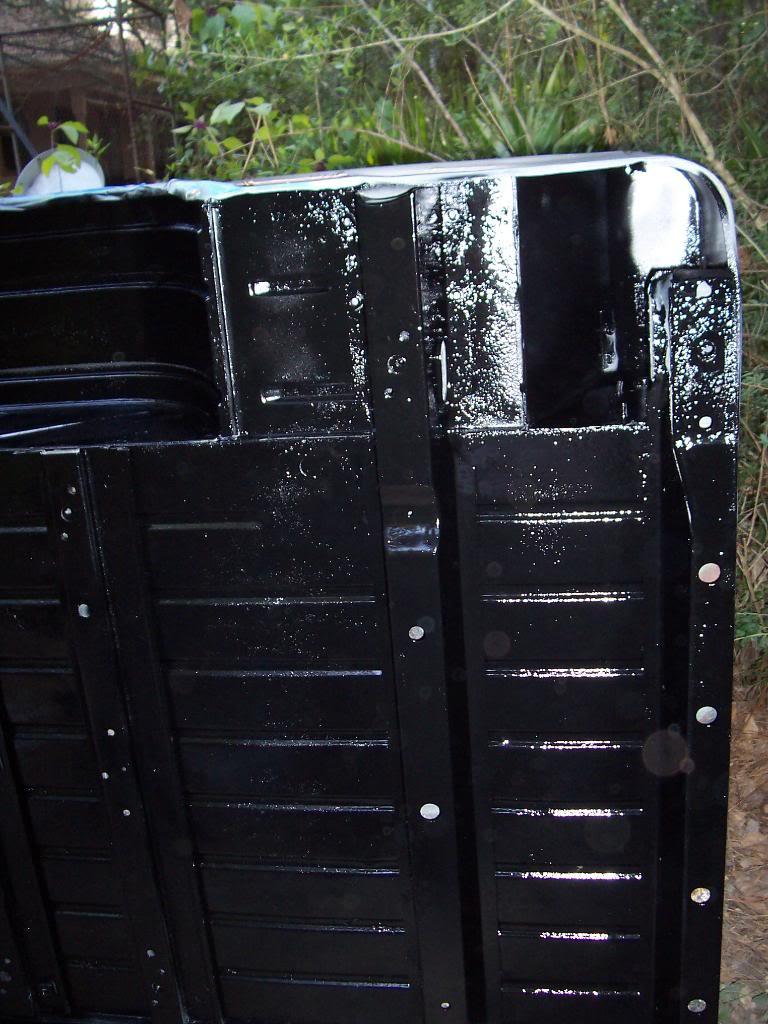
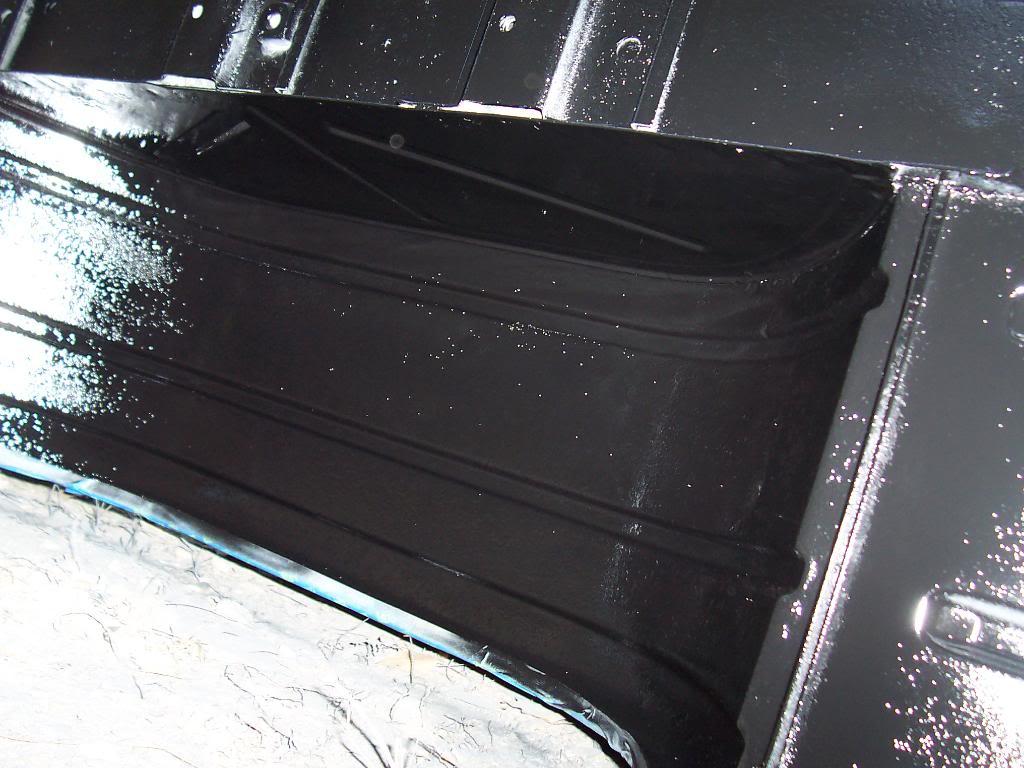
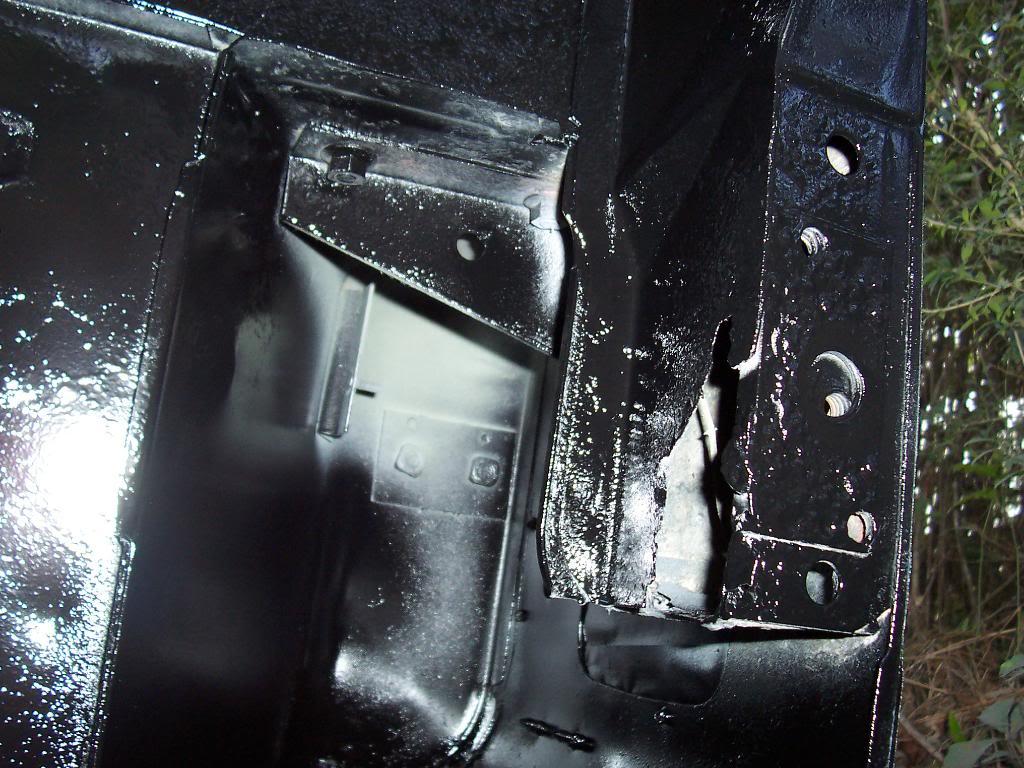
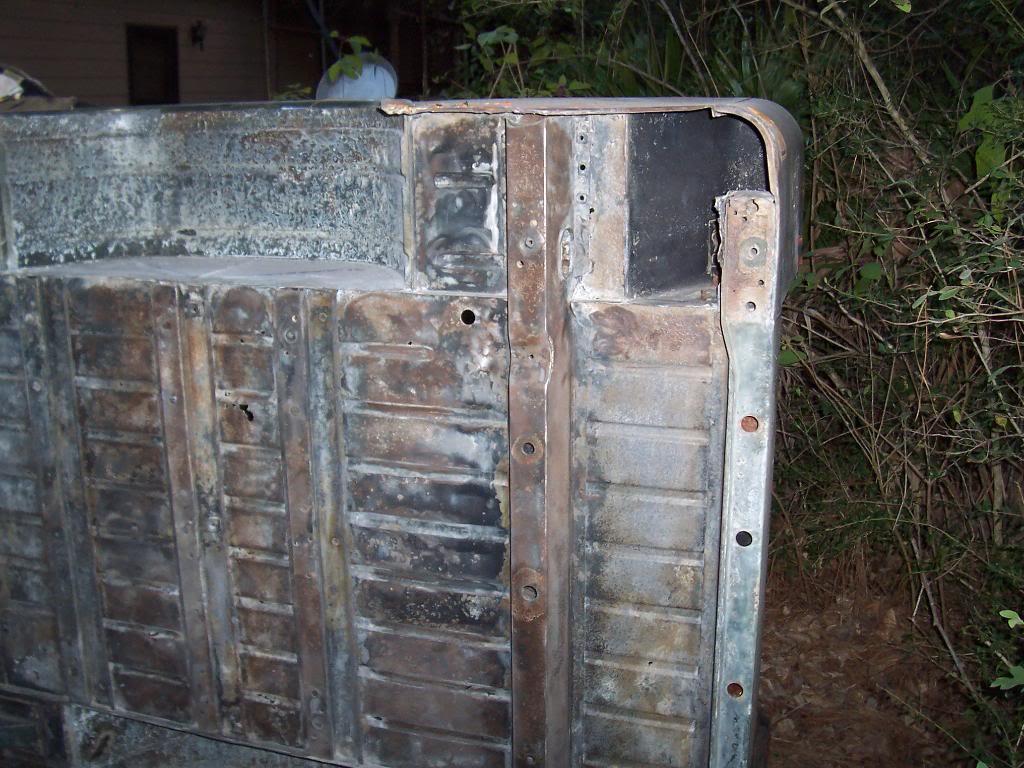
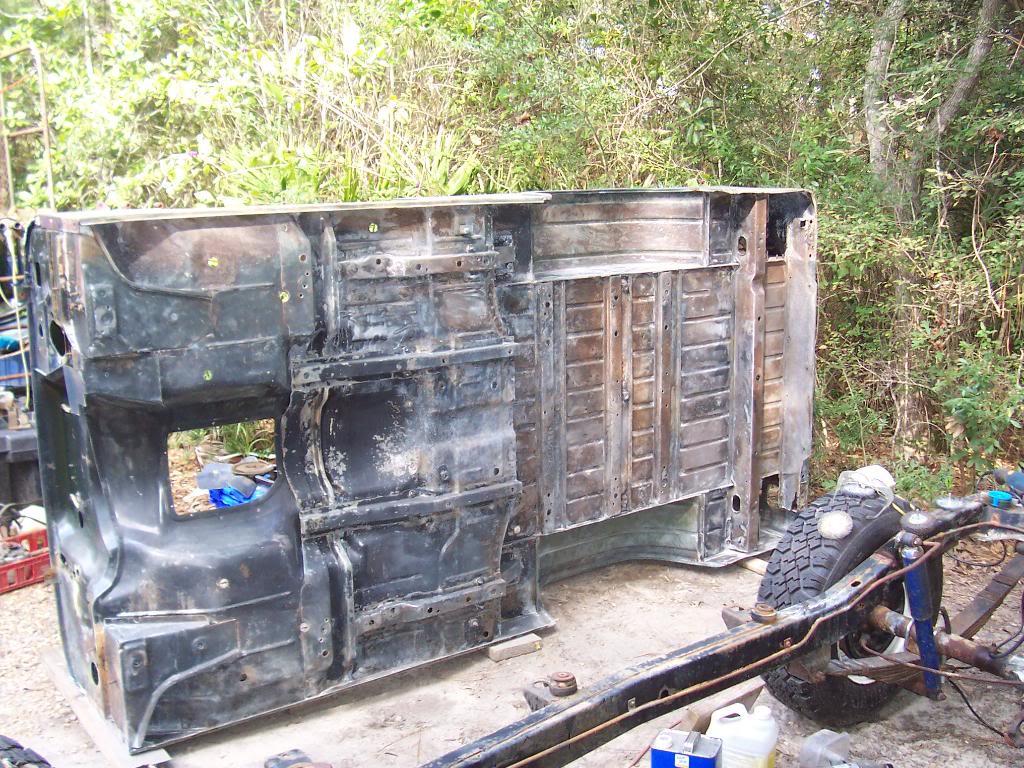
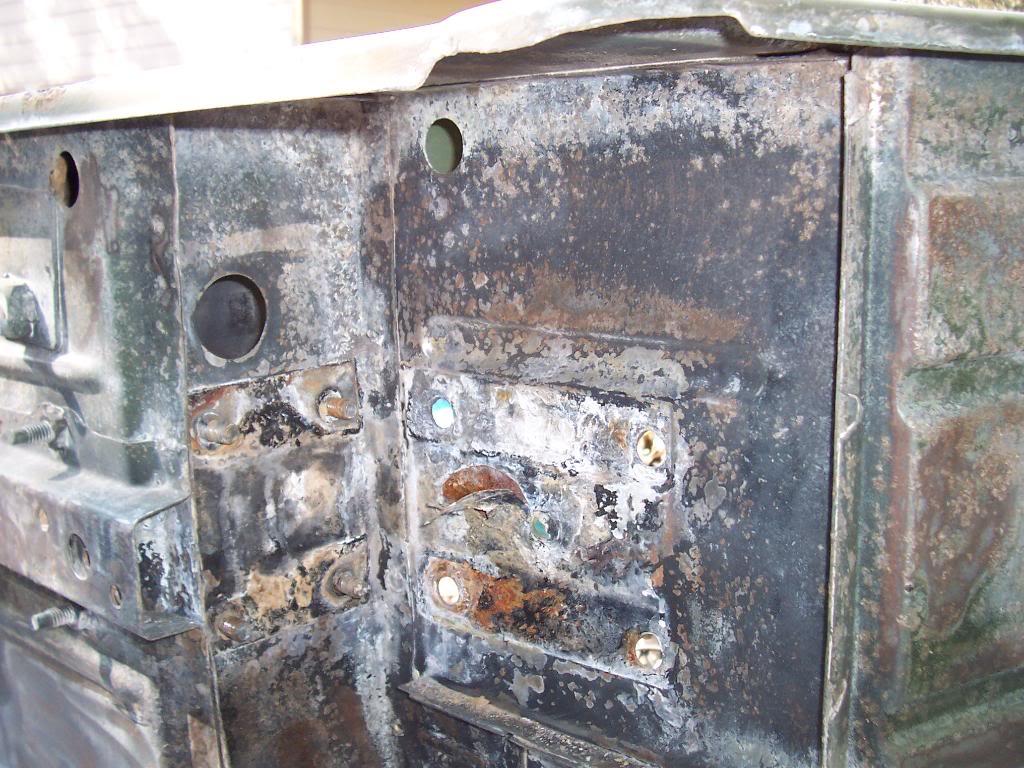
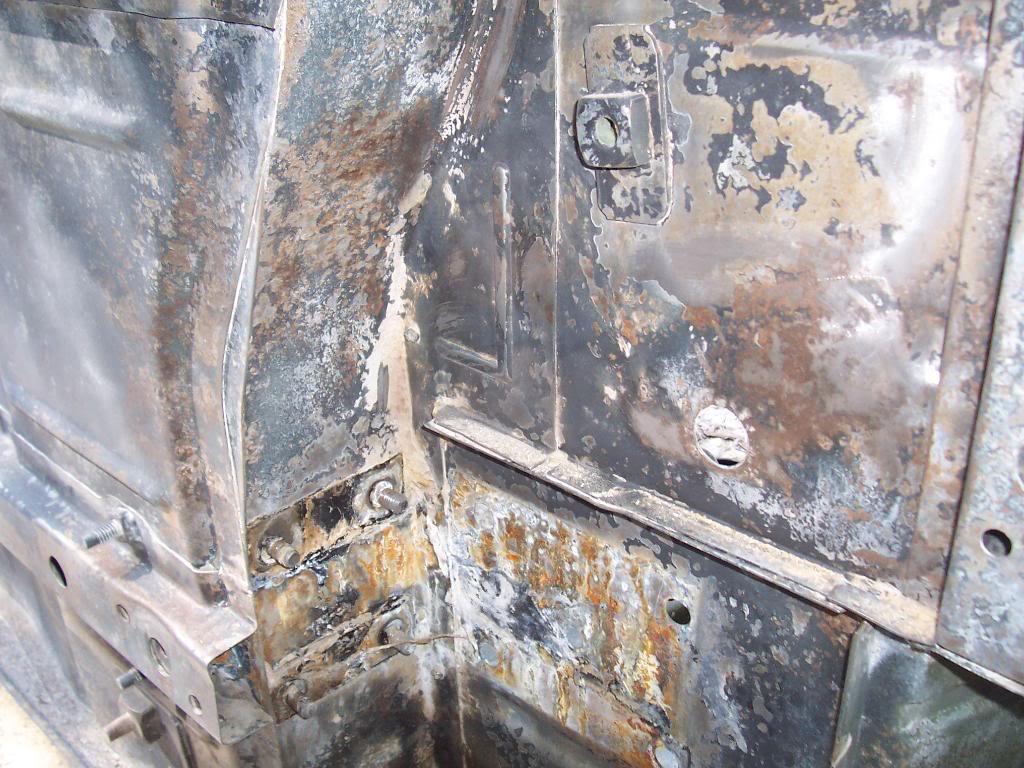
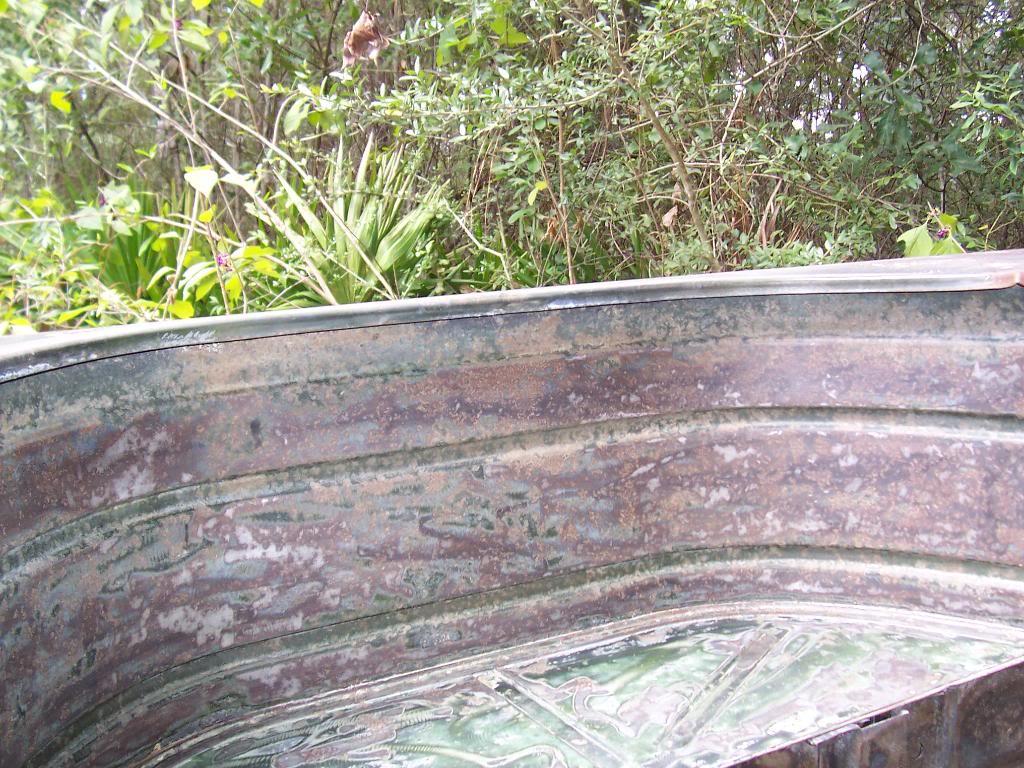
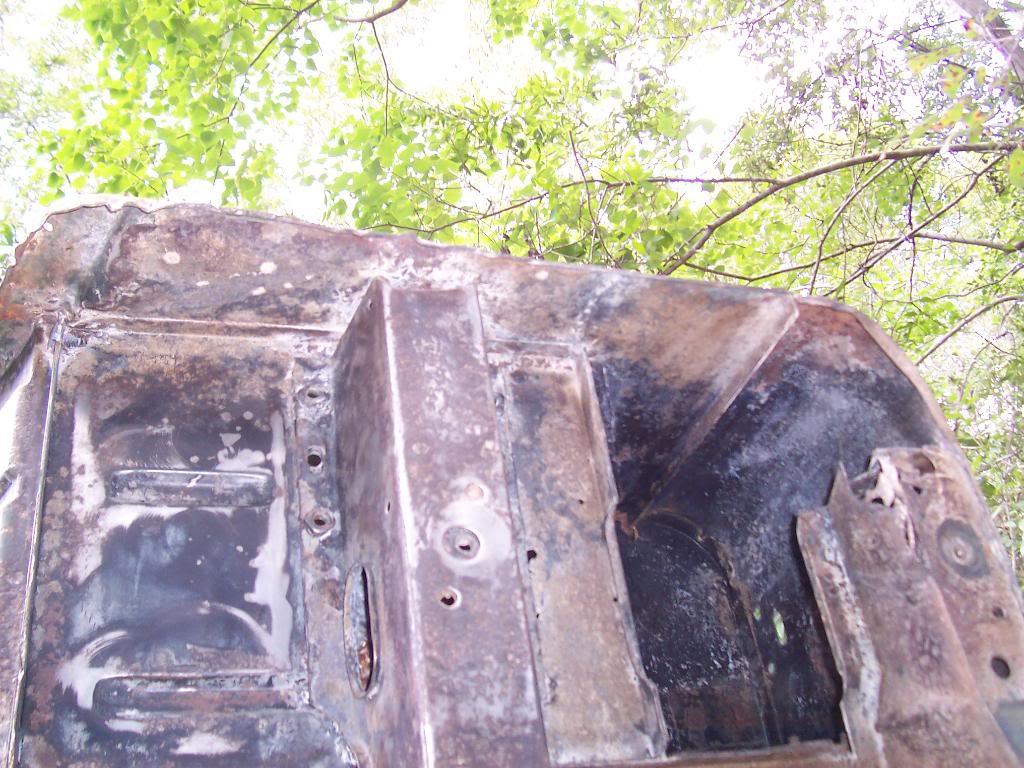
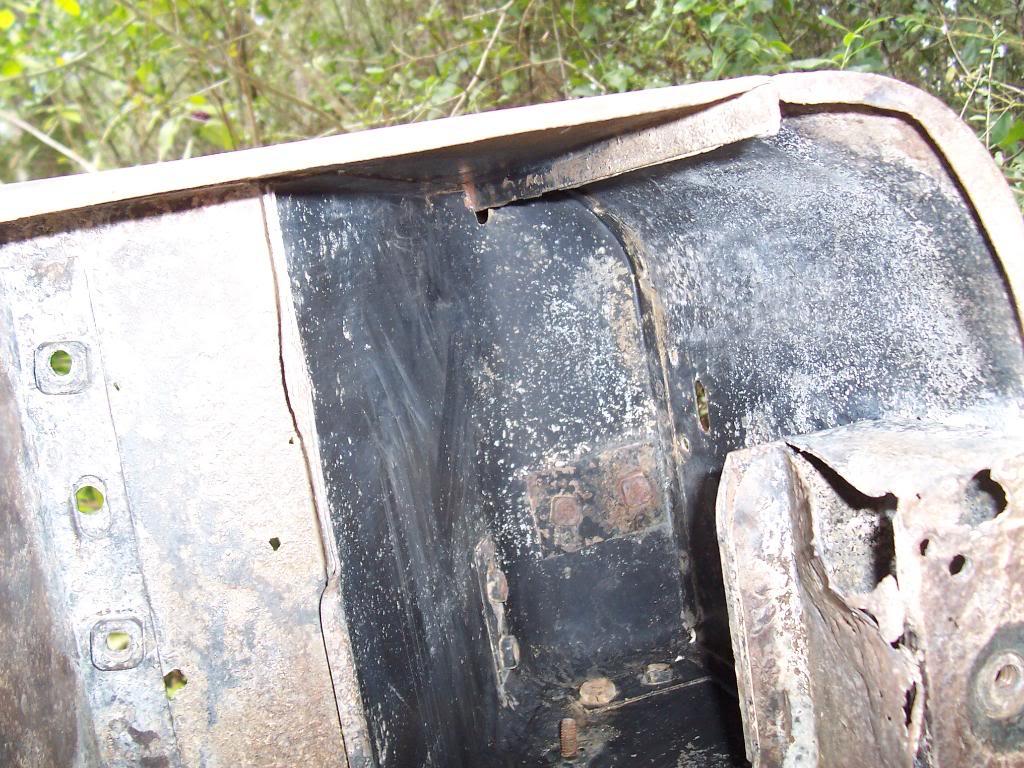
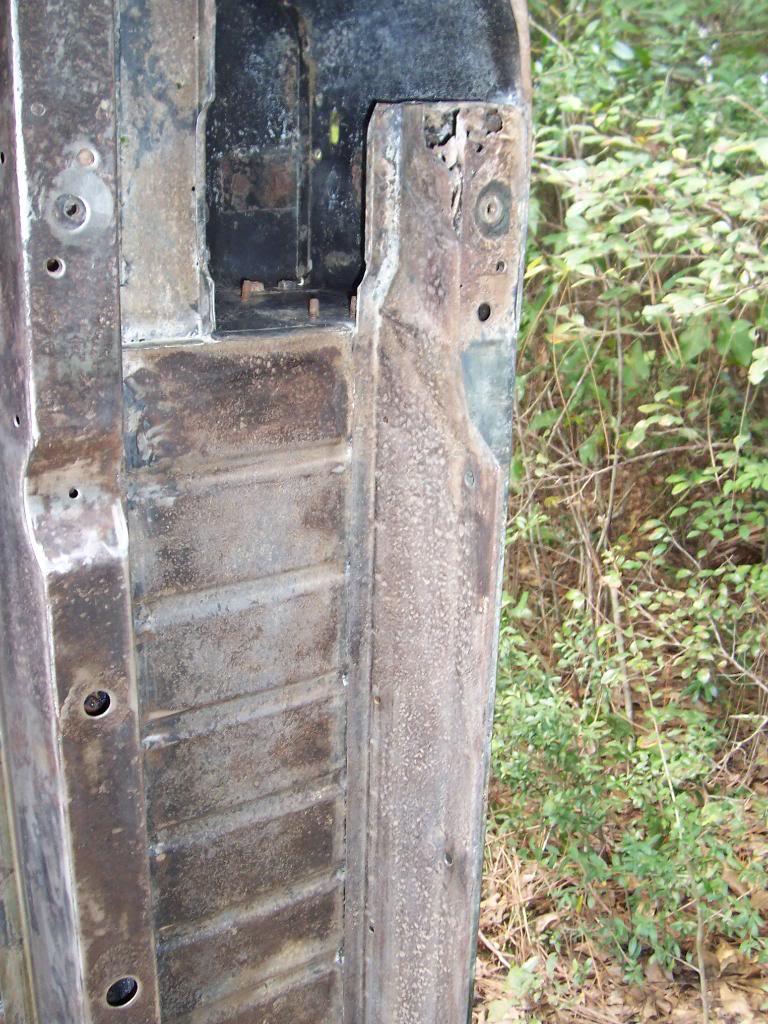
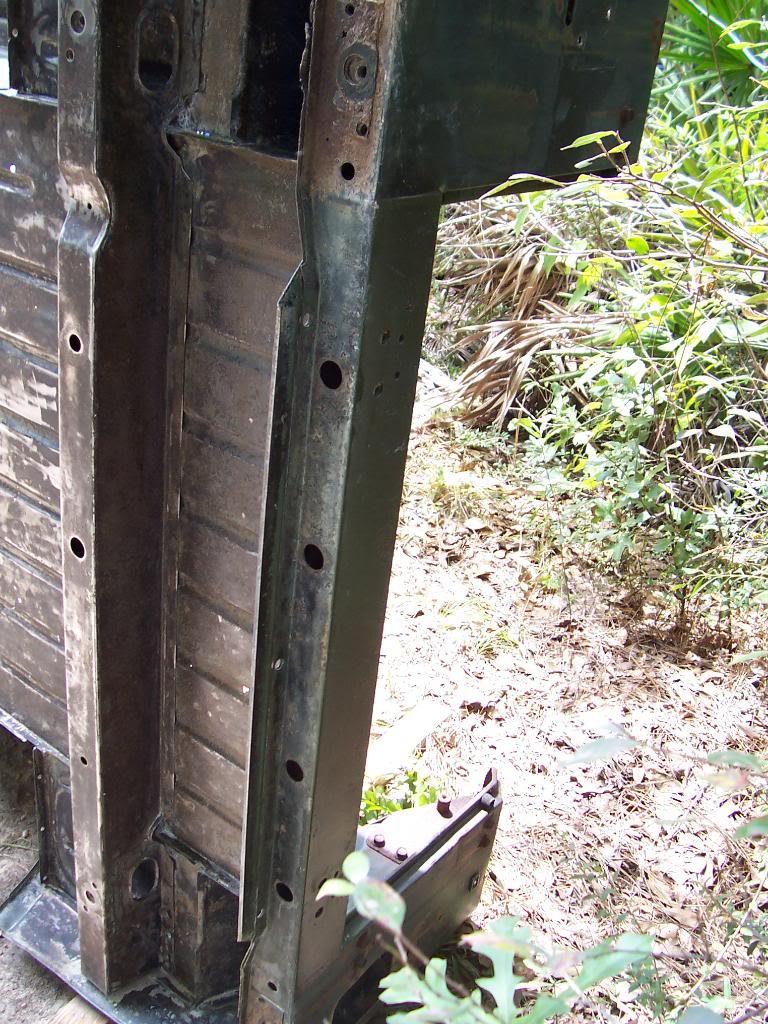
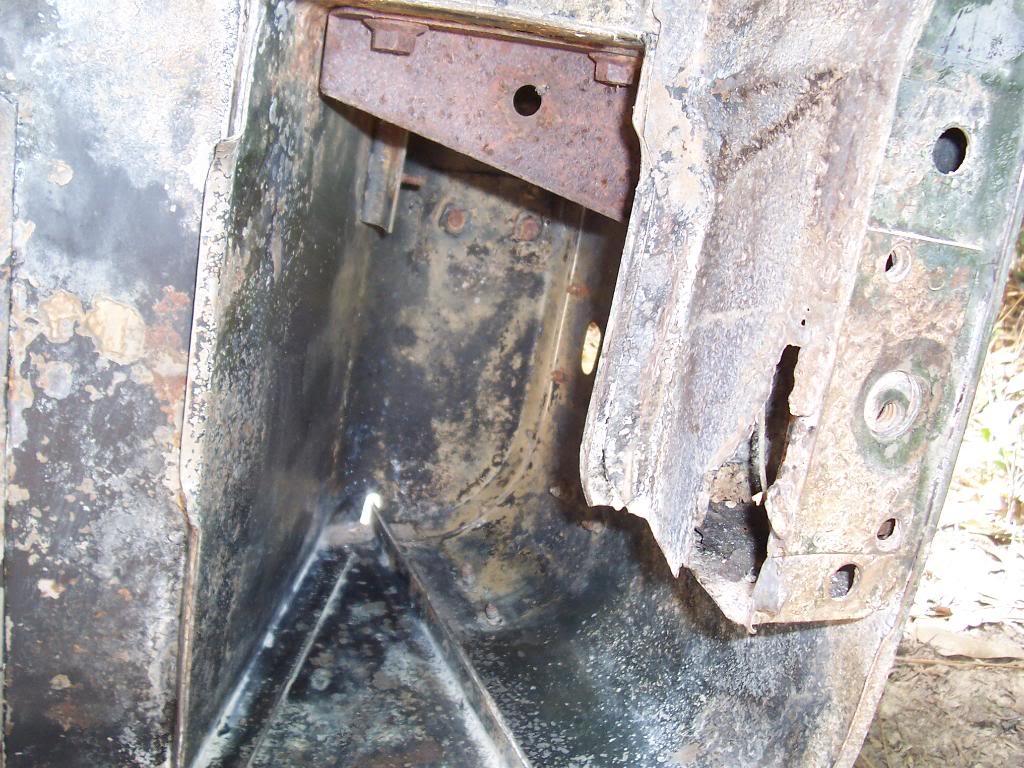
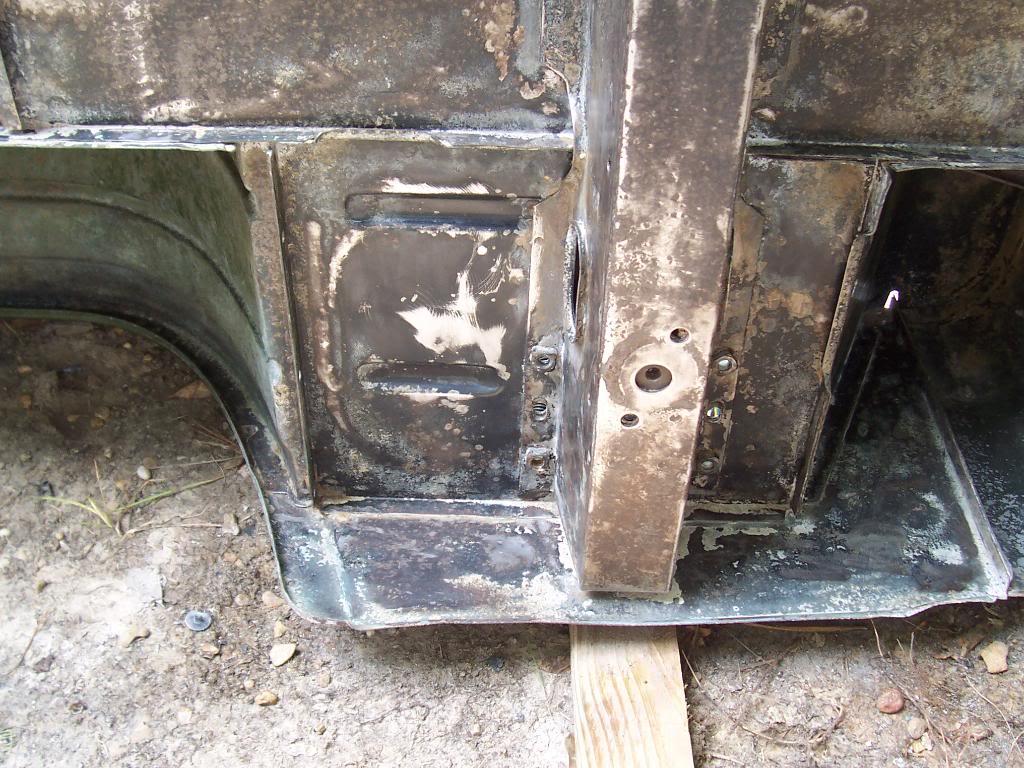
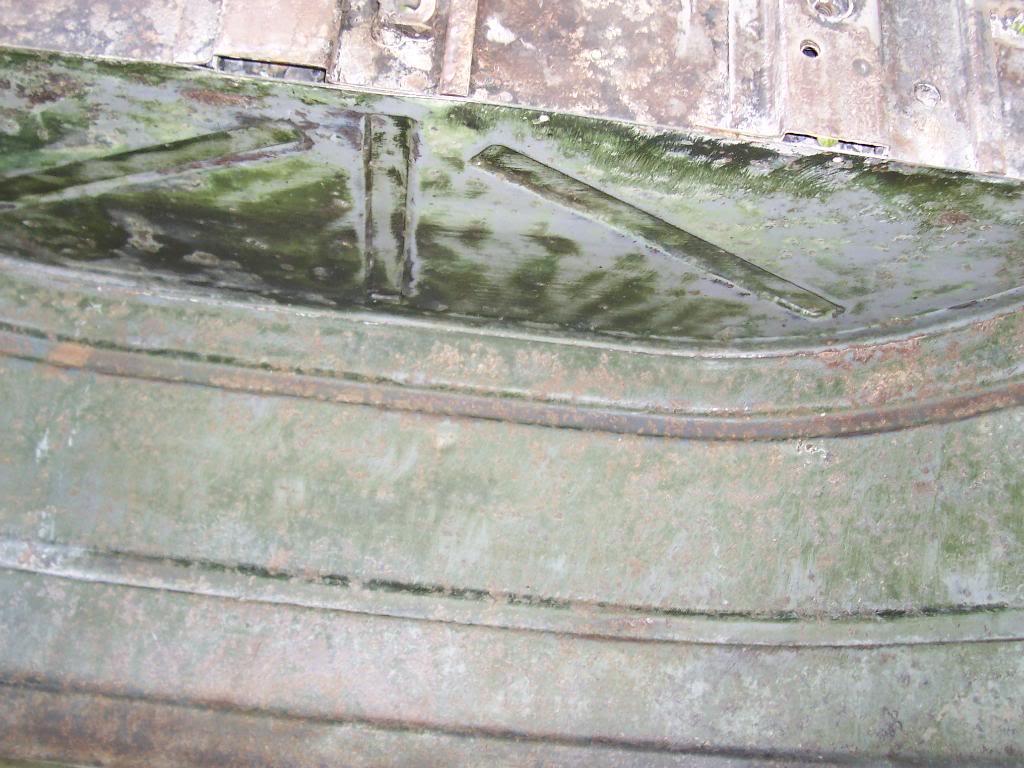
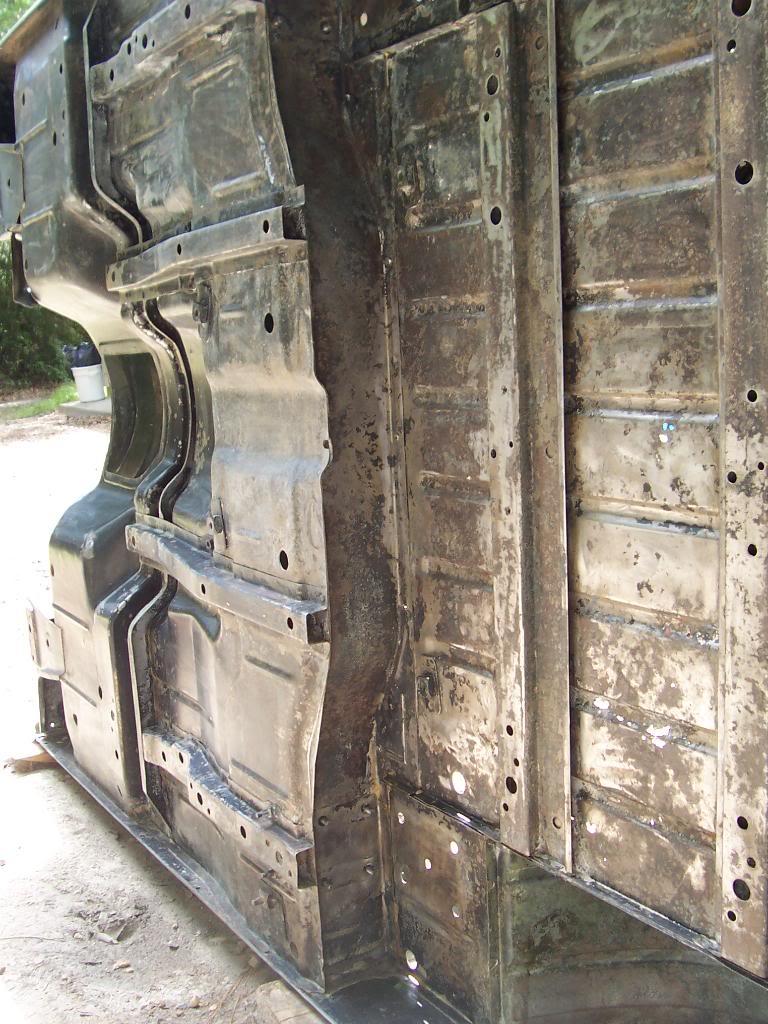
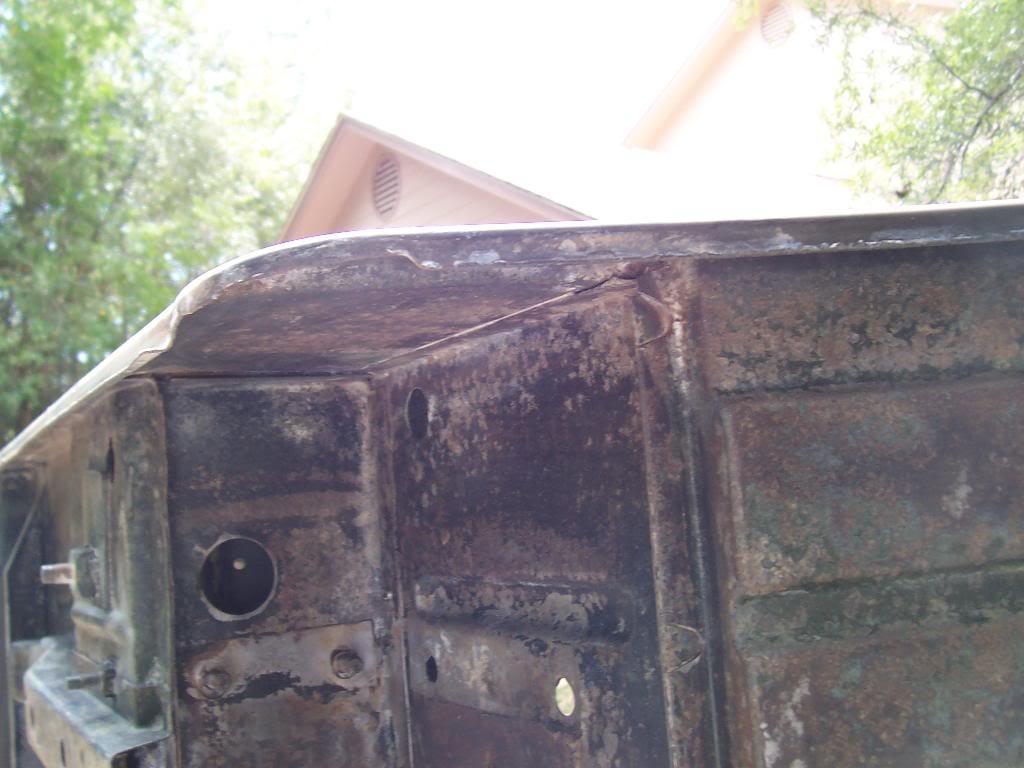
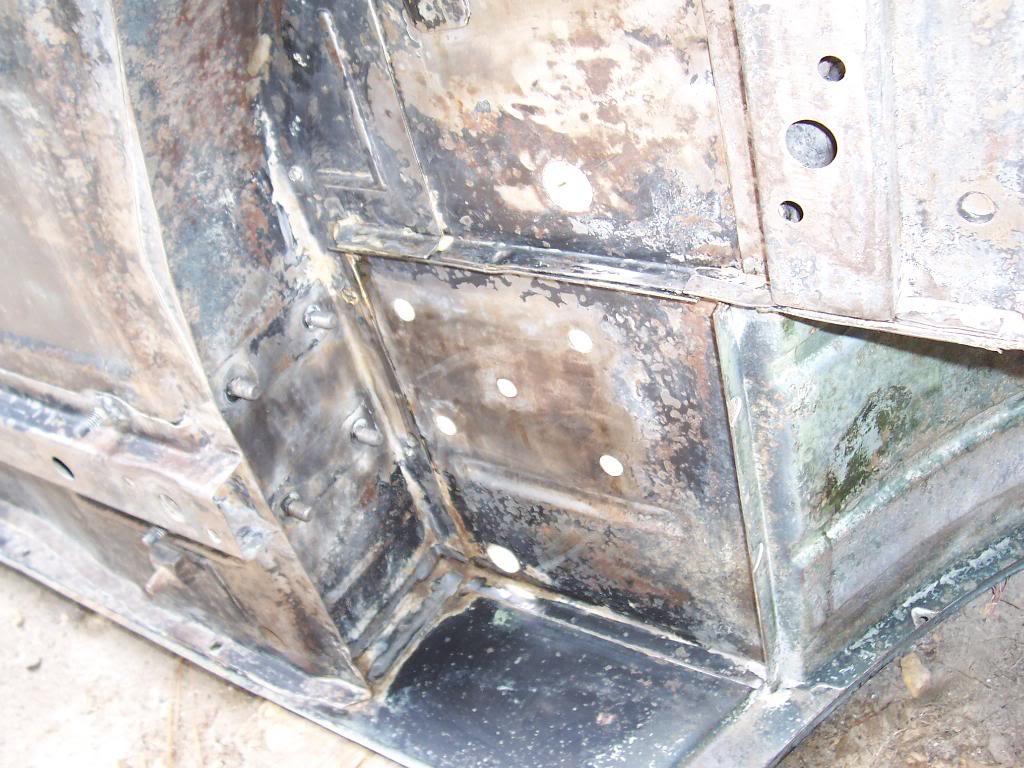
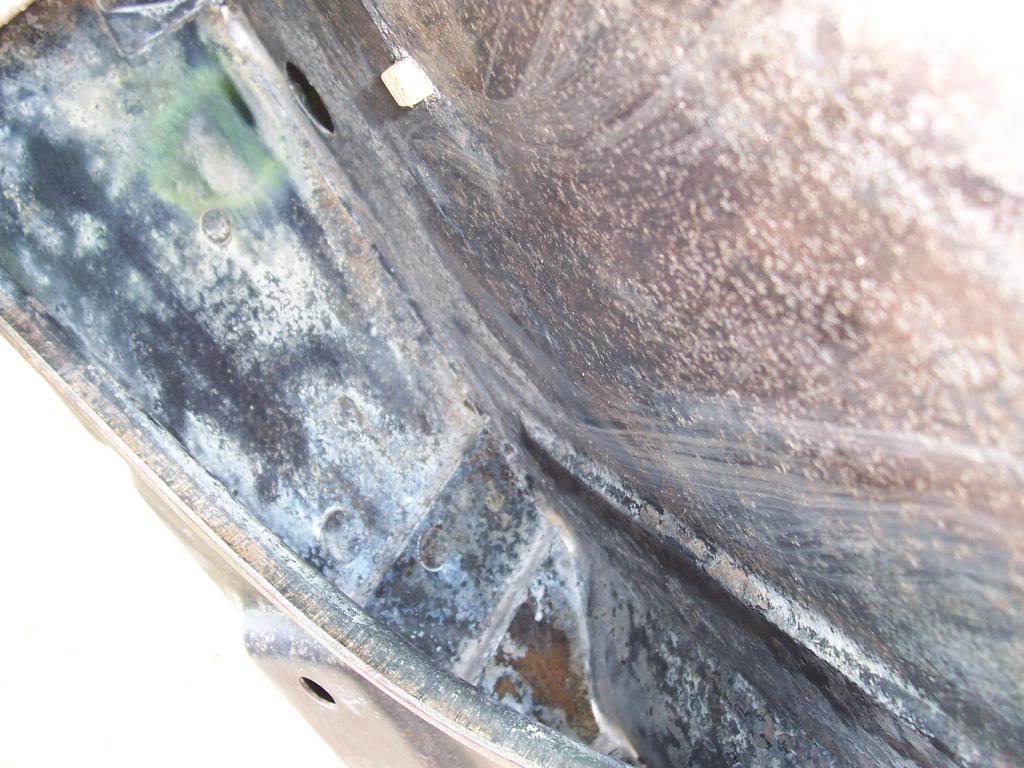
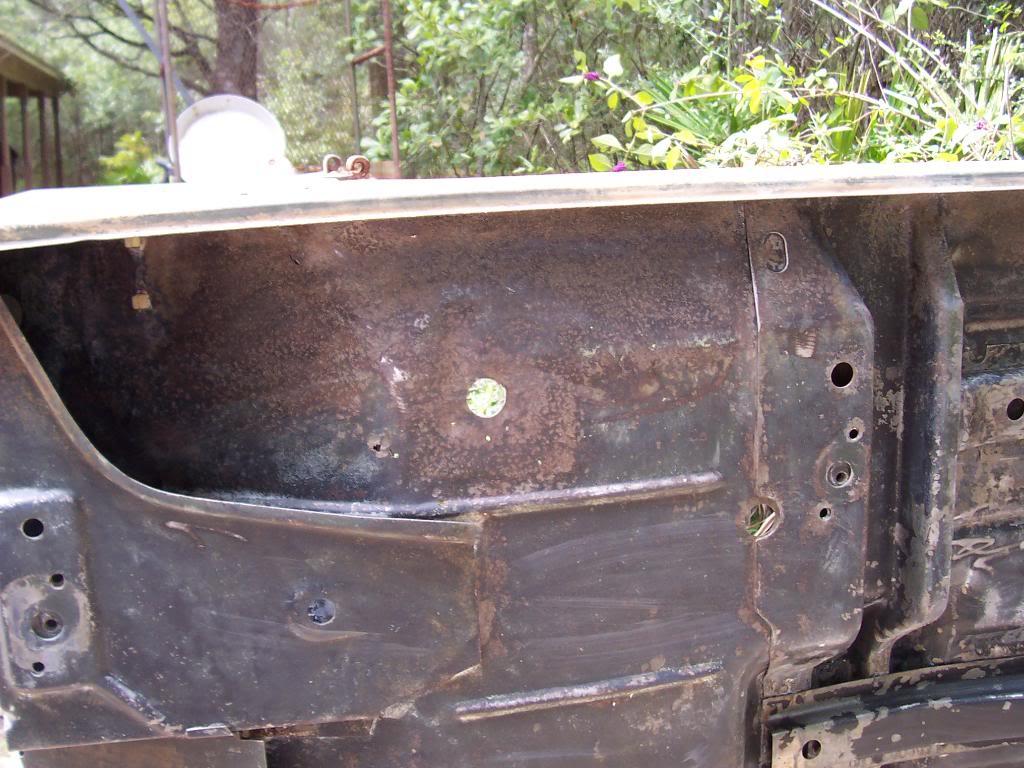
A few pictures of what the underside looks like with the acid on it, not too much to look at.
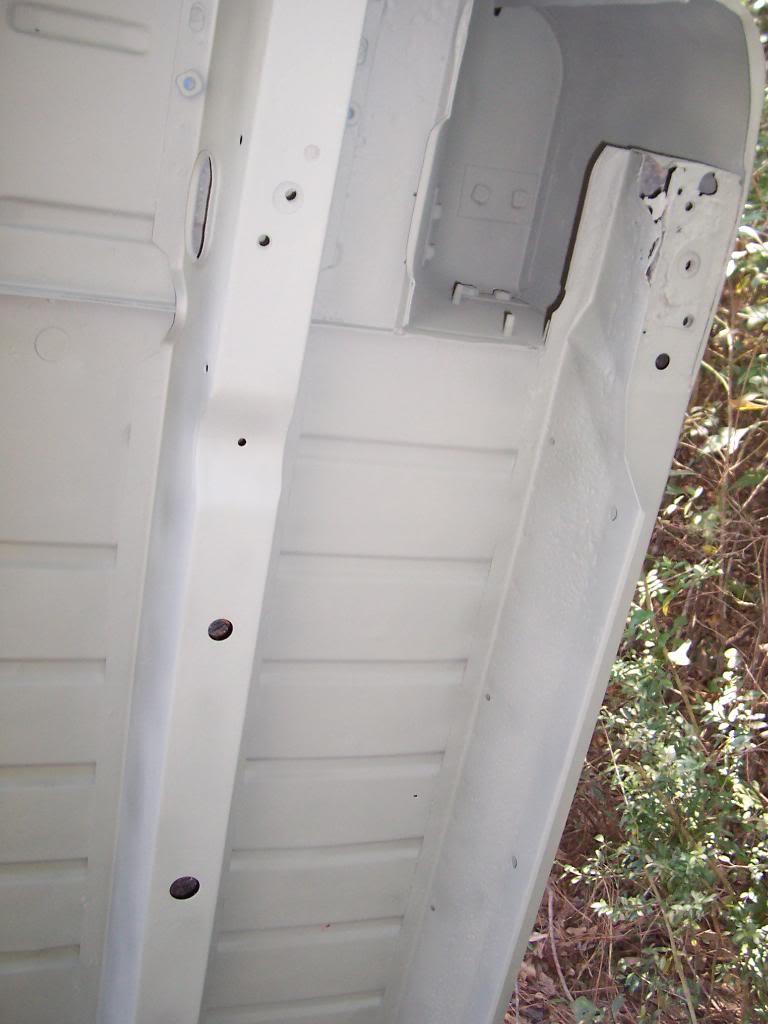
00221-1.jpg


00322-1.jpg


00419-1.jpg


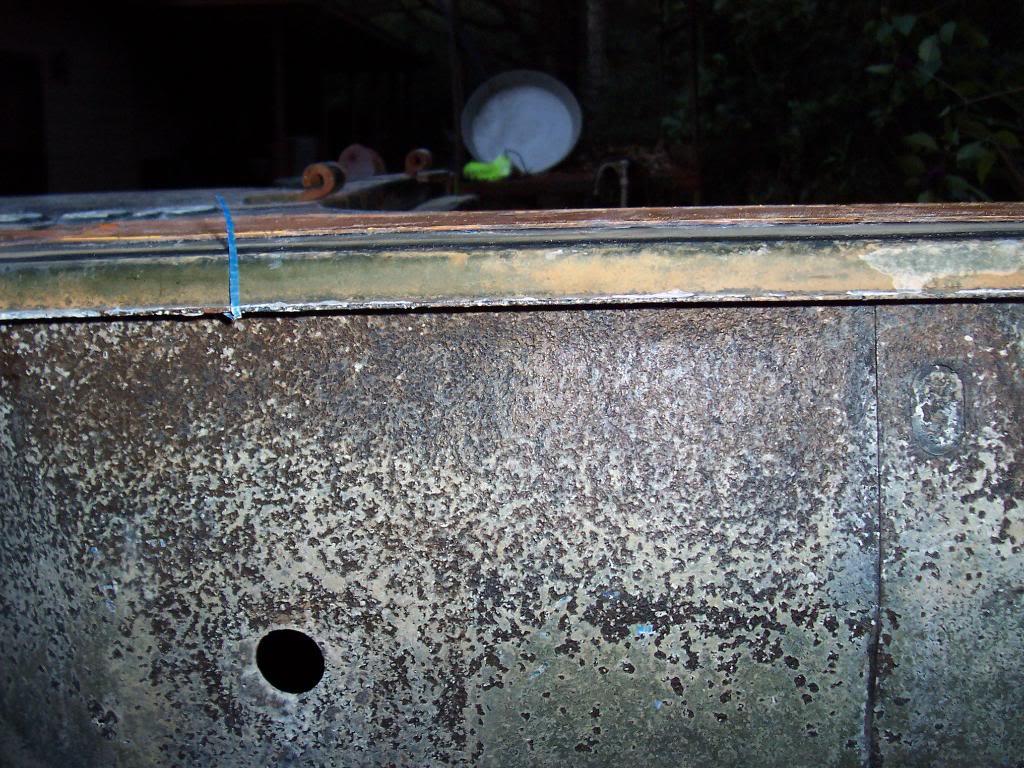
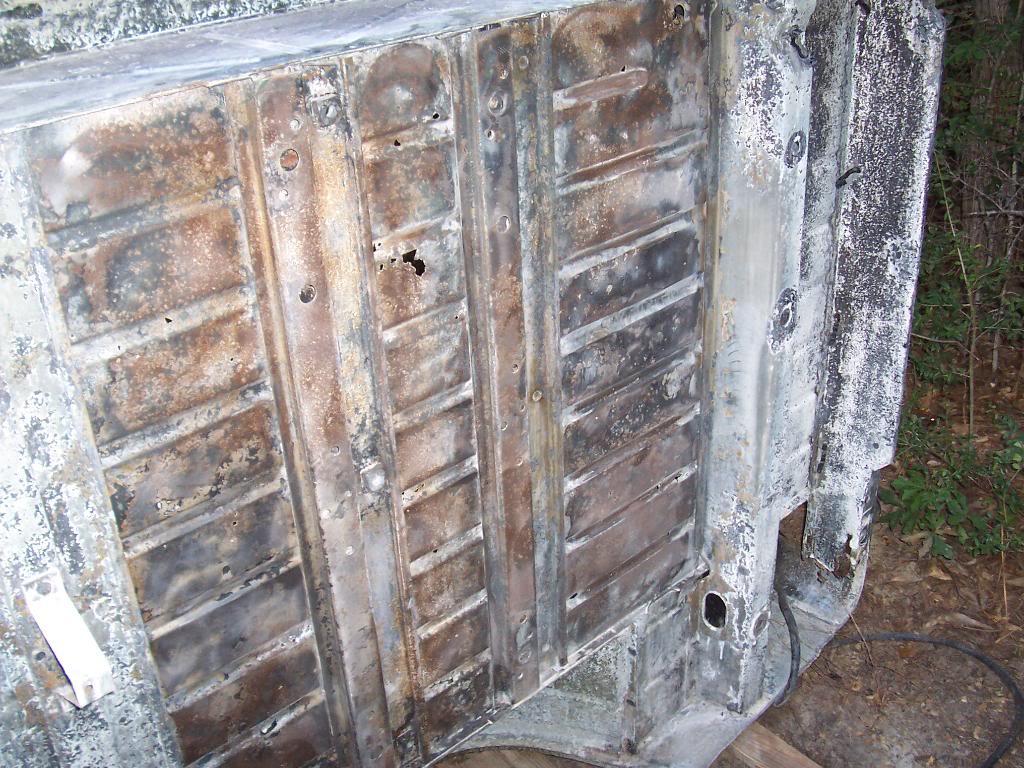
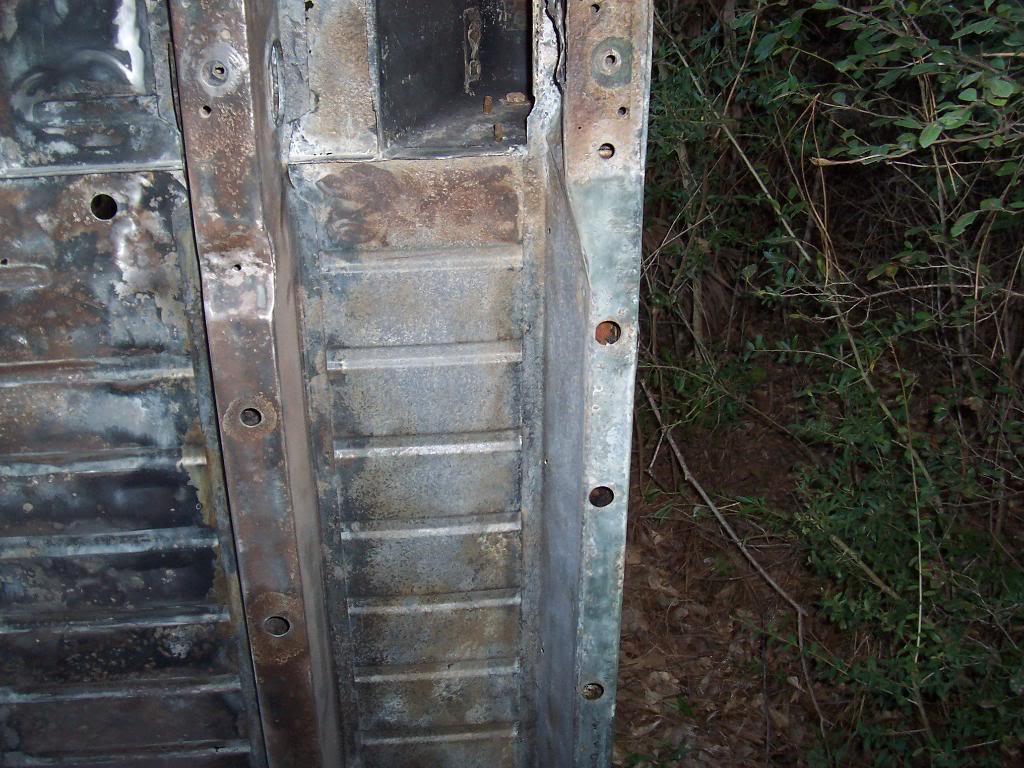
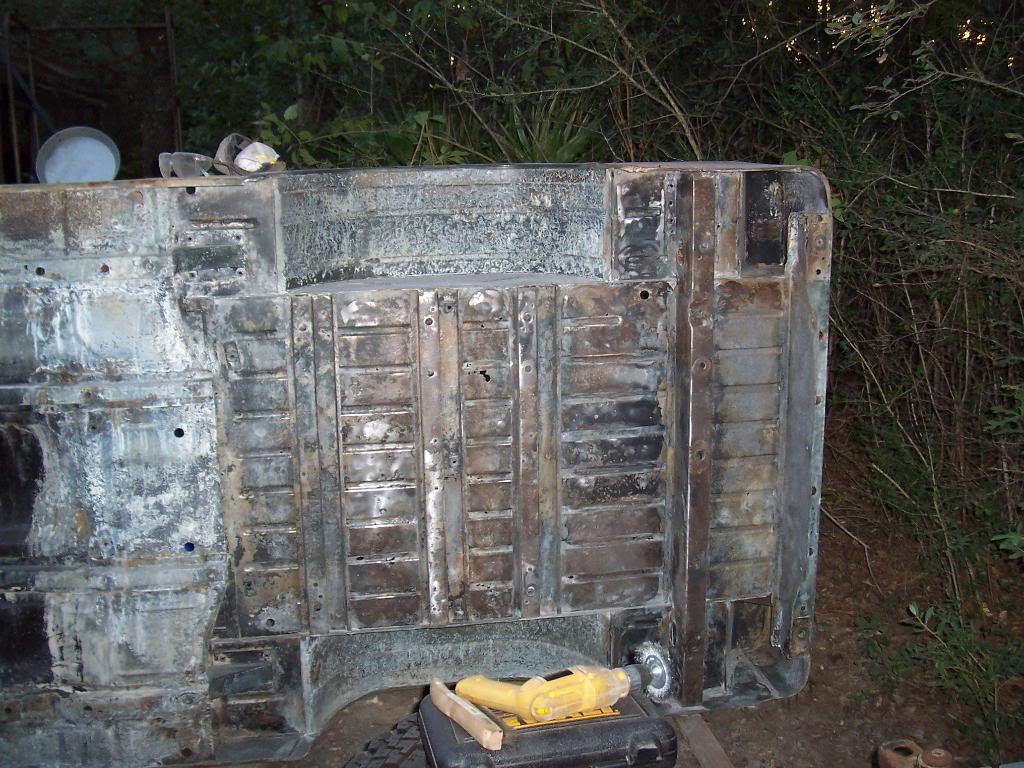
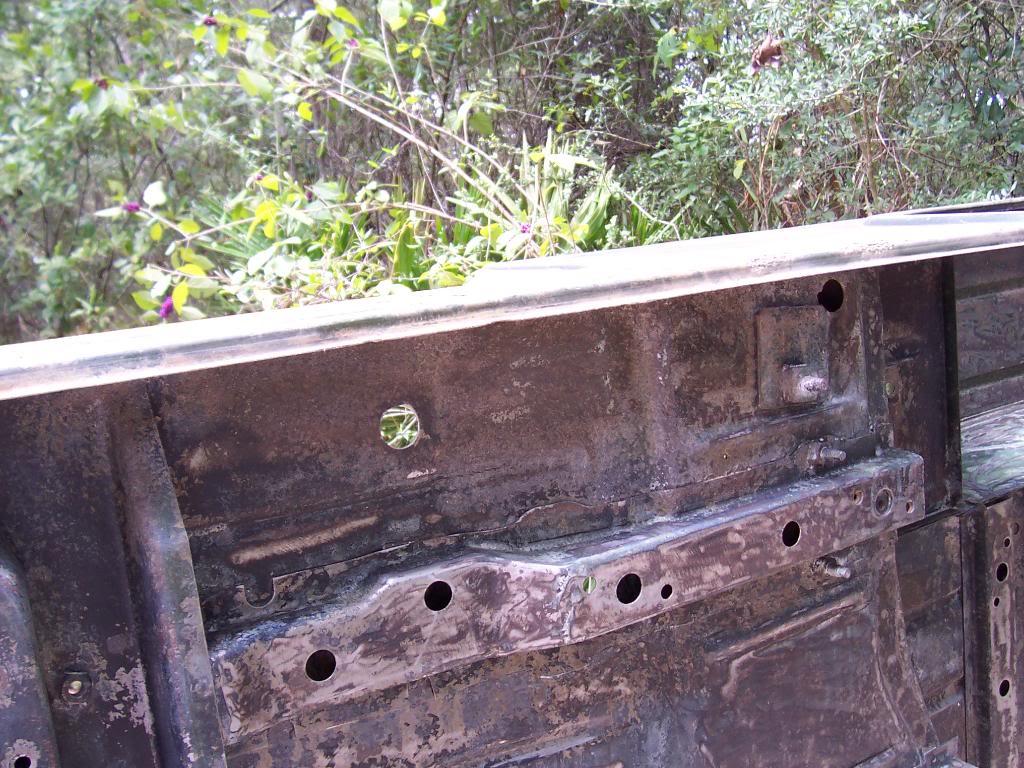
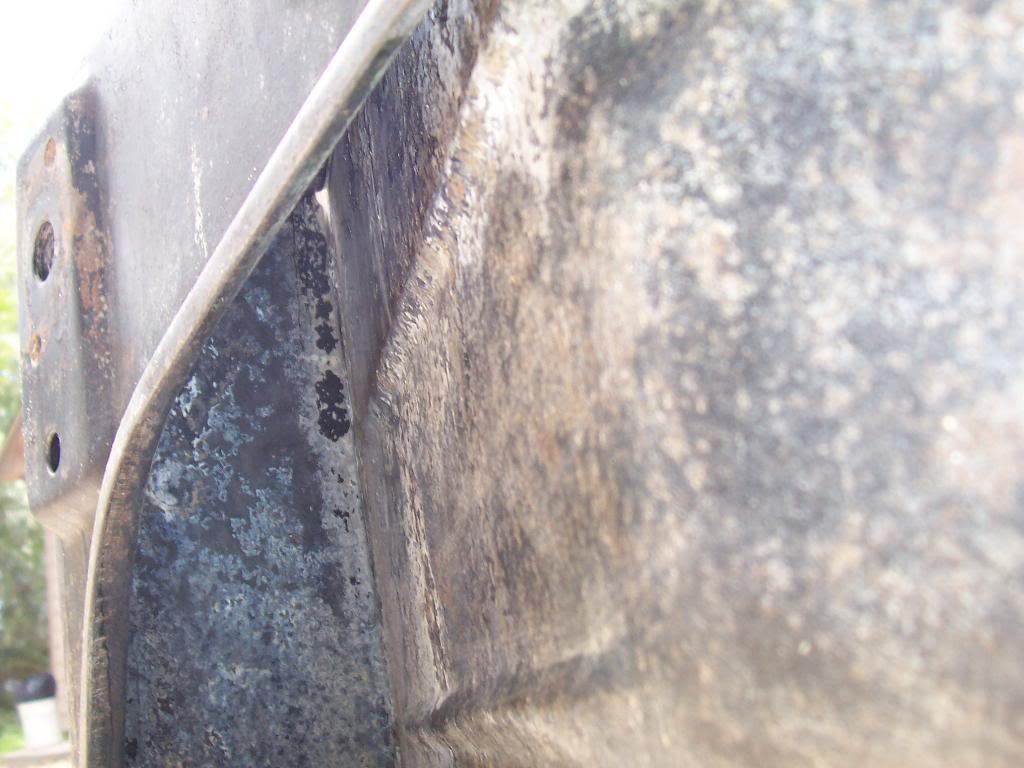
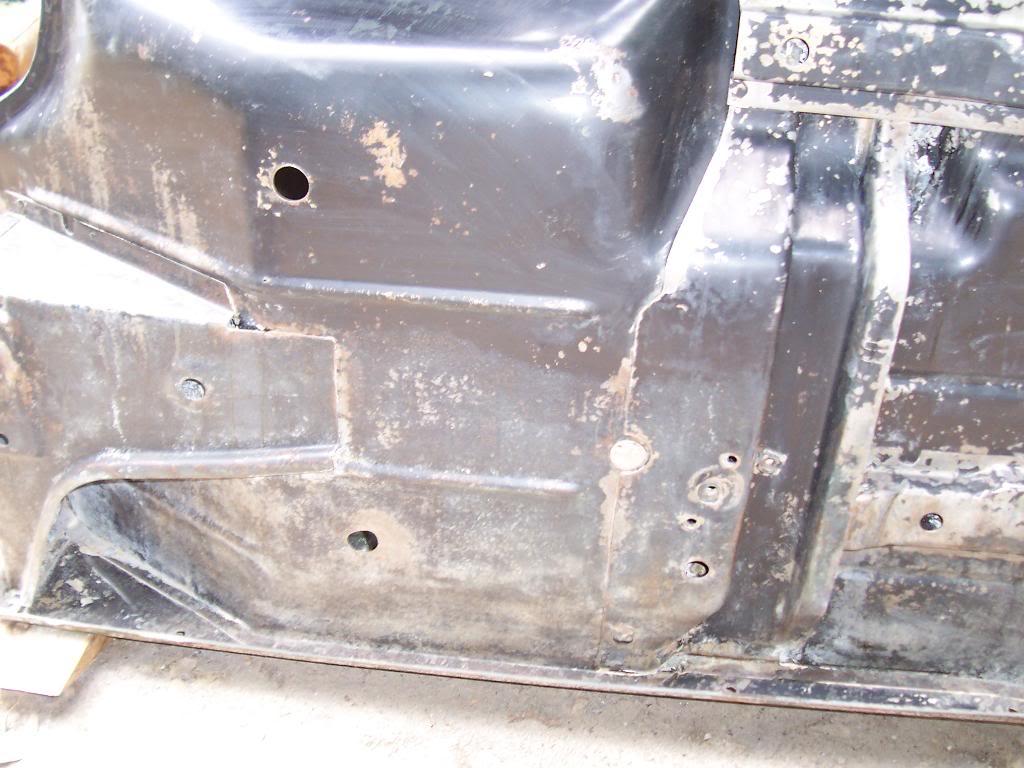
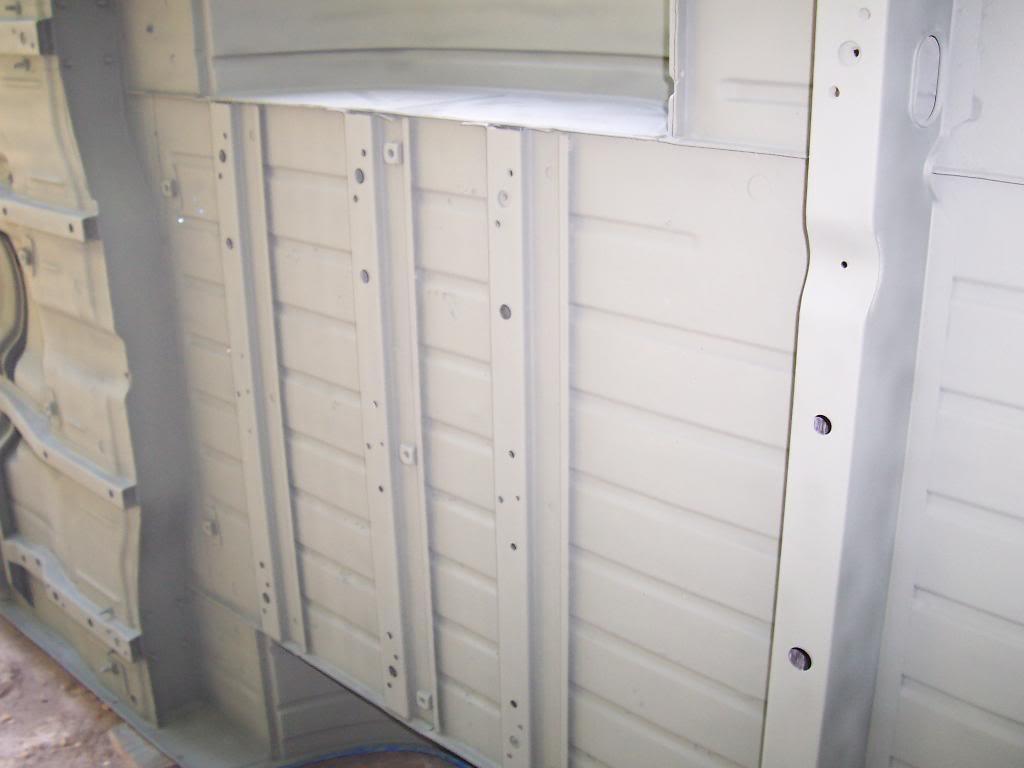
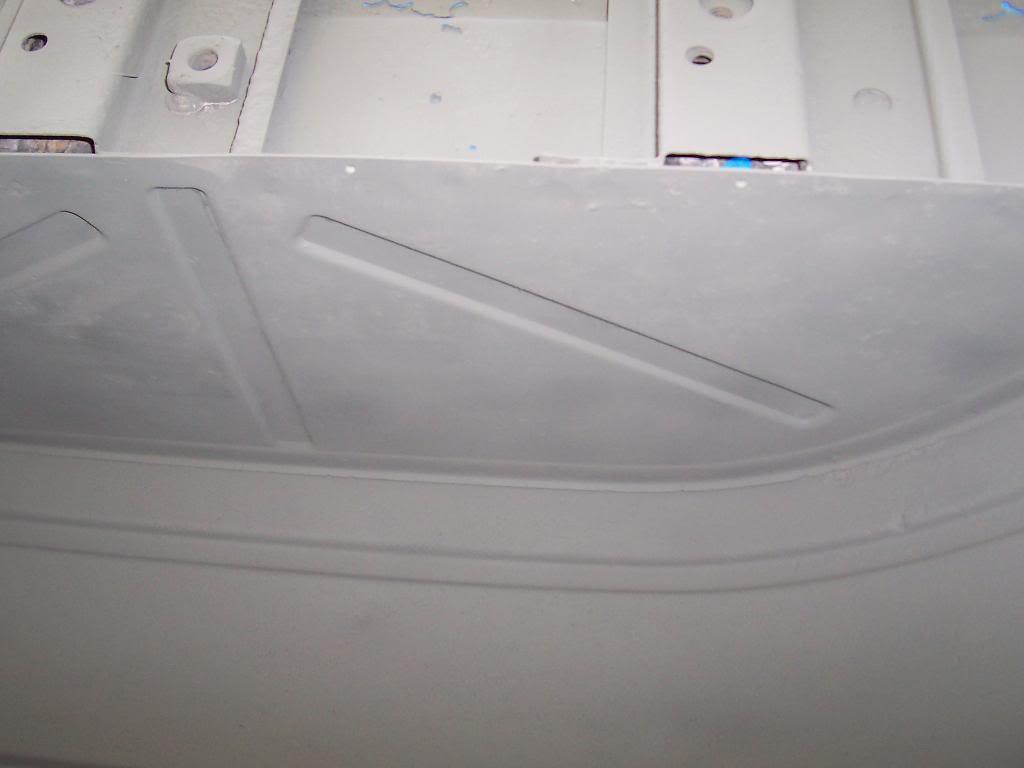
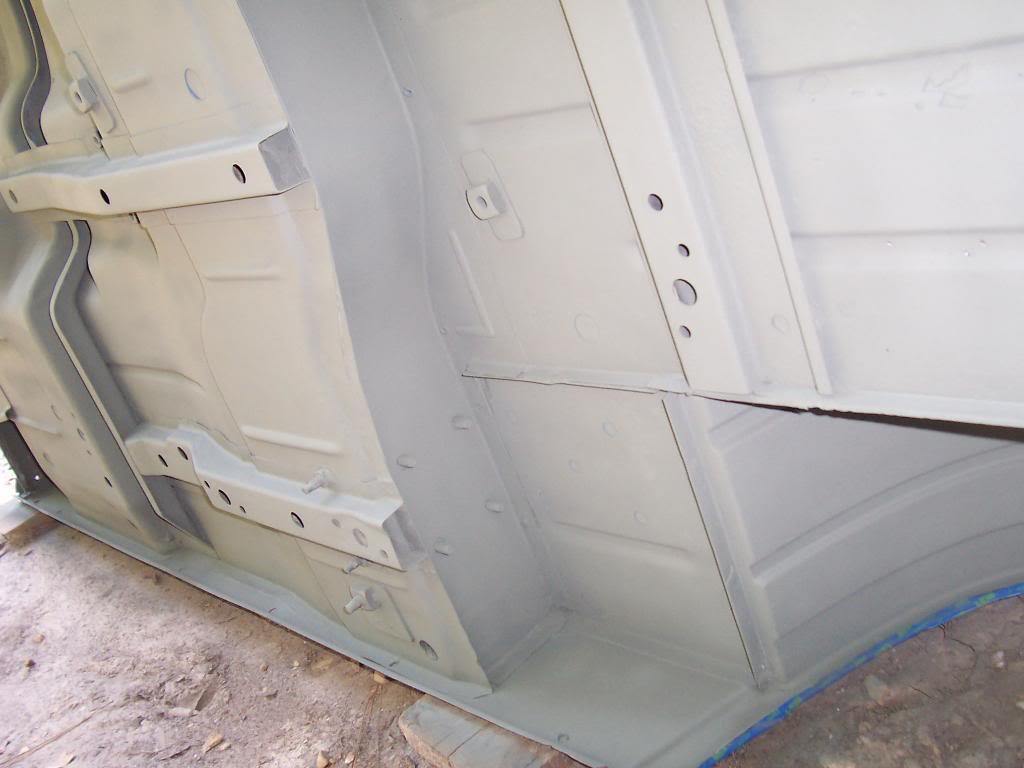
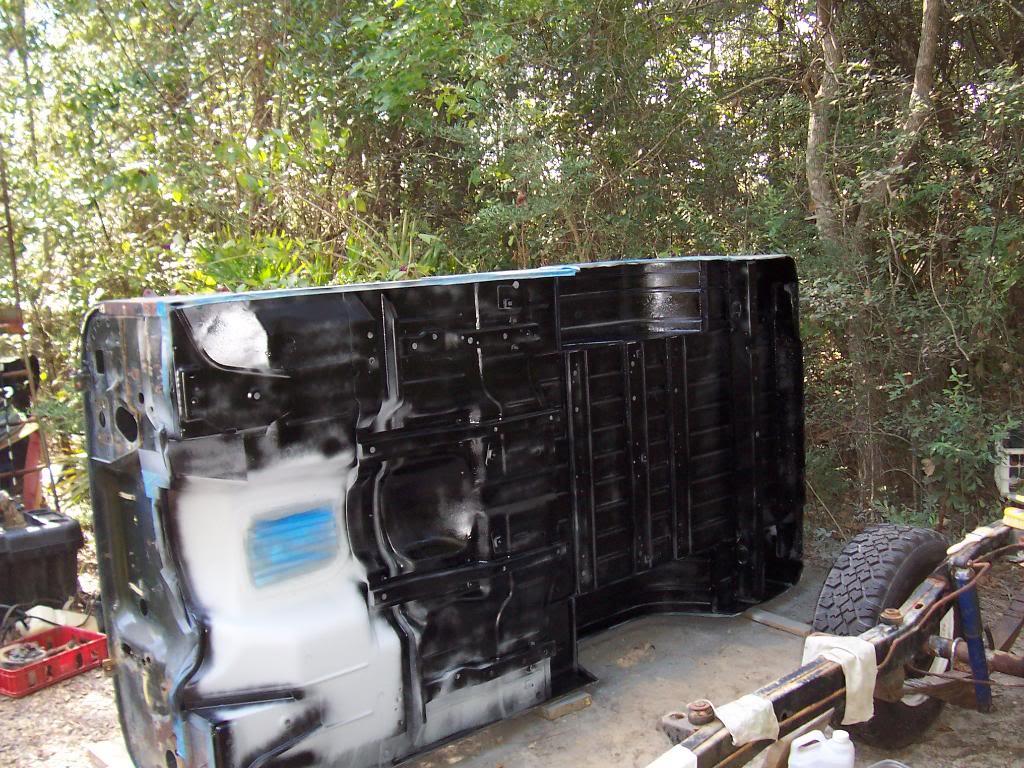
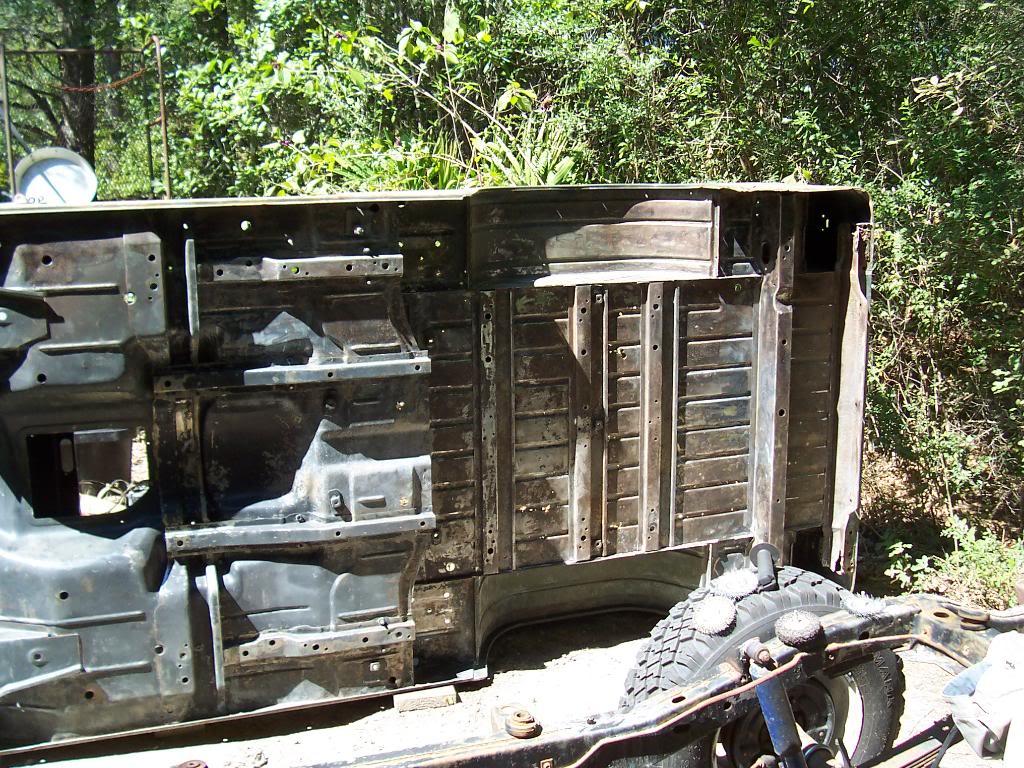
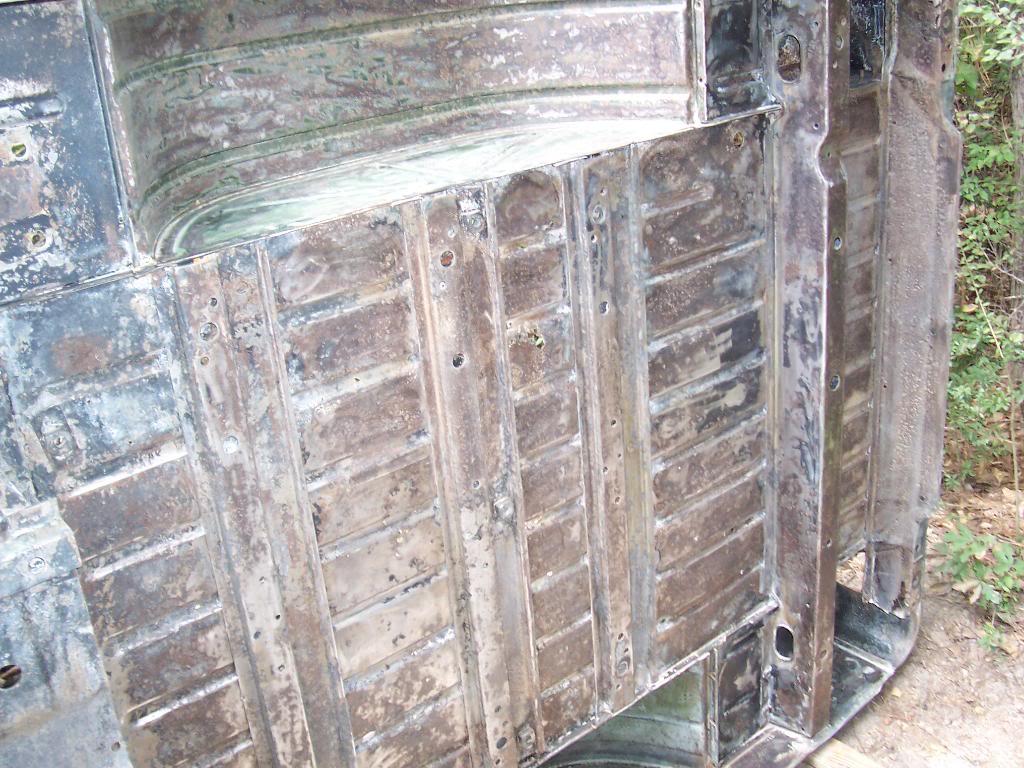
I then thoroughly rinsed the acid off with Purple Power and a bunch of water. After drying overnight, it now looks like this.

00616-1.jpg


00715-1.jpg


00815-1.jpg


00913-1.jpg


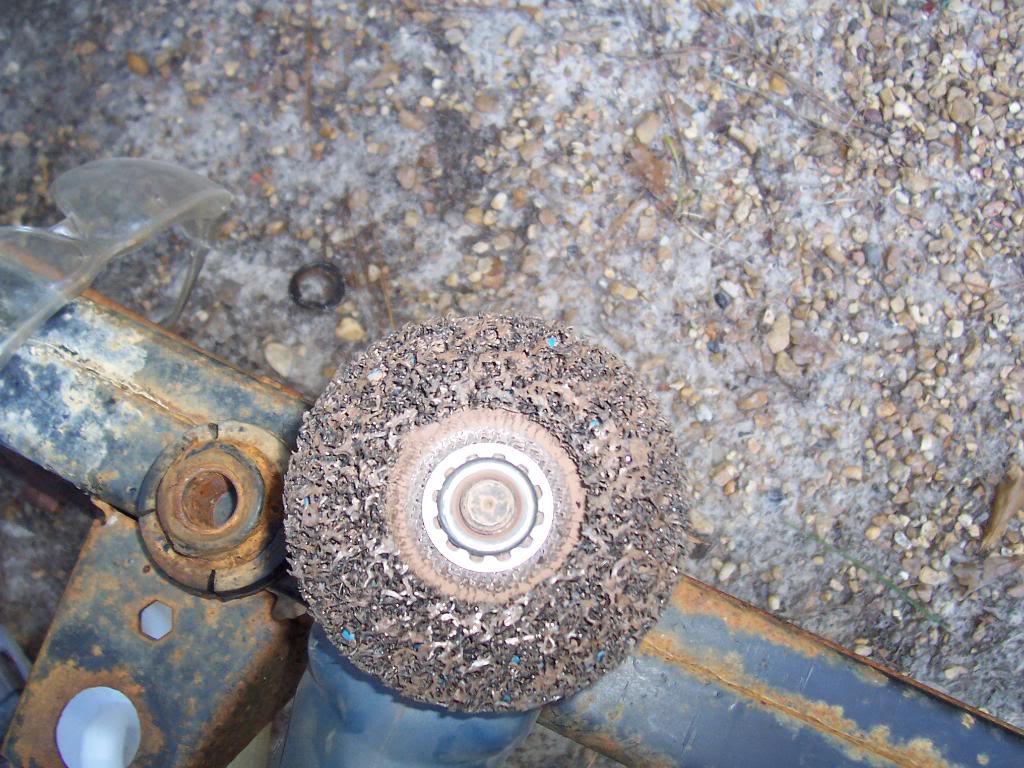
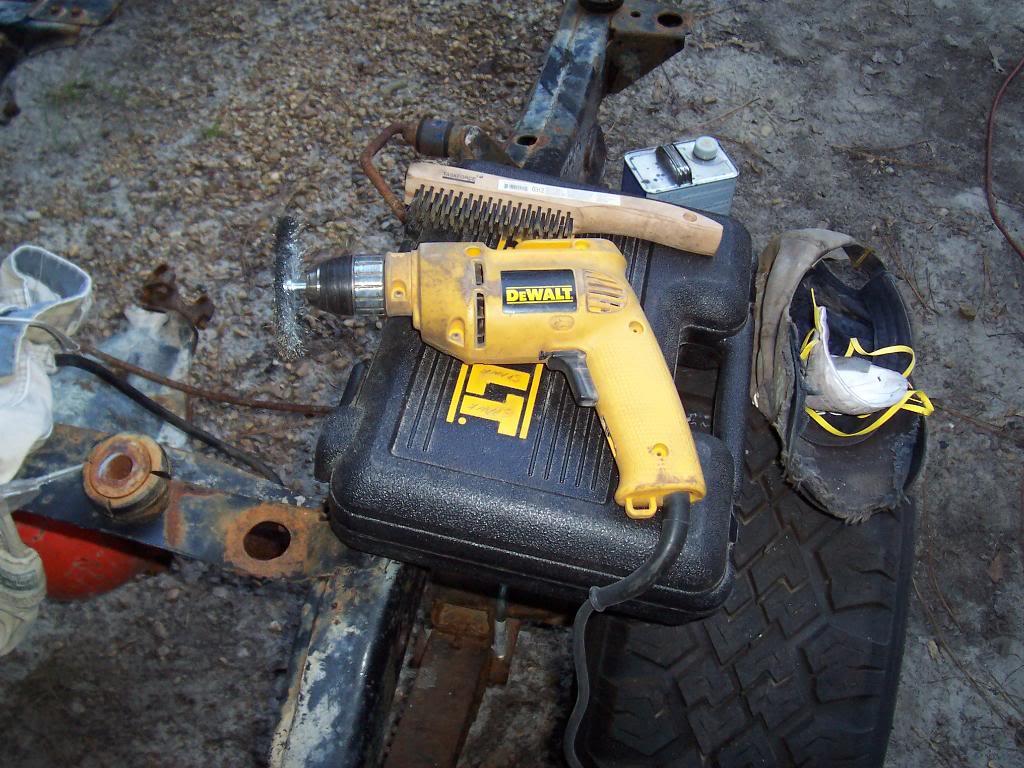
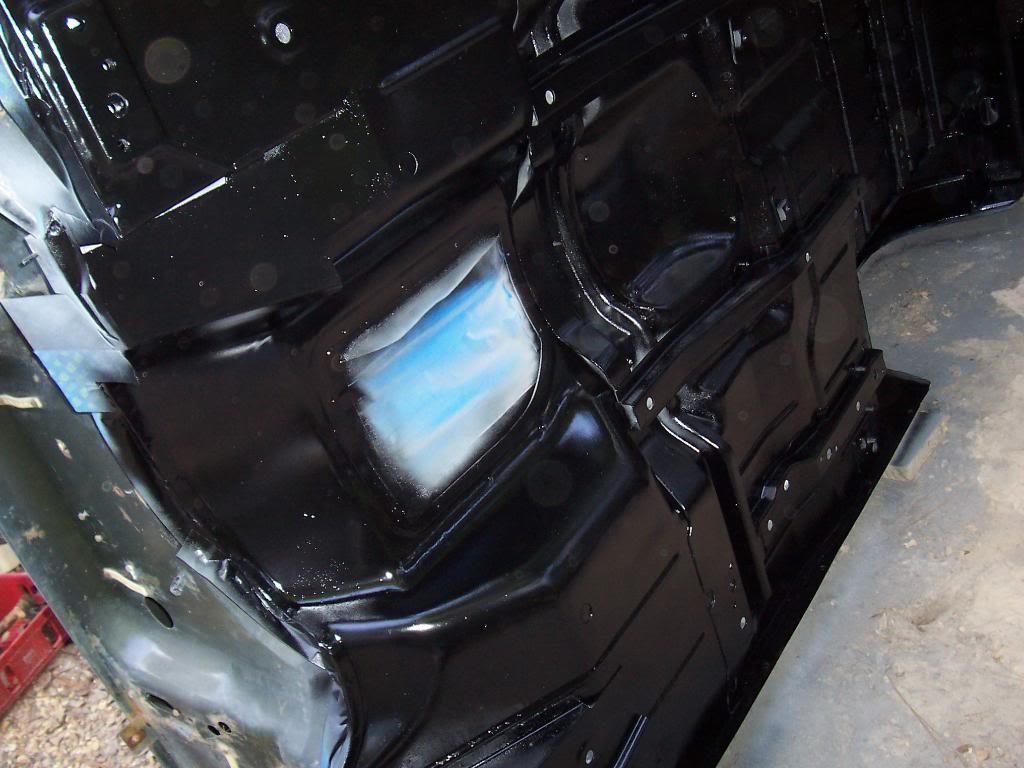
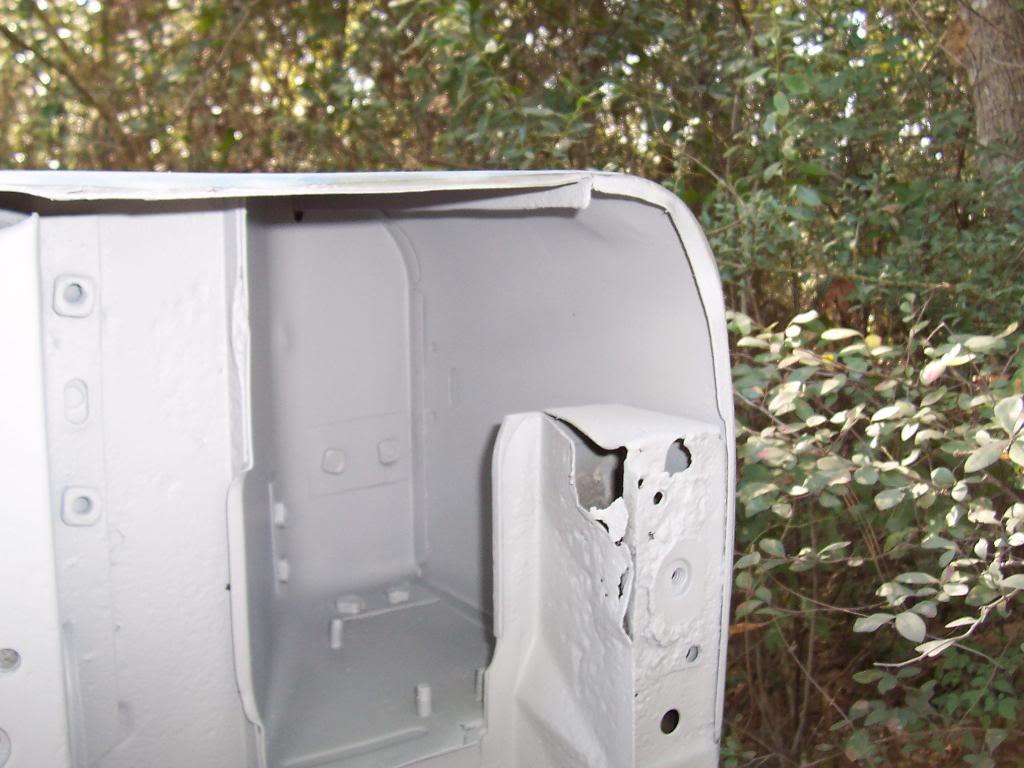
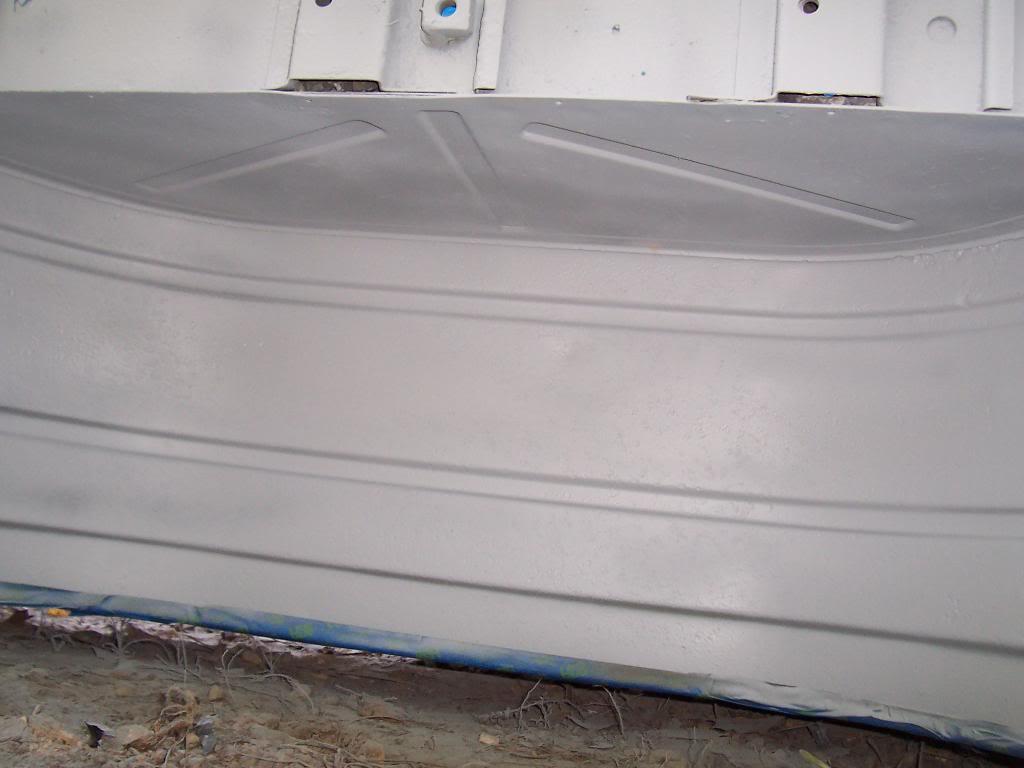
The acid did not remove all of the rust, but it did remove a large portion of it. The white coating is left over from the acid. I still plan on wire wheeling the remaining rust off, and I am going to knock off all the white coating, too. Basically, I plan on painting the bottom of the tub the same way I painted the bed floor:

1) acid wash
2) mechanical rust removal/surface prep
3) wipe down with acetone
4) prime with zinc rich primer
5) prime with regular primer
6) paint

Step #3, were I am at now, is the longest.

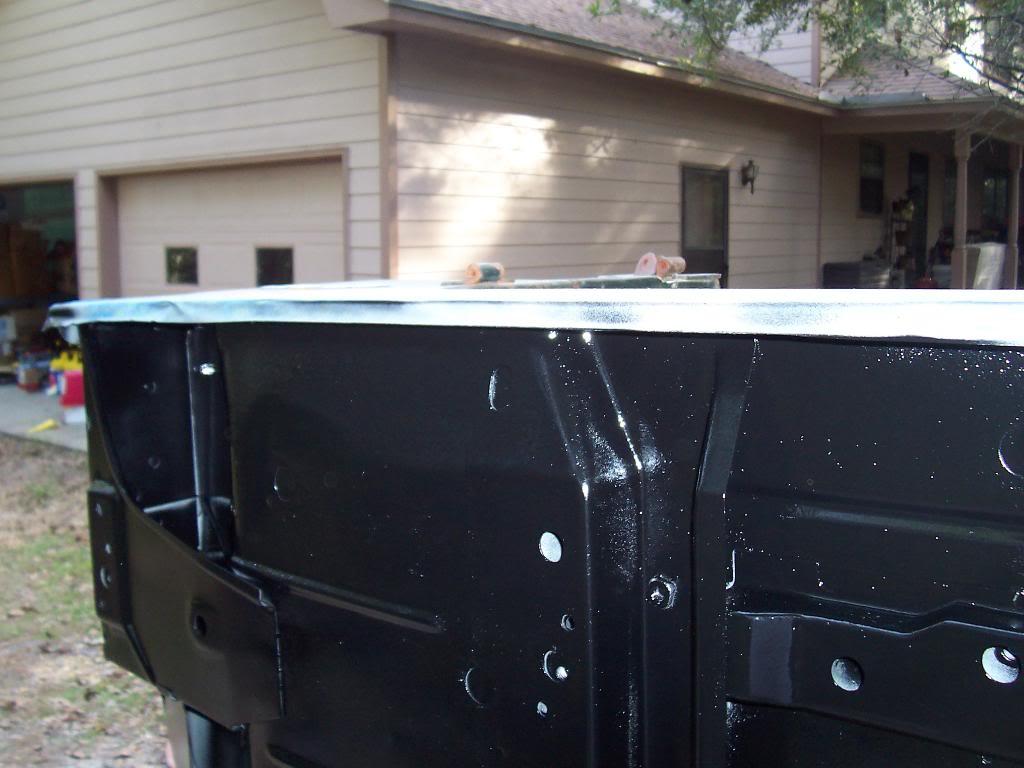
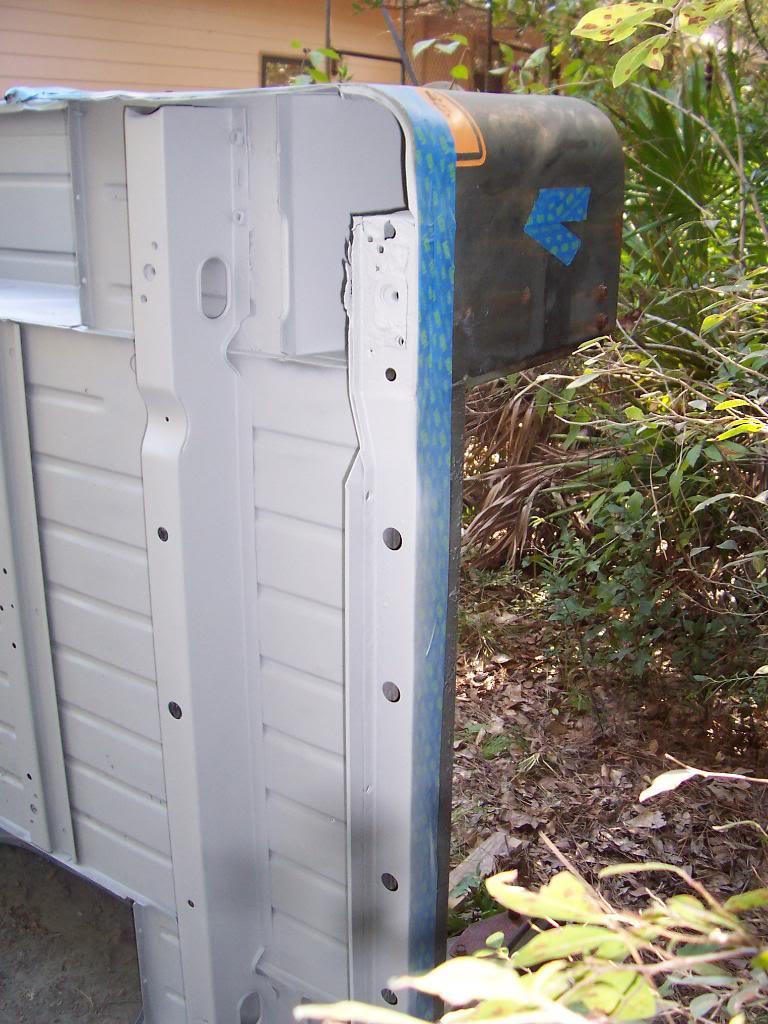
One last picture: Do not get the acid on finish painted surfaces, it will ruin the paint.

01013-1.jpg


This is no big deal, I figured that this would happen. Now I get a chance to better match the existing green paint.

That's it for now.
 
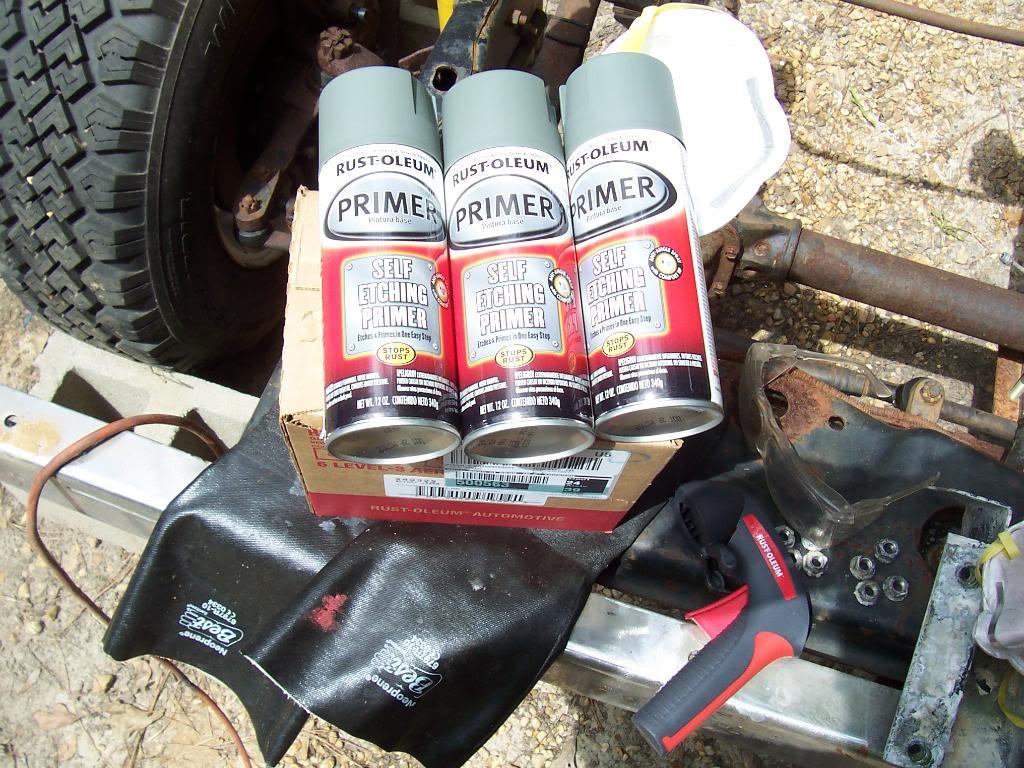
I worked all day Saturday, from 7AM to 6PM, on "Yard Scrambler". I was able to finish rust removal, clean up, masking, priming, and painting of the bottom of the body tub. I used up about $75 worth of various wire wheels/rust remover grinder/drill attachments, 9 cans of self etching primer, 7 cans of regular primer, and 9 cans of paint.

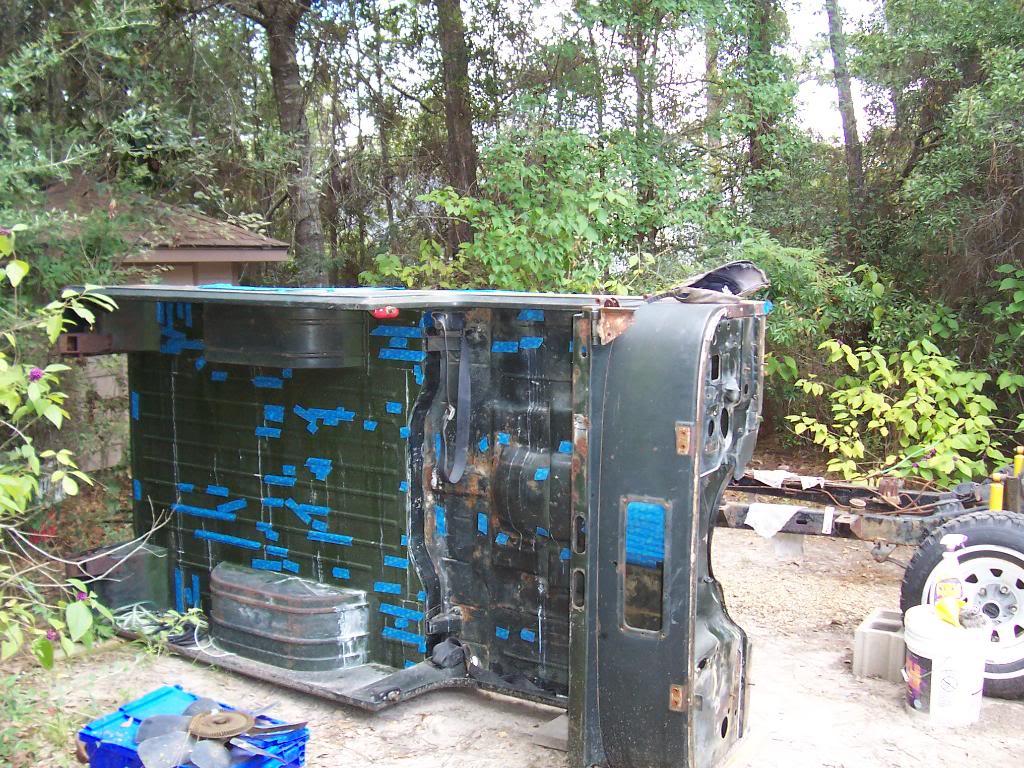
I will let the pictures do the talking. The pictures start Friday afternoon, I worked on the rust removal for about 4 hours.


00420-1.jpg


00716-1.jpg


00121-1.jpg


00222-1.jpg


00323-1.jpg


00518-1.jpg


00617-1.jpg


00816-1.jpg


00914-1.jpg


01014-1.jpg
 
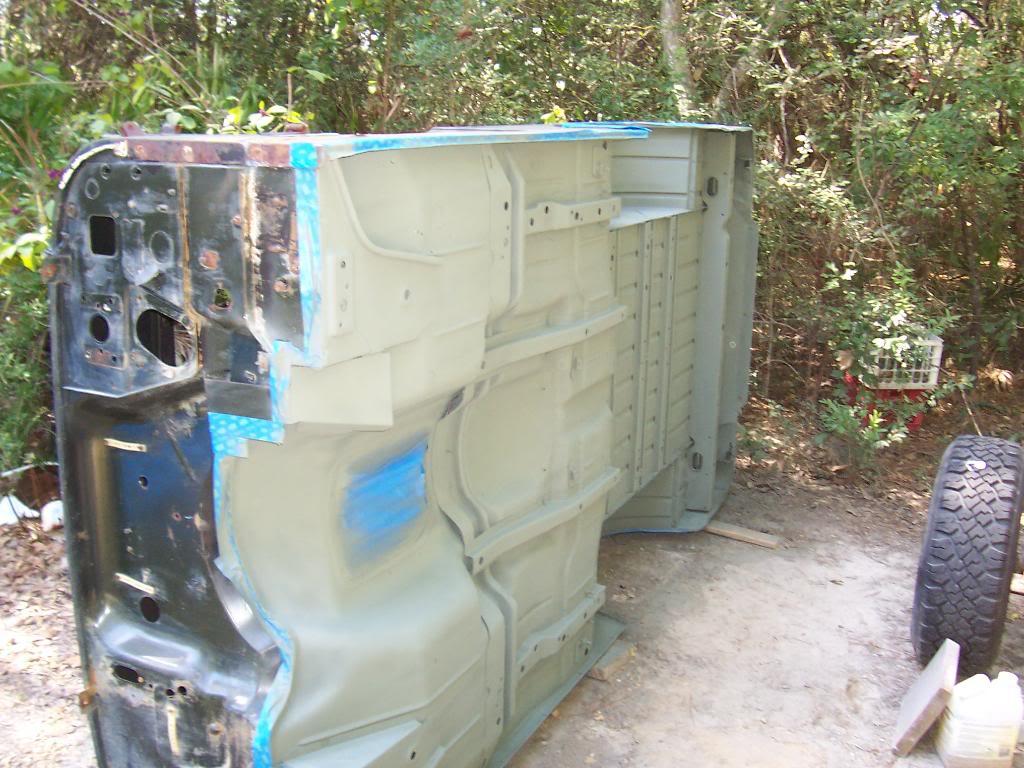
And the last pictures of rust removal. I was surprised to find a good portion of the original primer still intact underneath all the surface rust.

0311-1.jpg


0321-1.jpg


033-1.jpg


034-1.jpg


035-1.jpg


036-1.jpg


037-1.jpg


038-1.jpg


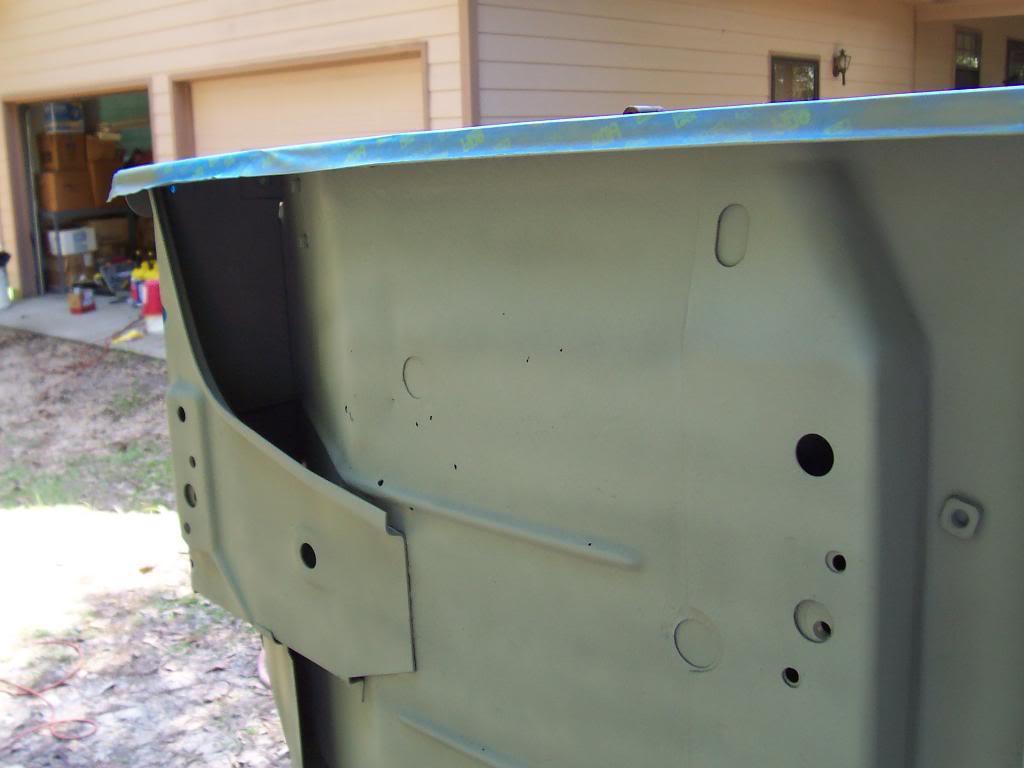
And a quick picture of the paint I used for the initial primer coat. I used 9 cans of this primer.

039-1.jpg
 
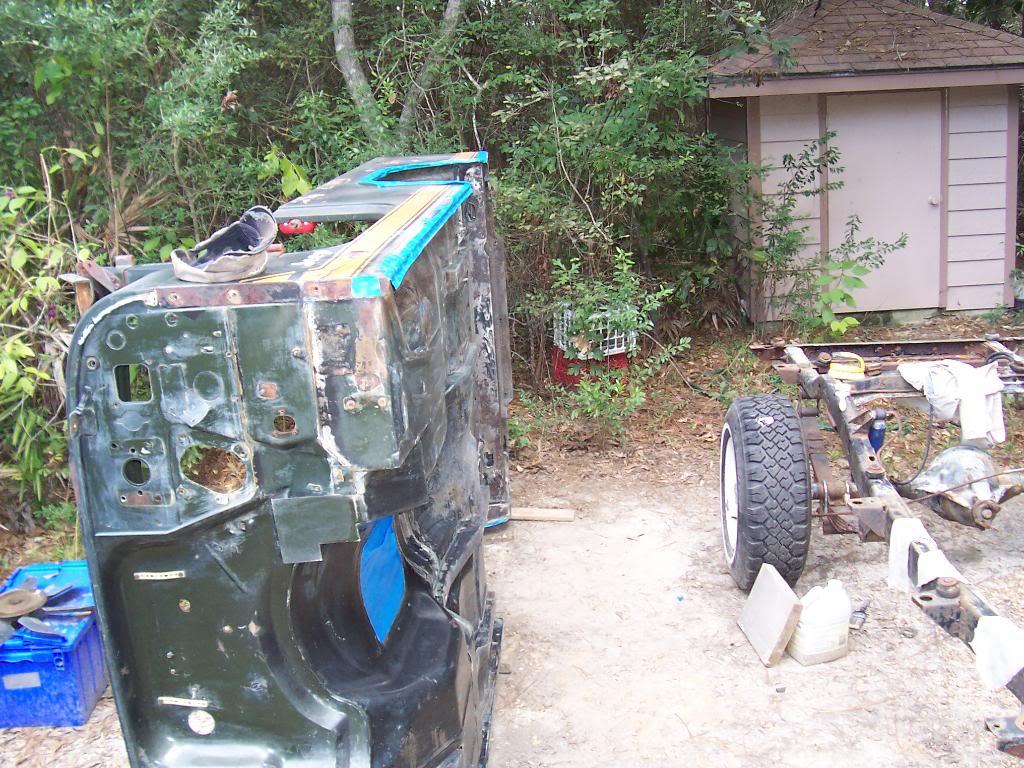
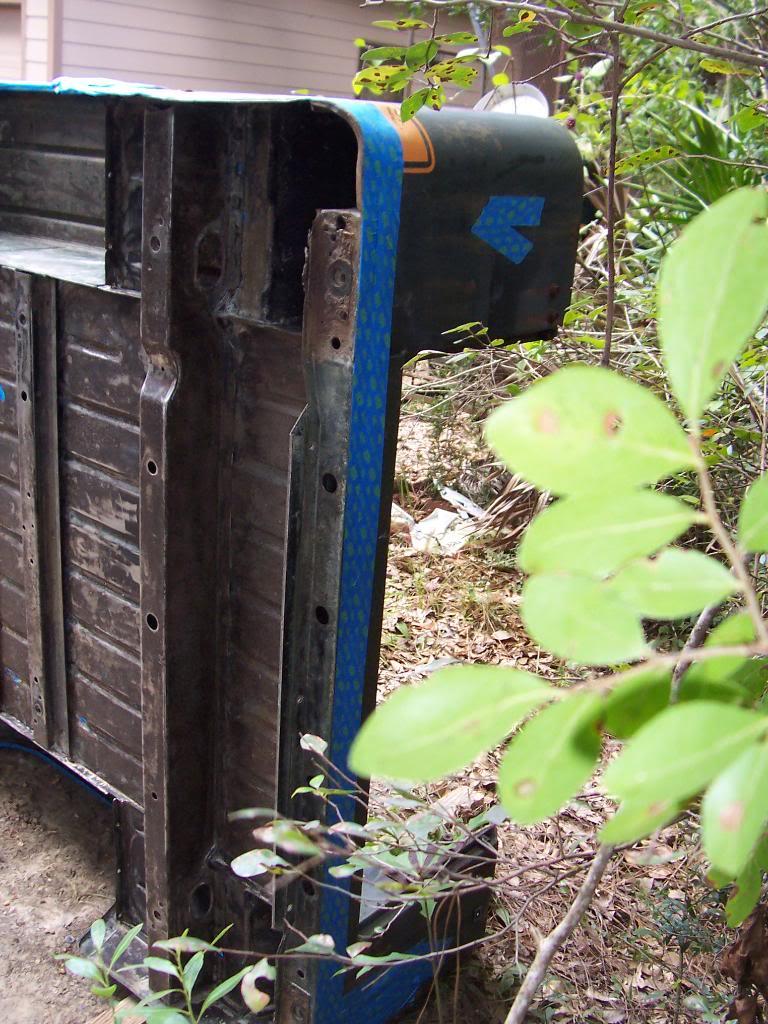
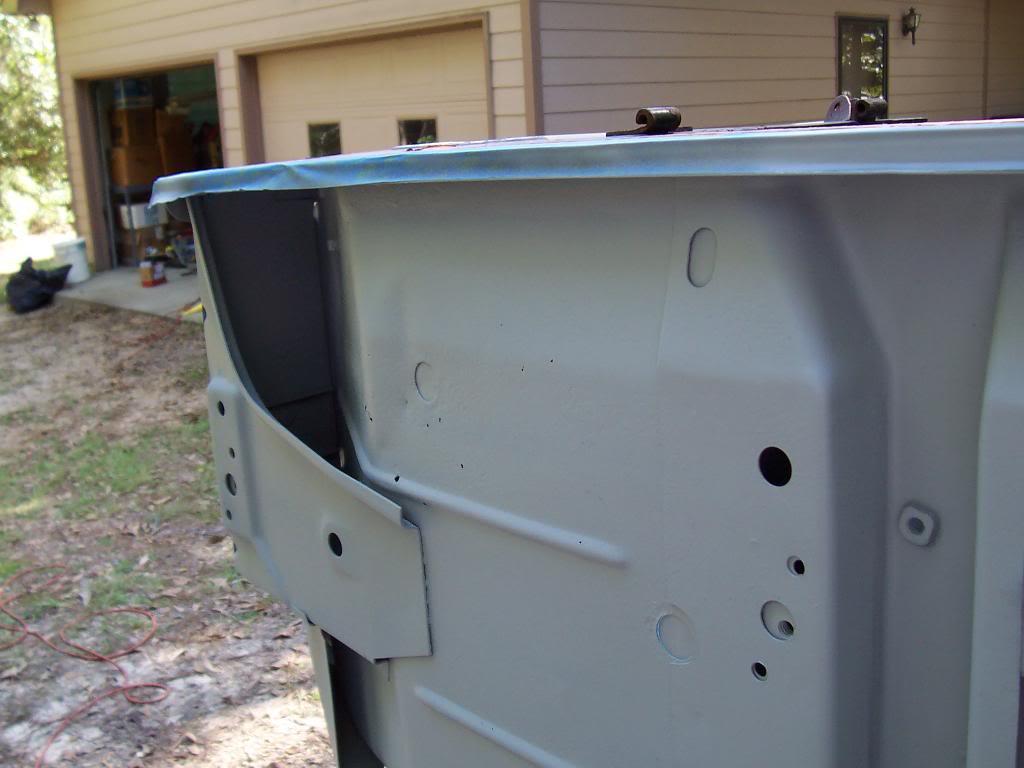
The next group of pictures start with showing how I masked all of the "speed holes" to prevent paint leaking through, and continue on to the initial primer coat. I thoroughly washed the body down with Acetone to remove any debris/flash rust before priming, about 1/2 gallon.

040-1.jpg


041-1.jpg


042-1.jpg


043-1.jpg


044-1.jpg


045-1.jpg


0461-1.jpg


0471-1.jpg


0481-1.jpg


0491-1.jpg
 
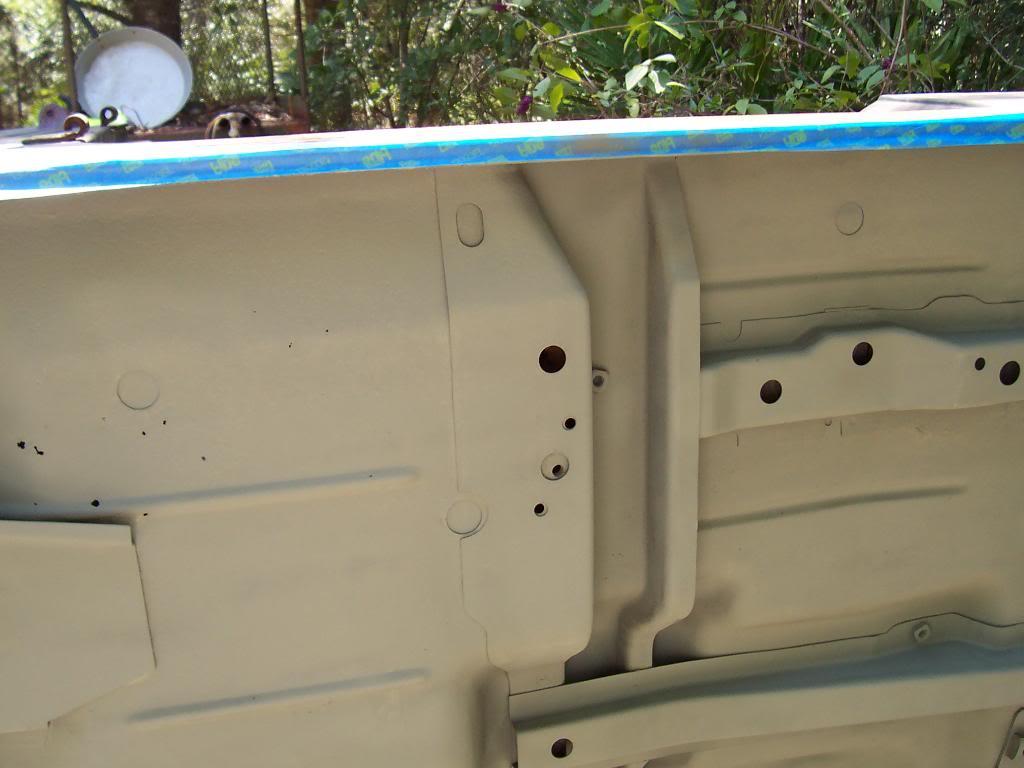
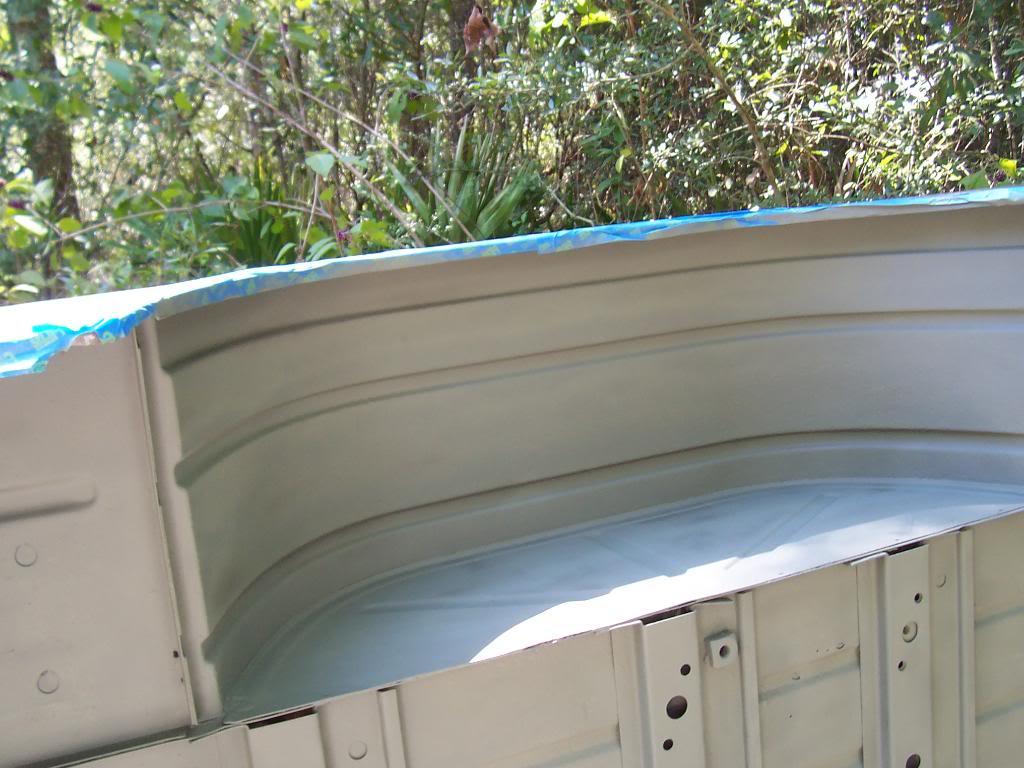
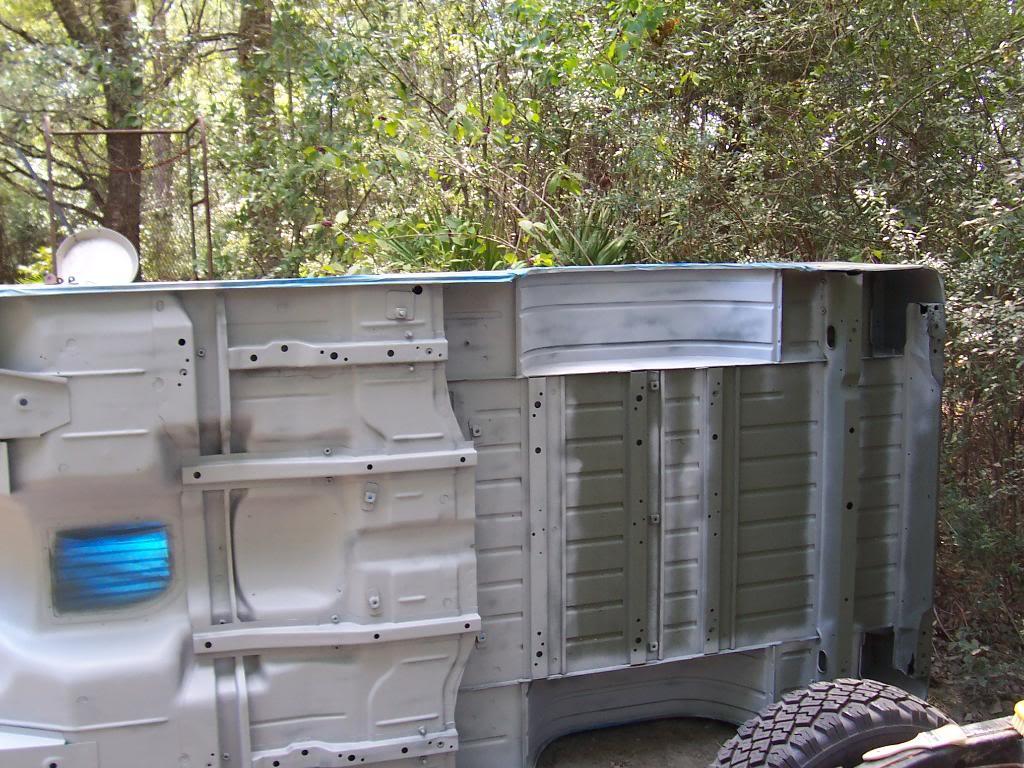
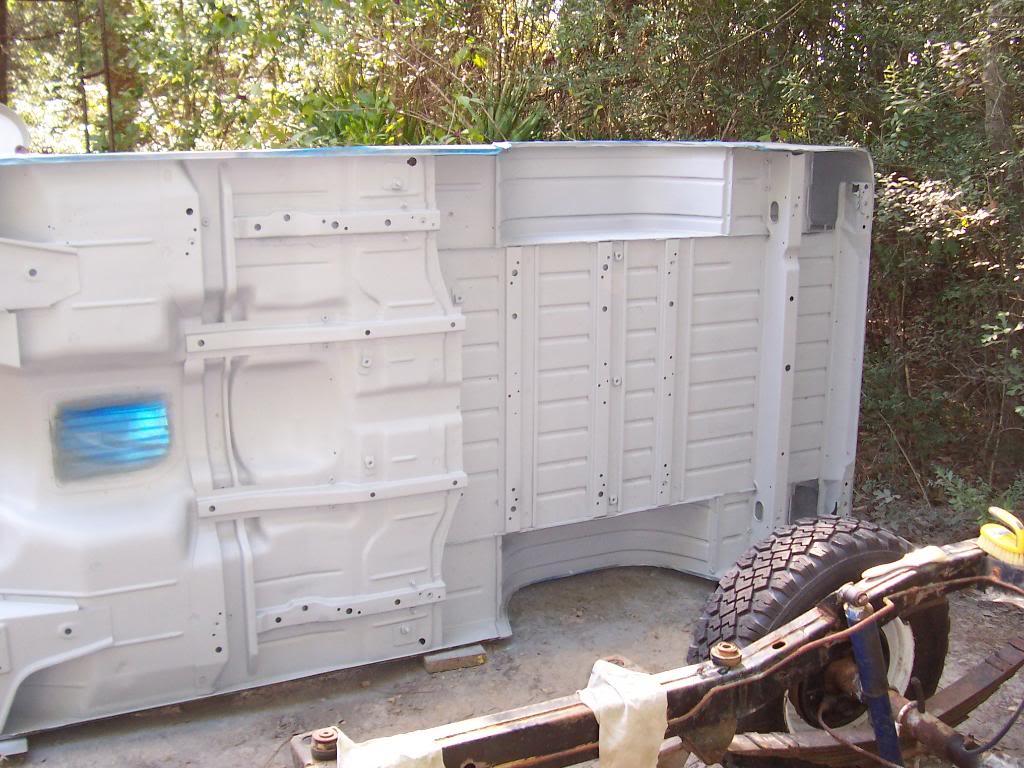
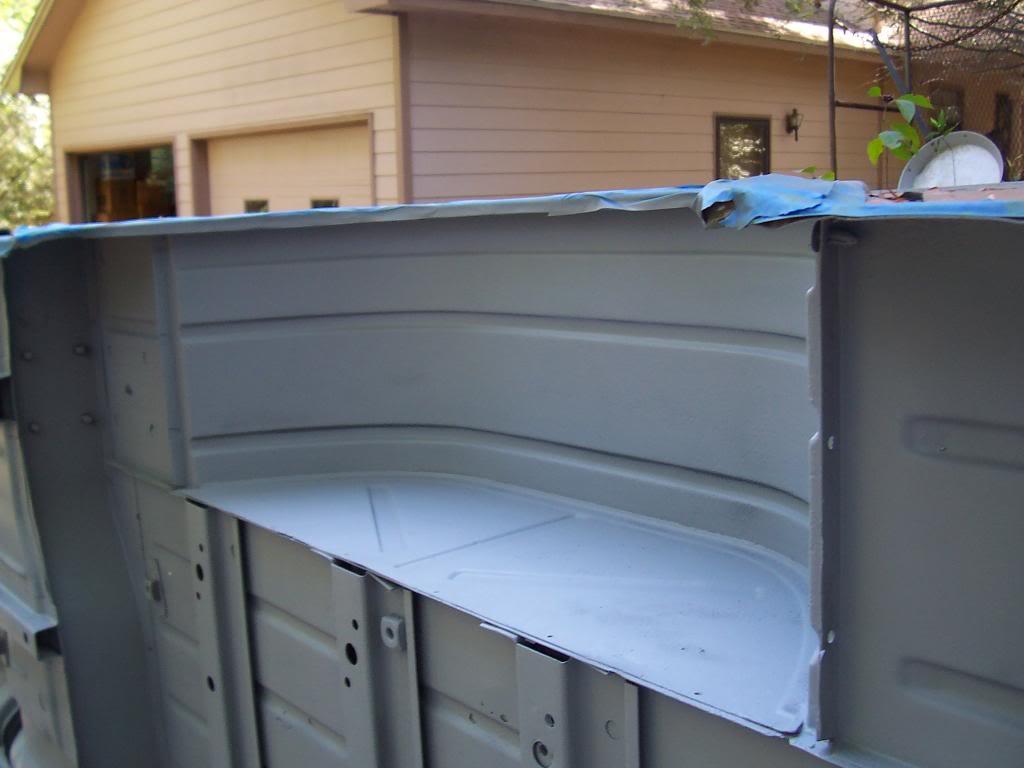
Next group of picture just show some close ups of the first primer coat and continue on to the second primer coat. I used a second primer coat to help even out the first primer coat, although the initial primer coat laid down nice and smooth, no splotching like what happened when i used this primer on the top of the bed floor. Since I already bought the grey primer, i might as well use it. I used 7 cans of grey primer for this coat.

0501-1.jpg


0511-1.jpg


0521-1.jpg


0531-1.jpg


0541-1.jpg


0551-1.jpg


056-1.jpg


057-1.jpg


058-1.jpg


059-1.jpg
 
The next group of pictures show close ups of the second primer coat.

060-1.jpg


061-1.jpg


062-1.jpg


063-1.jpg


064-1.jpg


065-1.jpg


066-1.jpg


067-1.jpg


068-1.jpg
 
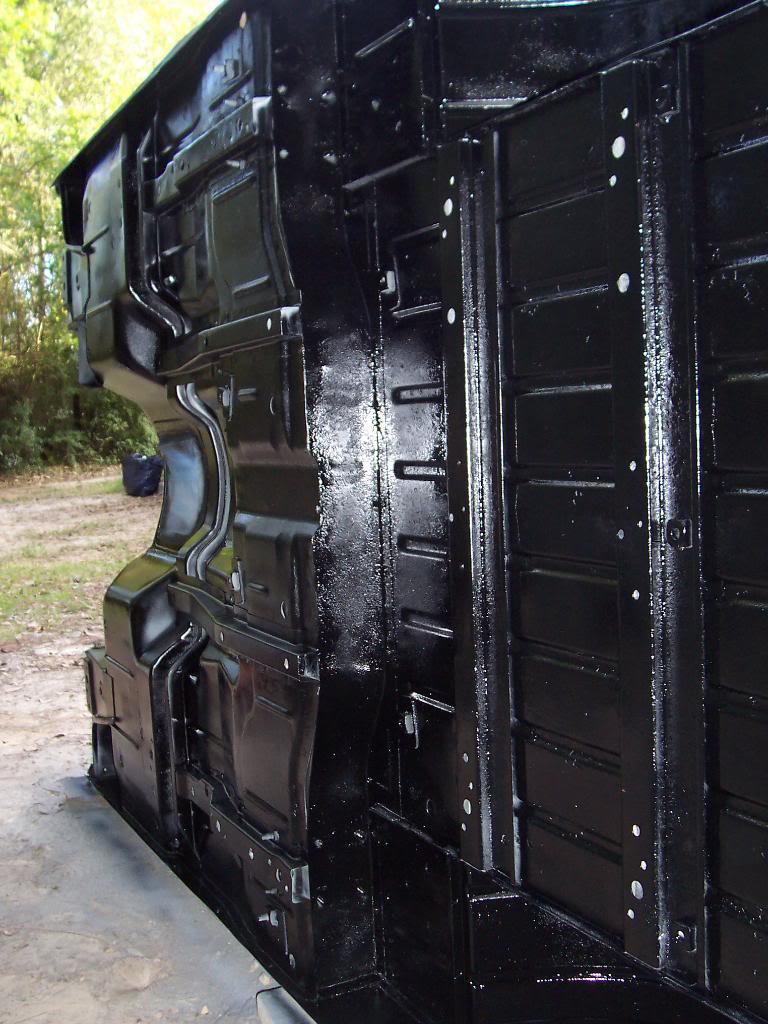
And the final top coat, I used 9 cans of Rust-Oleum Black Enamel. It laid down nice and smooth. The first picture shows how I approached all of my painting - hit the hard to get to spots first, then all the easy stuff, to make sure I covered every square inch without getting the paint too thick/runs.

069-1.jpg


070-1.jpg


071-1.jpg


072-1.jpg


073-1.jpg


074-1.jpg


075-1.jpg


076-1.jpg


077-1.jpg


078-1.jpg
 
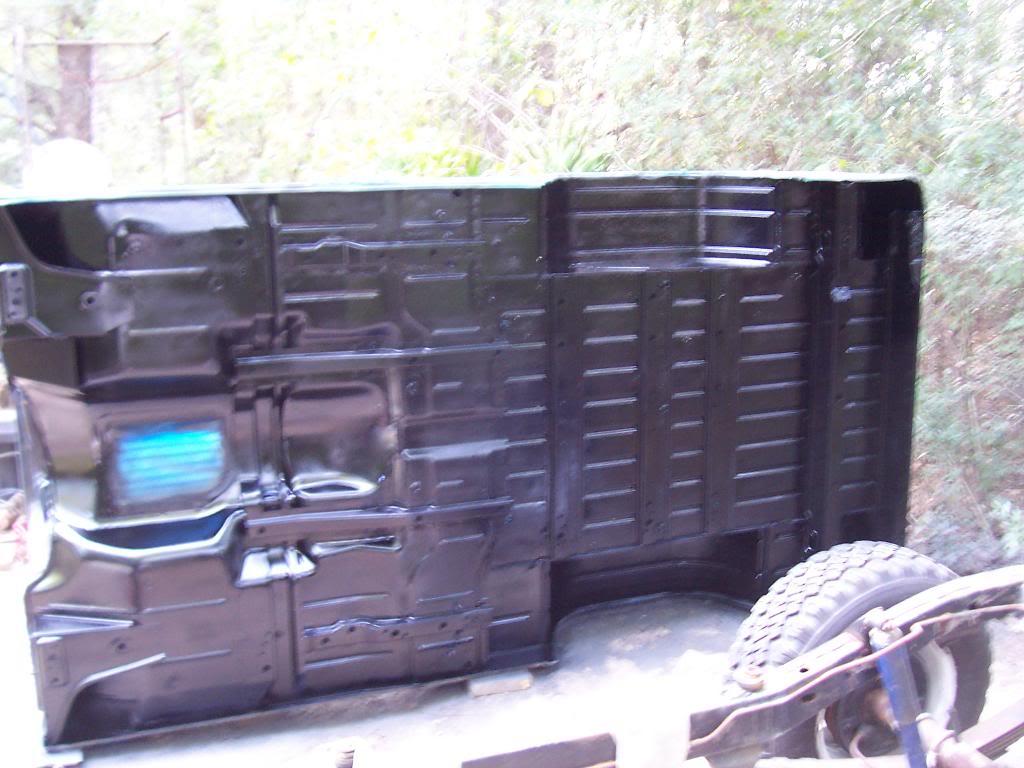
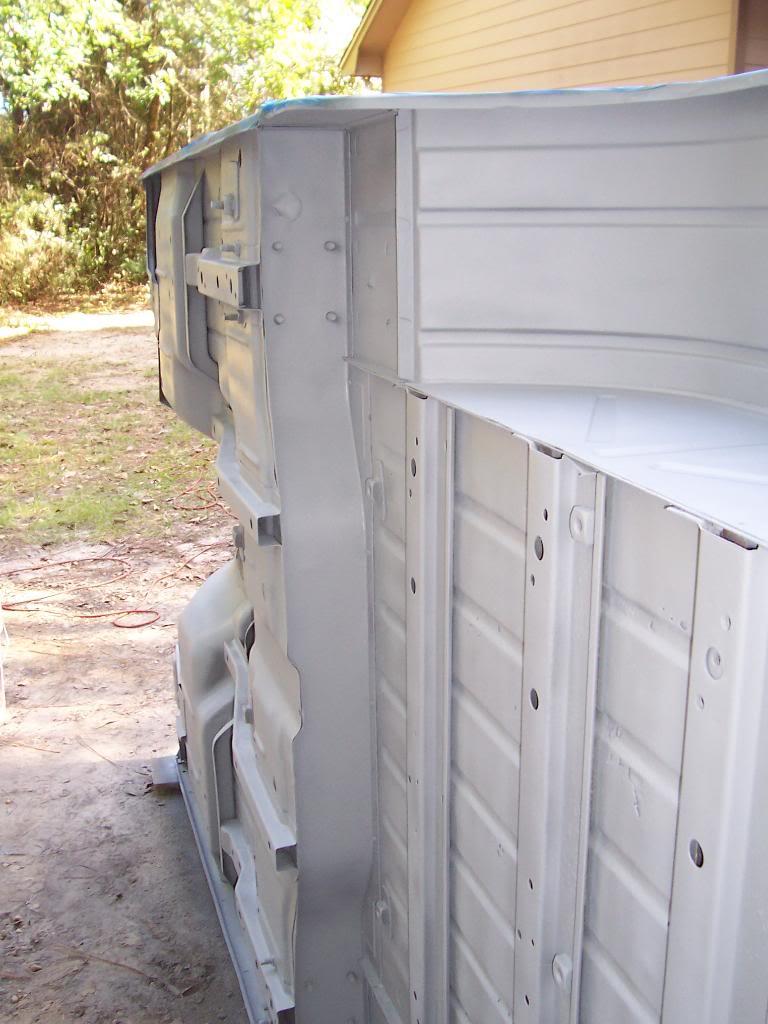
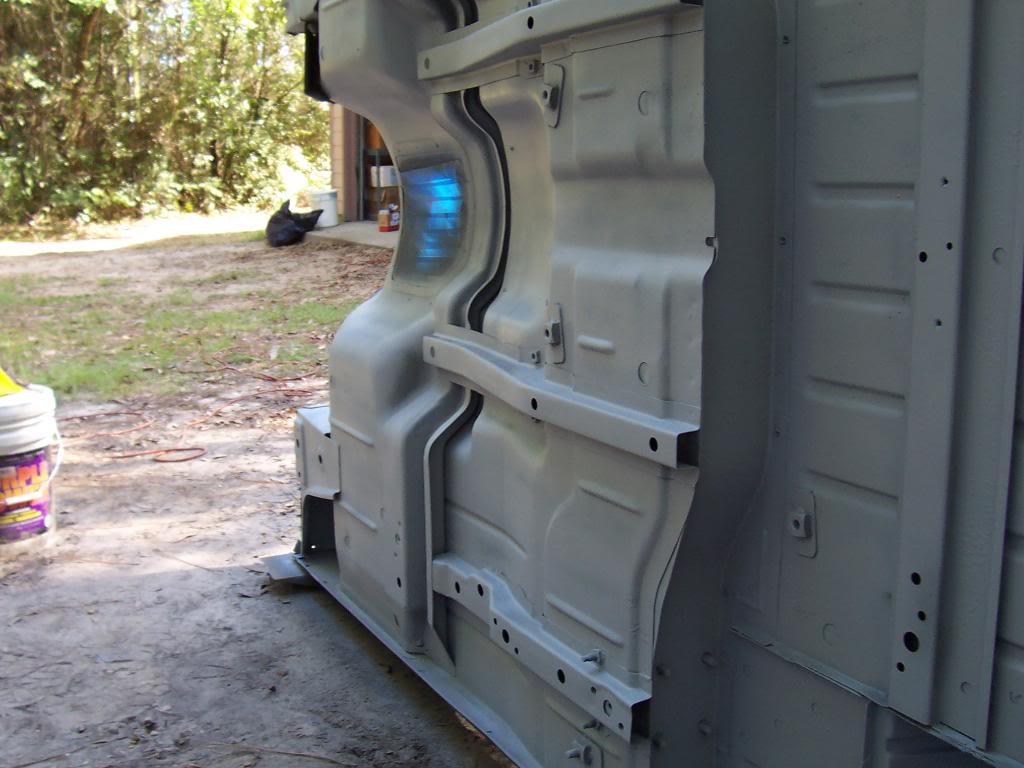
And the final finished painting pictures. The flash on the camera make the paint look more "glossy" then it really is.

079-1.jpg


080-1.jpg


I have a few spots in the rear "cubby holes" that need a bit more paint, but other then that, I am through painting the tub. I am very happy with the finished product:

BEFORE:

027-1.jpg


AFTER:

081-1.jpg


If I had to do it all over again, I would pay someone to sand blast. The wire wheel/grinder method works, but blasting would be easier. Also, might pay someone to spray it. I used 25 cans of spray paint, my fingers are still sore!!

All in all, it looks much better, but more importantly, my backyard paint job will help preserve the tub from further damage. The pictures make the tub look bad, but it is still very solid and strong. A new rear channel and bed floor would make this tub almost perfect. But, it is still a great/solid tub which should hopefully last much longer now that it has some paint on it.

That's it for now.
 
Great job! I know that was a long hard day to accoplish all that. :bow: :wave:
 
great stuff :cheers:

Appreciate it Eric :cheers:

Great job! I know that was a long hard day to accoplish all that. :bow: :wave:

Appreciate it Toby :cheers:

You aren't kidding about the work:crazy: I knew it was going to call for a long hard/tedious day, so I just sucked it up and handled it. Now that the "hard" part is done, I have the "easier" frame/axles to look forward to:thumbsup::crazy:
 
I have been too busy with my "pay the bills" job lately to work on Yard Scrambler. But, a small update.

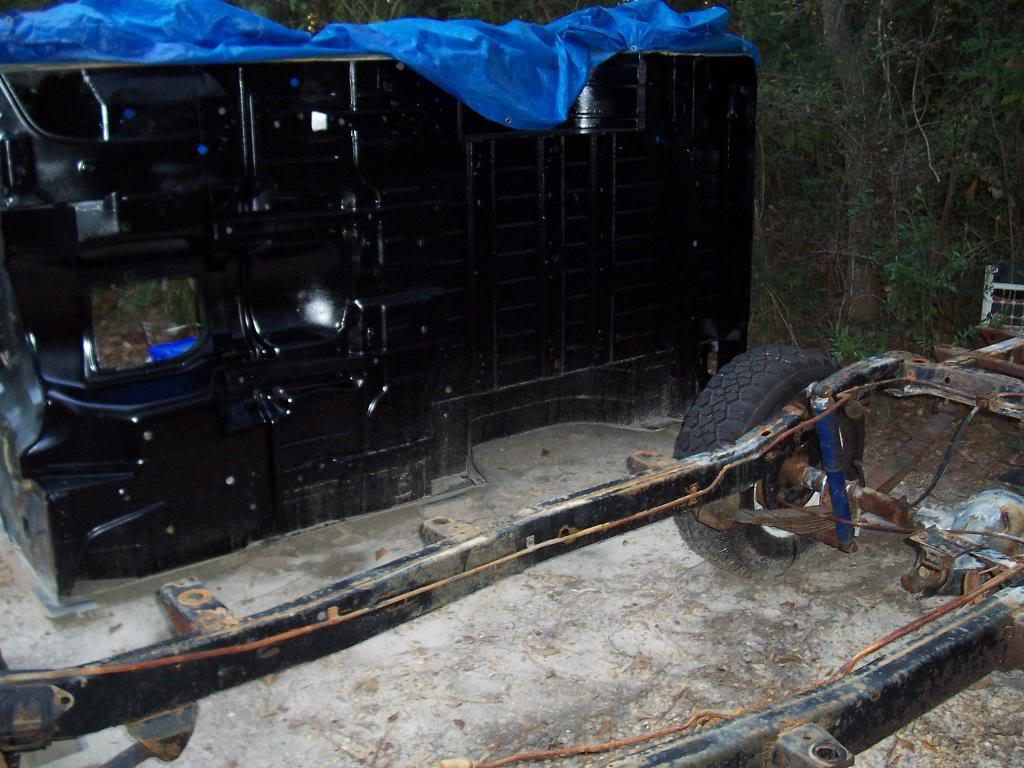
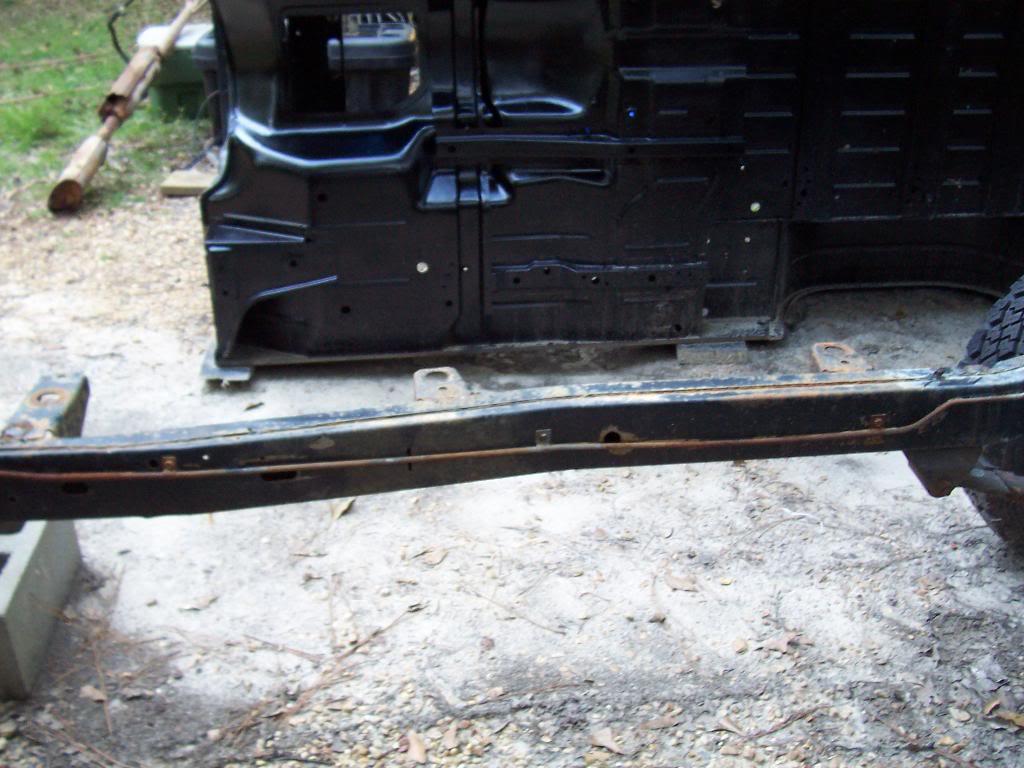
I removed all the body mounts off the frame, and besides the rear cross member, the frame and all body mount locations are still in excellent shape. The entire frame still has approximately 60% of its original paint left. The other 40% is light surface rust. I already have in my possession one of the excellent Chief Wahoo rear cross member to replace the rust damaged original, so besides a couple of hours of light sanding and painting, the frame will be good to go. I originally did not want to paint the frame or axles, but they look terrible now that they are sitting next to the repainted bottom of the body tub. Damn OCD/Anal retentiveness.

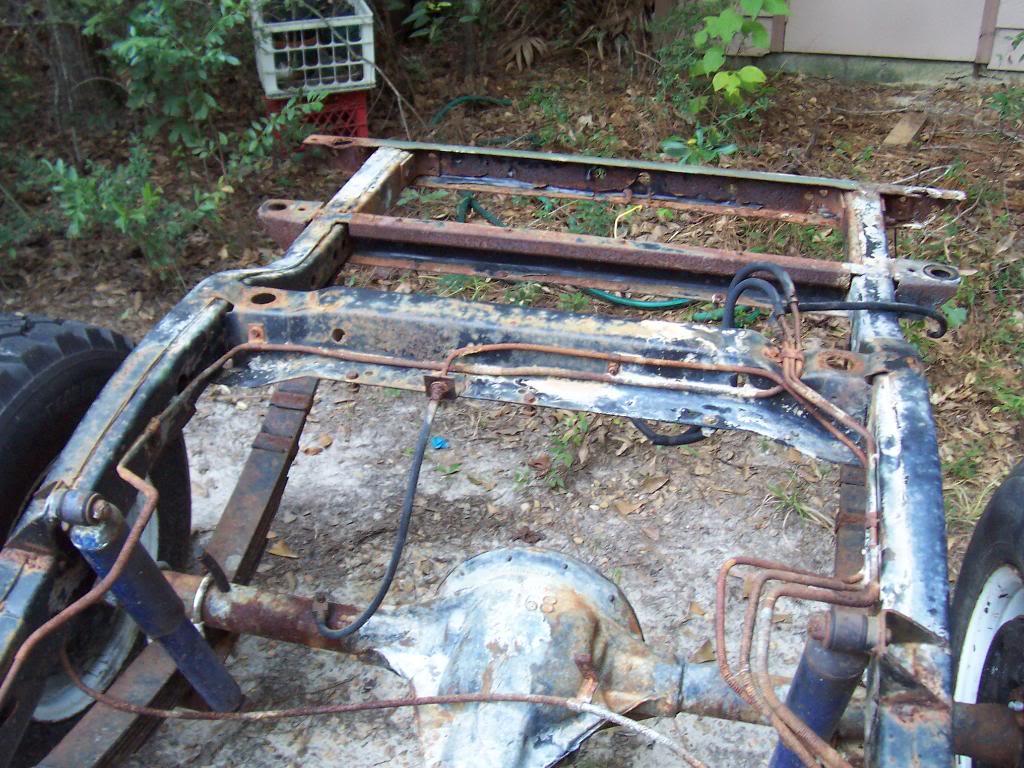
All of the original fuel/vapor/brake lines are "suspect". They have been sitting for too long devoid of the proper fluid, and as a result have significant internal rust. I was able to persuade JeepAddict to purchase all new lines, which I will install after painting the frame/axles.

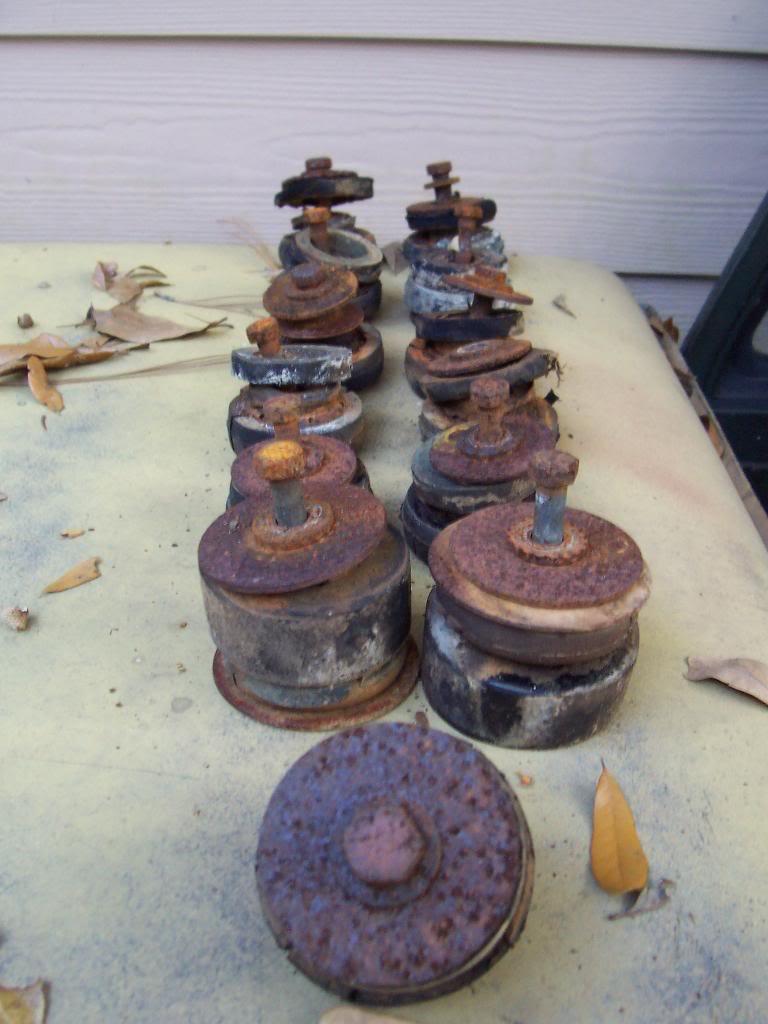
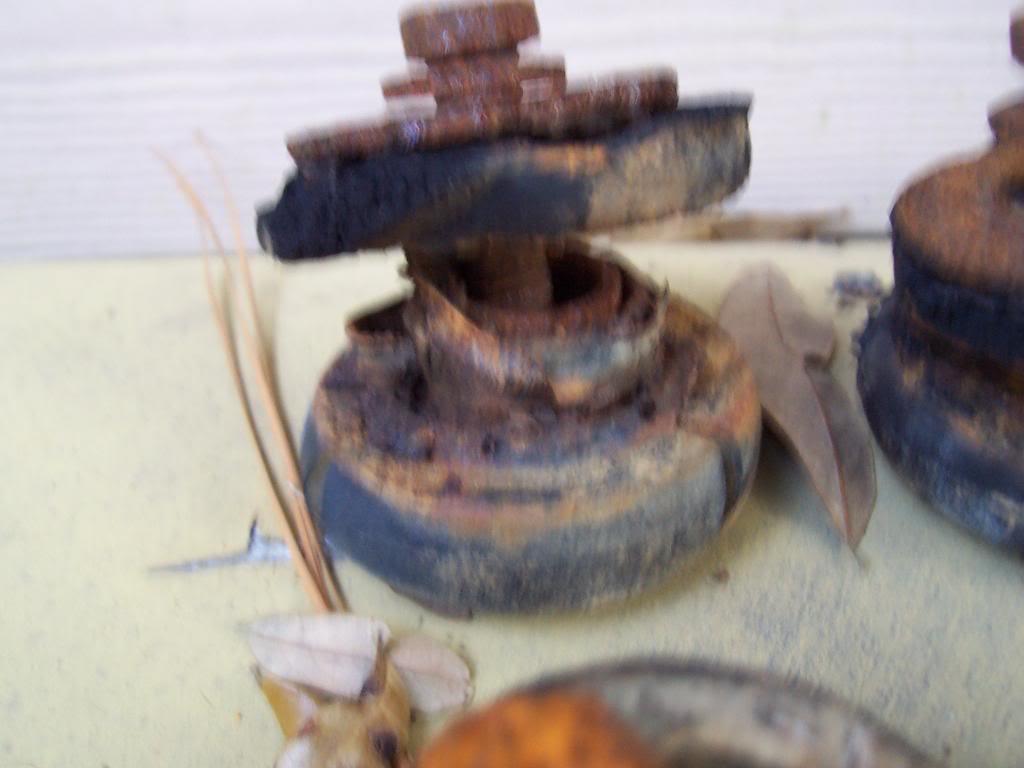
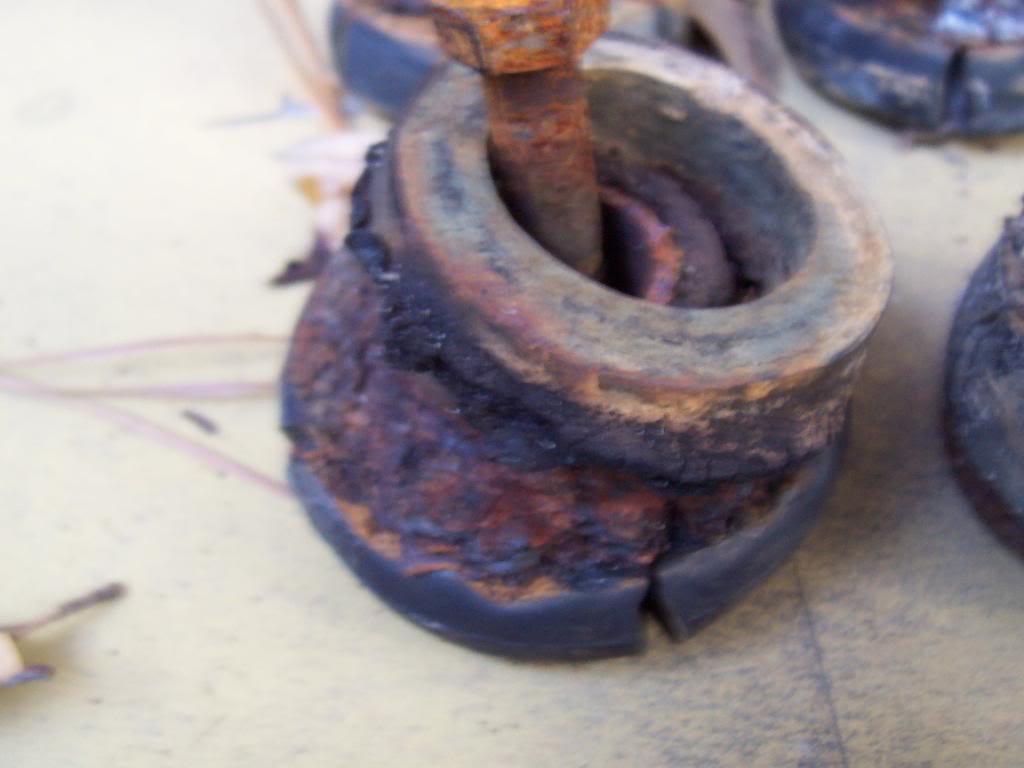
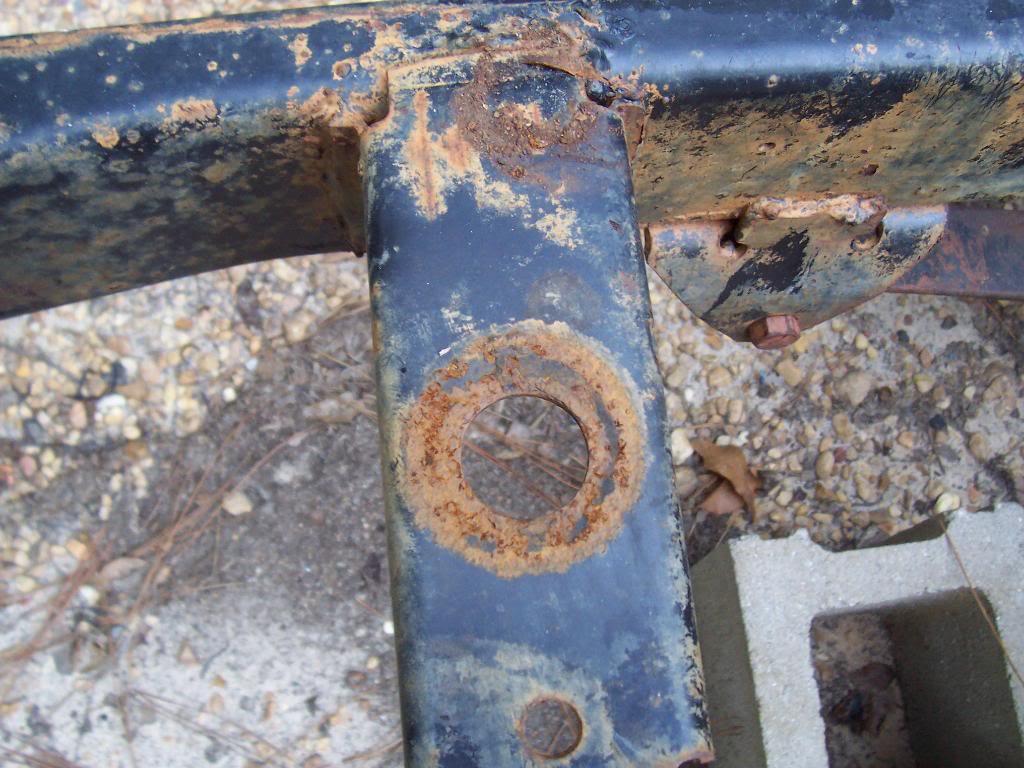
A few pictures of the original body mounts, they did not have much longer to live.

00122-1.jpg


00223-1.jpg


00324-1.jpg


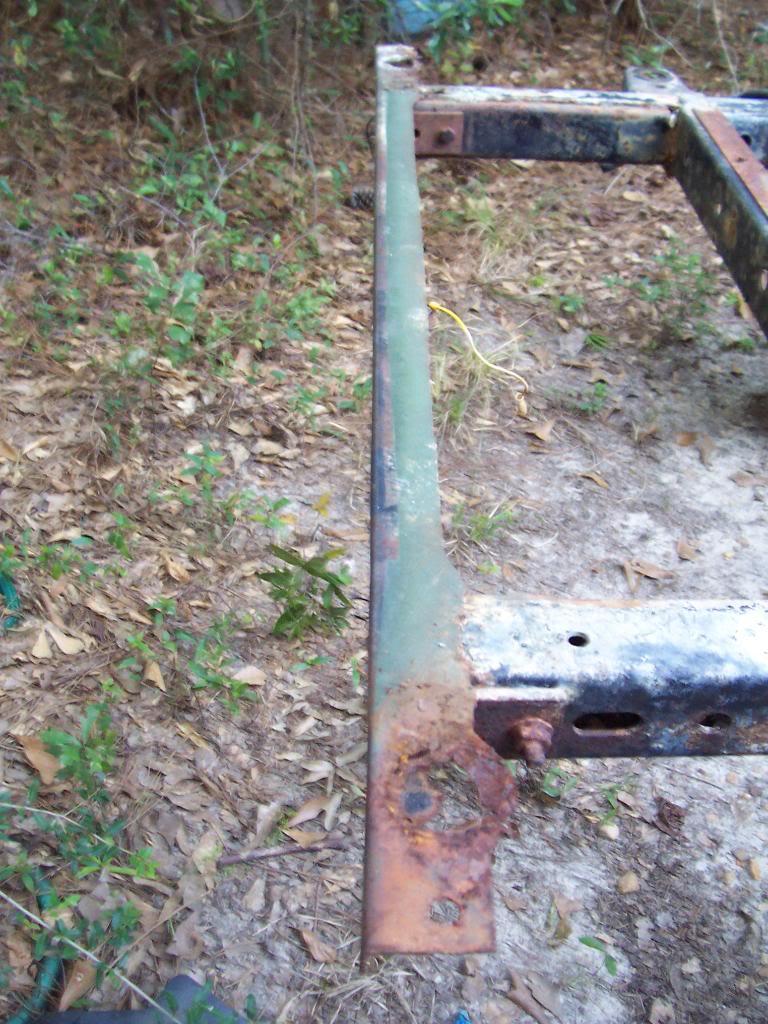
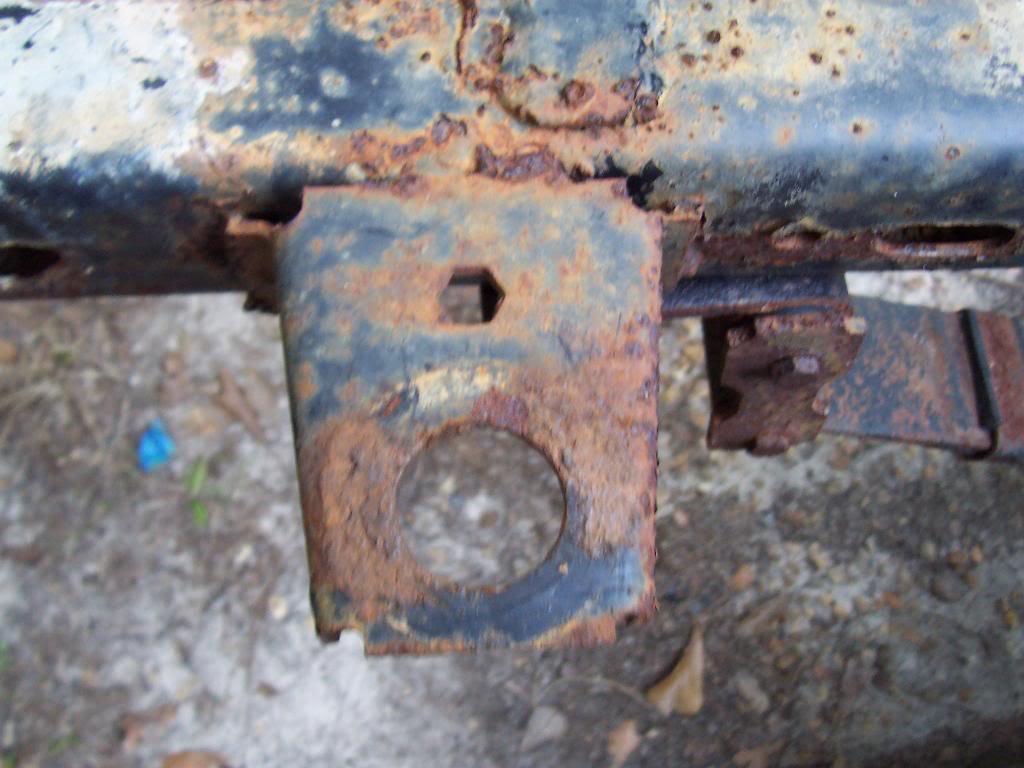
A picture of the damaged rear cross member. It is only rusted at the two body mount locations, but the Chief Wahoo replacement is always a great upgrade, especially when you get a CJ torn down this far. I will feel much more confident bolting the future rear bumper to the new HD cross member, compared to the thin factory piece.

00421-1.jpg


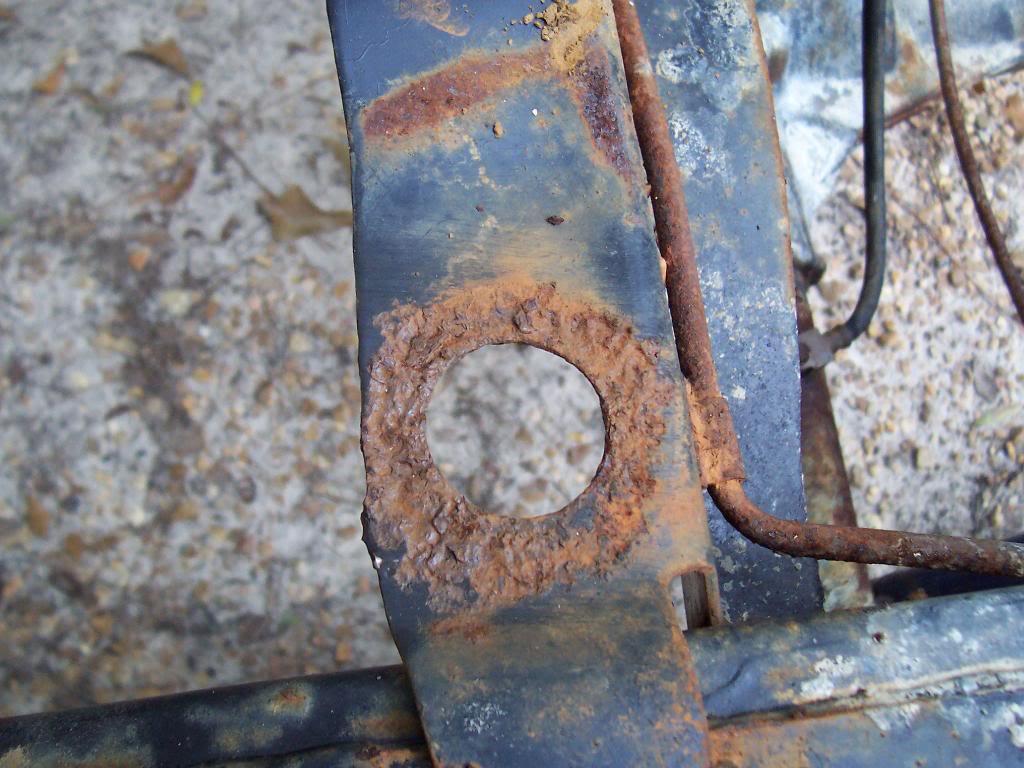
Pictures of the body mount outriggers, starting from the rear and working forward. Besides light rust and minor pitting, they are still in excellent structural shape. A little wire brushing and painting will make these locations as good as new. These pictures are of the passenger side, the driver side is in similar or better condition.

00519-1.jpg


00618-1.jpg


00717-1.jpg


00817-1.jpg


00915-1.jpg


01015-1.jpg


After a little paint, new cross member install, new plumbing, and repainting the axles, the chassis will be good for reassembly.
 
Last edited:
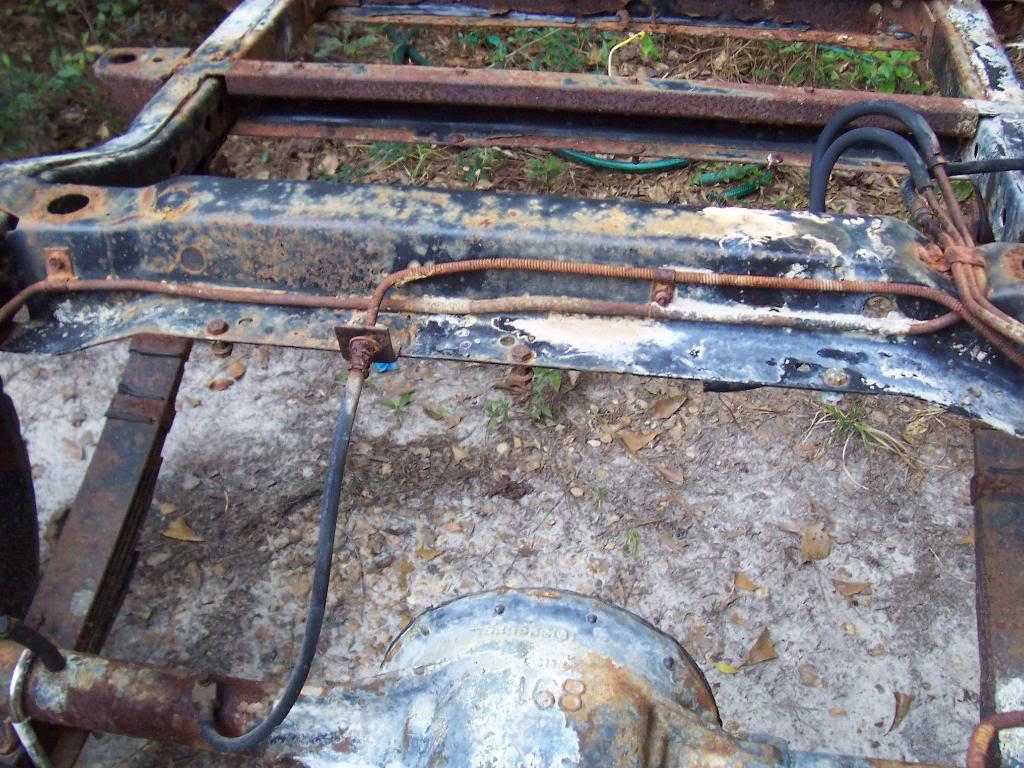
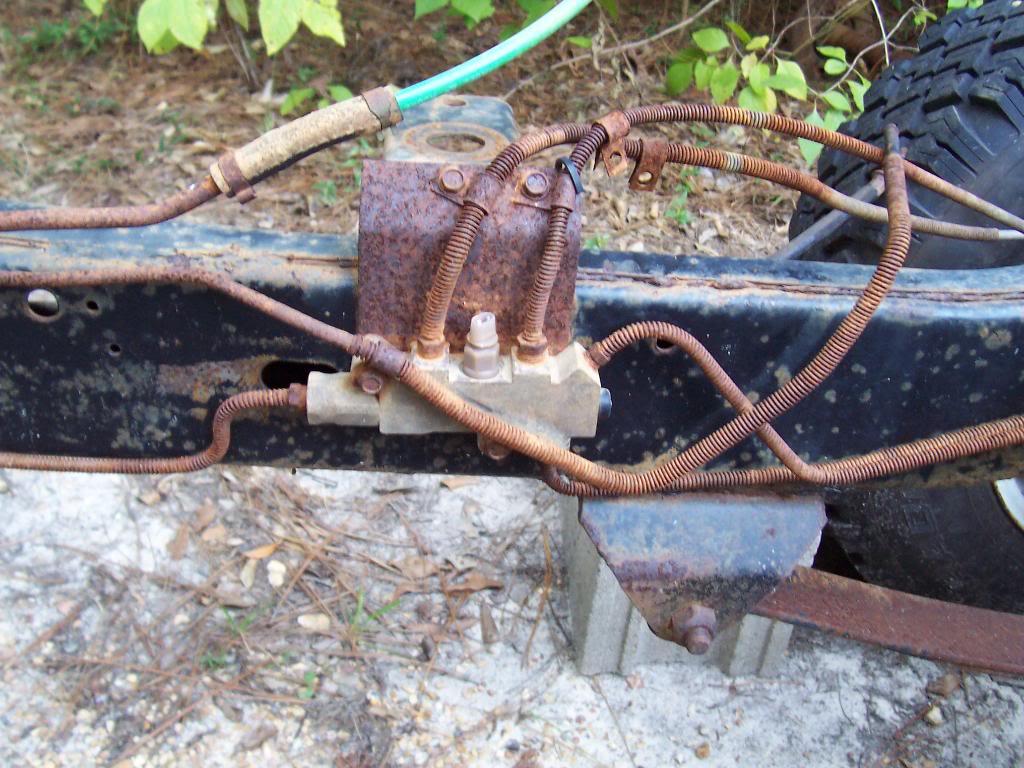
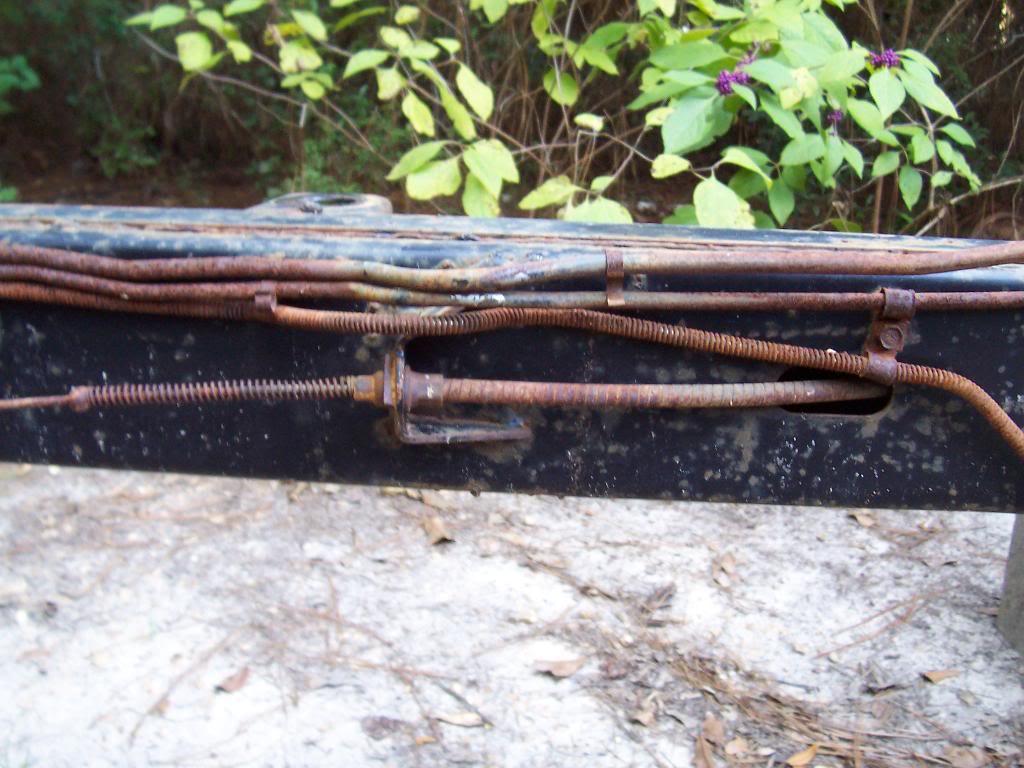
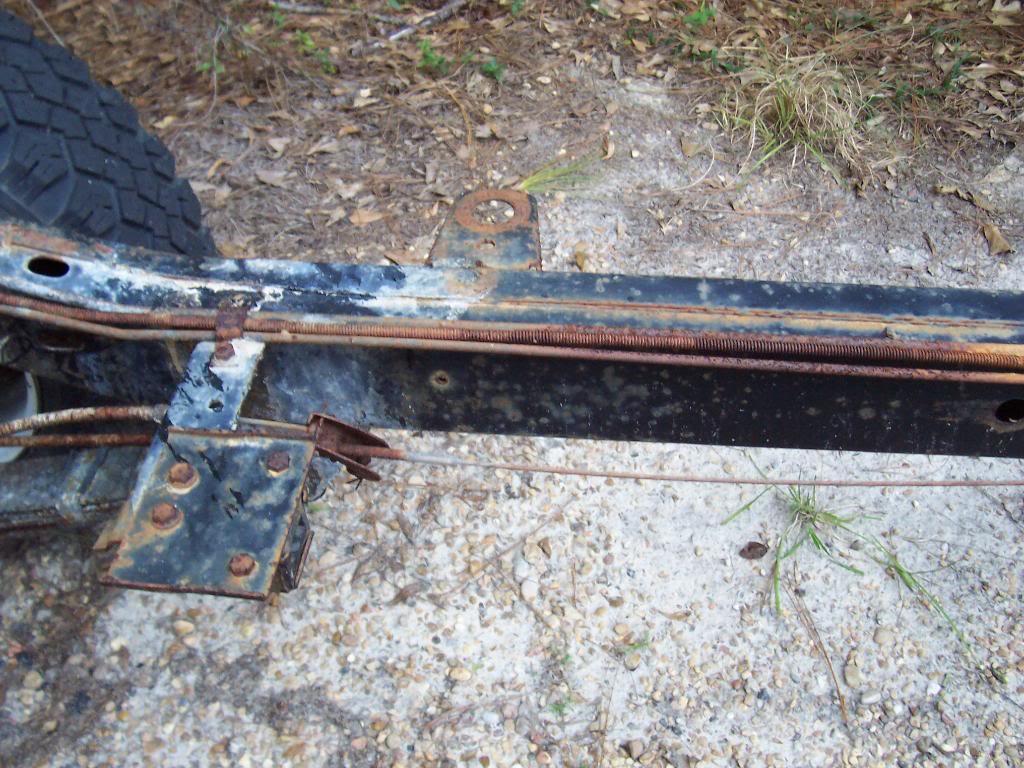
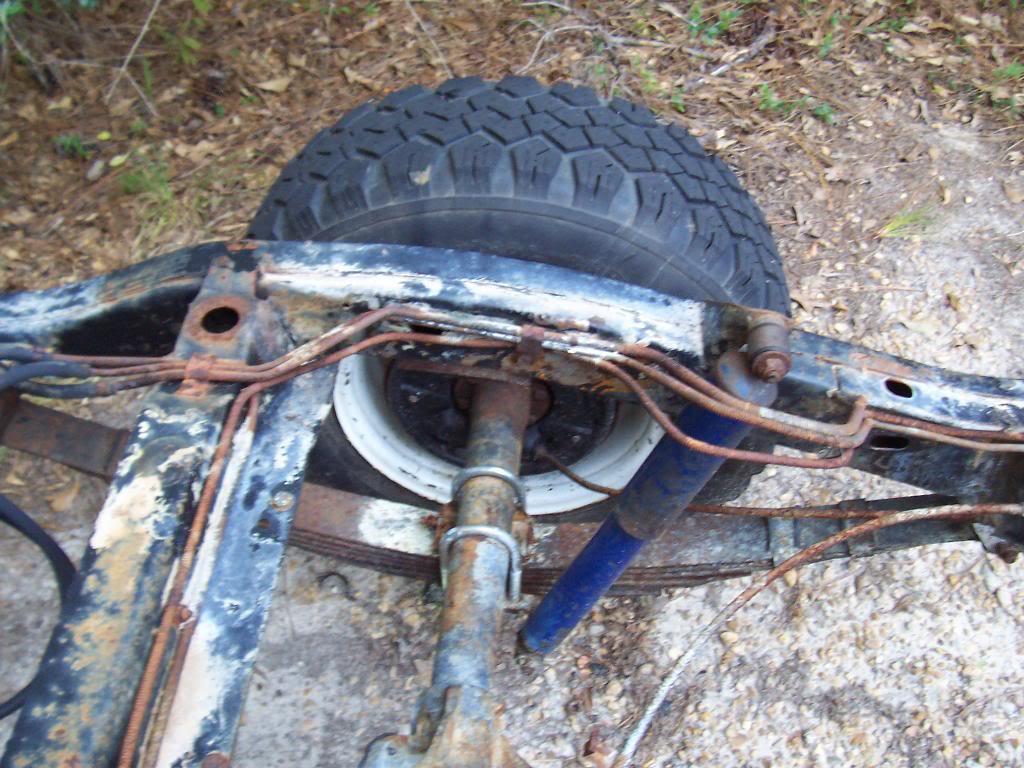
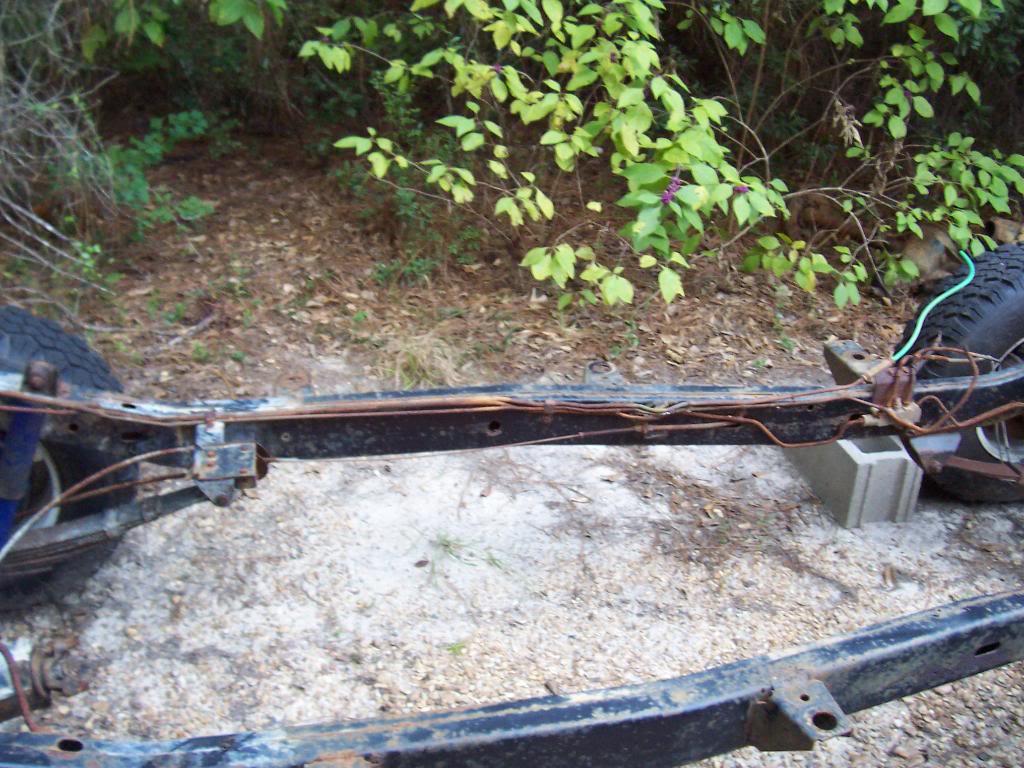
I took all of the following pictures mainly for my own reference. These are all pictures of the plumbing lines that run on the chassis. Since these are all the factory/unmolested lines, they might make good reference for others, too.

Fuel rail. Only line on passenger side. Note clip location/count.

01110-1.jpg


0129-1.jpg


0139-1.jpg


0149-1.jpg


Driver side: brake, fuel, and vapor lines, plus parking brake cables. Note clip location/count, also the way the lines are oriented with each other. Pictures are good reference, but I am glad I have another Scrambler to look at, too. Pictures start at the proportioning valve area and work toward the rear.

0159-1.jpg


0168-1.jpg


0178-1.jpg


0185-1.jpg


Overall picture of the driver side, but it is not too clear.

0195-1.jpg


Another interesting note: It does not appear that the factory painted any of the little clips that secure these hard lines to the frame. Half of the ones on this Scrambler are still shiny bare metal, the other half are covered in surface rust.

That's it for now.
 
Is there a preferred source you recommend for the replacement clips and hardware and fuel/brake lines? Also suggestions for replacement body mount outriggers?
I am re-constructing a 1982 CJ-7 Renegade and after removing the body this weekend found I need to replace all these parts.
This is my 3rd CJ, (1976 CJ-5 sold. 1983 CJ-7 Renegade and this 1982), but the first one I have had to remove the body from. My plan is to sell the 82 and 83 CJ-7's to fund a Scrambler purchase (that is why I lurk on this forum so much).

Thanks,
Bobby
 
Is there a preferred source you recommend for the replacement clips and hardware and fuel/brake lines? Also suggestions for replacement body mount outriggers?
I am re-constructing a 1982 CJ-7 Renegade and after removing the body this weekend found I need to replace all these parts.
This is my 3rd CJ, (1976 CJ-5 sold. 1983 CJ-7 Renegade and this 1982), but the first one I have had to remove the body from. My plan is to sell the 82 and 83 CJ-7's to fund a Scrambler purchase (that is why I lurk on this forum so much).

Thanks,
Bobby

I have been purchasing the fuel/brake lines from Inline Tube. Classic Tube sells the pre bent lines, too, except for one of them, can't remember which one though:shrug:

As for the clips, I am just going to clean these up with a dremel and repaint them. I believe Inline Tube sells them, but the Jeep uses some pretty big ones on the driver side. If you can salvage what you have, might be the best way to go:twocents:

My red Scrambler needed a few new frame outriggers, I believe I purchased an entire set of them from either 4WD Hardware or Quadratec. They look similar to the factory pieces and function/fit fine:thumbsup:
 
Back
Top