• Notice for iPhone users: DO NOT use the image size reduction option when uploading photos to the forum. This causes portrait images to post as landscape. We have added a warning to the image insert pop-up as well.

1981 RHD Scrambler build (UK spec)

Dave The Sparky

Rebuilding my CJ8 very,very slowly...
City
Halifax
State
UK
Hello and welcome to my rebuild.
Im actually at the bodywork stage now and most of the photos ive taken were for my reference mainly so that i had a vague idea of how to put it back together and probably not of too much interest to you lot but ill put some on anyway as you may be able to help with why things are the way they are.
But ill start at the beginning and throw a few photos on as and when i have chance.
Ive owned the 8 for 3 years now and so its a long and slow process to get this thing back on the road, but i intend to get it rolling again for my daughters prom which gives me 4 years more which should be loads of time:rotfl:

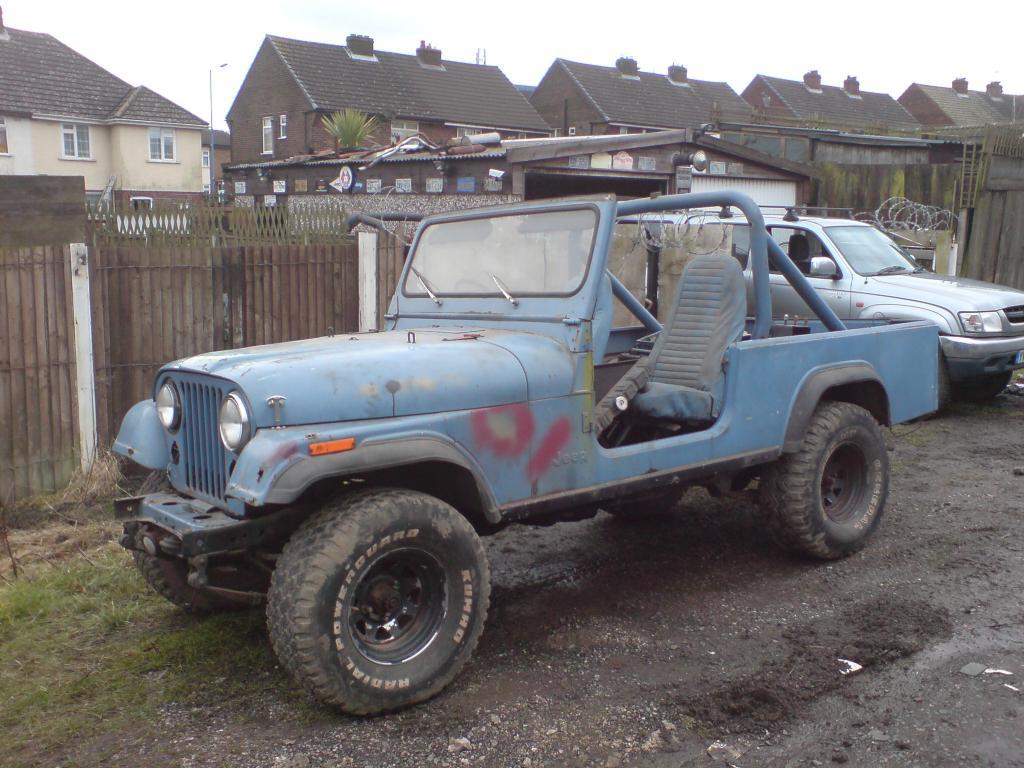
This is what i started with back in Feb 2010:

DSC00085_zps80840b0b-1.jpg


The 4.2litre engine was separate and bits had been taken off the scrambler to keep the previous owners Jeep collection rolling (more on the engine later).

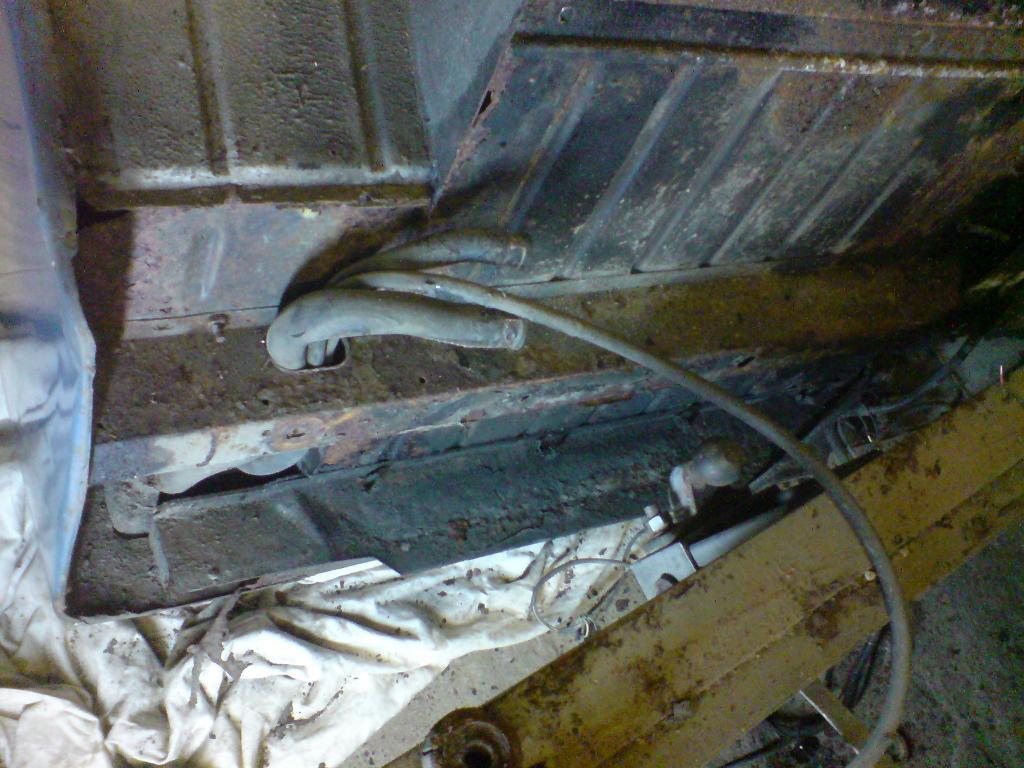
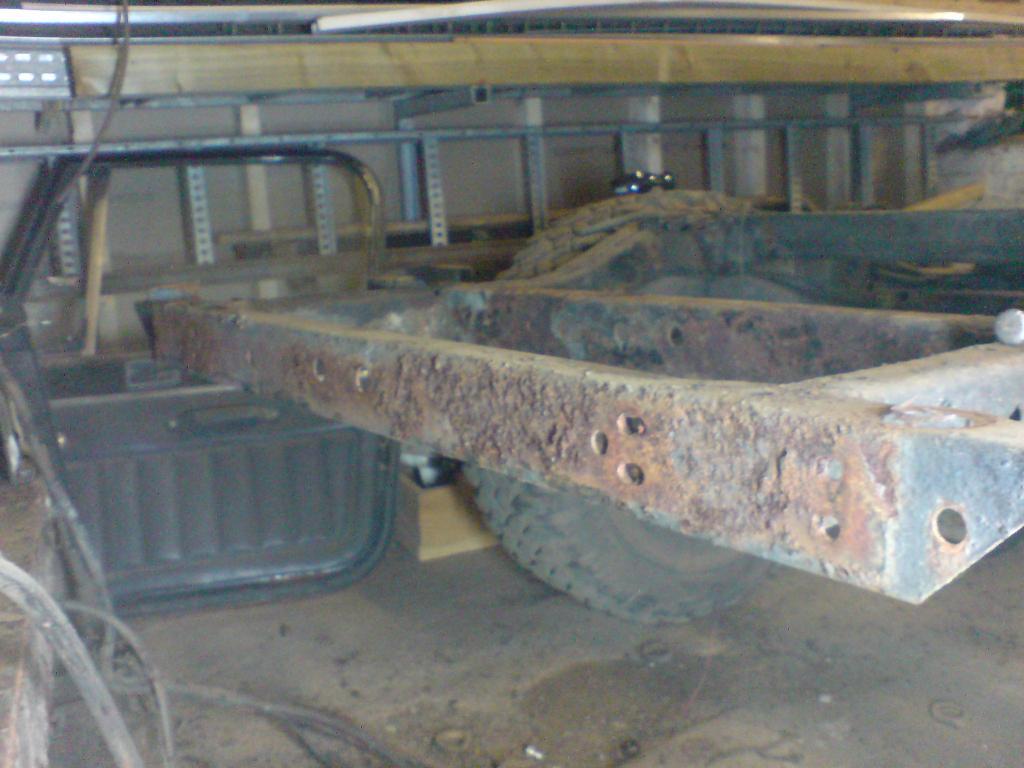
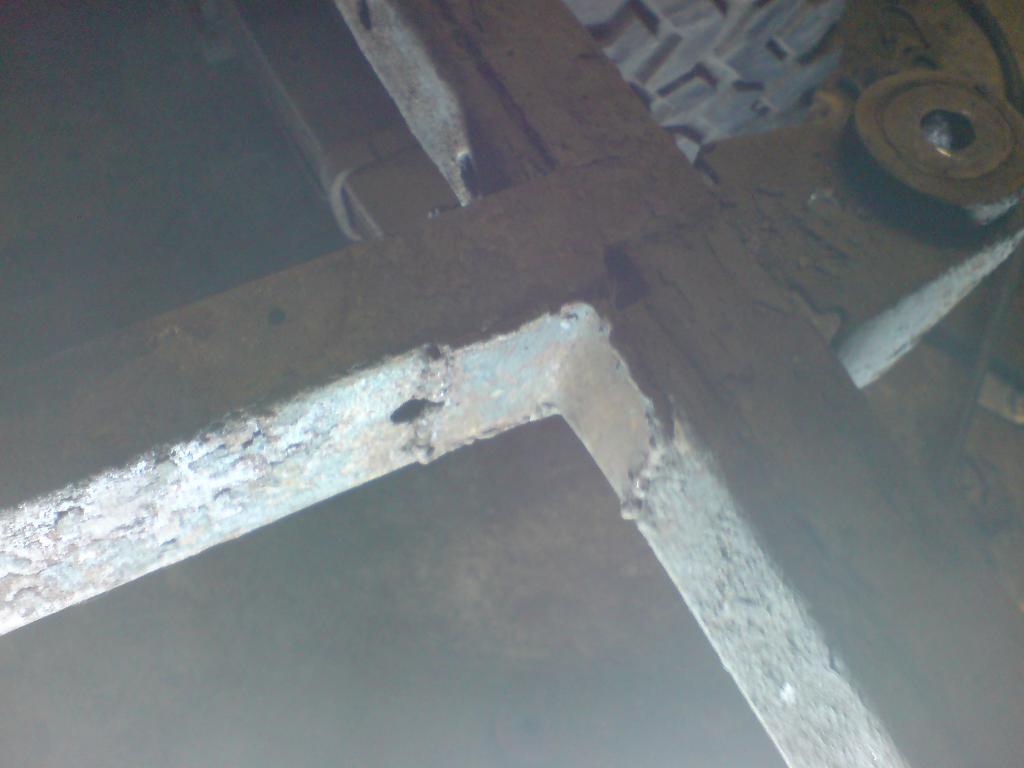
Half the body mounts on the Chassis had all rusted to bits, the rear cross member was a bit thin in places and there was a hole in one of the chassis legs just behind the rear wheel as presumably water collects in there.
There was a bodged bit on one of the cross members but other than that the chassis was in good condition for its age and ive seen a lot worse on here thats for sure.
DSC00674_zpsd68d0908-1.jpg

DSC00672_zps6a5d324e-1.jpg


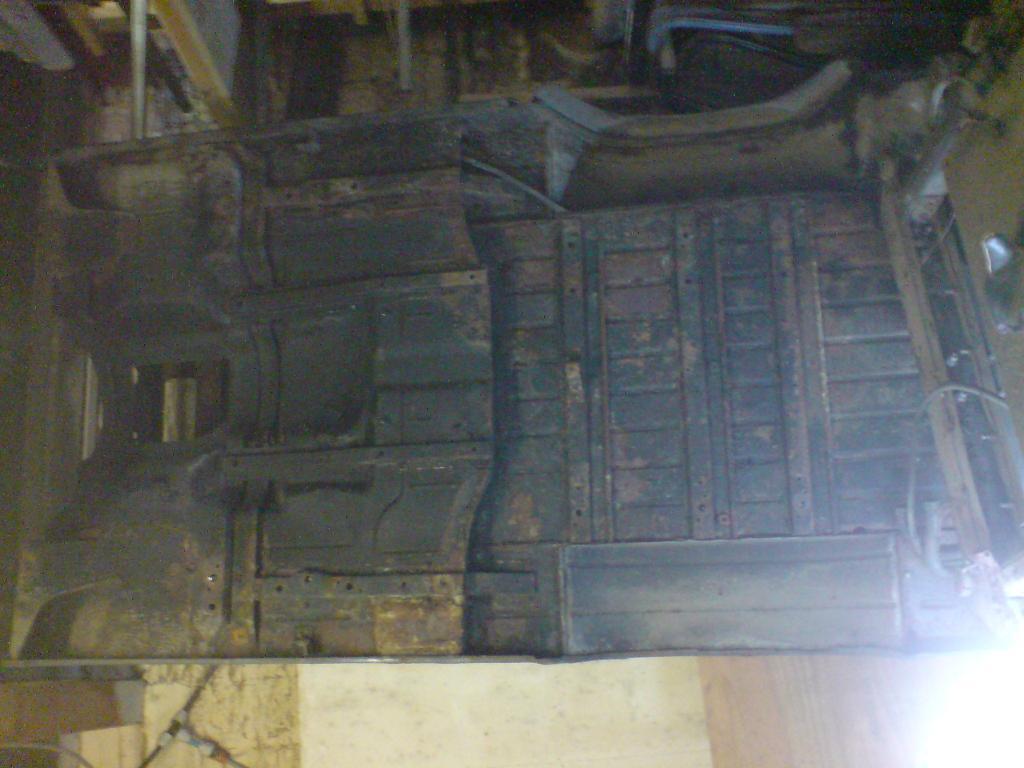
Removing the body tub was very depressing as the tin worm had just about wrecked most of it and to think it looked okay from above:banghead: believe me its worse than the photo shows
DSC00662_zps44bc42d0-1.jpg
 
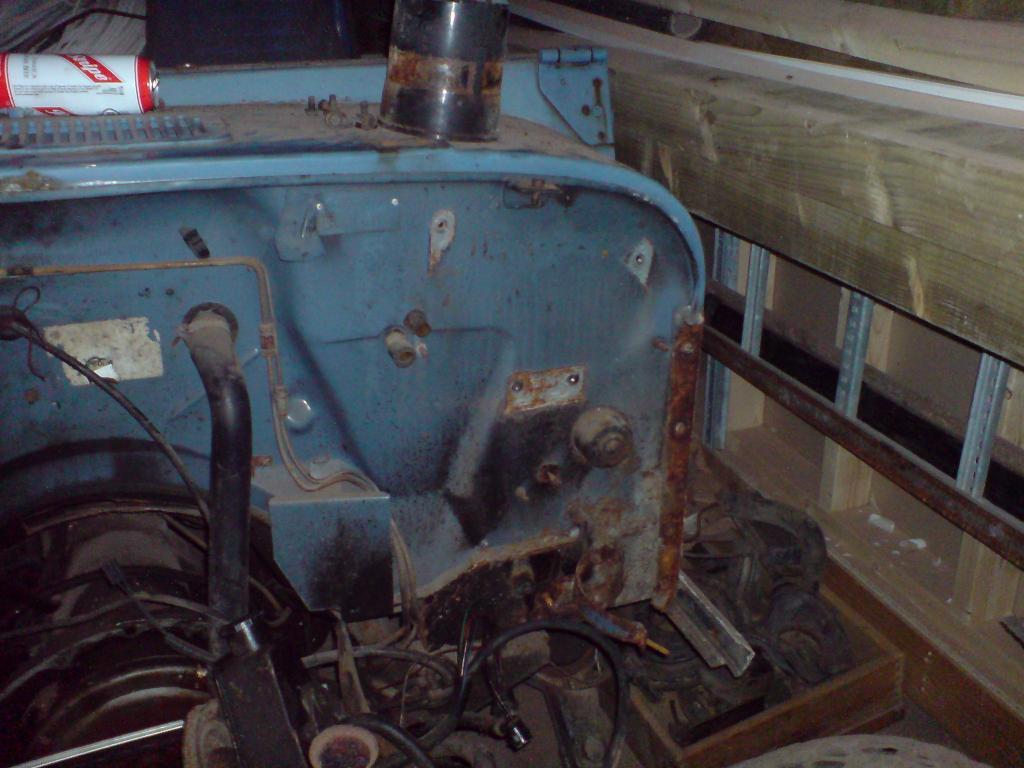
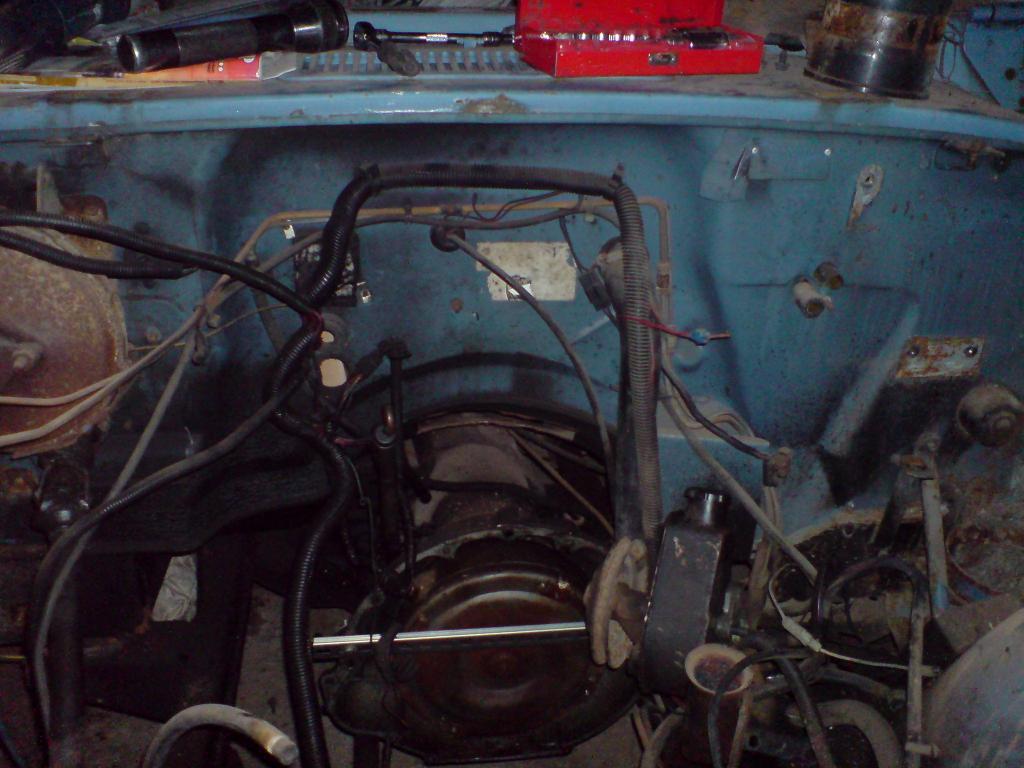
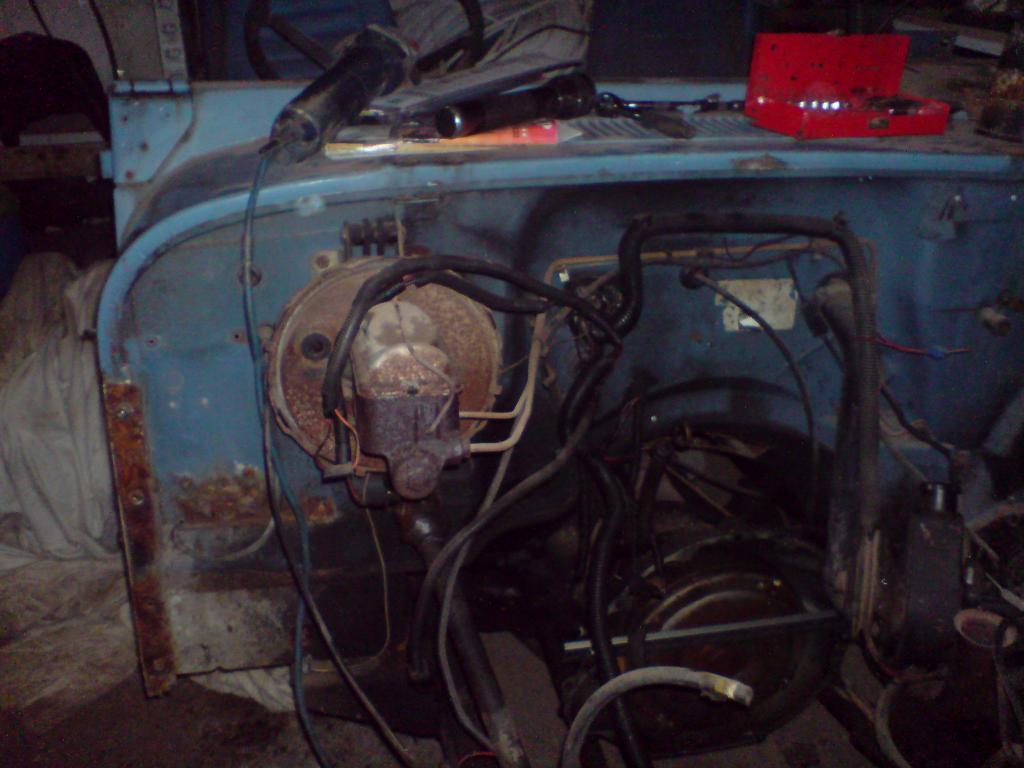
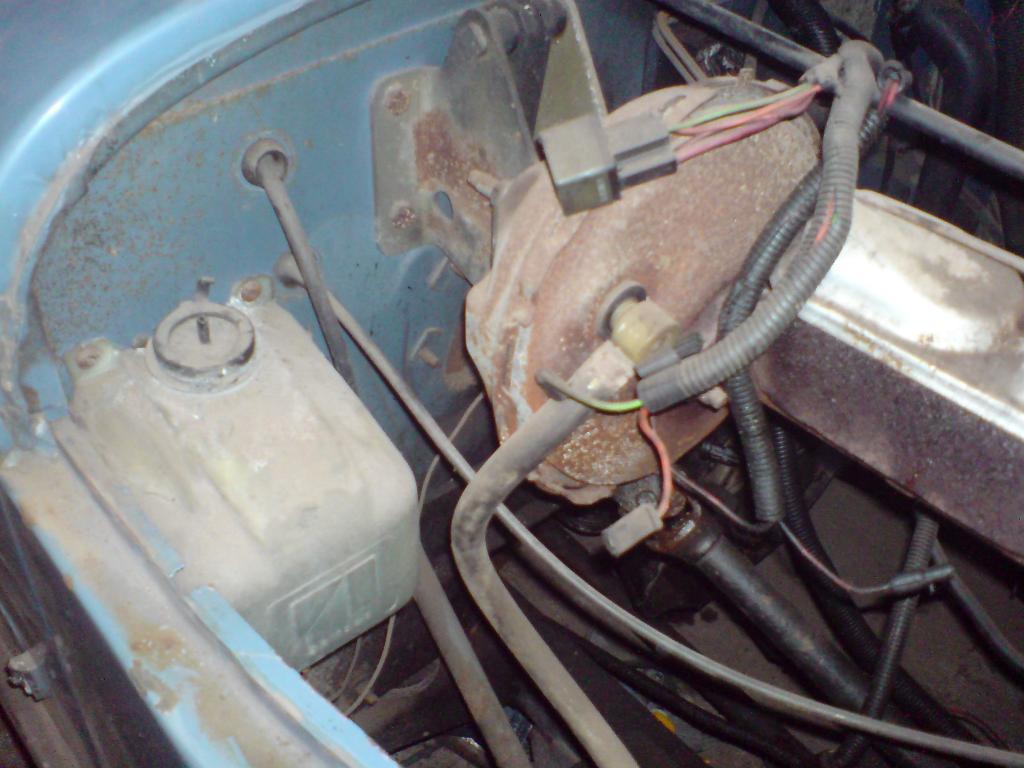
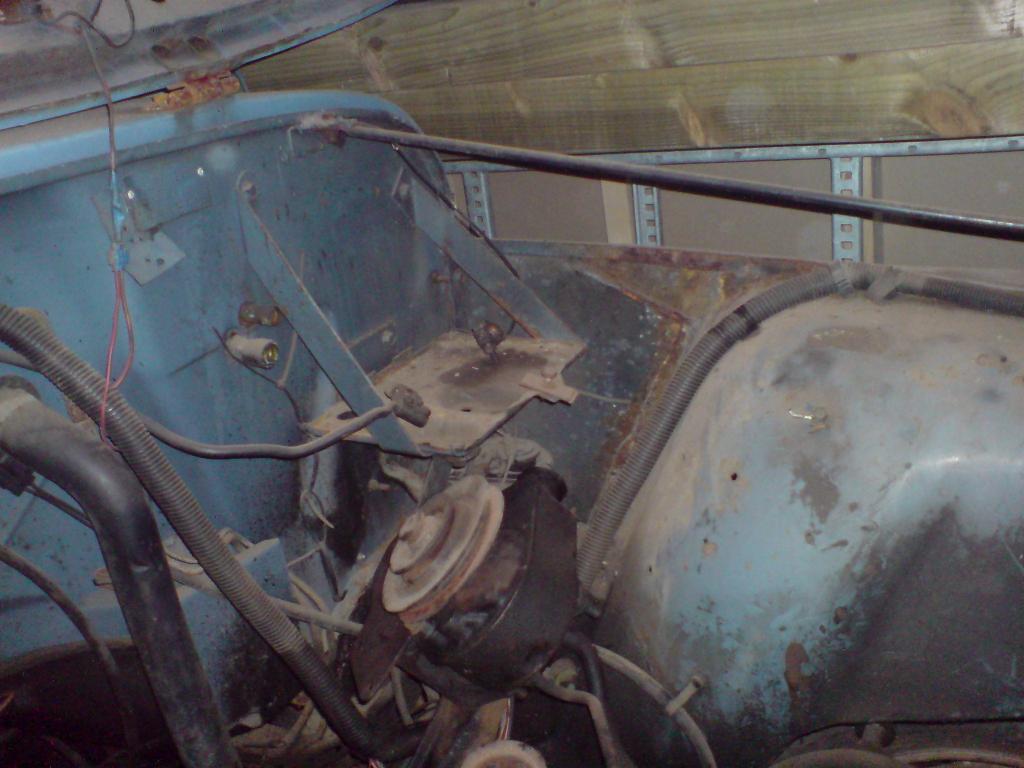
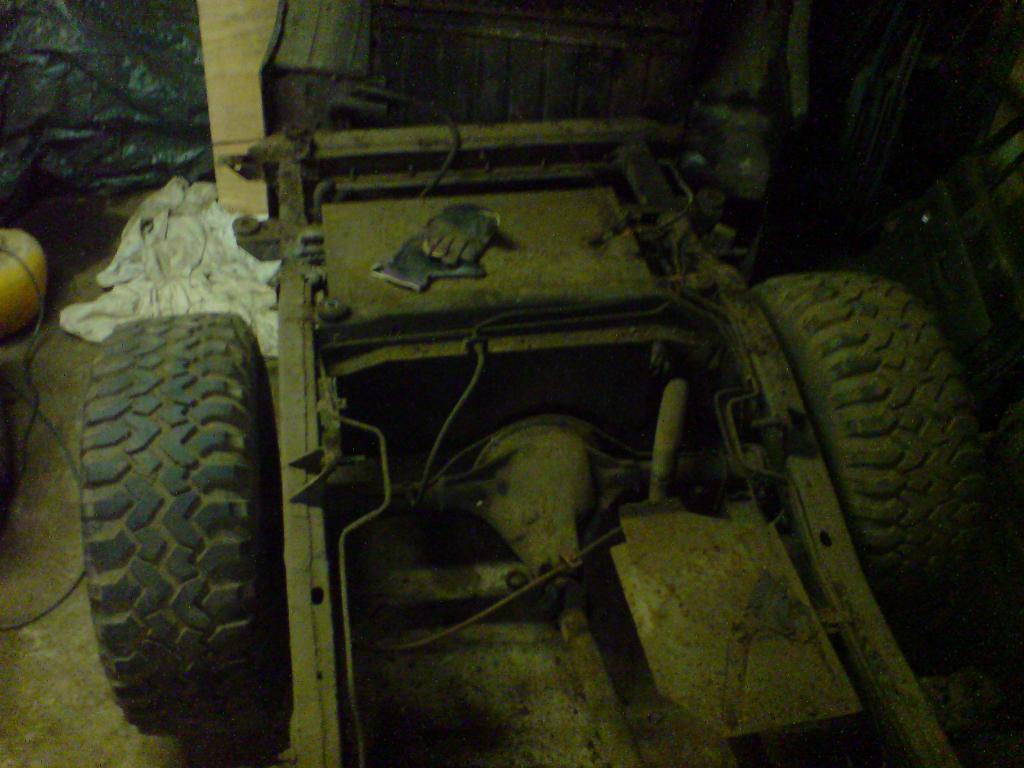
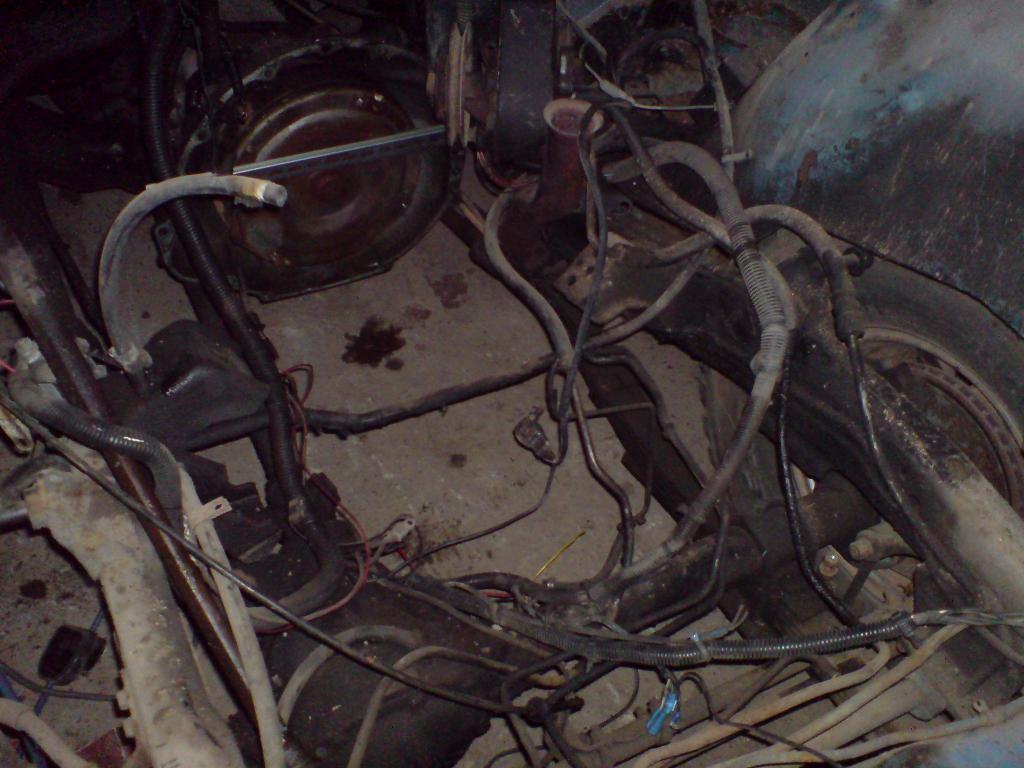
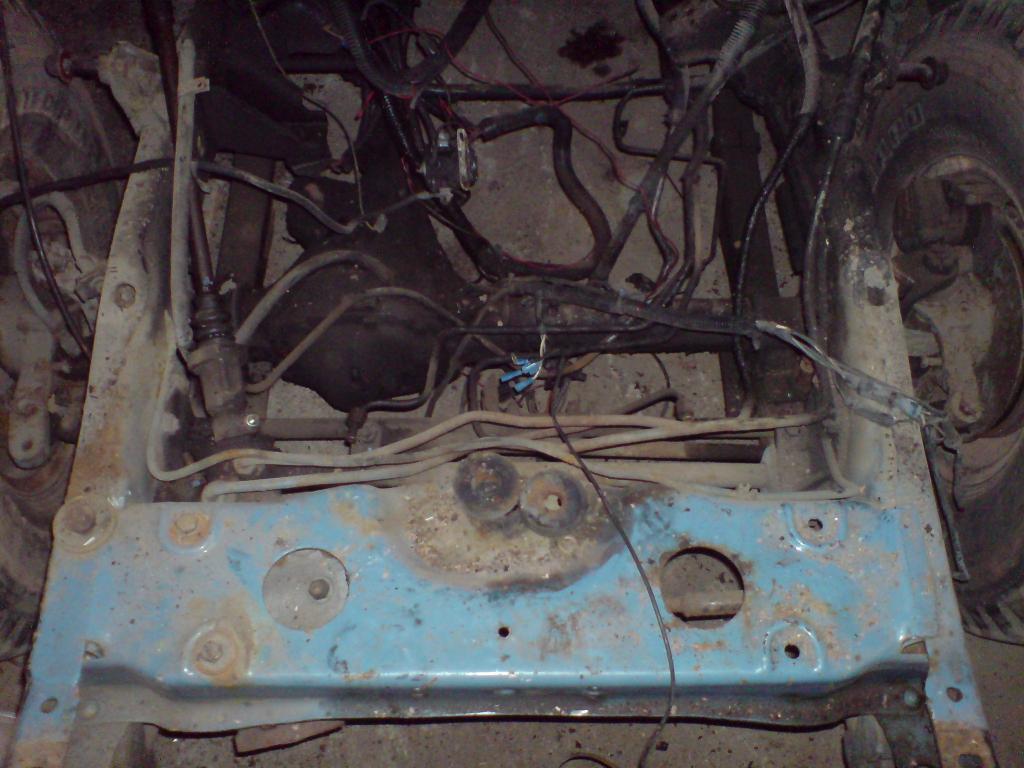
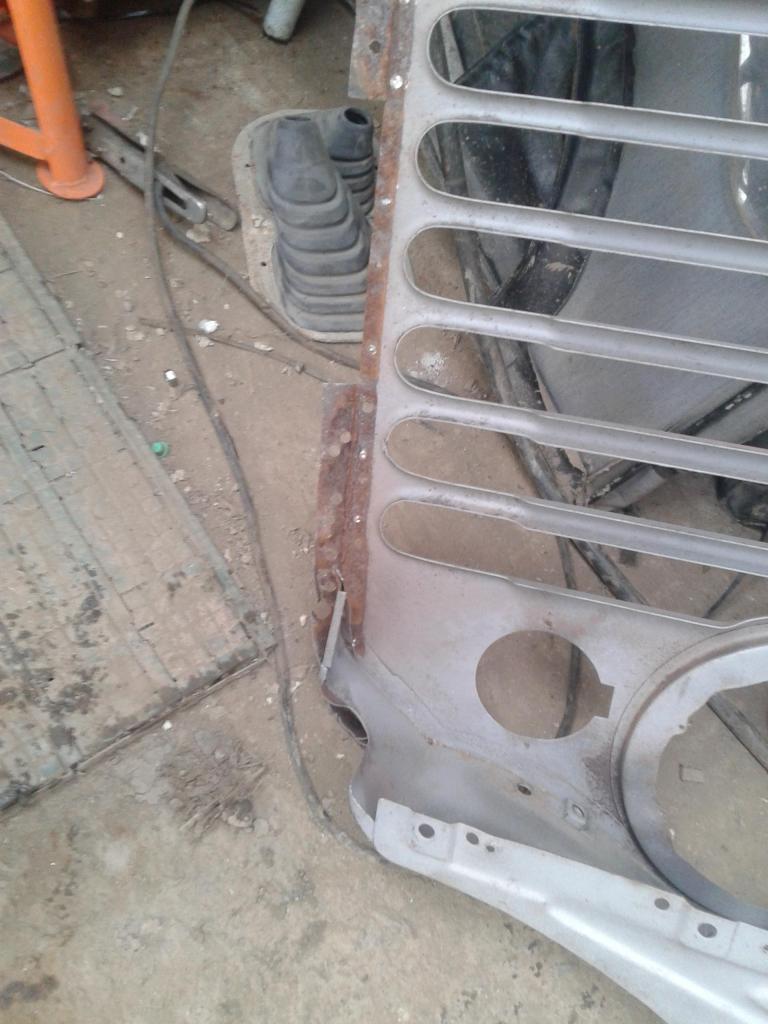
Heres some photos of when i stripped her down for you to look at so you can spot the right hand drive and left hand drive differences.
DSC00574_zps36d2de3d-1.jpg

DSC00569_zpsc4ca6ed9-1.jpg

DSC00567_zpsf85bf471-1.jpg

DSC00562_zps4586bf9f-1.jpg

DSC00563_zpsaaef5fcf-1.jpg


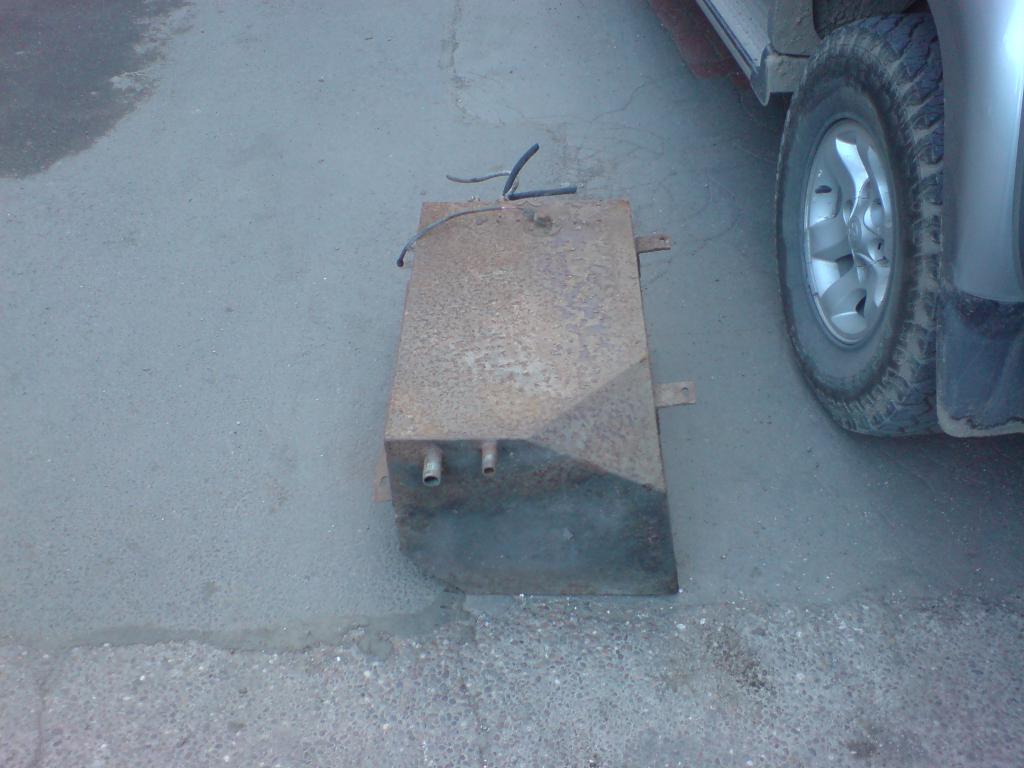
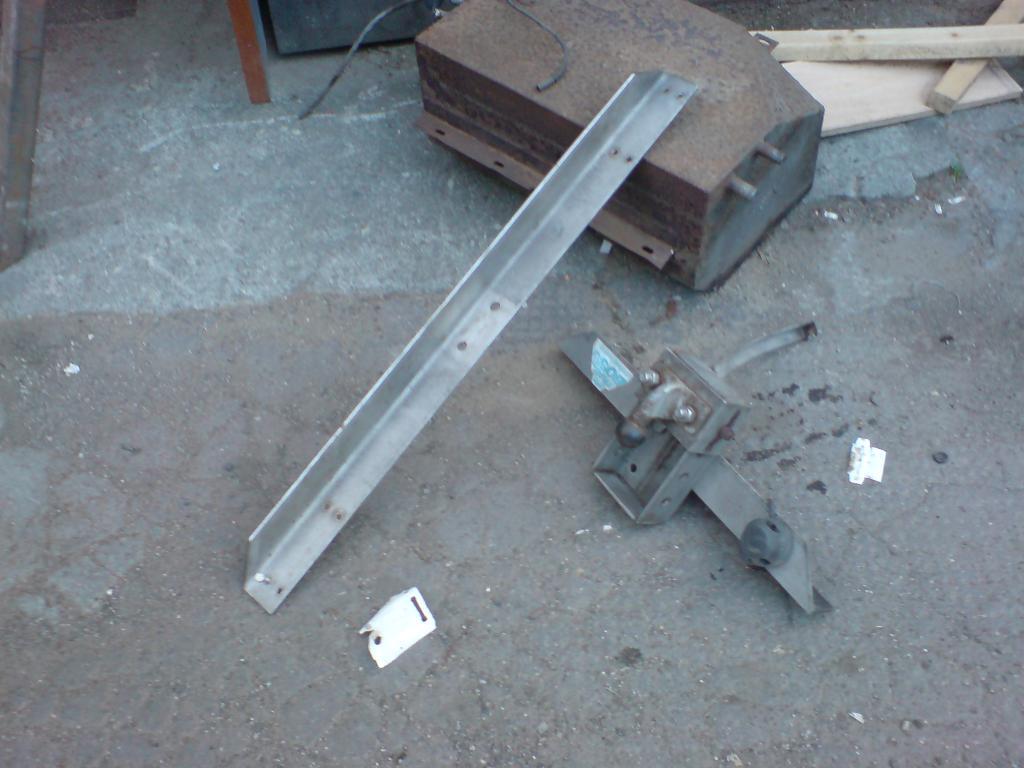
Now this was the fuel tank fitted to the Scrambler and i thought it was home made but then i found a sticker on it from a firm in the States ( i cant remember who sorry!)and now im wondering if any of you have a similar massive fuel tank.It really was huge, so big its gone for scrap and ive bought the standard fuel tank from Ebay instead:D

DSC00671_zps5e6480fa-1.jpg


Other odd thing fitted was a stainless tow bar which is completely stainless including the bolts and again im wondering if any of you have anything similar or maybe its home made?.I still have the tow bar as it may well be going back on the Scrambler as it is a nice piece of kit.
DSC00673_zpscb21cfad-1.jpg


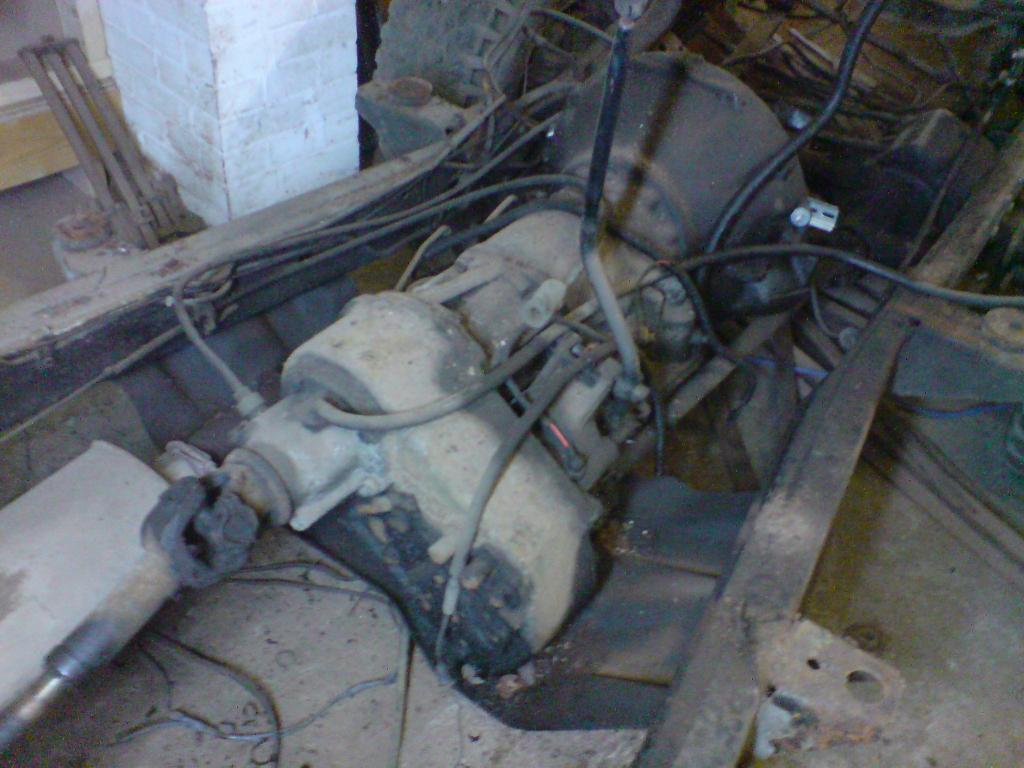
The good old TF999 and for the eagle eyed amongst you the foam ended thing just to the left of the transfer lever is the handbrake cable which is a European style one which fits next to the seat and i assume the US spec ones dont have as presumably the foot brake was fitted as standard.

DSC00669_zps168fa1f4-1.jpg


When i get chance ill start to put on some photos of the bits ive rebuilt so far if you all havent nodded off that is:D
 
Welcome! I'm enjoying the photos!
 
Some more pics of the tub and frame
DSC00661_zps30423e13-1.jpg

DSC00654_zps4f5db42b-1.jpg

DSC00568_zps32fbf4fe-1.jpg

the steering box must of broke free from its mount at some point so there was an M12 bolt and sleeve going through the rear mount.
DSC00577_zps8333bf12-1.jpg

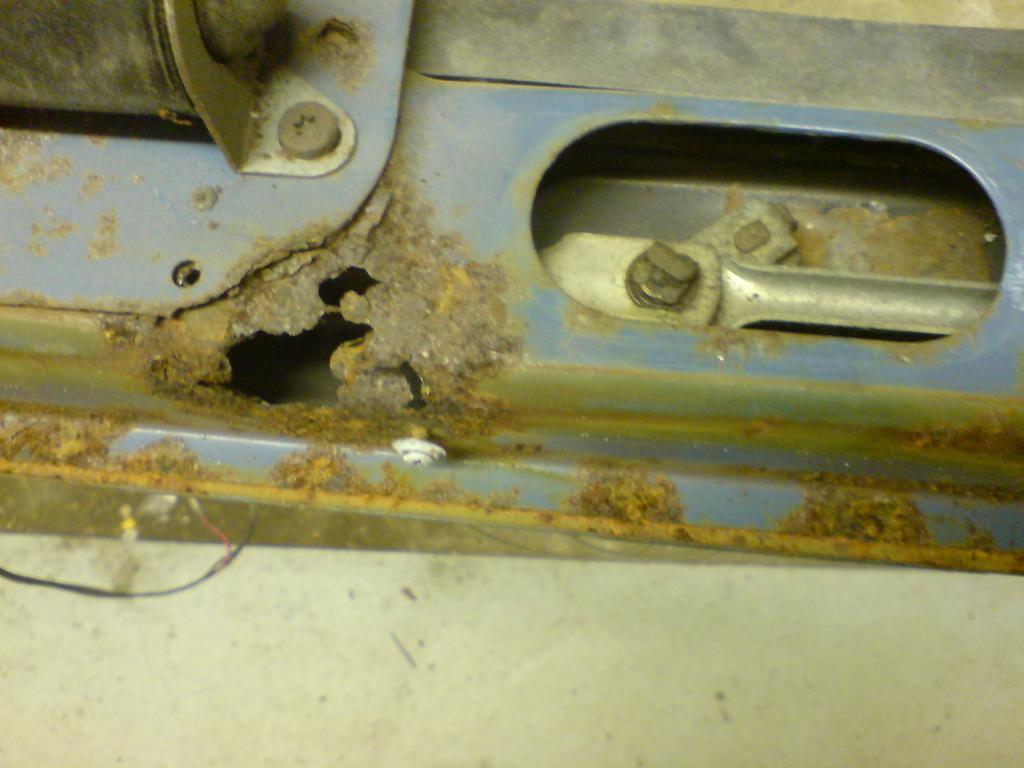
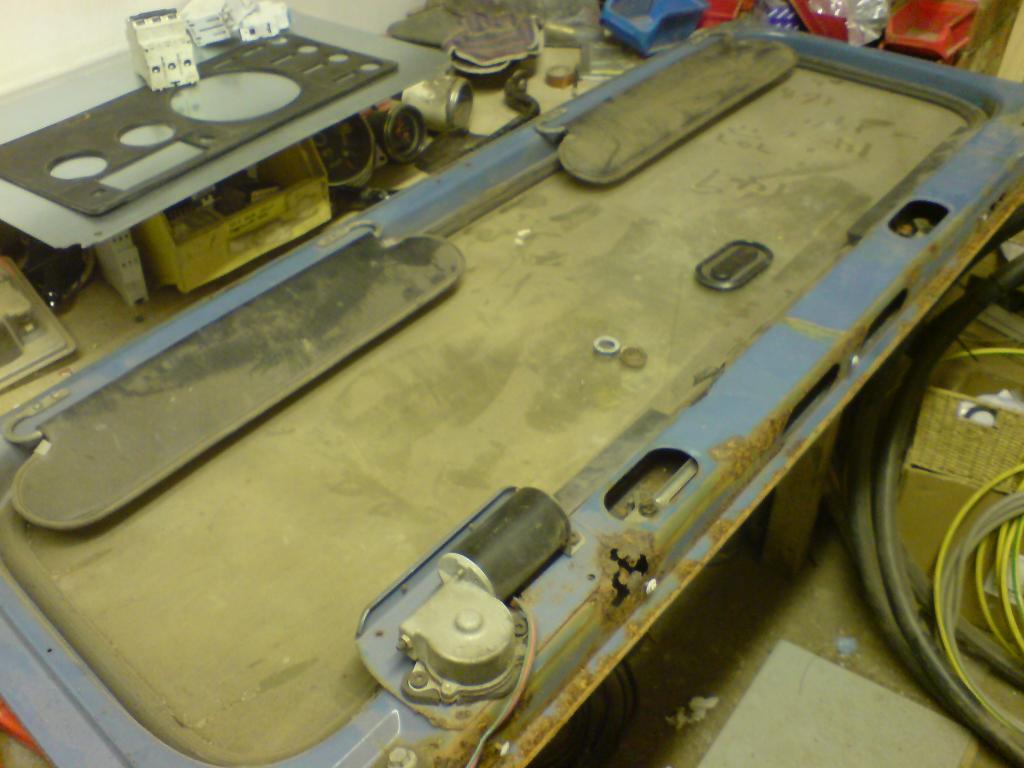
the windscreen frame was past economical repair.
DSC00621_zps83afae9b-1.jpg

DSC00622_zps3e304cfb-1.jpg
 
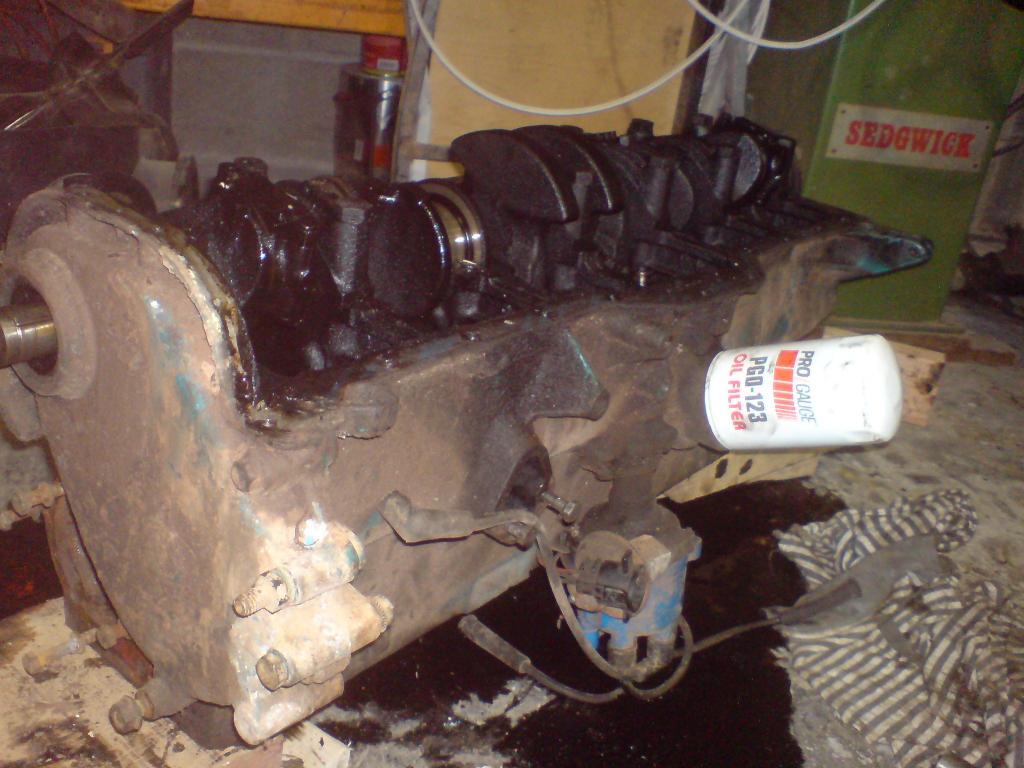
The engine which unfortunately isn't the original one that came with the Jeep was slightly worn.:banghead:
By the sounds of it the engine had been removed from this one to keep another Jeep on the road and then blown up whilst in the other Jeep so i have no idea where the original engine is now probably scrap:(
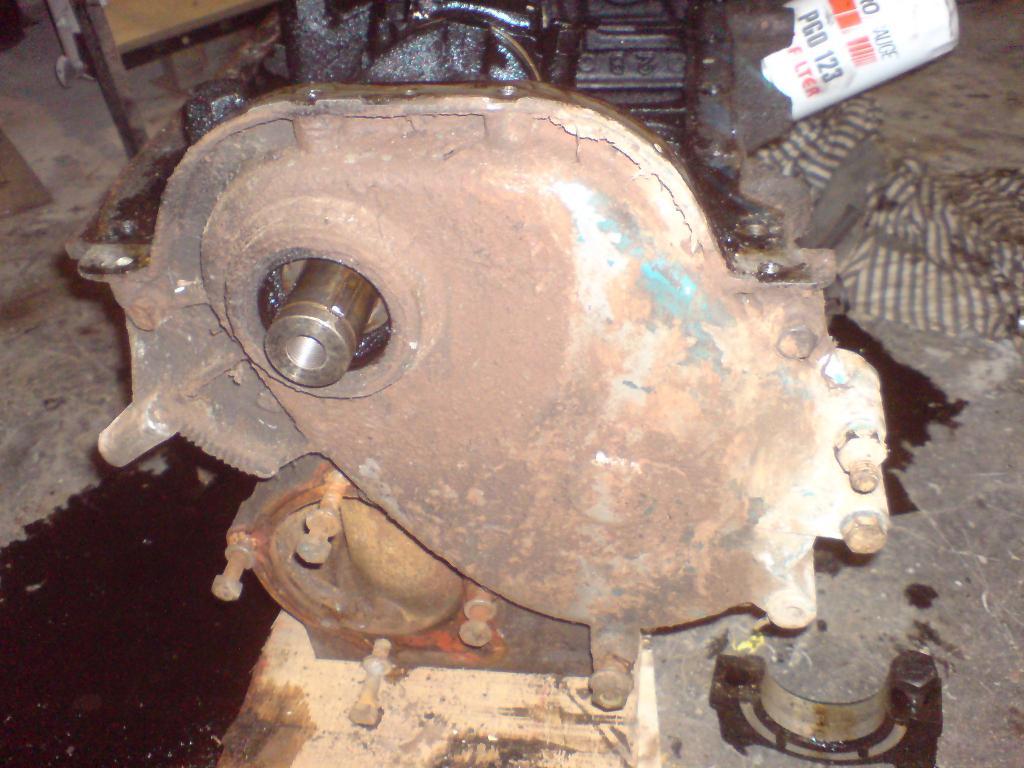
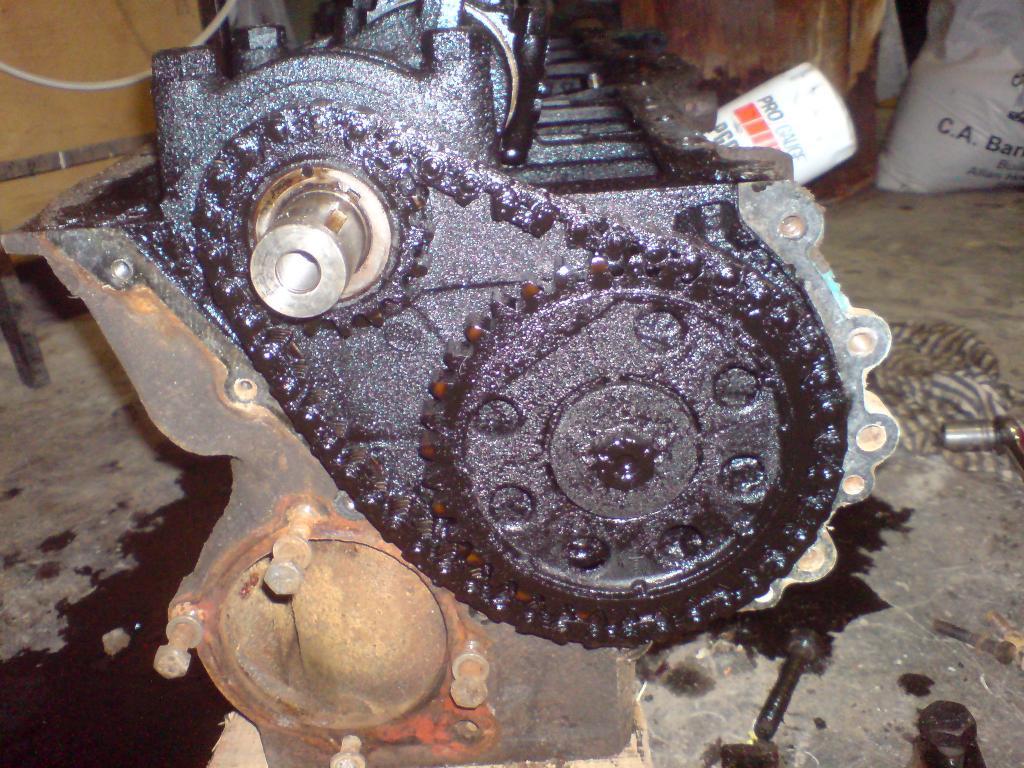
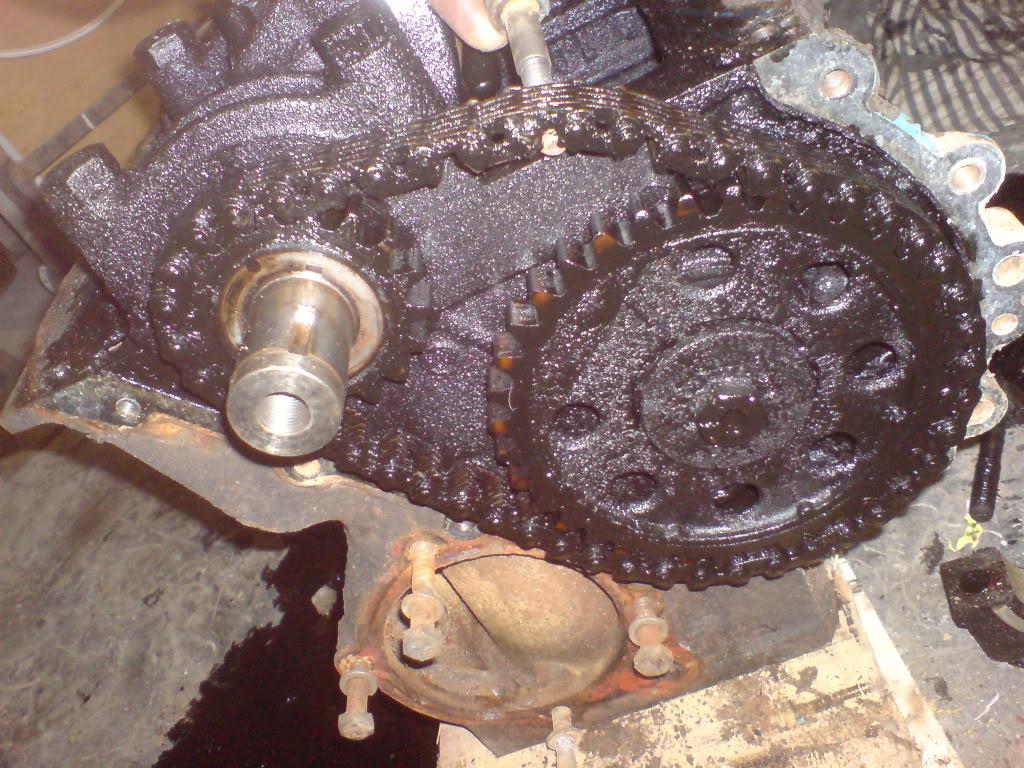
I have no photos of the bores but lets just say there was a very noticeable bump when you ran your finger up it and as you can tell from the photos the timing chain was ever so slightly stretched and the insides full of crud.
To be honest when i was told it was a "good en" i thought i would be very lucky if it was and i was proved correct.

DSC00865_zpsbe5353ef-1.jpg


That looks a bit slack!
DSC00868_zpsc1a42857-1.jpg


Yep just how much slack can a 4.2l tolerate in its chain?
DSC00869-1.jpg


DSC00867_zpsb890e840-1.jpg


Flatlander racing provided me with the rebuild kit and the engine now has an oversized bore, a reground crank, new bearings,piston and cam etc so should hopefully be good for a bit longer now.
Ill get some photos of the shiny painted engine on later on in this thread ;)
 
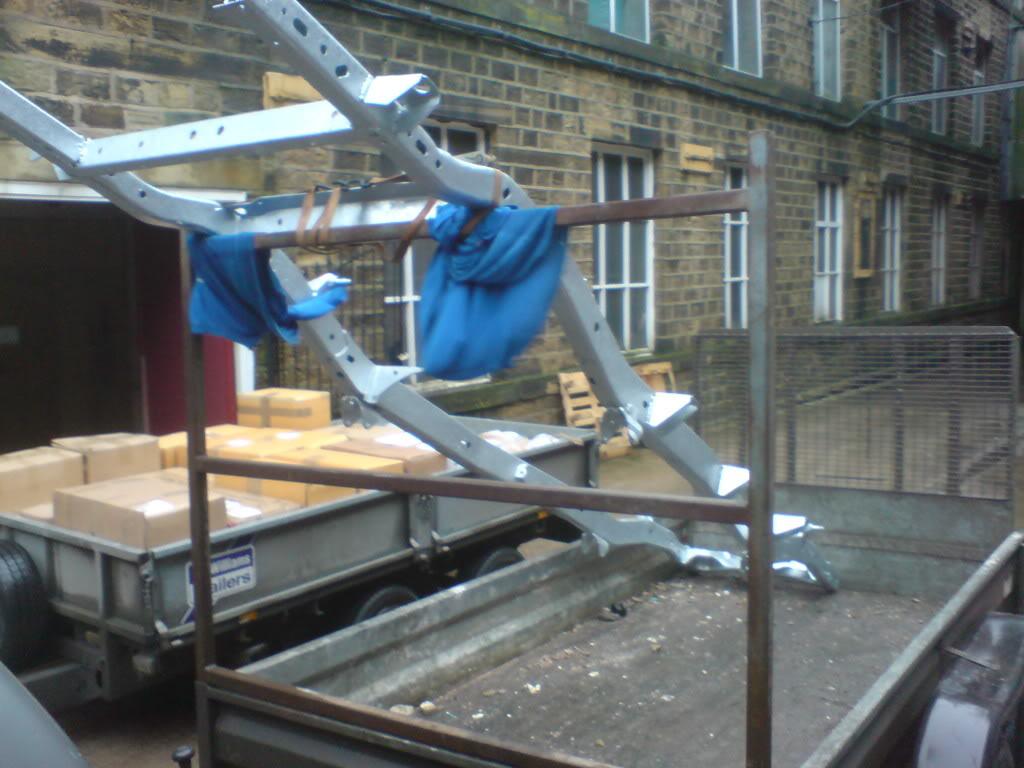
Chassis repaired where necessary it had a trip to the warm zinc bath.
It then got painted with some black gate paint used for galvanised railings and gates etc and it adheres to the galv like crazy.

DSC00764-1.jpg


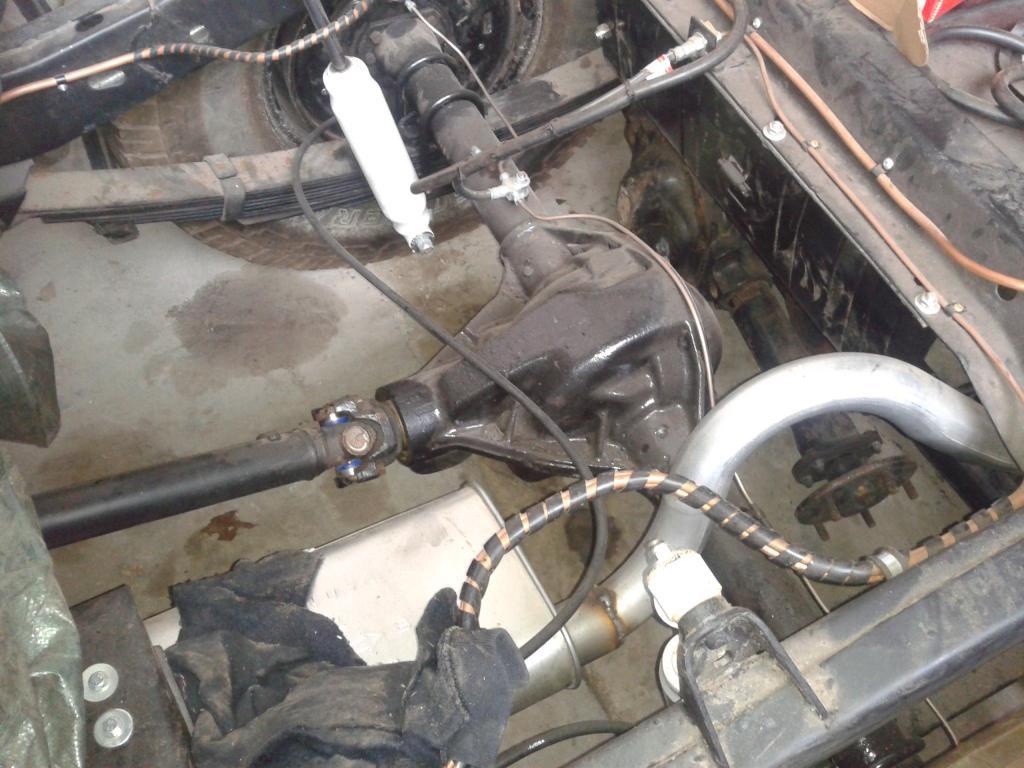
Had some 4.27 ratio Dana 30 and a Dana 44 from an earlier CJ5 or CJ6 kicking about that i bought for spares, so moved the spring perches on the D44 and fitted that to the rear instead of messing around getting one piece shafts for the Amc 20. The 20 was a 3.31 ratio anyway and probably not much good on the intended 33s i intended fitting i have kept it though as its part of the original motor and seemed a bit too good to scrap.
Besides one piece shafts would need to be imported and i also got the 11" drums on the 44, that extra inch may make all the difference....

20130223122805_zpsb4ec10ad-1.jpg


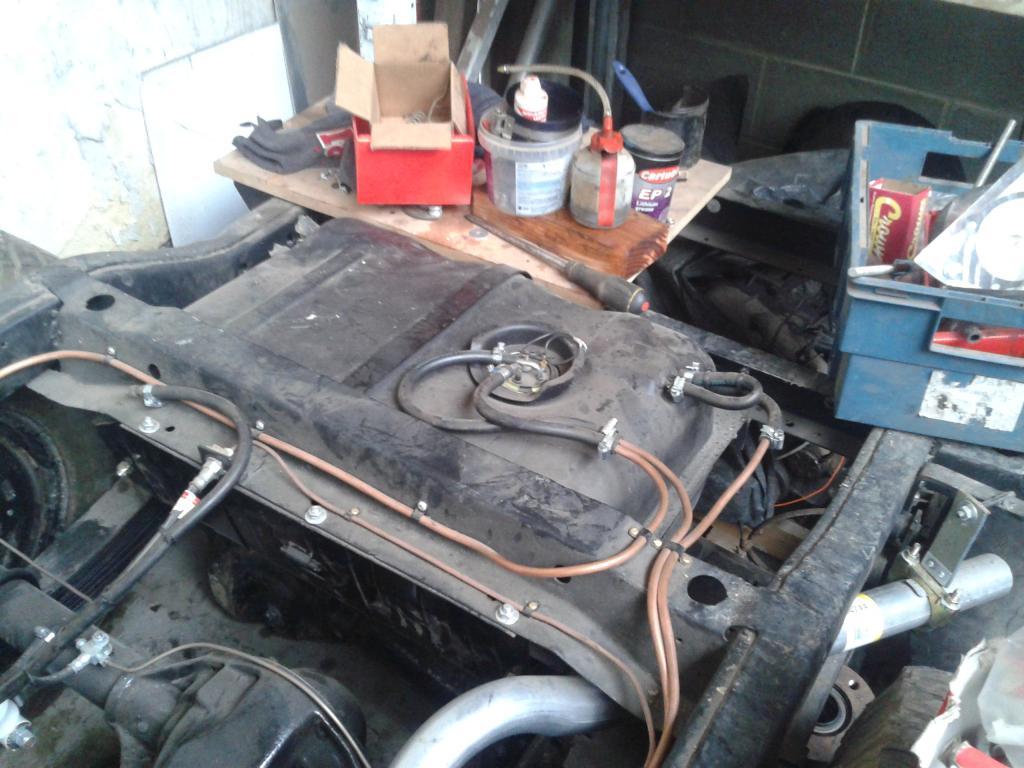
New fuel tank made in Canada, but on the UK Ebay for a bargain £50 or about $75 in your money which is bolted in and piped up ready.
Have to use copper tube as steel pipe wont ship very easily from the States and copper wont corrode the same anyway. Same goes for the brakes which are Cupro-nickel and all have to be hand formed.
I share a workshop with a joiner and the sawdust gets everywhere which is why it looks so dusty and thats with a sheet over it.

20130223122816_zpsbc83b577-1.jpg


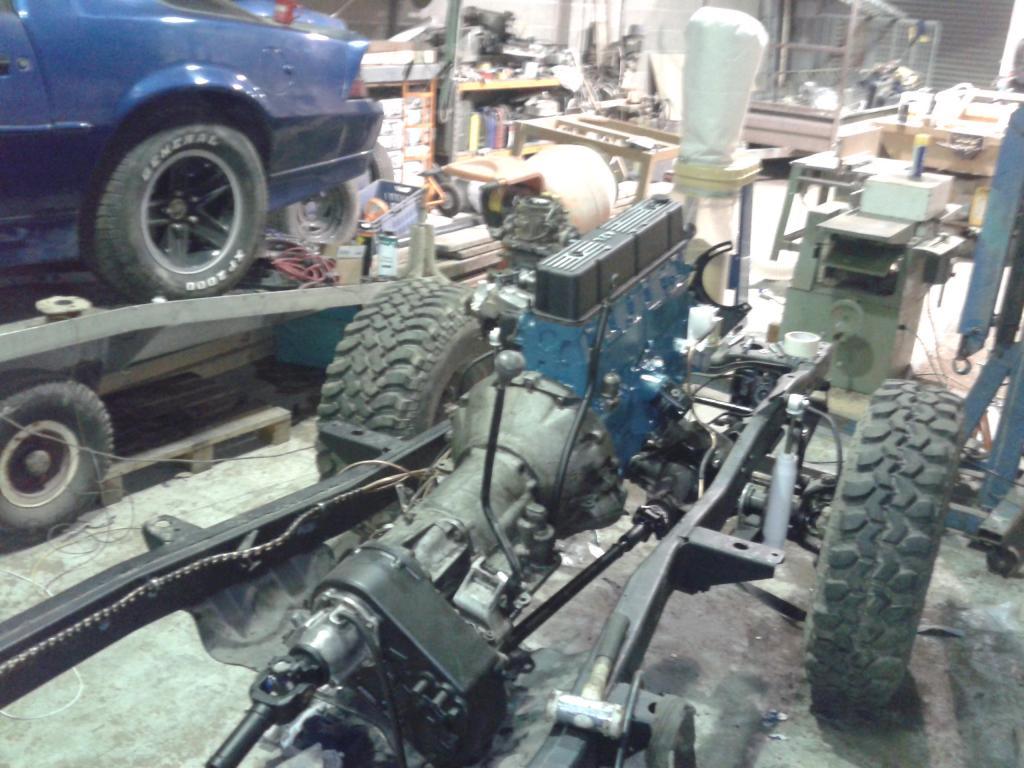
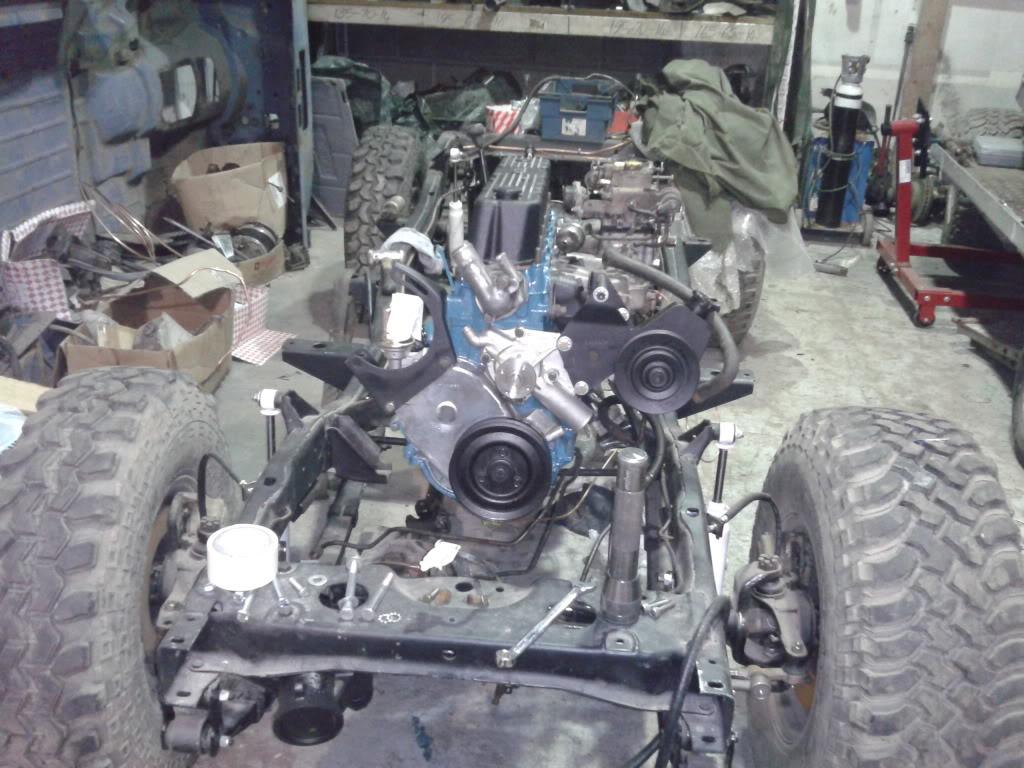
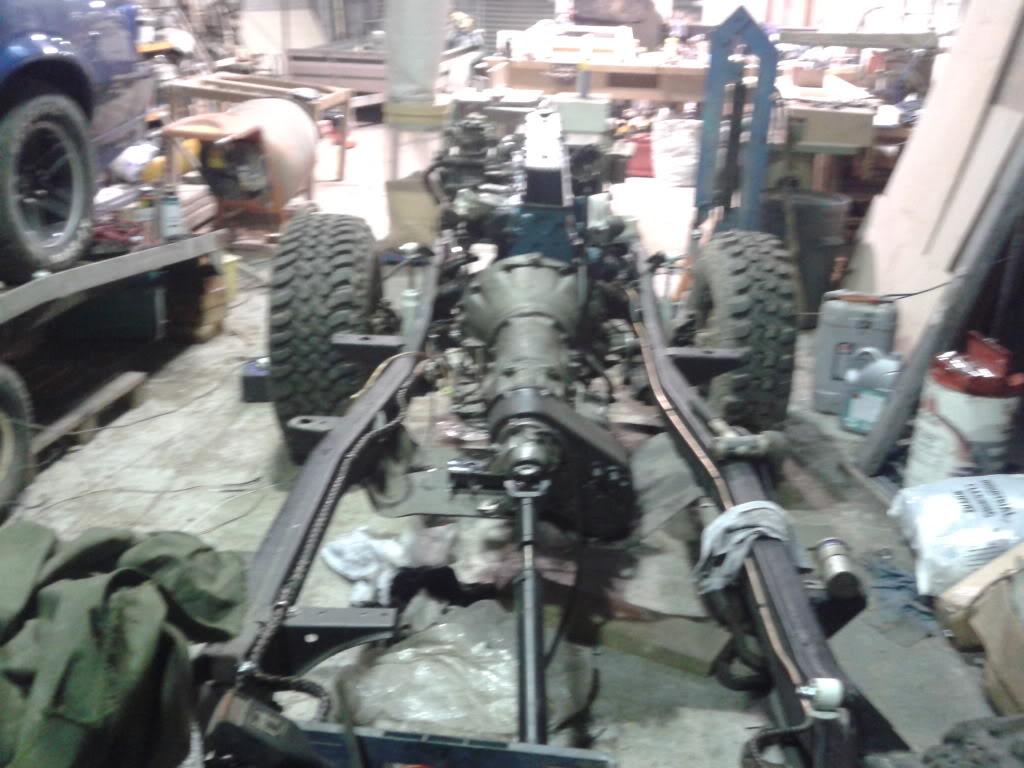
So this is where my chassis and engine are up to at the moment sat there waiting for a body tub.

20120325201831_zps73aa21b4-1.jpg


You can just about make out the link arm for the right hand drive on this photo as they dont cast the extra hole in the steering knuckle on the opposite side (its just to the left of the steering knuckle if you look closely)
20120325201706-1.jpg


20120325201720-1.jpg


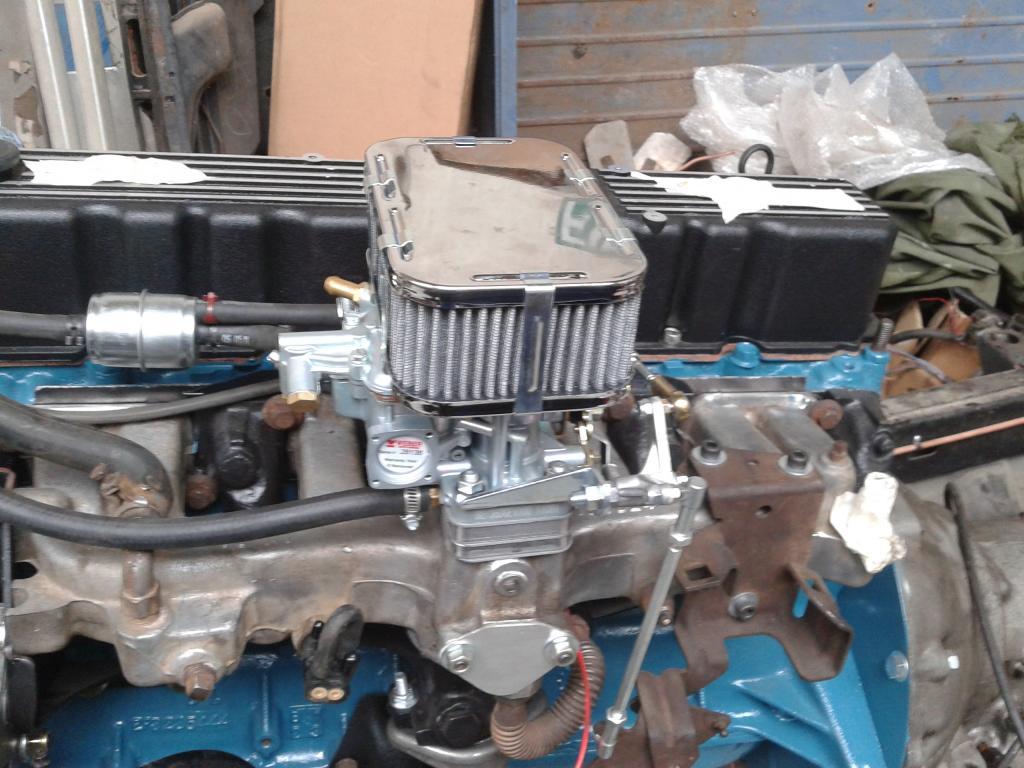
To get the rebuilt engine going i bought a Weber carb from 4wd hardware which bizarrely was cheaper to buy from them with all the linkages and everything needed than i could buy just the carb for over here:huh:
Still have some brackets and manifold to clean up, but i was excited about firing the old girl up:o

20120702164143_zps61ae7f62-1.jpg
 
So to the tub etc.
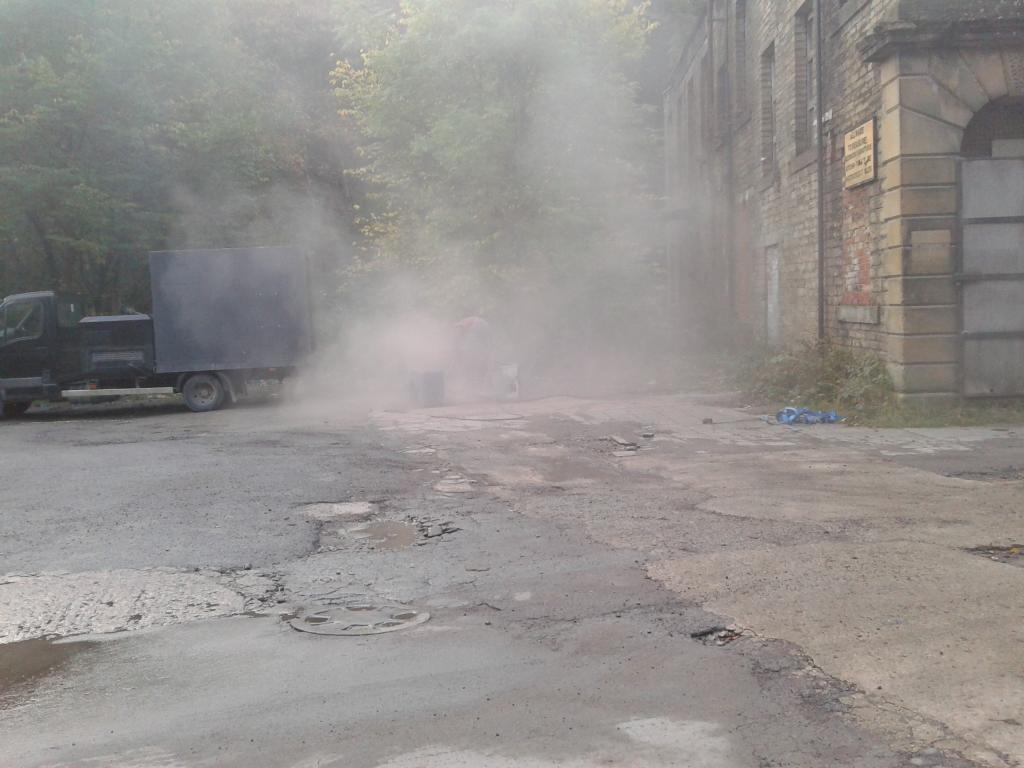
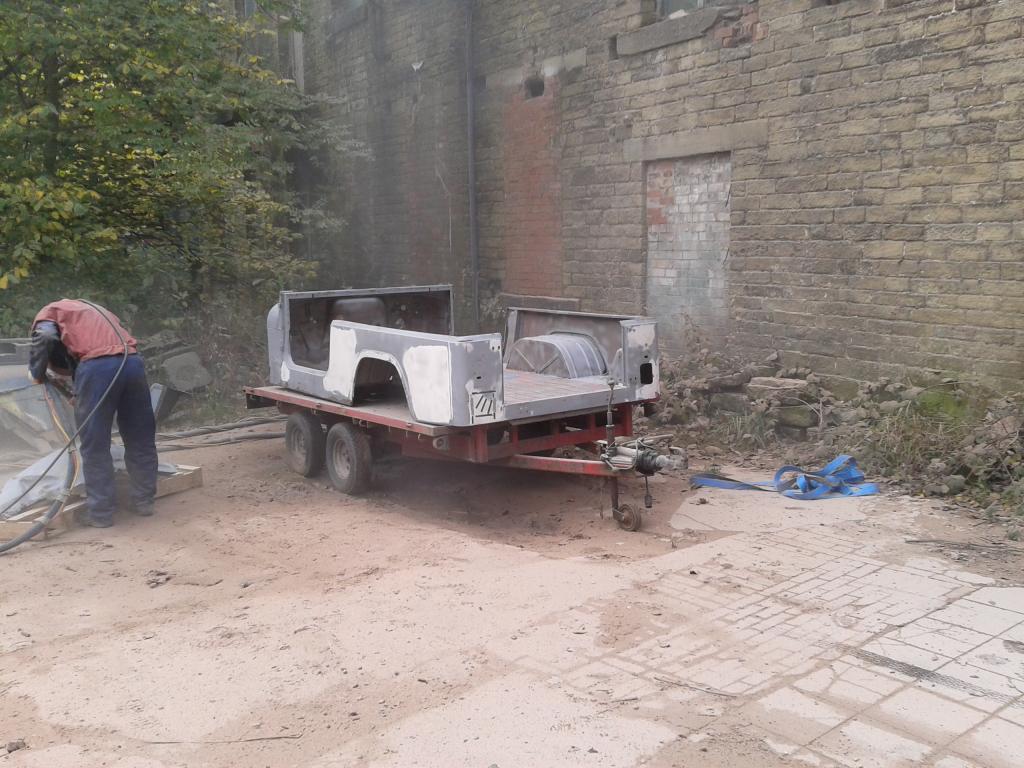
Found an easy way to remove all the rust etc :)

20121013083422_zps2c9302e8-1.jpg


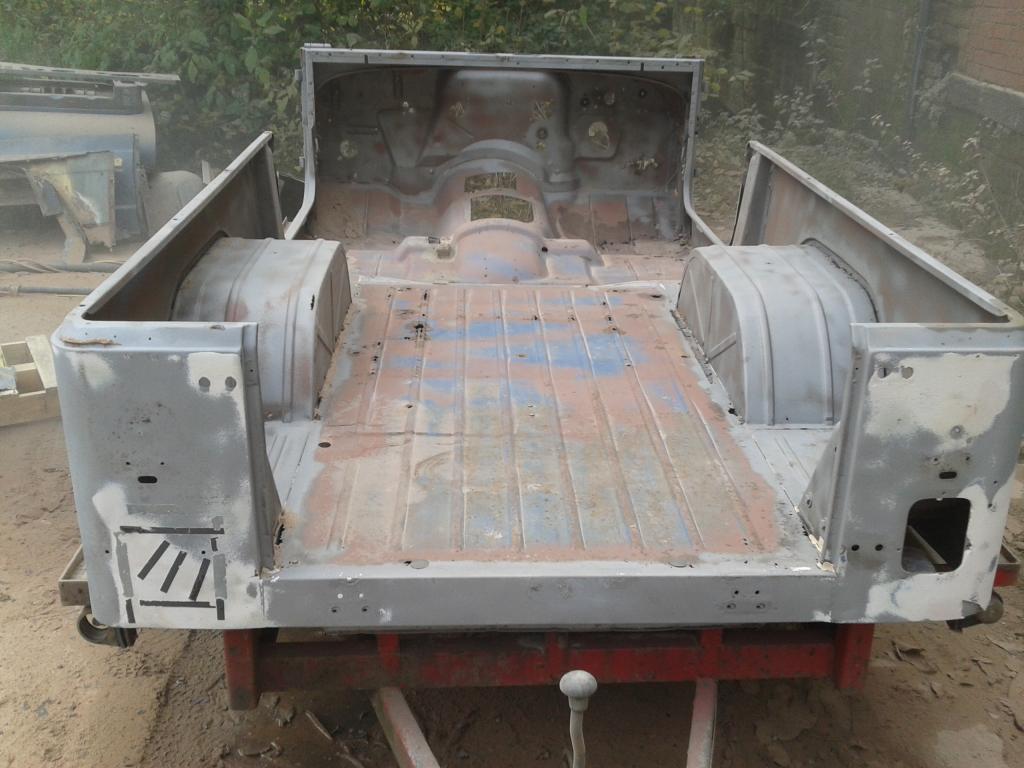
It looks like she has been filled before
20121013102329_zpsac386c37-1.jpg


It doesnt look too bad on this photo but if i were to flip the tub over its not pretty.
20121013102339_zps3e31cc9e-1.jpg


So with the windscreen and both fenders beyond economical repair i sourced some Crown ones which will have to do as Crown parts are available here quite easily.
Grill was a bit the same so a new one of them has been ordered, again from Crown.
20121104141857-1.jpg
 
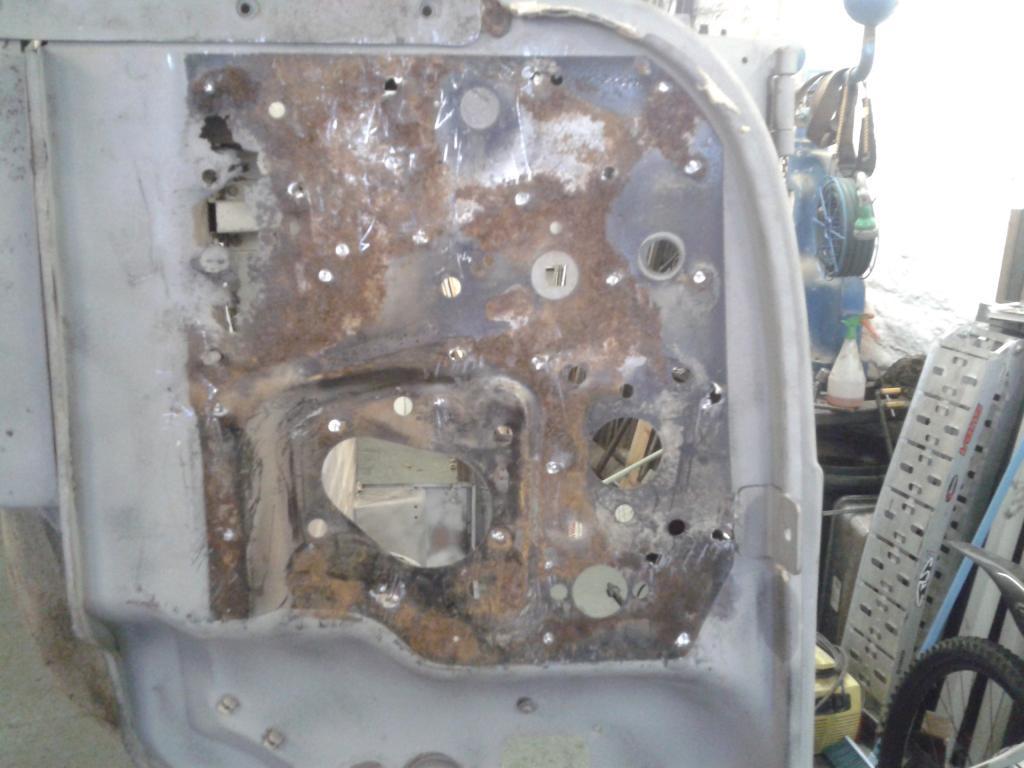
Someone must of been bored in Toledo and gone spot weld crazy on the reinforcing plate on the bulkhead, i think there were 36 spot welds in that little piece that i drilled out, so i can get in to repair the hole where the accelerator pedal mounts.
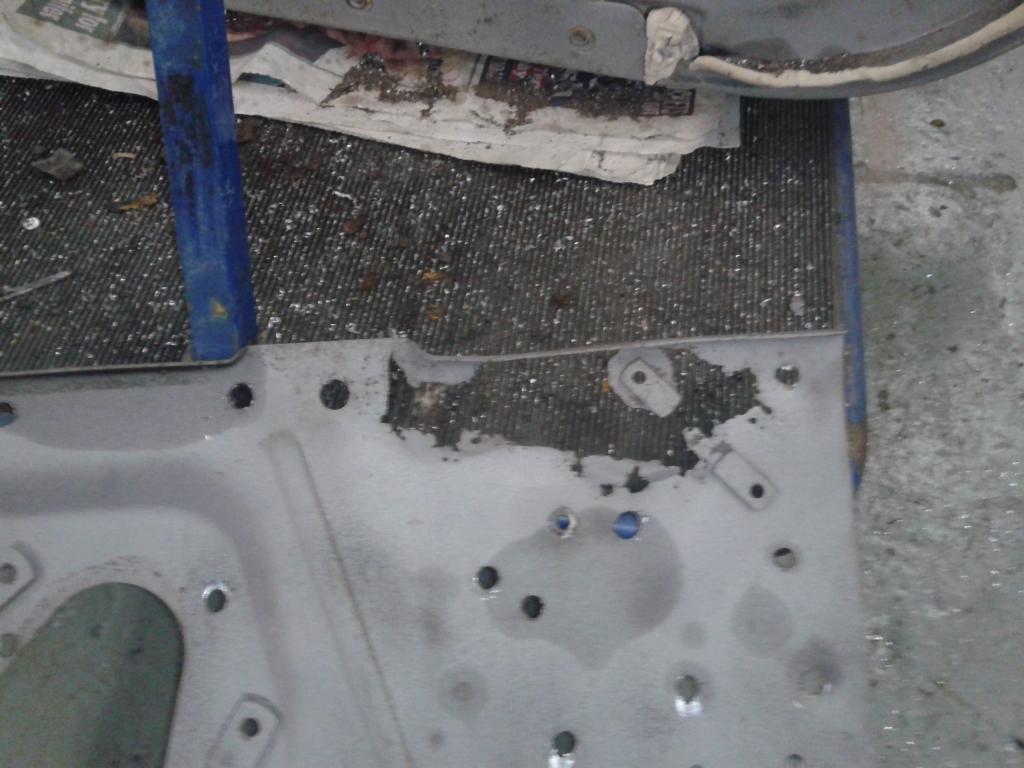
In comparison i think the front floor was held in with about 10 spot welds in its entirety.

20121103125238-1.jpg

20121103125310-1.jpg


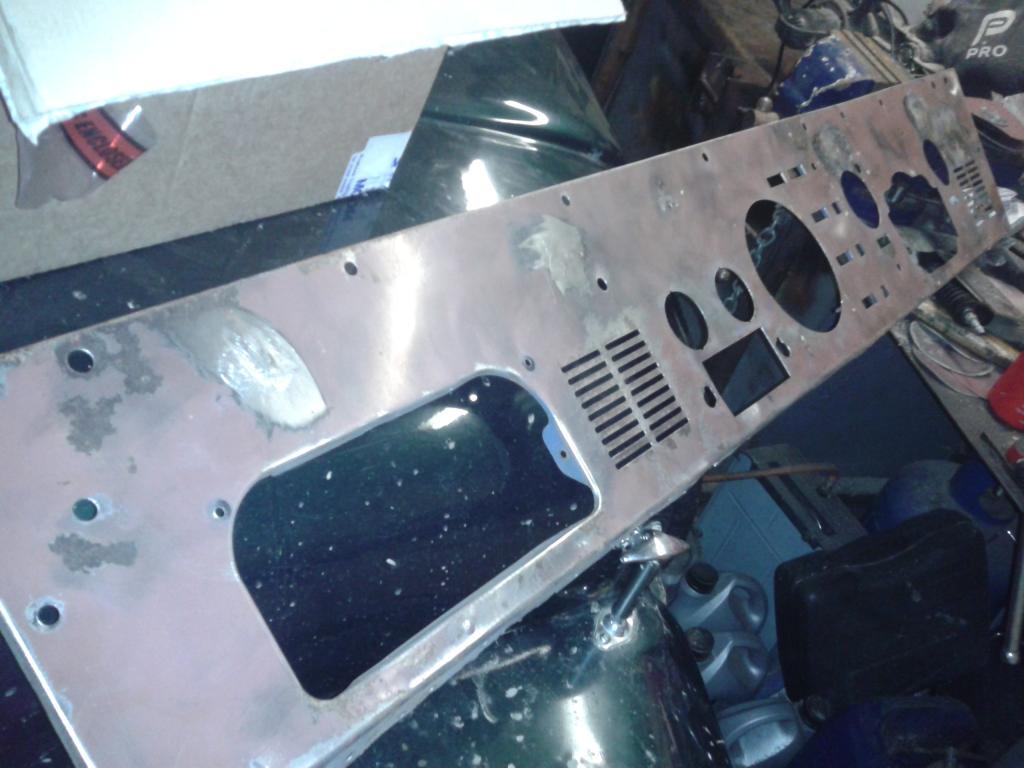
Luckily dashboard just needed a bit of welding as i dont think a reproduction right hand drive panel will be available.

20130222185051_zpsd6016f79-1.jpg


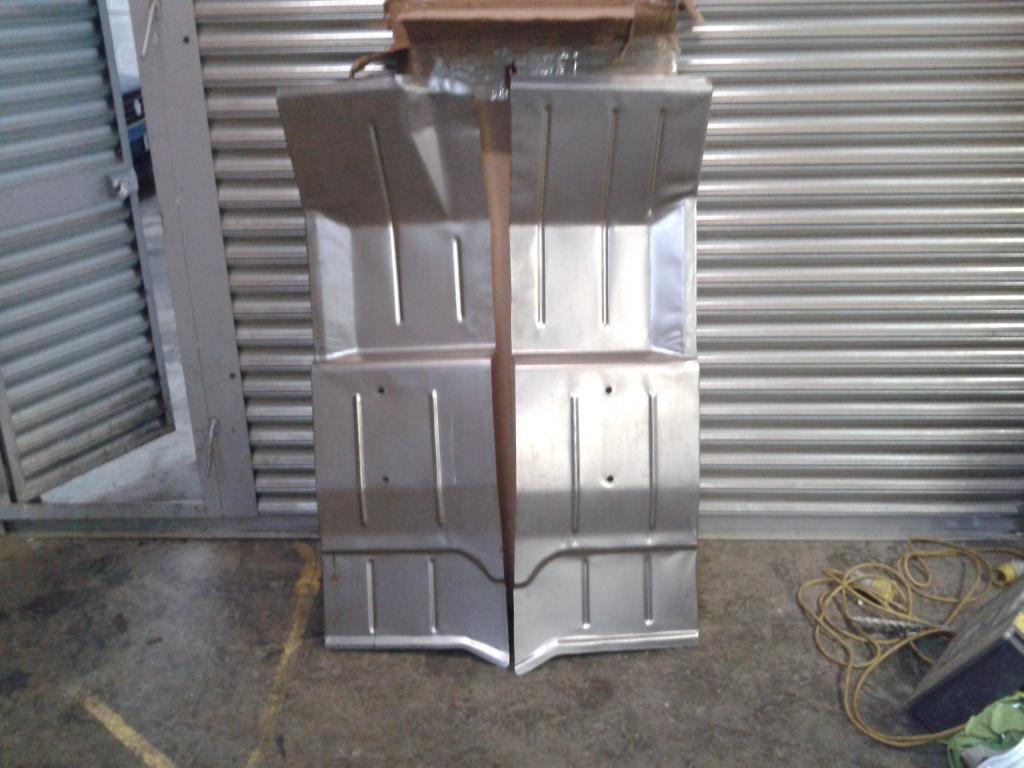
New front floors which i managed to get hold of and were available over here.
20121114125646-1.jpg


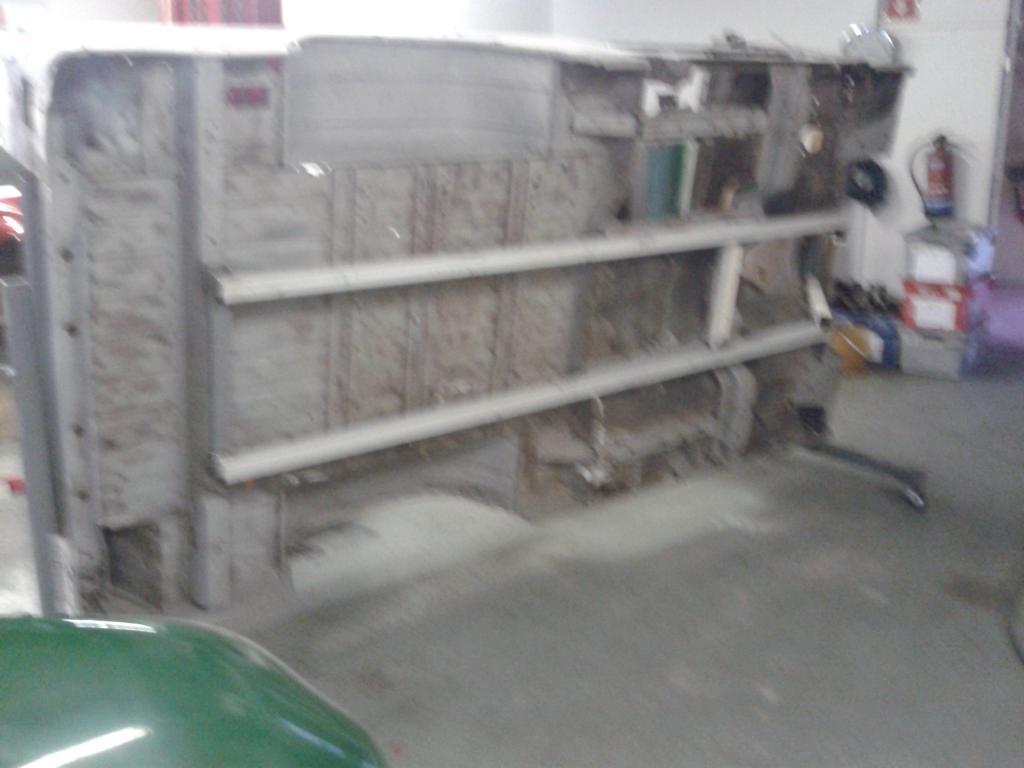
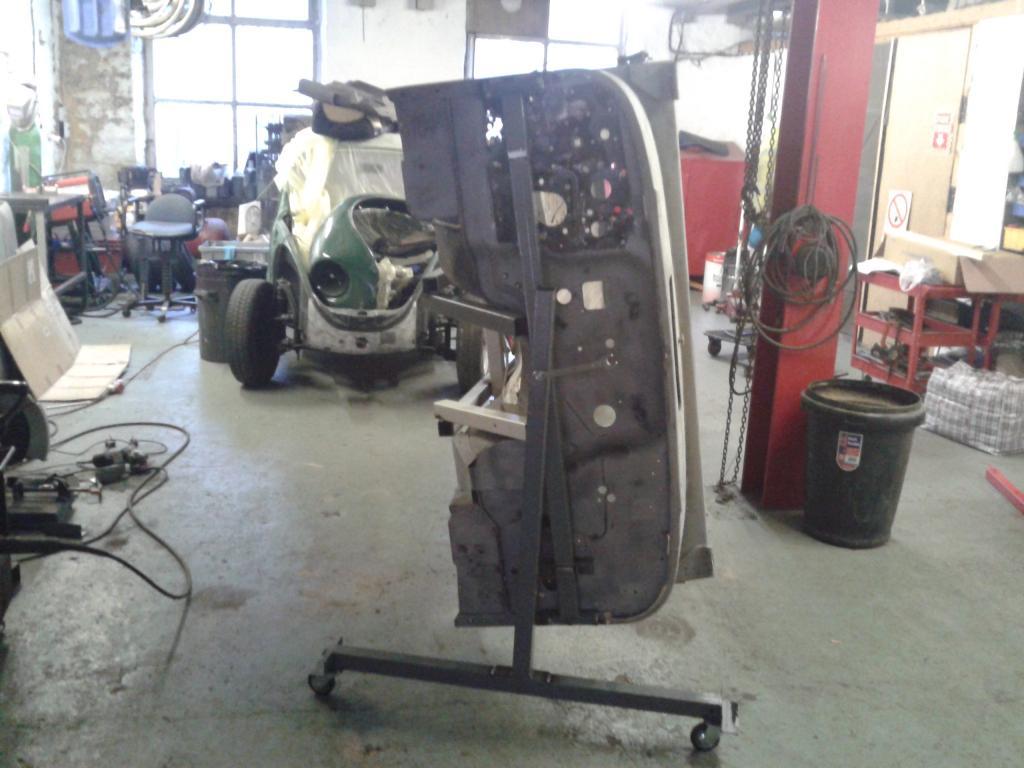
And we now have the tub mounted in a rotisserie to make life easier and to brace it whilst most of it is cut out and replaced.
20130105152011_zps75980b8a-1.jpg

20130105152027_zps77e5c5e9-1.jpg


And thats where i am up to!.
Progress is very slow as work is manic at the moment and i still need replacement panels but i am very much looking forward to having the tub back on it.
Surely it cant take much longer and much more money :banghead:
 
welcome.. and nice start!

I'm married to an ex-pat from Birmingham so I've been to your fair land a few times (she goes home 1-2 times a year, I usually stay here and work unless it's a holiday)..

good luck on the build.. for your RHD questions, I'm sure the postal owners here can turn you on to some solutions..

cheers
 
Did i miss questions in there somewhere?

No, Eric, you didn't. I was simply offering that there is subject matter expertise here in the forum dealing with RHD models in the event that the OP did, ever, have questions. Perhaps I should have been more explicitly conditional.
 
Last edited:
Thanks Bushmaster can you please get her to bring a Scrambler rear floor, a half top and bulkhead and some cheesy popcorn in her hand luggage next time shes over please:D
 
Wonder if GR8 Tops would send you a top and bulkhead??

And contact Ed and Mike, they seem to be able to get anything across the pond.
 
I think i may have sourced a half top and bulkhead in the UK:fingerscrossed: but don't know for sure until its in my hands.
As for Ed and Mike how would i contact them? Still need a rear floor and the corner pieces, although a good friend of mine seems to think we can do it in a pressbrake so may try that option first.
 
Back
Top