• Notice for iPhone users: DO NOT use the image size reduction option when uploading photos to the forum. This causes portrait images to post as landscape. We have added a warning to the image insert pop-up as well.

spankrjs's Biloxi, MS '83 Scrambler

Raymond. You're actually working inside. You've done some of your best work under a shade tree.

Yes, it is a little bit strange working on concrete again:rotfl::thumbsup::cheers:

I hope to get this suspension install finished up in the next few days, then I have a little bit of work to do to my red Scrambler, T176 shift fork install/a few new suspension bushings, then it's back to the yard time:crazy::thumbsup:
 
Did a little bit of work last night, before Monday Night Football:thumbsup:

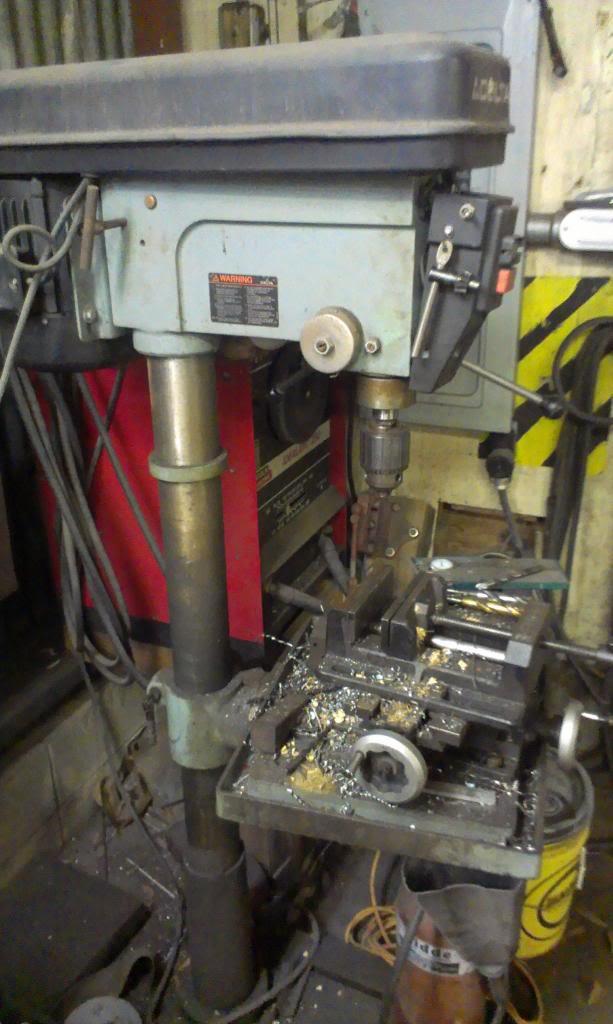
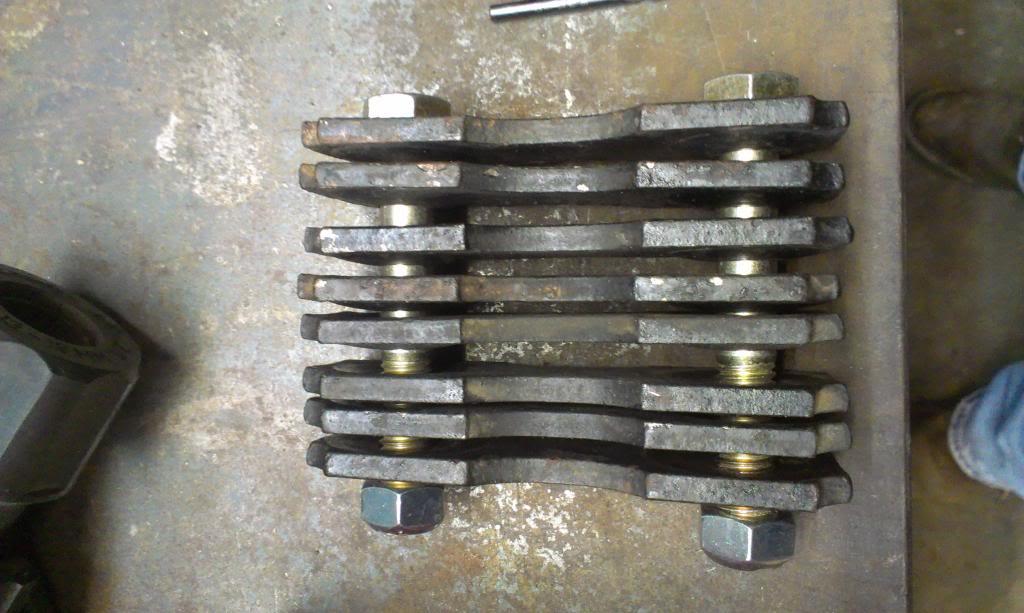
Stayed late at work, used the old drill press to drill all of the existing shackle bolt holes out to 1/2".

IMAG2550_zps9c9c0e7c-1.jpg


IMAG2549_zpse62657c2-1.jpg


While drilling out the holes, I noticed three interesting things:

1) All of the holes have the exact CL of hole to CL of hole distance.

2) There are slight variations in the locations of the holes, all within 1/8". This is why the edges do not line up perfectly in the above picture. This is not a result of my drilling, this is how they came from AMC. Really does not affect anything, since the CL of hole to CL of hole distance is the same, just kind of "sloppy tolerances".

3) There is definitely a "Top" and "Bottom" to the shackles. I did not pay attention to this before I pulled them off, but the way they are drilled, each side plate will have one end that has a little bit more metal between the outer edge of one of the holes and the outer edge of the shackle plates. I do not know why they are like this, but they are.


Can someone with an original CJ tell me how they go, i.e. "more metal toward the outer edge of the shackle" facing up or down? The difference is not large, probably does not matter, but the shackle plates are made like this, maybe there is a reason, like clearing the bumper/frame:shrug:
 
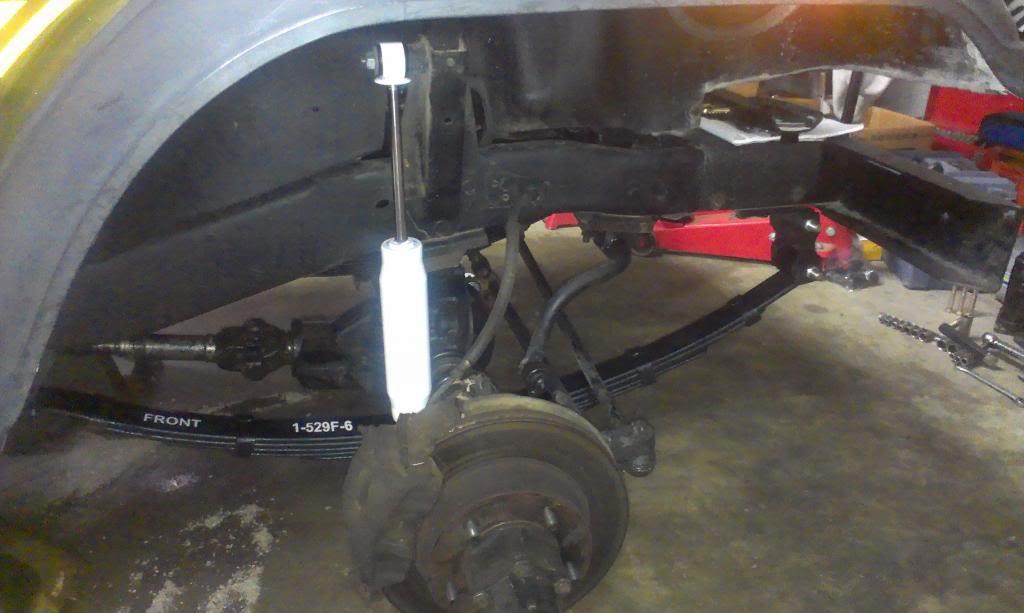
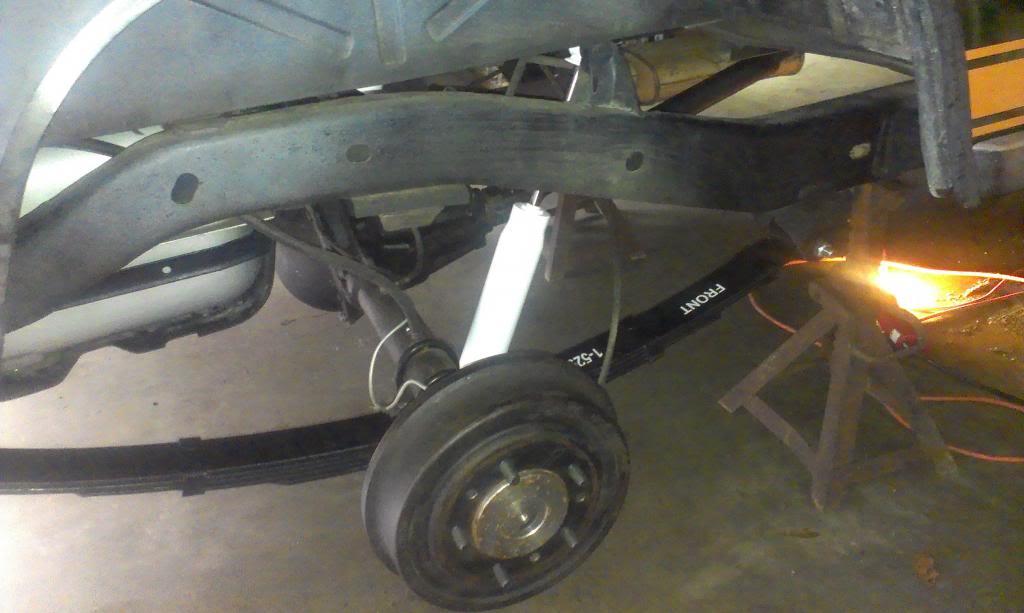
I did a bit more suspension work last night.

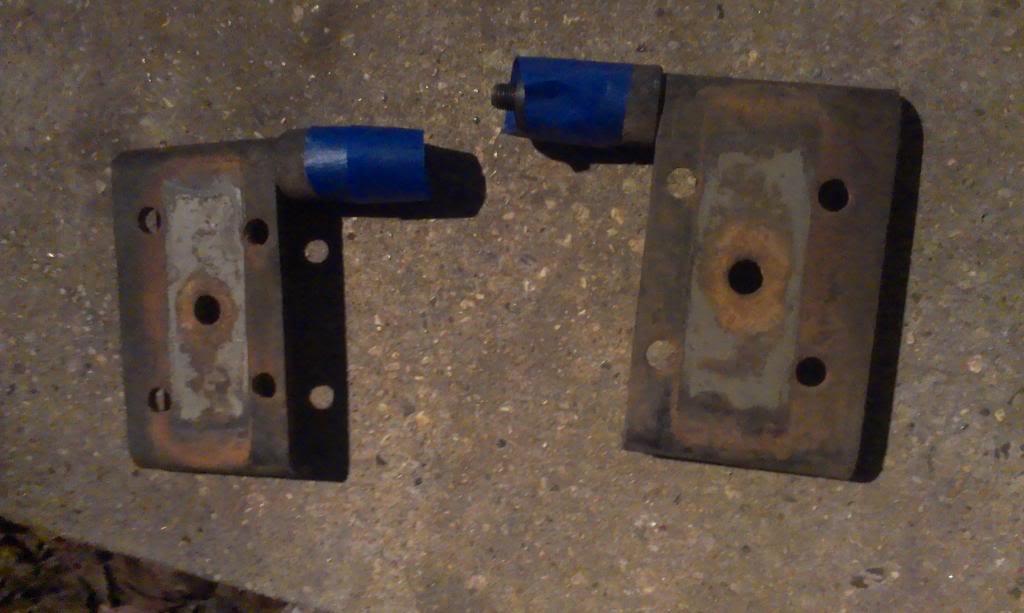
Decided to put a bit of paint on the spring plates, just where they were bare metal. By the look of them, I guess they were painted after assembly, since the outline of "bare metal" is perfect??

IMAG2551_zps96ffbfd4-1.jpg


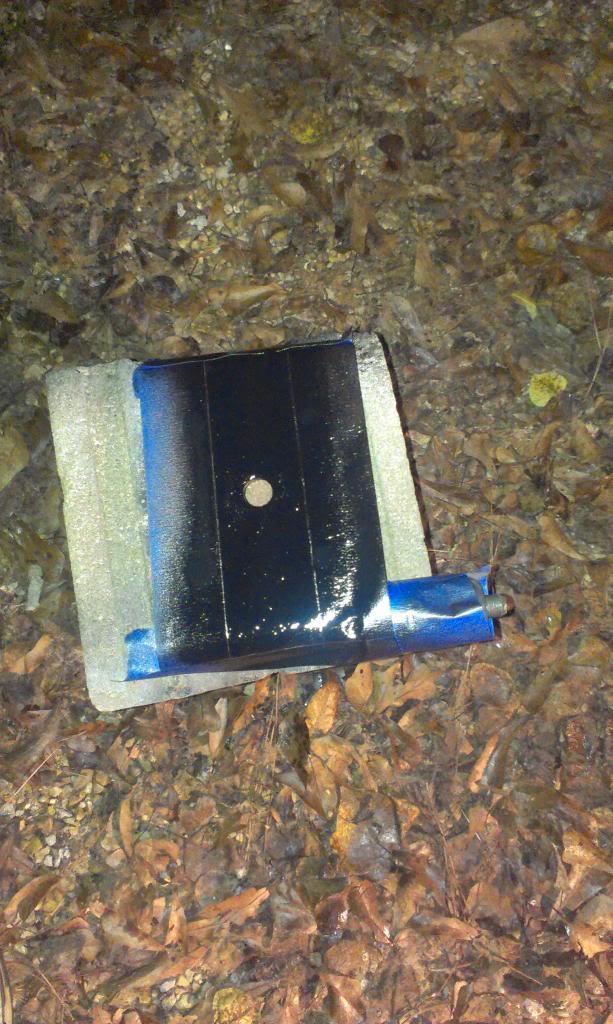
I hit them with a bit of primer, then some black paint. This is probably not necessary, but since they were down, figured why not.

IMAG2552_zps5888bafd-1.jpg


IMAG2555_zps9cf80867-1.jpg


That was a pretty easy little project.


Now for my problem:confused:

QUICK NOTE ON SHACKLE/SHACKLE HANGER BUSHINGS


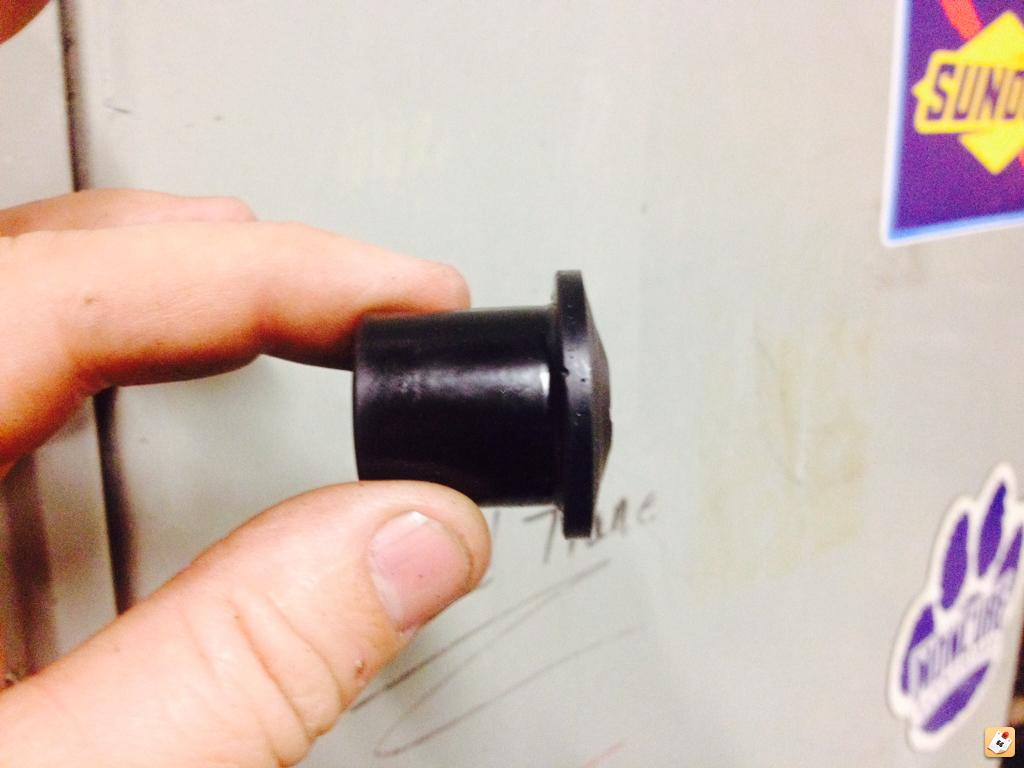
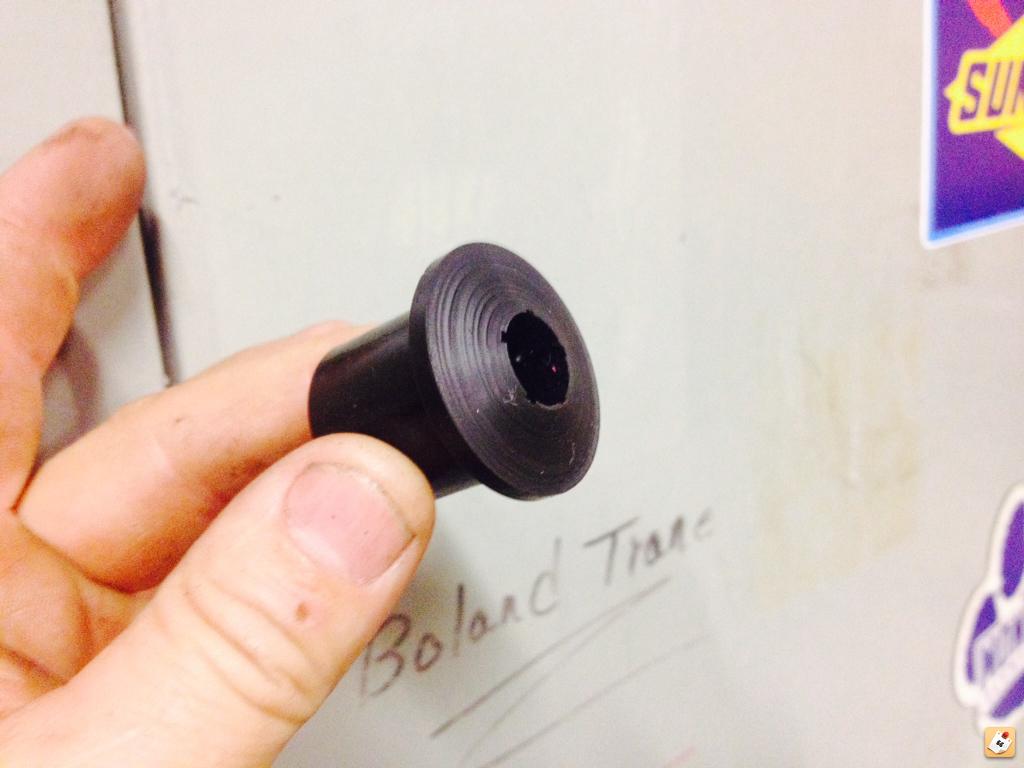
Two quick pictures, which will explain the issue.

IMAG2556_zps89669c10-1.jpg


IMAG2559_zps7e1bfda6-1.jpg


The shackle hanger bushings I purchased are aftermarket polyurethane, and they have the typical polyurethane "flat/fat faced" outer portion of the bushing that is compressed next to the inside face of the shackle.

The Superlift springs came with bushings which mimic the factory bushings, i.e. they are rounded/concave on the part that is compressed next to the inner shackle face.

If you try to use two different style bushings on the shackles, you have a gap problem.

On this Scrambler, to solve this issue, I ordered factory style rubber shackle hanger bushings, so that both the upper and lower shackle bushings profiles will match. Quick note - the factory bushings have an inner ID that will work with the 1/2" bolts that I am using. The factory bolts are smaller, but the factory uses a steel spacer that has a 1/2" OD.

The factory shackles are made to work with the "rounded head" style bushings. On "Yard Scrambler", I purchases a master bushing kit, which replaced all of the bushings with polyurethane. I used the stock shackles on that Scrambler, with no problem. So, it is possible to use the "flat faced" bushings with the "concave" factory shackles, maybe just not the best way to go, but it does work.

So, I guess the moral of the story, use the same style bushings for the top and bottom of the shackles and you will not have any problems:thumbsup:

I am now waiting on bushings, so no progress for a few days:(
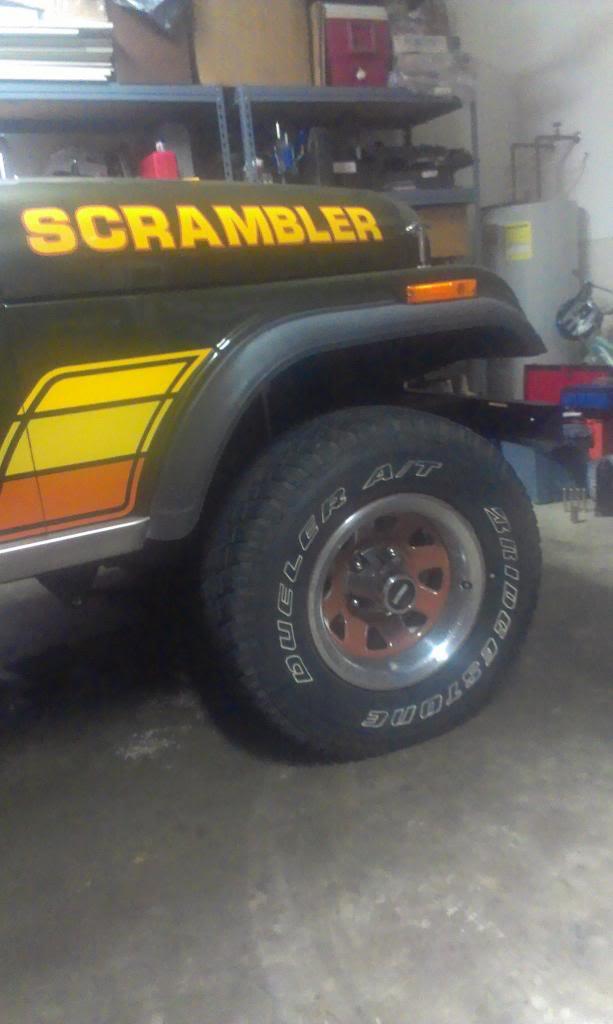
The worst thing, the stock front bushing came out with no problems. If it wasn't for the "age hardening", I could probably reuse them. The rear bushing got tore up during removal.

That's it for now:wave:
 
Quick Note:

DO NOT BUY THE P.O.S Crown "Replacement" bushings:(:(

They do not match the factory bushings at all:banghead:

1) They have a "fat" head like the above pictured polyurethane, so they will not work with thin factory bushings
2) They do not fit tight in the shackle hangers, they fall out:eek:

So, I had to order some different bushings, will post some pictures/updates once I make some progress:fingerscrossed:

I went to the local NAPA, looked up these bushings in the "old paper book". I am pretty sure even the NAPA bushings have a fatter head then stock. But, you can also buy complete rubber bushing kits from NAPA, and the leaf spring bushings even have the thin metal sleeves like the stock bushings. So, if you don't like polyurethane, NAPA may be a source for rubber bushings. Once you get the part #'s from the book, you can look them up on the website, and it will give you all of the measurements:thumbsup:

I am going with poly bushings, to match the rest of the bushings:twocents:
 
You OK my friend? A week to install a suspension? YOU can assemble an entire Scrambler in that time. :bacon: :wave:
 
You OK my friend? A week to install a suspension? YOU can assemble an entire Scrambler in that time. :bacon: :wave:

I wish it was only one week, this might turn into a 3 week long project:crazy:

And what's worse, this thing is super clean, not fighting rust or needing to do any other repairs, this is a simple bolt on project:ZZZ:

It is my fault, I have had all of these parts for a few months, I could have at least looked at them before I tore the Scrambler down:banghead:

Waiting on bushings, hopefully I can wrap this up before Christmas:fingerscrossed:
 
Any updates on this? I need to pick up a set of bushings for my cj5.

I enjoy your postings. Very informative
 
I finally received the correct bushings, pictured below:

IMAG2581_zps1cec2d0e-1.jpg


IMAG2584_zps7b58566a-1.jpg


Use the bushings pictured above if you are using stock shackles, which have the round indentations where the bushings ride, and if your leaf spring bushings match.


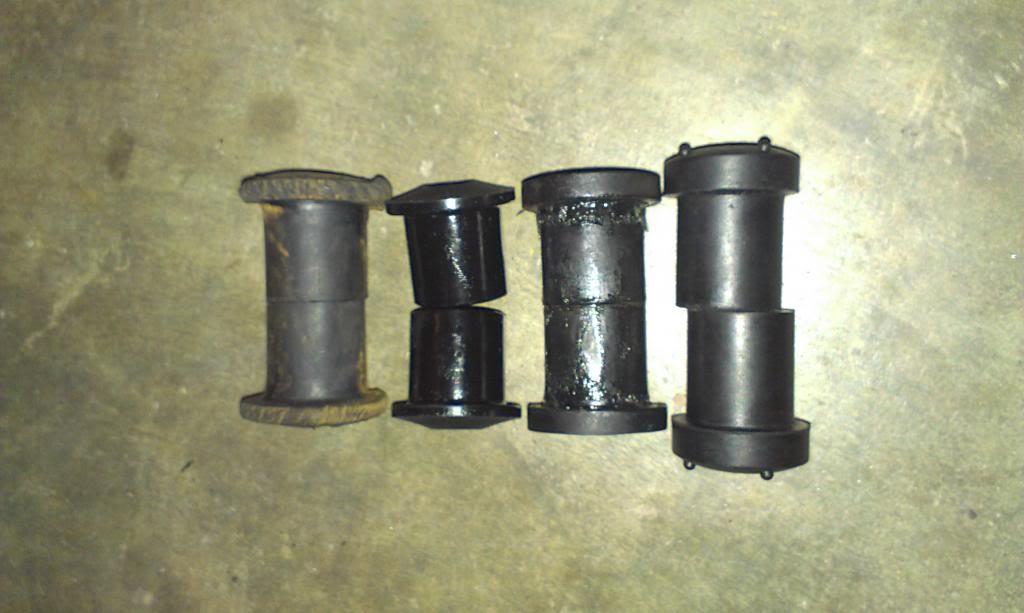
To better explain the bushing differences, picture below, from left to right:

stock rubber bushings
the bushings pictured above, aftermarket poly that match the stock rubber profile
aftermarket poly to use with flat sided aftermarket shackles
totally incorrect crown "replacement" rubber bushings - too wide overall, too loose in the shackle hangers

IMAG2588_zps9f25c5b0-1.jpg


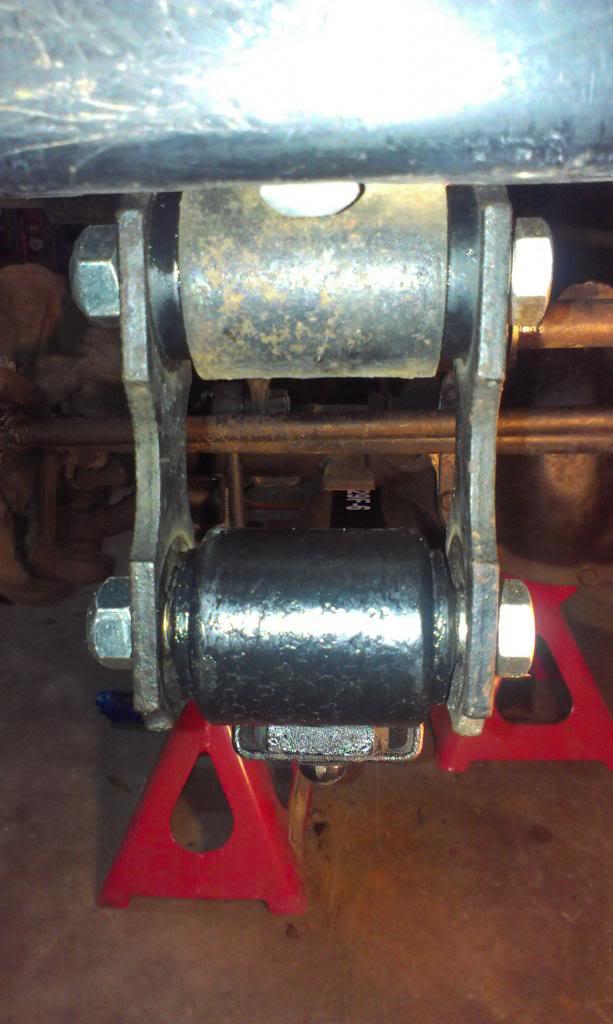
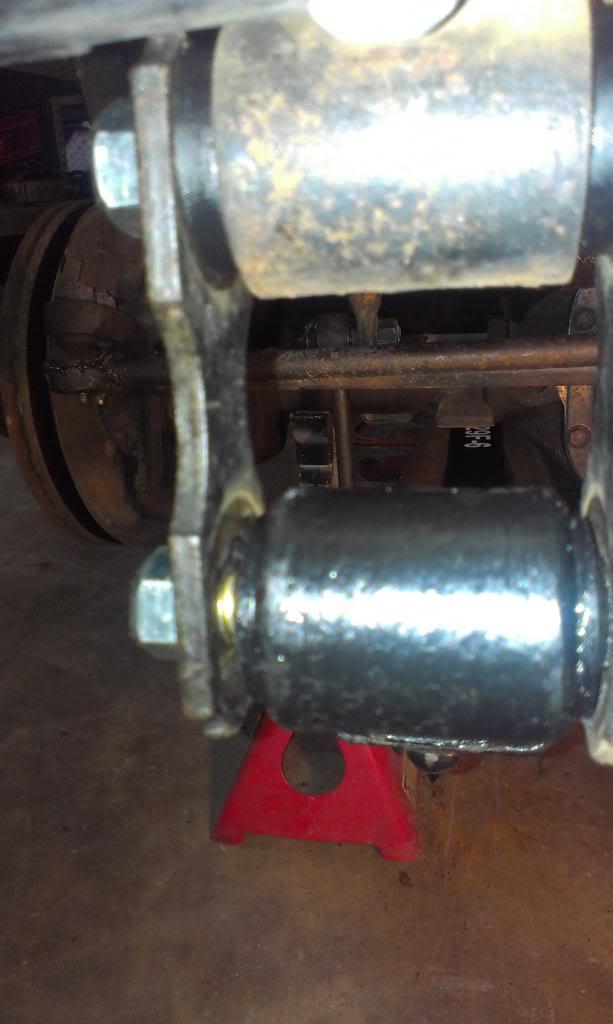
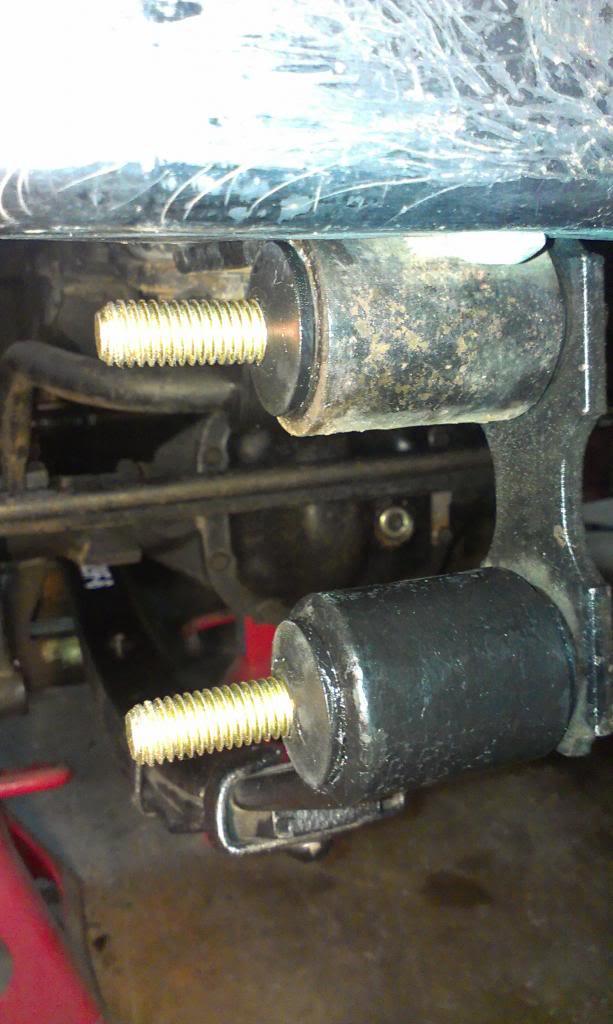
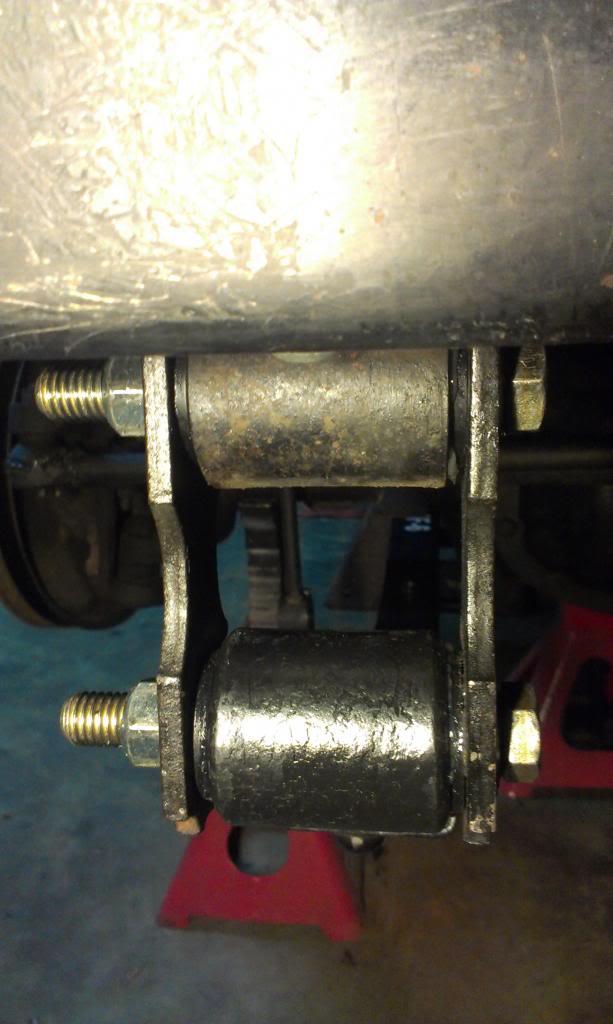
Correct shackle hanger bushings installed, note how they match the Superlift poly leaf spring bushings:

IMAG2590_zpsc848fb11-1.jpg


IMAG2592_zpse9248b9d-1.jpg


And yes, I know, my shackle bolts are too long, I will correct this soon.


Anyway, once I received the correct bushings, the rest of the install was a piece of cake.

IMAG2597_zps2e6c3f82-1.jpg


IMAG2599_zps24563be8-1.jpg


IMAG2600_zps621ad1b0-1.jpg


And back on the ground:

IMAG2601_zps83fc59e2-1.jpg


IMAG2602_zpsdcba981a-1.jpg
 
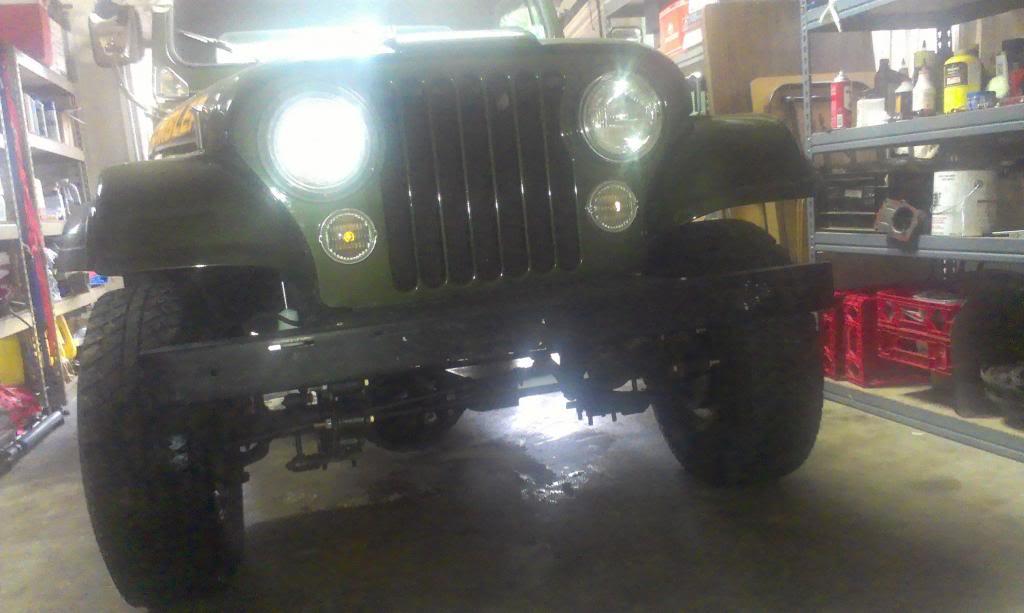
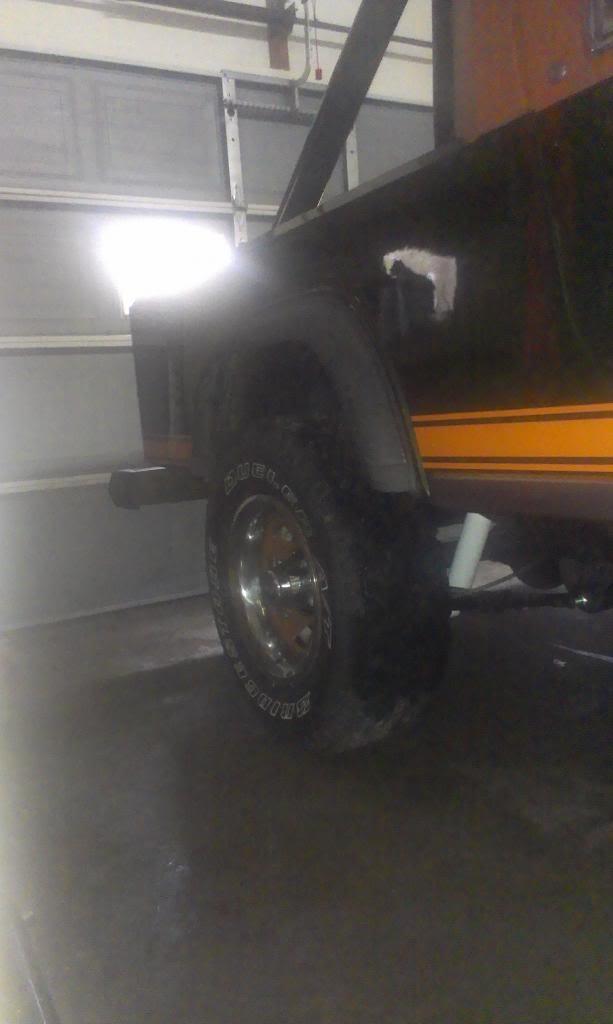
It was raining all weekend long, so I don't have any good outside pictures, I haven't even drove it yet.

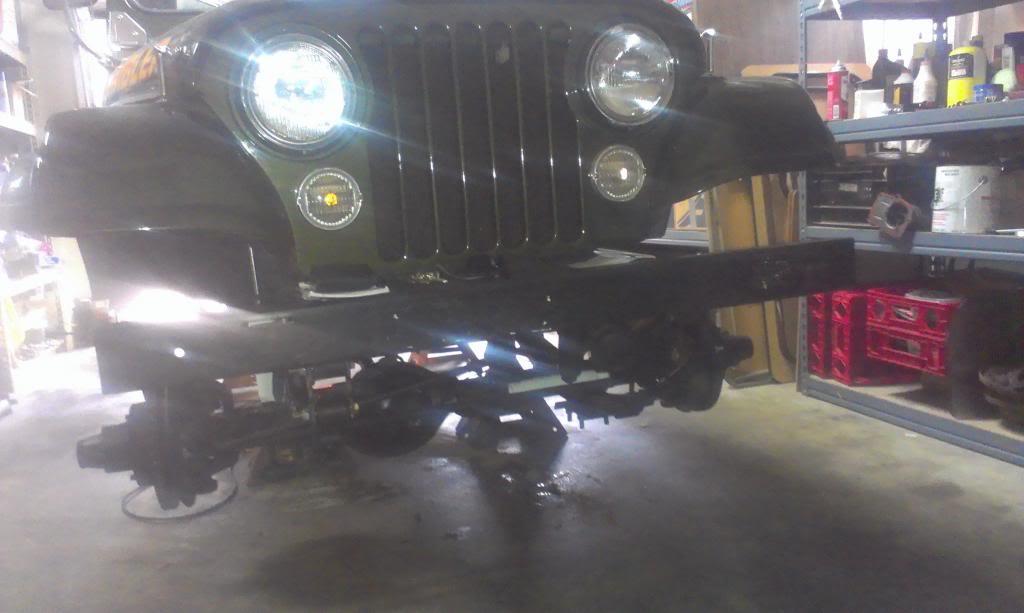
Two pictures from inside the garage, they kind of show the increased clearance, more on that in a second:

IMAG2603_zpsa87784a7-1.jpg


IMAG2604_zps7b7724d4-1.jpg


Basically, these are "1" lift springs", and I am running 30x9.50x15 tires on stock 15x7 wheels.


And some comparative measurements, from the concrete to the top of the bumpers, front and rear:

Driver Side Front BEFORE = 22 1/4" AFTER = 25 1/4"
Passenger Side Front BEFORE = 22 1/2" AFTER = 25 1/8"

Driver Side Rear BEFORE = 23 1/4" AFTER = 23 1/2"
Passenger Side Rear BEFORE = 23 1/2" AFTER = 23 1/4"


Basically, the front was raised almost 3", due to the extremely fatigued stock front springs, no change to the rear, which I found kind of funny:shrug:

Hopefully the weather will clear up, and I will drive it/take some better pictures:fingerscrossed:

That's it for now:wave:
 
Looks good! Too bad all that paint is peeling on the rear passenger side panel.
 
How bout these. ?
vymyjada-1.jpg

e3evugem-1.jpg

vupazedu-1.jpg

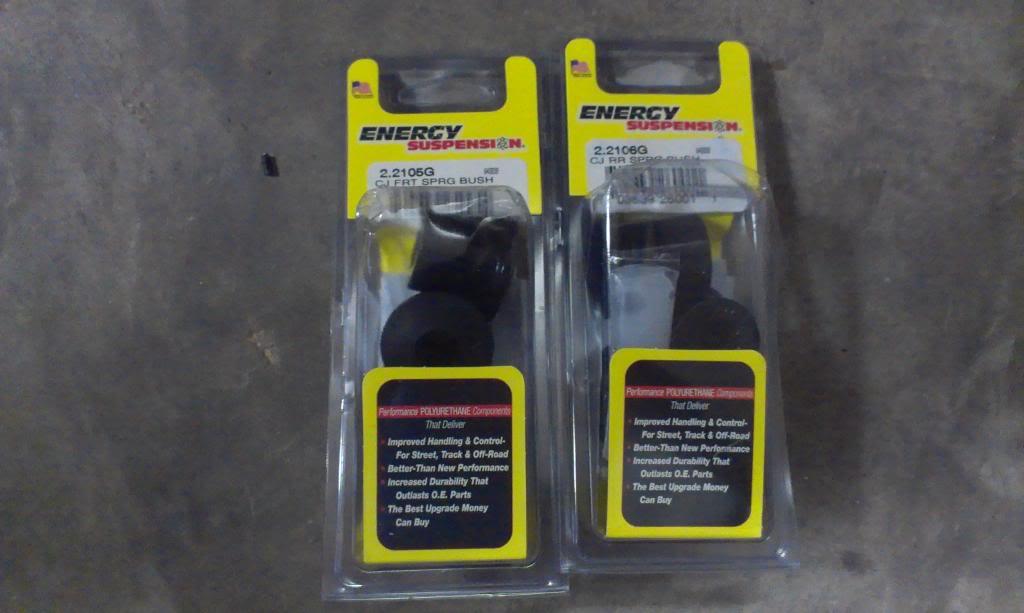
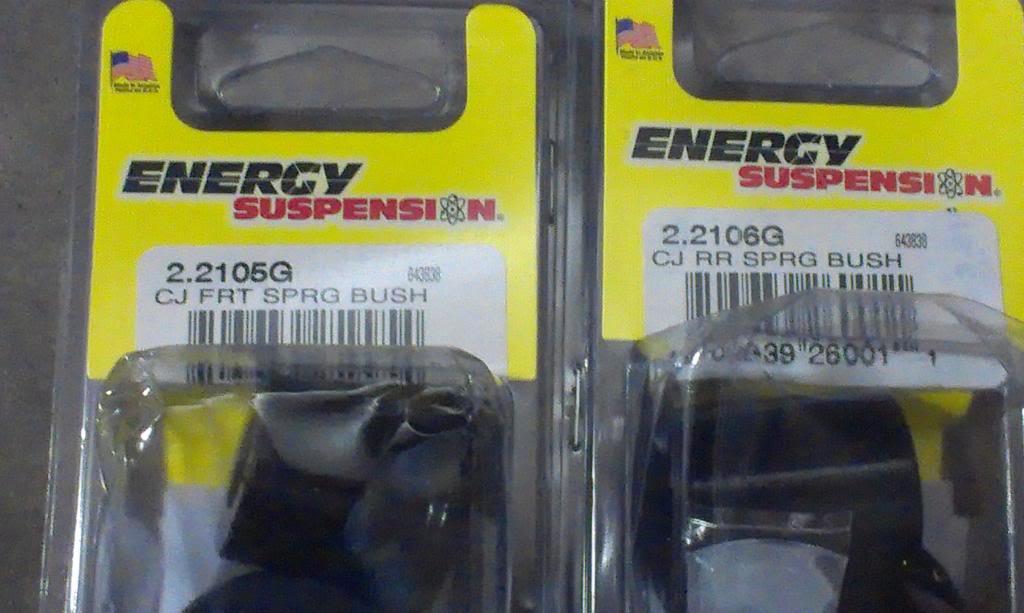
These are in a complete kit from energy suspensions
You think these will work for stock applications ?


Sent from my iPhone
 
Back
Top