• Notice for iPhone users: DO NOT use the image size reduction option when uploading photos to the forum. This causes portrait images to post as landscape. We have added a warning to the image insert pop-up as well.

1984 SL Restoration

spankrjs

Scrambler Junkie
Lifetime Member
SOA Member
City
Biloxi
State
MS
So, the Scrambler was dropped off Saturday night, plus a whole mess of other stuff to hopefully finish it. Tommy took this Jeep apart almost 10 years ago, so I am sure it won't be a simple process. I am sure some stuff is missing/damaged/missing hardware, so this won't be super fast.

Way too soon to make "to do lists". Anyway, let's see what I have.

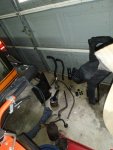
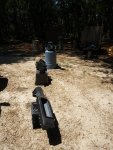
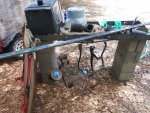
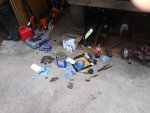
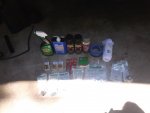
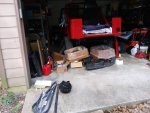
Big mess in the garage:

20200524_091731.jpg

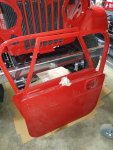
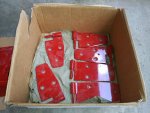
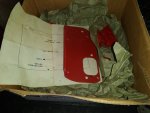
Pair of red door skins:

20200524_100140.jpg

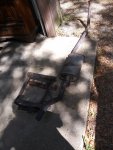
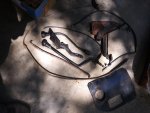
Rusty exhaust and driver seat frame:

20200524_100158.jpg

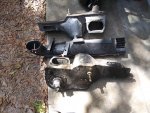
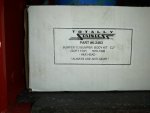
Heater box parts, and an extra:

20200524_100203.jpg

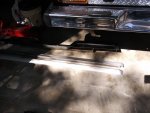
Chrome rear bumper, rocker trim:

20200524_100208.jpg

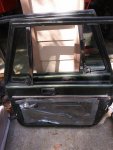
Pair of complete doors, for reference/screw sizing:

20200524_100215.jpg

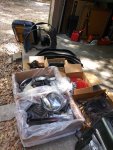
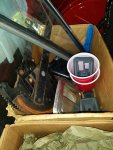
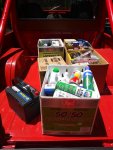
Boxes of stuff:

20200524_100220.jpg

More stuff:

20200524_100230.jpg

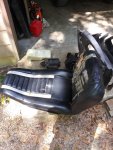
One of the worst Laredo seats:

20200524_100240.jpg

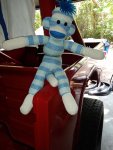
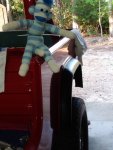
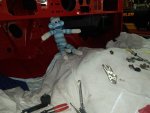
Parts monkey approved:

20200524_100334.jpg
 

spankrjs

Scrambler Junkie
Lifetime Member
SOA Member
City
Biloxi
State
MS
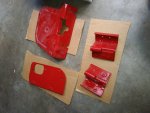
Painted stuff:

20200524_101714.jpg20200524_101718.jpg

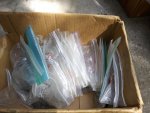
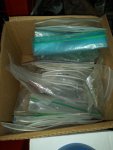
Bags of original attaching hardware:

20200524_101919.jpg

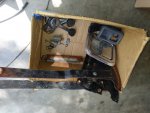
Some door stuff:

20200524_103605.jpg

More stuff:

20200524_103613.jpg

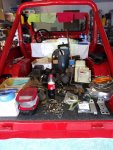
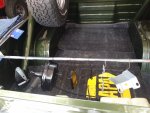
Scrambler bed is great for storage:

20200524_135816.jpg

Dash stuff:

20200524_135824.jpg

More bags of stuff:

20200524_135828.jpg

I am using this for reassembly:

20200524_135833.jpg

Wiper stuff:

20200524_135845.jpg
 

spankrjs

Scrambler Junkie
Lifetime Member
SOA Member
City
Biloxi
State
MS
A few more painted parts, plus antennae mounting instructions!!!!!!!!!!!!!!!!

20200524_135852.jpg

Started organizing. Window junk:

20200524_135900.jpg

Grill and front fender stuff:

20200524_135912.jpg

Underhood stuff:

20200524_135919.jpg

Shifters/pedal stuff:

20200524_135927.jpg

Door weather stripping/dash overlay:

20200524_135937.jpg

Under Scrambler storage, plus behind the dash wiring harness:

20200524_135954.jpg

No real rhyme or reason, started cleaning parts. HVAC stuff:

20200524_140007.jpg

Went to NAPA and bought a Scrambler load of deferred maintenance items:

20200525_134607.jpg

Initial cleaning of some parts:

20200525_181427.jpg
 

jak inc

I H8 RUST!
Lifetime Member
City
Merton
State
WI
Good progress. Would you be willing to post up a pdf scan of the antennae mount template? Thanks.
 

spankrjs

Scrambler Junkie
Lifetime Member
SOA Member
City
Biloxi
State
MS
Prepped/primed/painted some parts for future use, while the weather was nice:
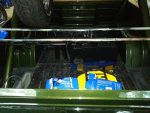
20200525_181439.jpg

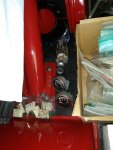
Took the heater box apart to change out the leaking core:
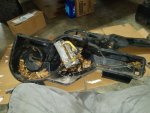
20200526_163425.jpg

Initial cleaning of some more parts:

20200526_182132.jpg

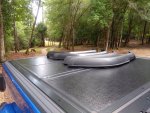
Initial cleaning of the OEM fender flares:
20200526_182152.jpg

I will take a bunch of pictures and post them up, BUT this is definitely NOT a "how to rebuild a Scrambler" thread.

This is probably the biggest PIA project i have taken on - finishing someone else's rebuild, that started/stalled over 10 years ago. My Red Scrambler was easy, since I took it apart and put it back together over a continuous 9 months, no real mystery. The green "Yard Scrambler" was easy, since I tore down what was left of it and rebuilt it. Josh's tan Scrambler was not too bad, most of it was together. My Tan Scrambler was not too bad, mainly just the Chevy engine/transmission/wiring to figure out. The red "Yard Scrambler" was easy, just get it running. My Spring Special/Green Scrambler were easy since I did those in bite size chunks.

That being said, it won't be terrible. My game plan:

1) Reuse almost all of the original parts. Clean them up, paint if needed. Will take a bit longer than just bolting on a bunch of "Crown Crap", but worth it. Some OEM parts won't be "brand new perfect", but they will all be good. If something can't be reused, it will be replaced.

2) Try to get the Scrambler back together BEFORE tackling any mechanical stuff. This includes:

a) heater/fresh air box (clean/rebuild/new heater core)
b) under dash pedals/brake booster support/steering shaft (remove, paint, rebuild if necessary, reinstall)
c) reinstall all the wiring
d) rebuild the dash
e) fender flares (easy)
f) bumpers (easy)
g) lights and turn signals (easy)
h) rebuild the hard doors (need a driver side vent window, I think we used this one on green Yard Scrambler LOL)
i) all the other stuff (wipers/fuel fill/seat belts/driver seat/etc)

3) After the Scrambler is reassembled, then all the mechanical stuff:

a) coolant system, flush and all new hoses, water pump, t-stat, etc.
b) engine oil, plus axles, T5 and Dana 300, flush and refill
c) rebuild front and rear brakes, new master cylinder
d) grease everything
e) new power steering lines, maybe box and pump IF leaking
f) new plugs, cap and rotor, plug wires, coil, rebuild carb, adjust timing, etc
g) vacuum lines and under hood wiring (most of the original BBD feedback stuff is there, I think)
f) all the other stuff I am forgetting (clutch linkage, shifters, etc)


For now, I am cleaning a bunch of parts, painting some things when the weather is nice. For the next few days, I will reassemble all the easy stuff, bolt it back on, Will have to make a list of missing hardware as I go, then go shopping, to minimize trips/wasting of time.

So, it will be chaotic for the first week or two, Eventually, it will become more orderly, I think LOL!!!!!!!!!!!!
 

Jeep Addict

Scrambler Junkie
Lifetime Member
City
Baton Rouge
State
La
If it makes you feel any better I'm pretty sure you reinstalled 99% of what was put back on before I brought it to you. :thumbsup:

But all joking aside thank you for taking on this challenge! I would never have put it back together. I don't have the time and it was just easier to push it to the side. It was my first Scrambler and has certainly taught me what to look for before getting in way over my head.

Remember, when you get frustruated from it to take a few deep breaths and kiss the parts monkey! :bacon:
 

Belizeit

CJ-8 Member
Gold Member
City
River Ridge
State
La
So which was it, you were bored or just into abuse ? Like I said before, the right guy for the job !
 

spankrjs

Scrambler Junkie
Lifetime Member
SOA Member
City
Biloxi
State
MS
A bit more work, plugging away. A couple of hours here and there will eventually start to add up, I hope :fingerscrossed:

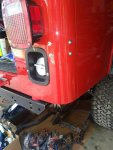
Painted the bare metal spots on the heater box rear metal plate, and hit the bare metal on the fan motor flange. Also pray bombed the filler neck, after stripping off the undercoating;

20200527_180036.jpg

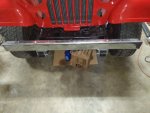
Bolted on the front bumper:

20200527_180054.jpg

Installed the rear flares, parts monkey approved:

20200527_180110.jpg

Hope to hit it hard this weekend :fingerscrossed:
 

SKT

Legacy Registered User
City
APO
State
AE
Woo Hoo - looking forward to following along! Your attention to detail and well documented threads are always informative! Certainly the right person for this job!
 

spankrjs

Scrambler Junkie
Lifetime Member
SOA Member
City
Biloxi
State
MS
Woo Hoo - looking forward to following along! Your attention to detail and well documented threads are always informative! Certainly the right person for this job!

I hope so :fingerscrossed:

This won't be as detailed as some of my other threads, definitely not a step by step, but I will post lot's of pictures/information to keep it interesting :thumbsup:
 

Belizeit

CJ-8 Member
Gold Member
City
River Ridge
State
La
I think the parts monkey is even sticking out over more pictures, look at him sitting on the jeep in that last picture
 

spankrjs

Scrambler Junkie
Lifetime Member
SOA Member
City
Biloxi
State
MS
I think the parts monkey is even sticking out over more pictures, look at him sitting on the jeep in that last picture

He uses his tail to balance himself on the edge of the Jeep, keeps him from falling off :geek:
 

spankrjs

Scrambler Junkie
Lifetime Member
SOA Member
City
Biloxi
State
MS
More work completed this weekend.

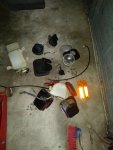
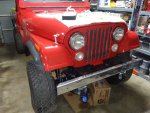
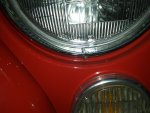
Headlights, turn signals, font flare installed:

20200529_192107.jpg

Taillights and fuel fill and neck installed:

20200529_192122.jpg

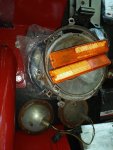
I was missing one headlight retaining ring. I had an old OEM one where the little solder joint had broken. A bit of tape and "Redneck Ray":

20200529_192200.jpg

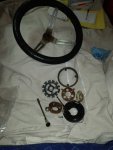
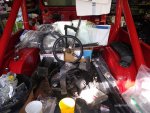
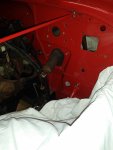
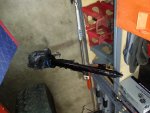
Going backwards. Pulling steering wheel off to remove column and all the pedal stuff. Steering wheel removal not necessary, but I need to get into the column eventually:

20200530_091510.jpg

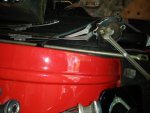
20200530_091517.jpg

OEM bed mat is awesome for storage!!!!!!!!
20200530_091614.jpg

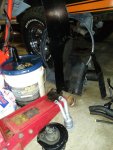
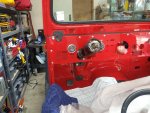
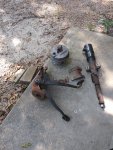
Removing brake booster and bracket and steering shaft:

20200530_092944.jpg

Needs to be cleaned/prepped/painted:

20200530_094618.jpg

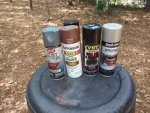
Rattle cans I am using:

20200530_132840.jpg

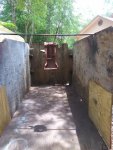
"Redneck Ray" paint booth, aka Harbor Freight trailer:

20200530_132846.jpg
 

spankrjs

Scrambler Junkie
Lifetime Member
SOA Member
City
Biloxi
State
MS
Ready for Paint hanging stick:

20200530_132853.jpg

Prep for paint stuff. Gas can and chainsaw(s) for when I get pissed:

20200530_132910.jpg

Some painted stuff:

20200530_132923.jpg

20200530_132939.jpg

20200530_151059.jpg

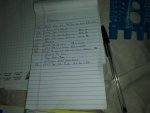
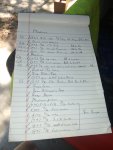
Hardware list:

20200530_151448.jpg

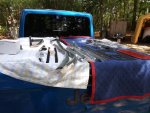
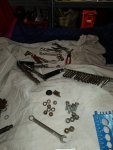
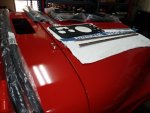
Reason for blankets all over the new paint, too easy to put tools on!!
20200530_151453.jpg

Hardware list, 5 minutes later LOL:

20200531_114747.jpg

Parts/Supply run:

20200531_114756.jpg

Installed battery hold down clamp, super hard LOL:

20200531_133719.jpg
 

spankrjs

Scrambler Junkie
Lifetime Member
SOA Member
City
Biloxi
State
MS
AC block off plate:

20200531_133727.jpg

Upper fresh air box thing, after cleaning/freeing up stuck mechanisms:

20200531_133736.jpg

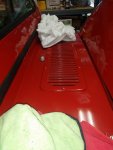
Cowl grill, and windshield squirter, don't forget that!!
20200531_133753.jpg

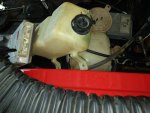
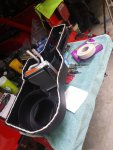
New heater core/resealing box/after thorough cleaning and freeing up mechanism cable:

20200531_151935.jpg

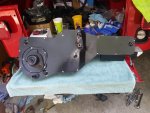
Assembled. Ended up having to "tweak" the hell out of the heater core tubes. This heater core was in stock at NAPA. I think someone ordered it and brought it back because it would not fit right. Hope my "tweaking" didn't crack it. Picture is "pre-tweak":

20200531_155246.jpg

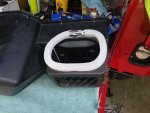
Foam seal here, wish I could find this stuff in black at the hardware stores:

20200531_162036.jpg

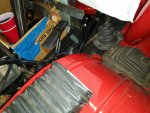
Heater box installed, parts monkey approved:

20200531_164357.jpg

One last easy thing, plugged the holes in the bed side where the spare tire stop goes with some hardware. Once I get the part, easy bolt on:

20200531_165916.jpg

Some good progress. Glad to have the heater box out of the way. I should install the pedal bracket/pedals/booster bracket/booster/steering column soon. Will be happy once that is done. Then, behind dash wiring, assemble dash, shifters and boots and floor plate, and..............

That's it for now :wave:
 

ag4ever

Average Nut
BENEFACTOR
Gold Member
Silver Member
Lifetime Member
SOA Member
City
Richmond
State
TX
Looks like Tommy is making great progress.
 
Top