• Notice for iPhone users: DO NOT use the image size reduction option when uploading photos to the forum. This causes portrait images to post as landscape. We have added a warning to the image insert pop-up as well.

1984 SL Restoration

Same one I use. Wheel studs, bearings, u-joints, whatever is made soooo much easier with this thing. Heck, I even straightened my winch plate with it

 
Be careful with the cast plates on the press. Lots of reports of them shattering under pressure and sending shards flying.

I have the same press, and it works just fine for what it is. Make some tasks simple that would be near impossible without it.
Yep, read that about the cast plates. I need to go dig the home made steel plates out of the junk pile at work. They look butch, but are minimum 1" thick solid steel plate!!!
 
Trying to get everything ready for reassembly.

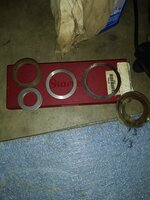
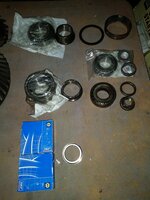
In the below picture:

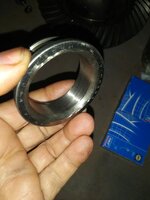
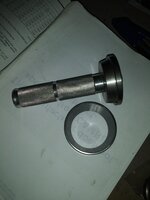
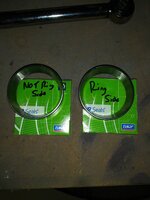
Blue SKF boxes are the axle shaft bearings. Next to them is an old axle bearing inner race I already "machined" down to use to press new bearings on.

Above that, new carrier bearings with an old carrier bearing "machined" down to use as a press tool.

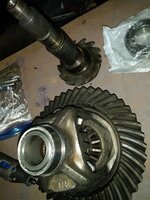
Top of the picture, new inner pinion bearing and the old inner pinion bearing 'machined" down as a press tool.

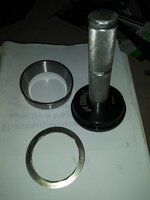
Bottom right, old outer pinion bearing, nut and crush sleeve. Above that, new outer pinion bearing, new crush sleeve, and new pinion nut. At the top, the shim that was behind the inner pinion bearing that set the pinion depth. It will be reused.

20210208_185255.jpg

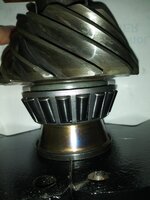
When I said "machined", I mean "RedneckRay Machining". Basically, about 30-40 minutes each with the Dremel. I use tungsten carbide bits, cut off wheel discs, emery cloth, and sand paper to hog out the inside of the old bearing races until they are a slip fit over the parts they originally went on. Then, I can safely use them to press new bearings on to the shafts without worry of damaging the new bearings, or the press tools getting stuck on thr shafts. Time consuming, but once done, these "tools" can be used for life.

20210208_185304.jpg

"Slip fit" in place:

20210208_185315.jpg

Having a press is easy.

Making/finding/obtaining "accessories" to press things on and off is the hard/time consuming part. I need to go to the junk pile at work and try to find all the bits of solid bar, thick wall tubing, plate steel pieces, etc. I had gathered up over the years to use with the old press there. I spent hours finding/modifying stuff to use with the press.

Common sense is necessary with regards to what you use in the press. I am not worried about breaking old bearing inner cages. Thin wall tube, cast stuff is a big NO.

That's it for now.
 
Should have sprung for the 20 ton Raymond!

Mine has come in very handy with all the ATV repair I do. I really need to get some additional arbor plates
 
Should have sprung for the 20 ton Raymond!

Mine has come in very handy with all the ATV repair I do. I really need to get some additional arbor plates
I thought about that, but the 12 ton did what I needed it to do today with no problems.
 
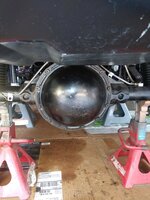
Back at it today, got the pinion/differential reinstalled.

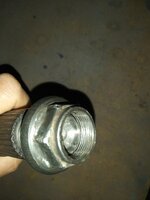
Made a "set up" nut out of the old pinion nut. These nuts are deformed thread/get smaller at the end, so PIA to take on and off, and can damage the pinion threads if you aren't careful. I used the Dremel and sanded down all but the bottom 4-5 threads of the nut. Works OK, would prefer a regular nut this size, but they are hard to find. It is a 7/8"-20, not too common.

20210213_093816.jpg

Before I do this again, or set up an AMC 20 ring and pinion, I will buy a new/regular 7/8"-20 hex nut. I found one at McMaster Carr, but it was stainless steel, and cost $25.00!!!!

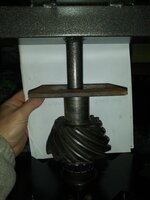
Using the Harbor Press 12 ton press, and my "machined down" old pinion bearing race, to press on a new inner pinion bearing, worked fine.

20210213_094709.jpg

20210213_094658.jpg

Since I am only changing the bearings, I am reusing the original shims. The OEM install was good, good contact pattern and back lash, no since reinventing the wheel. The new bearings matched the original bearings dimensionally, so should be good to go. Everything will feel a bit tighter, at first, with the new bearings, but will break in fine.

This shim set the pinion depth, it goes in behind the inner pinion race. Used the Harbor Freight seal/race driver set, worked fine.

20210213_095140.jpg

Used the same tool with a smaller head to install the outer pinion race in the axle house. Again, no problems.

20210213_100835.jpg

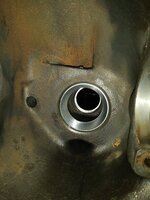
Looking in the axle housing from the diff cover side, both pinion races drove into place.

20210213_102045.jpg

The fun part, especially if you are working alone, installing the pinion/outer pinion bearing into the housing.

First, since I am installing new pinion bearings, I am using a new crush sleeve.

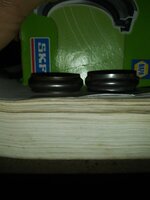
Old one on left, new one one on the right.

20210213_102129.jpg

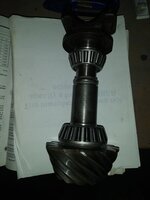
How all this stuff assembles on to the pinion shaft.

20210213_102226.jpg

Basically, the pinion is inserted into the housing from the diff cover side. Then, you install the outer pinion bearing from the drive shaft end. The pinion yoke is then tightened down, pressing the outer pinion bearing on to the pinion shaft. You tighten the pinion nut down until the outer bearing makes contact with the collapsible spacer, which will eliminate in and out play. Then, tighten the nut a little bit more, to put a slight preload on the bearings. This is when you are collapsing rhe spacer. If you go too far, get bearings too tight, you will have to start over again with a new collapsible spacer..

20210213_102226.jpg

The fun part, the bearing will only push down by hand about this far, so still has a way to go.

20210213_102241.jpg

So, when you are laying on the ground, arm under the axle housing, pushing/holding the pinion in position, and push the new outer bearing on with your other hand, and third hand pushes the yoke on, and yoke only goes down this far, and you reach for the pinion nut with fourth hand, and realize the threads don't stick out enough to start, so you use your other two hands to use a punch/hammer to drive the outer pinion bearing down the shaft some, fun times!!!

20210213_102257.jpg
 
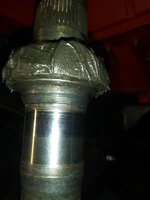
This yoke was not grooved, but you could feel where it rode on the old seal. I polished the seal surface down with emery cloth, then steel wool, then metal polish.

20210213_114225.jpg

Pinion shaft barely sticking out of the housing enough to start the yoke nut.

20210213_114654.jpg

After tightening the yoke down, which presses the outer pinion bearing down the shaft, almost all in/out play removed from the bearings.

20210213_121132.jpg

Pulled the yoke off, installed a new pinion oil seal.

20210213_121659.jpg

I put some Aviation Sealant inside the yoke's splines to seal them, oil/grease mix on sealing surface of yoke to prevent a dry start on the new seal.

20210213_121858.jpg

I then installed the new pinion yoke nut, and adjusted the pinion bearing preload, which is always kind of scary to me LOL.

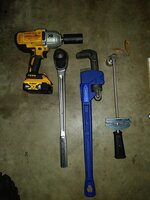
I used the following tools to tighten the pinion nut/adjust the preload.

20210213_140328.jpg

I used the big wrench to hold the yoke. I used the electric impact to tighten the nut. In the past, I would use the big 3/4" drive ratchet to do the final nut tightening, but this time I used the impact for all nut tightening. But, it takes discipline. Once all in out play was gone from the pinion bearings, it does not take too much more nut tightening to set the preload. If the nut is the face of a clock, we are talking maybe five minutes additional tightening. I kept the hole at the socket vertical so I could see it. Would tighten the nut tiny amount, check preload, repeat. You have to sneak up on the final torque. If you go past and get it too tight, you have to start all over again. Which would suck.

You are fighting three things when setting the preload, which makes tightening the nut extremely difficult:

1) you are pressing the pinion bearing further down the pinion shaft, which is a press fit

2) you are smooshing the collapsible spacer, which takes force

3) that large self locking nut is not easy to tighten

So, I had the impact on the highest setting, which would very incrementally turn the nut, which does give you control. But, you have to know how your tools operate.

The FSM gives a range on rotational torque for new bearings on the pinion. This is without the differential installed. This 17-25 inch pounds is for the two pinion bearings only. No other drag inducing parts involved. Luckily, I stopped right at 25 inch pounds. This is new bearings, so they will loosen up a hair. The bearings are oiled with motor oil, so they are not dry. To get the pinion turning initially takes a little bit more torque, but once it is moving, either direction, I am at 25 inch pounds.

20210213_140016.jpg

20210213_140043.jpg

Good to go!!!
 
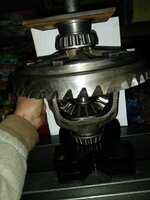
This next part is not as technically challenging, but still a PIA if you are laying on the ground working. That damn differential is heavier then it looks!!!

Easy part, using press and old "machined down" bearing inner race to press on new bearings, no problems.

20210213_142257.jpg

Not sure that it matters on new bearings, but I did keep the races with the matching bearings. More "Redneck Ray" LOL.

20210213_142500.jpg

This would be easier if the axle was not under the vehicle, or if I had a lift. Damn chunk is heavy!!

I used grease to hold the original shims in place in the axle housing, then got the chunk installed. You have to kind of cock the races, use a pry bar, tap on the races with sand filled hammer, and cuss a lot. After enough/fighting/cussing/straining/crying/praying, the differential is installed.

20210213_164847.jpg

Axles, axle bearings, seals, brakes, and hubs next!!!

That's it for now!!!
 
Did some more work today. Like almost everything else, 80% of the time is spent cleaning and prepping parts, 20% reassembly.

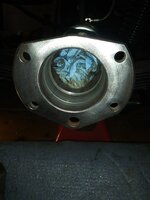
Cleaned both ends of the axle tubes, they had some light rust, and lots of crud.

20210214_134548.jpg

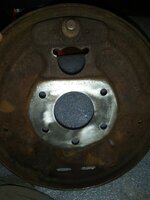
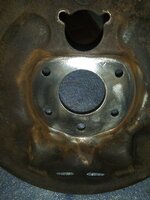
Cleaned both sides of the brake backing plates. The outer portion has to be clean to seal to the outer axle oil seal, the inside has to be clean to seal to the axle tube end.

20210214_134603.jpg

20210214_134611.jpg

Checking the brake backing plates for flatness. These were good to go, very minimal "bowing", if any at all.
20210214_134638.jpg

Used one of my "machined" down inner bearing races, in conjunction with the seal driver tool, to install the inner axle oil seals. Worked super, much better then the old piece of pipe I had been using. Thr shape of the seal will not just let you drive it in with the flat faced seal driver. This "machined" piece clears the raised rubber center and rests on the outer portion of the seal.

20210214_134904.jpg

20210214_135215.jpg

The Harbor Freight 12 Ton Press is NOT tall enough to press on the axle shaft bearings. That sucks. BUT, the OEM axle shafts/bearings are NOT a super duper tight press fit. I used my machined down inner bearing race, a piece of pipe, and set the splined end of the axle down on one of the press arbor plates. A few solid whacks with a 2 pound maul, bearings in place, seated 100%.

20210214_145411.jpg

I prefer pressing these bearings on, but with the stock axles you can do this. Is it correct? Well, it works. The way the splines are cut/chamfered on the bottom, as long as you keep the axle flat to the plate, no risk of damage. The machined inner race keeps the force on the inner bearing race. And, you do not have to beat the hell out of it. A few solid whacks with a 2 pound mauls will seat the bearings. On aftermarket axles, like Moser, you HAVE to use a press, no ifs and or buts about it.
Slid the passenger side axle into place, tapped the race into place, flush with the face of the axle flange.

20210214_150618.jpg

Bolted the passenger side brake backing plate into place. No sealant yet, and regular nuts in lieu of the self lockers.

20210214_150955.jpg

Slid the driver side axle into place, tapped the race flush to the end of the axle flange. Right now, with both races flush to axle flange ends, no/minimal bearing/axle end play.

20210214_160646.jpg
 
We will be getting some pretty cold weather down here over the next few days. No heat in the garage, even keeping the doors shut, it will get almost as cold inside the garage as it is outside. So, probably no work the next few nights after my real job, but we will see!!

Used some plastic bags to keep any crud out of the greased bearings.

20210214_161033.jpg

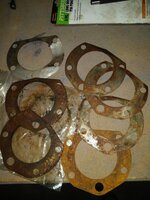
Dug through all my old junk, found as many AMC 20 axle bearing shims that I could, hopefully I will have the correct one(s)!!!!

20210214_164606.jpg

Soaking the shims in some Rustoleum brand "Evaporust", to clean them up, hopefully I can get back to this never ending project soon!!!

That's it for now!!!!
 
Back on the chain gang.

The Rustoleum Evaporust stuff did a great job getting the AMC 20 axle bearing shims cleaned up:

20210219_171238.jpg

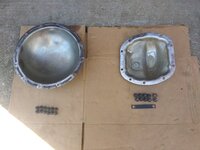
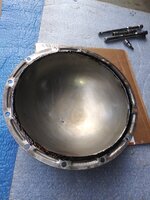
It was still close to freezing Saturday morning, so I did some non skilled work until the temperature warmed up. Cleaned differential housings, covers, and attaching hardware:

20210220_120721.jpg

20210220_120752.jpg

20210220_120804.jpg

Once it armed up, started final assembly on the passenger side axle shaft/brake backing plate and seal.

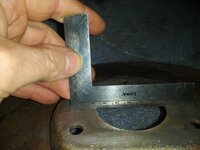
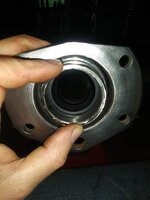
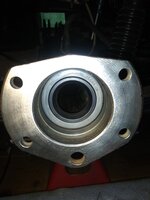
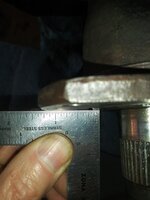
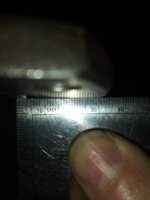
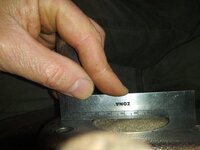
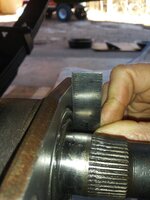
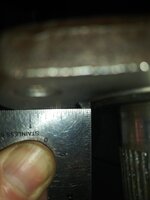
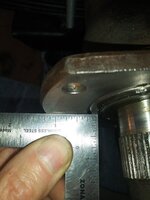
Both axles were previously installed, passenger side brake backing plate was also installed. I hit the driver side axle pretty hard a few times, which wil seat the passenger side bearing/race against the passenger side brake backing plate. Removed the backing plate, race is pretty flush with the end of the axle housing. Using a small straight edge, you can see how everything is pretty flat, BUT not perfect:

20210220_130841.jpg

20210220_130846.jpg

20210220_130852.jpg

20210220_130913.jpg

I had checked the brake backing plate for flatness previously, it was pretty damn flat. So, very slight not 100% true/flat. This will get me in a bit.

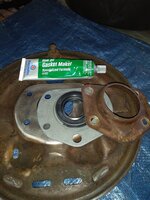
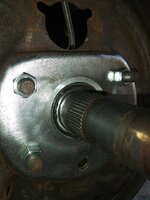
How the parts stack up on the end of the axle tube. I used this RTV on the non adjustable passenger side. A little thicker then my go to aviation sealant. The thickness wil help seal the slightly larger gaps between the axle housing end and the brake backing plate.

20210220_133847.jpg

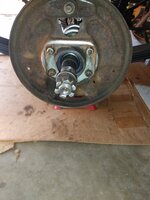
Passenger side assembled and sealed, bolts torqued to 35 foot pounds.

20210220_134357.jpg
 
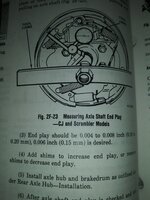
Both rear axle shaft bearings are adjusted on the driver side. The driver side bearing/race SHOULD protrude slightly from the driver side axle tube. Shims go between the axle tube/brake backing plate to set the bearing end play. Remember, the stock axles are joined inside the differential with the thrust block. An adjustment on one side affects BOTH sides.

20210220_143039.jpg

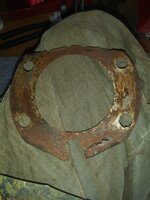
This axle housing only had one very thin shim originally:

20210220_140642.jpg

Best I can tell, it was only .003:

20210220_140734.jpg

So, we all know how "loose" AMC was with tolerances. So, this axle housing was already on the "long" side when new. Figure in slight wear on the center thrust block and axle shaft ends, very slight not 100% flat/true brake backing plates, corrosion on the end of the axle tubes, lots of "itsy bitsys" conspiring against me, as we will see.

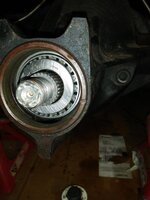
Installed a .007 shim to get started:

20210220_141122.jpg

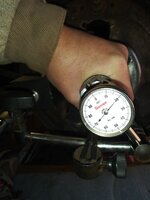
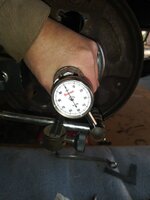
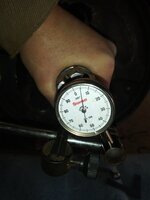
Installed the brake backing plate, torqued bolts down to 35 foot pounds, set up dial indicator, not even close!!!

20210220_144134.jpg

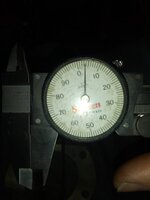
At .02, need to be around .006. Not even close.

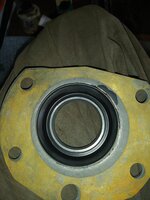
Removed dial indicator and brake backing plate, race is almost flush with axle tube end. Not good.

20210220_144917.jpg

Put in the thinnest shim I had, .003, still way out:

20210220_145456.jpg

At .017, still twice what I need.

Used no shims, brake backing plate straight to axle tube, the bearings still had too much play:

20210220_150312.jpg

Driver side brake backing plate is pretty flat:

20210220_150916.jpg

Axle tube end is not terrible, pretty flat/true:

20210220_151052.jpg

Basically, this axle housing is too long for my current thrust block, axle shafts, brake backing plates, and replacement bearings. The rear axle bearings have too much inward play. This was the previous issue with this axle. I also had this same issue on my green Scrambler a long time ago. On my green Scrambler, I pulled out the thrust block and installed Moser one piece axle shafts.

On this one, I decided to try something different.
 
Now, I could pull the passenger side axle assembly back out, the one I just sealed to the axle tube. And, I could pop the differential back out, that I just had so much fun putting back in. I have two extra used thrust blocks, I could swap one of those in, IF either one is slightly longer then the current thrust block. If that won't work, IF I had a bunch of OEM good shape axles laying around, I could find two that are slightly longer then the current two shafts I am using, swap bearings around, see if that gets me where I need to be. A lot of work, and parts I do not have laying around.

Both bearing races seat against the brake backing plates. This keeps them from sliding outward. Both axle shafts hit the center thrust block, this keep the bearings, which are pressed on the axle shafts, from sliding inward. The whole purpose of the outer shims is to give the bearings the required end play.

My set up will not allow that. My axle housing is too long for my internal parts. But, why can't I shim the driver side axle bearing race inward? This will accomplish the same thing. The driver side bearing race can't push outward with a shim between it and the brake backing plate. The axle shafts both hit the center thrust block, keeping the axles from plunging inward.

I can't think of a reason this won't work? Please correct me if I am wrong.

This is what i did.

Found my axle/transfer case/transmission bearing shim stash. Found a shim that will work with the axle bearings.

20210220_153450.jpg

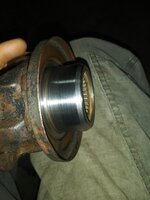
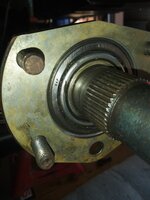
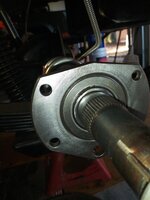
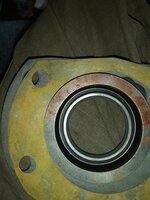
Shim installed. It presses against the outer race, clears the inner spinning race:

20210220_153913.jpg

The original external shim clears the entire outer axle seal:

20210220_153923.jpg

My internal shim will ride on the external seal:

20210220_153931.jpg

I worried about this at first, but then thought about it. Installed as it should be, this seal is in constant contact with the spinning axle bearing. My inner shim will be stationary, pinned between the non spinning axle race and non turning brake backing plate. Should be fine.

Shim installed. I used a .007 internal shim. I was at .012 with no outer shim. So, .012 minus .007 should give me close to the desired .006 bearing end play.

20210220_154449.jpg

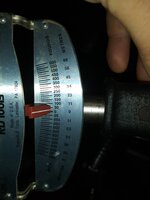
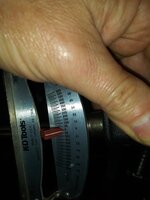
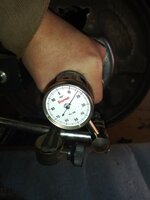
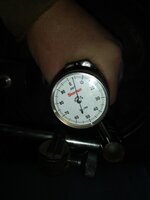
Moment of truth. Bearing/axle driven all the way to passenger side, dial indicator zeroed out:

20210220_154642.jpg

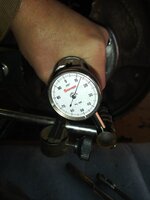
Pulling the driver side axle outward all the way, I'm at .005 end play, .001 tighter then the desired .006:

20210220_154657.jpg

At this point, I went ahead and installed the external seal and torqued everything down. A hair tighter then desired with new bearings, I am NOT going to chase .001!!!!

Rechecked both sides:

20210220_165136.jpg

For some reason, adding the outer seal tightened everything up another .001, or I wasn't holding my tongue right. Regardless, I am happy.

I kind of stressed over this. When I woke up Sunday, I felt better about it. I really do not know what else can be done with my current parts. I can not think of a reason this will not work.

I figure I will test drive it in a couple of weeks, should be fine. If not, Moser time!!!

Speak now or forever hold your peace???
 
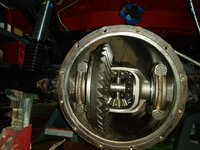
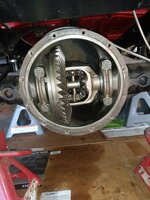
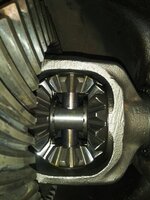
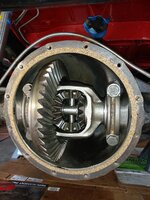
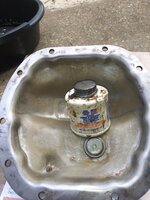
Before I put the differential covers back on, one last look at the rear differential gears.

20210221_101715.jpg

I installed a matching set of used differential gears. The front differential gears felt tighter then my used rear set. The rear set does not have excess play, but felt a little looser then the front diff. This stands to reason, the front differential gears do not see the miles/wear and tear that the rear set does. This kind of bugged me. After I spun and played with the front differential, I soon realized it had almost as much play. So, OCD satisfied, time to move on.

Used a few dabs of grease to hold cork gasket in place to axle housing:

20210221_102435.jpg

Aviation sealant on the diff cover, so the gasket will glue itself to the cover, NOT the axle housing, to make future oil changes easier:

20210221_102445.jpg

Finally!!!

20210221_103502.jpg

Another major benefit of the aviation sealant over RTV - you can immediately add oil if you use the aviation gunk. RTV takes 24 hours to cure. Not really needed here, but being able to immediately return something to work is beneficial:

20210221_104855.jpg
20210221_110626.jpg

Differential covers installed, full of oil, ready to roll.
 
Decided to get rid of a bunch of parts out of the bed by installing them:

20210221_120931.jpg

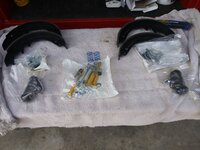
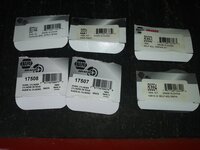
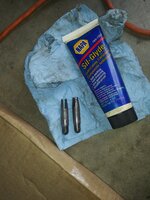
Part number from NAPA:

20210221_121028.jpg

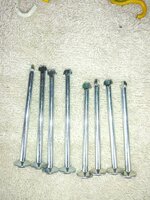
Remember to use the shorter pins, or the hold down springs/cups will rub on the rear drums:

20210221_121958.jpg


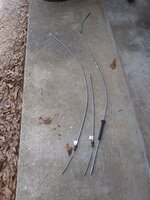
Replacement parking brake cables, I believe JeepAddict got them from Randyzzz, thanks!!!

20210221_122322.jpg

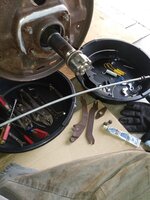
Cleaned out drain pans make great parts/tool holders, especially when you are jumping from side to side:

20210221_124757.jpg

I accidentally threw away the original wheel cylinder rods, so I salvaged these from the junk pile:

20210221_141319.jpg

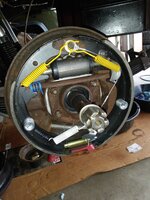
It is very easy to install the drum brake parts without the wheel hubs in the way!!

20210221_144414.jpg

Going to tighten up a few more loose ends before reinstalling the wheel hubs, that's it for now.

20210221_170543.jpg
 
For some reason when I woke up this morning I had one more thought on the rear axle bearings:

In hindsight, IF I would have known I was going to have to shim the bearings inward to take up the slack, I COULD have placed a thin (.005) shim behind each bearing BEFORE pressing them on. Then, I could have shimmed the play out of the bearings externally like the FSM details. Hind sight.

But, kind of pointless - shimming outward just to shim back inward :shrug::twocents:
 
For some reason when I woke up this morning I had one more thought on the rear axle bearings:

In hindsight, IF I would have known I was going to have to shim the bearings inward to take up the slack, I COULD have placed a thin (.005) shim behind each bearing BEFORE pressing them on. Then, I could have shimmed the play out of the bearings externally like the FSM details. Hind sight.

But, kind of pointless - shimming outward just to shim back inward :shrug::twocents:

I agree that shimming behind the bearing would be a better option, if you knew about the end-play issue ahead of time. With the outer shim method, I'm a little concerned that the bearing retainer could rub on that shim. It's unclear from the photos whether or not the bearing retainer clears the shim.

That retainer just floats in there, keeping the rollers aligned, and it spins at half the speed of the inner race (so not super fast, in a wheel bearing application). If it can still float freely with the shim installed, then you're probably okay, but if there's any pressure from the shim on the bearing retainer, you could have some metal scraping going on in there.

I know you know what you're doing though, so it's probably a non-issue. I love watching this thread! :headbang:

20210220_141122-jpg.91694

20210220_153913-jpg.91702
 
Back
Top