• Notice for iPhone users: DO NOT use the image size reduction option when uploading photos to the forum. This causes portrait images to post as landscape. We have added a warning to the image insert pop-up as well.

1985 4 cylinder Base Model CJ-7

That amount of rust for Virginia is pretty good.
It's a good little Jeep. Not perfect but solid. Someone could just treat what is there and enjoy, or cut and weld.

I can't wait to drive it :thumbsup:
 
Rain held off today, so I was able to get a bunch of work done.

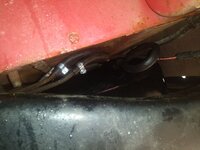
Hooked up the gas tank. Reused the original fuel fill/vent hoses, they are still good to go.

20220306_092433.jpg

I used fuel injection hose and clamps, force of habit. The fuel injection hose is ethanol rated, so another plus.

20220306_092446.jpg

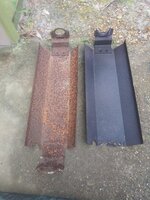
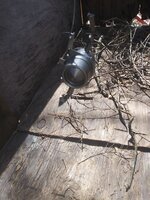
Removed the rusted/broken catalytic converter heat shield. I still had "Yard Scrambler's" on my junk pile, looks good to go for being outside for almost 10 years LOL.

20220306_092455.jpg

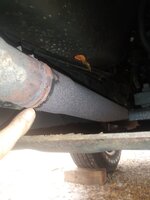
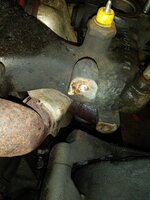
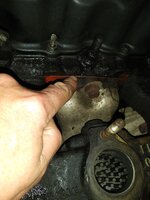
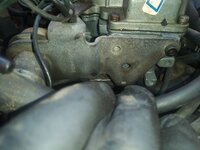
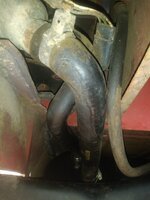
I was going to install the heat shield and muffler, but discovered a problem. The down pipe is rusted out around the catalytic converter. Converter is good.
20220306_092514.jpg

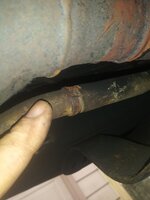
I removed the clamp on the pulse air pipe, was going to pull the cat out, but it is stuck together too tightly, don't want to damage anything.

20220306_093245.jpg

When I pull the intake and exhaust manifold I will also undo the pulse air pipe upstream somewhere so I can get the down pipe out. IF I can't find a new down pipe I can always just cut about a foot off of the current pipe and splice in a new short piece.

So road block here for now, shifted gears back to fuel tank evap stuff.

I was able to remove the roll over and liquid check valves, only broke one little screw.

20220306_100115.jpg

They cleaned up well, more importantly, the rollover valve has not rusted through, and no broken nipples.

20220306_102026.jpg

So, once I get some new screws, I can reuse these parts, install new rubber hoses, and complete my gas tank/fuel line journey.

I need a new ground cable on the battery, AND a new ground strap to the fire wall. That being said, added about 4 gallons of gas, fuel gauge is still working!!!

20220306_102045.jpg

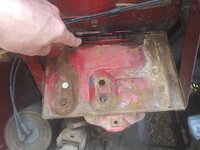
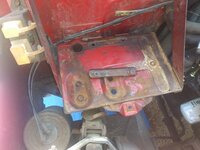
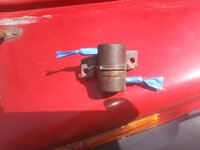
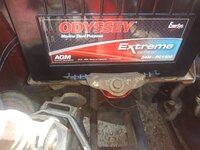
I have ran across these things before, I call them "battery tray shrinker brackets". Base model Jeeps came with skinny batteries, this little doo-hickey makes them fit the into the wide battery tray.

20220306_104850.jpg

I was able to remove it with no drama, in spite of the stupid Torx head screws!!!! So far I have been lucky getting bolts out. PB Blaster is working well on this Jeep. Battery tray is still in excellent/solid shape, too.

20220306_110734.jpg
 
Since the sun came out and the humidity dropped, decided to knock out some paint work.

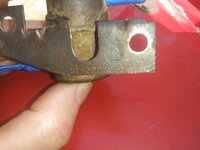
Cleaned up the rollover check valve, you can still see the part number on its bracket.

20220306_112835.jpg

20220306_112851.jpg

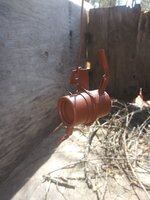
Primed and painted.

20220306_114450.jpg

20220306_114627.jpg

Reinstalled the battery and the clamp.

20220306_115749.jpg

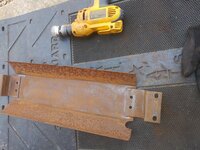
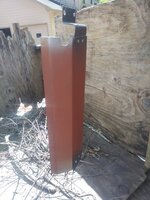
Cleaned up the heat shield, primed and painted. Lots of pits but still solid.

20220306_125936.jpg

20220306_132647.jpg

20220306_132925.jpg

Jumping around, but had to take advantage of the good weather.
 
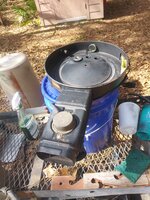
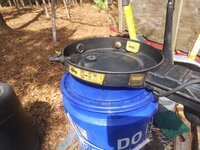
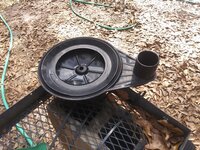
The air cleaner assembly was filthy, so cleaned it up.

I assume the 4 cylinder carburetors do not need the inner trap door, only one trap door on the snorkel.

20220306_132934.jpg

Original decals.

20220306_132940.jpg

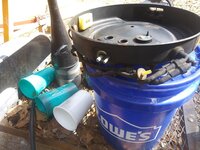
A picture of all the doo-hickeys on the back.

20220306_132951.jpg

This air cleaner lid mimics the one I made for the MPI conversion on my green Scrambler, note the long pipe that goes to the top of the carb.

20220306_132957.jpg

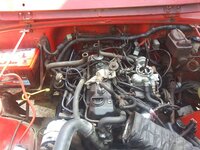
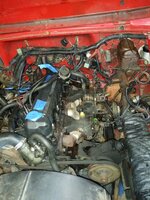
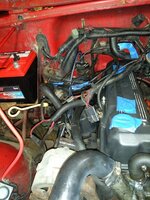
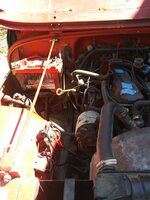
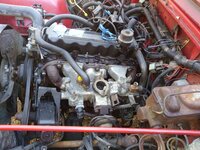
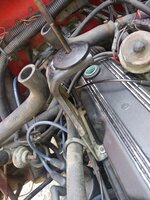
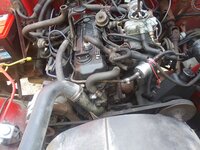
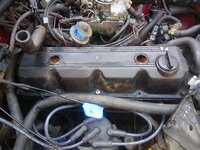
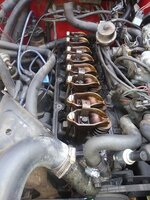
And a overall under hood shot before I pull the valve cover to fix a leak.

20220306_133016.jpg
 
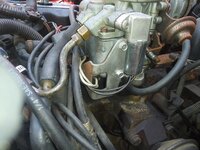
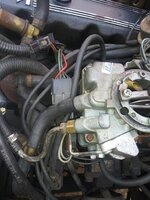
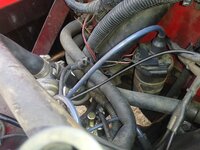
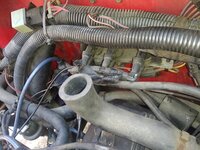
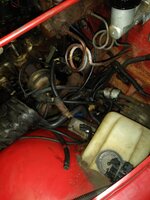
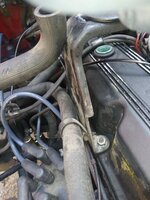
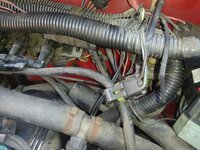
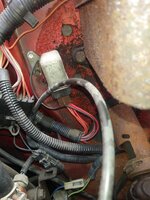
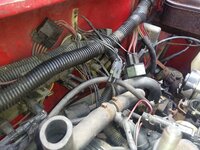
I took a bunch of pictures of how all this crap was hooked up/routed for my own reference. A lot of this won't really make sense.

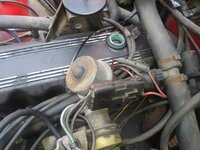
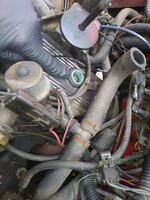
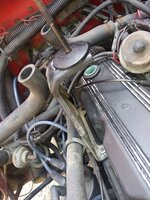
Rear of valve cover.

20220306_134025.jpg

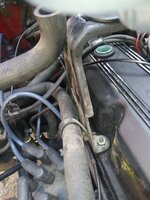
Pretty sure the fresh air port for the PCV system is NOT supposed to be plugged, this would definitely cause some leaks/problems.

20220306_134016.jpg

Around the carburetor.

20220306_134045.jpg

20220306_134033.jpg

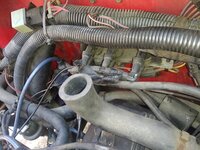
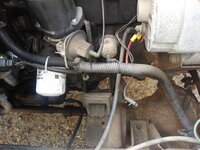
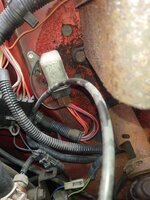
Passenger side firewall, very busy.

20220306_134131.jpg

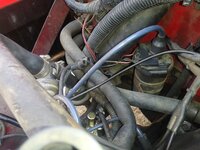
Directly above valve cover.

20220306_134125.jpg

Down below the battery.

20220306_134141.jpg

Front of valve cover.

20220306_134100.jpg

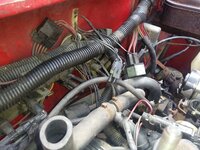
More firewall.

20220306_134121.jpg

Driver side.

20220306_134114.jpg
 
More random pictures. Two cylinders short of a six, same amount of crap, if not more, some different thingies, too.

20220306_134355.jpg20220306_134121.jpg20220306_134219.jpg20220306_134351.jpg20220306_134146.jpg20220306_134125.jpg20220306_134131.jpg20220306_134206.jpg20220306_134152.jpg20220306_134158.jpg
 
One final picture dump. Most of this is just for my own reference, won't really make sense.

20220306_134355.jpg20220306_134403.jpg20220306_134219.jpg20220306_134351.jpg20220306_140234.jpg20220306_135754.jpg20220306_140218.jpg20220306_134206.jpg
 
At first I was going to pull the carburetor and both manifolds off before pulling the valve cover. But, since I am working outside, and to keep my sanity, decided to pull the valve cover off first. I can do this because I can use a gasket on the cover, NOT RTV. If I was going to goop ot on, a bunch of crap would have to be pulled off/out of the way.

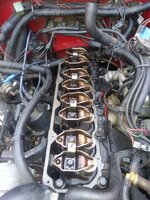
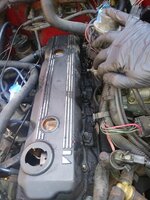
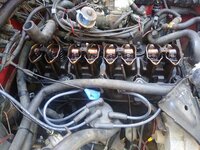
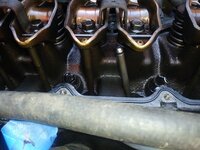
Pulled the valve cover, problem on cylinder #2:

20220306_140849.jpg

Yeah, one of these push rods is not like the others!!!!

20220306_140855.jpg

Push rod still straight:

20220306_141333.jpg

Blown muffler, loose distributor, loose push rod, yep, pretty massive back fire!!!

Loosened the rocker, reinstalled the push rod. Put on the little oil deflectors, cranked engine over for two minutes straight.

20220306_143626.jpg

Every thing appears to be working correctly, hopefully dodged a bullet. This is the second poor running CJ that I have found this same problem on!!! No amount of tuning/adjusting/swapping carburetors can overcome this!!!!
 
Back to valve cover gasket swap.

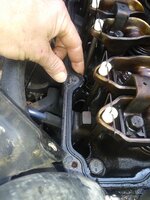
From the factory the four cylinder plastic valve covers were glued on, just like the 258's. But, the 4 cylinder valve cover is made better, and you can use a rubber gasket. Also, IIRC, this little cover has either 10 or 12 bolts clamping it down.

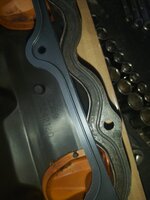
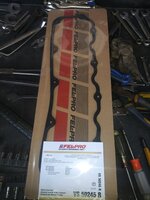
The new rubber gasket.

20220306_144415.jpg

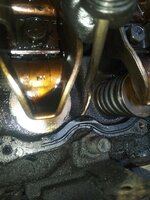
Unfortunately, you have to scrape all the damn old RTV off the head before using your new gasket.

20220306_151725.jpg

I'm not sure if this was the original factory job, but it looked great, I thought it was a gasket at first!!!!

20220306_143637.jpg

This on the driver side, but note how the RTV actually runs down into the cylinder head, NOT just on the flat flange. Very interesting.

20220306_145852.jpg

Cleaning the head flange always sucks, but at least the 4 cylinder is smaller then the 258 LOL!!

20220306_161811.jpg

Note the raised rib on the seal that keys into the groove on the bottom of the valve cover. Why couldn't they make the 258's like this!!!

20220306_162030.jpg

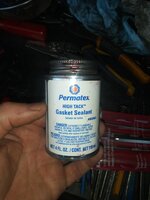
I used some of this goop, pictured below, to help hold the gasket to the bottom of the valve cover.

20220306_163023.jpg

I then installed the assembled gasket/valve cover on to the cylinder head. Torqued the bolts/studs down to 55 INCH pounds, working from the center outward.

20220306_170320.jpg

Got the engine buttoned back up before the rain, happy about that. I really like this 4 cylinder valve cover/gasket, light years ahead of the 258!!!

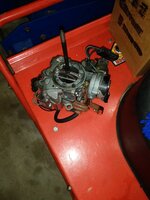
Plan on pulling the carburetor next for a rebuild. After leaning over it most of the day, it stinks terribly like old stale fuel. Considering that the entire Sol-Vac assembly was not even bolted on correctly on the exterior of the carburetor, no telling what I will find inside. Once the carburetor is off, I can pull the intake/exhaust manifolds to install a new gasket.

First, I will need to lable all the vacuum lines/wires.

That's it for now!!!!
 
Interested to see what size trash container you will need for all that crap, or just going to fill your paint booth. :rolleyes:
JK, what did we do before digital pics? :thumbsup:
 
Did a little deconstruction last night.

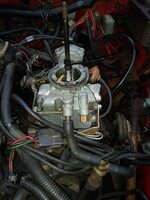
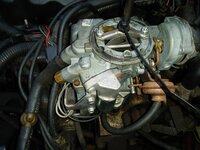
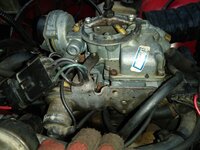
A few pictures of the carburetor, with all its associated doo-dads.

Front view:

20220308_173446.jpg

Driver side view:

20220308_173455.jpg

Rear view, note plugged vacuum line below yellow sol-vac:

20220308_173509.jpg

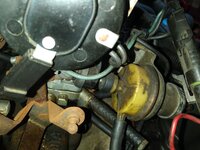
Valve cover side: missing two screws to hold the Sol-Vac plate to carb body, unplugged/rusty ported vacuum port:

20220308_173525.jpg

Probably should not be unplugged:

20220308_174547.jpg

Probably supposed to go somewhere:

20220308_174628.jpg

Two nuts hold the carburetor down to the intake manifold, both were loose.

Ready to disassemble, still stinks like old, putrid gas. It smells so bad I left it on the front porch wrapped in plastic bags, underneath a mop bucket!!! NOT in the garage on the Dr. Field and Brush mower LOL!!

20220308_190836.jpg
 
IMO, the 4 cylinder is worse then the 258, with regards to vacuum lines/feedback stuff. At least the 258 is longer, so it spreads this crap out some. On the 2.5 it is just all bunched up!!!

20220308_190858.jpg

I was going to do a better job of marking where stuff goes, BUT not sure it is right? So, I will need to spend some time during reassembly to ensure everything is reconnected properly, and no damaged vacuum lines!!

In the picture above, I was able to disconnect/separate stuff, 1/2 dumped over the valve cover, 1/2 dumped on to the driver side fender, leaving a big hole to access the intake/exhaust manifold.

And of course, drama:

20220308_190906.jpg

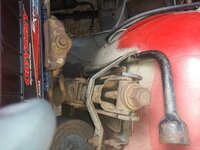
Snapped off the upper power steering pump bracket to intake manifold bolt. Steel bolt, aluminum intake, almost 37 years, seized up. No other bolts snapped. I "should" be able to drill this out, re-tap, and/or Heli-Coil if necessary. If not, no big deal, this upper bolt is really not needed. This set up is similar to a 258, and I run my green Scrambler (4.2 with 4.0 intake) and ran my red Scrambler for 30k miles (4.2 with 4.0 manifold) without this upper bolt, no problems. BUT, I would like to fix it, if possible.

I thought this orange gasket was aftermarket, maybe not?

20220308_190930.jpg

Picture showing all the crap I dumped over to the driver side fender:

20220308_190941.jpg

All the crap I dumped over the valve cover:

20220308_190952.jpg

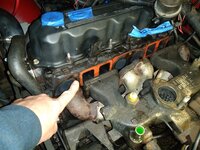
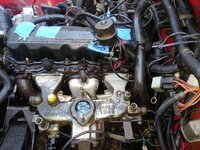
The AMC 2.5 only uses 7 bolts to hold the intake/exhaust to the head. All 7 bolts were loose. Also note how it only has an intake gasket, no exhaust gasket.

20220308_193223.jpg

I did NOT separate the intake manifold from the exhaust manifold (EGR crossover tube holds them together). The reason why - I AM SCARED TO. I do not have much confidence that I can successfully remove the cross over tube with out destroying it. With a 258, no big deal, you can find the tubes easily. Not sure about the 2.5. So, for now, I slid the joined intake/exhaust manifolds off the head, removed the gasket, and then slid it back on. I will clean the head, install a new gasket, call it good.
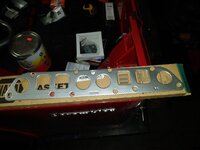
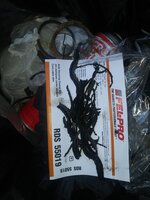
The new gasket is a combination intake/exhaust manifold gasket:

20220308_193236.jpg

20220308_193257.jpg

I prefer to run an intake/exhaust gasket. Some do not. The head/manifold surfaces are good to go on this engine, so a quick clean up, new gasket, torque it down, call it good.
Close up of what I presume is the OEM intake gasket part #:

20220308_193734 (2).jpg

So:

Loose carburetor to intake manifold
All 7 intake/exhaust manifold bolts loose
Major exhaust leaks
Unplugged ported and manifold (not pictured) ports on the carburetor
#2 cylinder push rod dangling in the breeze
Timing WAY out of whack
Completely fouled out spark plugs
Rotten gas/rubber fuel lines with holes in them
Presume to be gunked/stopped up carbureter

I am amazed it ran at all!!!!!!!!!!!!!!!!

Previous owner: "Just pump the gas pedal 5 times and it will fire right up and drive great".
Delivery Driver: "There is something seriously the matter with this thing. I have driven thousands of cars, this one is non-op/F&*ked".

The truth is somewhere in the middle :popcorn:

That's it for now!!
 
I disconnected all that crap and more over 30 years ago. Electronics, computer, upstream/downstream items and carb. Put a Weber on and adjusted the timing and it was like a new great running engine and never looked back on that junk. Worked great for another 150,000 miles.
 
I disconnected all that crap and more over 30 years ago. Electronics, computer, upstream/downstream items and carb. Put a Weber on and adjusted the timing and it was like a new great running engine and never looked back on that junk. Worked great for another 150,000 miles.
If I had doubts about the emissions/computer I would pull it all. But, this thing only has like 70k on it, unmolested under the hood. I'm going to roll the dice and try to get all the OEM stuff functional. Besides, if I pull it all out the shift light on the dash won't work :thumbsup:
And besides, I like a good/different challenge :fingerscrossed:
 
I have know idea how, but the shift light worked all those years. If you can get it to work, go for it. That Weber just gave it so much more power than stock. In the article it said up to 20 % more power and I got a least that.
 
Just a few pictures, not any major progress.

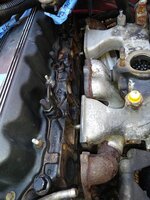
Cleaned the intake manifold/driver side head:

20220310_171412.jpg

20220310_171420.jpg

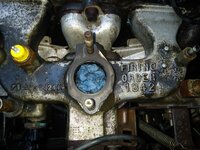
The firing order stamp is huge, but you could not even see it due to all the vacuum lines/wires/etc. over it!!!!!!!!!!!!!!!!!!!!!!

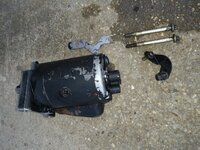
Looks like a Chevrolet starter, i.e. two bolts that come up from the bottom, shim, and the front snout bracket:

20220310_171428.jpg

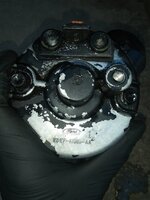
But look at the stamp LOL:

20220310_171441.jpg

Hope to make good progress this weekend, depending on the weather, that's it for now :wave:
 
Not much work Friday night due to rain. Around 30 degrees Saturday morning, so I picked up all the tree limbs that blew down from the wind Friday night.

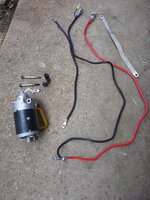
Installed a new starter and battery/starter cables. Bolt the little starter nose bracket to the starter BEFORE bolting the starter up to the engine, ask me how I know LOL.

20220311_160228.jpg

I ran the battery cables behind the tray like stock. Not really crazy about this, I usually just use shorter cables and run them off the front. I wrapped the positive cable in some tubing for extra chaffe protection.

20220312_124917.jpg

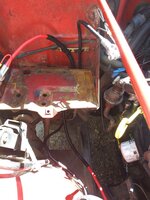
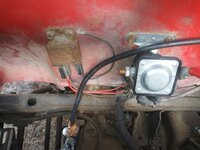
Finished up the battery cables. The solenoid was upside down for some reason, I flipped it around. Also straightened up the other wires over here, installed a firewall ground strap, etc.
20220312_131648.jpg

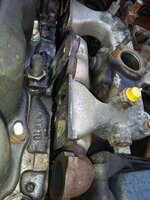
Cleaned up the head/manifold mating surfaces. They were in good shape, no pits. Some brake parts cleaner and 220 grit sand paper polished them up. PIA doing it like this but I am scared of that EGR crossover tube/pulse air piping!!!

20220312_134359.jpg

20220312_134404.jpg

Slipped the new gasket into place, installed a new stud in the very front head hole, found the correct washer for the front stud to replace the flat washer, and torqued it down.

20220312_142806.jpg
 
Back
Top