• Notice for iPhone users: DO NOT use the image size reduction option when uploading photos to the forum. This causes portrait images to post as landscape. We have added a warning to the image insert pop-up as well.

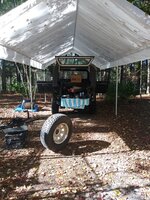
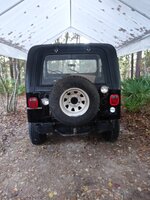
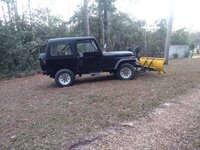
Spankrjs 1986 "Ploy-Boy" CJ-7

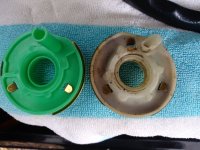
Bought some off the shelf parts to fix the broken turn signal cancel cam thing:

20220624_161400.jpg

20220624_161404.jpg

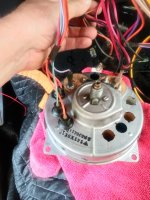
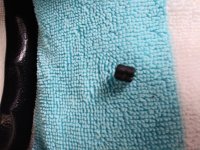
From the second picture above I only needed this little black piece:

20220624_161420.jpg

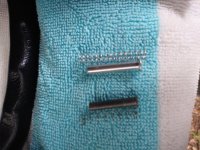
I still had the OEM little spring and rod (bottom), so I did not use the new parts (top). The new stuff is slightly different:

20220624_161439.jpg

On the new replacement parts, the silver rod would not fit into the green tube. You would need to turn the OD of the rim down some for it to fit in the tube.

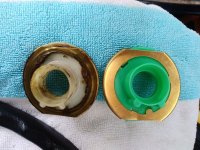
Green is replacement, White is OEM, matches up:

20220624_161620.jpg

20220624_161635.jpg

The only difference I could see: the little nubs that make contact with the turn signal switch to make it return to center, the spacing is slightly different. So, I think the new one will cancel the turn signal with less wheel movement then OEM.

20220624_161701.jpg

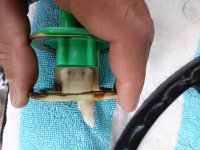
Spring, then rod goes down tube. Black piece slips over rod, little nub holds it in place:

20220624_162045.jpg

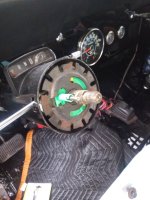
Big stiff spring, then green piece, then lock plate, then retaining clip. Note orientation of parts.

20220624_163439.jpg

Snapped on the dust shield/cover:

20220624_163520.jpg
 
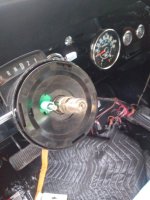
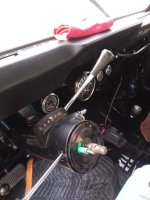
Unlocked the ignition, installed the gear selector stalk. It took a little manipulation, not force, but some fiddling:

20220624_164233.jpg

And the little roll pin that holds it in place:

20220624_164746.jpg

Installed the steering wheel, horn contactor parts, and the horn button:

20220624_165954.jpg

Installed the sun visors the right way around, they were on upside down/backwards??

20220624_173534.jpg

I did this late Friday afternoon in about an hour. It was over 100, had just rained, sun came out and it was getting steamy, so called it a day!!
 
Knocked out all my yard work before noon, so spent the afternoon working on all the behind the dash wiring.

Not the most exciting stuff, but I'll post up some pictures. I did not take any behind the dash pictures, but if anybody needs any let me know.

I pulled the driver seat out to make access easier, basically worked left to right, top to bottom.

Making myself comfortable:
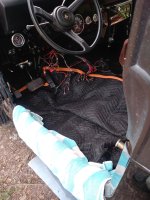
20220625_115703_HDR.jpg

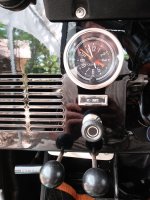
Clock and headlight switch:

20220625_122355.jpg

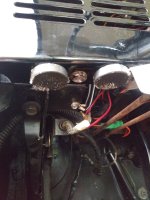
The two round knobs are for the plow stuff. I have not reattached the control rods back to the dash via their bracket yet.

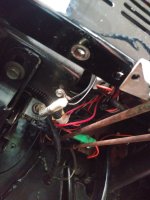
The only loose wires: The two red wires were original owner added, something to do with the plow. The white ground wire is off the intermittent wiper switch. I am actually trying to figure out where exactly it is supposed to go. The black wire is a ground wire out of the harness.
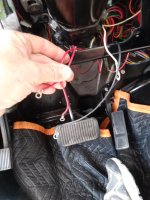
20220625_122404.jpg

Tachometer and wiper switch:

20220625_122412.jpg

Blower motor switch and heater control cables:
20220625_124612.jpg

That brings me to this, basically three groups of wires:

1) speedometer wiring
2) cigarette lighter wiring
3) oil pressure and volt gauge wiring
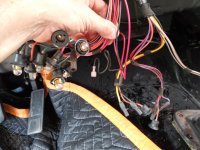
20220625_124825.jpg

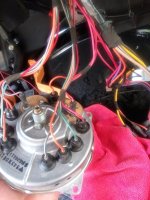
This is all the speedometer wiring, and it is in two clumps, left and right side (right side is in my hand, left side is on the left side of picture):
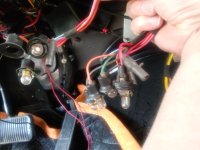
20220625_134104.jpg

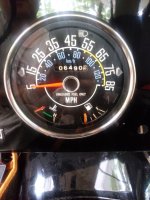
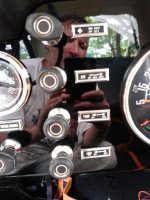
Easier to remove the speedometer to hook all this stuff up. Also easier to pull volt gauge to gain access to the upper right speed nut that secures the speedometer housing to the dash. Look at that handsome devil's reflection LOL!!
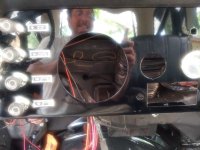
20220625_135332.jpg

Left side:

20220625_140457.jpg

Orange is dash light
Green is turn signal
Red and orange is 4wd indicator light
Purple is temp gauge sending unit
 
And the right side:

20220625_140906.jpg

Grey is high beam indicator
Orange is dash light
Green is turn signal
Red and Black is brake light warning
Pink is fuel gauge sender
Red is fuel/temp gauge power
Orange is dash light

Don't mix up fuel gauge power/sender wires!!!

20220625_140914.jpg

And reinstalled:

20220625_153953.jpg

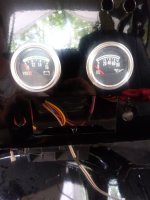
Volt gauge and oil pressure gauges installed:

20220625_154006.jpg

Cigarette lighter, ash tray, and crotch vent deflector installed:

20220625_162038.jpg

The crotch vent deflector holds all the intermittent wiper wiring stuff perfectly, not best picture:

20220625_162045.jpg

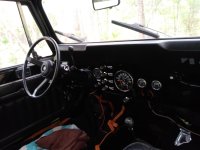
This Jeep's wiring was a pleasure to work with. I have not finalized my behind the dash inspection, but I would say zero previous owner mods/hacks. This stuff fell together. The way the harness still holds all the factory bends and twists, it all just fell in place. Absolute pleasure to reassemble, plug and play, finished:
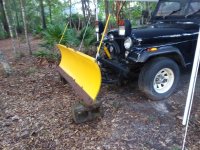
20220625_162205.jpg

Still have a few odds and ends to finish up, but 95% complete with the dash/dash wiring.

Also, having this bone stock/unmolested '85 less then ten feet away does wonders as reference material LOL!!!!!

20220625_162232.jpg

That's it for now :wave:
 
I always wondered what that vent was for. Riding around without a top it’s hard to tell. Pretty good place for the garage door remote.
 
I always wondered what that vent was for. Riding around without a top it’s hard to tell. Pretty good place for the garage door remote.
Actually, that plastic ducts whole purpose in life is to catch rain water that leaks from windshield seals and hold it in place. Then, the first time you move the Jeep forward the water flies out all over your leg/shoe. Works perfect :thumbsup:

It is tempting to place your wallet/phone there, which is fine, if it is dry :crazy:
 
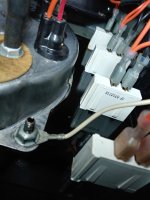
Before I installed the dash, I noticed that the original ground screw/nut was left on the far driver side bottom lip of the dash, with two cut off ground loops still attached. I figured it would be easier to remove this screw/nut with the dash mounted. Wrong, phillips stripped. So, careful drilling/Dremel work on the screw head:

20220626_102725.jpg

The magnets are to catch the metal shavings. You will also note two ground wires screwed to the parking brake bracket, directly behind the original ground screw/nut I am slowly destroying. Probably not factory.

Careful drilling/Dremel work, finally a quick whack with a small punch and hammer, removed ground screw assembly:

20220626_103814.jpg

Clean metal on both sides of the dash where the ground screw was:

20220626_103844.jpg

My dear friend @Jeep Addict sent me a picture of an old Laredo dash board that he had. On this Jeep, the white ground wire off the intermittent wiper switch was attached at the lower driver side speedometer mounting stud, so that's where I attached mine. The length worked out perfectly.

20220626_105340_HDR.jpg

In hind site, I should have looked at the picture he sent me closer. The other loose ground wire that I have, pretty sure it is off of the tachometer. If that is the case, it attaches on the same stud. Oh well, live and learn.

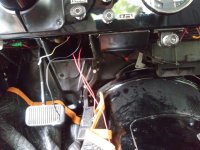
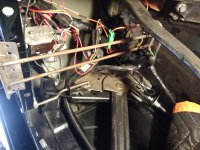
I looked for a few minutes at all of the wiring behind the dashboard. I only have the one loose ground wire that I am pretty sure comes off the tach. It will reach the lower driver side corner of the dash, so I can attach it here, or on the speedometer stud with the wiper switch ground wire. Pretty damn clean/rust free back here, including the unpainted parking brake assembly.

20220626_110048.jpg

I only need to attach the one ground wire, maybe relocate the two ground wires from the parking brake bracket back to the dash, three push nuts to secure the HVAC control cables and I will be finished with the dash board.

But, looks like rain out for the rest of the day, so that's it for now :wave:

20220626_110803_HDR.jpg
 
I have had the front of this Jeep jacked up/supported by a 2x4 from the ground to the bottom of the front bumper, keeping the weight of the plow off of the leaf springs. I have not messed with the plow since I received the Jeep, the plow was still held up with a ratchet strap.

I reinstalled the battery back into this Jeep, fired up the engine. I know nothing about plows, a little bit more about hydraulics. There are two rods that come out of a valve body assembly. One of them moves the plow up and down, the other rod moves the blade side to side. Anyway, it all works, and is actually much faster/powerful then what I assumed. I lifted the blade up, removed the strap, lowered the blade down on top of some concrete blocks. The leaf springs appreciate it!!!

20220819_184752.jpg
Small update, but I should be ready to plow this winter, that's it for now :thumbsup:
 
We get just a little snow about every 10 years or so. Guess I better look at the almanac. And see if the squirrels are chasing for nuts.
 
print out some sketchy looking flyers for snow removal with a pic of the Jeep and distribute around your area the first day it gets below 50 degrees. Don't put your phone number on it. You won't know folk's reactions but you gotta think it would create multiple supper time discussions!
 
We had a few hours of decent weather last weekend, so piddled with this one after it sitting dormant for the past few months:

20221127_130937_HDR.jpg

About 95% finished with the dash board. I also bolted all the big parts/pieces back to the body tub (roll bar/seats/seat belts/spare tire carrier/tail lights/fuel filler). This stuff was all loosely installed when it was shipped over. I have been running a tap through all the holes, and using anti seize. I have most of the original bolts, but if I am missing any I have been installing stainless bolts. It will be easy to swap these bolts out for OEM in the future. For now, faster to just install new bolts, versus trying to restore/obtain original hardware. I want to see what all I have, what I am missing, before I go down that OCD OEM hardware route. For as much surface rust/corrosion this thing has on the bottom side, all of the original "tack welded nuts" on the bottom of the body (seats, seat belts, tire carrier, etc) are still intact. Even all 10 side step nuts. Fingers crossed on the body mount bolts!!

The stainless sticks out like a sore thumb on the black paint:

20221127_160729.jpg

Buttoned all the back stuff back together, looks like a Jeep again:

20221127_163731.jpg

I mentioned earlier, but this thing has sat up for the past few months. I pumped the gas pedal twice, had to crank the engine over for about 20 seconds for fuel to reach the carburetor, but it fired right up and idled perfectly. Which is amazing, if you smell the gas tank!!!!!

I drove it around the block, parked it over night. The next day, two pumps of the gas pedal with the key on, it started up so fast/easy it is scary!!! Parked it out by the road to let it air out, and get the neighbors talking!!!!!


20221127_165048.jpg

20221127_165135.jpg


Bring on the snow!!!!!!!!!!!!!!!!!!!!!!!!!!!!!!!!

Going to keep piddling on getting it back together, then start on the bottom side work, which will be "fun"................................
 
Have to smile on you being so hopeful. It will get more use back draging your door yard. That being said it would fit right in up here...with chains of course.
 
Back
Top