- City
- Dexter
- State
- MI
Under hood space is going to be at a premium. Don’t want that monster under there.The OEM 4.0 evap canisters have worked perfectly on both of my Scramblers with fuel injection. No real reason to reinvent the wheel?


Under hood space is going to be at a premium. Don’t want that monster under there.The OEM 4.0 evap canisters have worked perfectly on both of my Scramblers with fuel injection. No real reason to reinvent the wheel?


Thanks, saved me the trouble of looking.Late model TJ/LJ are an evap nightmare. The fuel tank has a pressure pump, ecm randomly activates pump to pressurize tank, pressure sensors monitor leak down rates......
The OBD1 4.0 underhood canister fits inside the OEM CJ bracket, so doesn't really steal space, it's all hid below the coolant overflow tank and windshield fluid tank. At least on regular hand drive, wrong side drive might be different?

It touches fuel/emissions...can't be anything simple or cheap.I had the ‘97 4.0 canister in it and hooked up all official on the firewall so I am aware and would rather have that space back. I was ignorantly expecting something very simple and cheap in the aftermarket just as a basic filter.
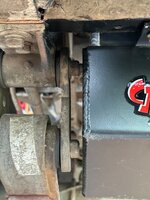


Used to use the stud trick for assembling parking lot fixtures, I liked to use a stud so it could easily be removed and replaced with the fixture bolts after the other bolts were in.Had to cut down the upper shackle bolt and pull the washer I had in there, but the new tank is in.
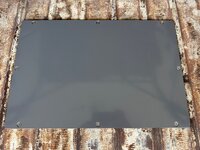
View attachment 122905
All I know is that I would NOT want to have to drop this beyatch with fuel in it on the side of the road. Holy crap. Very happy with a proper skid, in-tank pump and the hatch.
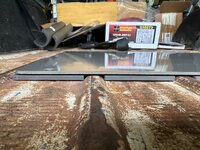
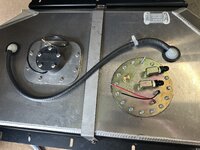
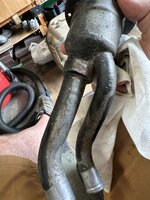
View attachment 122906View attachment 122907

No need to replace it. This seems to work perfectly and I have plenty of clearance for it.Used to use the stud trick for assembling parking lot fixtures, I liked to use a stud so it could easily be removed and replaced with the fixture bolts after the other bolts were in.
Just throwing it out there for times when one doesn't have clearance but needs to accomplish the same task.No need to replace it. This seems to work perfectly and I have plenty of clearance for it.

But damn if it doesn’t work well!Pretty sure they applied the undercoating after the full assembly. Got that stuff all over the Overlander. Axles, brake lines, fuel lines, wire harnesses. Like a rubber asphalt mess.
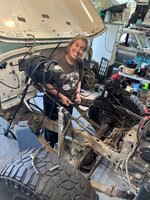
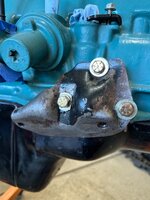
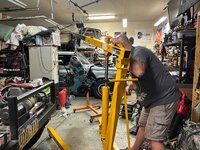
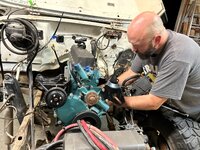
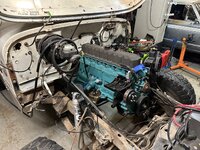

That looks beautiful!Oh boy...
I committed to buy a stroker build that @Cincyjeeprs son Sam built for his Scrambler and has had for some time, but never put the Jeep together with it. (Sam is @Samweldspoorly on here but I think he only posted once.)
As sad as I am to see Sam's rig not get finished, I get it, and I hope to give this a proper home.
This will fulfill two needs: my years' long plan to end up with a stroker and this sick engine to be powering a Scrambler.
Build was targeting: 325hp/350tq with peak tourque around 1800rpm and run on 87. Should be fun
When I swapped the 4.0 in the Postal years ago, this was the plan.
View attachment 113188
View attachment 113189
View attachment 113190
View attachment 113191
(It's so pretty, it's almost a shame to be putting in my junk)
More details to come, lots of things to finalize yet and TONS more photos to post. Sam documented the CRAP out of this build.