• Notice for iPhone users: DO NOT use the image size reduction option when uploading photos to the forum. This causes portrait images to post as landscape. We have added a warning to the image insert pop-up as well.

82 4bt build

On the fan, won't you just put the pulley back on and not bolt on the fan? No alternate belt setup needed, or am I missing something about how it works on the 4bt?

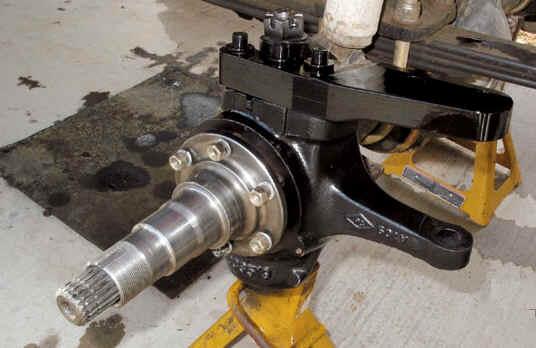
On those hi-steer arms, aren't those going to kill your turning radius? They look to be about half as long as they need to be (basically you want them as long as the stock arm on the knuckle as far as I know). Half the length = half the throw.
 
On the fan, won't you just put the pulley back on and not bolt on the fan? No alternate belt setup needed, or am I missing something about how it works on the 4bt?

On those hi-steer arms, aren't those going to kill your turning radius? They look to be about half as long as they need to be (basically you want them as long as the stock arm on the knuckle as far as I know). Half the length = half the throw.

Just measured the high steer knuckles and they are roughly the same length. I don't think there will be much of an issue. Time will tell I guess. Also, I just went out to the garage to look for the fan drive and mount and I can't find it. I think it made it in the scrap pile I took to the metal yard. Young and dumb sometimes... Guess I'll either buy a new one or find the right serpentine belt length.
 
On those hi-steer arms, aren't those going to kill your turning radius? They look to be about half as long as they need to be (basically you want them as long as the stock arm on the knuckle as far as I know). Half the length = half the throw.
Unless I'm thinking wrong (just might not be the first time), those short arms on the knuckle will speed up the steering, not slow it.
 
So I ordered more stuff today. I'm really glad I'm not keeping track of my spending. haha. If you haven't been over to RUFF STUFF SPECIALTIES then you should check those guys out. They have the best customer service and there parts are quality. Anyway I got the steering crossover steering kit for the high steering. I also bought anti axle wrap kit. There is a lot of fabrication to be done in the future, but pretty much everything is ordered. I'd like to be done by memorial day weekend so I can drive it to Illinois and surprise my father with all that I have done. He only knows my mechanic skills as a kid, aka break things then ask dad for help. Hope he's proud of the finished product. Maybe I can convince him to paint it for me.
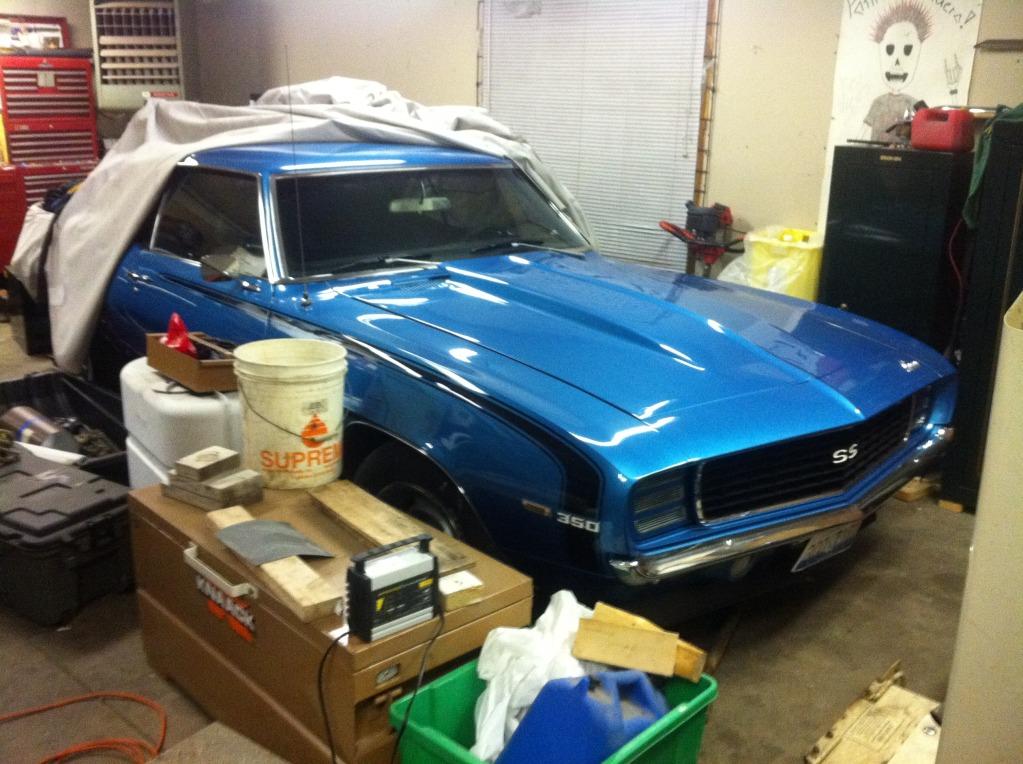
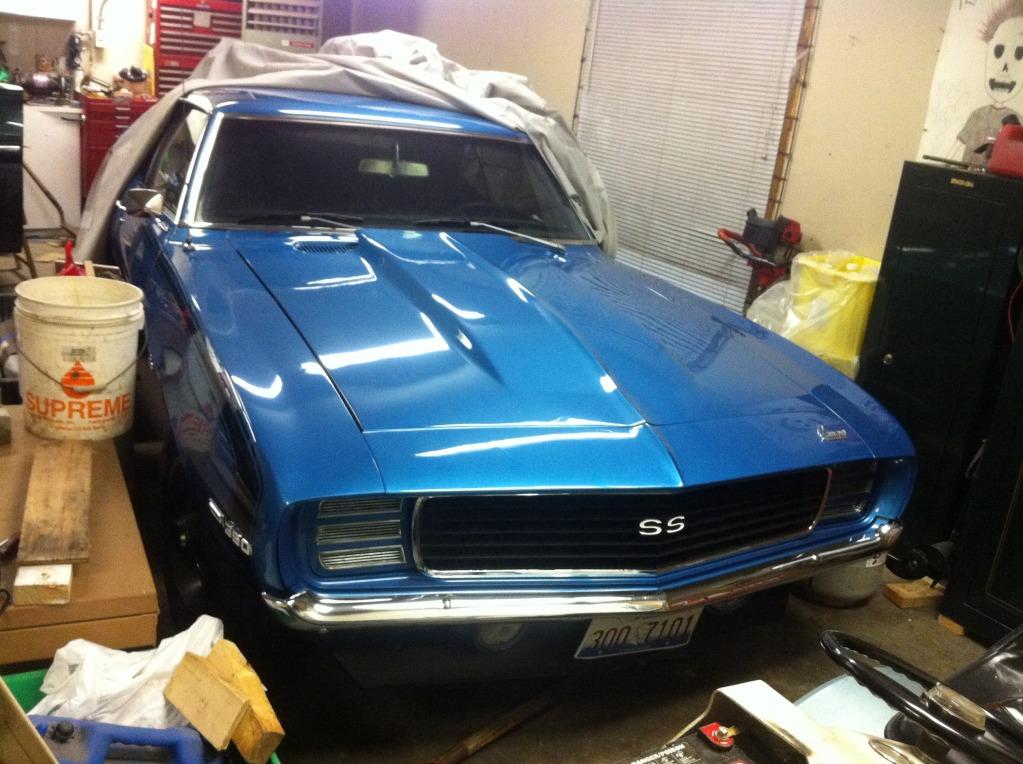
I helped my dad build his 69 camaro. Now it sits like this and gets driven every once in a while. He used to drive it every day to work, but now he has one of two trucks to drive. It was in snap-on tools calendar and he has never shown it in a car show. I remember riding in it to major car shows and he would park next to mini vans, trucks, etc. They always tried to let him in, but he always refused.
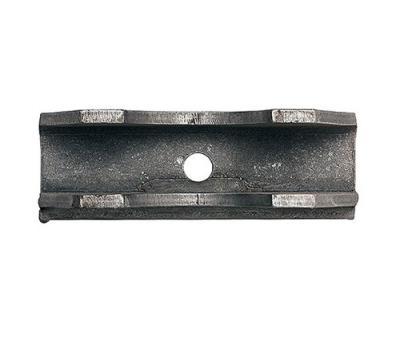
photo54-1.jpg

photo44-1.jpg

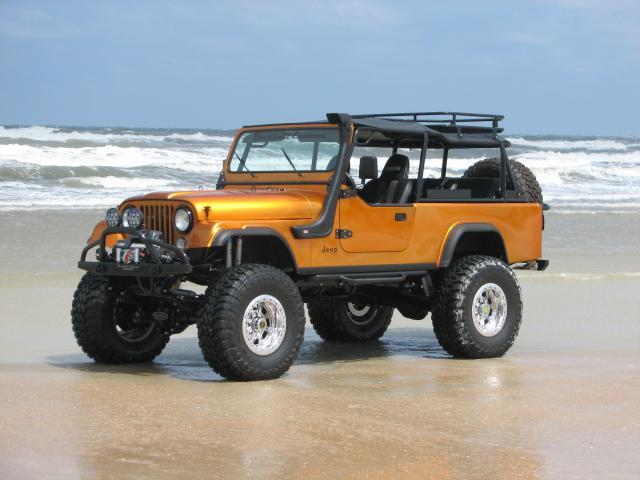
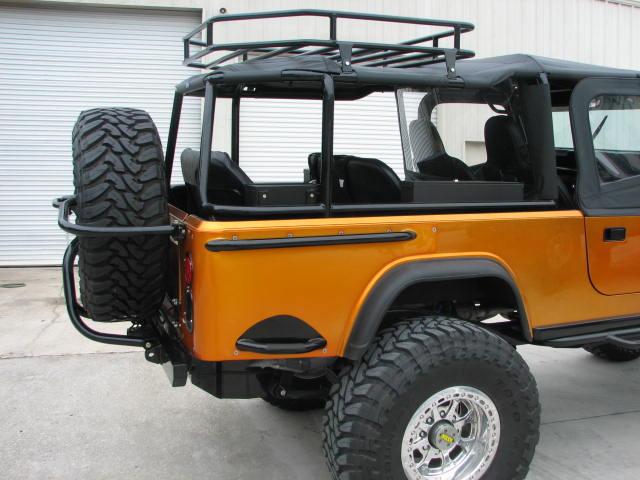
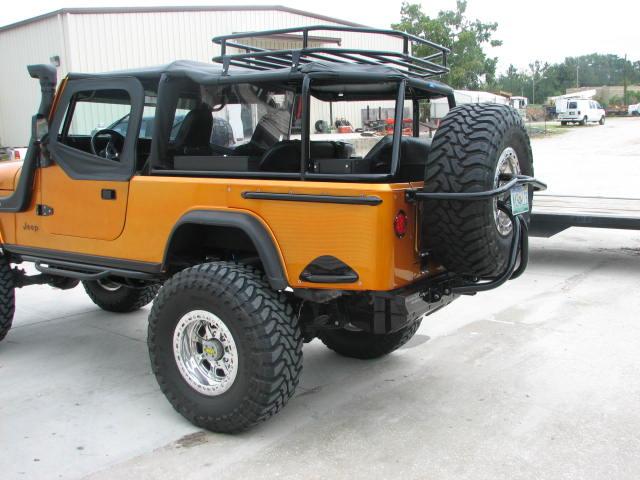
My buddy Drew builds Jeeps and other 4x4 vehicles in Jacksonville at Overbuiltcustoms.com.
This is my fav one. The Roll cage is the best!
photo34-1.jpg

photo23-1.jpg

photo13-1.jpg
 
Just measured the high steer knuckles and they are roughly the same length. I don't think there will be much of an issue. Time will tell I guess.

What I'm talking about is the length of the hi-steer arm on the knuckle in the picture compared to the stock arm on that same knuckle, not the other hi-steer arm. I was actually backwards in what I said, since the arms are short, two things will happen 1) your steering box will have to work a lot harder to turn 2) a lot less steering throw will cause the knuckles to hit the steering stop.

Here's what I mean, the difference in the length of the two blue lines, the distance from where the knuckle pivots to where the steering arm will be attached.
photo4-1.jpg

Here's an example I found with google of what those distances normally look like:
flattopknucklewith20highsteerarm-1.jpg


Some folks go so far as to run a long bolt vertically from the end of the hi-steer arm down to the stock hole in the knuckle's arm because they're aligned vertically, which keeps all the stock steering geometry.

I just don't want to see you go through a lot of effort to get this set up if there's going to be problems that a question now could help avoid.
 
What I'm talking about is the length of the hi-steer arm on the knuckle in the picture compared to the stock arm on that same knuckle, not the other hi-steer arm. I was actually backwards in what I said, since the arms are short, two things will happen 1) your steering box will have to work a lot harder to turn 2) a lot less steering throw will cause the knuckles to hit the steering stop.

Here's what I mean, the difference in the length of the two blue lines, the distance from where the knuckle pivots to where the steering arm will be attached.
View attachment 25815

Here's an example I found with google of what those distances normally look like:
flattopknucklewith20highsteerarm-1.jpg


Some folks go so far as to run a long bolt vertically from the end of the hi-steer arm down to the stock hole in the knuckle's arm because they're aligned vertically, which keeps all the stock steering geometry.

I just don't want to see you go through a lot of effort to get this set up if there's going to be problems that a question now could help avoid.

A short pitman arm will work fine with the shorter arms and helps with the typical Drag link/tie rod interference issues. I run an Astro van pitman arm, it's flat, short and thick.
 
My buddy Drew builds Jeeps and other 4x4 vehicles in Jacksonville at Overbuiltcustoms.com.
This is my fav one. The Roll cage is the best!
photo13-1.jpg

That's a great looking rig, I would love to get a cage similar to this one. I like the idea of the roof rack, I am trying to incorporate something similar on my Rock Hard cage purchase this summer.
 
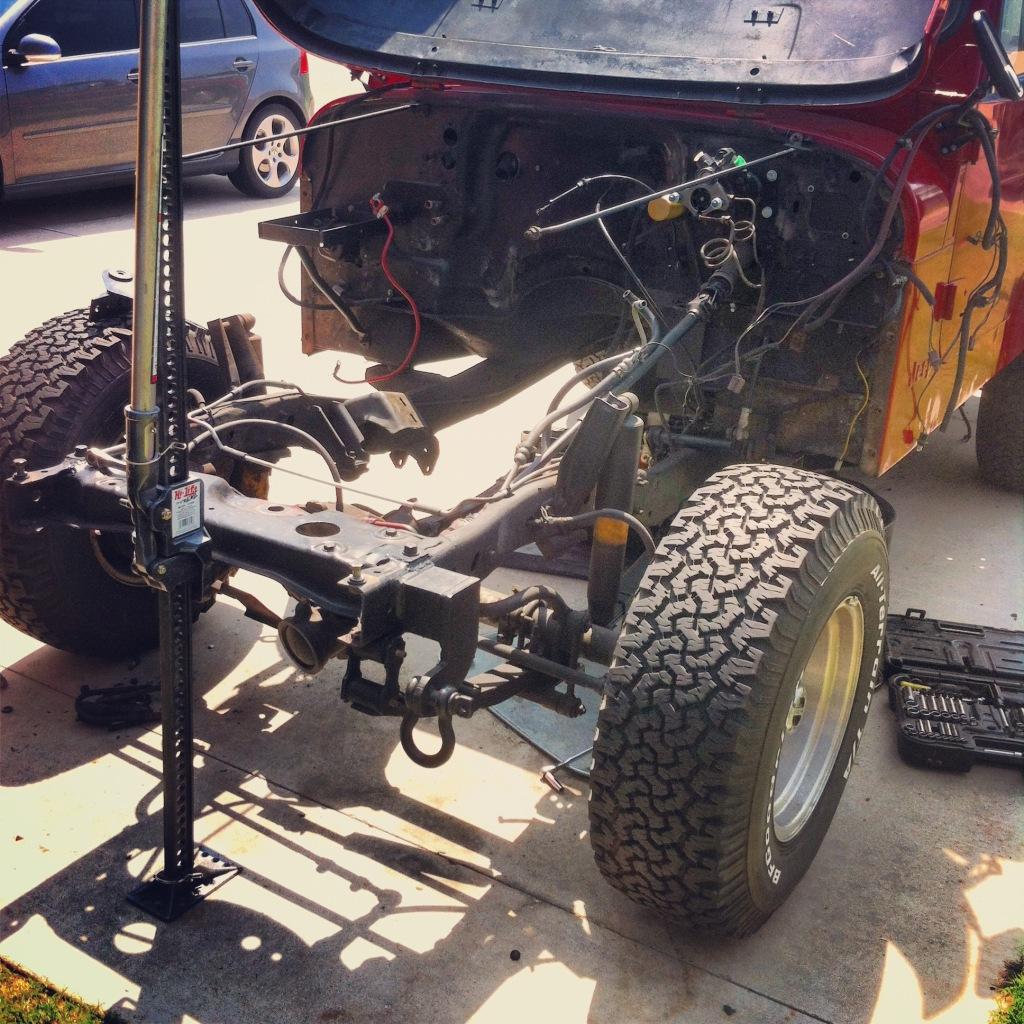
Got some more done today. I had a big set back. The Chevy NV4500 was a 2wd drive one. I would have to buy a 4x4 main shaft and change that out. I'm not knowledgeable enough to change everything and comfortably put it back together. So I found a place in the city that rebuilds NV4500's with the 5th gear fix. If you don't know about the VN4500's 5th gear issue, basically when under load (trailers) the 5th gear will go out. Either you can't put it in 5th gear anymore or you can't get it out of 5th gear. So the NV4500 I bought has the fix and it has a 3 year warranty as well. It's all about confidence for me. Today I took off the fenders, disconnected a bunch of unnecessary items, cut off two brackets, installed the front suspension, and finally got the adapter piece off the power steering pump. I had to use a grinder to weaken the adapter piece, but I got it to work.
photo14-1.jpg

Tearing down process
photo35-1.jpg

Here's a pic of the brackets I cut off. They were in the way of the wrangler spring conversion.
photo45-1.jpg

I'm still waiting on rear shackles before I can put on the rear lift, but at least the fronts done.
photo55-1.jpg

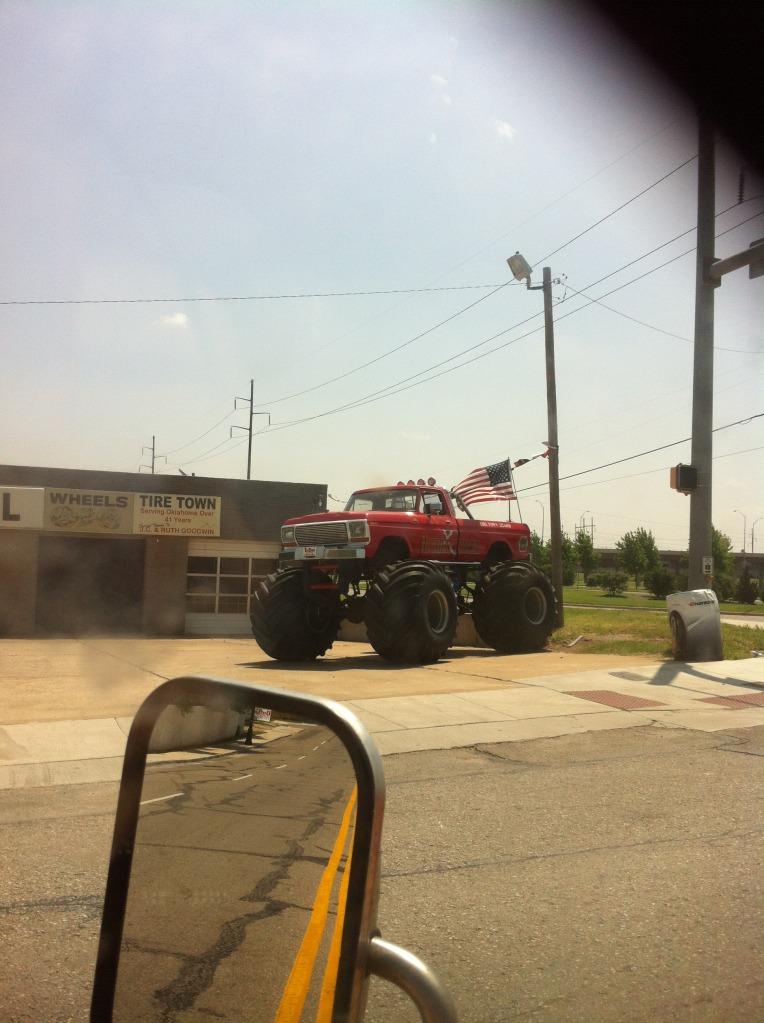
I also saw this today.
photo24-1.jpg
 
Your just killing me with this build. Love it but want to see it done. ;)
The 5th gear death in the NV4500 was an unhappy surprise for me when I learned it. I was towing my Scrambler from El Paso to Dallas to get it on the boat to send to Germany. I was about 80 miles into the trip when my 5th disappeared....just there one minute and gone the next! After a few minutes of freaking out followed by a string of highly choice explitives I continued to march. In 4th gear! Ugh. That trip took forever (can't really wind out a cummins) and was spent waiting for something else to go boom or bang and get stranded on the side of the road. Wasn't until I got back and did some surfing that I found out that the bomb proof tranny had this flaw.
If you don't mind me asking, what kinda price are you looking at to get it rebuilt with the "fix"? Which "fix" are they doing as there are several versions out there and some are snake oil.?. Its my understanding that this failure mostly happens in the diesel (or occasionally the V10) and stems from towing heavy loads while using the cruise control. Something about the shock of the load/unload the cruise creates causes the 5th gear nut to back off and eventually the gear is lost. It also creates and hour glass type shape on the shaft where the gear rides which requires the shaft to be replaced then as well. Full rebuild ensues and $$ flies out of one's pocket. etc..
My 99 Dodge quad cab is in pretty good shape body wise but between the tranny failure and the front axle/diff (ball joints and R&P shot) I may just look into swapping my Cummins into an old J-truck or something. But I'd like to keep the 4500. My truck was originally a cab-chasis and I am SURE it towed a lot with folks that didn't care (employees). I think rebuilding mine would serve and not worry much about the 5th gear loss again. maybe?
Couple of good sites here...
http://www.cumminsforum.com/forum/9...00-rebuild-replace-whos-parts-trans-best.html

http://www.fifthgearrepair.com/nv4500transmission.html
 
Your just killing me with this build. Love it but want to see it done. ;)
The 5th gear death in the NV4500 was an unhappy surprise for me when I learned it. I was towing my Scrambler from El Paso to Dallas to get it on the boat to send to Germany. I was about 80 miles into the trip when my 5th disappeared....just there one minute and gone the next! After a few minutes of freaking out followed by a string of highly choice explitives I continued to march. In 4th gear! Ugh. That trip took forever (can't really wind out a cummins) and was spent waiting for something else to go boom or bang and get stranded on the side of the road. Wasn't until I got back and did some surfing that I found out that the bomb proof tranny had this flaw.
If you don't mind me asking, what kinda price are you looking at to get it rebuilt with the "fix"? Which "fix" are they doing as there are several versions out there and some are snake oil.?. Its my understanding that this failure mostly happens in the diesel (or occasionally the V10) and stems from towing heavy loads while using the cruise control. Something about the shock of the load/unload the cruise creates causes the 5th gear nut to back off and eventually the gear is lost. It also creates and hour glass type shape on the shaft where the gear rides which requires the shaft to be replaced then as well. Full rebuild ensues and $$ flies out of one's pocket. etc..
My 99 Dodge quad cab is in pretty good shape body wise but between the tranny failure and the front axle/diff (ball joints and R&P shot) I may just look into swapping my Cummins into an old J-truck or something. But I'd like to keep the 4500. My truck was originally a cab-chasis and I am SURE it towed a lot with folks that didn't care (employees). I think rebuilding mine would serve and not worry much about the 5th gear loss again. maybe?
Couple of good sites here...
http://www.cumminsforum.com/forum/9...00-rebuild-replace-whos-parts-trans-best.html

http://www.fifthgearrepair.com/nv4500transmission.html

I paid $1000 for 4wd NV4500 and gave them my old 2wd as a core charge. They didn't go in to detail, but they said they extend splines and put a locking mechanism in it. The guy told me he did this setup for his truck a long time ago and has yet to lose 5th gear and he tows a lot of big stuff. I'll probably never tow anything in the Jeep so I'm not worried about it.
 
Welcome

Great thread. Keep up the good work. :thumbsup:

Look forward to meeting you at the Nationals. :D


I'll add my thanks also for your service. :usflag:


:wave:
 
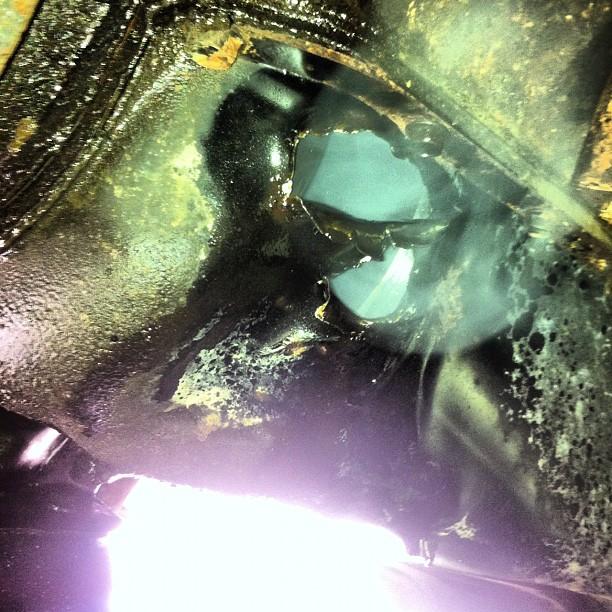
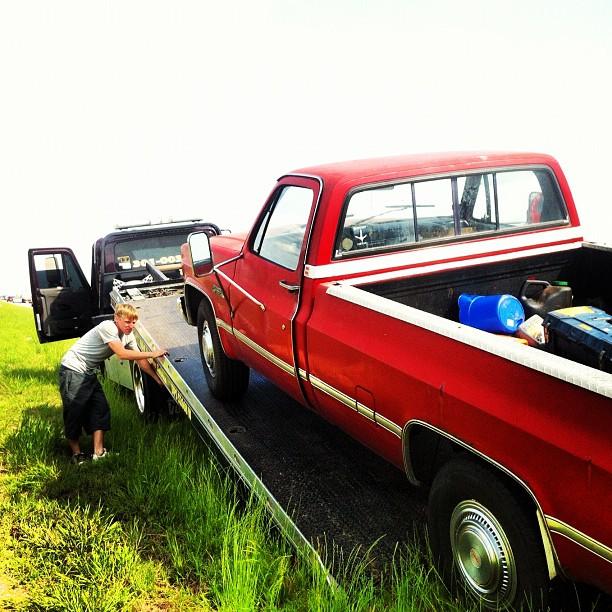
Well I think you guys deserve an update. Things have been slow unfortunately and bad luck struck. Monday I was driving to pick up my bellhousing and adapter plate for the engine and my truck engine blew up. Put a good size hole in my oil pan. Got to say it was pretty exciting to have it happen.
c5acc2d89e0211e18cf91231380fd29b_7-1.jpg

4c96dca29e2b11e1b10e123138105d6b_7-1.jpg


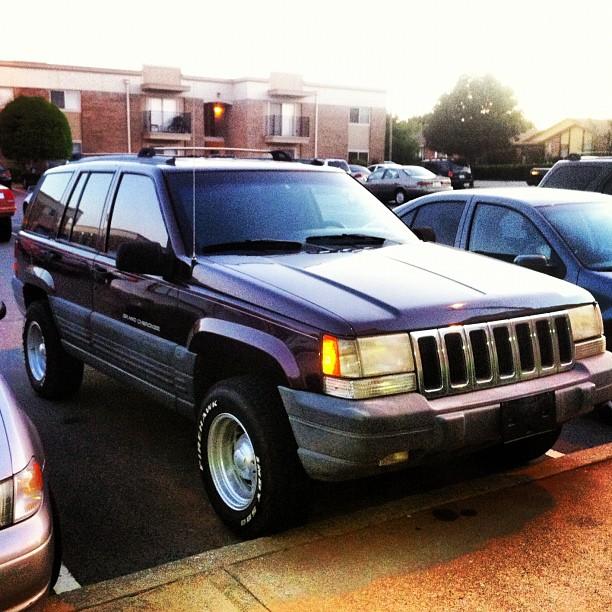
I decided to cut my losses with the ol truck and move on to another vehicle. A friend of mine had a 96 Grand Cherokee sitting around and had no plans of driving it as he already bought a new car. He told me it had issues, but it couldn't be worse than my truck that got horrible gas mileage, no A/C, and the drivers window didn't roll down. Well we got a new battery for it and I drove it around without much of an issue. We arrived at his house and the Jeep had a radiator leak. It stopped leaking a little bit later so I put stop leak in it and for the first time that stuff really worked! I plan on changing the radiator soon anyway, but boy was I surprised. This jeep has power everything, working windows, and above all A/C!!!! Oklahoma is getting hot and I am loving the A/C now. Only downside is that it's 2wd. Actually that might be a plus, bc I won't feel obligated to lift it and make it awesome as well! haha
064d6a7c9ef811e180d51231380fcd7e_7-1.jpg


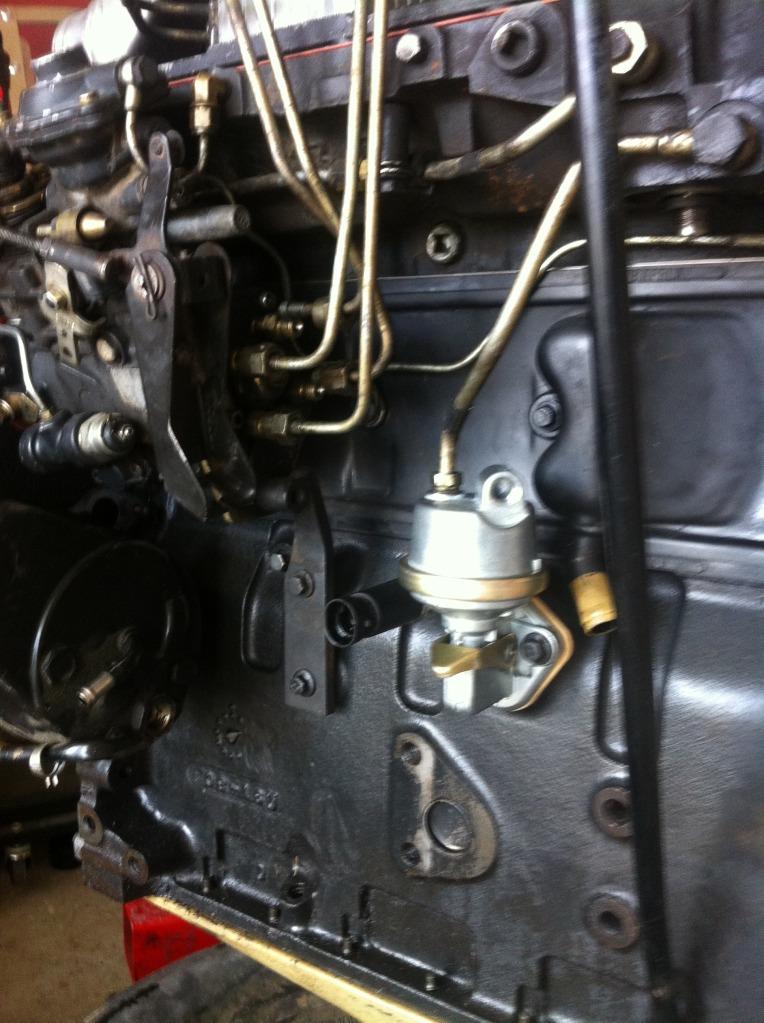
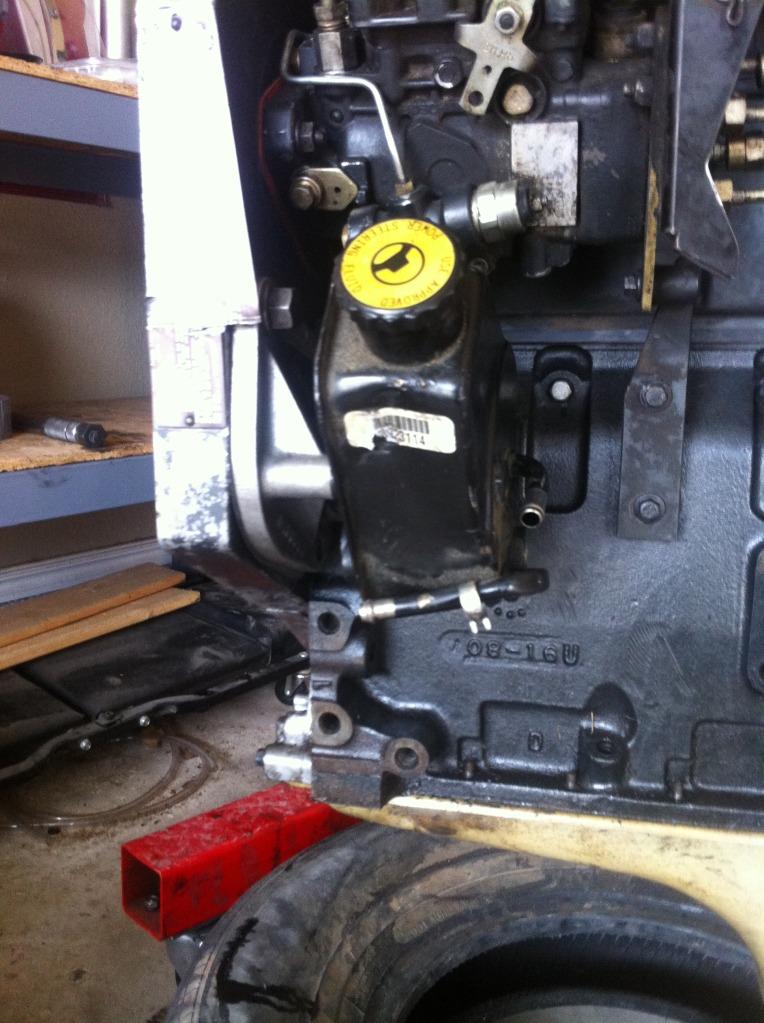
Now to some CJ8 progress. I only have a little bit to tell you, but more to come hopefully. I did go pick up the Bell housing and adapter plate so I will be mating up my drive line and measuring engine/tranny mounts which feels amazing to say! I had to overnight rear shackles so I could finish the lift and I ordered brake line extensions as well. I put the fuel lift pump and the power steering pump on the engine finally.
IMG_6665-1.jpg

IMG_6664-1.jpg

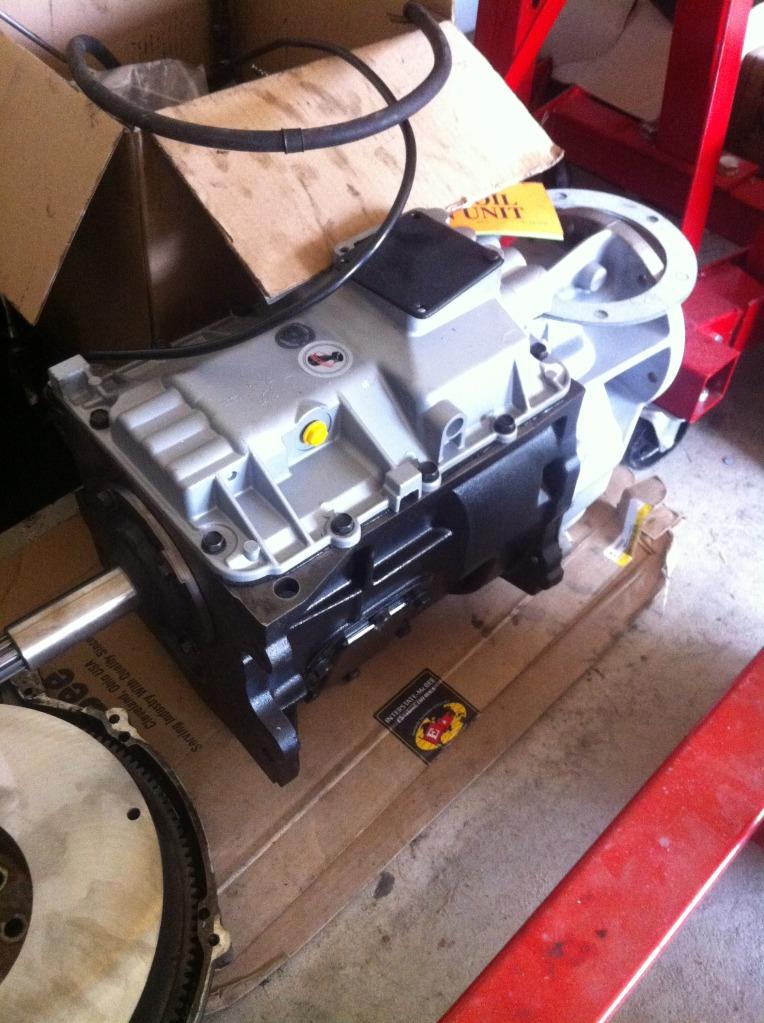
Here is the Dodge NV4500 I bought. It looks clean!
IMG_6663-1.jpg


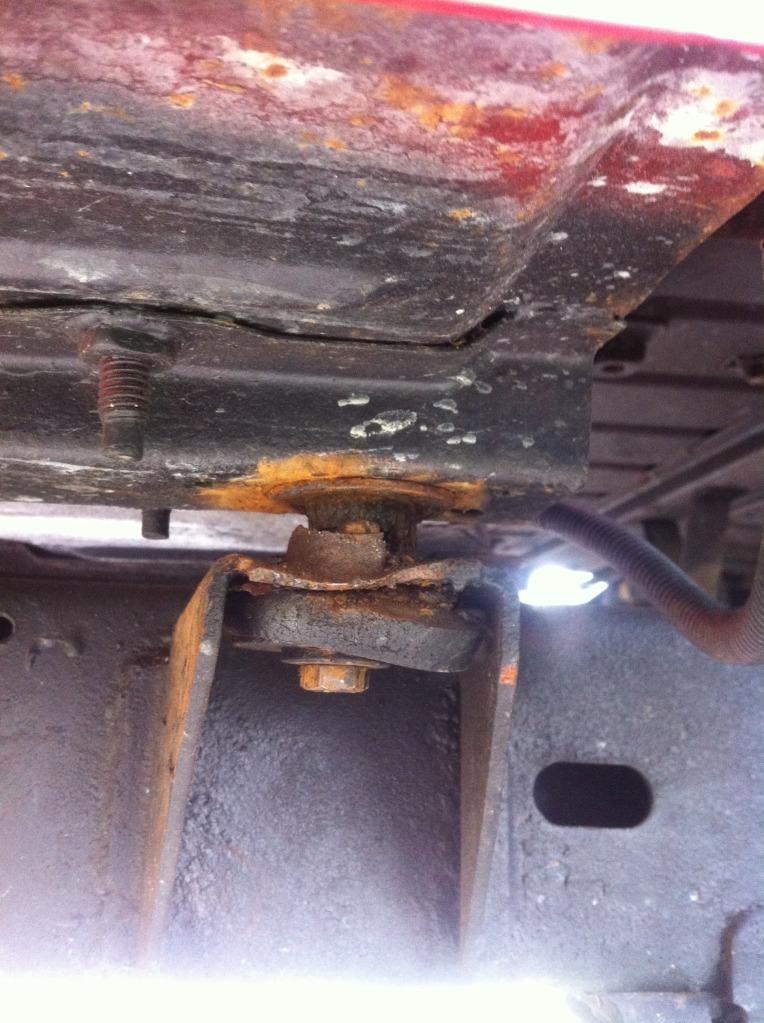
Now for something annoying... I was taking off the body mounts and two mounts just rotate and will not come out. I'm going to try and had a lot of down force from a screwdriver or something and then rotate and hope it breaks free. Either way I'm going to have to cut out that section to get to the rusted out nut weld to put a new one in. I'll just cut it out and then weld in a new one. At a later time I plan on doing some custom body mounts, but right now it's not a top priority bc I'm anxious to get this on the road.
IMG_6666-1.jpg


Well hopefully I'll knock out a lot this weekend. Gonna be ordering some much needed items soon and making a trip to the cummins dealership for some odds and ends. Lets hope things go well.

Oh and today I just submitted my final for my Nutrition certification! A lot of stress off of my shoulders now. Hoping it comes back with a passing score! I already received my personal training certification last year and not I'm starting on physical therapy and strength and conditioning. I'm constantly busy!
 
Subscribed. I will have questions for you when you get the transmission to transfer case hooked up. I have my frito truck but no trans yet.
 
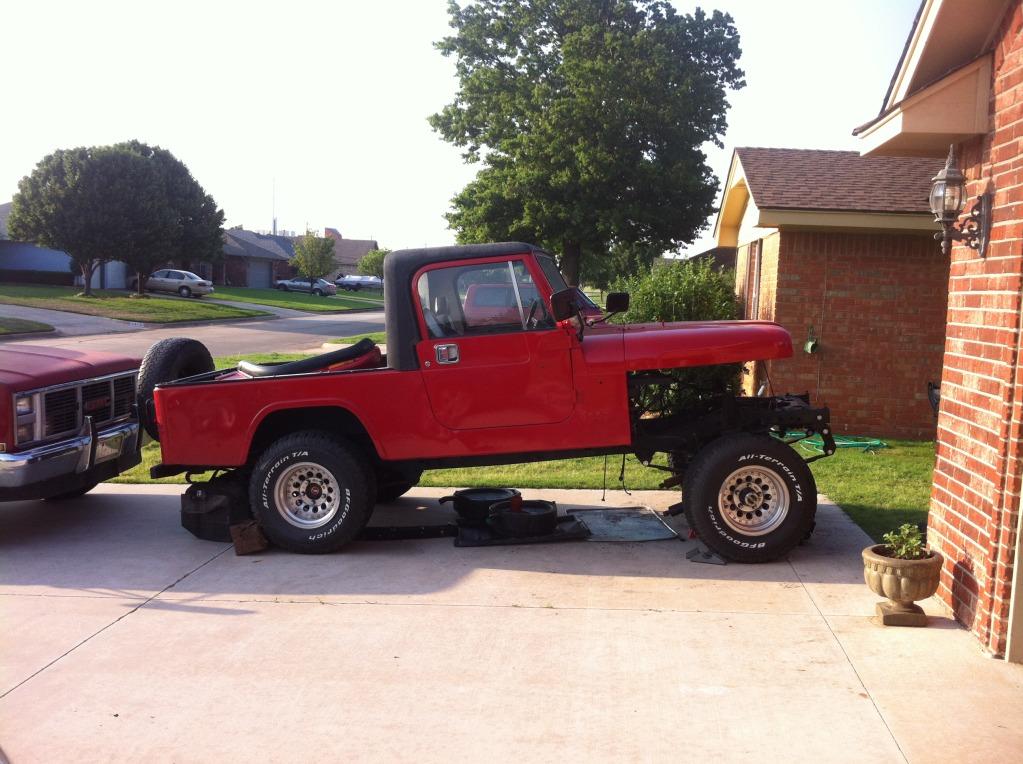
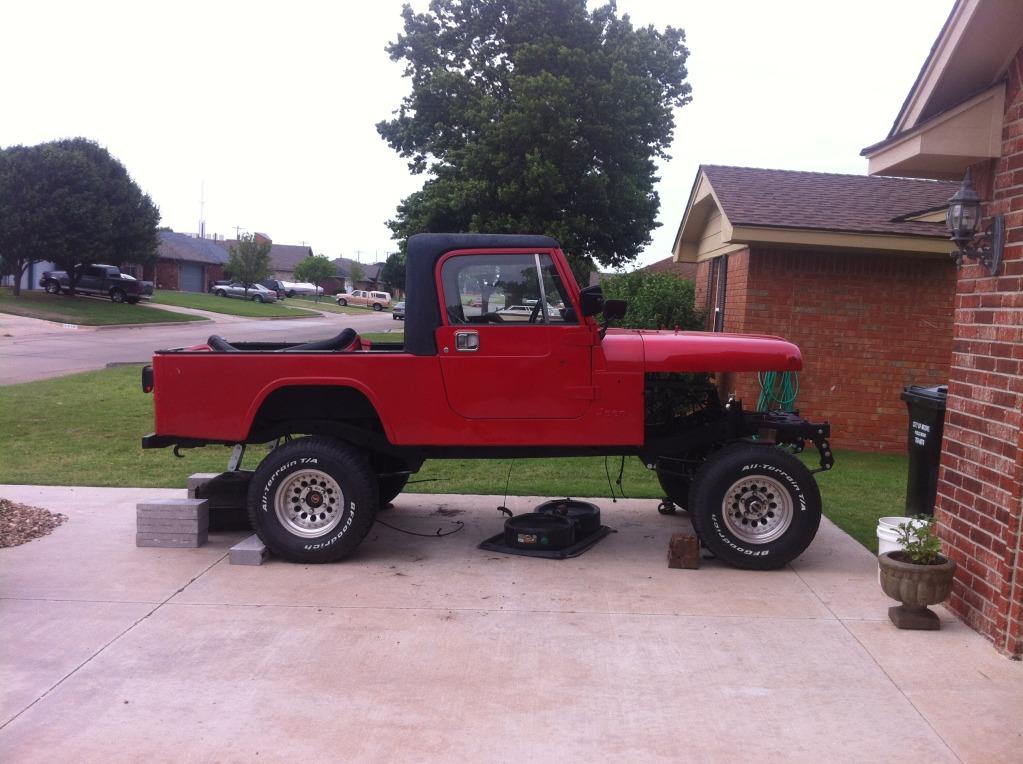
So I didn't get a lot done, but any progress is good, right? Well the lift is on, but nothing is welded in.
photo25-1.jpg

Those 31's look pretty small now! haha

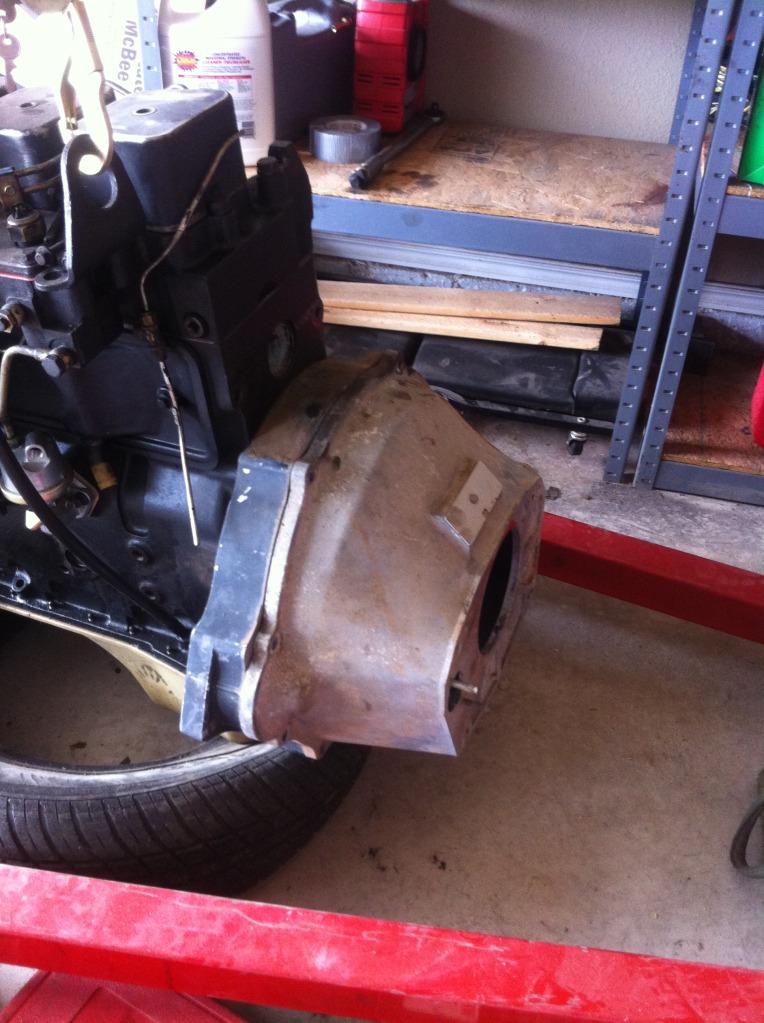
Here is the bellhousing and adapter plate I picked up from a guy on craigslist.
photo15-1.jpg


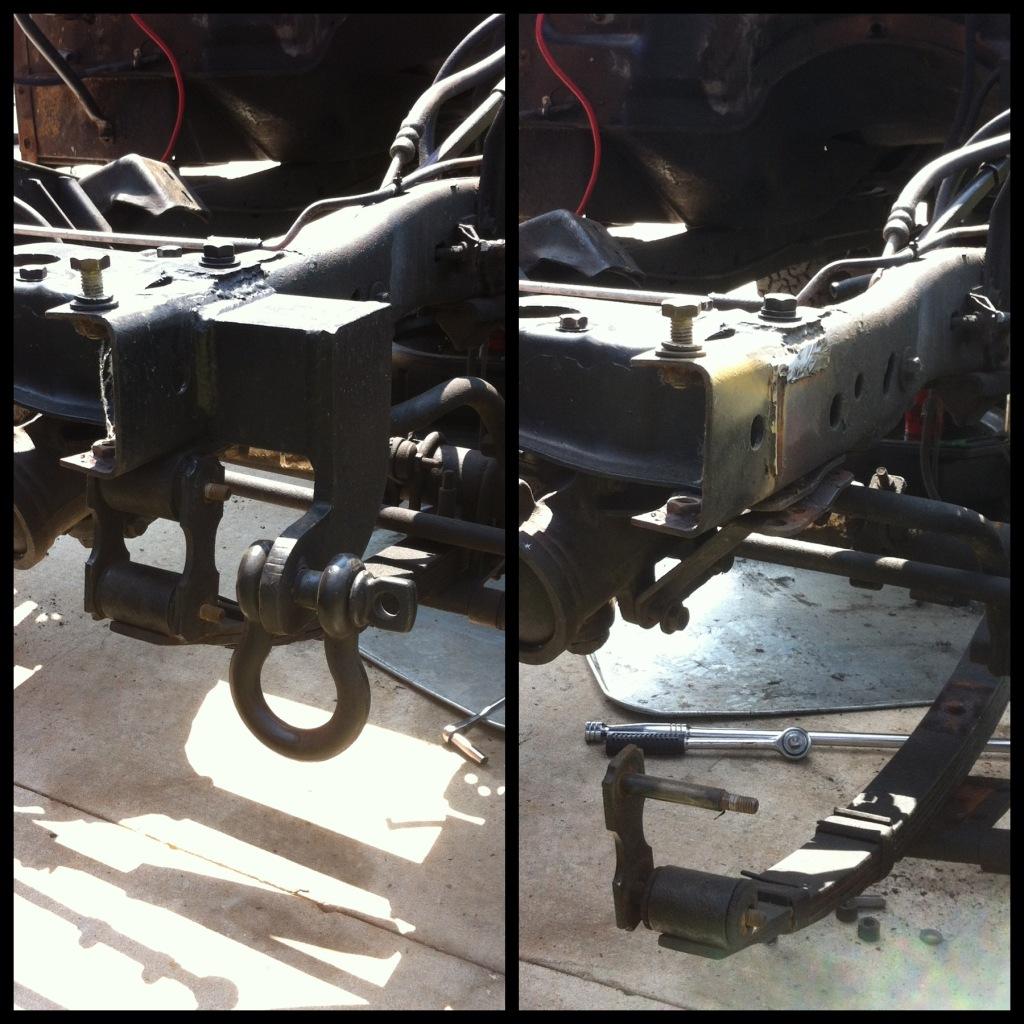
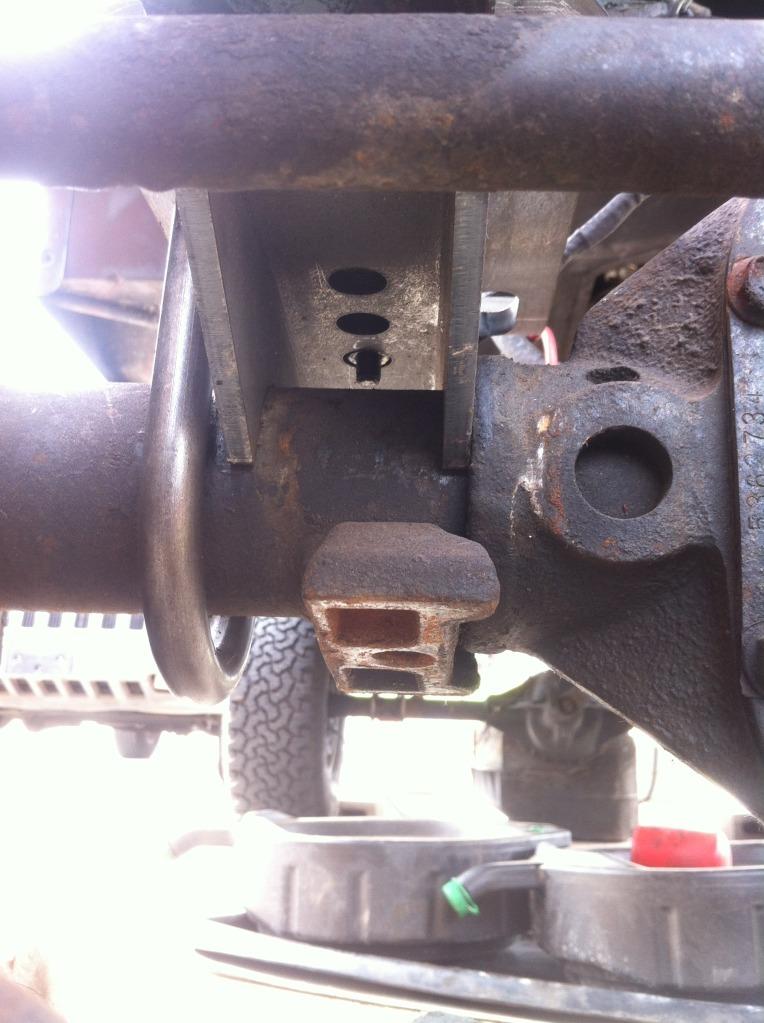
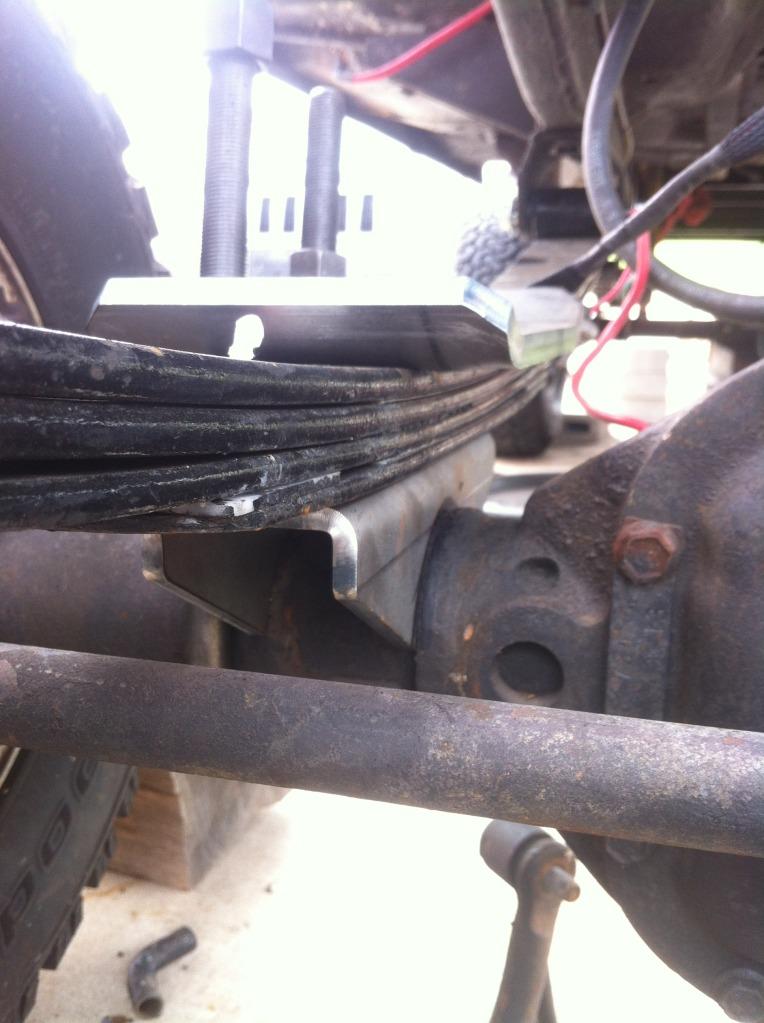
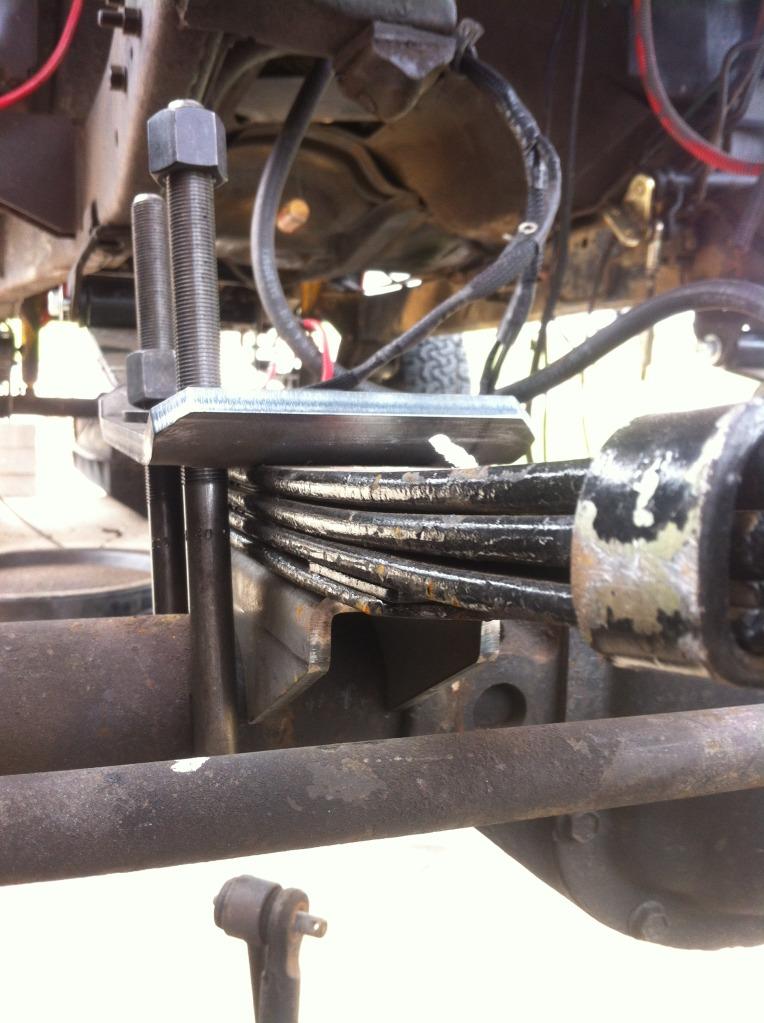
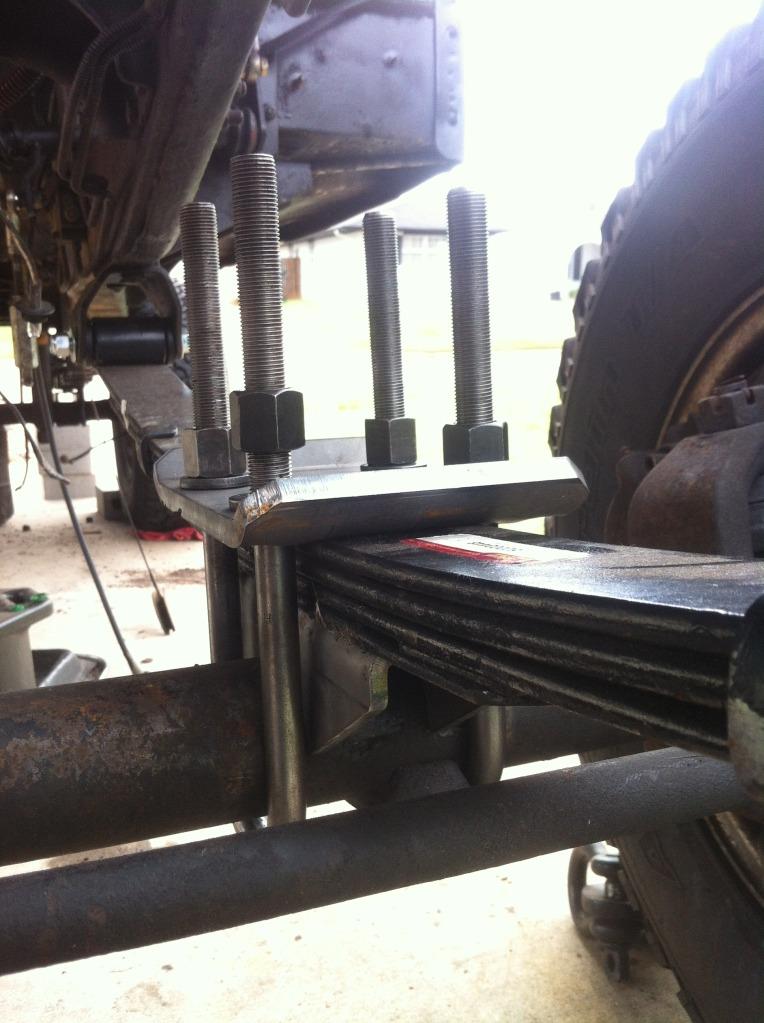
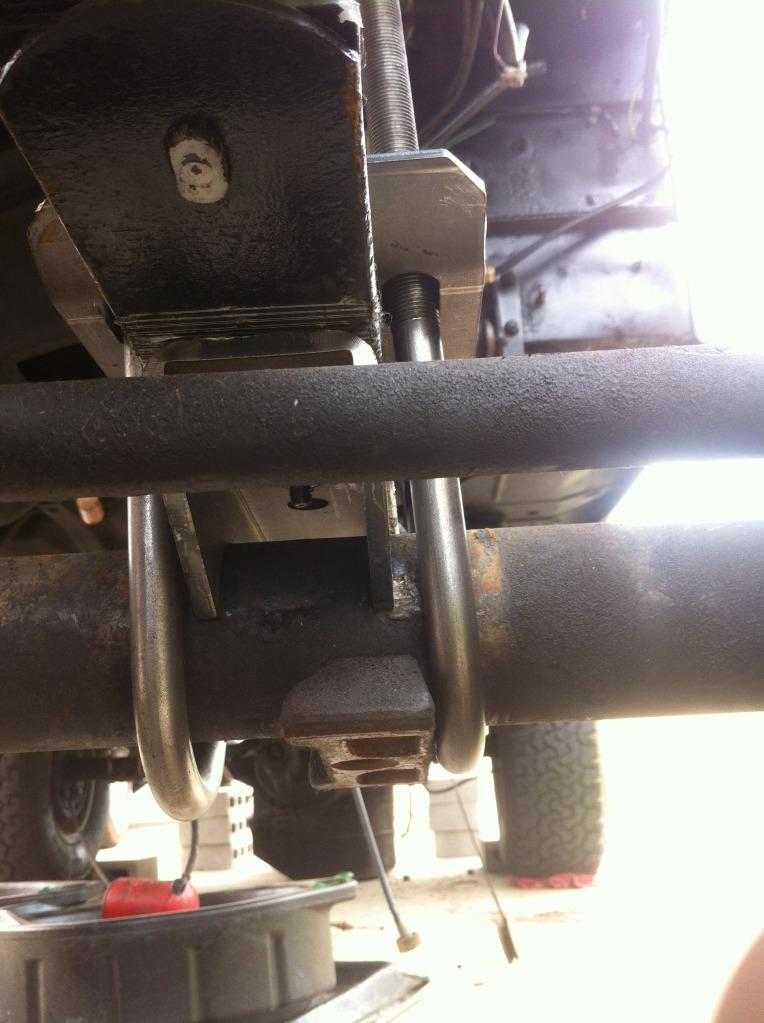
Now I need some help. As this whole project is honestly mostly new to me. This is my first SOA lift and i've ran in to a problem. I kept the lower perch bracket so I could line up the upper perches. Well the problem is that the upper perch can't go over any farther without modification to lay on top of the differential. Well of course I can't weld to that, but also I can't fit a U-Bolt if I put the perch on the diff iron. Is this a common issue? What is a good solution? Any advice will help. Here are some pics to help get the problem across.
photo26-1.jpg

photo16-1.jpg

photo36-1.jpg

Here is the drivers side now.
photo56-1.jpg

photo46-1.jpg


Well any advice is much appreciated.
 
People going spring over are often going to wider axles and they outboard the springs (new spring/shackle mounts outside the frame), which clears the pumpkin. Honestly, I'm not sure what people have done in this situation, looks like the axle actually needs to move over about an inch or so further to the passenger side than it is now to make it that much worse.

I suppose you could go with an outboard kit since you're welding on new spring pads anyway, I would think there's enough room on the tube towards the knuckles to allow that to work, certainly looks like it from your driver's side photo. :shrug:

Hopefully someone else who's done one of these setups or seen one done will chime in. I just can't recall ever seeing how someone did this, sorry.
 
Just found this through a google search, offsets the inside wall of the perch to get around the pumpkin:

http://www.4wd.com/Jeep-Lift-Kits-J...h.aspx?t_c=1&t_s=399&t_pt=5451&t_pn=R/ERE1910


imagesashxi4WD_RE1910jpgpartNoR2fEw400h4-1.jpg


Not sure on the U-bolt though, you may be looking at a custom spring plate drilled for a normal U-bolt on the outside and a bigger one that will go around the pumpkin casting on the inside?

That's a good idea. I'll try cutting my own first and then after I mess it up I'll buy this one. Haha

Thanks!
 
As BW said, most folks tend to go outboard to make this easier. Can it be done otherwise? Sure. In your case (without outboarding) you can make or buy a spring perch like you see above. You may have to do some grinder work to the iron diff "ear" where the plug welds are to allow the U bolt to fit but there is plenty of strength there and not a big deal. The other option I can think of would be something like this.

http://www.tntcustoms.com/u-bolteliminiators.aspx

Find or make one that will work for your application. You have the skills you just need the jeep searching history to know whats out there/been done before. :)
And just to play the devils advocate..... the 2wd grand cherk can be made 4x4 pretty easy. :)
 
Back
Top