• Notice for iPhone users: DO NOT use the image size reduction option when uploading photos to the forum. This causes portrait images to post as landscape. We have added a warning to the image insert pop-up as well.

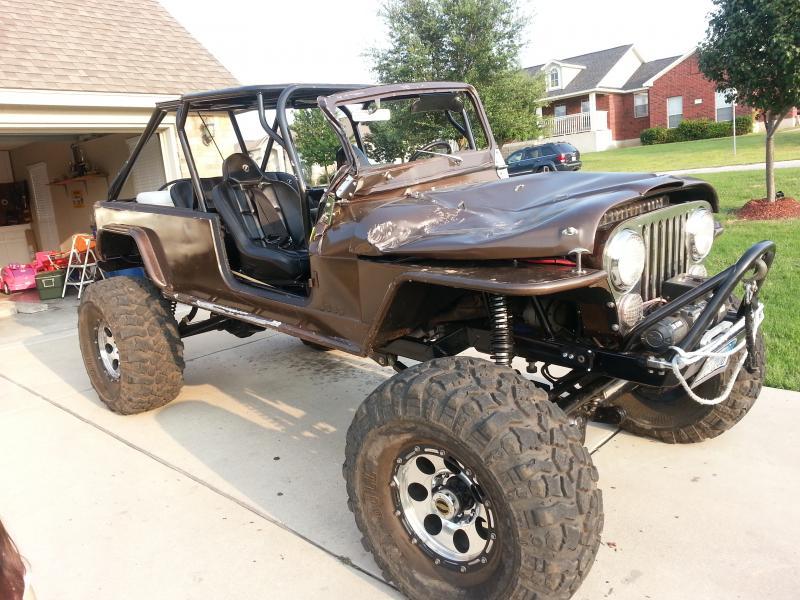
84 CJ8 4 link coil over project underway

I made it - Texas Twister 7

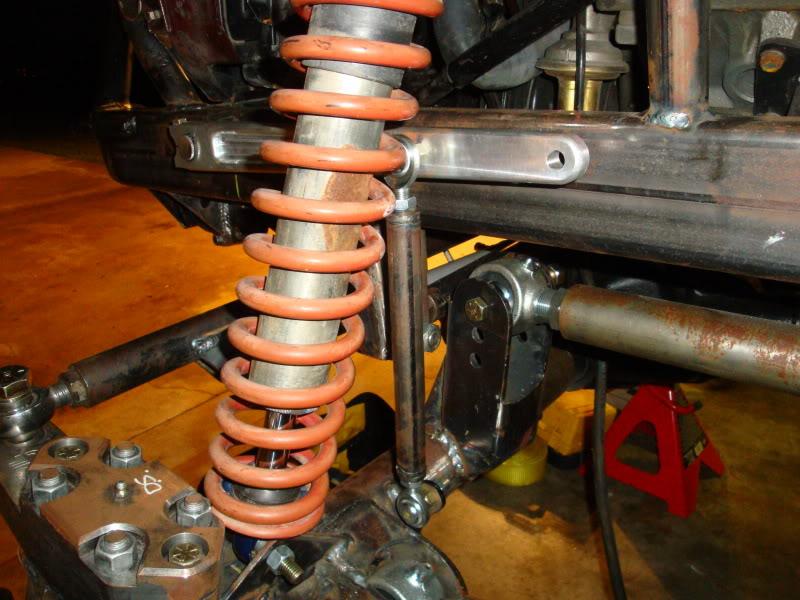
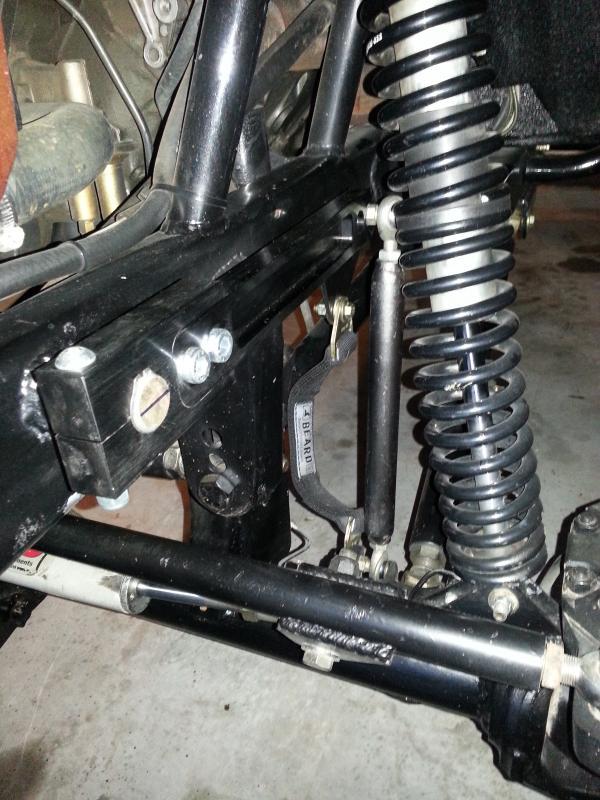
Mark and I were able to add the bump stops and limiting straps to the front suspension as well as make some needed modifications to the front sway bar setup in time for the Texas Twister 7 event that I missed last year due to the build/new baby. Texas Twister is now being held at Texana Ranch Off Road for the CJ8 Scrambler (2 yr build) maiden voyage. You may follow this link to see pics of the event.
http://www.tro4x4.com/TROtexastwister.htm
The Scrambler did great and has earned a few scuffs/scratches. Although the weather was 106+ at the Ranch, a 78 degree pool was a popular spot for the guests to cool off. The trails and roads, camping/RV spots, and the facilities are very well maintained. I met lots of great folks and was able to put a face to some. The food was top notch as always and look forward to next years TT7. I'll post more detailed pics of the bump stops and recent mods as soon as I get another break.
 
Last edited:
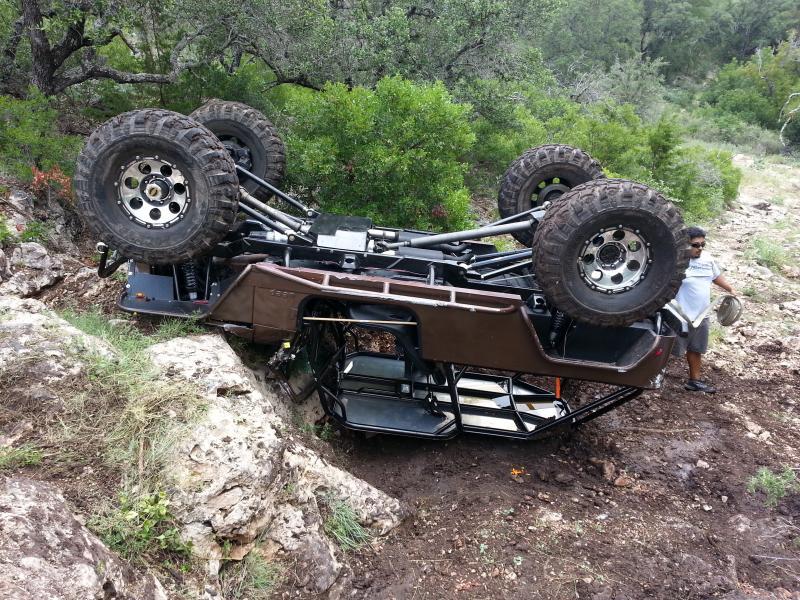
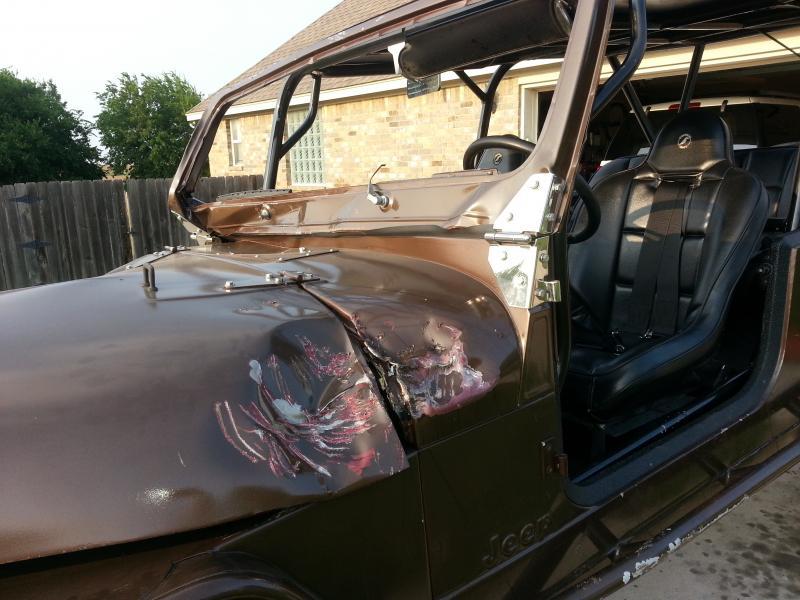
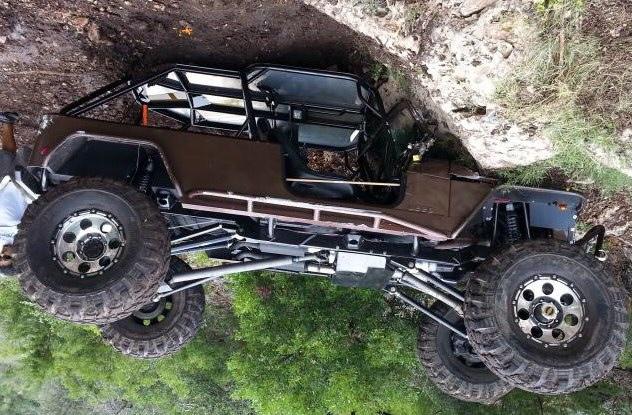
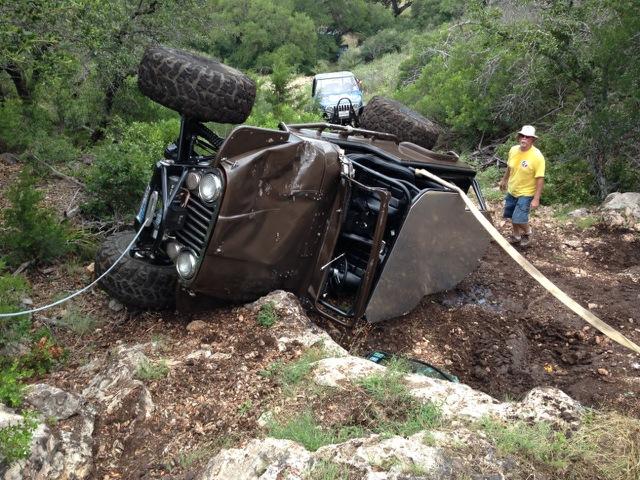
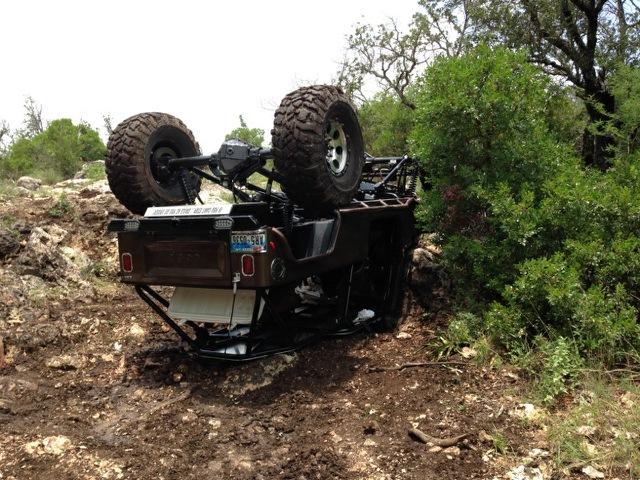
I went to SWR (Still Water offroad) in Llano, Tx. this weekend and I flopped the Scrambler on its top.
20140719_140954-1.jpg

20140719_191706-1.jpg

20140719_191731-1.jpg

I already found a new dash and hood. I posted a WTB ad looking for a windshield on this site as well. I'll get it fixed and on the trail again soon.
 
Bah, that'll buff out. :rotfl:

I assume there were no human injuries, that's great and the cage looks like it did awesome.
 
LOL, that is what I said! Nobody seems to agree with me. Well, except you. NO casualties and we were fully loaded. Four passengers and gatorade made it out with out a scratch. Some of the damage was due to the recovery roll the other way but what can you do. The cage (didn't budge), corbeau seats hugged just right, and harnesses did awesome. The cowl is the part that hurts me the most. it's pretty trashed as is precisely where the rock ledge hit. The rest is pretty easy. Even the custom hood. This was all after I just fixed the sway bar, tilt steering bearings, rear axle seals, etc...to go on the trip. Well back to work I go....story of us all.
 
I spent 2 years or so on my build but now I have 4 weeks to repair it before my next scheduled run/trip. Here is my progress so far. Found a used Scrambler hood from Dallas, got a used CJ windshield, Dash (it's custom so I will use this opportunity to improve on some of my previous customization), replacement cowl (I had option to buy a used tub and cut it out but opted for a new cowl skin (shipping in route) due to time crunch and didn't want to waste a tub someone else could use.

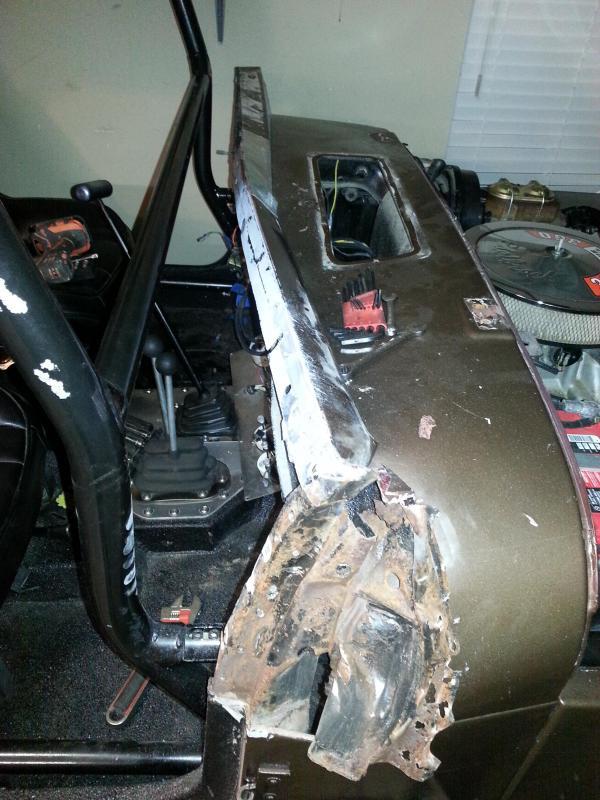
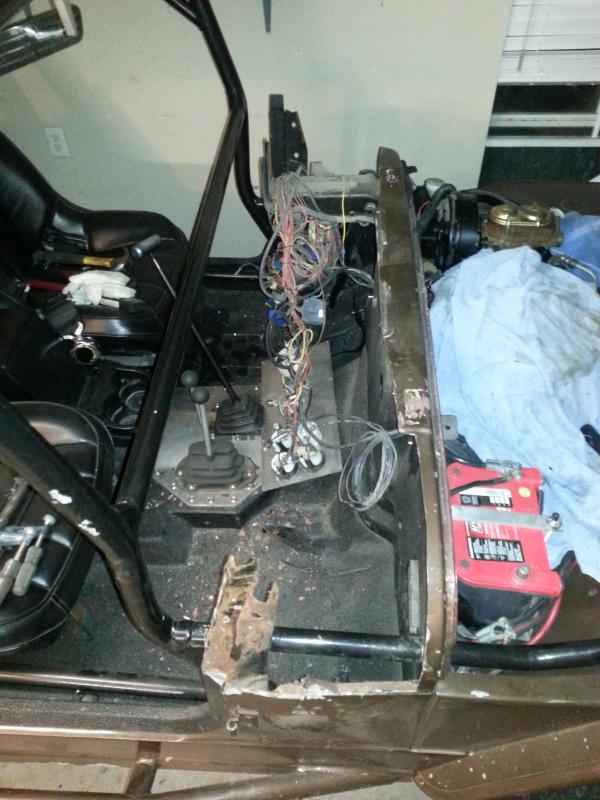
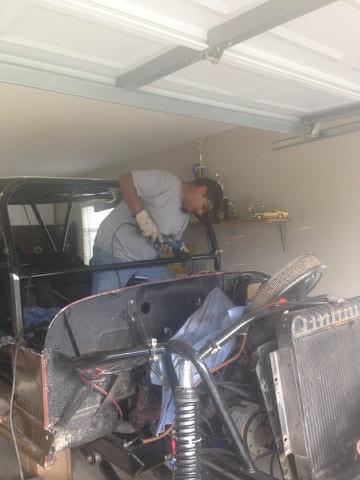
The wife came out to help and dove right in with the following. Windshield pried off, Hood removed, dash peeled off, Cowl drilled and pried off. This is the majority of the damage angle so I will focus here.
Before Removing cowl
20140723_024113-1.jpg

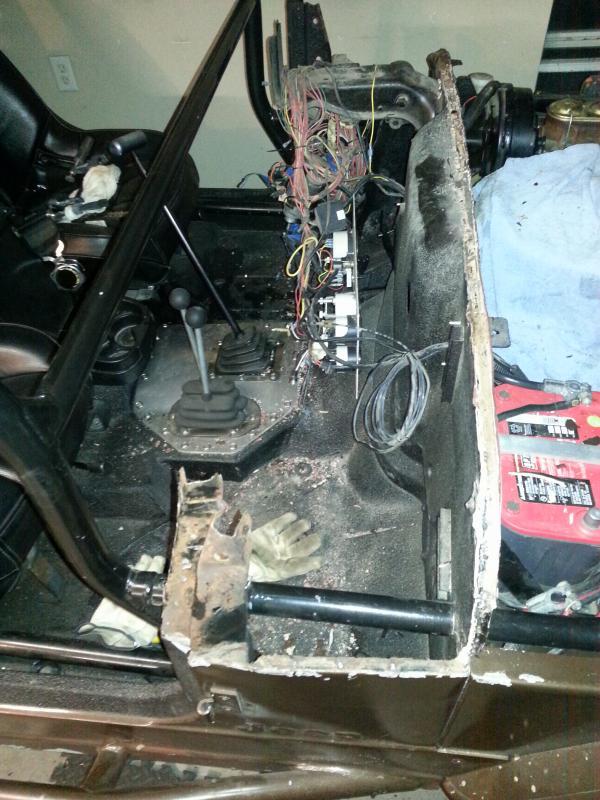
Cut out as much as possible to get out of my way (spot welded internally from inside tub driver/passenger walls vs outside on the hood side.
20140723_222320-1.jpg

Drilled out the spit welds and removed the remainder of the cowl
20140724_014024-1.jpg


The passenger pillar is pretty well damaged so I plan to cut out and rebuild a new support frame but will wait on cowl skin for that task. Prep for paint and body work late nights are underway!
 
As I mentioned we tackled the sway bar next. We had to drill a new hole in the arm. It was a tight fit and here is the end result
DSC02717-1.jpg

DSC02719-1.jpg

DSC02720-1.jpg


Ordered 14" Fox Racking 2.0 Coilover Emulsion shocks, Coils, and Tender/Helper Springs. Just arrived Exhaust manifold from 401 to clear the 3rd link. Also the Parts Mike Hydro clutch (converting to it due to the clutch linkage being in the way of the exhaust (can't win on this one).

As always, more to come soon.

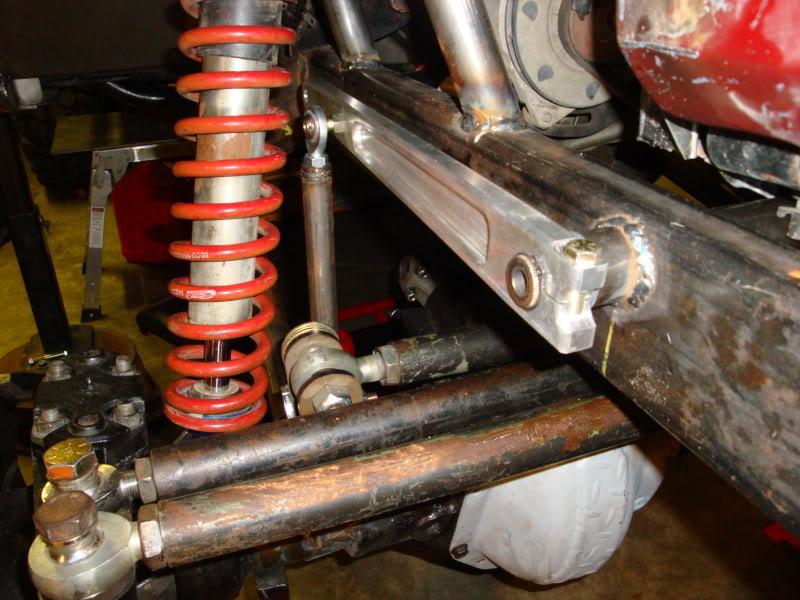
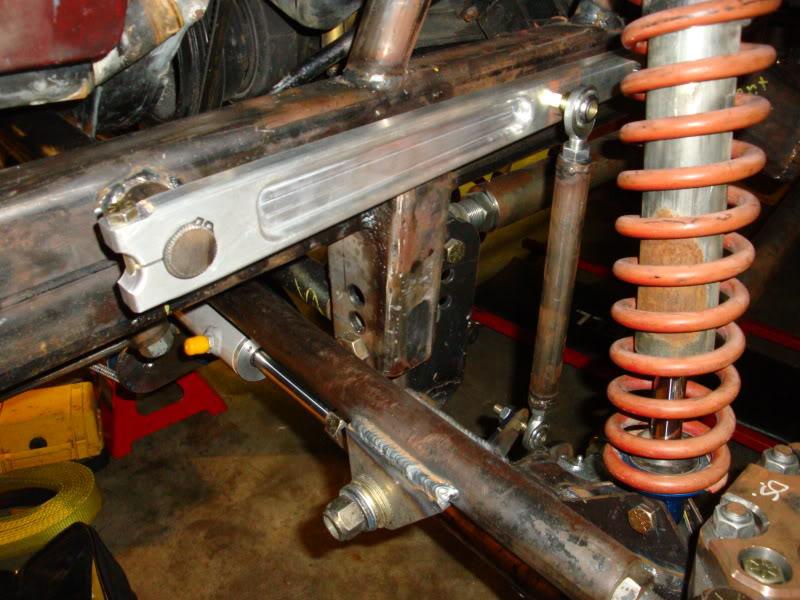
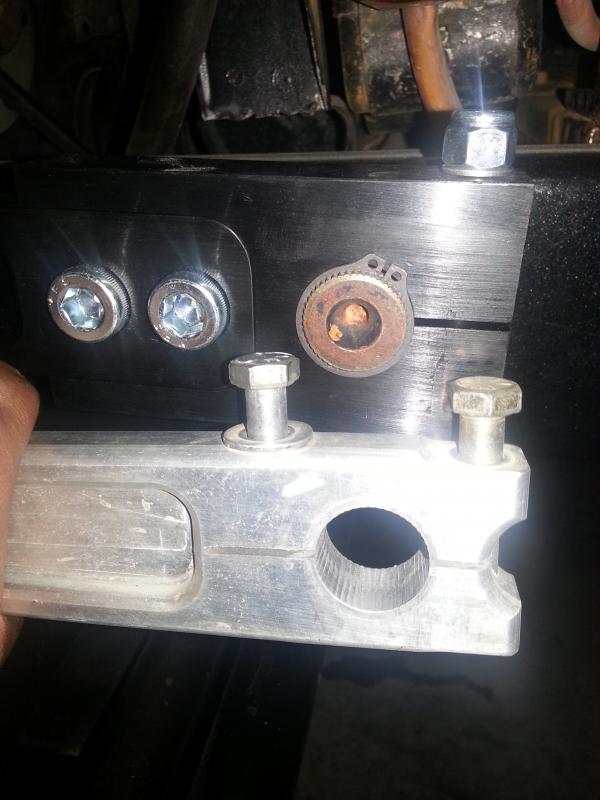
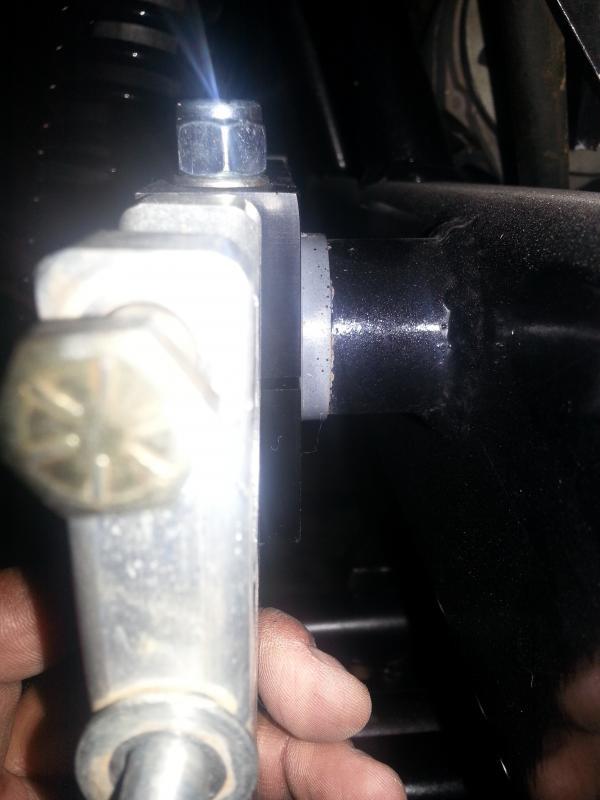
I am revisiting this portion of my build. I ended up stripping the teeth from the sway bar arm due to the arms being too short. This was due to limitations in tight spaces. Tony from TK1 racing has new designed and stronger alum arms. I went with linger arms as well to help.

In comparison you can see the new arms are wider so I had to make a slight adjustment (precision cut ;) on both sides of the tube the torsion bar rides in) in order to add the new arms (in order for retaining clip to go back on).
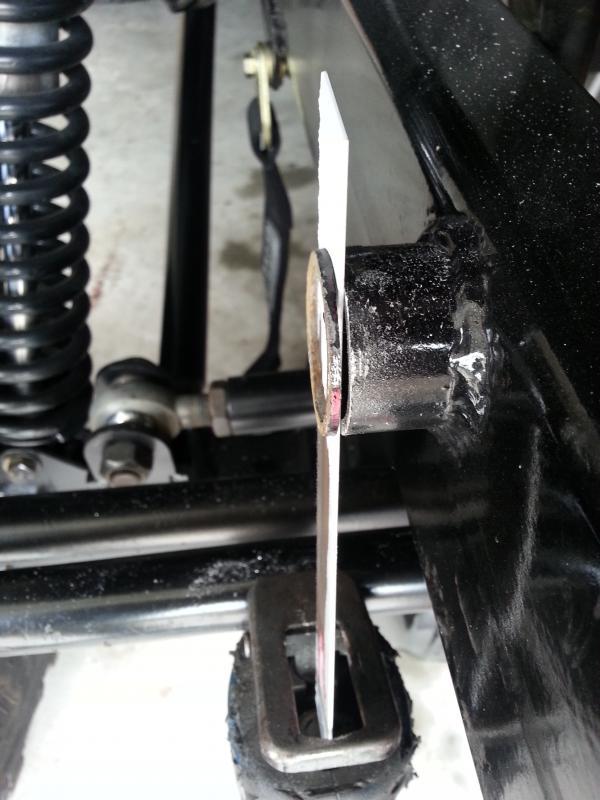
20140717_170218-1.jpg

20140715_203847-1.jpg

20140715_203823-1.jpg

20140717_202606-1.jpg

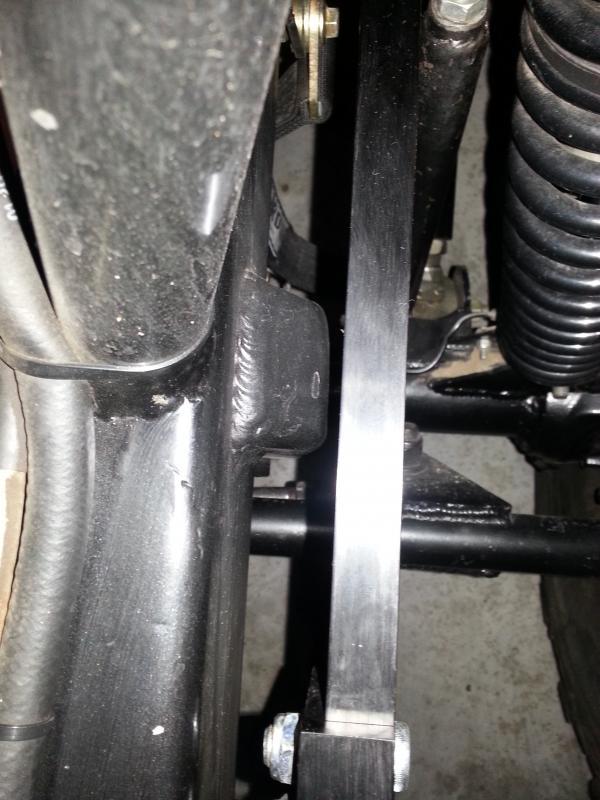
That is the track bar mounted to the frame that the bar just clears (phew)
20140717_202555-1.jpg


I broke it a year ago and finally got around to fixing it just two days before I got an opportunity to make a day trip and I rolled it. So I only got to enjoy it 1 day. :(
 
Update on my progress;

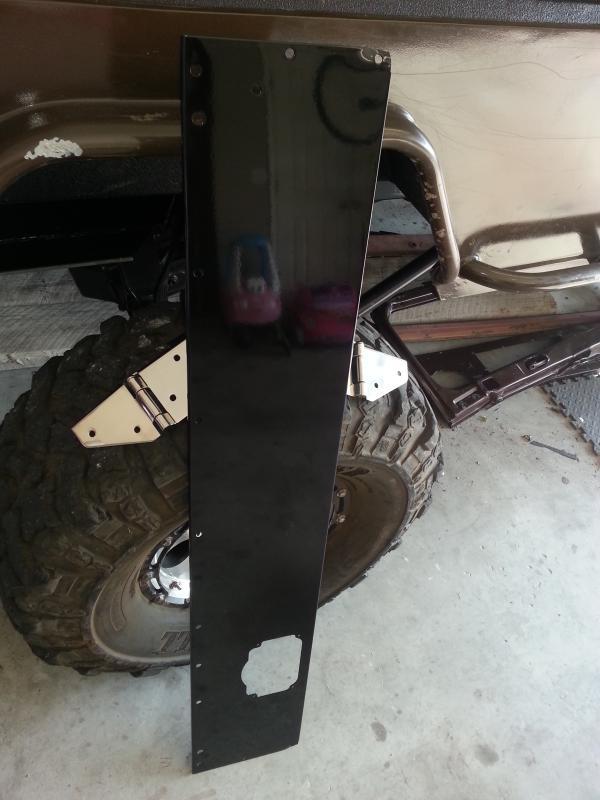
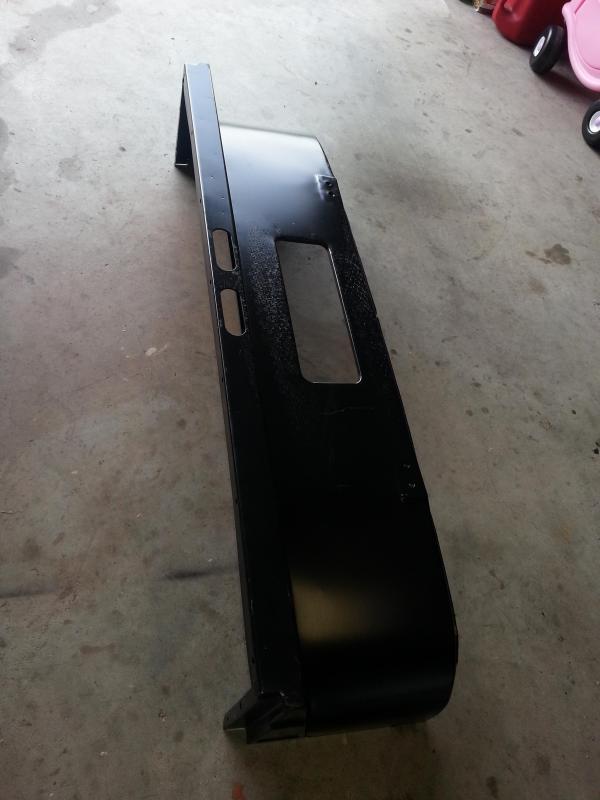
New Blank dash is on and ready for customization (Fed ex bend all corners. Doesn't matter since I'm going to cut into it anyway but just sucks). Replacement stainless windshield hinges also came in. (Sucks because I only needed one so had to buy a new pair. Anyone need a driver side one? The passenger side one wasn't as bad as I thought once I took it off but don't care to try to straighten it out now that I have a new pair)
20140724_175228-1.jpg


The dash, cowl, fenders, hood, grill, and windshield are all off now. Ready for body work/paint
20140728_015142-1.jpg


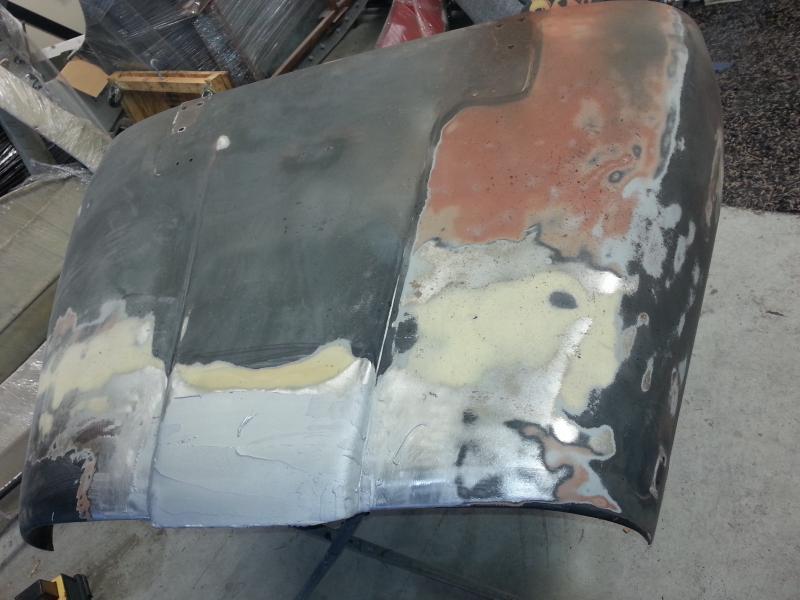
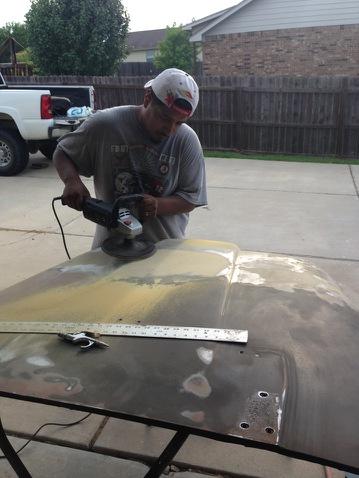
The old hood had a suddle but custom hood scoop so we had to replicate it on the new hood. Not finished yet but will be soon. My bud Glenn is doing his magic to replicate it and make it smooth. I should be ready for final mud/sanding tomorrow;
20140728_203158-1.jpg

20140728_203152-1.jpg


Since we are re-painting the whole Jeep we are currently toying with color choices and narrowing down. TBA.:shrug:
 
Cowl arrived! Like x-mas in July!
20140729_171121-1.jpg

We also made more progress on the hood/windshield. Previous owner had a lot of bondo so we removed it all. A lot of work to repair it but it is taking shape. Add'l Pics soon.
 
BTW A buddy of mine was filming the recovery of the roll over. Thought I might share it. [video=facebook;272244002970239]https://www.facebook.com/photo.php?v=272244002970239[/video]

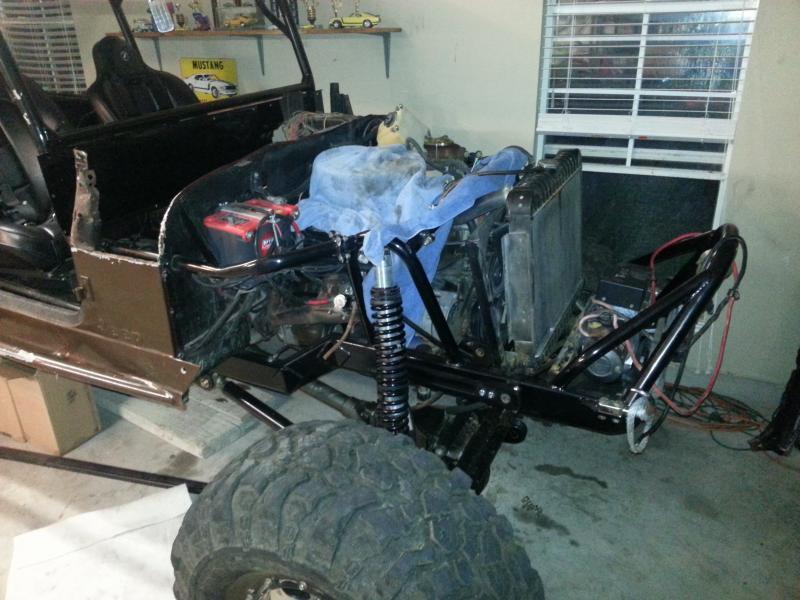
Progress is slow going but going. Firewall is straightened, cowl is mocked up, framework for it all is done and welded in place. Time to mock up the fenders, grill, hood, and firewall for alignment before the final weld of the cowl to firewall. Paint has been ordered. Getting close to providing worthy progress pics. For now it all appears the same LOL.
 
Received a few more pics of the roll from Glenn.
IMG_7528-1.jpg

IMG_6345-1.jpg


The love of labor
IMG_9864-1.jpg

IMG_6839-1.jpg

IMG_2693-1.jpg


We got all the cowl, fenders, hood, grill mocked up so once the cowl is welded in place, we should be really close to paint.
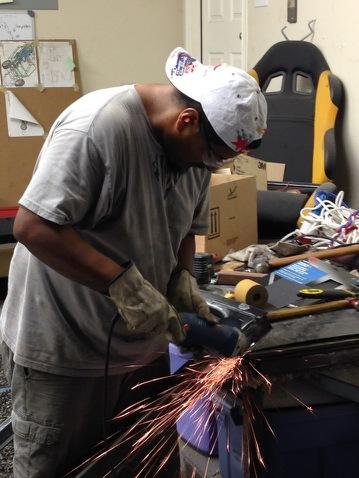
Got all the sanding done to prepare for sealer/primer the the exception of a few spots that need feathering (Glenn is helping me feather those areas today).
 
The love of labor
IMG_9864-1.jpg

IMG_6839-1.jpg

IMG_2693-1.jpg


We got all the cowl, fenders, hood, grill mocked up so once the cowl is welded in place, we should be really close to paint.
Got all the sanding done to prepare for sealer/primer the the exception of a few spots that need feathering (Glenn is helping me feather those areas today).

just got to love the all the bondo, grind dust in the air lol good times :headbang::thumbsup::D
 
Back
Top