• Notice for iPhone users: DO NOT use the image size reduction option when uploading photos to the forum. This causes portrait images to post as landscape. We have added a warning to the image insert pop-up as well.

Another Scrambler Purchase/Road Trip - UPDATE- BODY ON FRAME AGAIN

Small update. Been pretty busy with work and other stuff, been neglecting my project. I have accomplished a few things over the past few weeks, though.

Bought some new parts. These are mainly just cosmetic things, but it is nice to take a break from doing the more difficult tasks and doing little jobs that bring instant visual gratification.

New tail light assemblies, SS battery tray, windshield frame bottom gasket, and new hood hardware stuff.

100_5243-1.jpg


One mechanical item that I bought new, exhaust manifold. I totally butchered my old one on the drill press trying to drill out the snapped off exhaust pipe to manifold studs.
100_5244-1.jpg


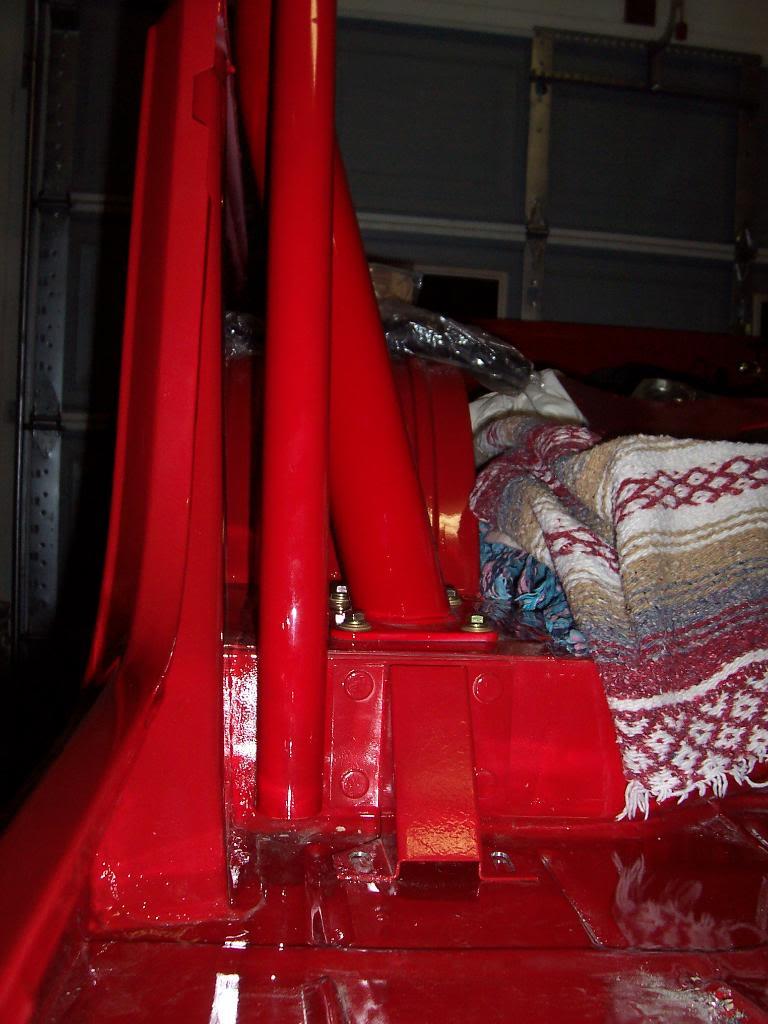
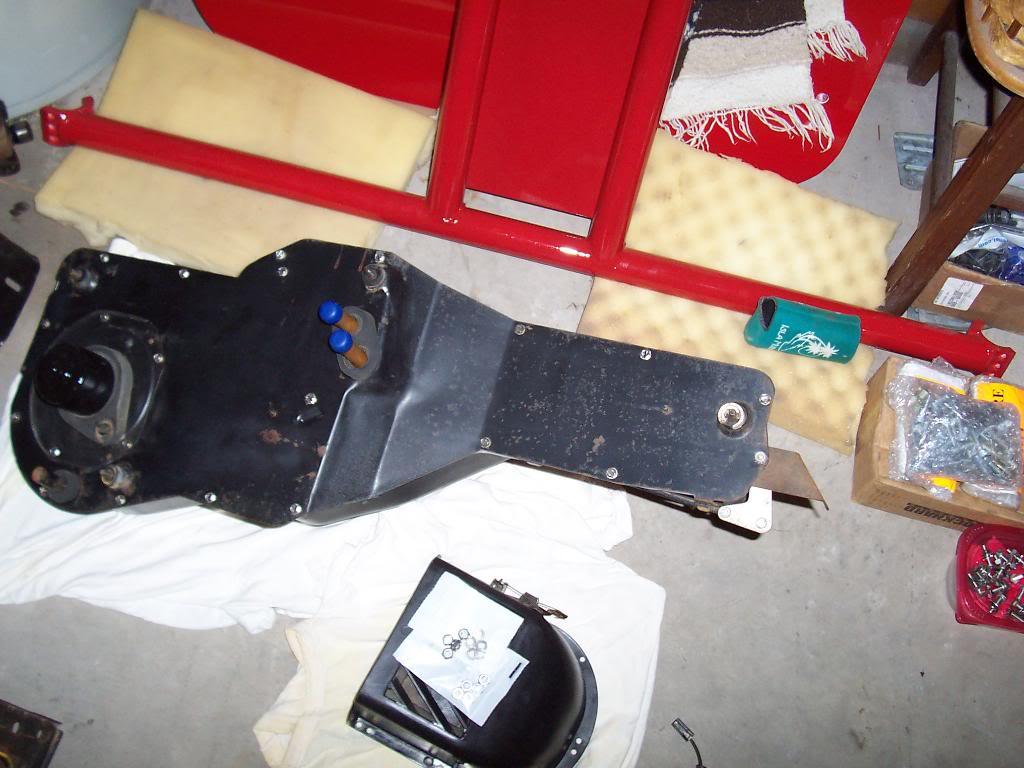
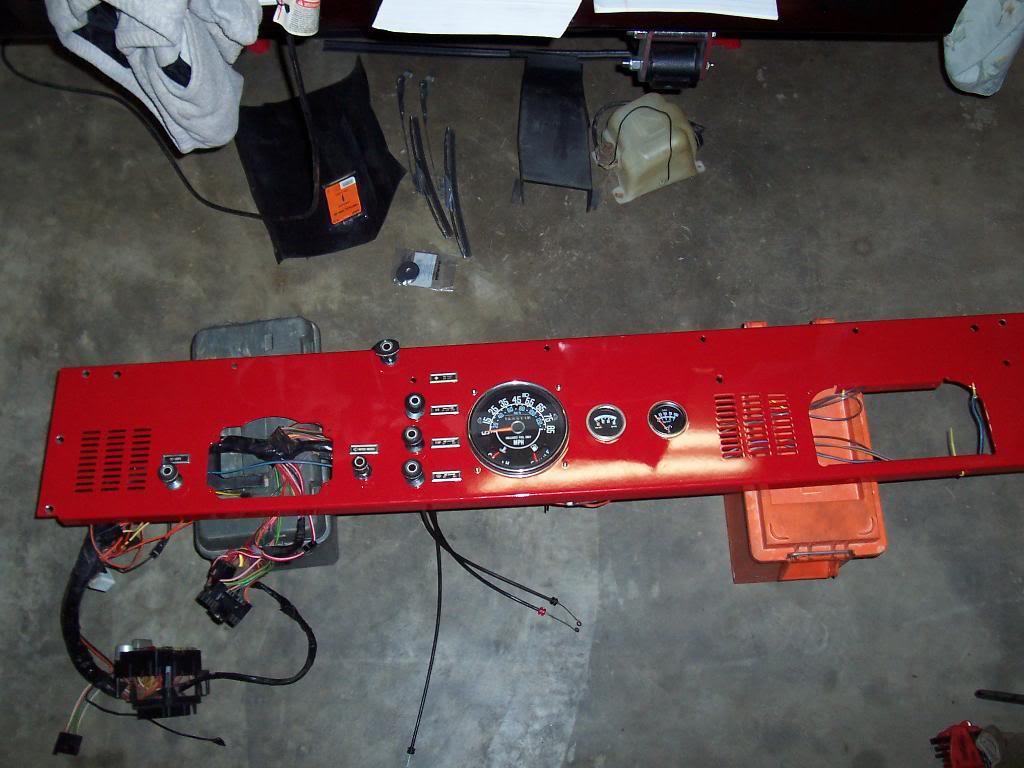
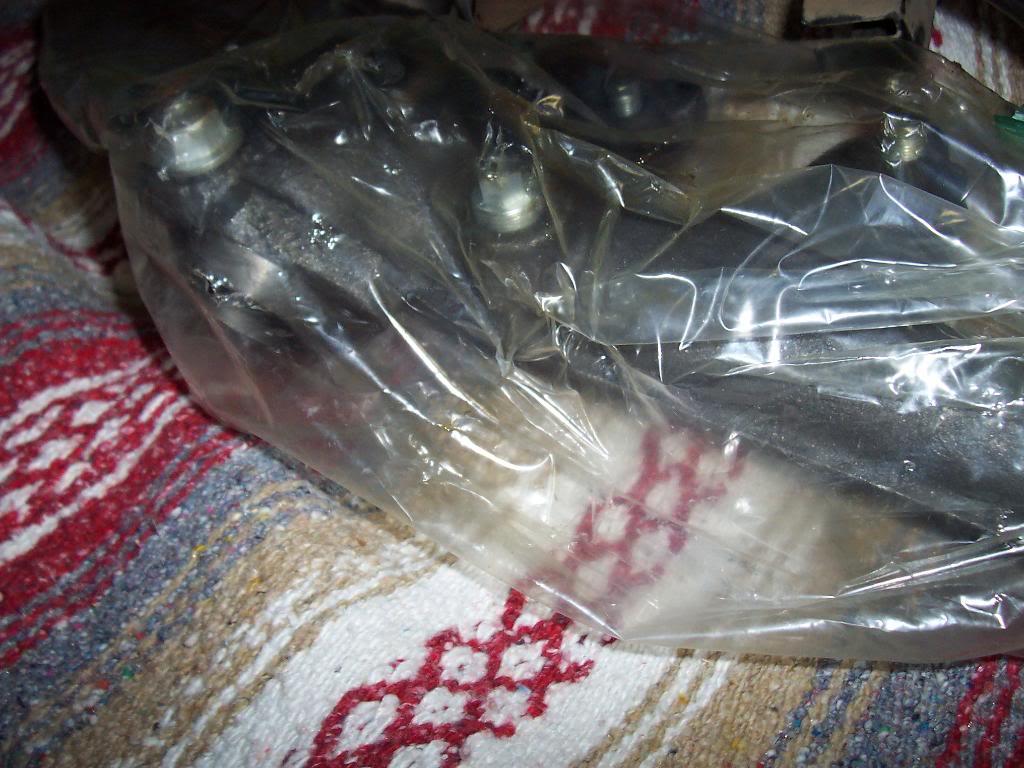
Took all the painted parts that I have been storing in the back of my green scrambler and moved them to the back of the red scrambler. I mainly did this so I could start driving my green scrambler again, I have been treating it like a storage shed for too long. These parts, which are wrapped up in blankets, consist of all the roll cage pipes, dashboard, and my bulkhead. I piled up my heater box parts on top of them. I need to clean these parts before I reinstall them. Also pictured is my new gas tank.

100_5245-1.jpg


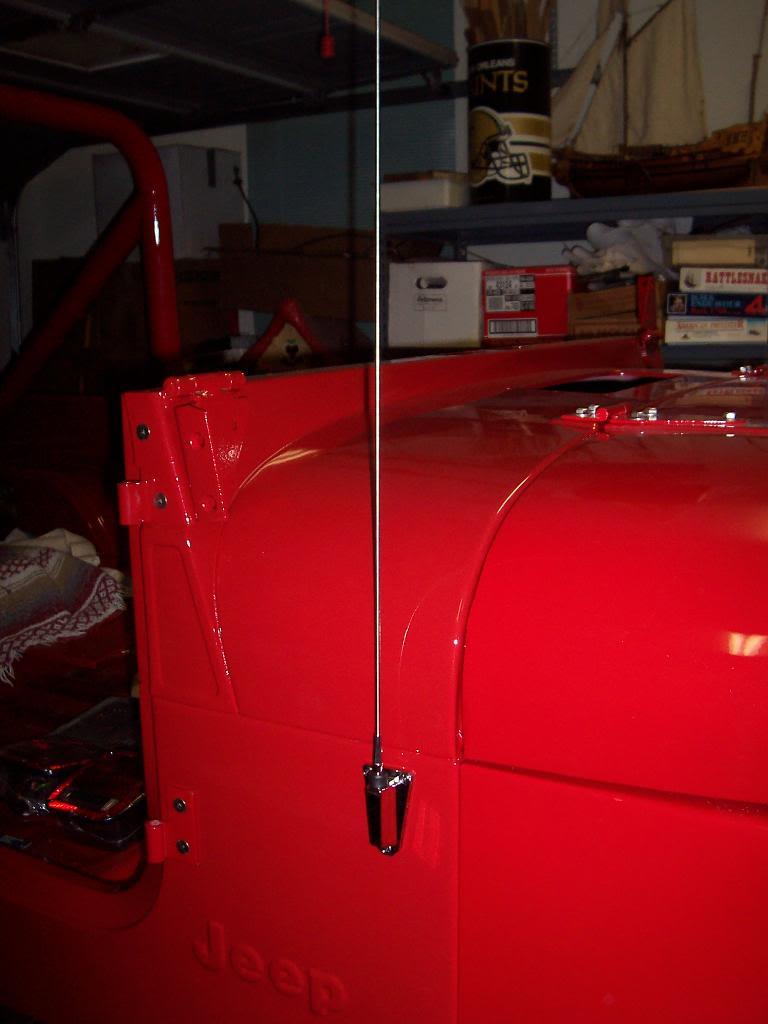
Bolted up a new antenna assembly, mainly for instant visual gratification, but it also frees up storage space when you actually bolt the parts onto the jeep!
100_5246-1.jpg


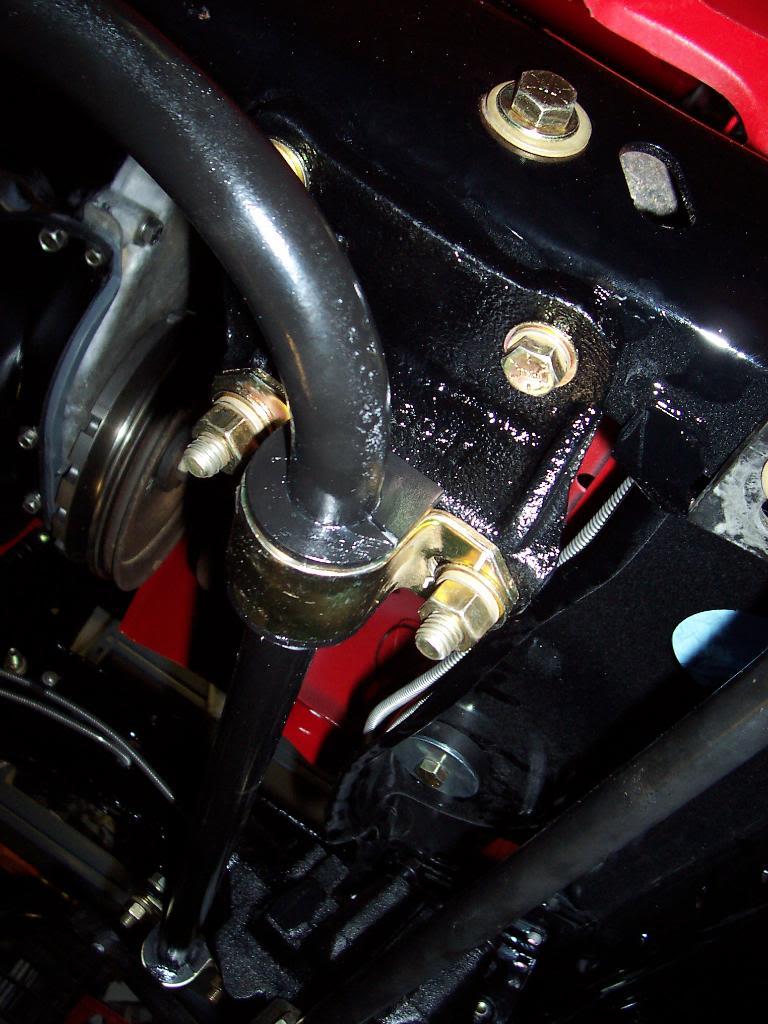
I also received my new polyurethane sway bar upper mount bushings. I could finally take the sway bar from the pile of parts on the floor and bolt it on where it goes. One more little task done.
100_5247-1.jpg


Bolted on 4 new polyurethane bump stops. Easy task, but one more little task off the "To-Do-List" :-) In the future I am sure I will have to space these down to be effective. They are bolted on with 3" long bolts, so they do have room for downward adjustment.
100_5248-1.jpg


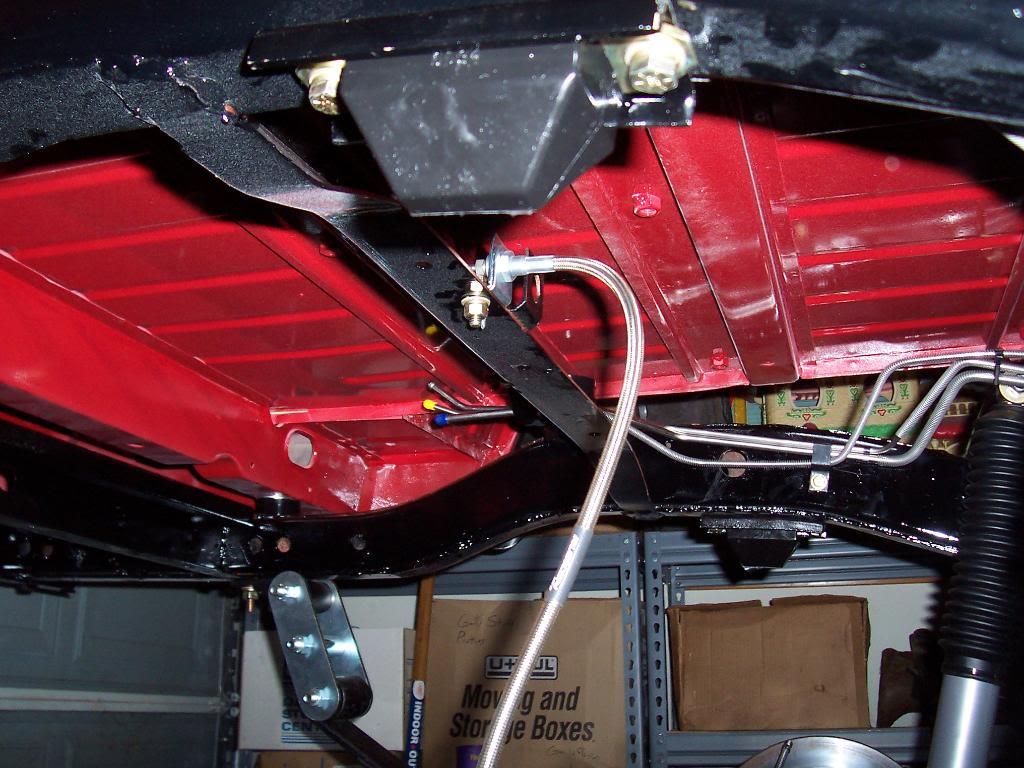
Finally finished installing my transmission mount and torque arm bushings. Both are polyurethane. The they bolted back on fairly easy once I used the correct size bolts LOL.
100_5250-1.jpg


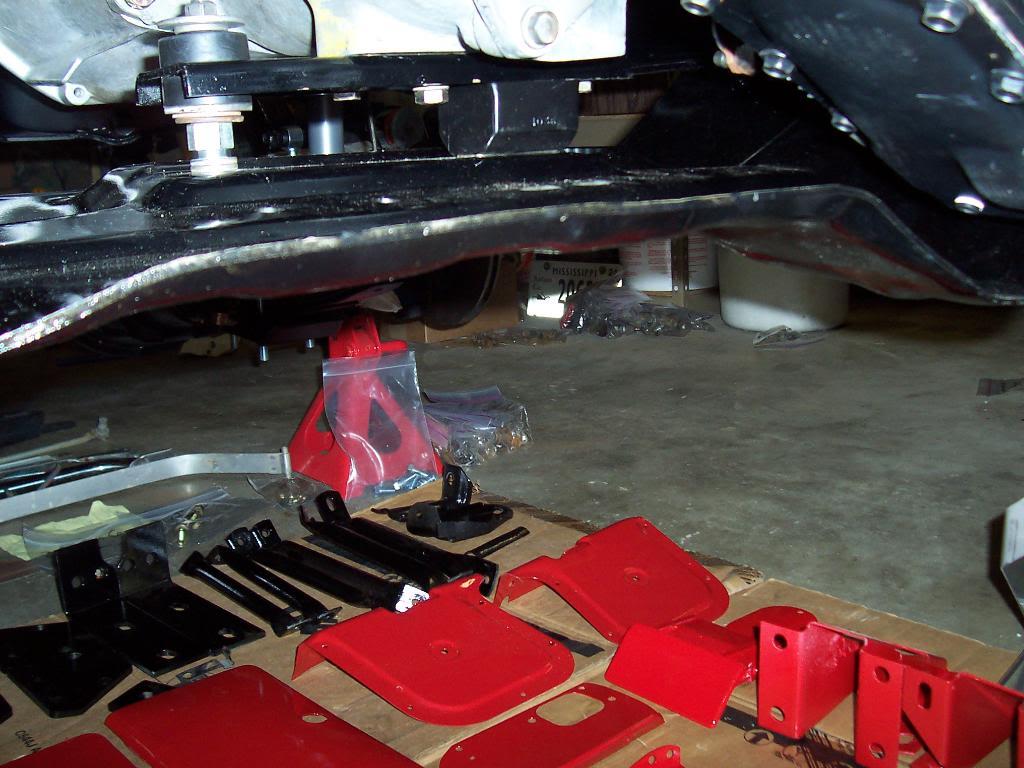
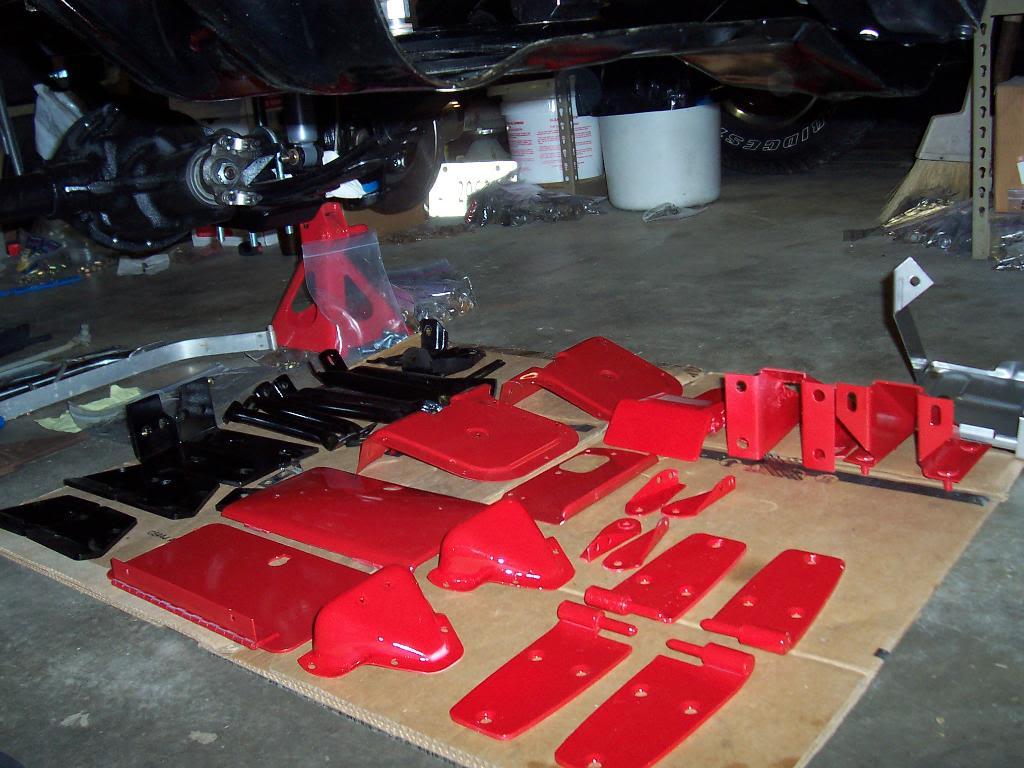
Once the transmission mount installation was finalized I was able to move the remaining pile of painted parts underneath this area. This freed up space in the rear so that I would have room to bolt back in the gas tank and start working on final adjustment/installation of the rear body mounts.
100_5251-1.jpg


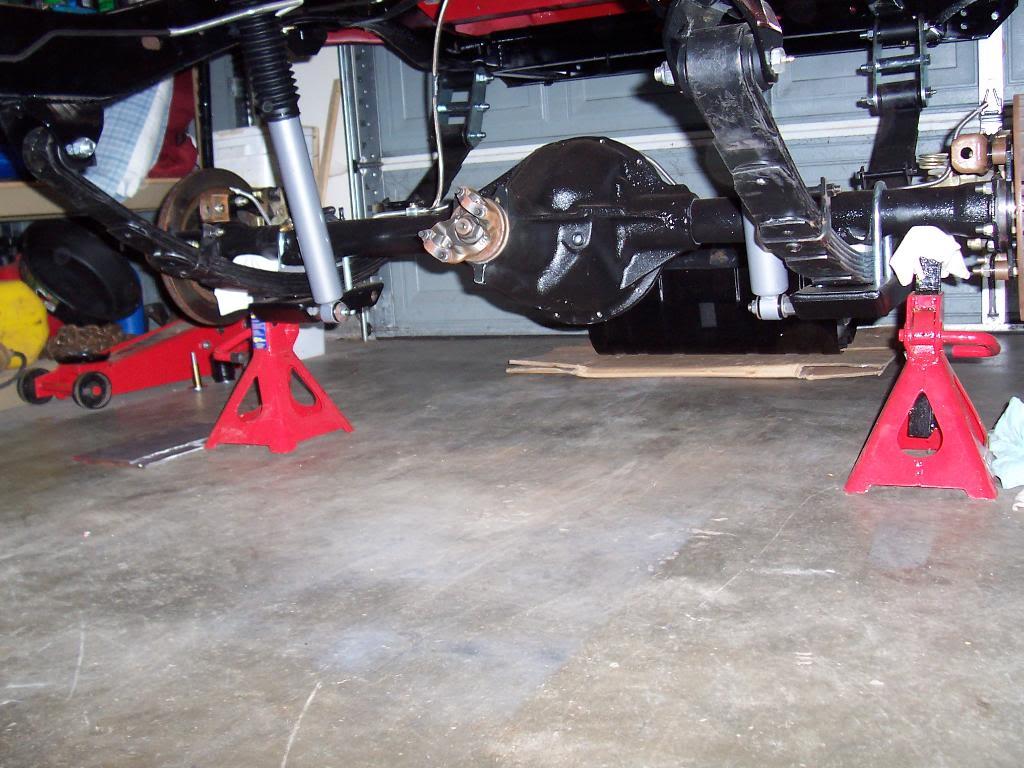
Pic of clean work area under the back end of the jeep.
100_5252-1.jpg


Not the greatest update, but it is progress. I have also been cleaning parts that I have to reuse (plastic pieces that protect gas tank, rear plastic mud guards, windshield wiper motor and linkage, gas tank filler parts, etc). I also have been buying new hardware. I have my assembled windshield frame/windshield ready to install, too. The recent cold weather has held me up, as well. I have some big assemblies ready to install but they might be waiting on 1 or 2 small parts that I need to repaint. Been too cold lately to do any painting, so progress halts on those tasks and I have to switch gears to other tasks.

Plan on installing gas tank assembly, windshield, and roll bar in the next week.

That's it for now.
 
I like that kind of progress! Looking good!

BTW, that last picture reminded me, did you use loctite on the lower shock mount studs where they go into the ubolt skidders? Mine kept working loose until I did that the right way and I managed to bend one pretty welll (the skidders are nice, but those shock mounts are rock anchors :banghead:
 
I like that kind of progress! Looking good!

BTW, that last picture reminded me, did you use loctite on the lower shock mount studs where they go into the ubolt skidders? Mine kept working loose until I did that the right way and I managed to bend one pretty welll (the skidders are nice, but those shock mounts are rock anchors :banghead:

Admittedly it is "baby step" progress, but that's how it gets finished,a long series of numerous "small victories":cheers:

I used a bunch of red loctite on the lower shock mount studs plus tightened the he11 out of them (highly scientific term used to describe the precise amount of torque applied to a threaded fastener:D) Hopefully they don't come loose, if they do I might put a small "tack" weld to keep them from loosening:shrug:

Know what you mean about being rock anchors, I have bent quite a few stock lower shock mounts on my old '78 CJ7:(
 
Update from work completed last week and this weekend.


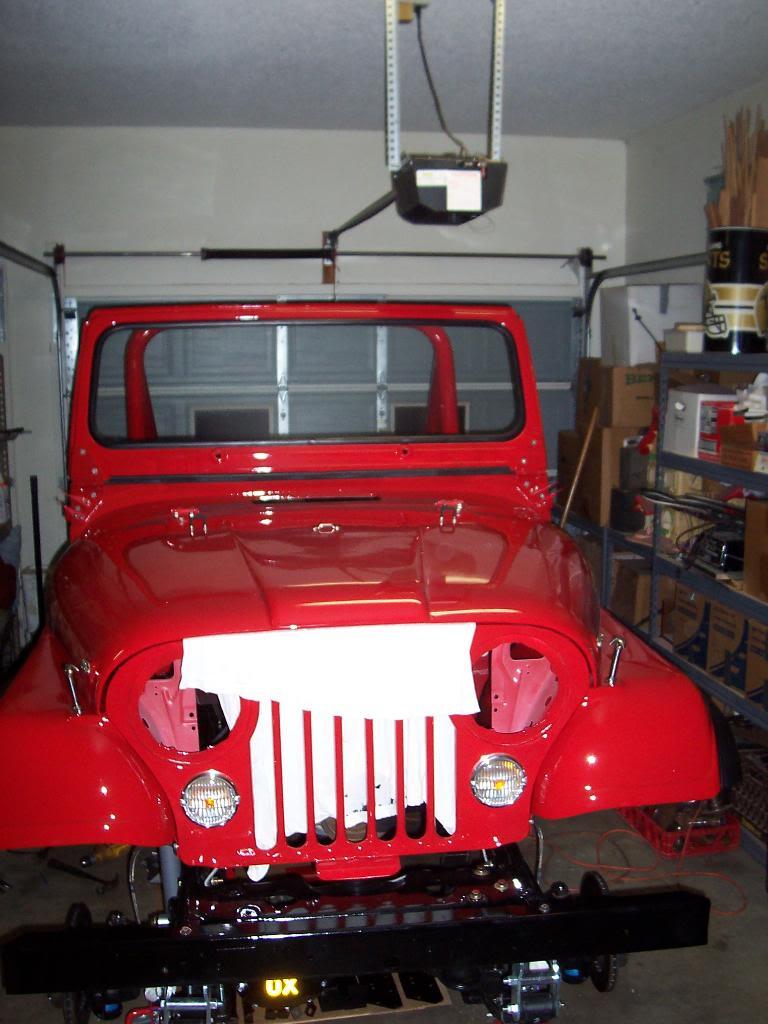
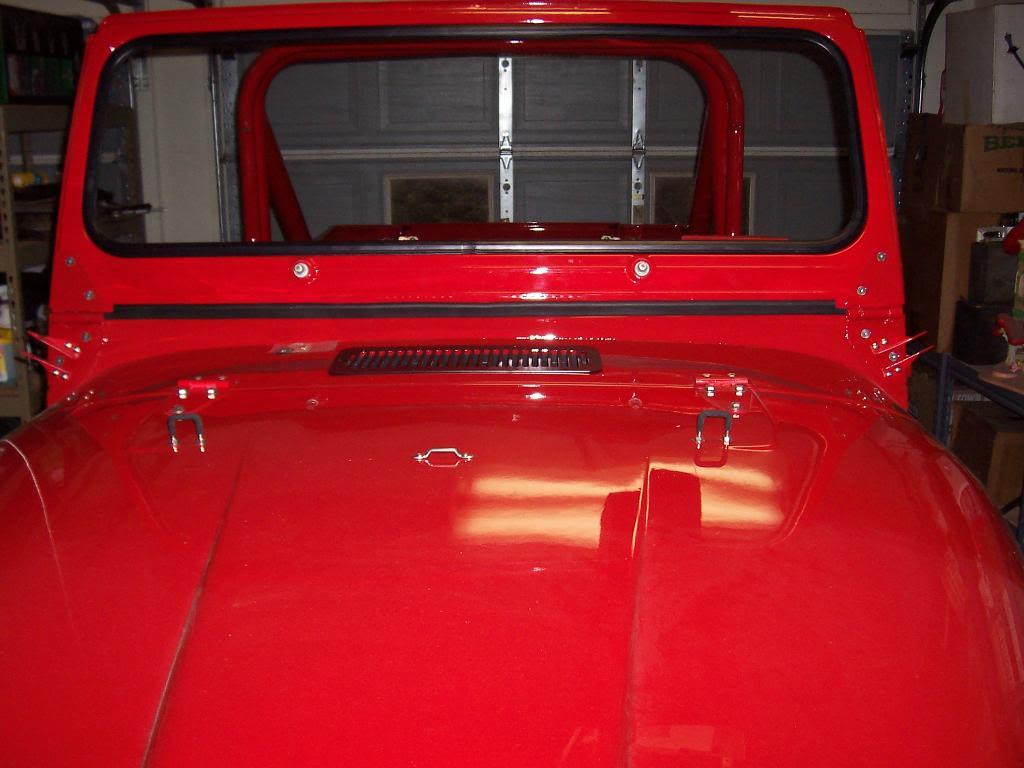
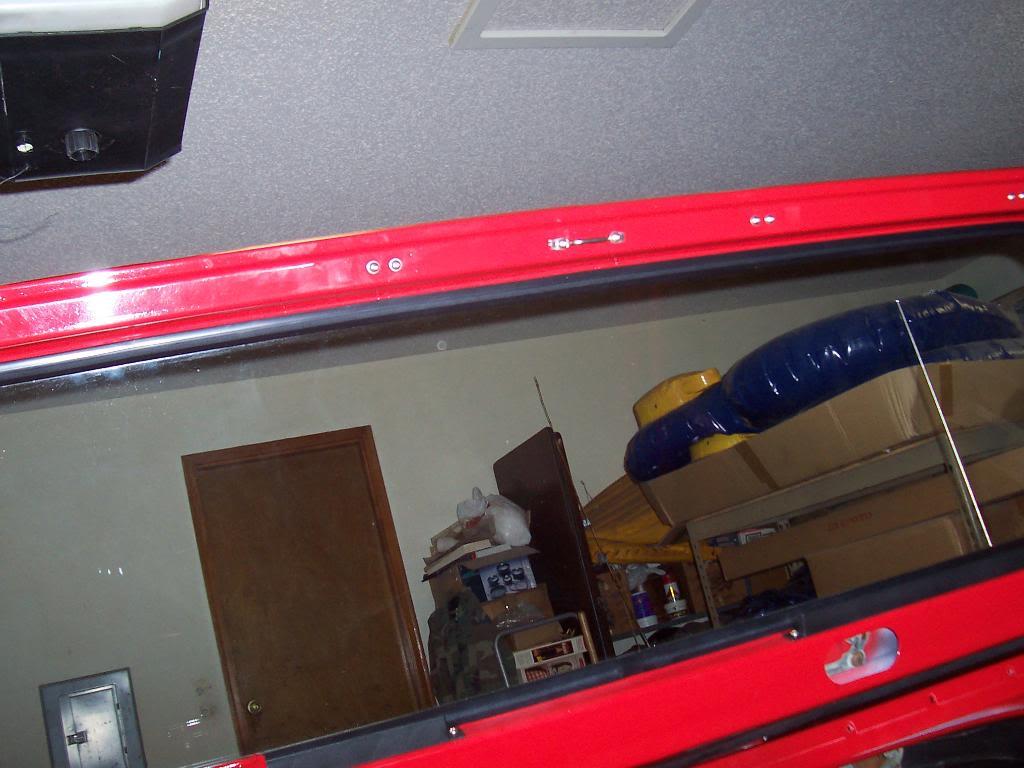
Installed the windshield frame and new cowl seal. Used SS screws to secure the frame to the hinges.

100_5253-1.jpg


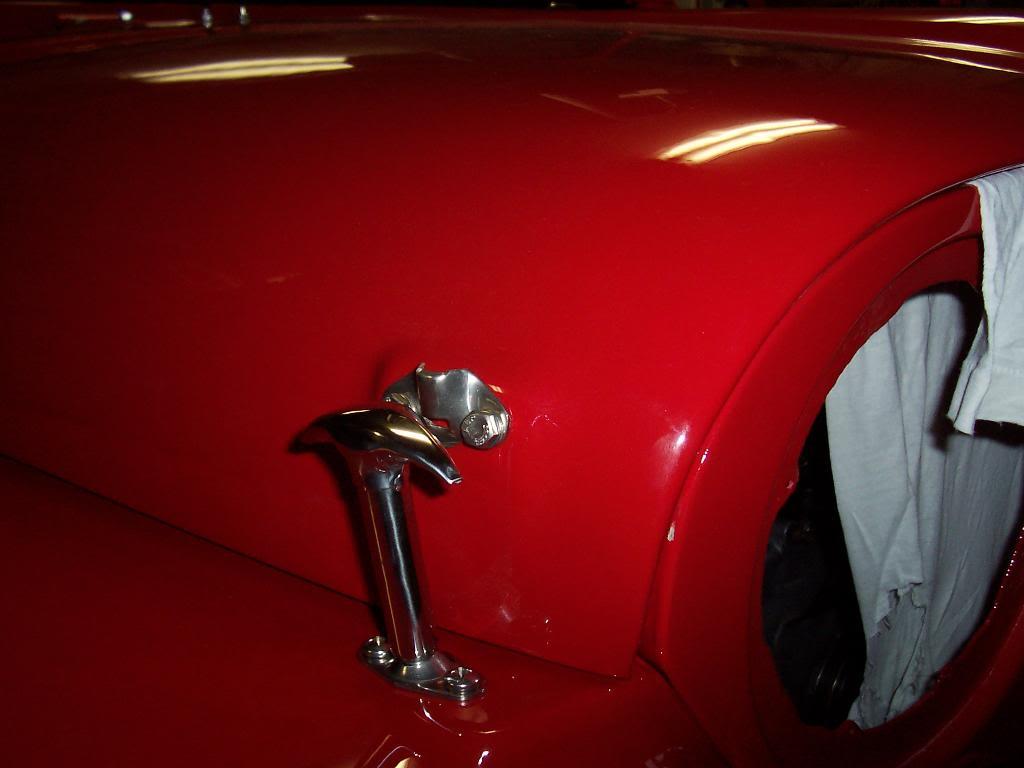
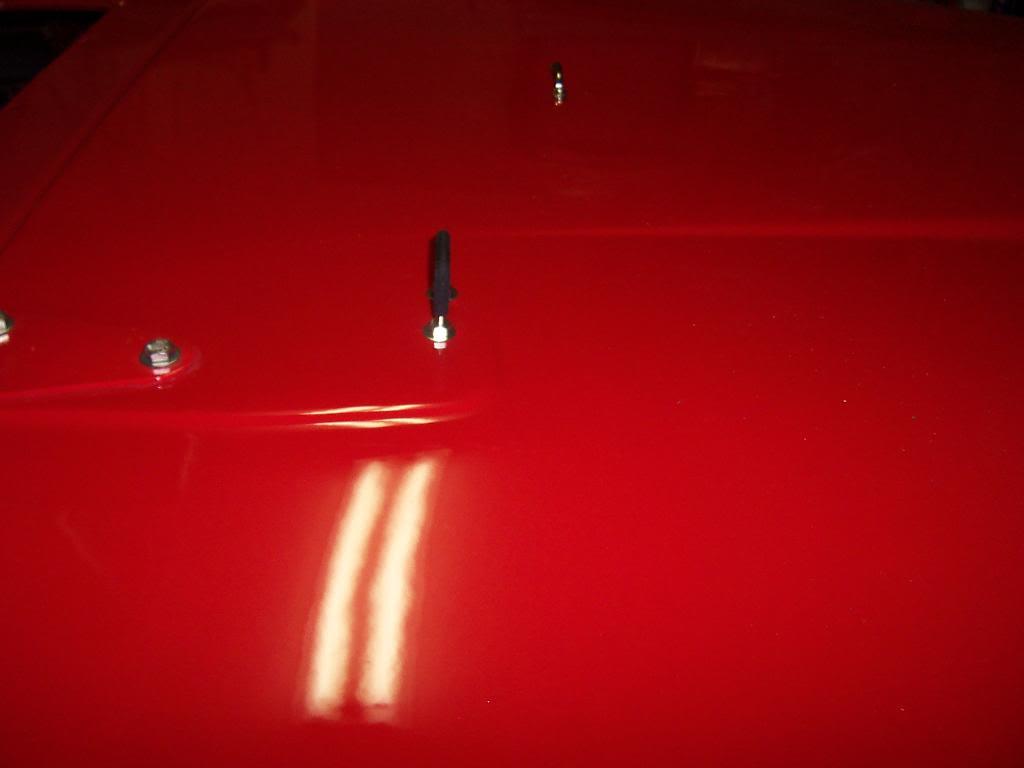
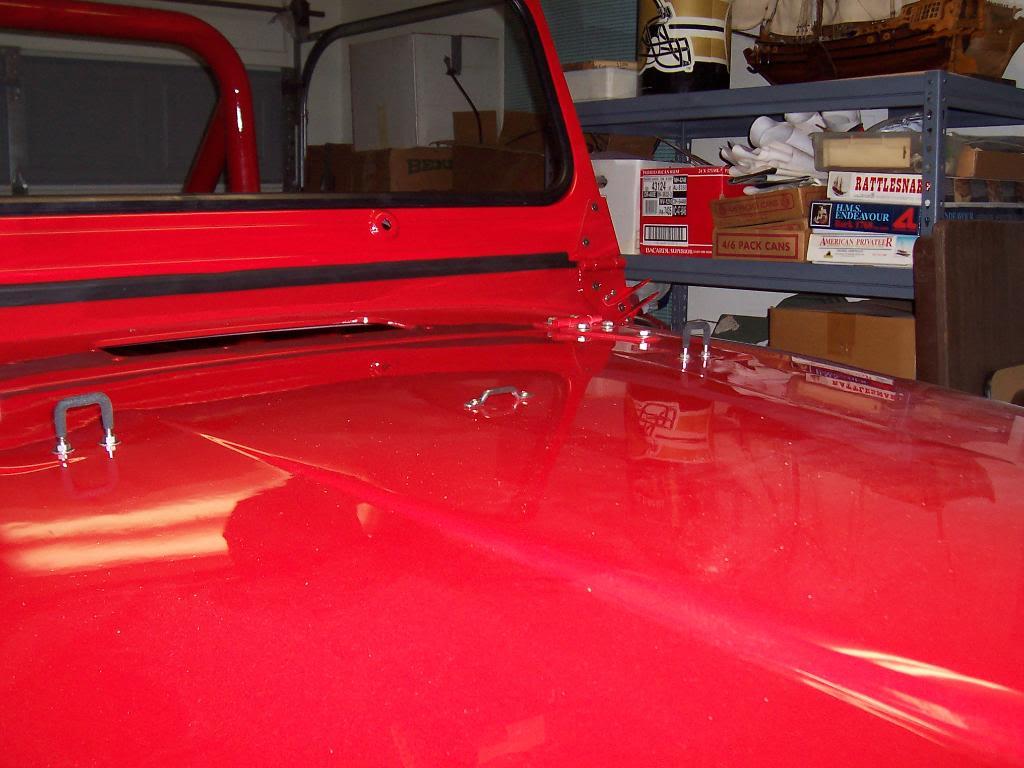
Installed the stainless steel hood catches and the other hood accessories.

100_5254-1.jpg


100_5255-1.jpg


100_5256-1.jpg


Installed the rear view mirror brackets to the windshield hinges.

100_5257-1.jpg


Had to re-drill two holes in the floor of the body where the floor to riser reinforcement bracket goes. Had to do this on both sides due to the new floor boards. The factory welded nuts on the bottom side are still present since only the floor pans were replaced. Driver side pictured.

100_5258-1.jpg


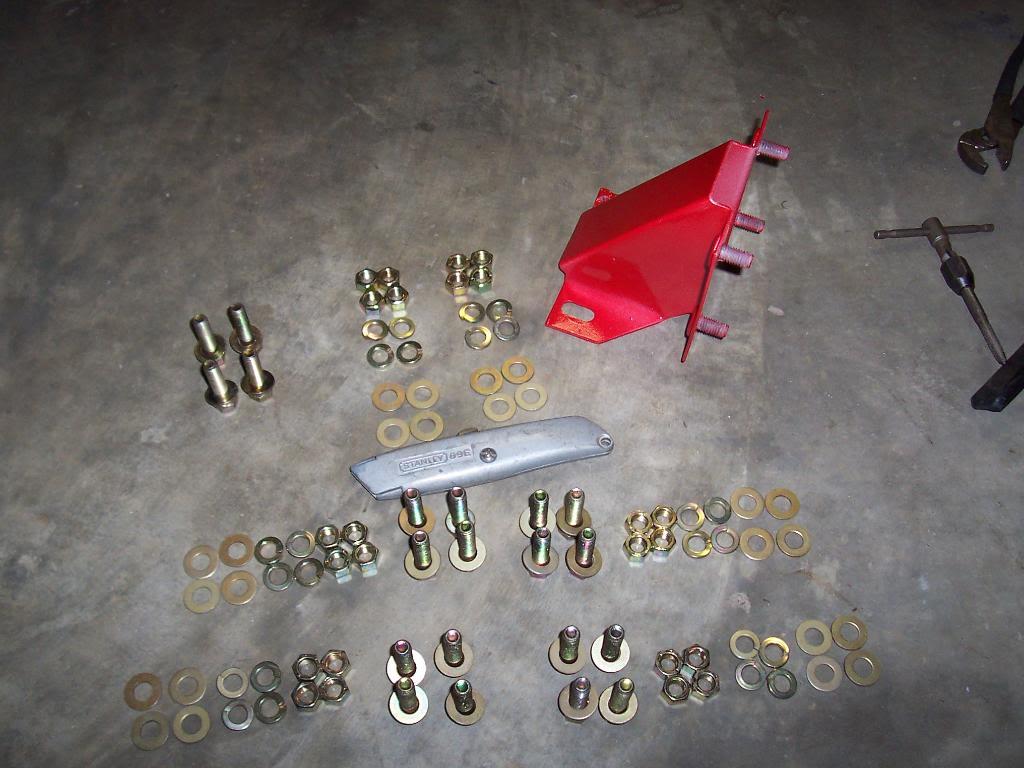
Picture of all the roll bar to body mounting bolts. I used grade 8 bolts. Since I replaced 3 of my bed corner pieces i had to re-drill mounting holes in 3 corners, 12 holes total through nice fresh sheet metal. The good thing, all the factory mounting holes on the underside are still present, so it was fairly simple to re-drill all the holes in the correct locations.

100_5259-1.jpg


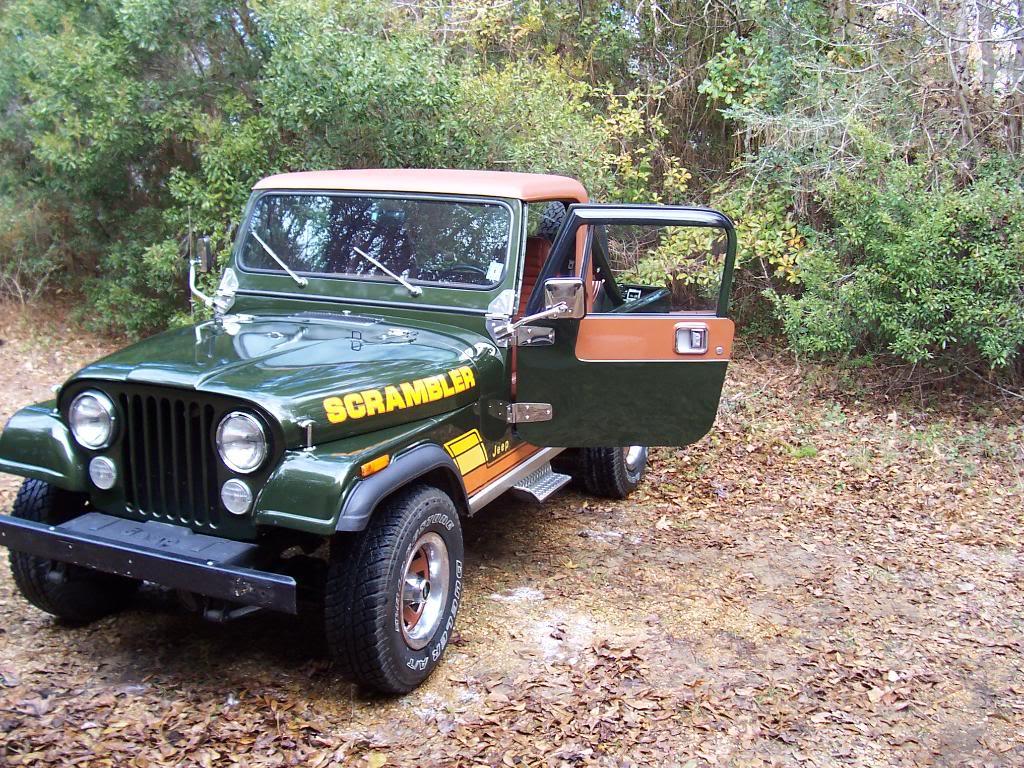
Cleaned the green Scrambler on Saturday since the temps had warmed up some.

100_5260-1.jpg
 
Last edited:
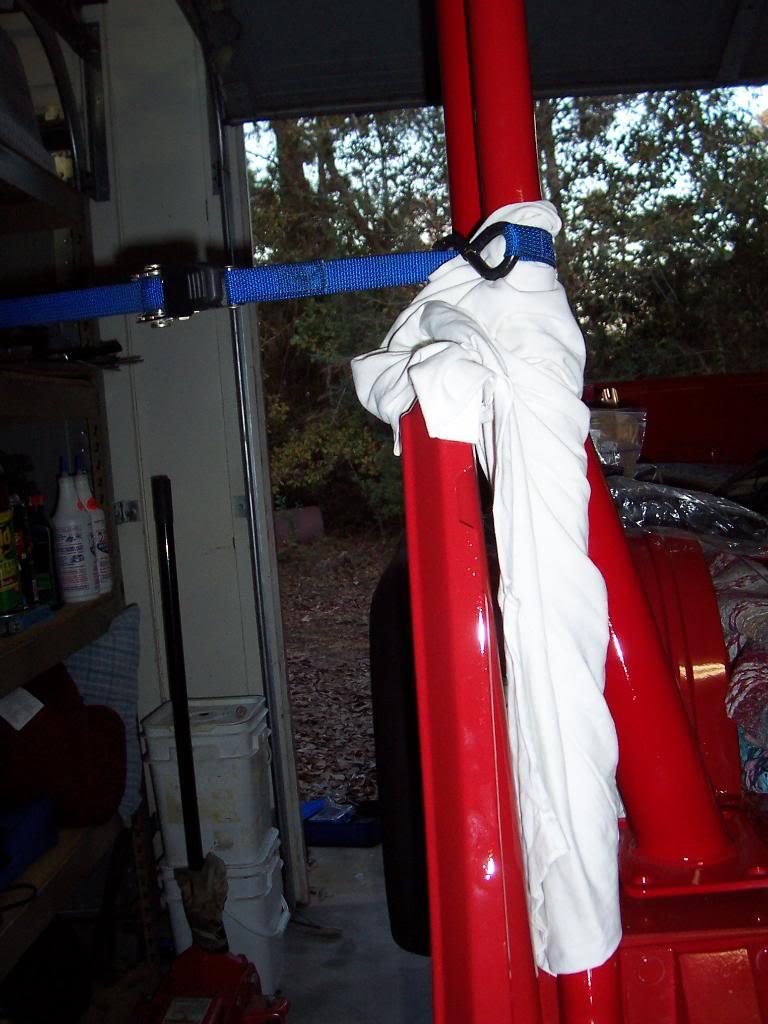
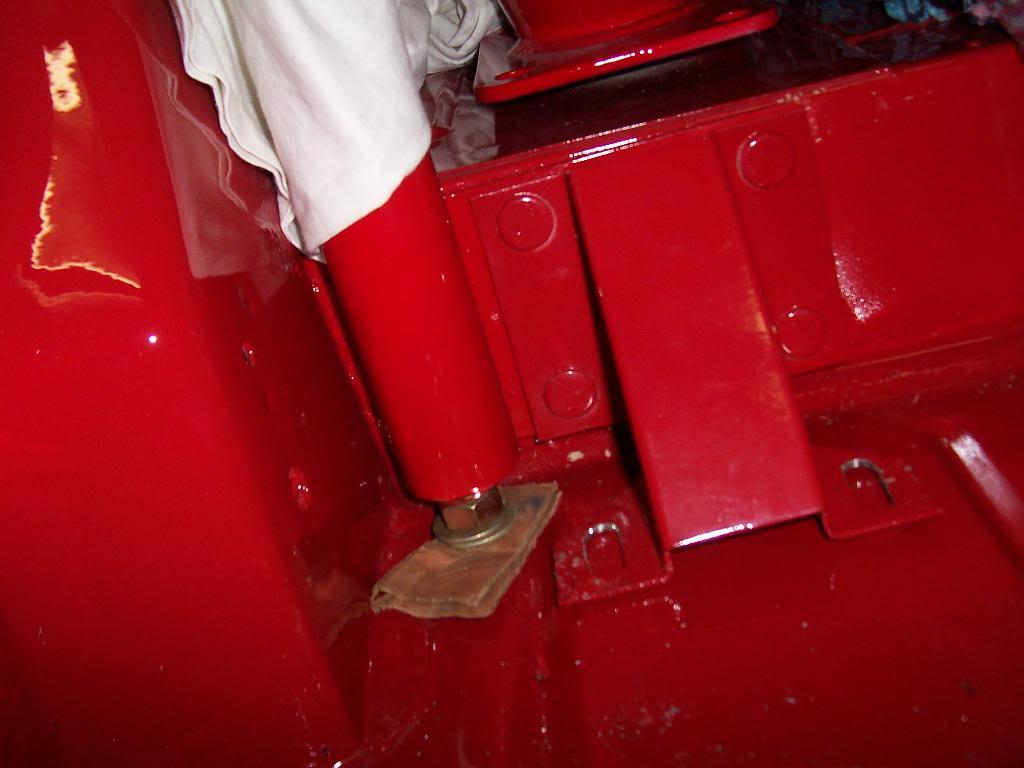
Roll bar bolted into place easy enough. Installed the rear hoop that came with the Rock Hard cage kit at this time since it gets sandwiched between the rear riser and the floor to riser bracket. Bolted the driver side in first, then used a strap to help pull the passenger side in place. Strap goes to the other side of the garage to the green Scrambler's roll bar. Didn't need alot of pull, but since I was by myself this was the easiest way to do it. Cardboard is to protect the paint, I stacked the nut and washers up to help hold the bar at the correct elevation so that the 4 holes would align.

100_5273-1.jpg


100_5274-1.jpg


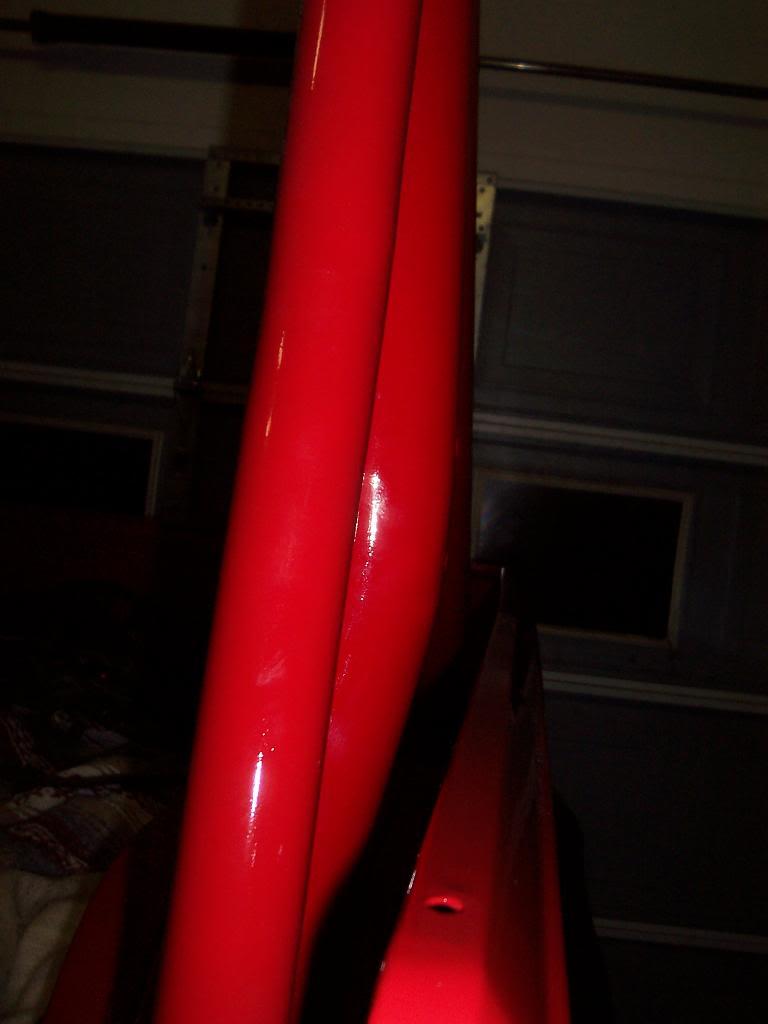
After installing the main roll bar and the cage hoop something didn't look right. My roll bar sits a little closer to the body tub sides on the passenger side vs the driver side. All the factory mounting holes/locations were used, and all are located in identical locations on each side. I would say that all the factory mounting location holes are within 1/8 of an inch.

Pics of passenger side.

100_5276-1.jpg


100_5275-1.jpg


Pics of driver side. Notice how there is more gap between roll bar and body tub side on this side.

100_5277-1.jpg


100_5278-1.jpg


I measured the dimensions on my green scrambler, and all my mounting brackets are in the correct locations. The funny thing is, the roll bar isn't centered in the bed of my green scrambler, either. It sits a little closer to one side, too. There must have been alot of manufacturing tolerances allowed when they built the roll bars and tubs. Pic of installed roll bar and rear cage hoop.

100_5280-1.jpg
 
Last edited:
that sound you're hearing is the giant truckload of my envy at your progress/results...


I'm also looking at the rockhard bolt in cage one day, will be interested to hear your opinions.. are you doing just the cab or the rear portion too?
 
that sound you're hearing is the giant truckload of my envy at your progress/results...


I'm also looking at the rockhard bolt in cage one day, will be interested to hear your opinions.. are you doing just the cab or the rear portion too?

Appreciate it:cheers: It has taken awhile to reach this point, about 6 months, and I still have a ways to go:fingerscrossed: But, I can finally, just barely, make out the light at the end of the tunnel, even if it still just a glimmer:woot:

I am just installing the in cab cage, not the rear portion.
 
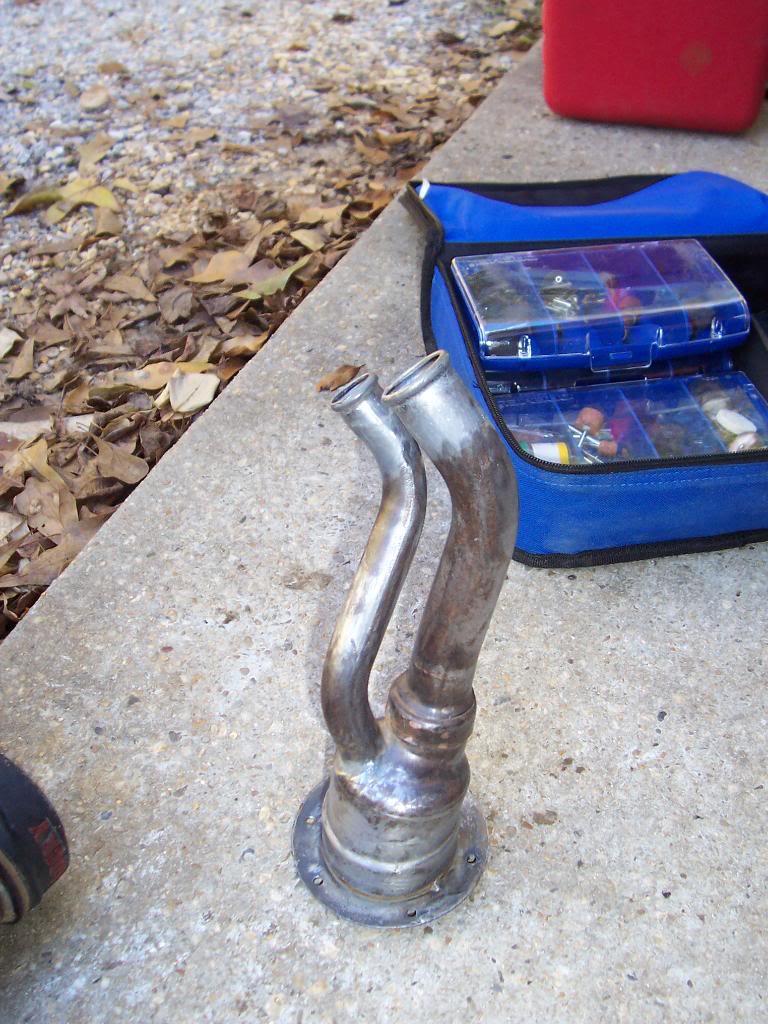
The temperature this weekend allowed for some painting. I cleaned the corrosion off my gas filler. I used sand paper and my Dremel, took about 2 hours to get it ready for paint.

100_5287-1.jpg


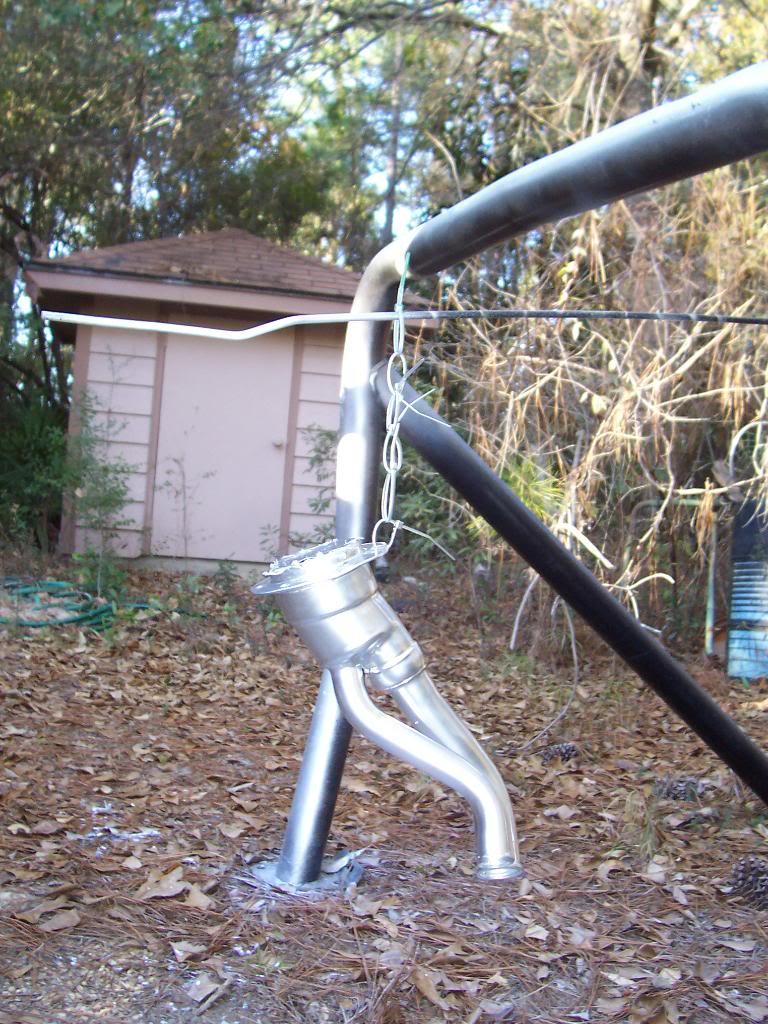
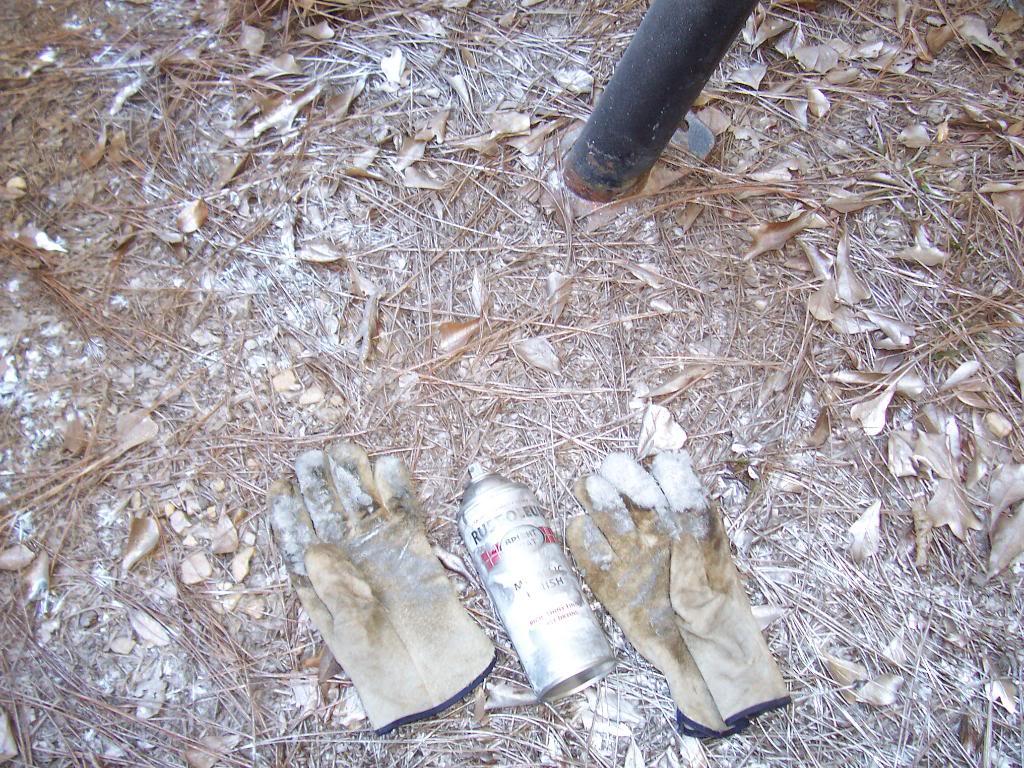
I don't think these came painted from the factory, but since mine had corroded, I decided to bling it up. I painted it metallic aluminum, to help give it some bling. Unfortunately, my paint can was defective and leaked paint like crazy out the top of the can. I got the piece painted, but i also covered myself, a pair of gloves, and the ground with metallic paint.

100_5291-1.jpg


100_5290-1.jpg


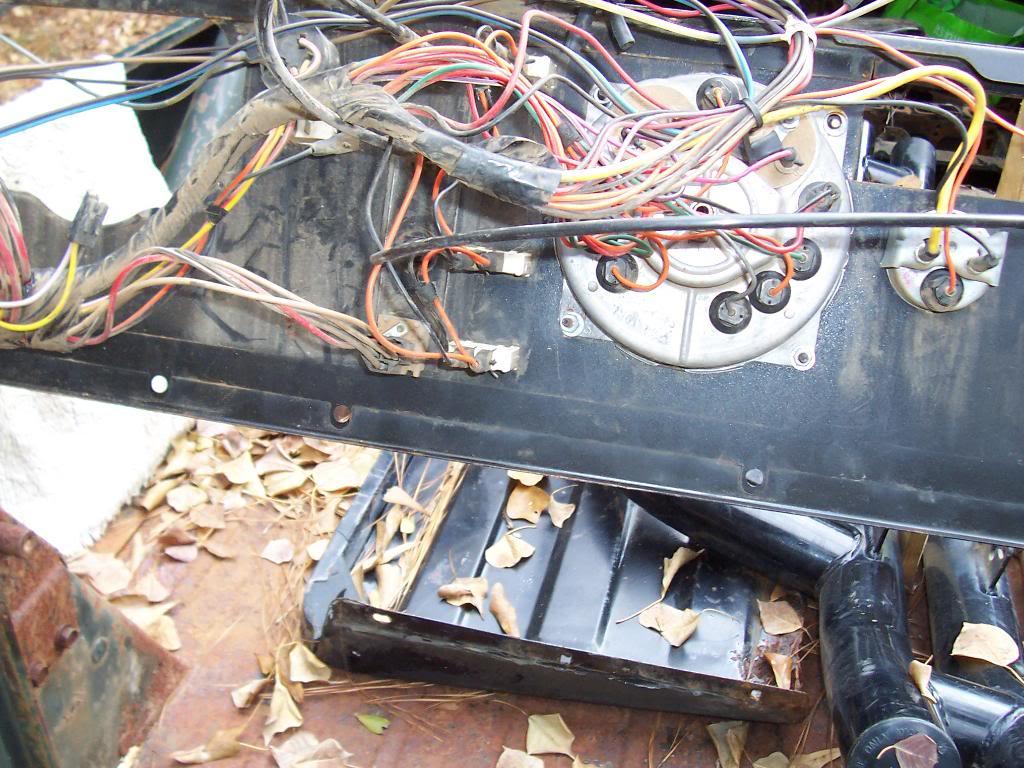
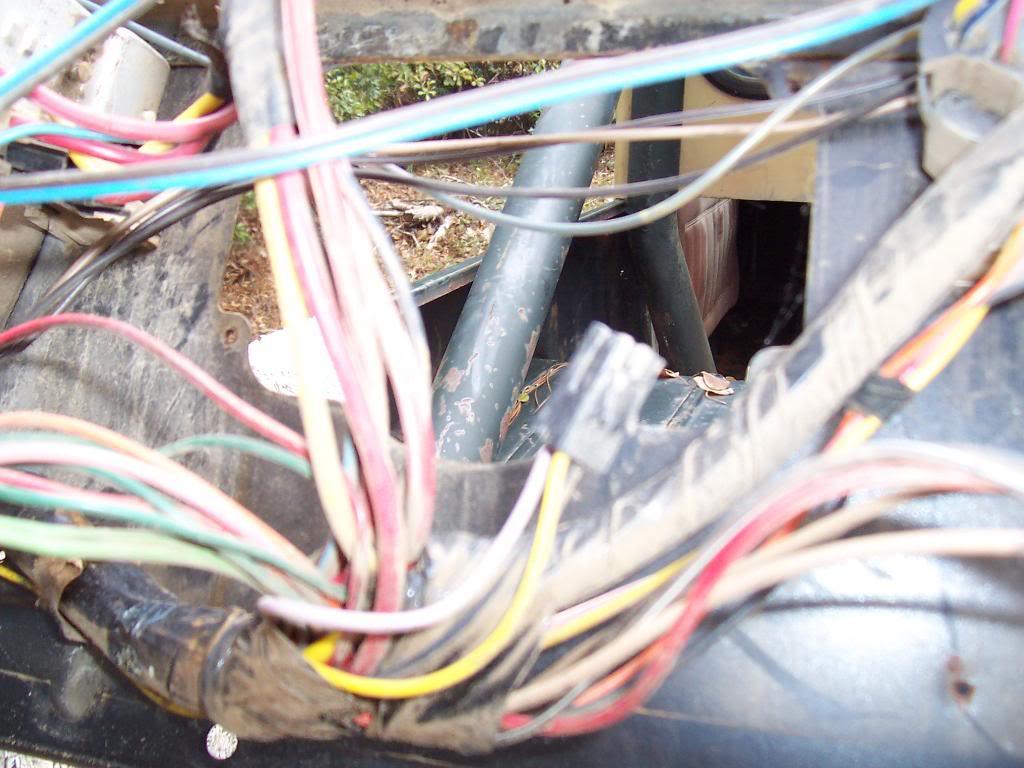
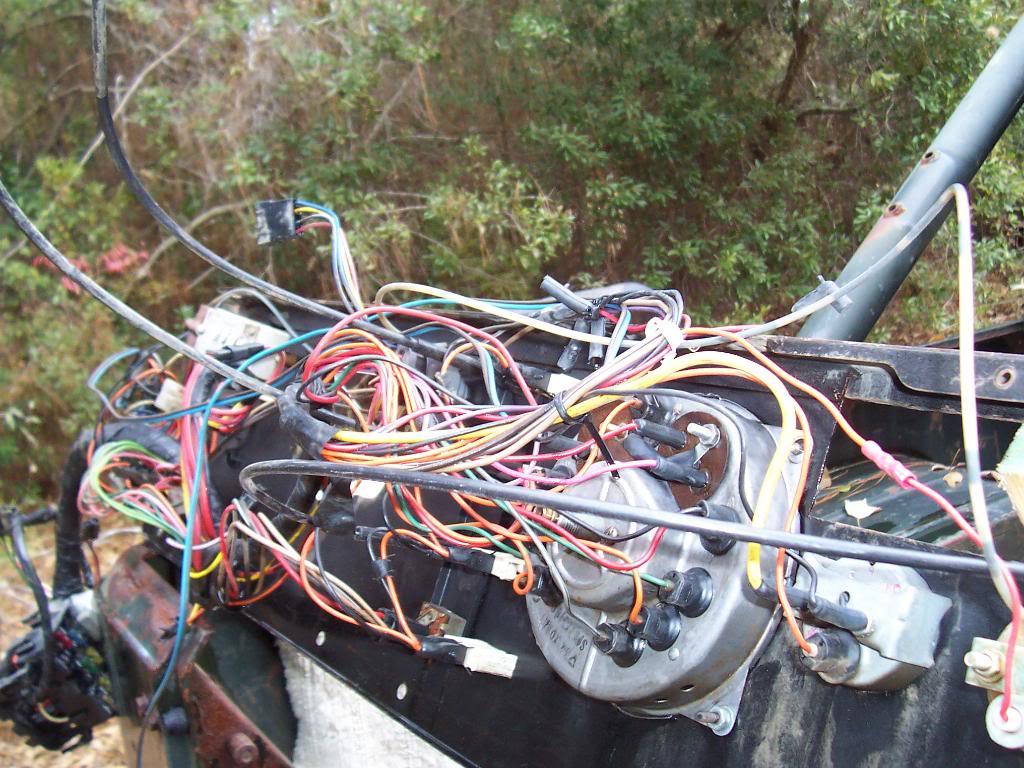
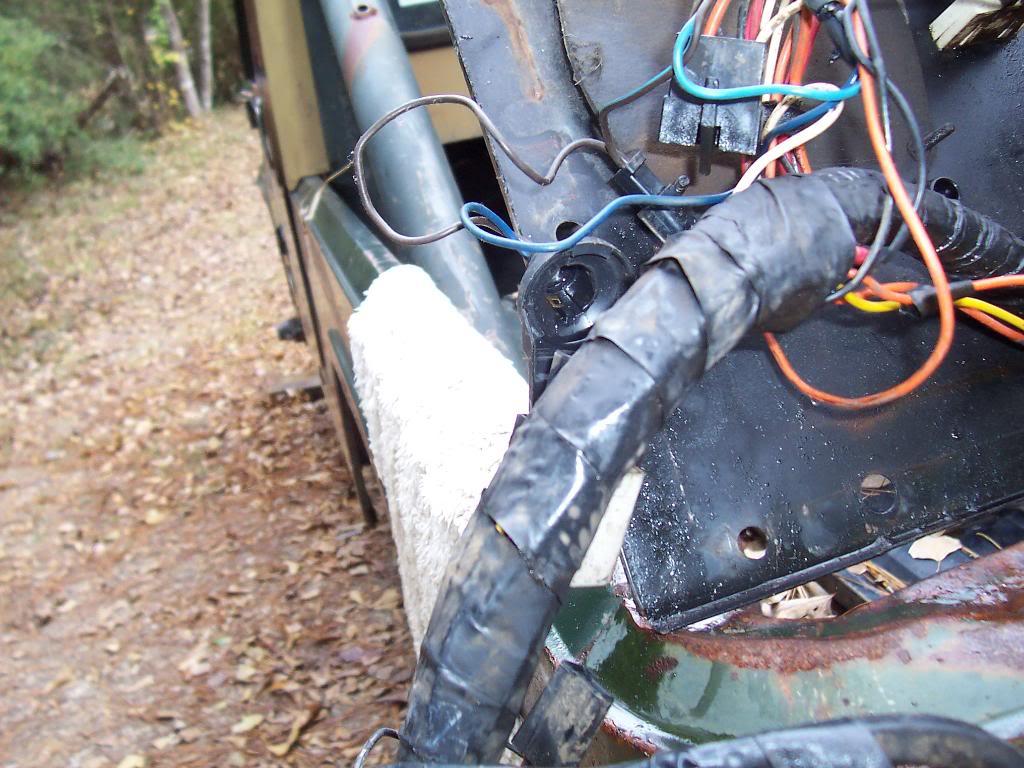
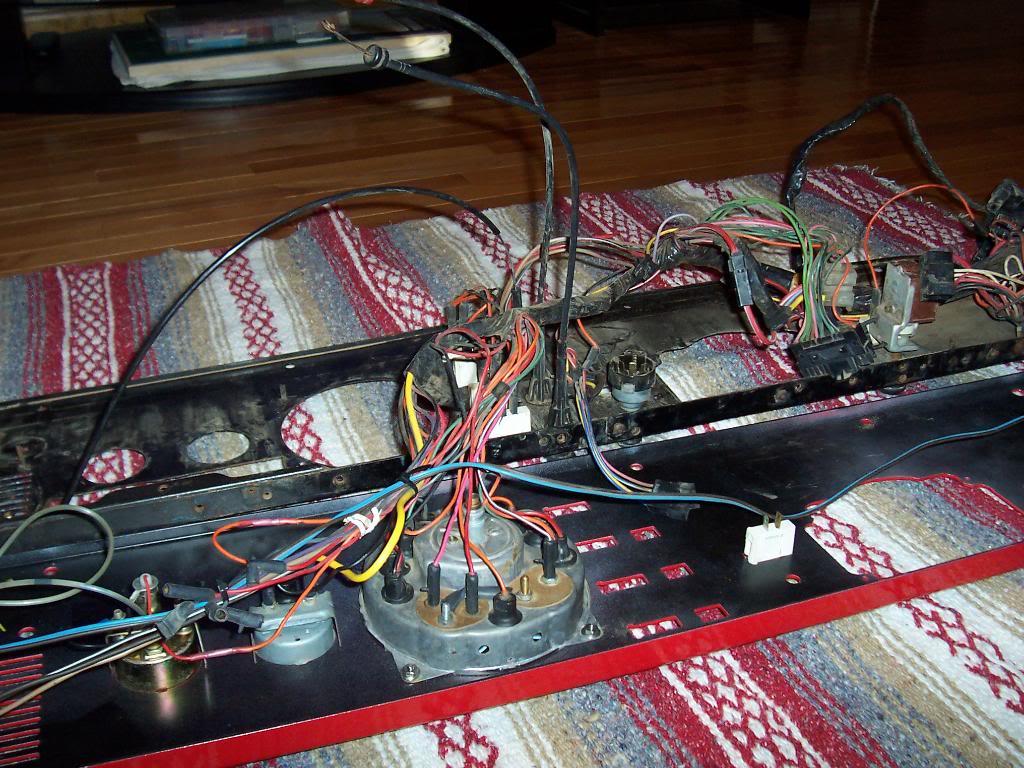
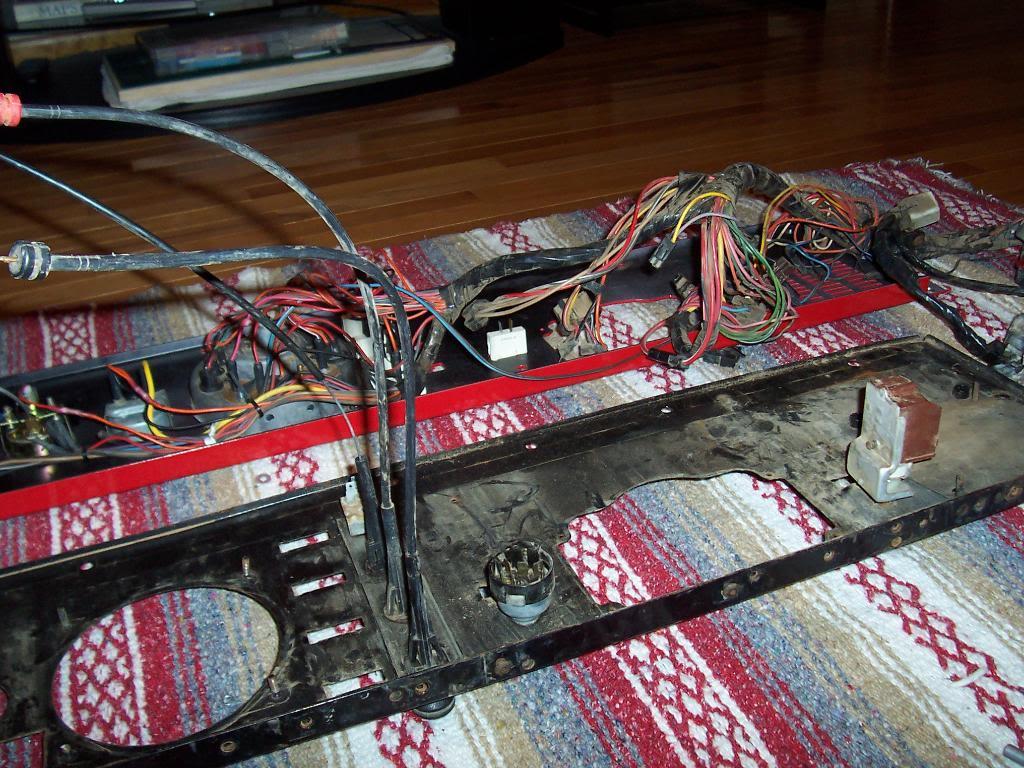
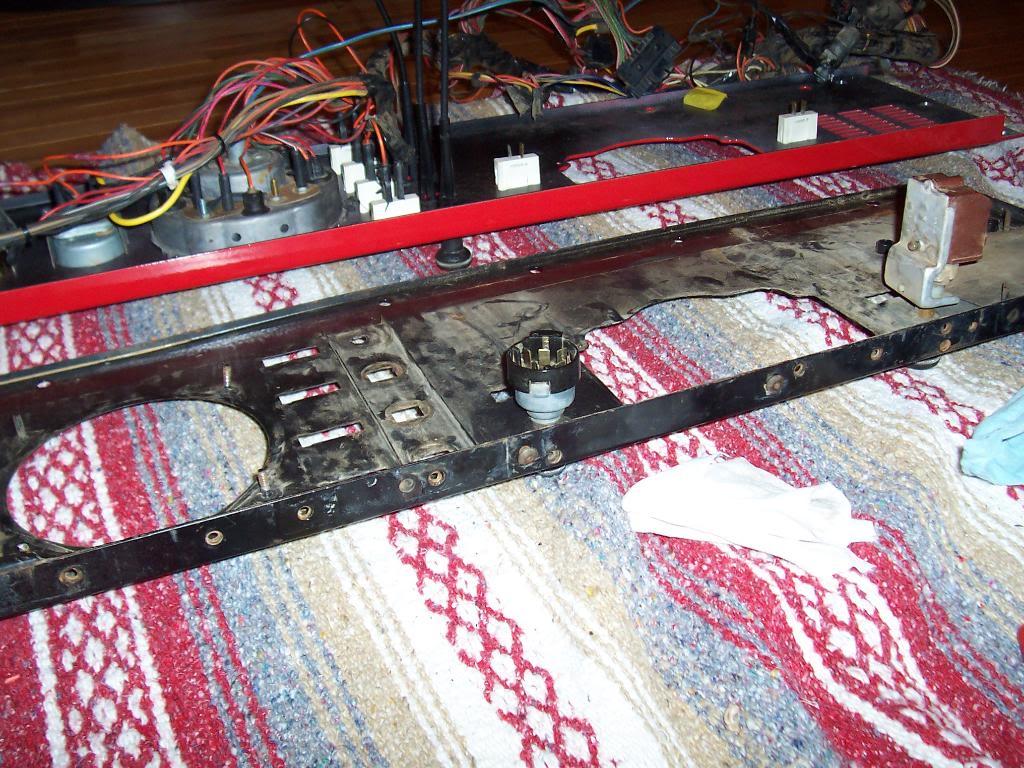
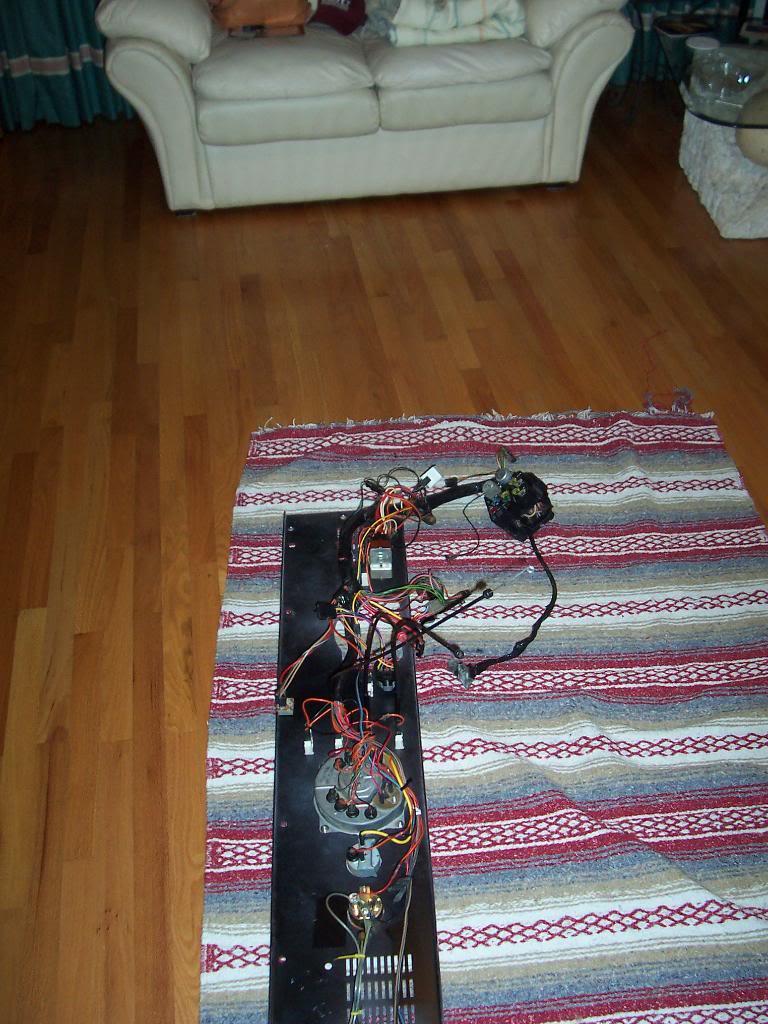
I also did a fast, preliminary clean of my dashboard wiring. I am reusing all this stuff, but i want it nice and clean.

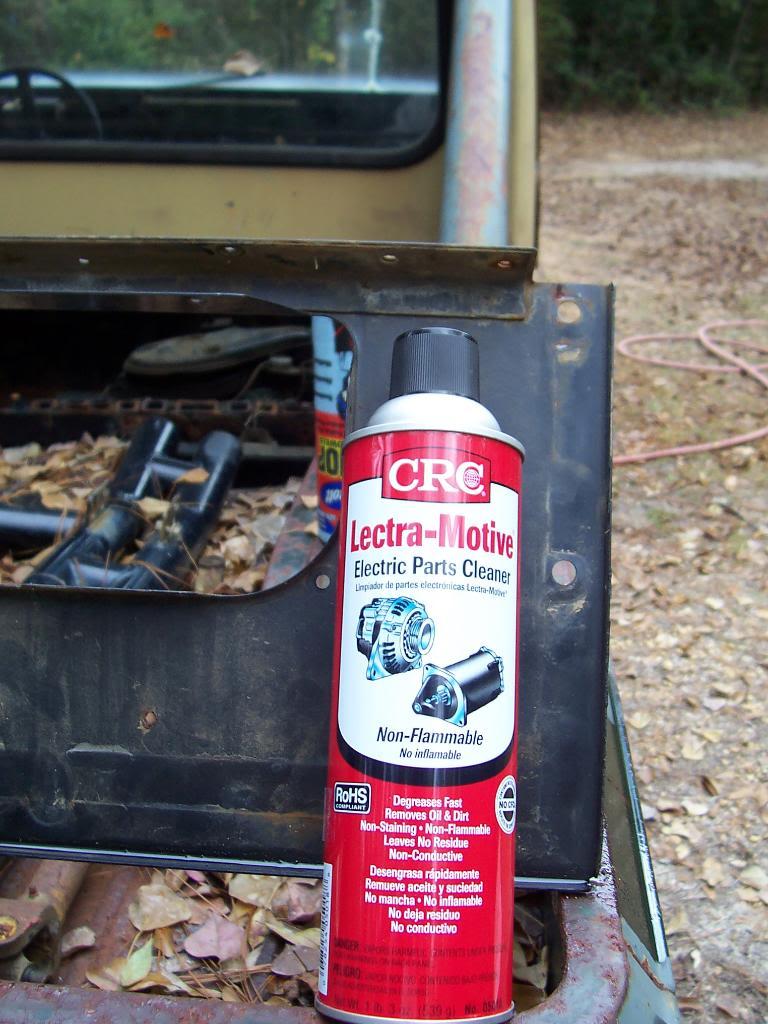
Before pics, used a can of this stuff, works OK.

100_5269-1.jpg


100_5266-1.jpg


100_5267-1.jpg


100_5268-1.jpg


After pics. I still have some more cleaning and re taping/tiding up to do. Will probably bring the old dash and the new one inside and do this in front of the TV where it is nice and warm.

100_5270-1.jpg


100_5271-1.jpg


100_5272-1.jpg


I basically need to transfer all this stuff from the old dash to the new one.
 
Last edited:
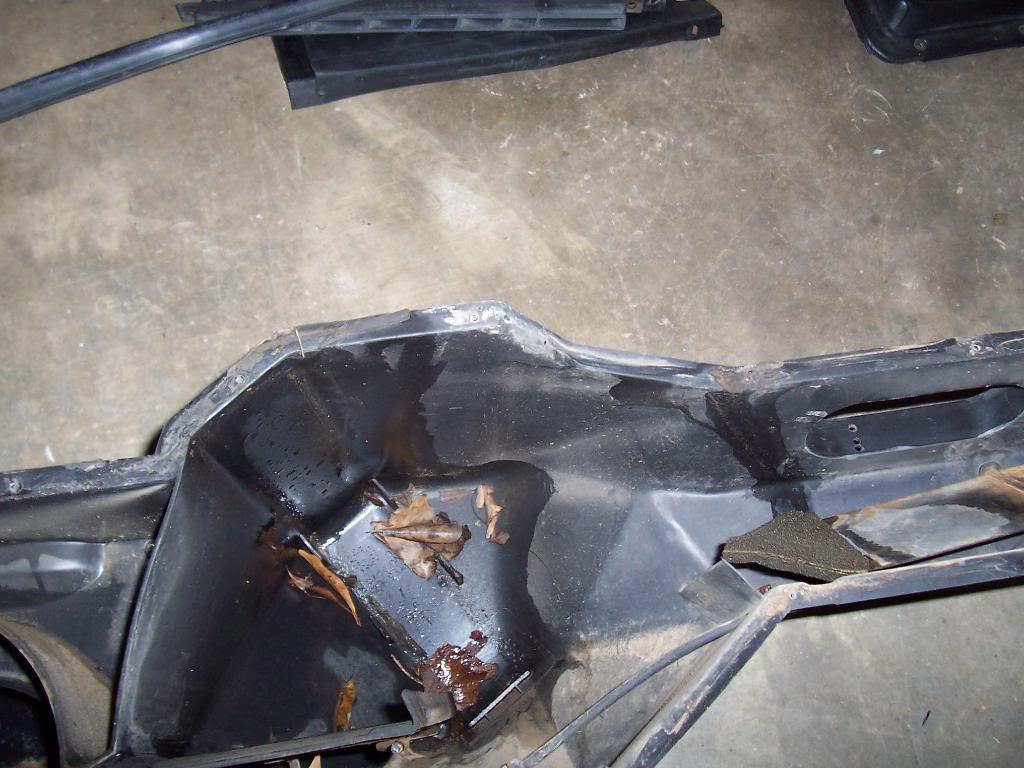
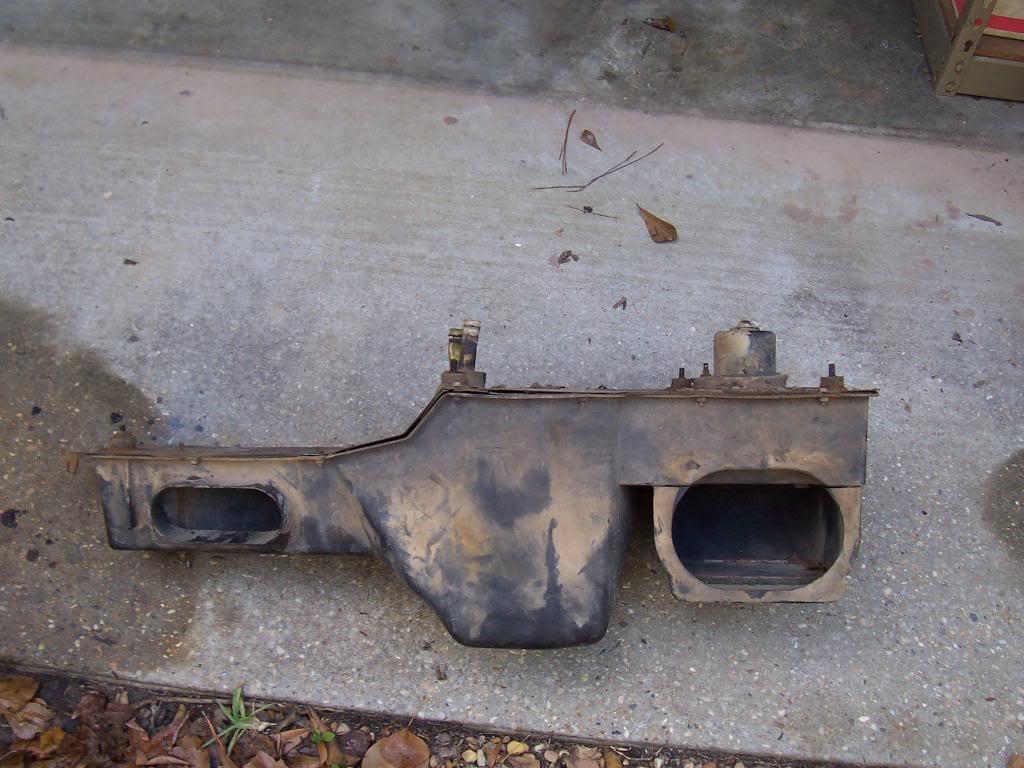
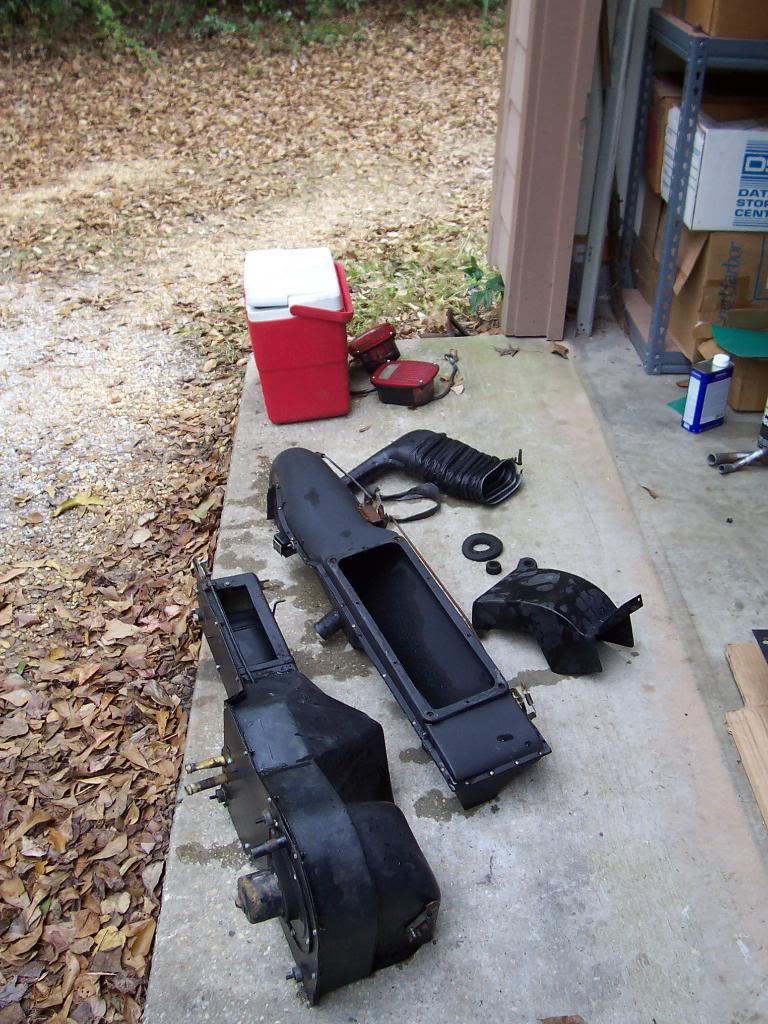
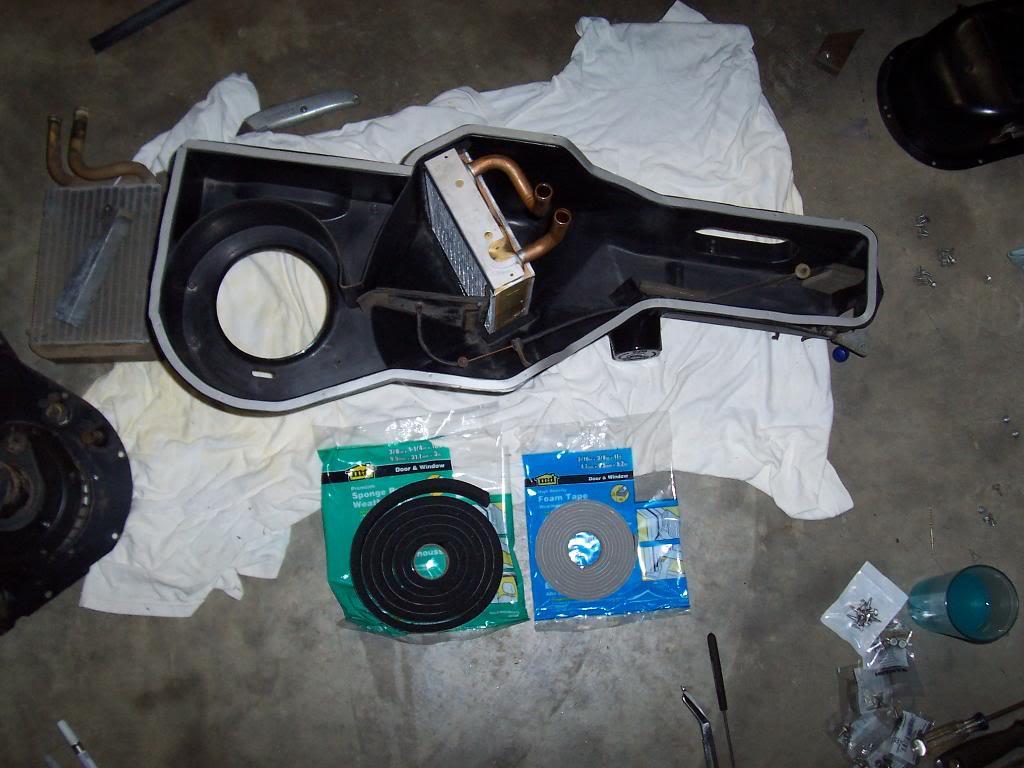
I also cleaned up my old heater box components. All the flaps and cables work, it is just dirty. I have a new heater core to install, old one worked, but since I have it down might as well change it. I might go ahead and stick a new fan in, too.

Inside of the box.

100_5284-1.jpg


100_5285-1.jpg


Before cleaning it.

100_5261-1.jpg


100_5262-1.jpg


After cleaning with a little soap and water.

100_5263-1.jpg


100_5264-1.jpg


After the soap and water clean up I polished the heater box with some "Mothers" black plastic polish. The big box cleaned up really well. The little box that bolts to the front is not too good. It has old paint on it as well as a lot of bad scratches and old tape markings. I might just see if I can find a used one in better shape locally instead of trying to repaint it.

100_5292-1.jpg


Thats about all I got finished up this past week/weekend. One last random pic, thats it for now.

100_5288-1.jpg
 
Last edited:
Great work; some of this is the fun stuff. Pics are good too. Dbl check the re-wiring of the dash; it's nearly impossible to reach any of it after its together (at least with A/C).:banghead:
 
Great work; some of this is the fun stuff. Pics are good too. Dbl check the re-wiring of the dash; it's nearly impossible to reach any of it after its together (at least with A/C).:banghead:

Will definitely take my time with the wiring, but is should go easy enough as long as I directly transfer everything over to the new dash. I was lucky in that all my factory wiring is in great shape and 99% of all my electrical stuff worked before I took it apart:cheers: This is one major area where I will be able to simply clean and reuse the original components:fingerscrossed:

No AC at this time, maybe later on:)
 
Lots of progress over the Christmas holiday. I decided to be a "grinch" and work on my scrambler the whole time, even Christmas day :-)

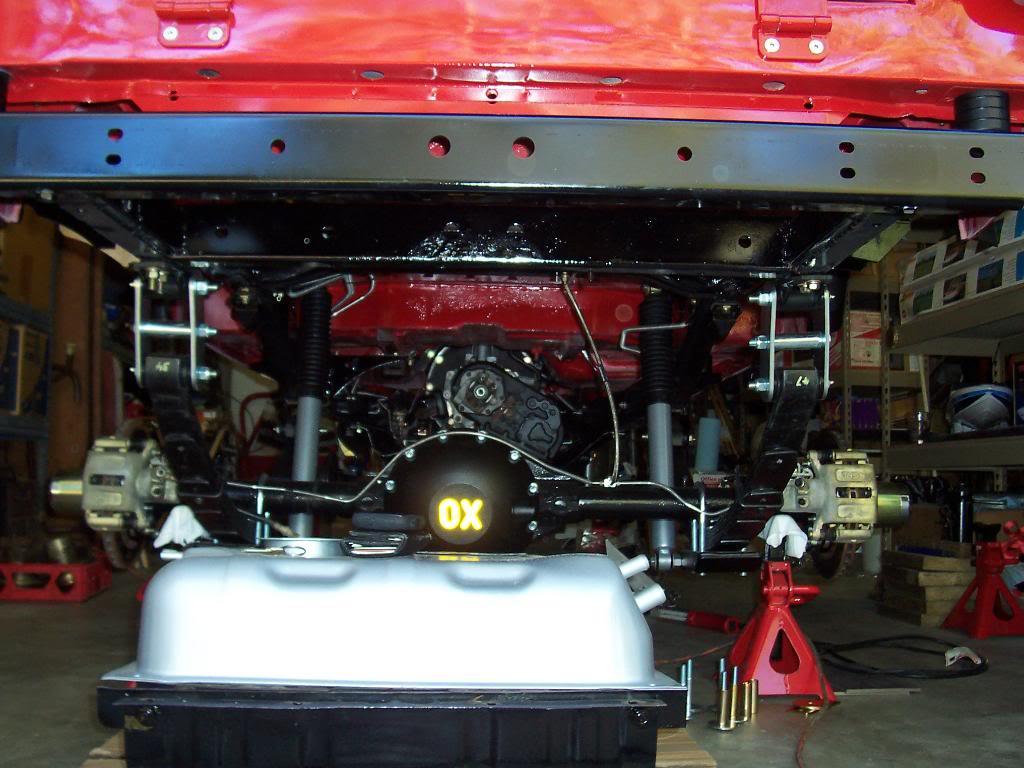
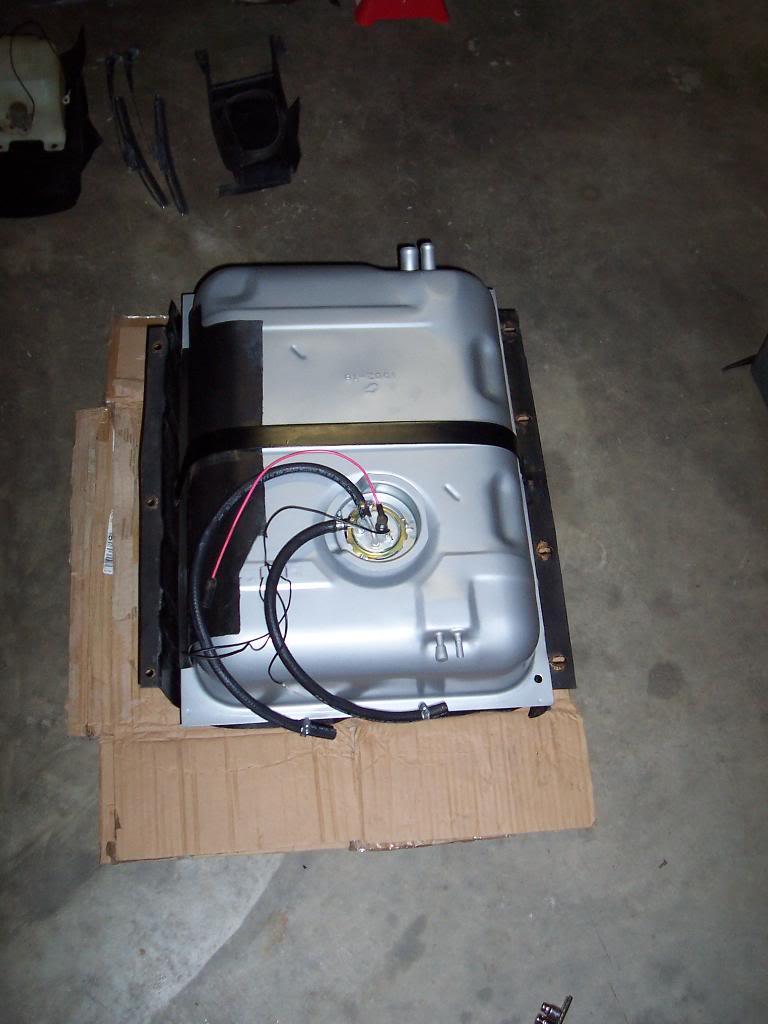
Installed the gas tank. Pic of it assembled on the ground with a new sending unit, lock ring, and o-ring.

100_5295-1.jpg


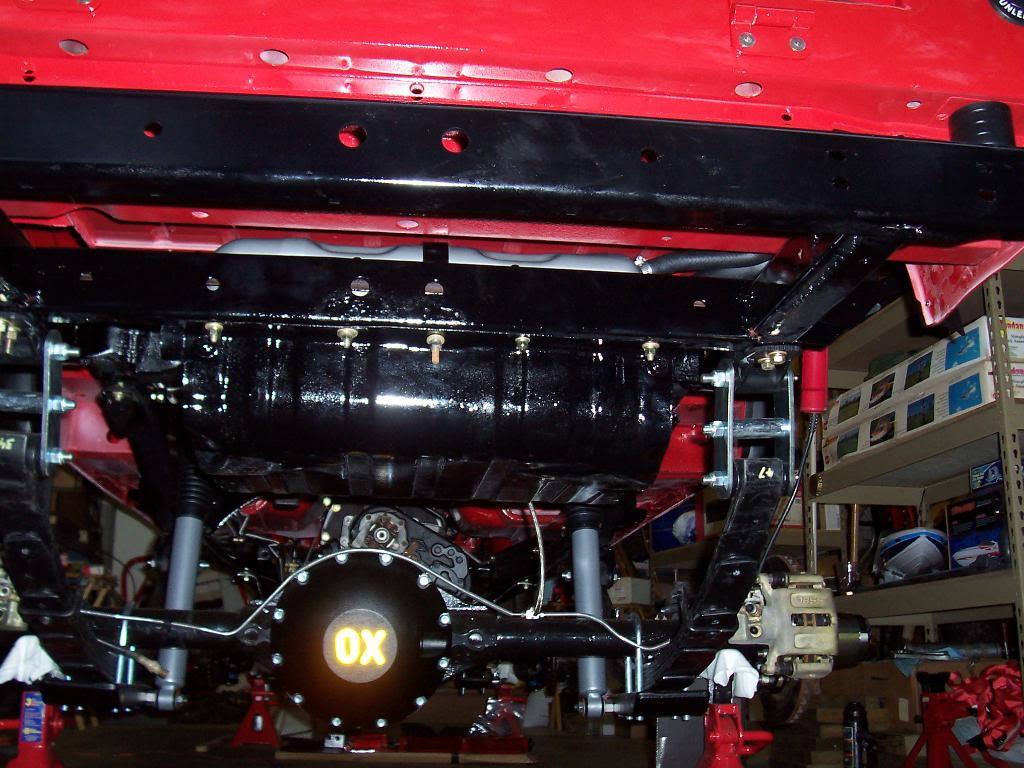
And bolted up in place, fairly easy task.

100_5296-1.jpg


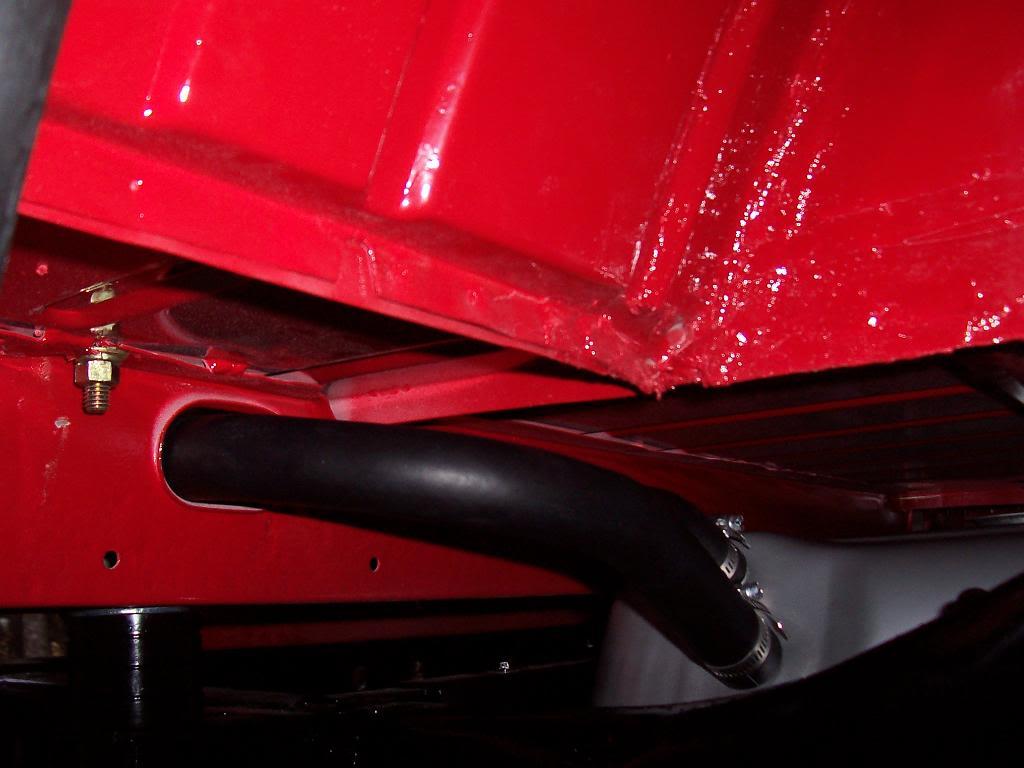
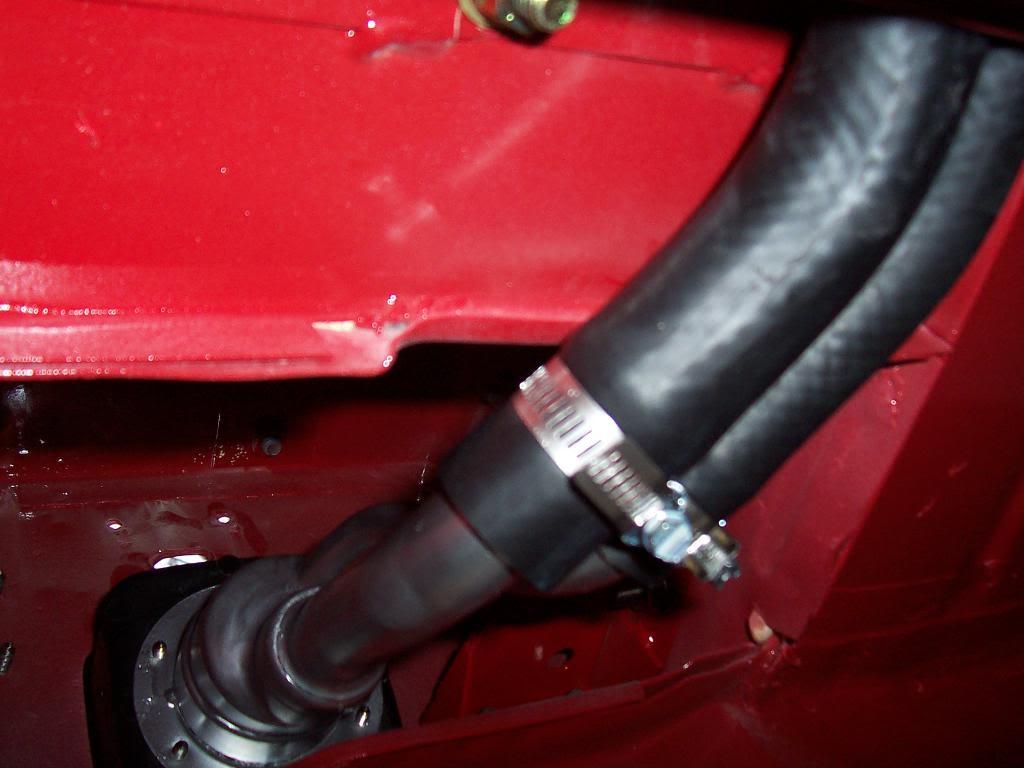
Pic of the new filler and vent line, plus a pic of the filler neck.

100_5297-1.jpg


100_5298-1.jpg


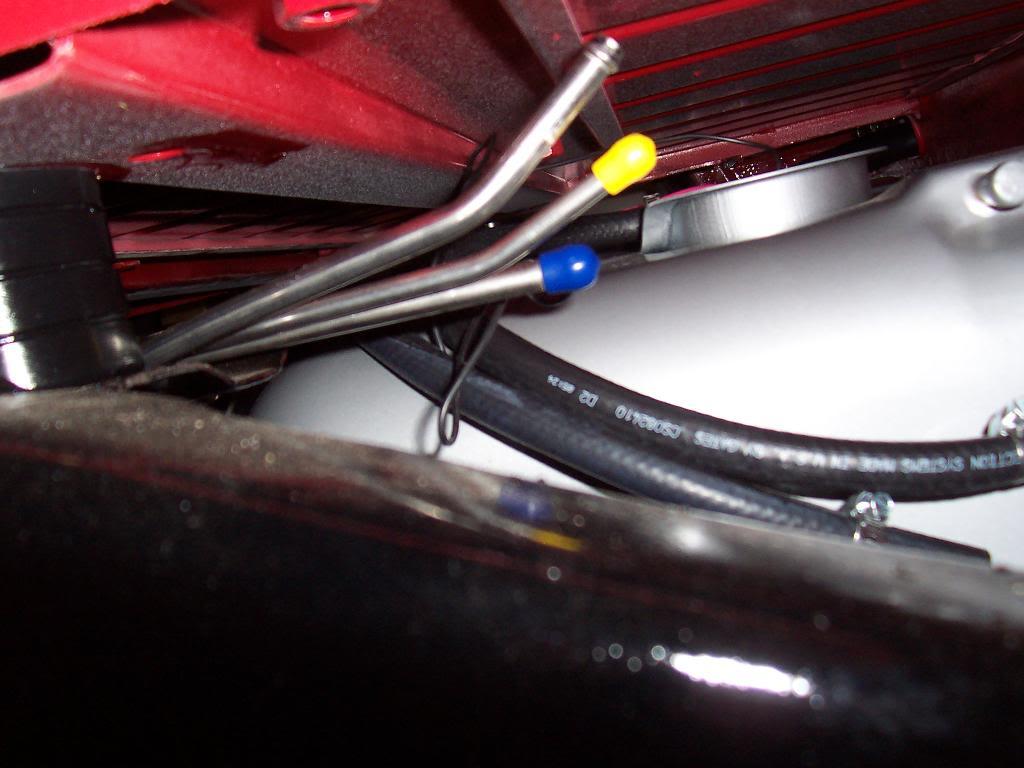
Still need to hook up all the fuel and vent lines.

100_5299-1.jpg


And a pic of the installed fuel surround thing. I repainted the "UNLEADED FUEL ONLY" lettering with a paint pen. It will probably dissolve the first time gas hits it.

100_5300-1.jpg


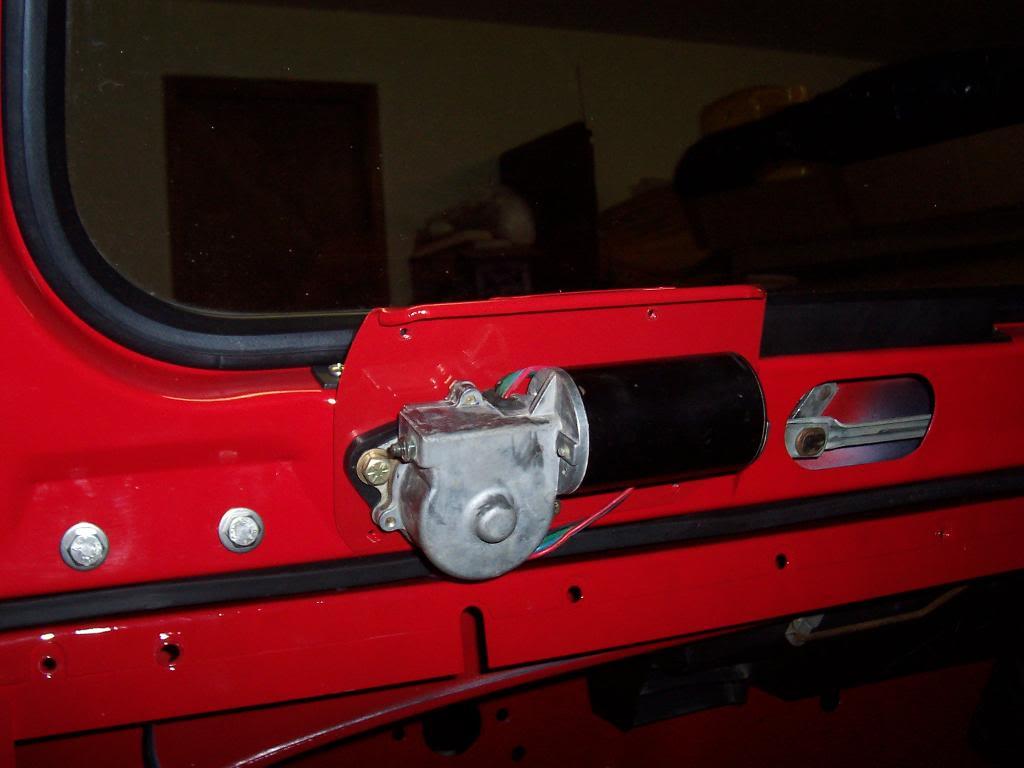
Installed all my wiper parts. Cleaned up all the original parts, they were all in good shape and functioning fine when I took them out. I just ordered a new wiper motor cover, mine didn't come with one, and two new plastic windshield frame access hole cover pieces, the originals broke when I took them out.

100_5301-1.jpg


100_5302-1.jpg


Pic of wiper pivots from the front.

100_5304-1.jpg


Tapped all the holes along the top of the windshield frame and installed the center footman's loop. The other 8 holes are for the sun visors, I did not install them yet, not sure if they will clear the in cab cage.

100_5303-1.jpg
 
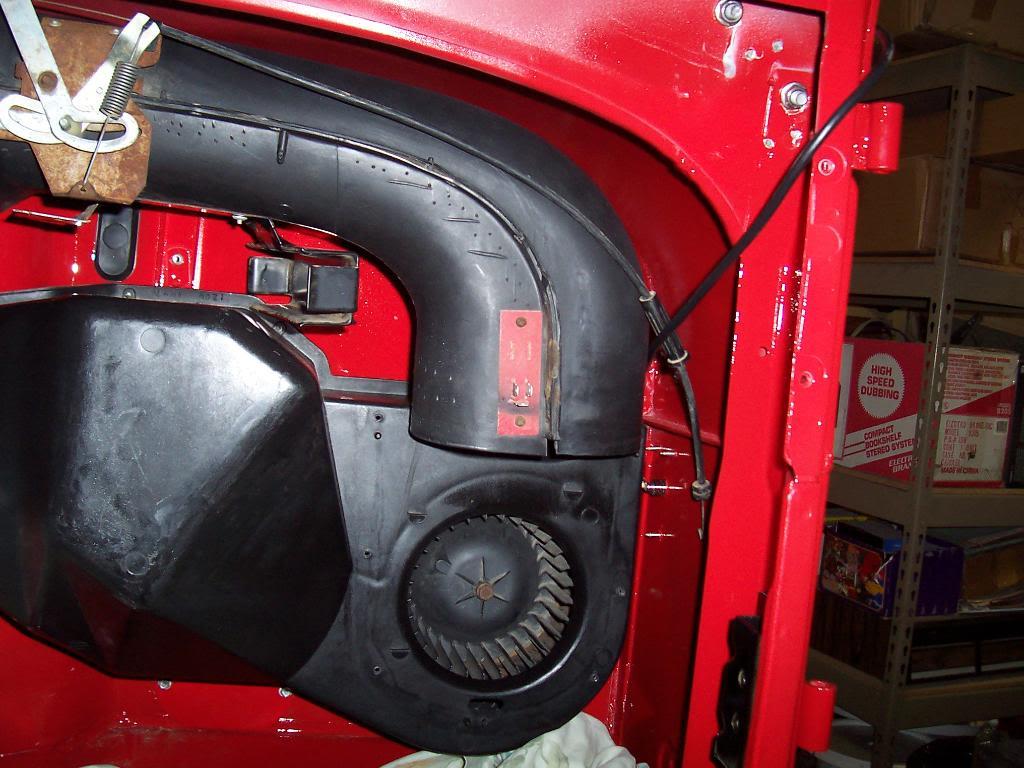
Also finished cleaning up the heater box and got it installed. I did not repaint it, just cleaned all the parts with Mother's Black plastic polish, they pieces came out looking pretty good.

100_5293-1.jpg


Sealed the back plate to the box with some foam weatherstrip. Seemed like an easier way to do it vs silicone.

100_5294-1.jpg


Assembled the box. I repainted the rusty blower motor, I did not replace it since it still works. Future project :-)

100_5305-1.jpg


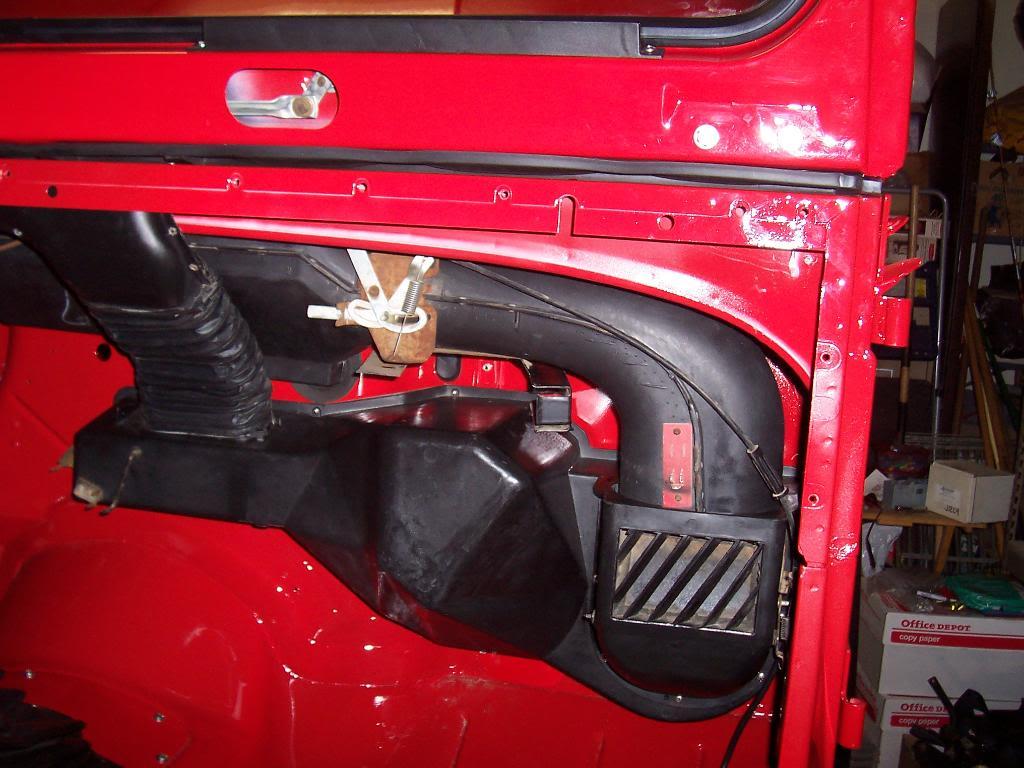
Installed the heater box. I left the front part off to make it easier to remount.

100_5310-1.jpg


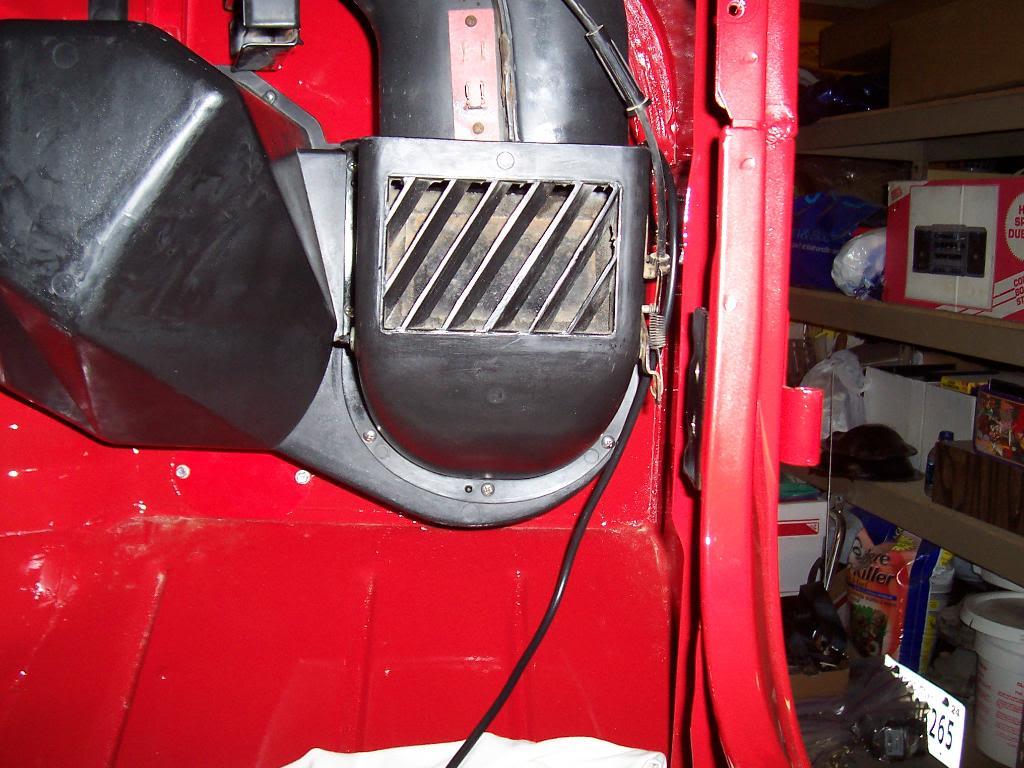
Installed the front part.

100_5312-1.jpg


And the installed heater box assembly.

100_5313-1.jpg


I still need to repaint the little metal brackets that are rusty plus the fron flap. It is too cold to paint right now, though.


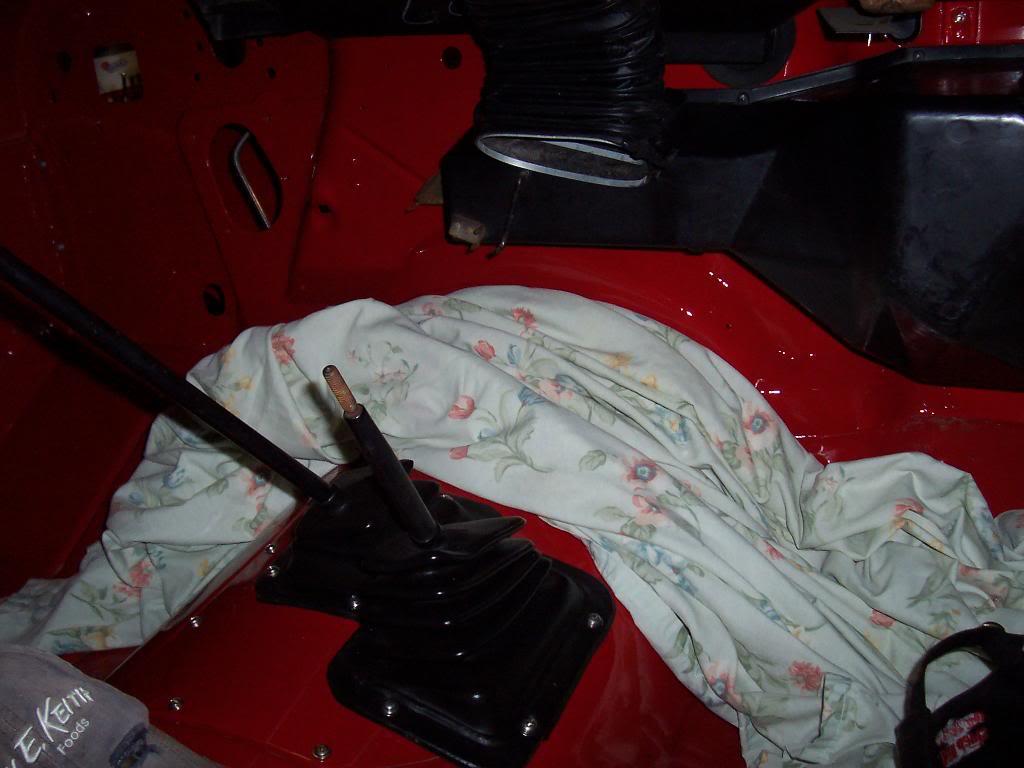
Install the transmission cover plate and shifter boot. Cleaned up the original boot with Mothers since it was in great shape, just dirty.

100_5311-1.jpg


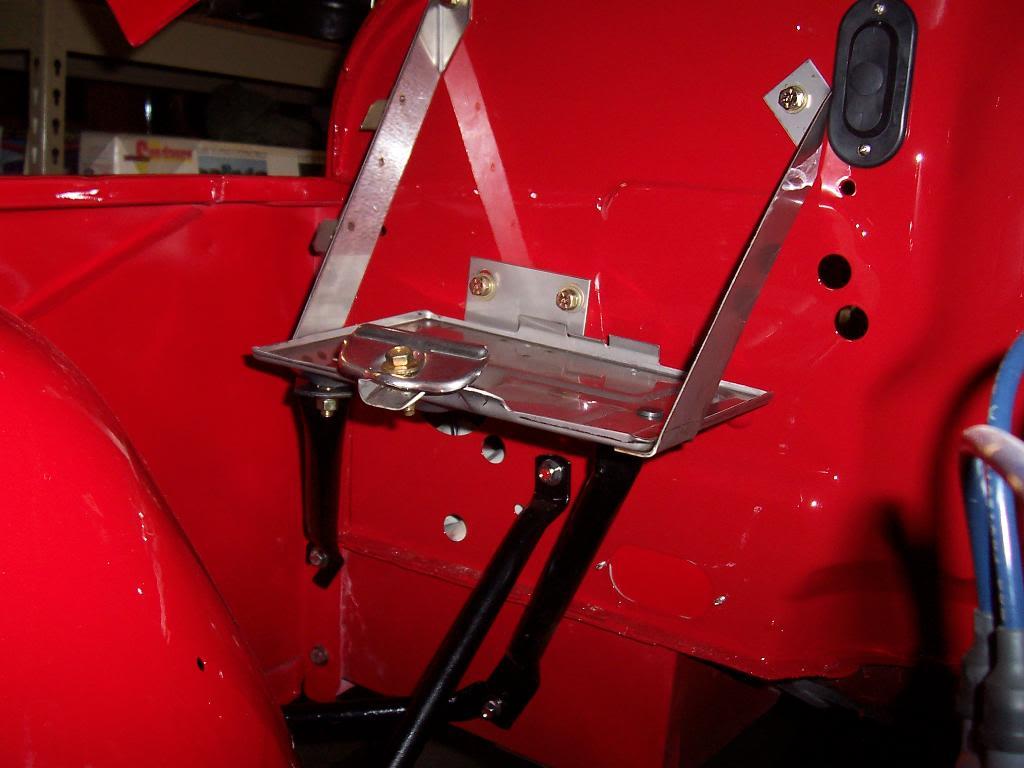
Installed a new stainless battery tray and all of the fender to body brace rods. The rods are not fully tightened, I still need to align the entire hood/fenders/grill to body tub assembly.

100_5307-1.jpg


Passenger side support braces.

100_5308-1.jpg


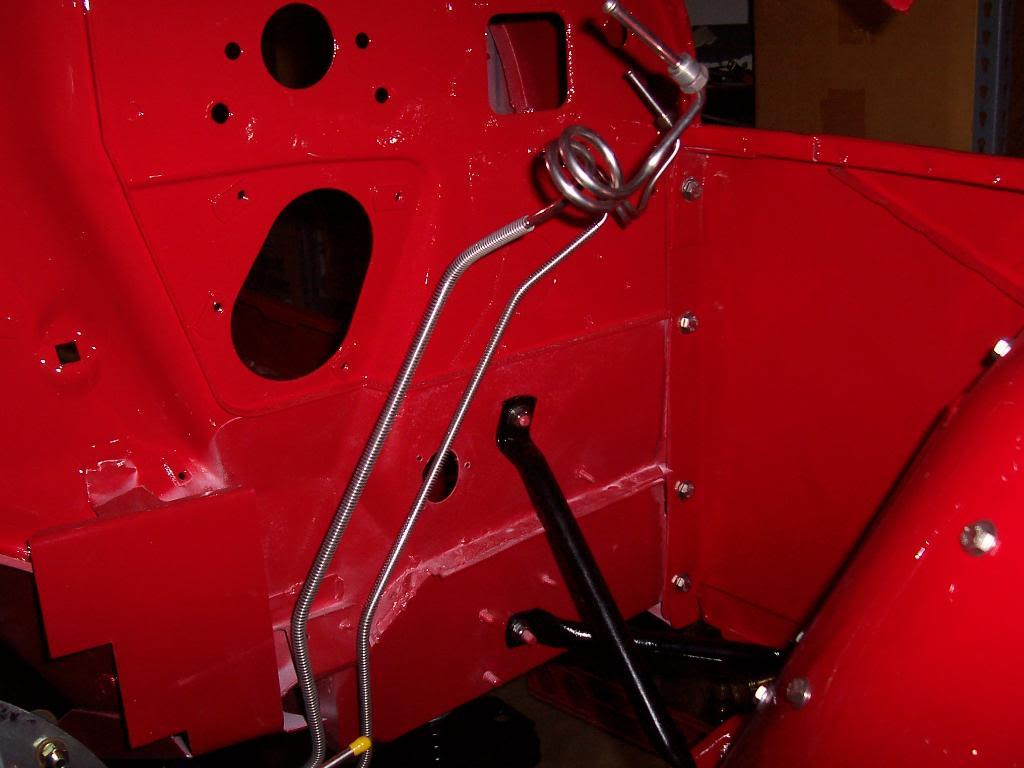
Drivers side support braces. I also loosely installed the master cylinder to proportioning valve lines.

100_5309-1.jpg
 
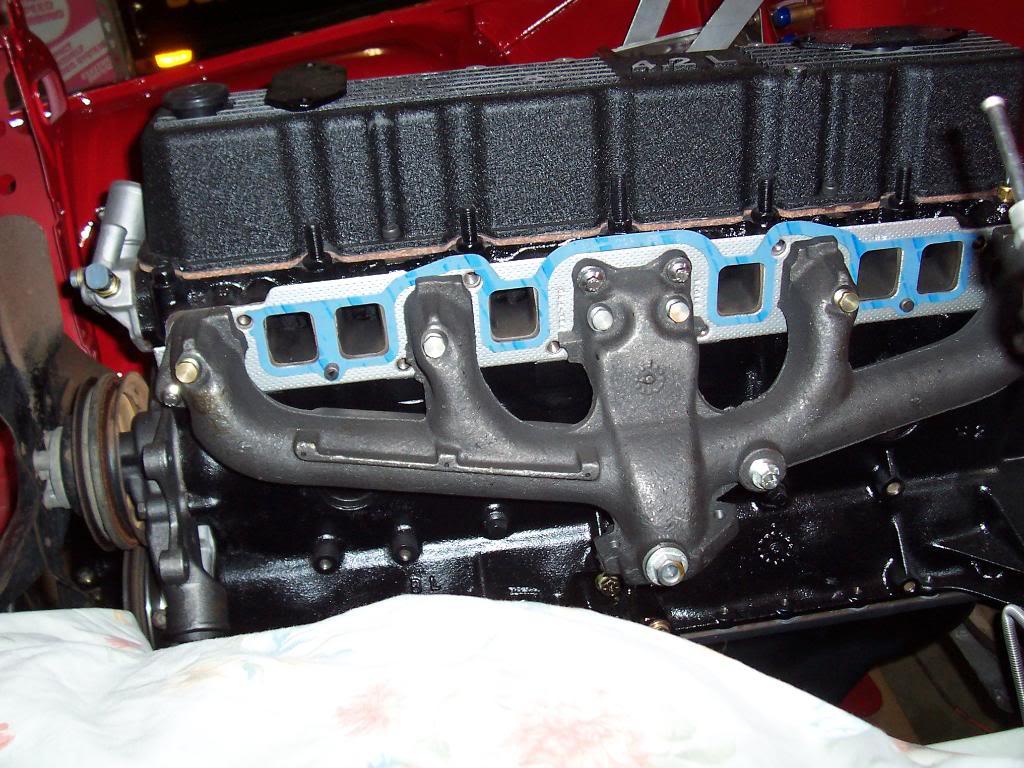
Loosely installed the original carb intake and a new exhaust manifold. I need to find some new washers or clean up my old ones. I am refering to the big thick washers that span the gap between the intake and exhaust manifolds and hold them tight to the block.

Exhaust manifold.

100_5314-1.jpg


Carb intake. It will be replaced in the near future with the Mopar MPI EFI kit.

100_5315-1.jpg


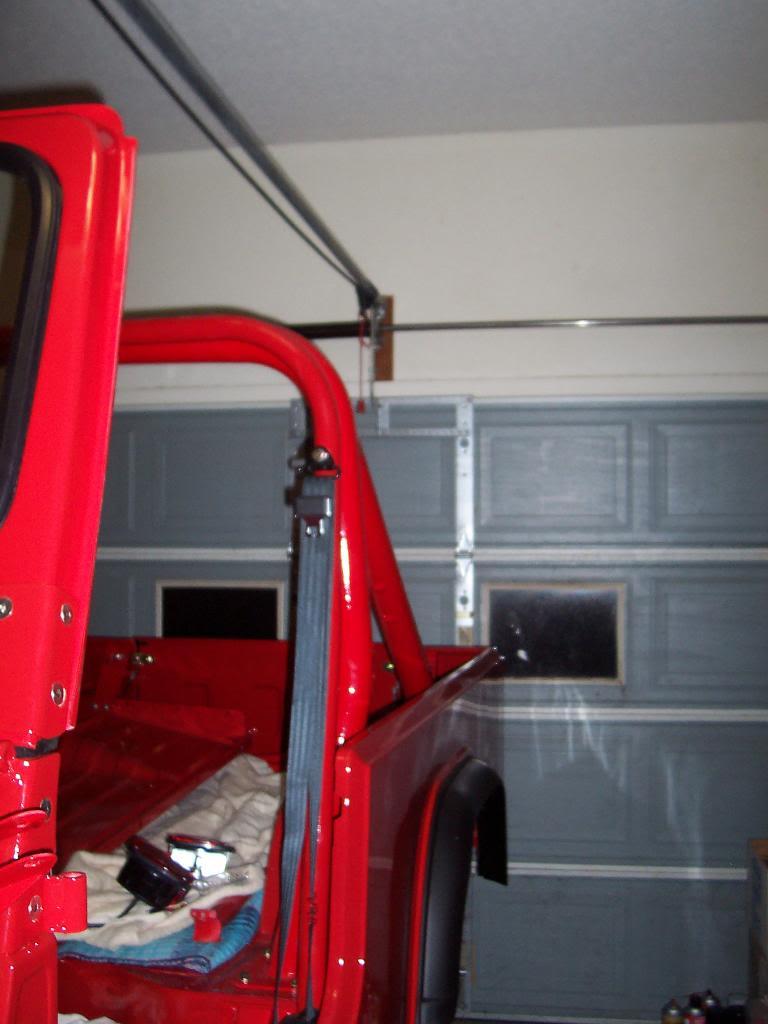
Installed the front seat belts. I bought these new a few months ago to replace the lap belts that came with the Scrambler.

100_5316-1.jpg


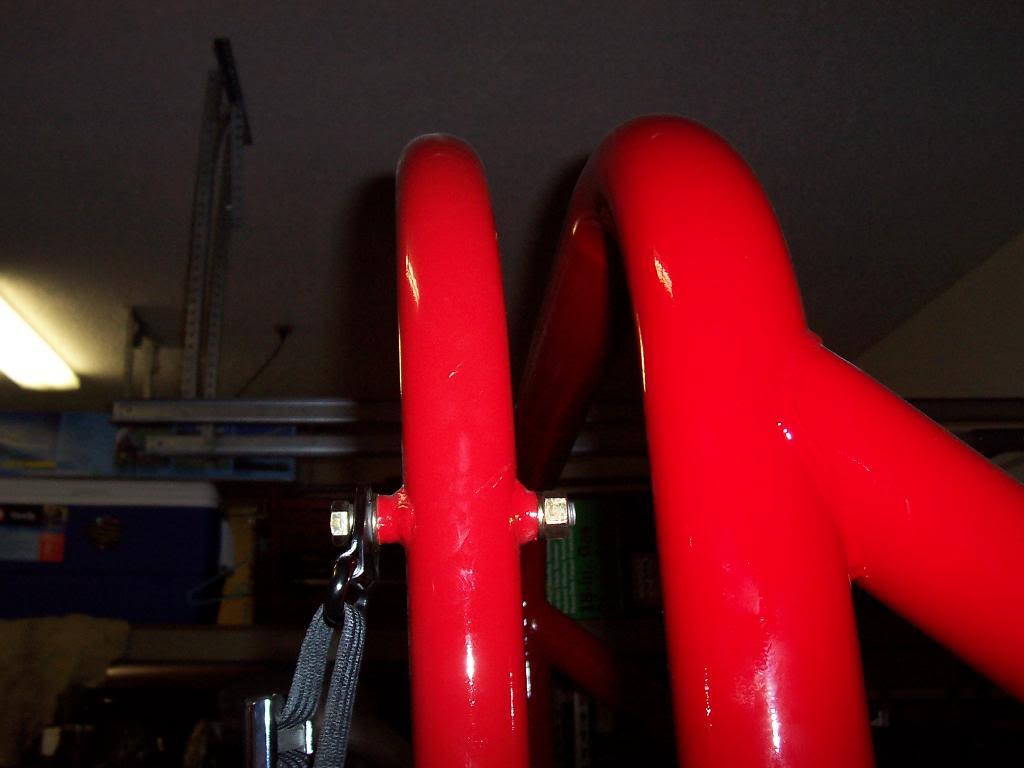
Close up of how the upper seat belt bolt attaches to the roll cage, similar to the factory set up.

100_5317-1.jpg


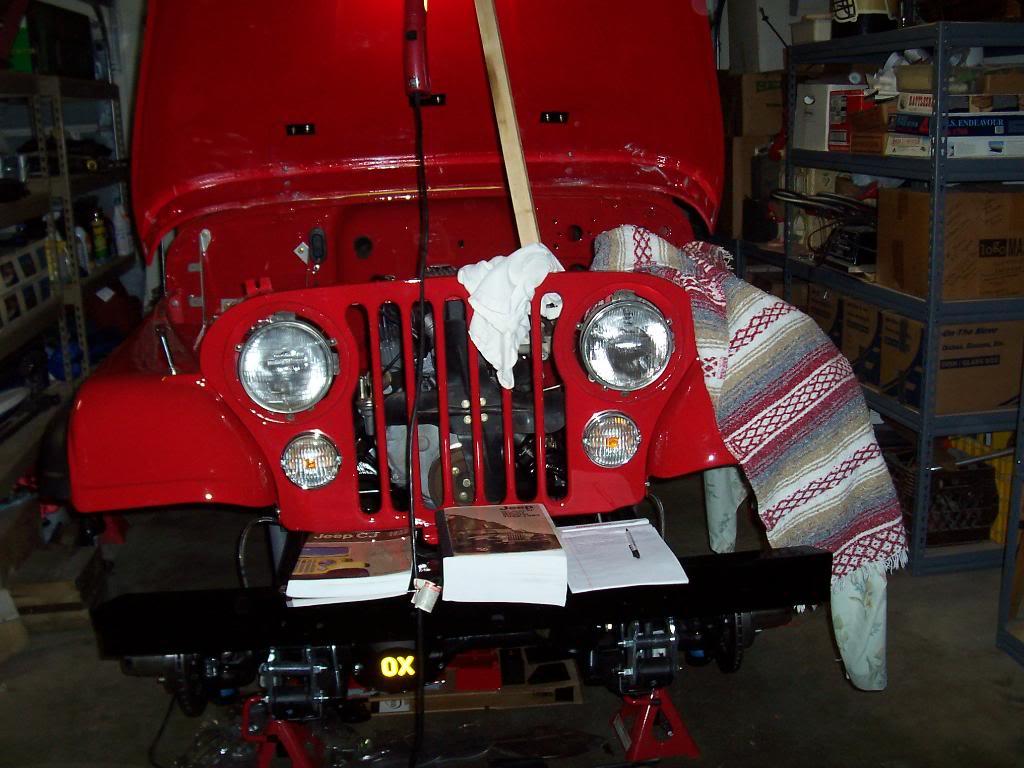
And installed the headlights. Ordered two new bezels, so they are absent in the pic.

100_5318-1.jpg
 
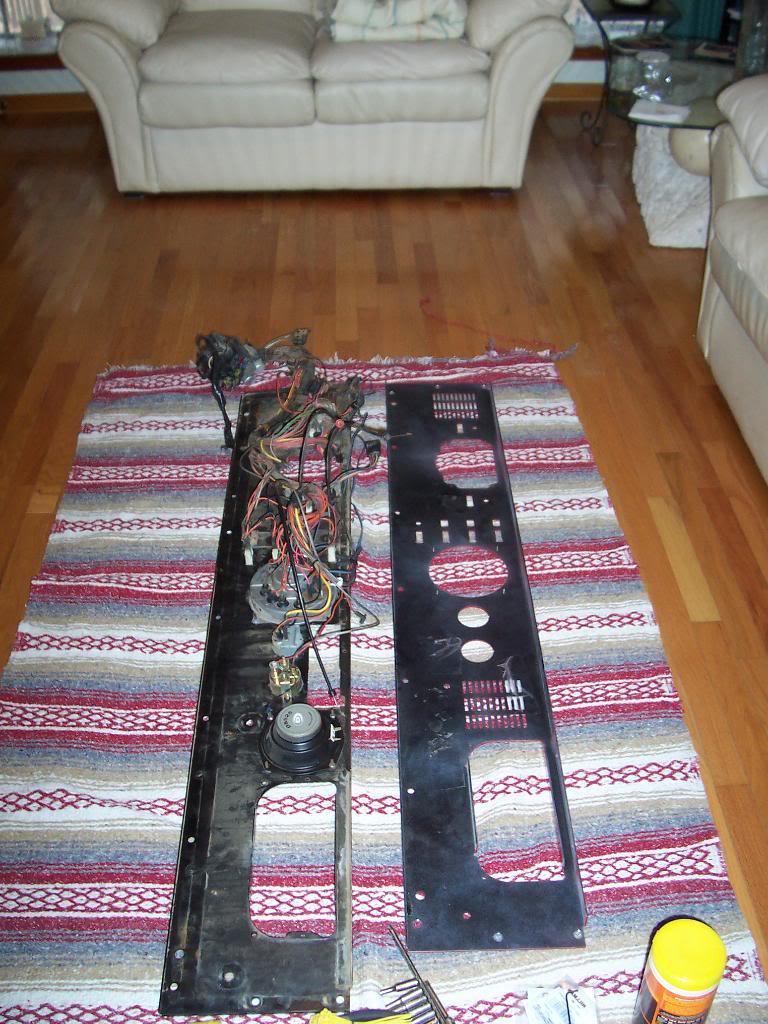
Switched everything over from my old dash to my new dash. I did this inside the house, in front of the TV, since it was cold outside.

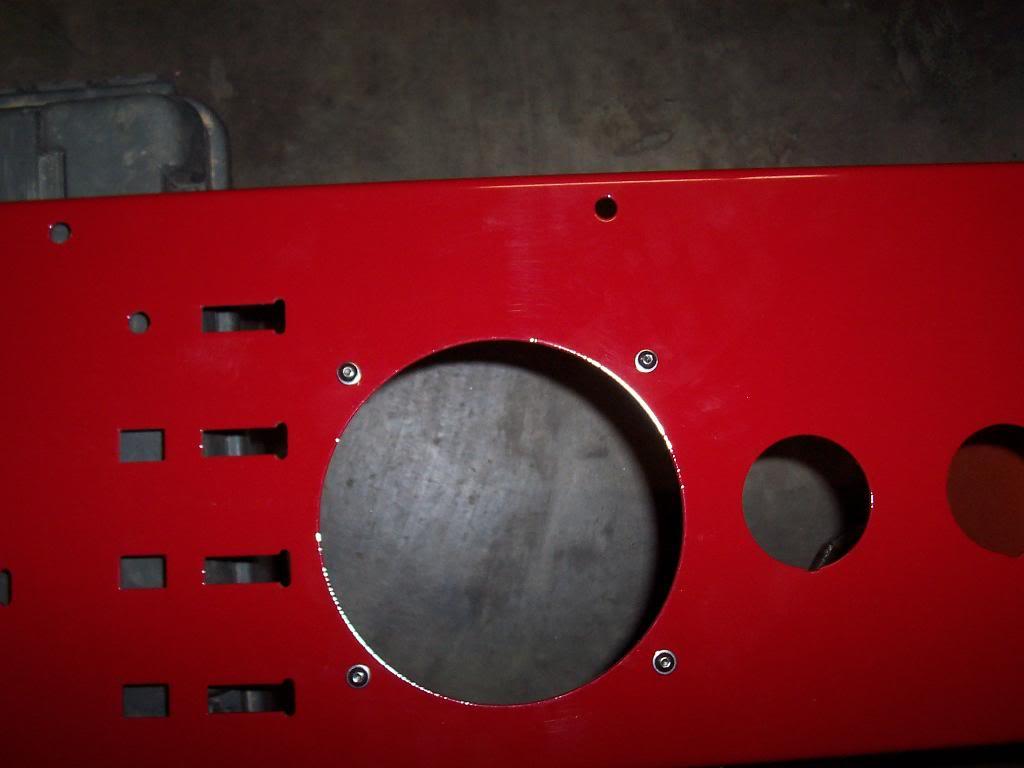
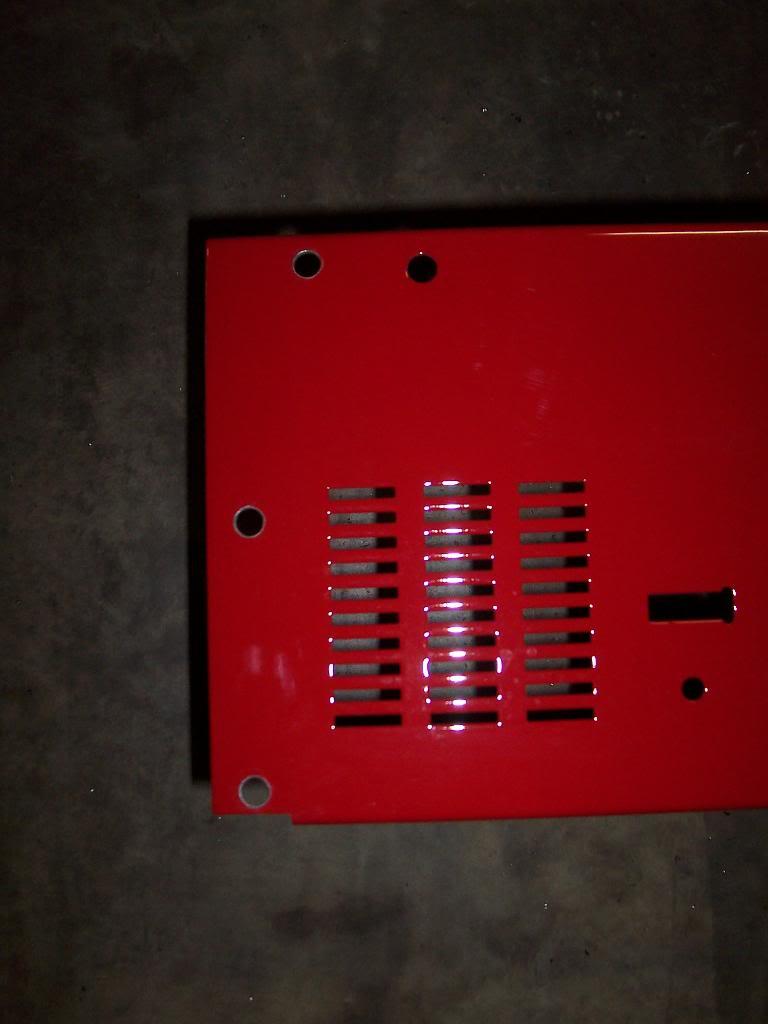
Pic of the new dash.

100_5319-1.jpg


Big difference between this dash and the factory dash. Factory dash has studs that are attached on the back side to hold the speedometer assembly in place. This dash has hole, so I used a #8 SS bolts to hold the speedometer assembly in place. Not exactly factory looking, but not bad. I will take this trade off for the increased thichness of the aftermarket dash, plus it will be easier to remove the speedometer assembly with this attachment method vs the factory "speed nuts".

100_5320-1.jpg


I also drilled out the holes along the edge of the dash to 7/16. The in cab cage will use 3/8 bolts to attach the front hoops to the floor tie in brackets vs the factory 1/4 hardware.

100_5321-1.jpg


New dash and old dash, side by side. The painter did not paint the back of the new dash red, it is still covered in the factory applied black paint.

100_5322-1.jpg


Series of pics showing me slowly swap all the wires and parts. I cleaned all the original wires and parts with Armor All Citrus Cleaner Wipes. All my wires and pieces look brand new again.

100_5324-1.jpg


100_5325-1.jpg


100_5326-1.jpg


And the back side of the completed, cleaned dash board.

100_5327-1.jpg


And a pic of the front side. Note how I accidently installed the blower motor switch in one of the dash to tub mounting holes LOL

100_5328-1.jpg
 
And a pic of the dash temporarily mounted in the tub. I still need to drill out some of the holes in the cowl to 7/16 inch for the cage to frame tie in parts, so I will be removing the dash again. I also need to install some new parts when they come in (dash lights, heater control cables, and switch nut/washer/knobs). This is a safe spot to store the dash while waiting for the new parts.

100_5329-1.jpg
 
Looks great. Its fun isn't't it. Seeing it all come together. Will it have a dashpad?
 
Back
Top