• Notice for iPhone users: DO NOT use the image size reduction option when uploading photos to the forum. This causes portrait images to post as landscape. We have added a warning to the image insert pop-up as well.

Another Scrambler Purchase/Road Trip - UPDATE- BODY ON FRAME AGAIN

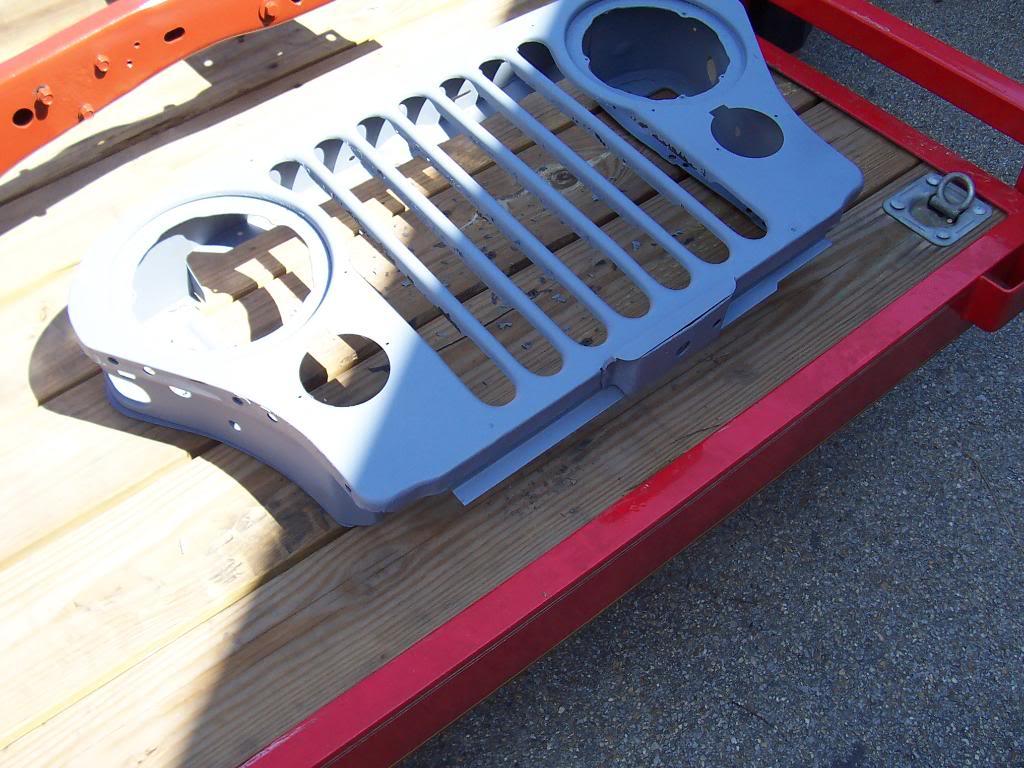
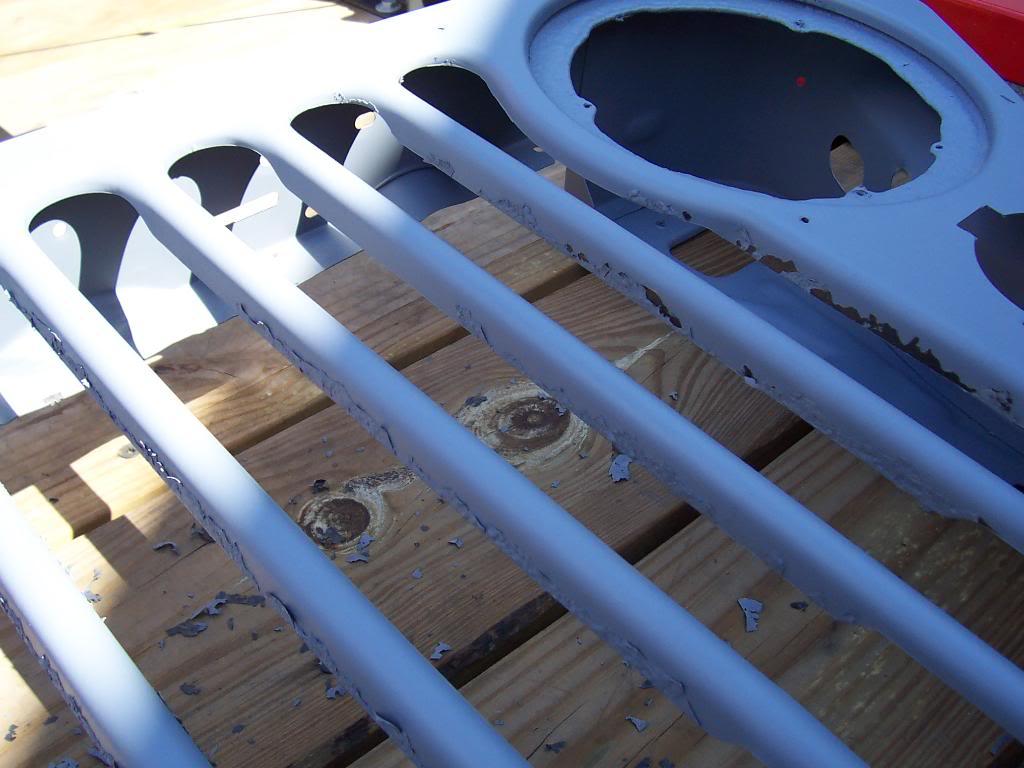
Pic of grill. Left some liner on on purpose, blasting wont remove bed liner. Blaster dude was pulling his hair out trying to remove it LOL. It will be manually pulled off like the rest of it.

100_4769-1.jpg


100_4770-1.jpg


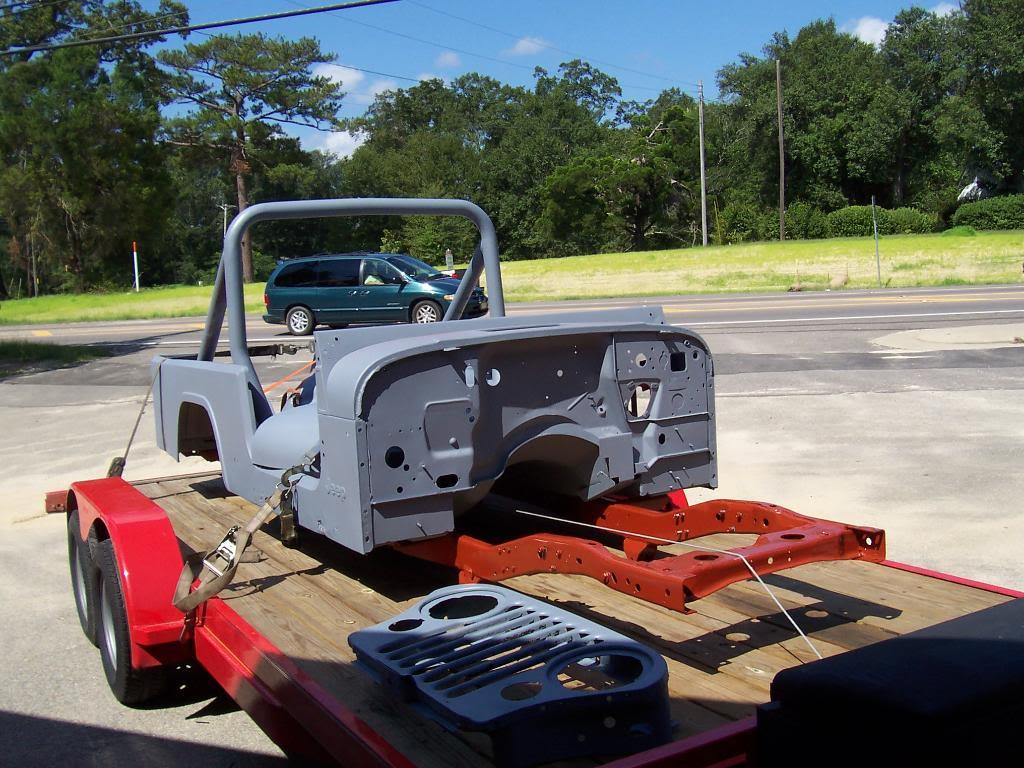
Parting shot, thats it for now.

100_4771-1.jpg
 
is that a trick question???

edit: was typing this after reading "anyone wanna see pics?" guess i wasnt fast enough.
 
is that a trick question???

edit: was typing this after reading "anyone wanna see pics?" guess i wasnt fast enough.

Yep, I was just kidding around, hoping to get a rise out of bigwalton:D
 
Based on what I'm seeing go into this build, it'll be as good or better than the other 8 you own.... nice work. What are they doing to the body? Patches, final prep and paint? What color have you chosen? Keep it up. Enjoying watching. I saw where you took time off for me to catch up... thanks.
 
Based on what I'm seeing go into this build, it'll be as good or better than the other 8 you own.... nice work. What are they doing to the body? Patches, final prep and paint? What color have you chosen? Keep it up. Enjoying watching. I saw where you took time off for me to catch up... thanks.

Major body work:

Weld in new bed floor (the big piece) The existing one is still solid, but it has so many pin holes/dents in it it doesnt make since to try to repair it.

Driver side rear bed corner floor piece. It has a rust hole straight through it where the roll bar sat on top of it.

Passenger side front bed corner piece. Same as above.

Passenger side rocker - cut out damage and weld in new steel.

Driver side front cab floor pan. It has alot of holes in it. Probably replace the whole piece.


Color will be Sebring Red. Outside, Inside, Underneath, the entire body Sebring Red, no bed coat or undercoat stuff. Frame will be chassis black.

As far as catching up, you are probably at least 2 months ahead of me:thumbsup:
 
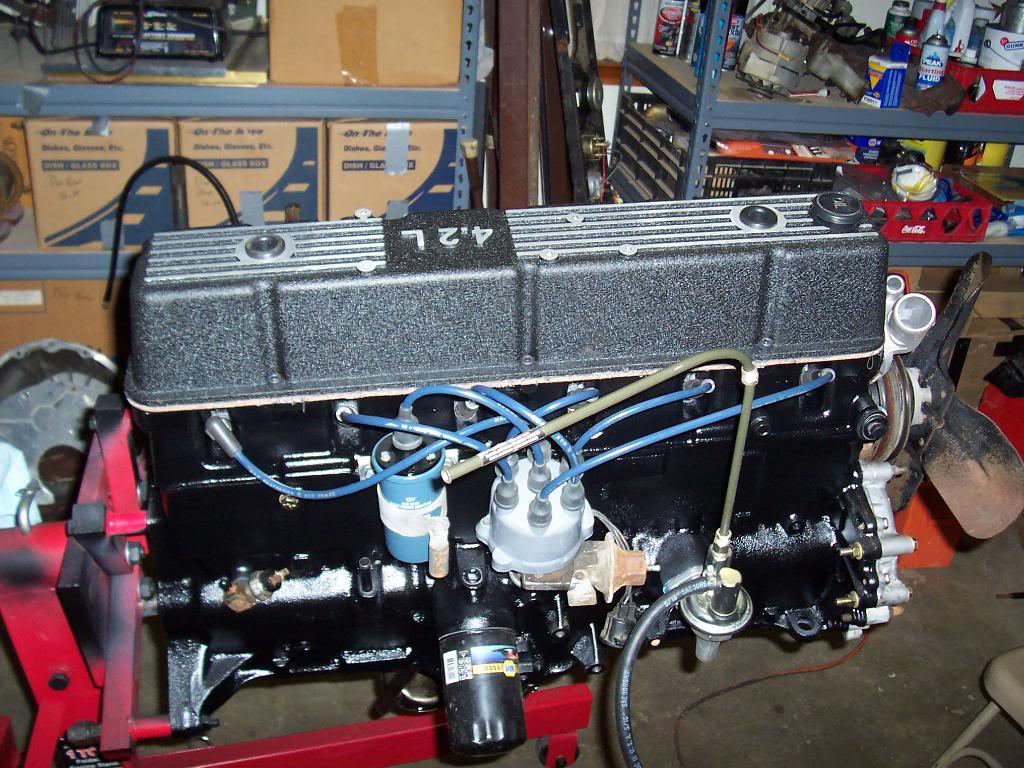
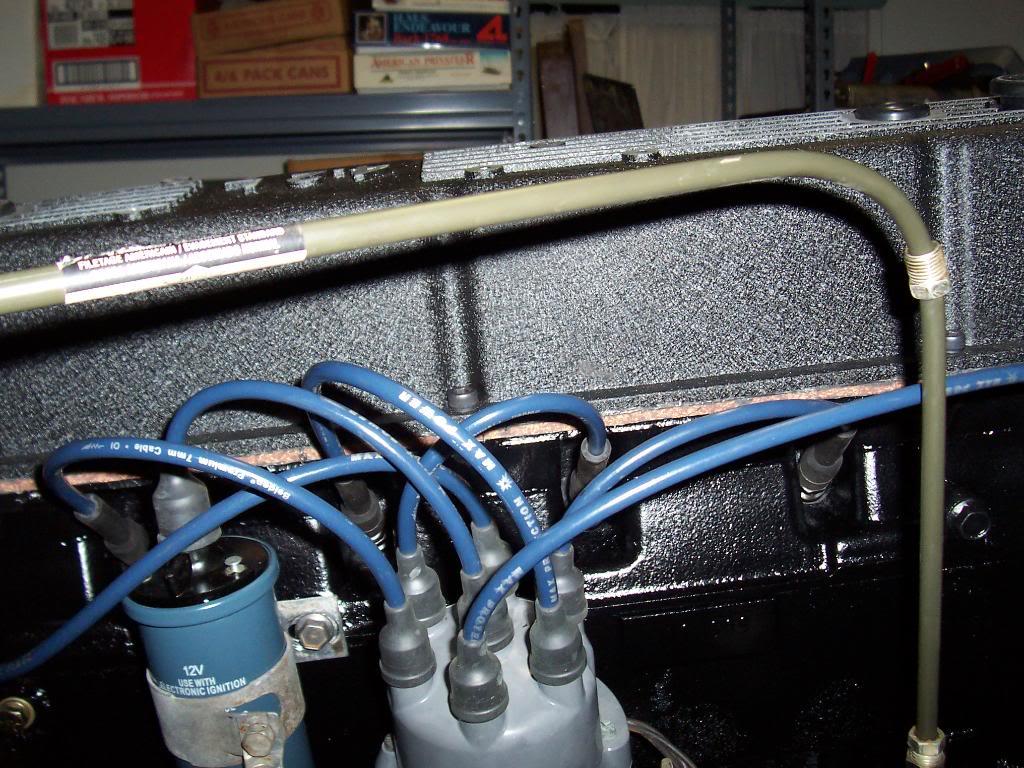
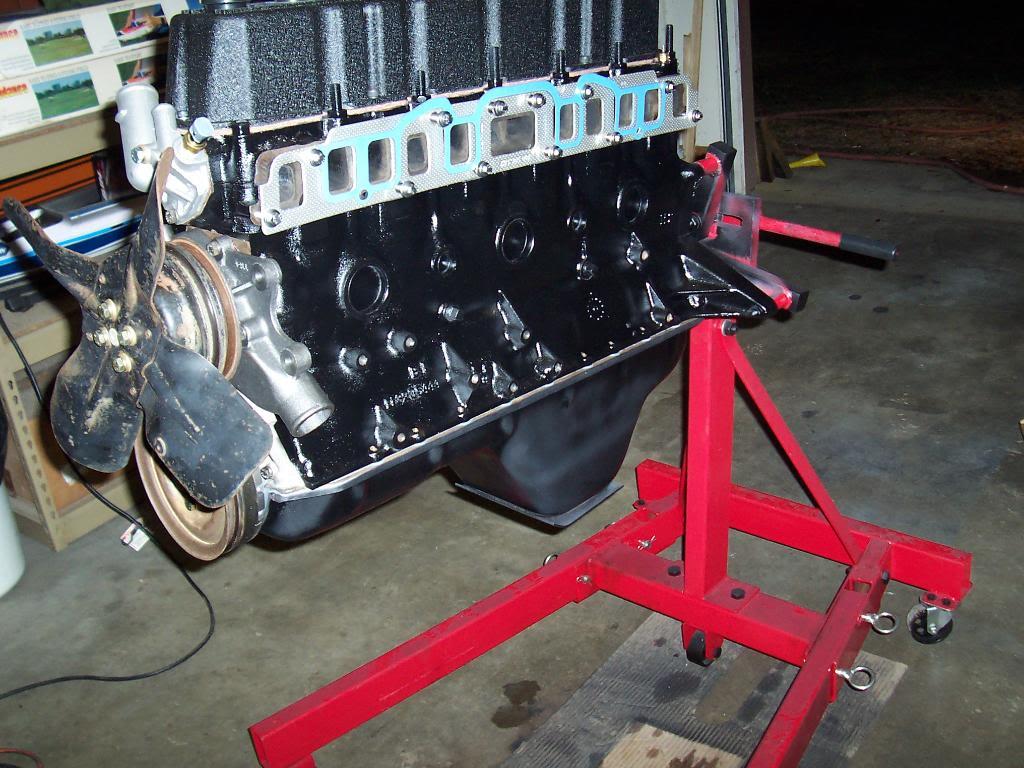
Mounted the ignition coil to the block. Just cleaned up the mounting bracket, no paint. The factroy coil/distributor wont be on here once I put on the MPI.

100_4773-1.jpg


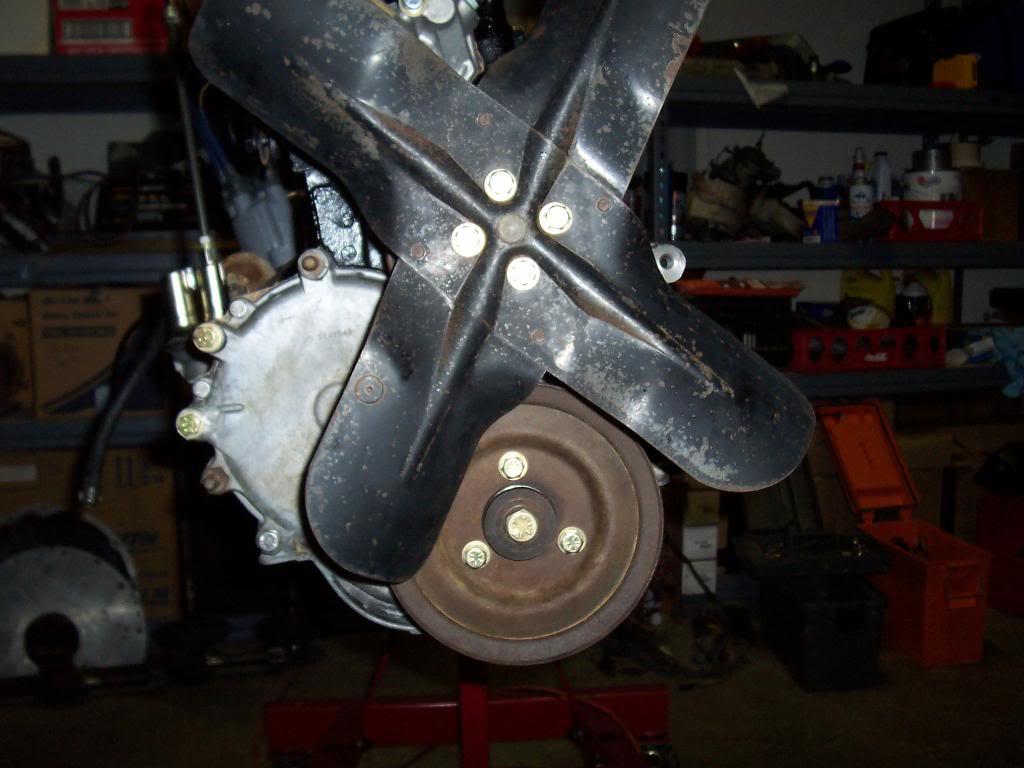
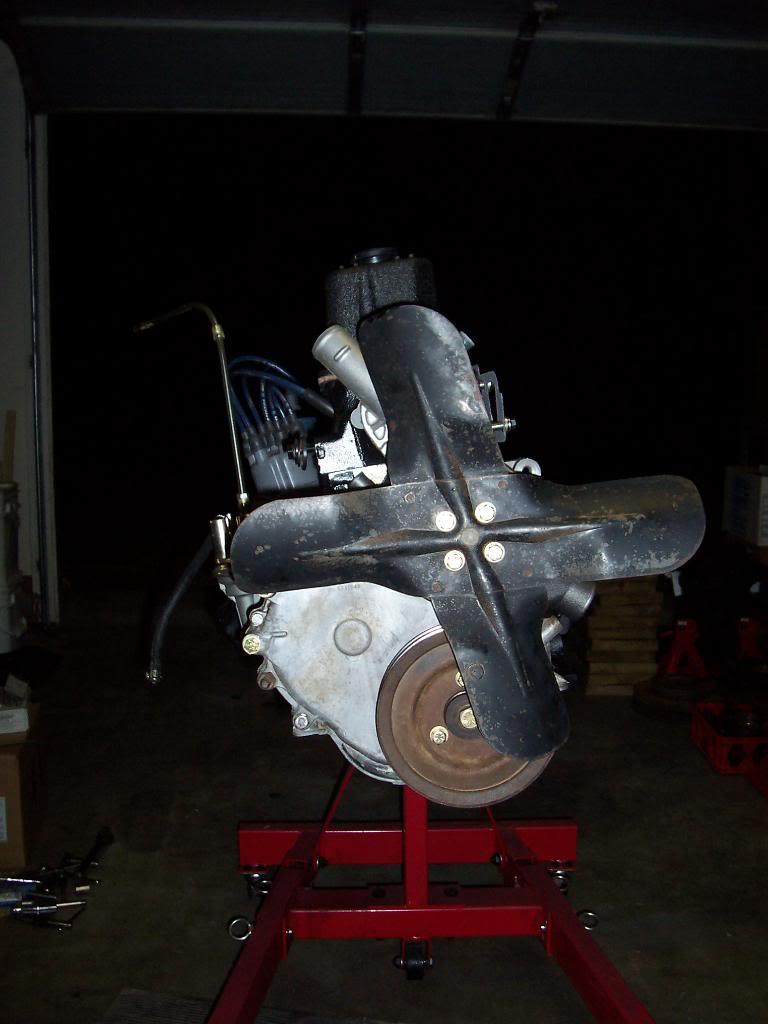
Mounted the crank pully and water pump pulley/fan. Just cleaned them up and mounted with new bolts.

100_4774-1.jpg


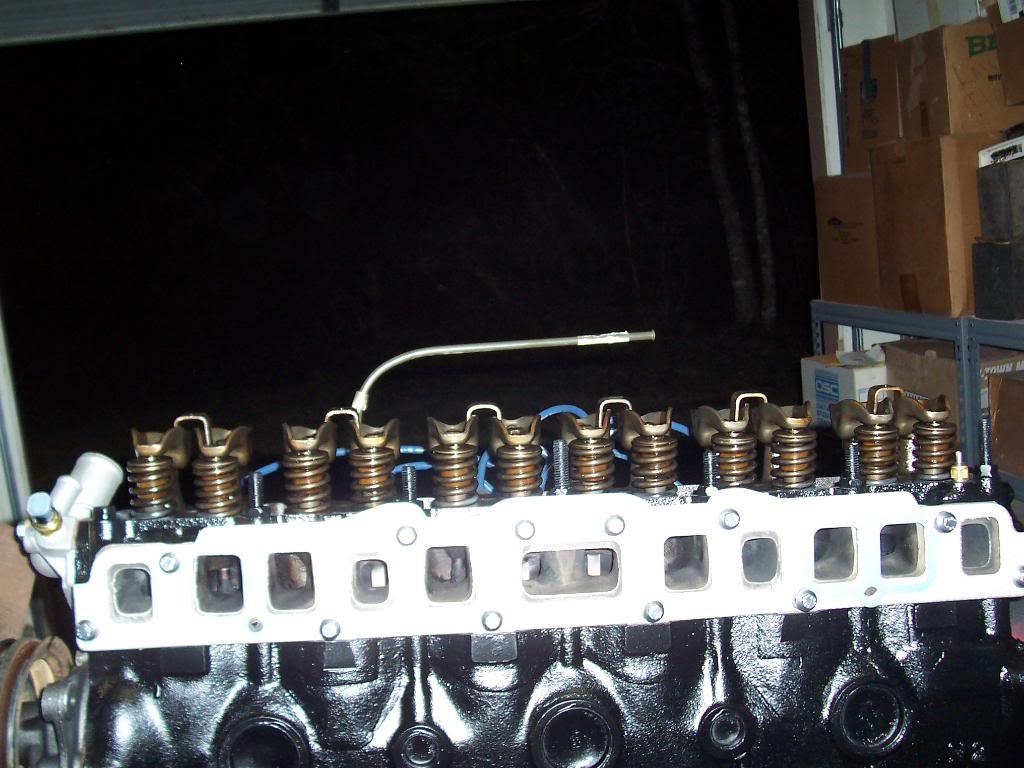
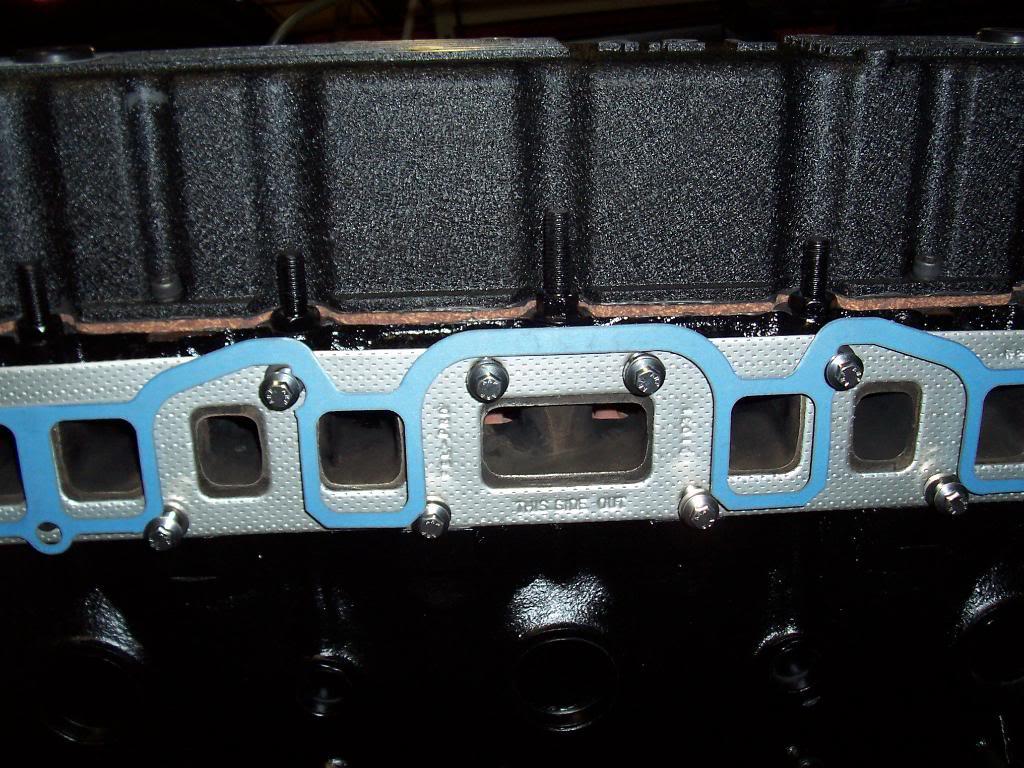
Temporarily hung the intake/exhaust manifold gaskets on the block with their corresponding new bolts. I will wait till after I mount the engine in the frame before I bolt on the intake/exhaust.

100_4775-1.jpg


Bolted on a new aluminum valve cover. Had to slightly file two of the mounting holes in the valve cover to get the holes to line up.

100_4777-1.jpg


This valve cover came from Omix. It came with a gasket that is app 3/16 of an inch thick. I was kinda concerned about how much better this set up will be vs the stock plastic valve cover with regards to leaking. I skimmed the head with sealant, both sides of the gasket with sealant, and the bottom of the valve cover with sealant. Bolted it up, but I havent torqued it down completely. Wanted to wait about 24 hours for the sealant to cure before i torqued it so that all the sealant wouldnt just squish out. Seems like it is clamping down fairly uniformly around the head. I guess time will tell.

100_4778-1.jpg


100_4779-1.jpg


100_4780-1.jpg


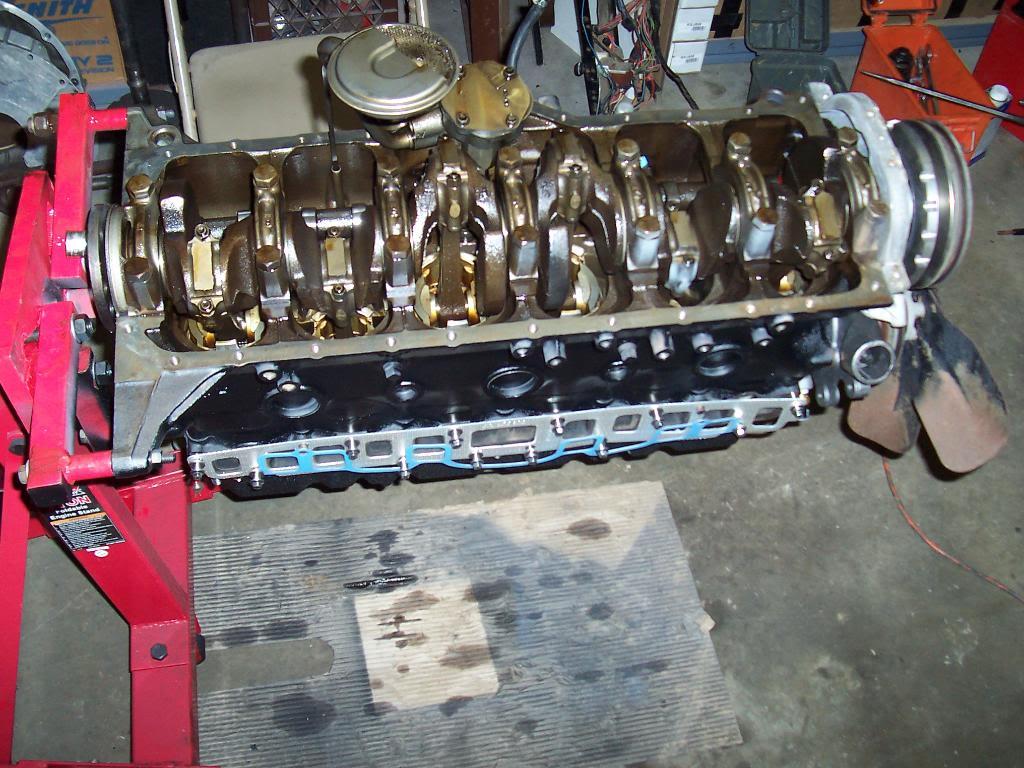
And a quick pick af the engine. The only other piece that I am going to bolt back to the engine before I stick back between the frame rails is the oil pan.

100_4782-1.jpg
 
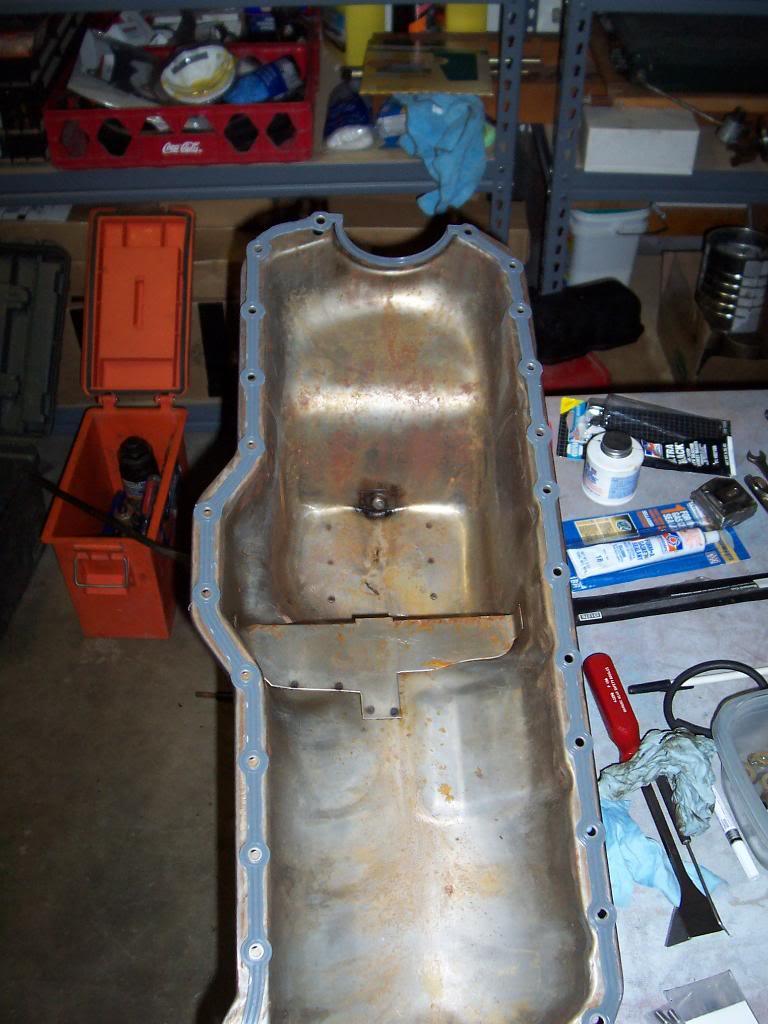
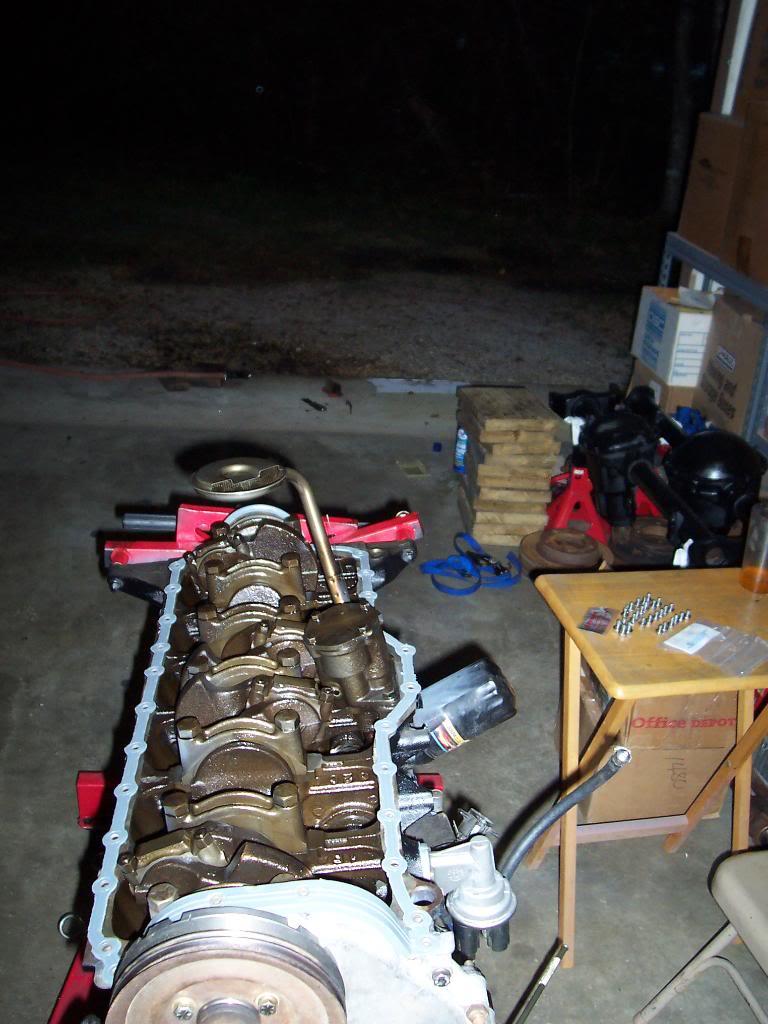
Mounted up the oil pan the other night. Quick pic of the upside down engine. An engine stand is a worthwhile expenditure, espescially considering the oil pan has 28 bolts that secure it to the block.

100_4788-1.jpg


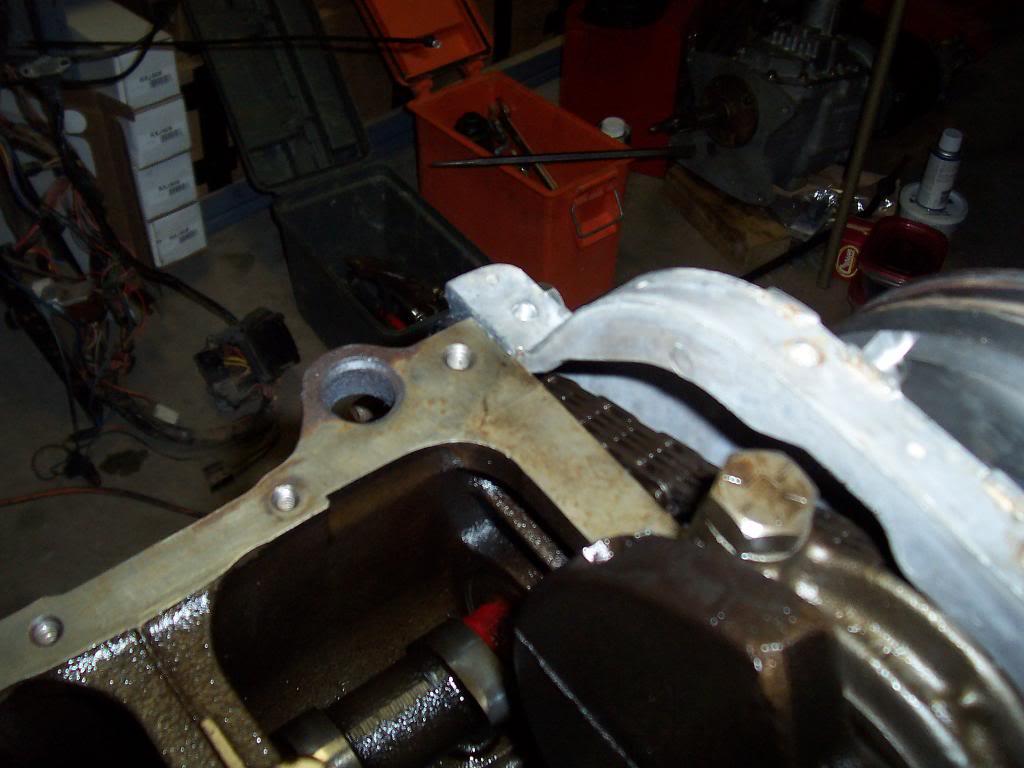
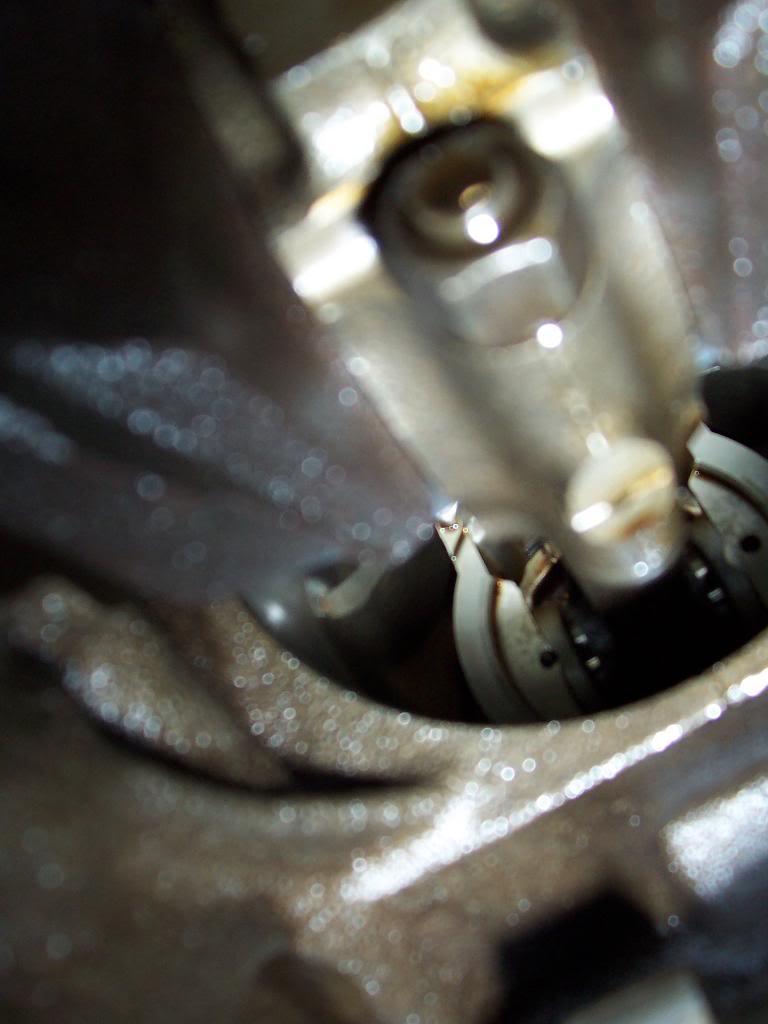
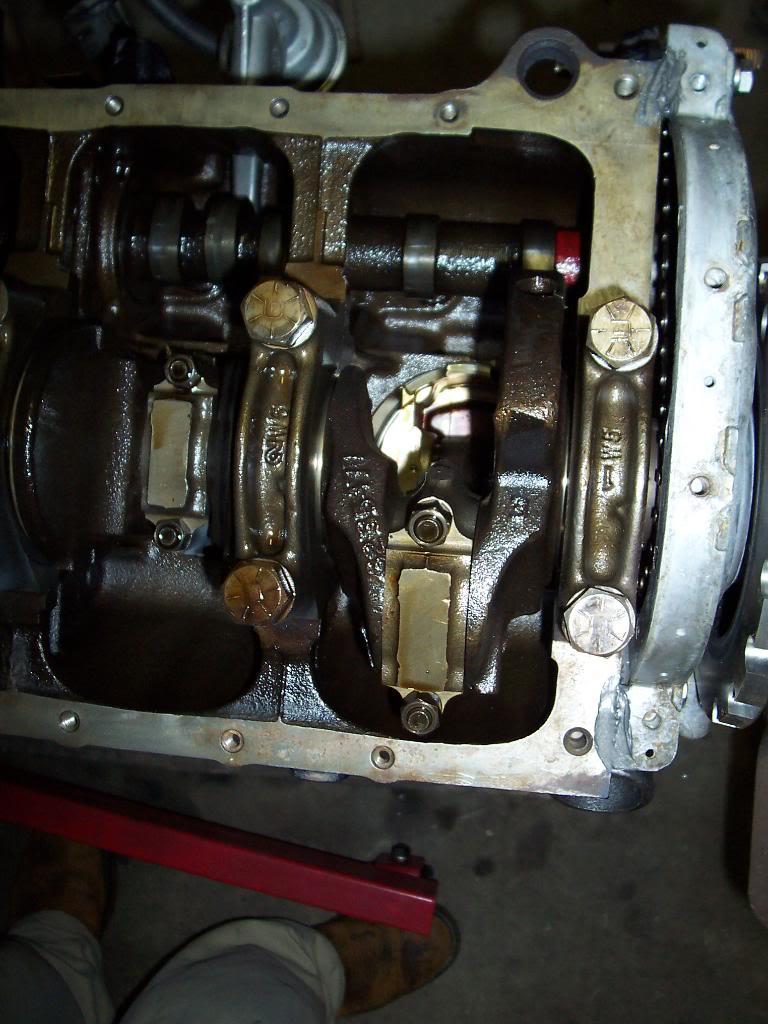
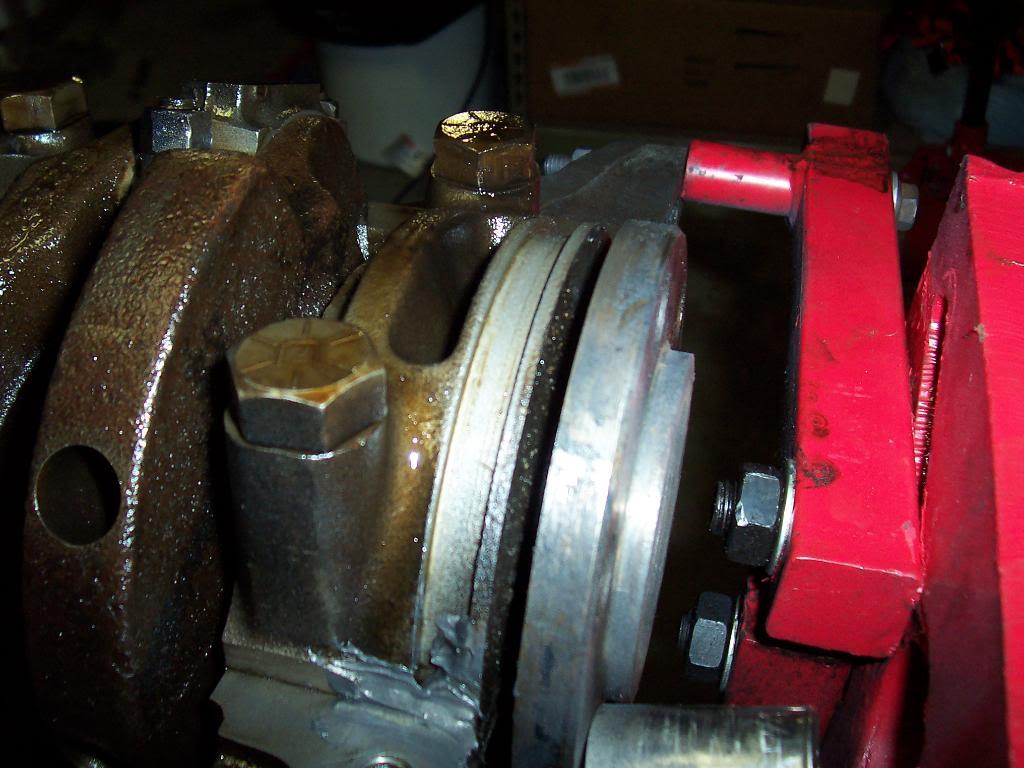
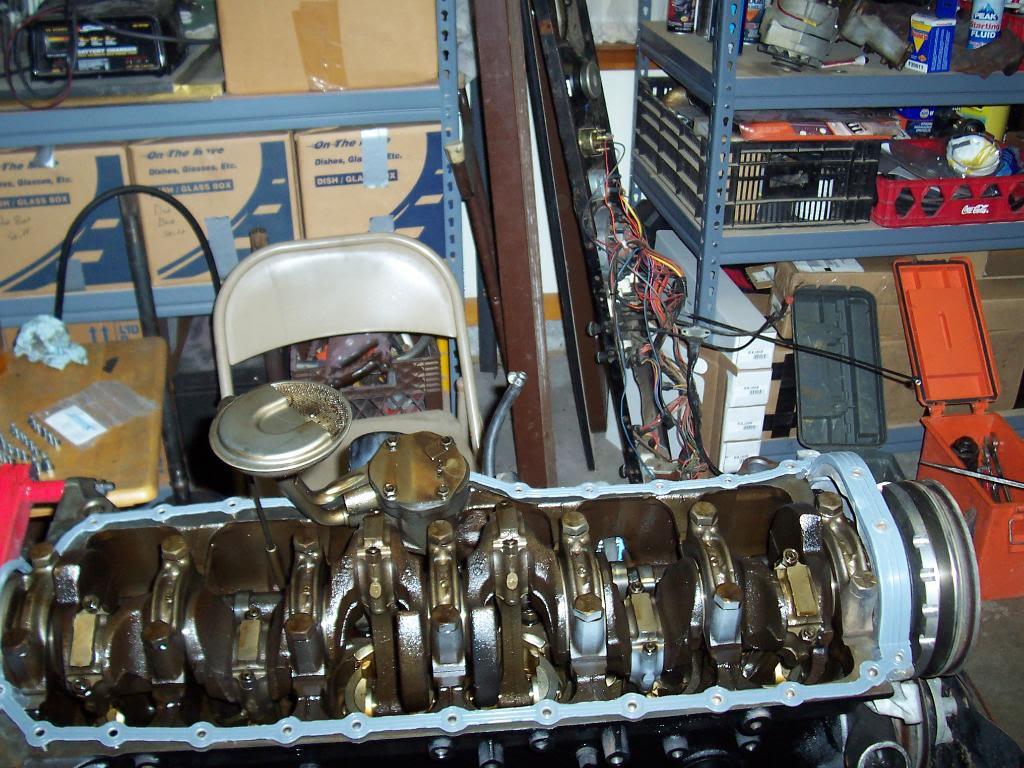
Close up pics of bottom end of the motor. Red paint mark on the camshaft, must mean something to whomever built the motor? Pics dont show up well, but the inside cylinder walls are very smooth and reflective, can just make ou the hash mark pattern on the cylinder walls. Clean oil pump pick up screen, always a good sign.

100_4789-1.jpg


100_4790-1.jpg


100_4791-1.jpg


100_4792-1.jpg


I used a 1 piece rubber oil pan gasket, vs the 4 piece stock style gasket system. This gasket has built in metal sleeves around the bolt holes to prevent "blow out" of the gasket when tightening bolts.

100_4794-1.jpg


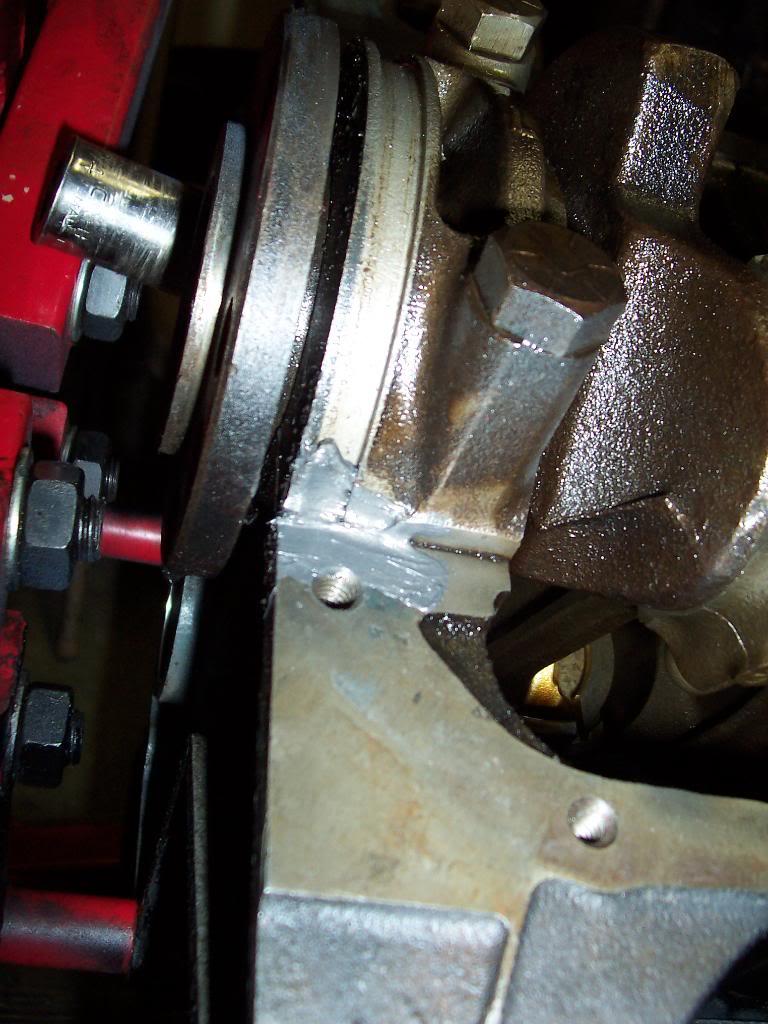
This gasket doesnt use sealant everywhere, just a fine coat where the timing chain cover meets the block at the front of the motor, and at the rear of the motor where the rear bearing cap meets block. Hopefully it wont leak.

100_4795-1.jpg


100_4796-1.jpg


100_4798-1.jpg


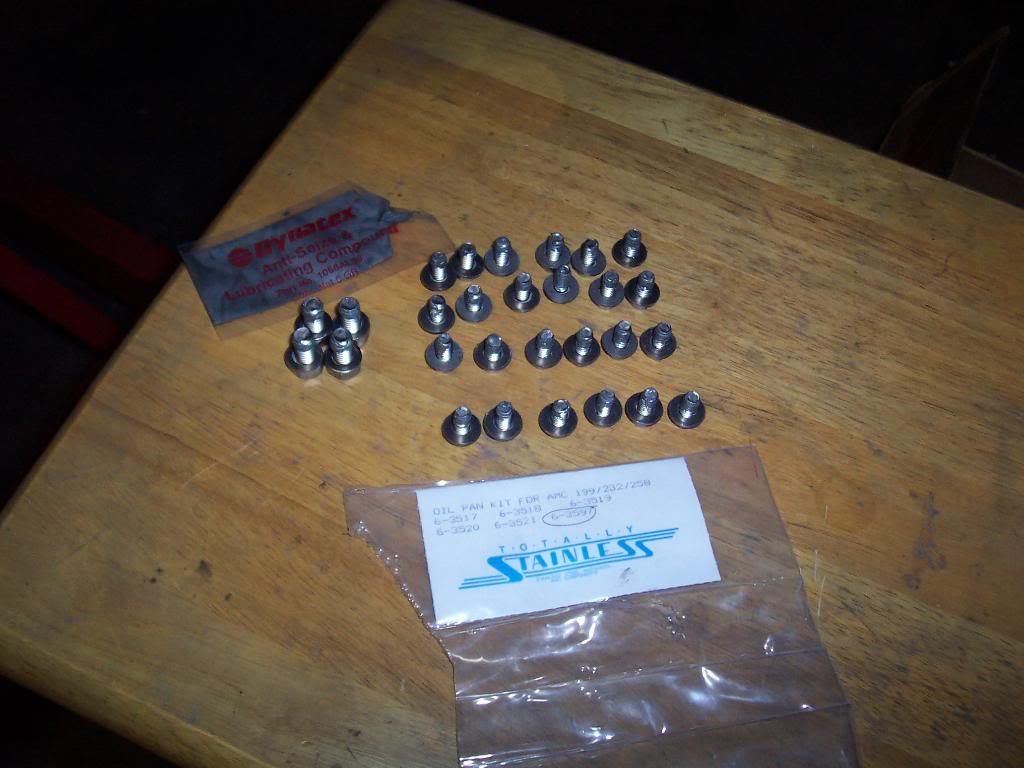
Quick pic of all 28 oil pan bolts. I have been using a Totally Stainless kit on the engine. Each part of the motor that the kit has bolts for (oil pan/fuel pump/timing chain cover/etc) is individually bagged. Grey stuff is the included anti seize stuff that you have to put on the bolts to prevent galling.

100_4800-1.jpg
 
Put the oil pan gasket on the block.

100_4802-1.jpg


100_4803-1.jpg


And bolted on the oil pan gasket, all 28 bolts. Kinda funny AMC can provide drilled and tapped holes in the bottom of the block for 28 bolts around the oil pan to provide a leak free seal, but yet they only provided 7 mounting locations in the head for the valve cover, which is notorious for leaking. Guess they blew the drill/tap budget on the oil pan?

100_4804-1.jpg


And flipped the motor right side up.

100_4805-1.jpg


100_4806-1.jpg
 
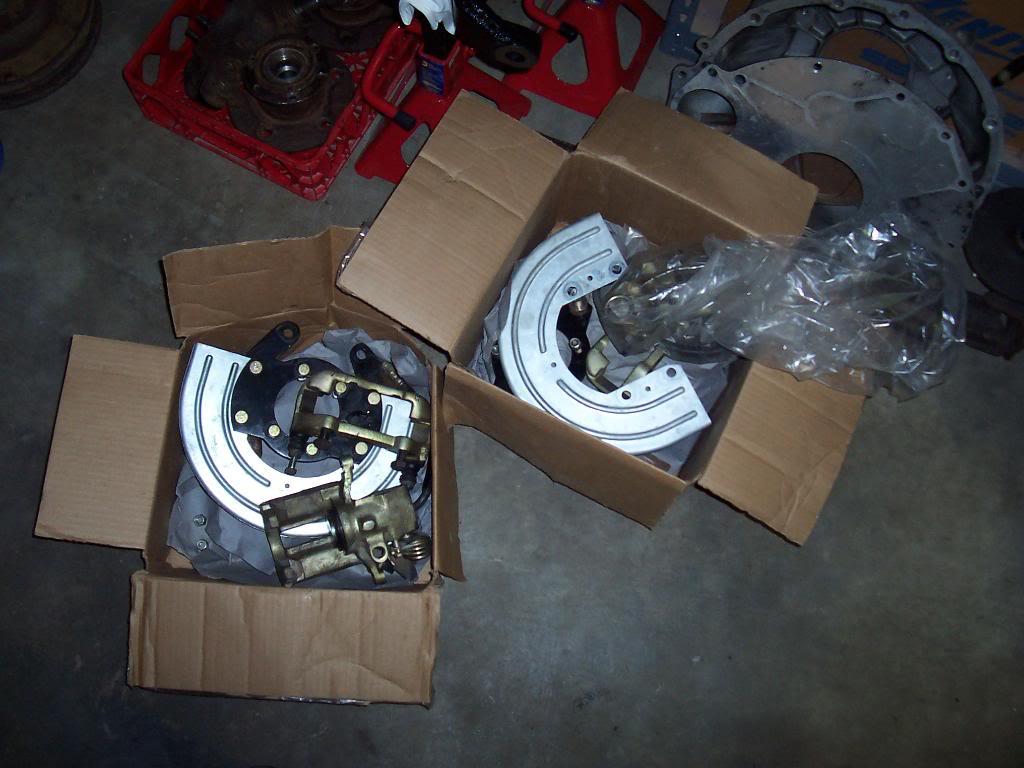
Quick pick of the rear disc brake kit from SSBC for my AMC 20 with Warn Full Float axles. Thanks for the deal jallan, and good to finally meet another fellow scrambler owner face to face.

100_4808-1.jpg
 
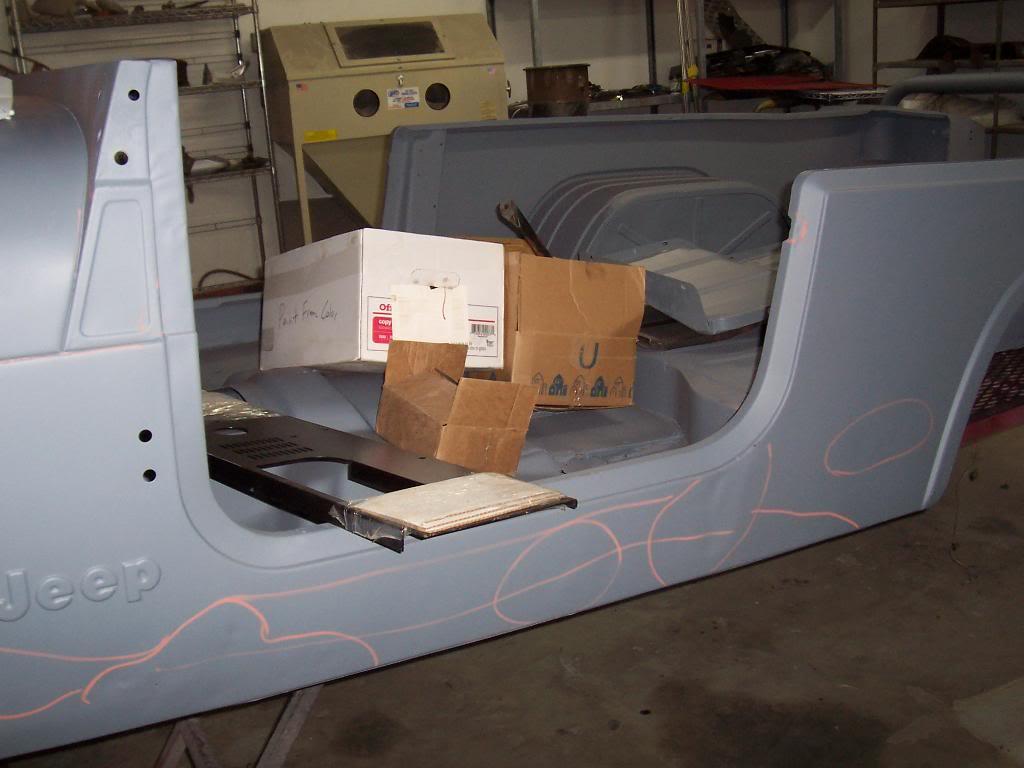
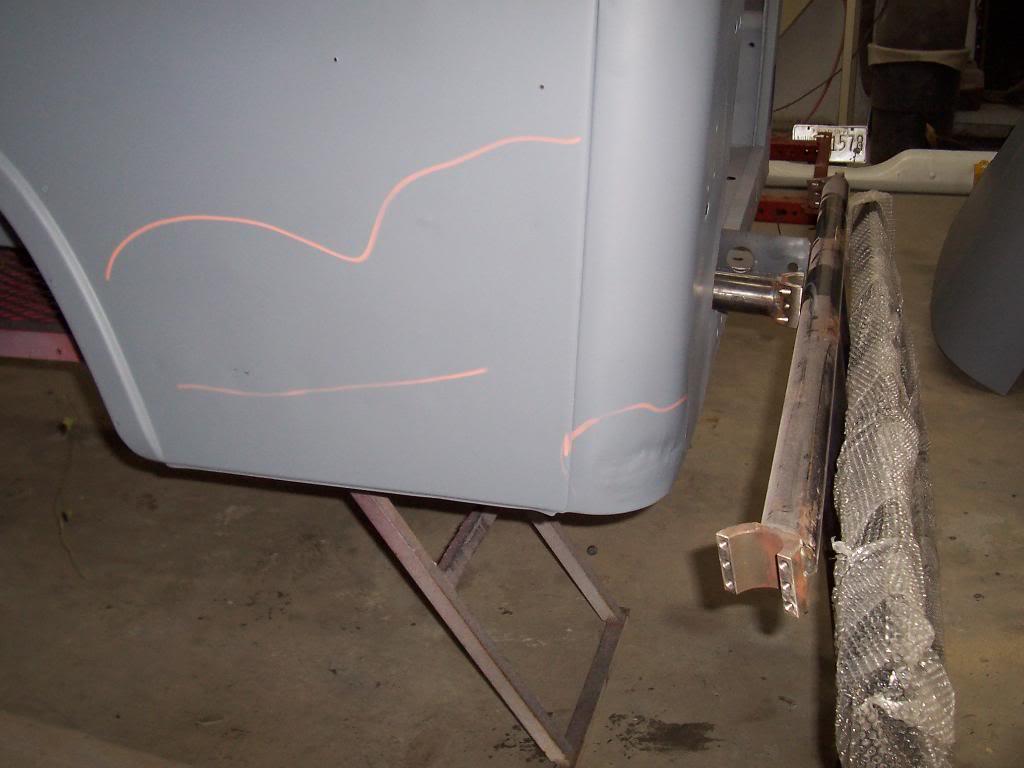
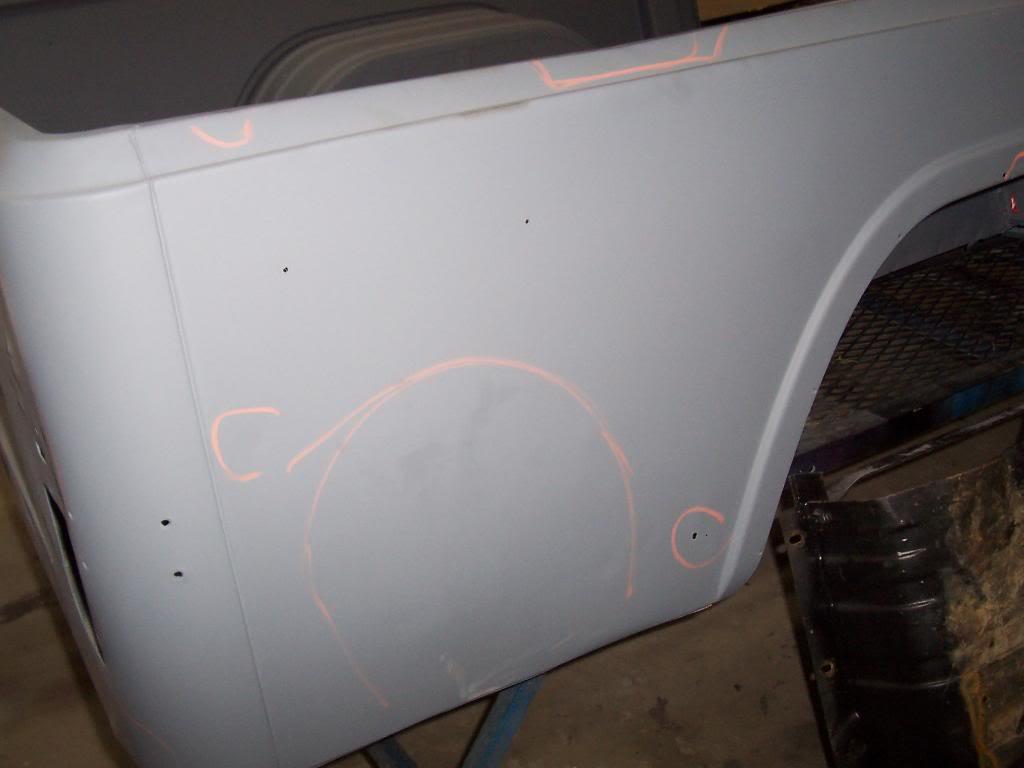
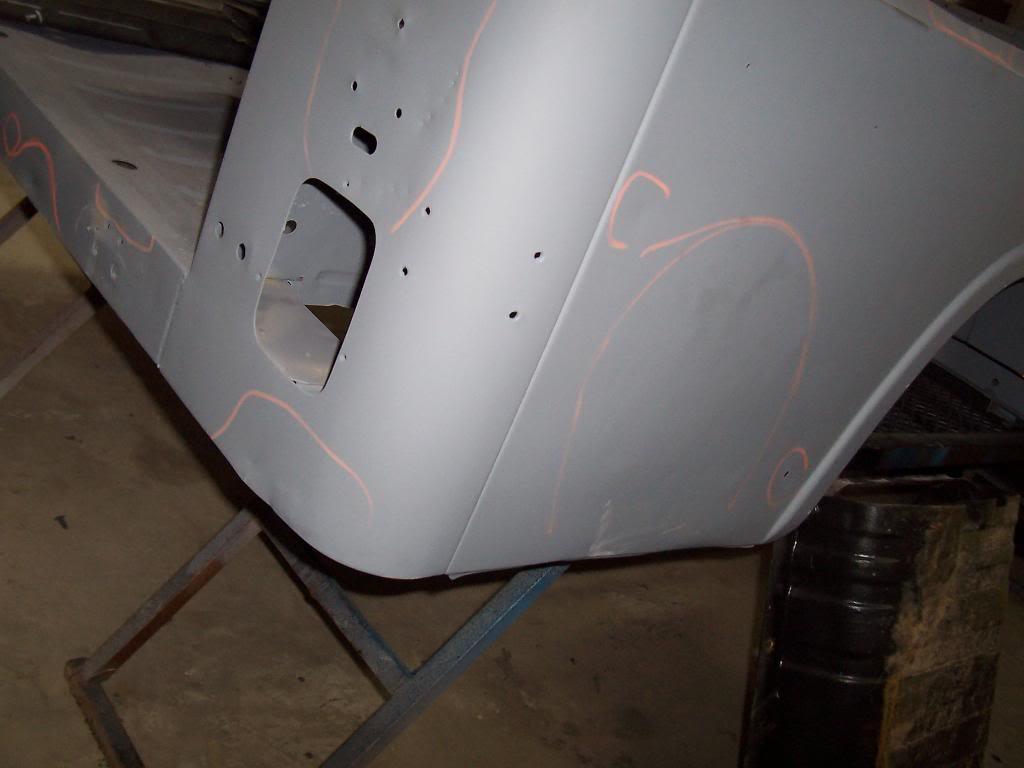
I spent my lunch hour (plus another hour) meting with the body shop people today. On the pics I posted yesterday I commented that alot of stuff looks "good". Well, obviously my definition of "good" and a body shop guys idea of good are two different things LOL. Besides the floor boards and the rockers, there are other areas they want to cut out due to thin metal and other damage. We looked over the whole thing and they explained all the additional work that needs to be done. My first estimate I posted awhile back was based off of me wanting them to take some "short cuts" (not fix dents and other damage, etc). Well, I have gone this far with it, no since taking short cuts now. They are going to fix everything on the tub (plus all the other parts) and make it better then new. Cost will be over twice my original estimate. They will have the body for about 2 months. At least I will have plenty of time to put the powertrain back on the frame.

For the money I am spending on this body, I could have bought an aftermarket body and painted it. BUT, I wanted to preserve this Jeep, plus I wanted an original Jeep body, not a replica. I will just add this, find the cleanest most rust free Jeep you can if you want one to restore., The initial cost will be high, but it will all even out in the end.

I gave them the go ahead, so in 2 months I will get my body back, as good (if not better) then new. A few pics of damage (orange circled areas will require metal work)

100_4811-1.jpg


100_4812-1.jpg


100_4813-1.jpg


100_4814-1.jpg


100_4815-1.jpg


100_4816-1.jpg


100_4817-1.jpg
 
You know, it really doesn't look too bad. Body guys see things differently than we do. Yeah, it has spots that need to be replaced. I see them. The rust holes will get replaced. I called it before-- it'll be as nice as the other 8 you bought. But that's OK.... I'm there too. There's lots to do between now and then.

Any ideas how to intstall the shifter- I'm stuck on mine. Can't do it. Took a break.
 
You know, it really doesn't look too bad. Body guys see things differently than we do. Yeah, it has spots that need to be replaced. I see them. The rust holes will get replaced. I called it before-- it'll be as nice as the other 8 you bought. But that's OK.... I'm there too. There's lots to do between now and then.

Any ideas how to intstall the shifter- I'm stuck on mine. Can't do it. Took a break.

Thats what I am scared of, it will be nicer then my green 83, so I guess I will then have to save up to buy another one:crazy:

The T176 shifter? Make sure both shift rails are in neutral, drop stick in the square hole that forms when the two shift rails are aligned in neutral.. Then drop the spring and other piece on. The retainer cap is a pain. Push down hard on it while at the same time twisting its two slots onto the pegs that are cast on the shifter tower. That spring is tight.:thumbsup:
 
I get sooooo jealous whenever I see an original body getting this kind of treatment... :drool: :bow:
 
I'm trying to install the shifter in the top left exploded image. Do your instructions above pertain to that? Thanks in advance. http://www.jeep-cj.com/transimages/t-176-177-transmission.jpg

Yes, thats what I was talking about:thumbsup:

Look down the hole in the shifter tower, make sure shift forks 44 and 49 are in neutral. They will make a "square"that is visible when they are in neutral. Drop shifter handle in. Drop spring 35, then retainer cap 33 over shifter handle. Then drop retainer 32 on top of those parts. Now the fun part, you have to push down hard (to overcome the springs resistance) while twisting the retainers "slots" onto the pins that are part of the shifter tower. Thats it:thumbsup:
 
Not too much progress to report:shrug:

Dropped off my front and rear axle housings and front and rear Ox Lockers to the shop that will be installing my new Ring and Pinions. Putting all new diff bearings and seals, plus 4.10 gears to replace the stock 3.31 gears.

Should get the frame back from painter next Friday, will get my axles back some time next week, then it will be time to start putting stuff back together, FINALLY:thumbsup:
 
I can remember, what color are you going with? Are you going to put a graphic package on it?
 
I can remember, what color are you going with? Are you going to put a graphic package on it?

Going to have it all painted Sebring Red. After I get it assembled I plan on using the 1982 style decal package, with the stripes being yellow and orange:wave:
 
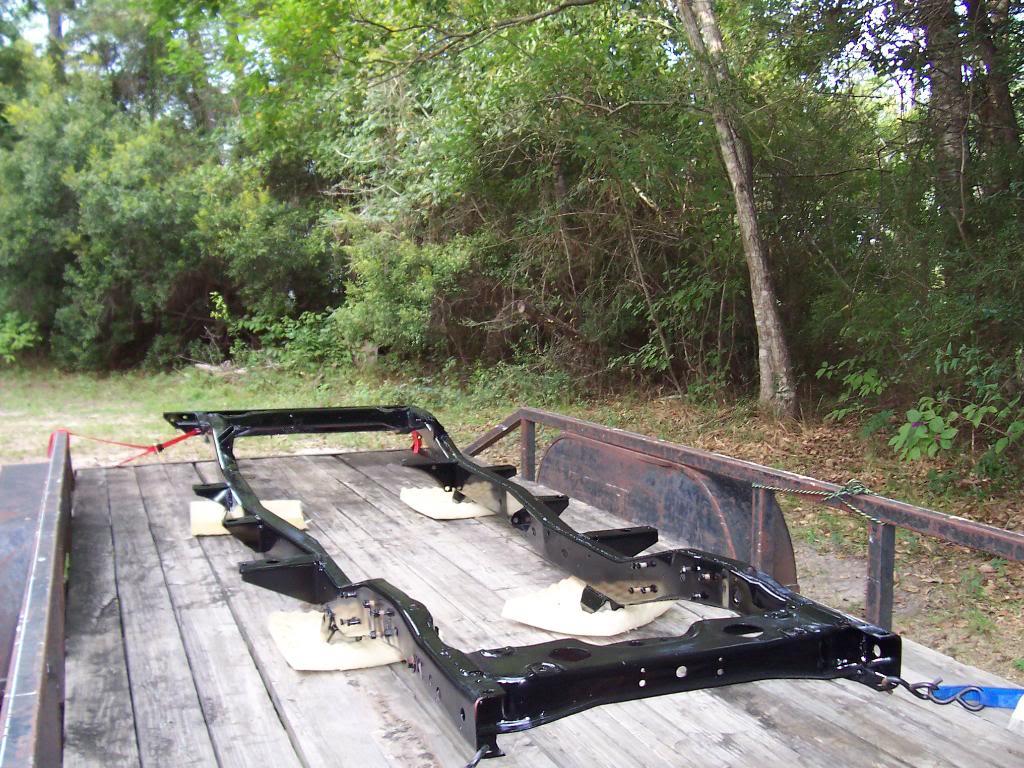
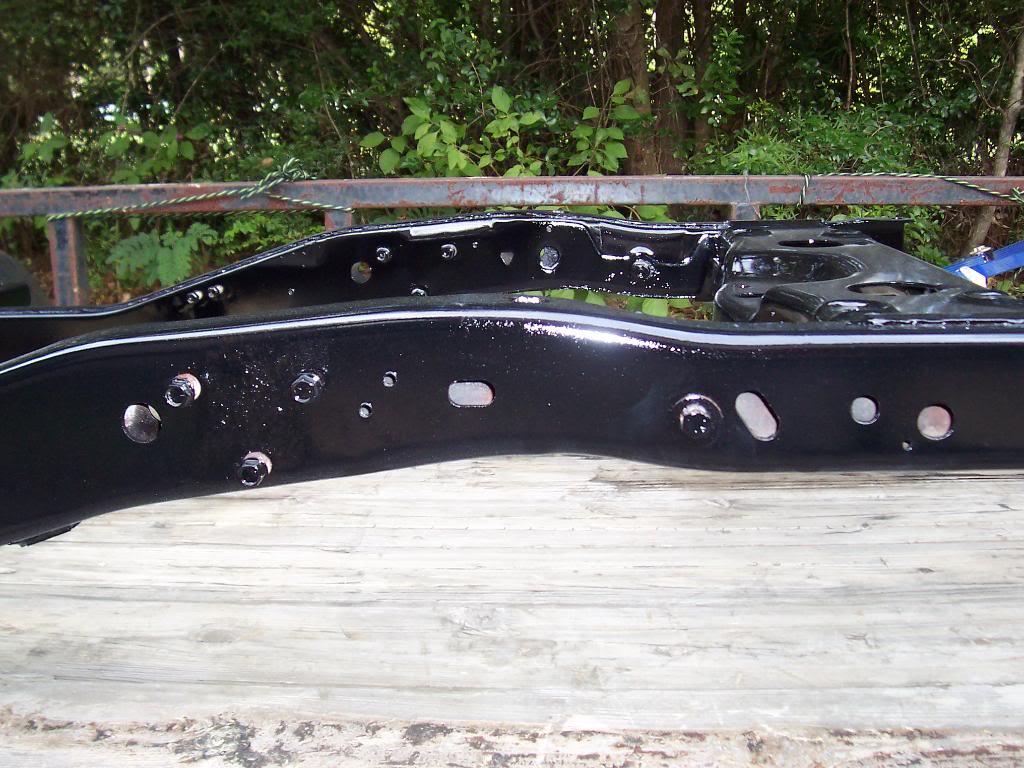
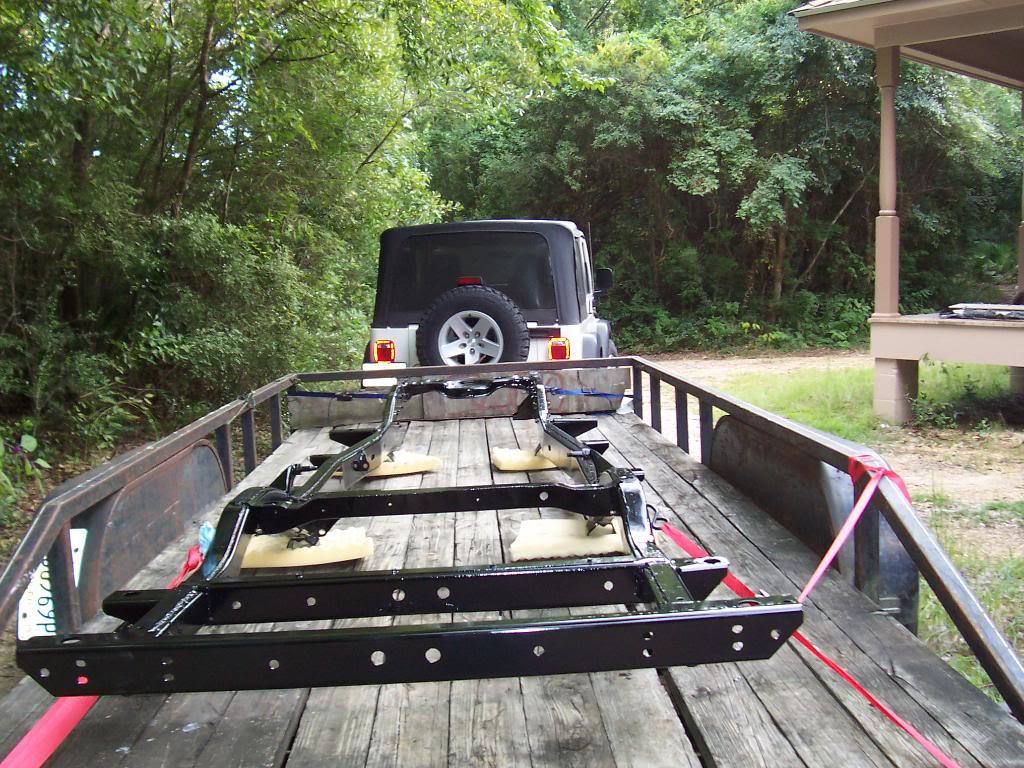
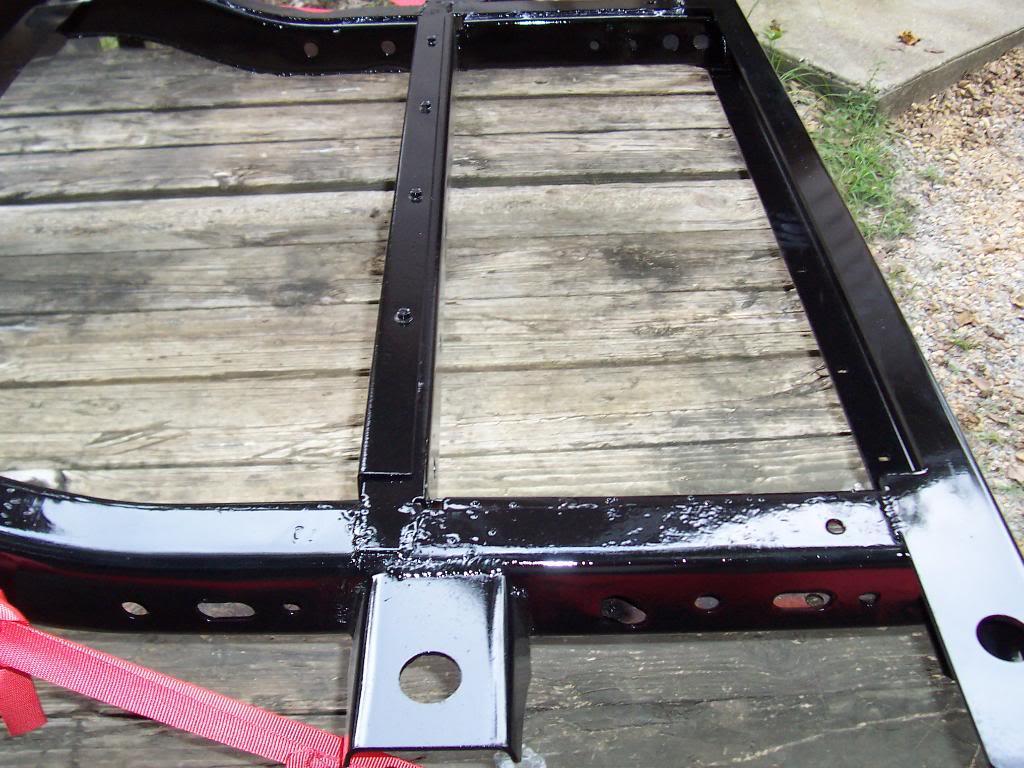
I picked up my frame from the paint shop yesterday. It turned out pretty good. I saw one fingerprint mark in it where someone must of touched it while it was still wet. Looks much better then before. Before painting it they welded on a new rear cross member and 3 new body mount outriggers.

I think it looks great. I told them not to worry about grinding welds or smoothing any of the irregularities out (i.e. slight surface pitting on the outside of the frame in a few areas) of it. It is going to be my trail/driver jeep, so I didnt really want a "show quality/perfectly smooth/Pebble Beach concourse quality" finish on the frame. But, it still looks great.

I only got the frame back, none of the frame brackets back yet (i.e. engine frame mounts, shock towers, trans skidplate etc). But, I will be picking up my axles today so I can start mounting my suspension, axles, plus all my new fuel and break lines to the frame.

Pics:

100_4851-1.jpg


100_4852-1.jpg


The new tow rig doesnt have the power of the old tow rig LOL

100_4853-1.jpg


Close up of the new rear crossmember and rear most body mount out rigger, driver side rear.

100_4854-1.jpg


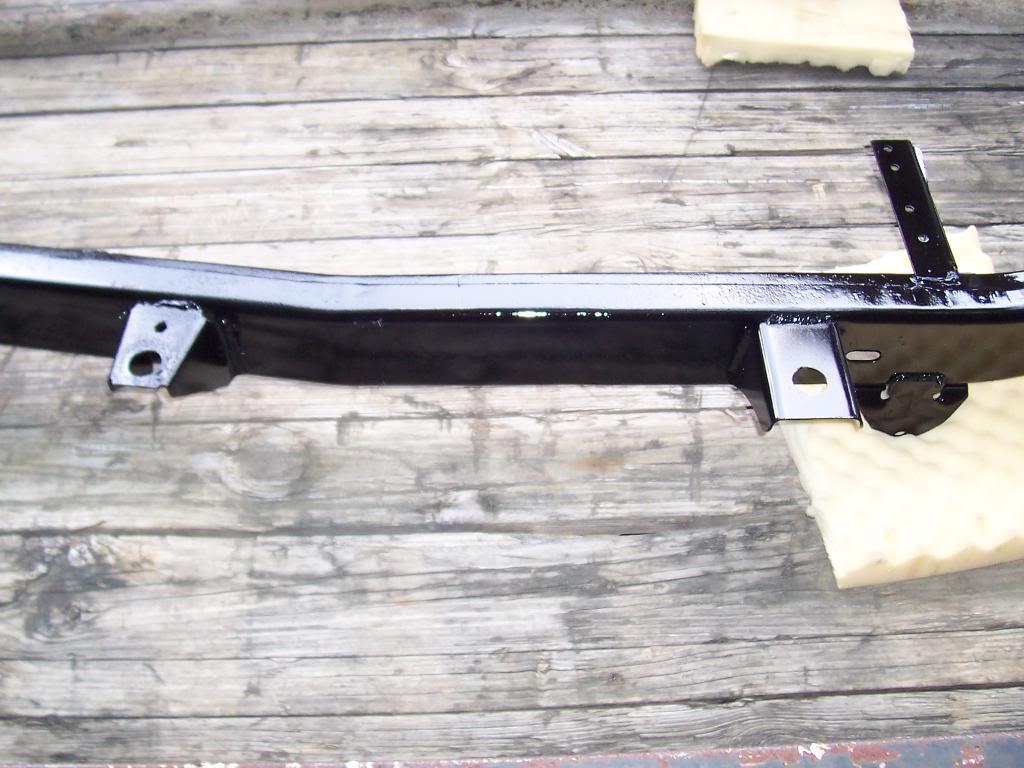
A shot showing a old body mount outrigger (left) vs a new one (right)

100_4855-1.jpg


It was really shiney when I picked it up, but it sat outside my office all day next to a gravel road, so it got a little dirty already LOL

100_4856-1.jpg


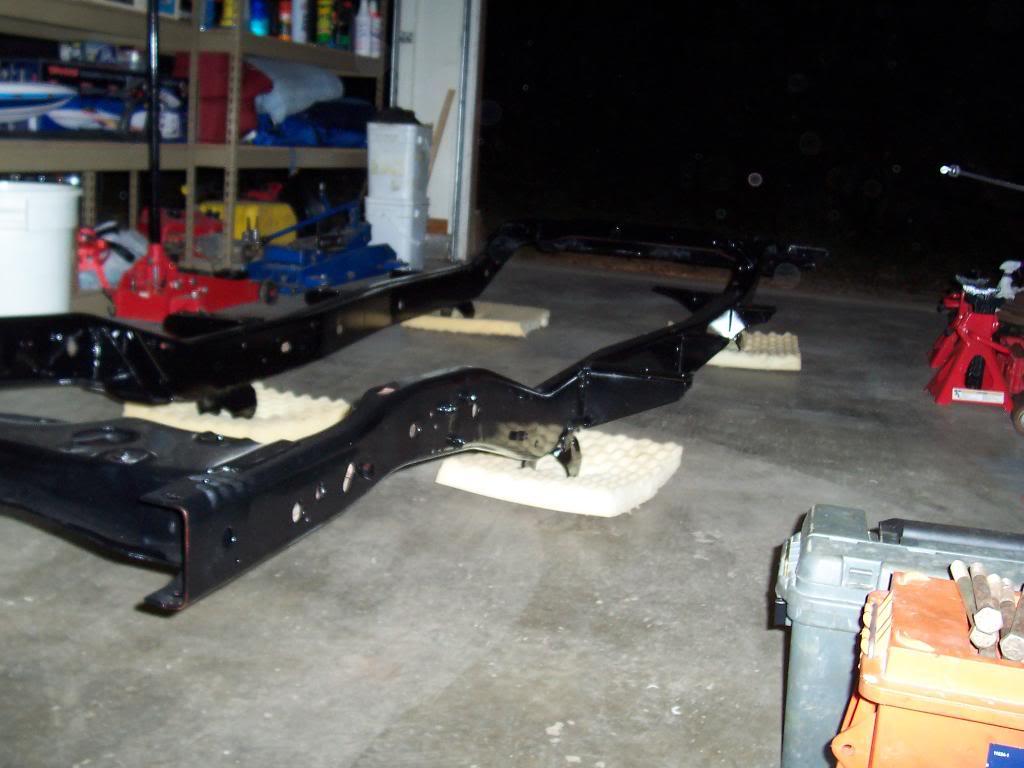
And two quick pics of it inside the garage.

100_4858-1.jpg


100_4860-1.jpg
 
Back
Top