• Notice for iPhone users: DO NOT use the image size reduction option when uploading photos to the forum. This causes portrait images to post as landscape. We have added a warning to the image insert pop-up as well.

Another Scrambler Purchase/Road Trip - UPDATE- BODY ON FRAME AGAIN

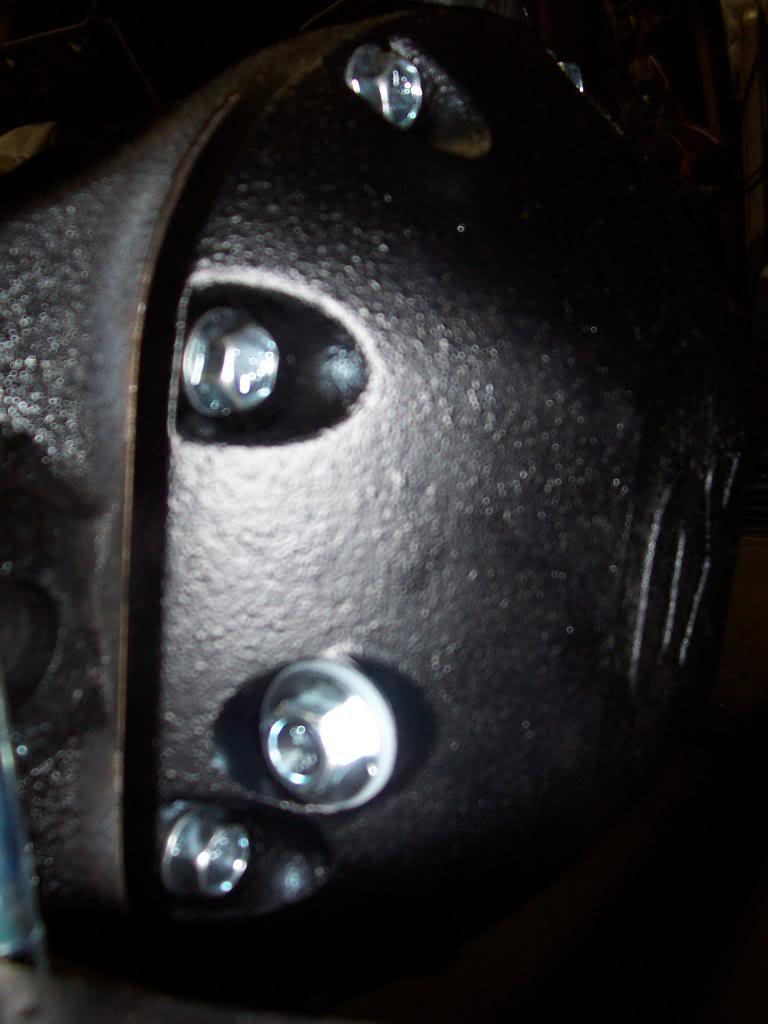
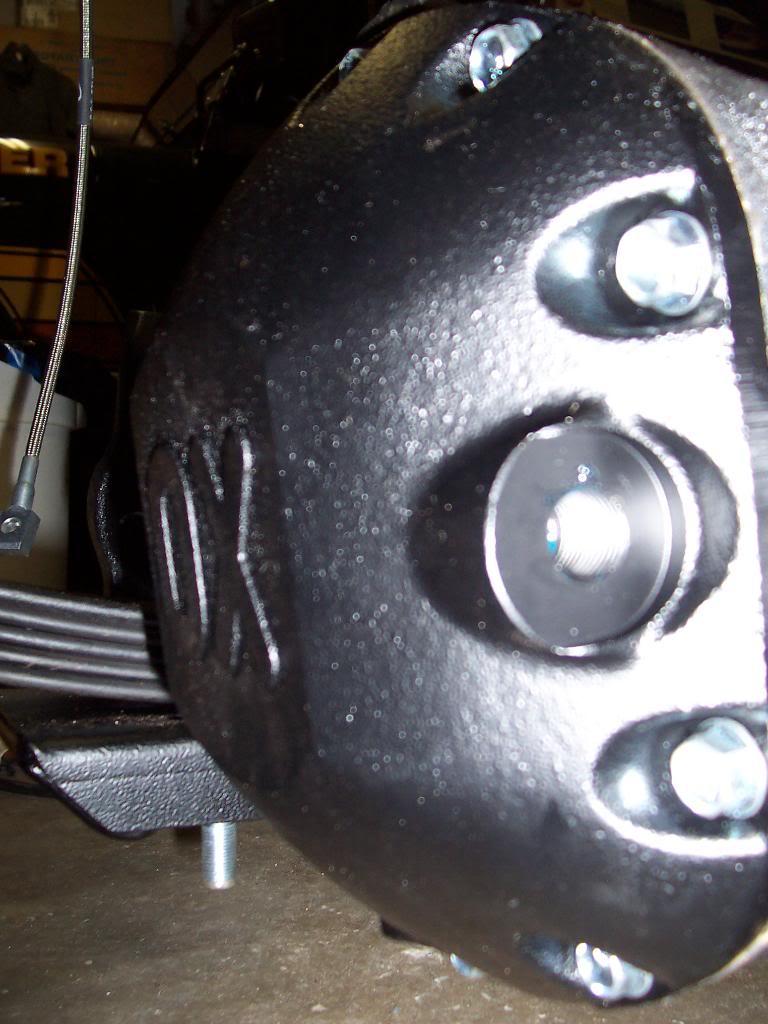
And a pic of the cover bolted up. I just bolted on the front end temporarily. I will have to remove it again to install the shifter cable, which I haven't ordered yet.
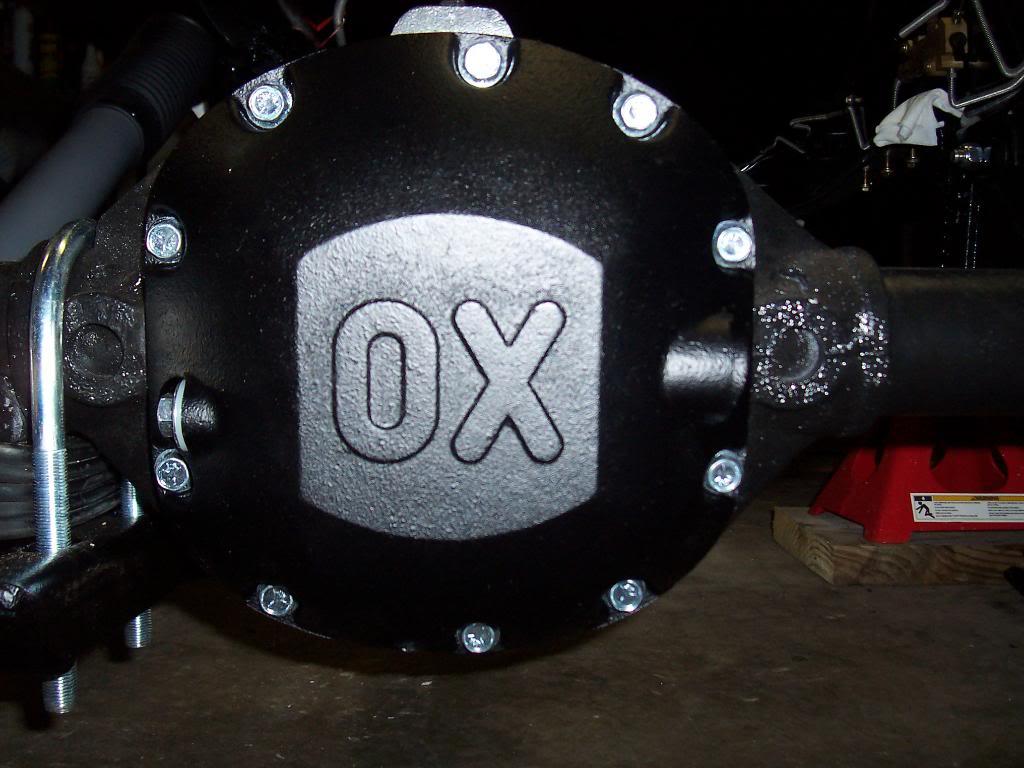
100_4936-1.jpg


Pic of the side fill plug.

100_4937-1.jpg


Pic of the shifter cable hole.

100_4938-1.jpg


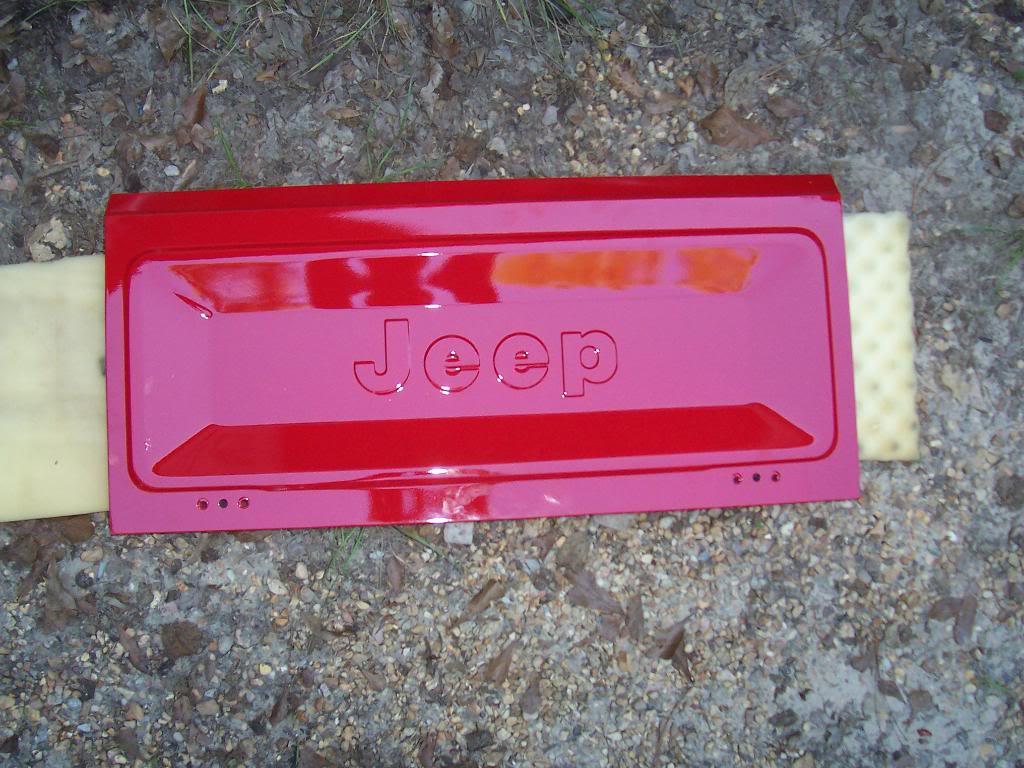
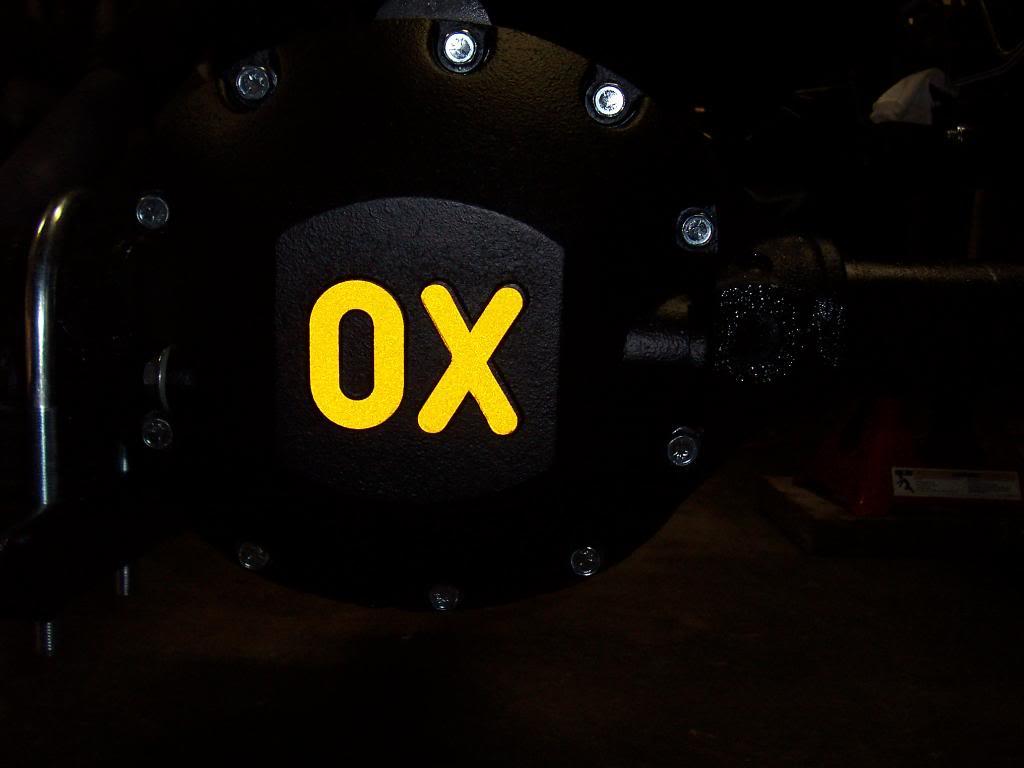
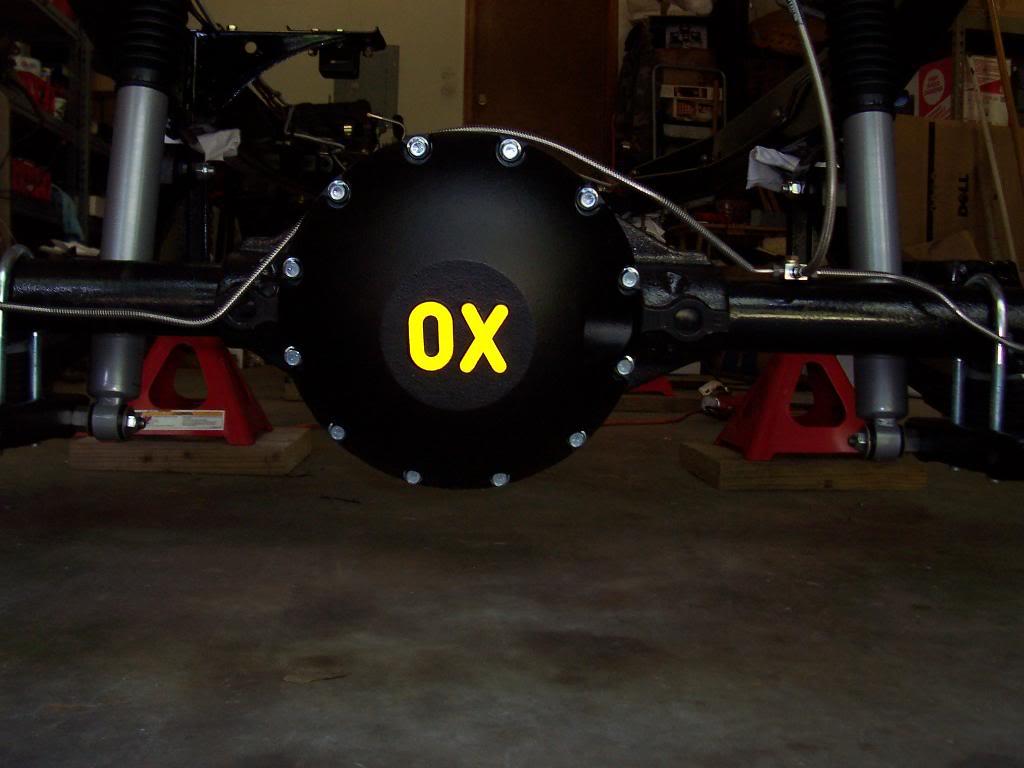
Stuck the stickers on the covers. I thought the yellow Ox stickers would look good with the yellow and orange decals that I plan on sticking on the red body.
100_4939-1.jpg


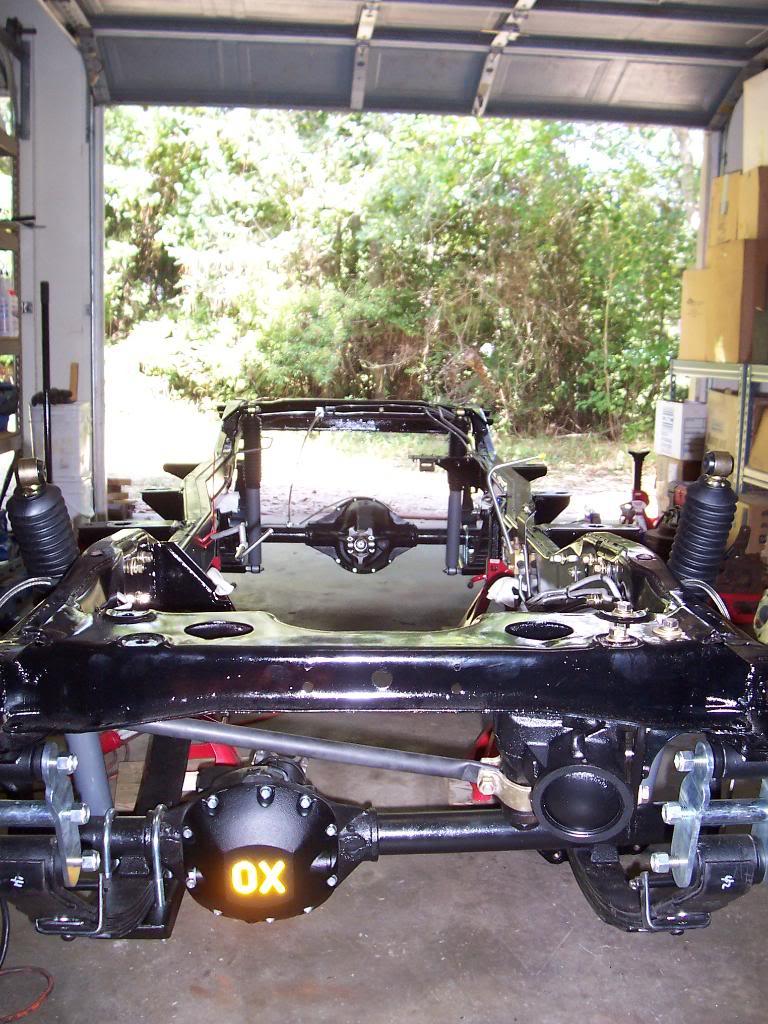
Pic of the rear end, 4.10 gears and Ox locker.

100_4944-1.jpg


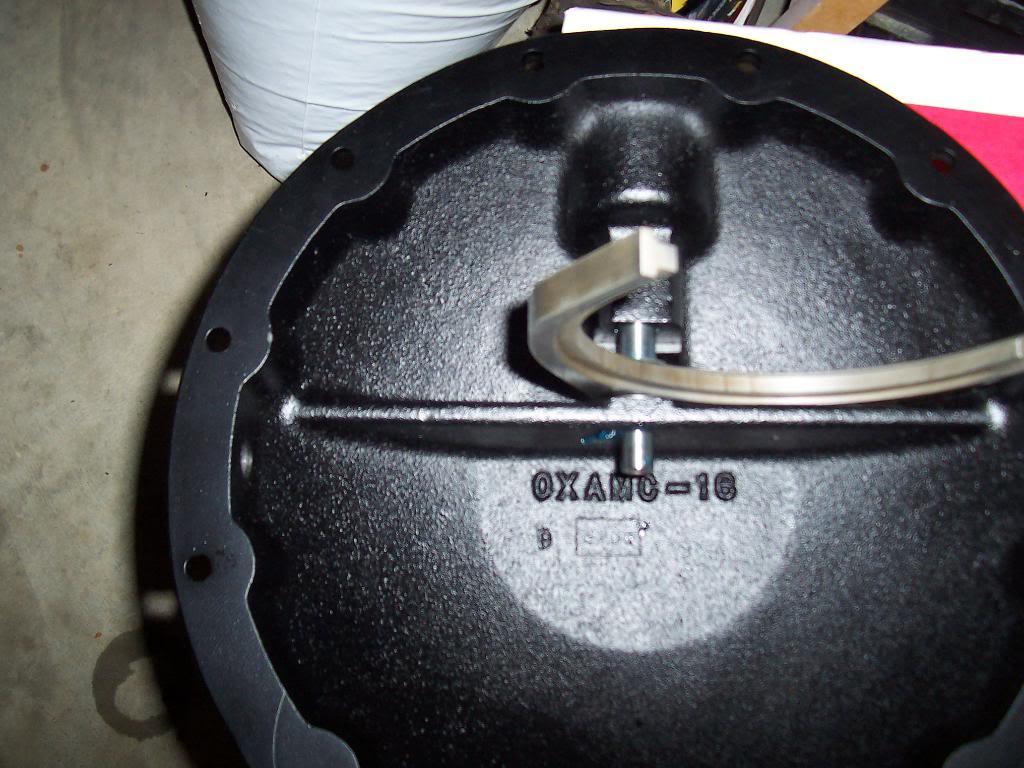
Pic of the rear cover internal shifter. Notice on the cover how below the area with the mounting holes just has a series of indentations instead of a continuous flange.
100_4945-1.jpg


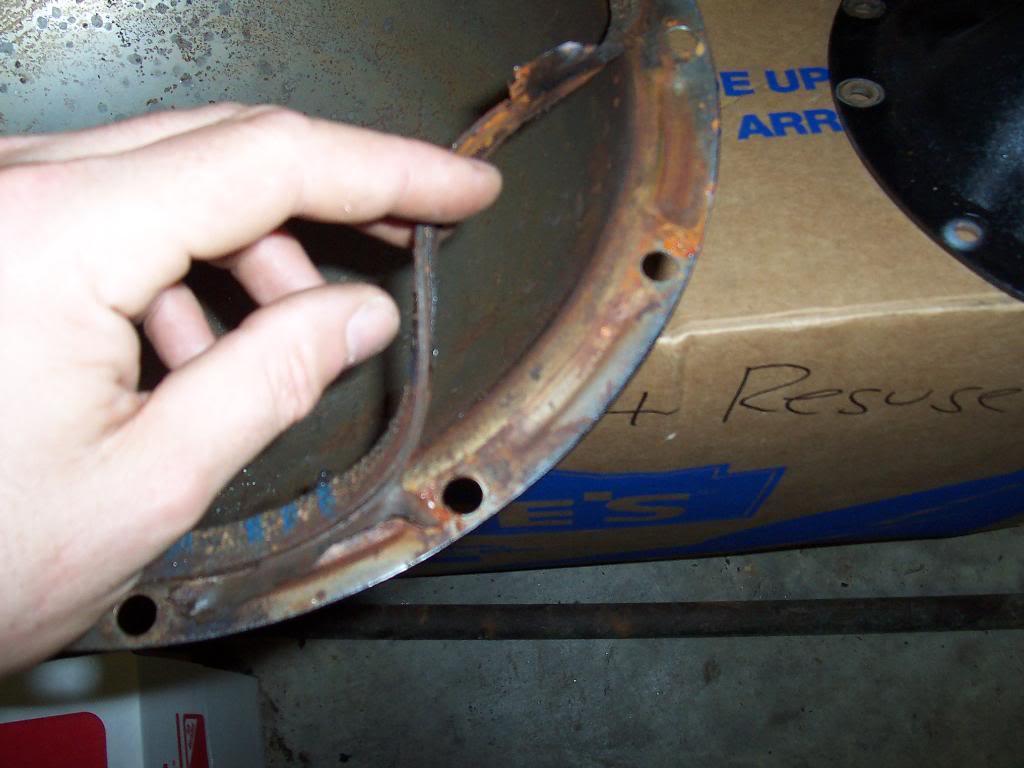
Pic of the old cover. Notice how the area below the gasket is a continuous flange. I hope the new cover doesn't leak. I normally glue the gasket to the cover so that I can remove the cover without buying a new gasket, but with the Ox cover i glued the gasket to the axle housing.
100_4946-1.jpg


Pic of rear cover temporarily mounted up.
100_4947-1.jpg


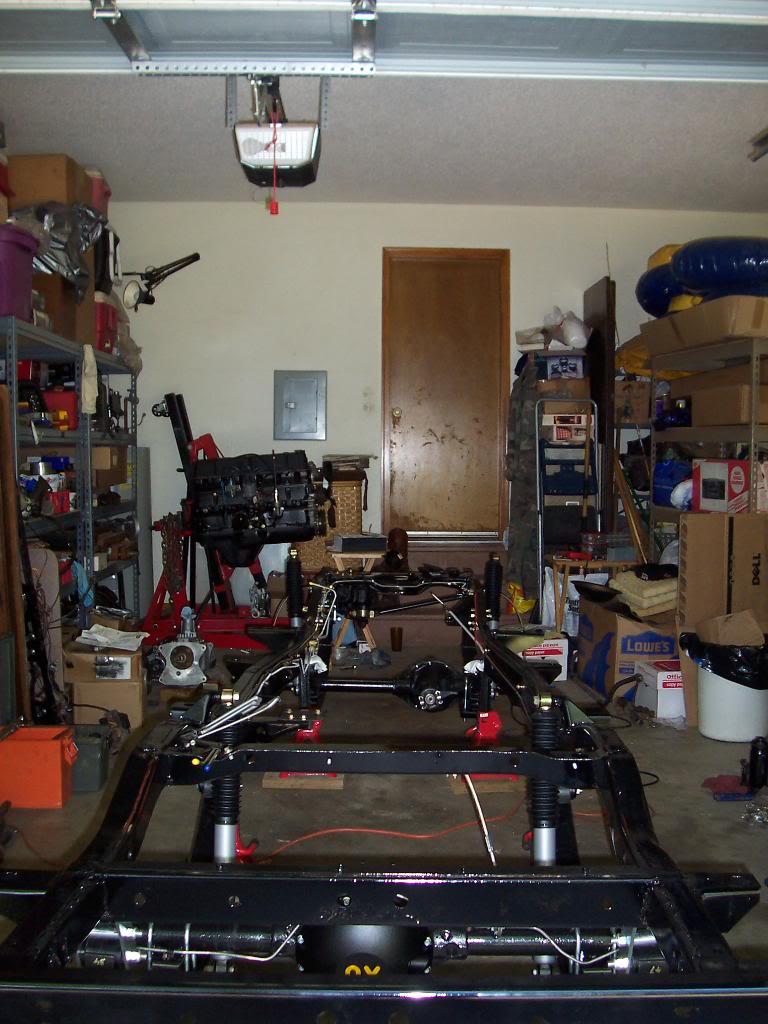
Two quick frame overview shots, that's it for now.
100_4948-1.jpg


100_4949-1.jpg
 
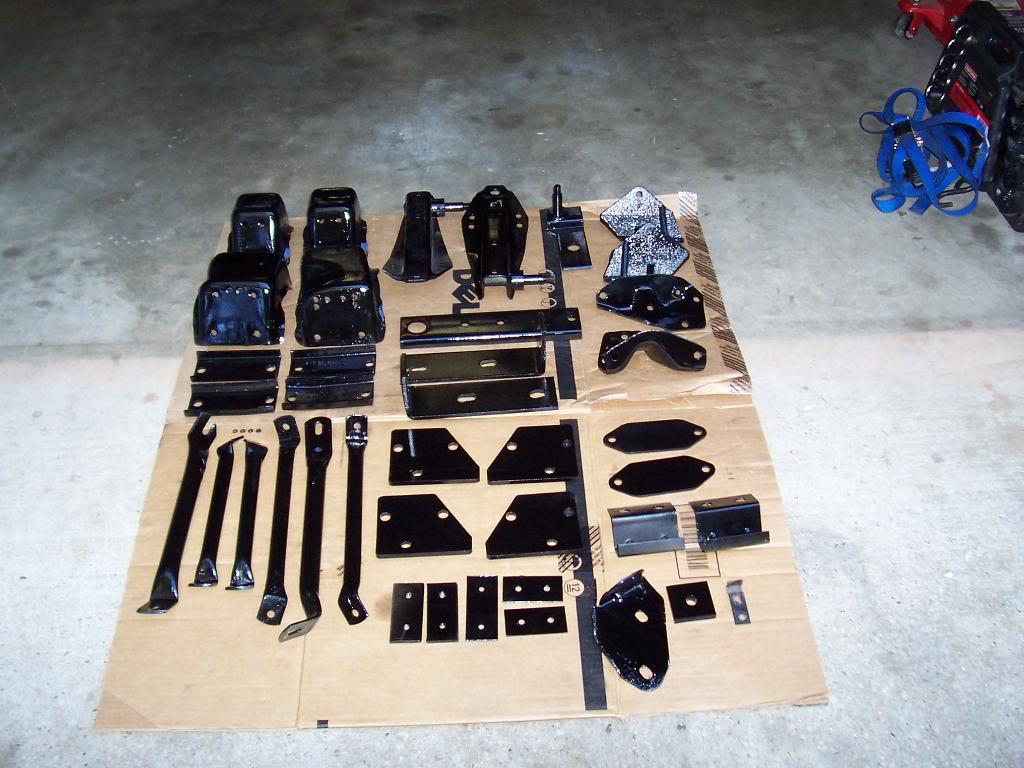
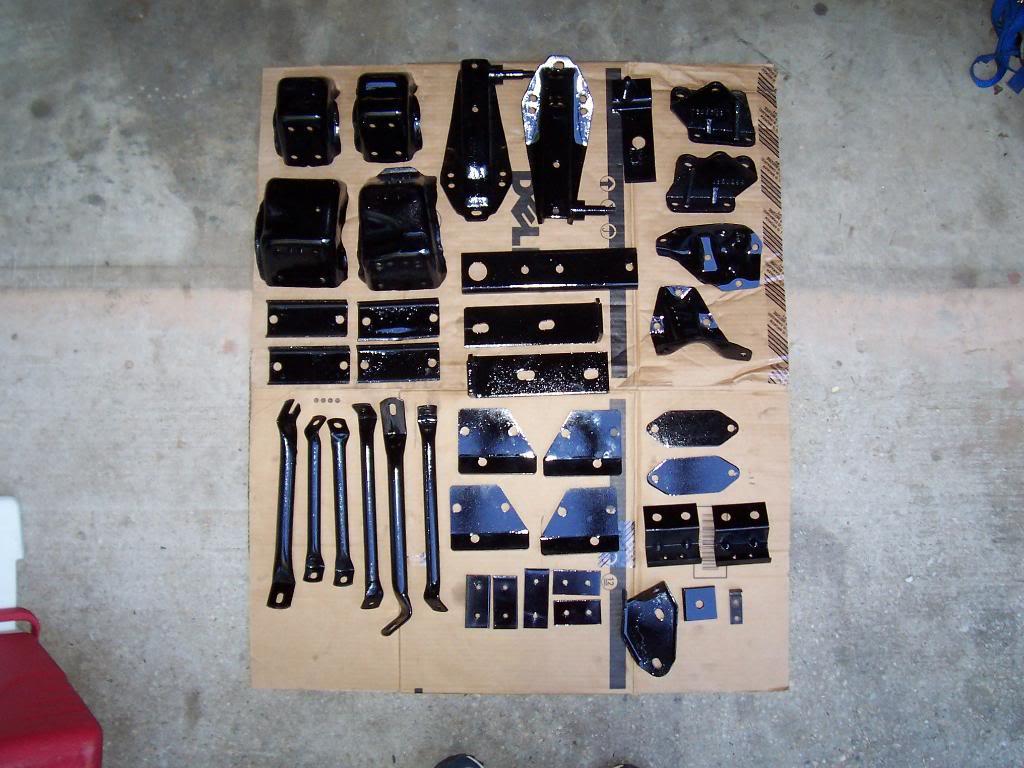
Picked up all my frame brackets on Thursday from the painter. Went Jeeping all weekend so no work on the Scrambler.

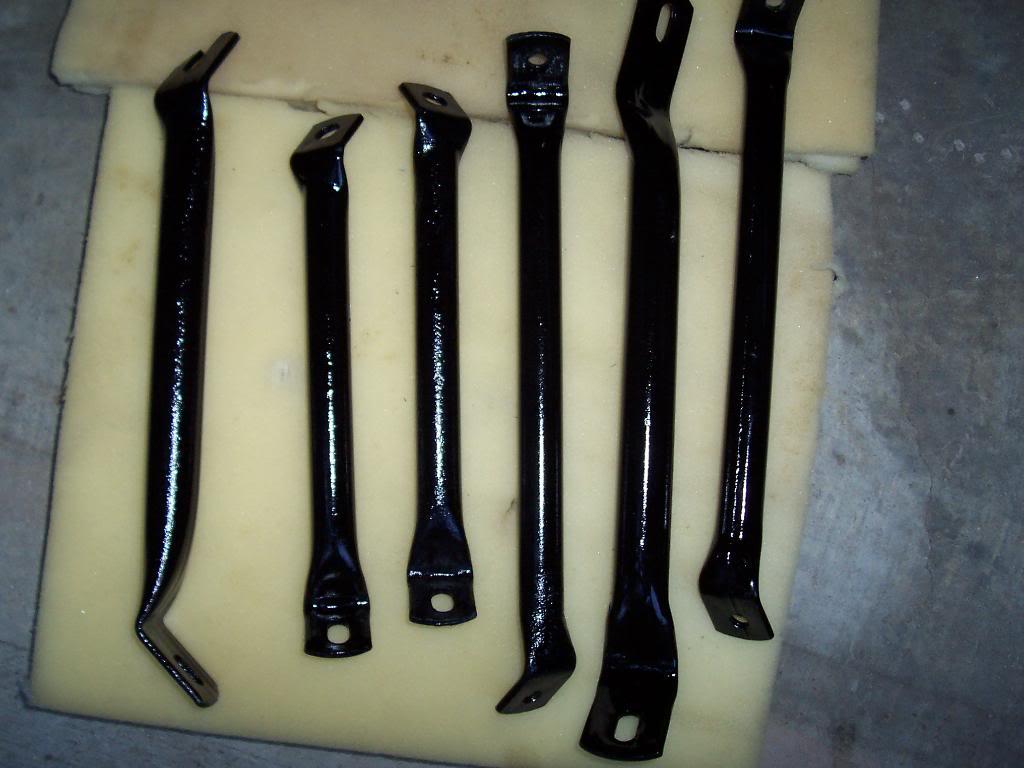
Pics of all the parts I picked up.

100_4960-1.jpg


100_4962-1.jpg


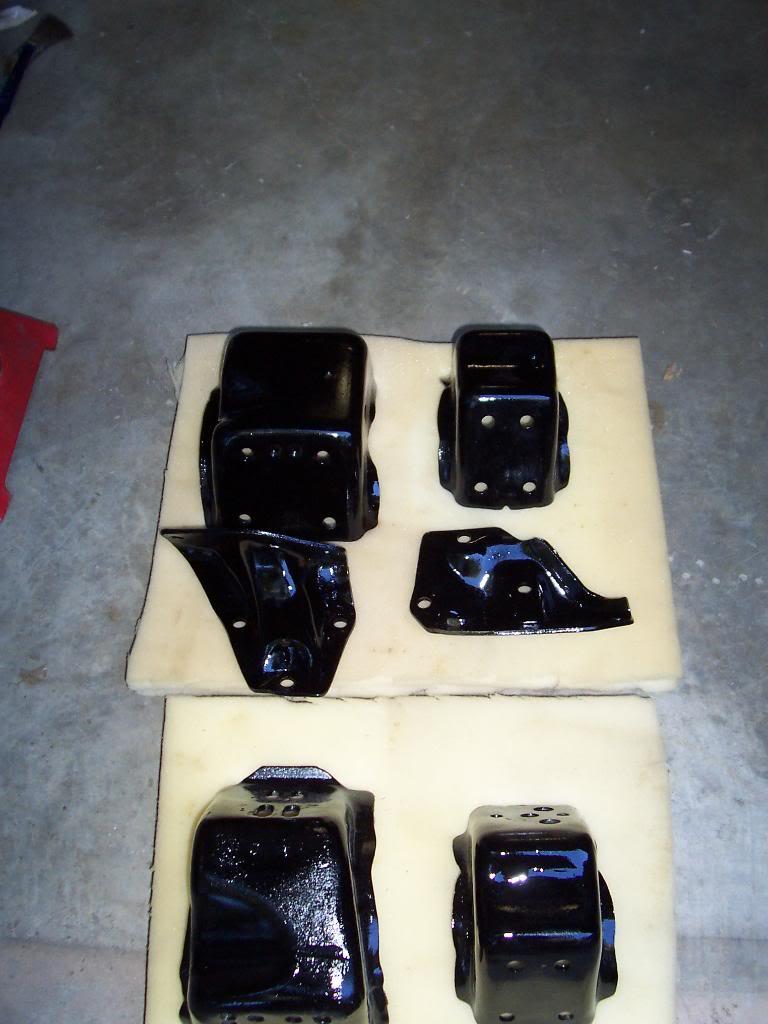
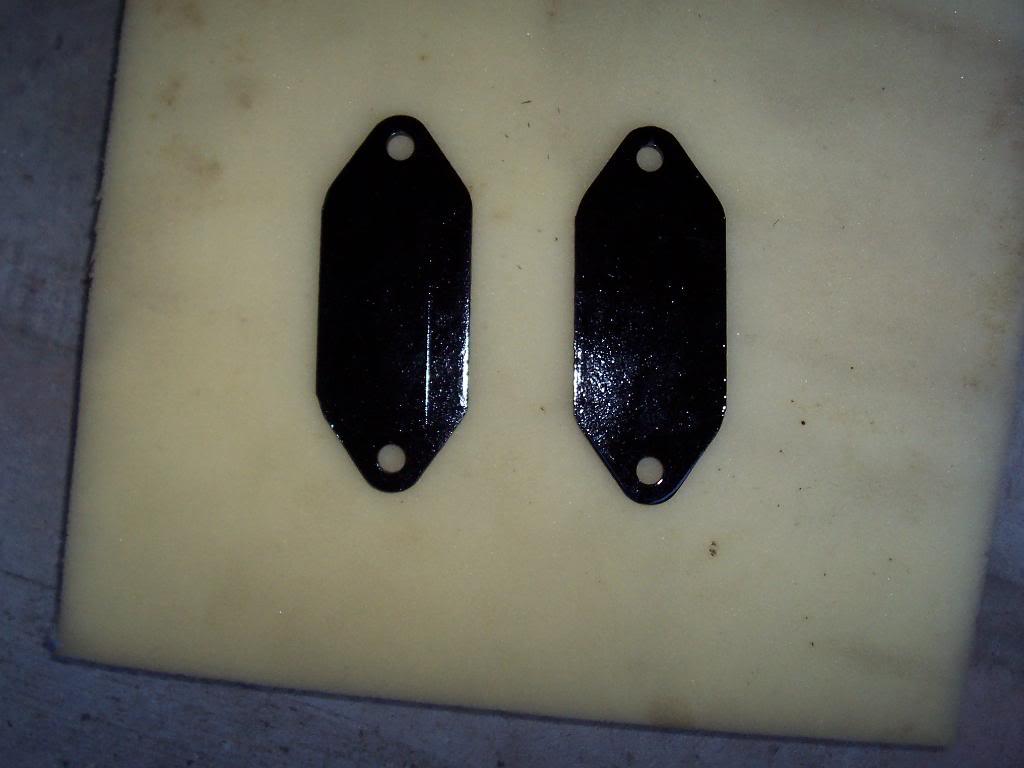
Engine mounts. I sent some extra frame mounts, too, the two at the bottom of the pic.

100_4963-1.jpg


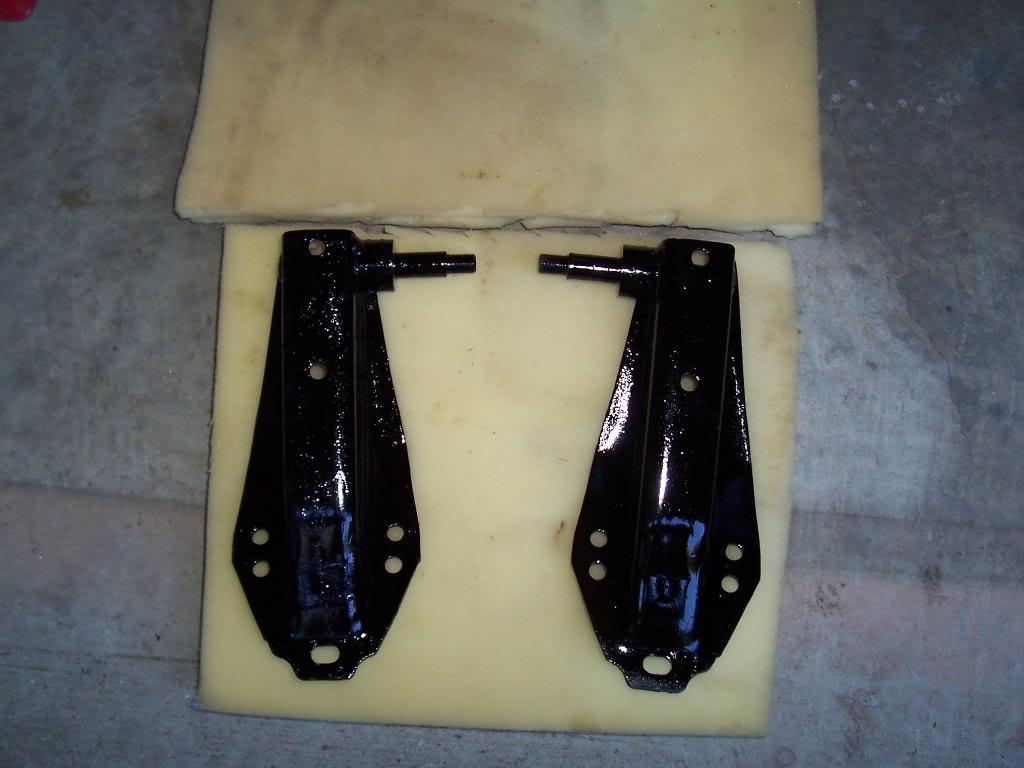
Front shock towers.

100_4964-1.jpg


Sway bar to frame brackets.

100_4965-1.jpg


Steering stabilizer bracket, goes between the front axle and the leaf spring on drivers side.

100_4966-1.jpg


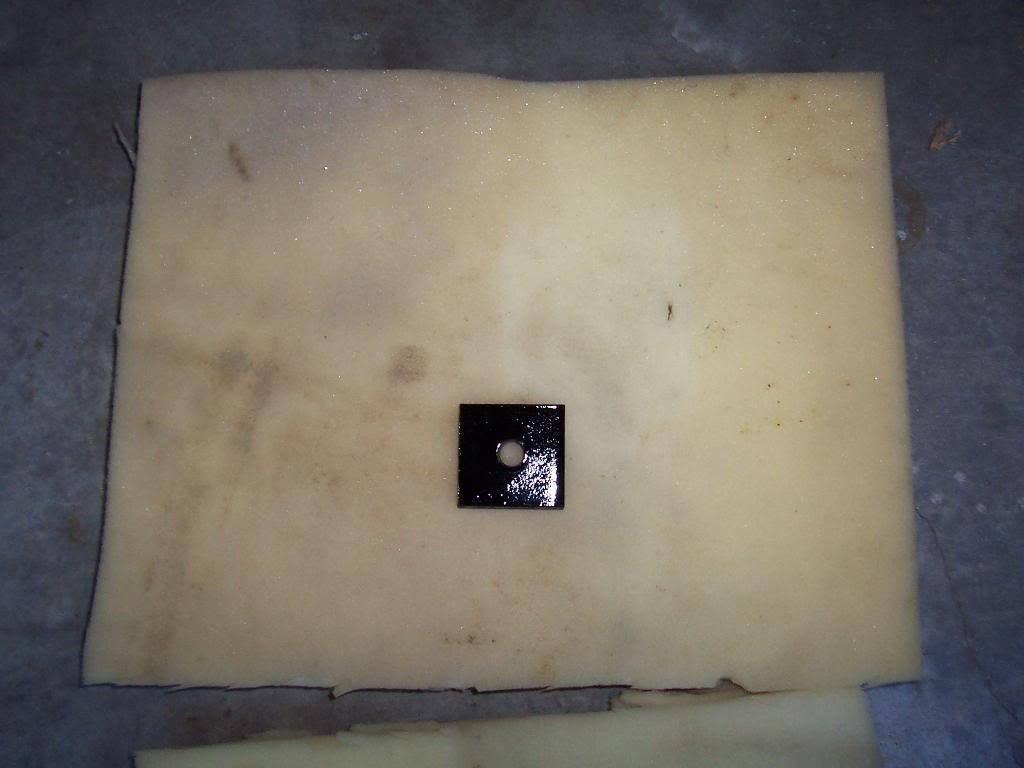
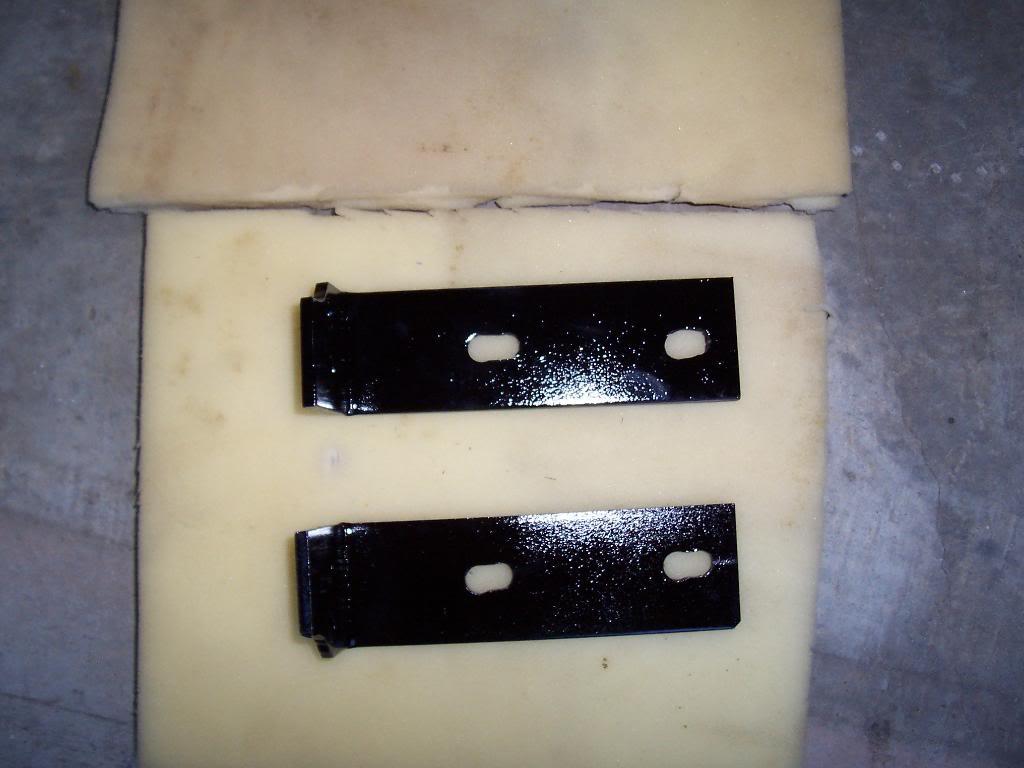
Pinion snubber piece.

100_4967-1.jpg


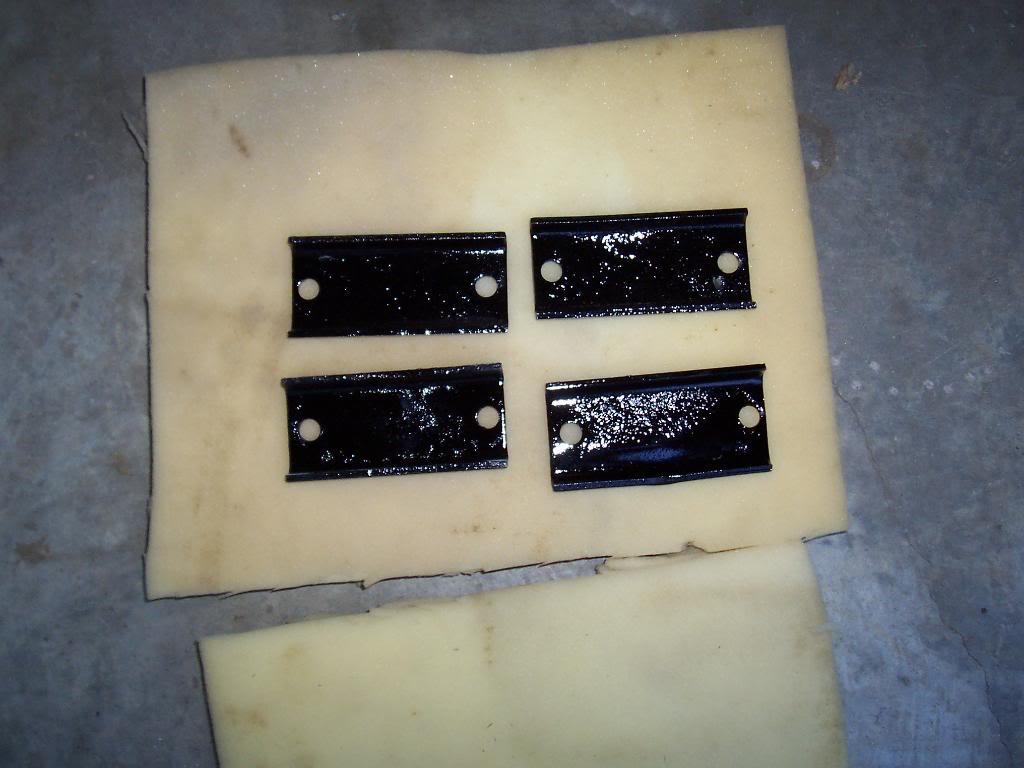
4 bump stop pieces.

100_4968-1.jpg


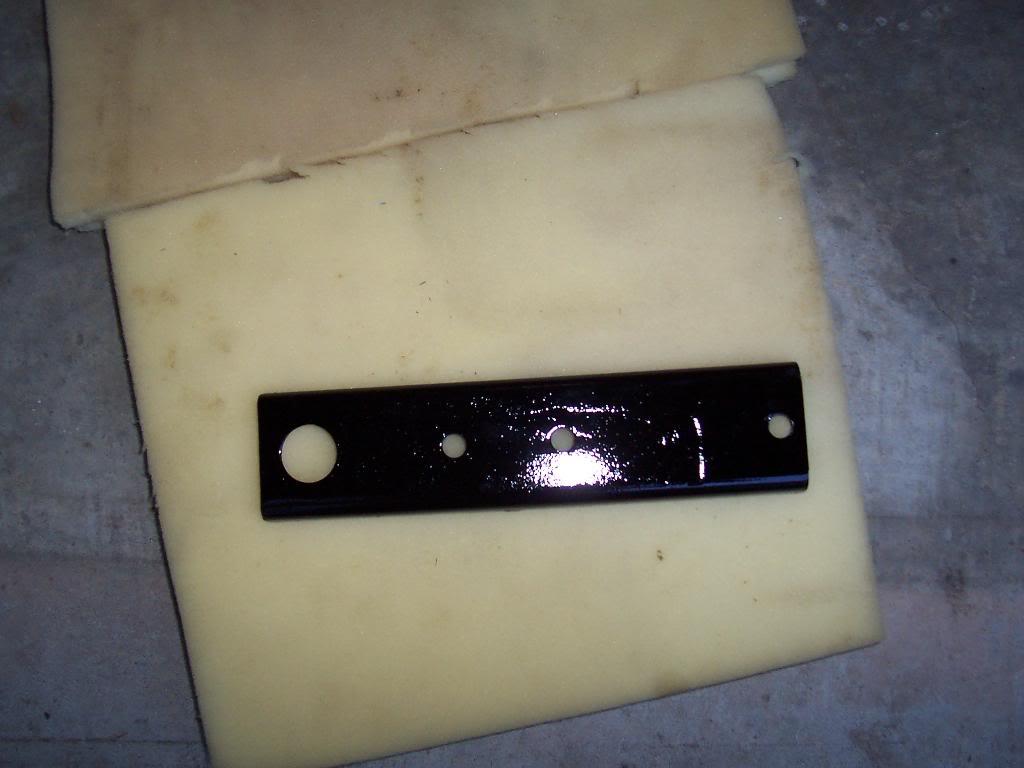
Transmission mount piece.

100_4969-1.jpg


Rear bumper reinforcement braces.

100_4970-1.jpg
 
Last edited:
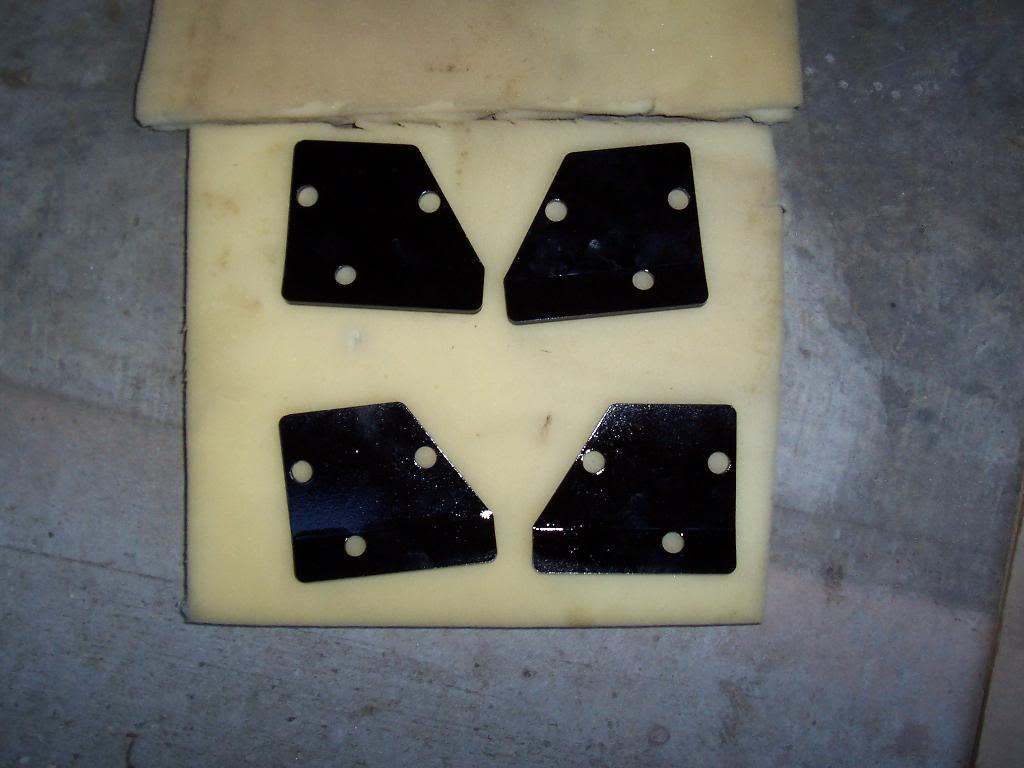
Some roll cage reinforcement plates.

100_4971-1.jpg


Door braces (I think), should have painted body color.

100_4972-1.jpg


Pieces that go under the hood, reinforcement plates for the windshield footman loop and the two "U's" that hold the windshield when you fold it down. Should have painted body color.

100_4973-1.jpg


Exhaust hanger bracket, very rear of frame.

100_4974-1.jpg


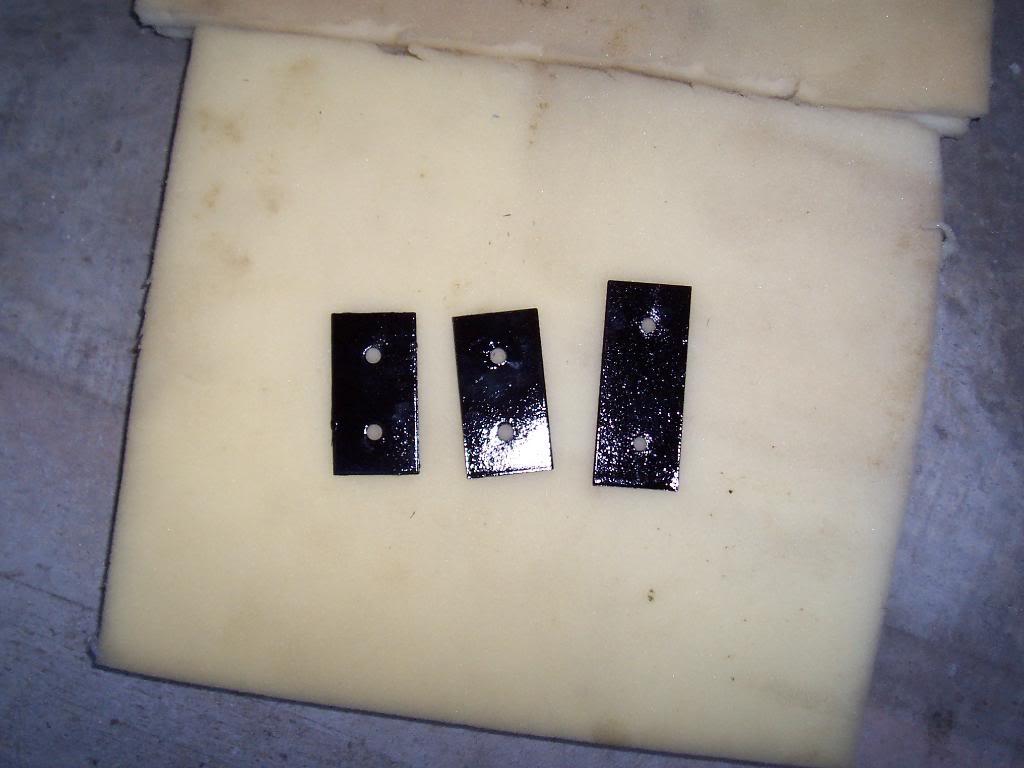
Door hinge reinforcement plates, should have painted body color.

100_4975-1.jpg


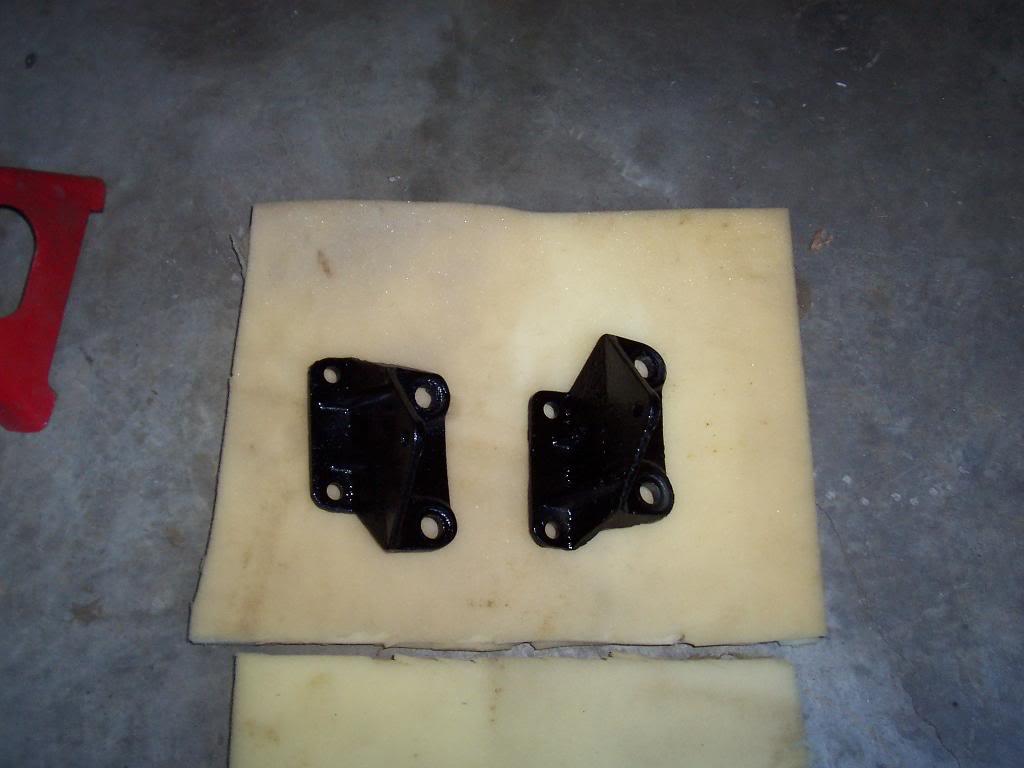
Motor mount pieces.

100_4976-1.jpg


Front fender and battery box braces. These are usually painted body color.

100_4977-1.jpg


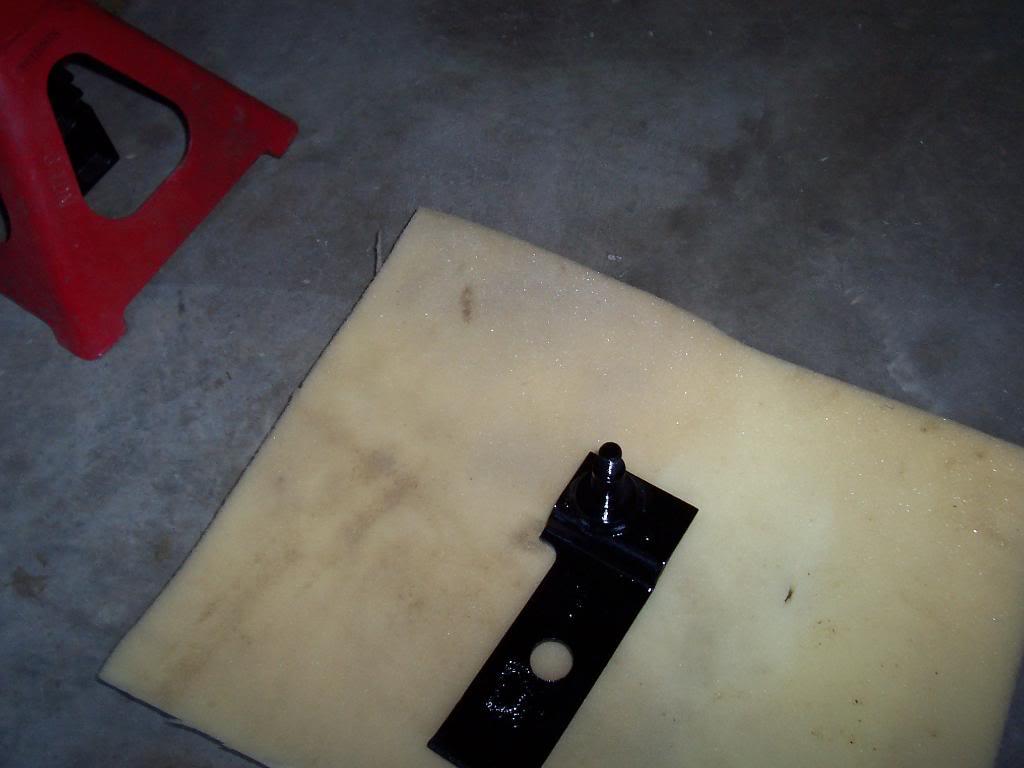
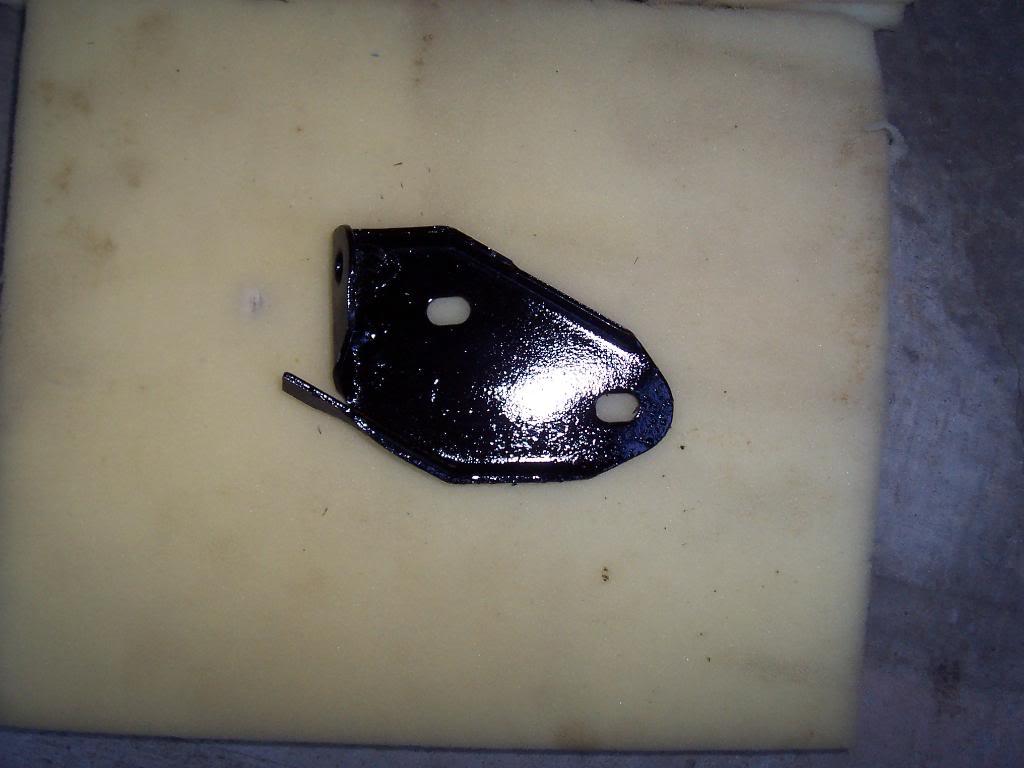
Piece I found while cleaning up. Hood prop rod bracket.

100_4978-1.jpg
 
Last edited:
Nice detail. I have a question, the second to last pic--battery box brace and fender braces. What /how do they go together? I've got the battery box in and braced but the other 3- have three left over -- and no pics of where they came from. And were they originally body color as opposed to black? Are they body color on your other 8?
 
Nice detail. I have a question, the second to last pic--battery box brace and fender braces. What /how do they go together? I've got the battery box in and braced but the other 3- have three left over -- and no pics of where they came from. And were they originally body color as opposed to black? Are they body color on your other 8?

I am pretty sure they are painted the body color on my green Scrambler. I will take some pics tonight of how the braces are attached to the fenders/body tub. I accidentally put them in the "Paint Chassis Color" box, so they will be black on this Scrambler:thumbsup::rotfl:

I did not take any pics of how they were mounted on this Scrambler since I have another one in the garage to use as reference, but will take some pics of what they look like on my green Scrambler:cheers:
 
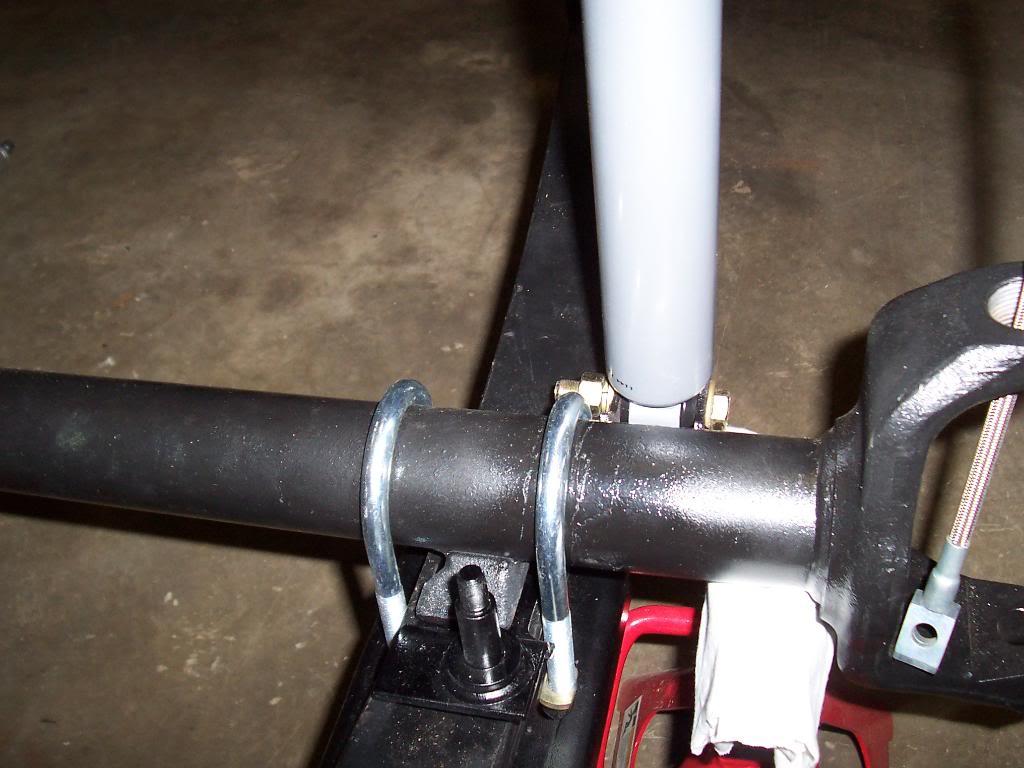
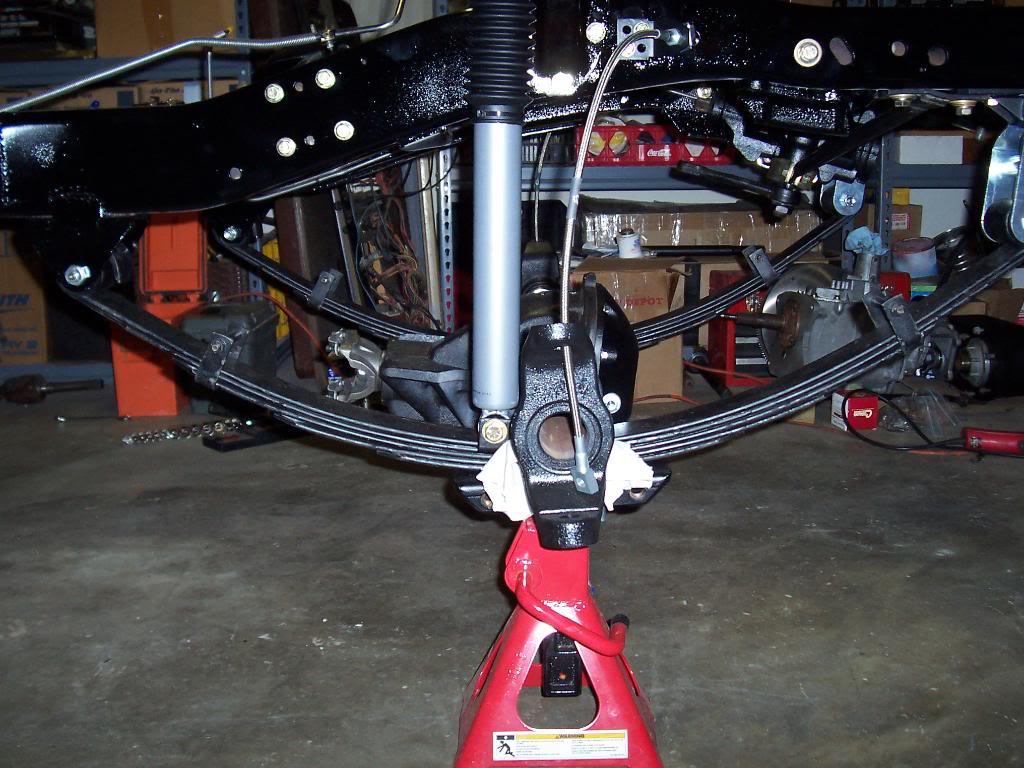
Got back to work on the Scrambler. Put the steering stabilizer bracket between the axle and leaf spring and finished up the suspension. U-bolts are torqued, have to wait until the vehicle is on the ground to torque the rest of the suspension bolts.

100_4992-1.jpg


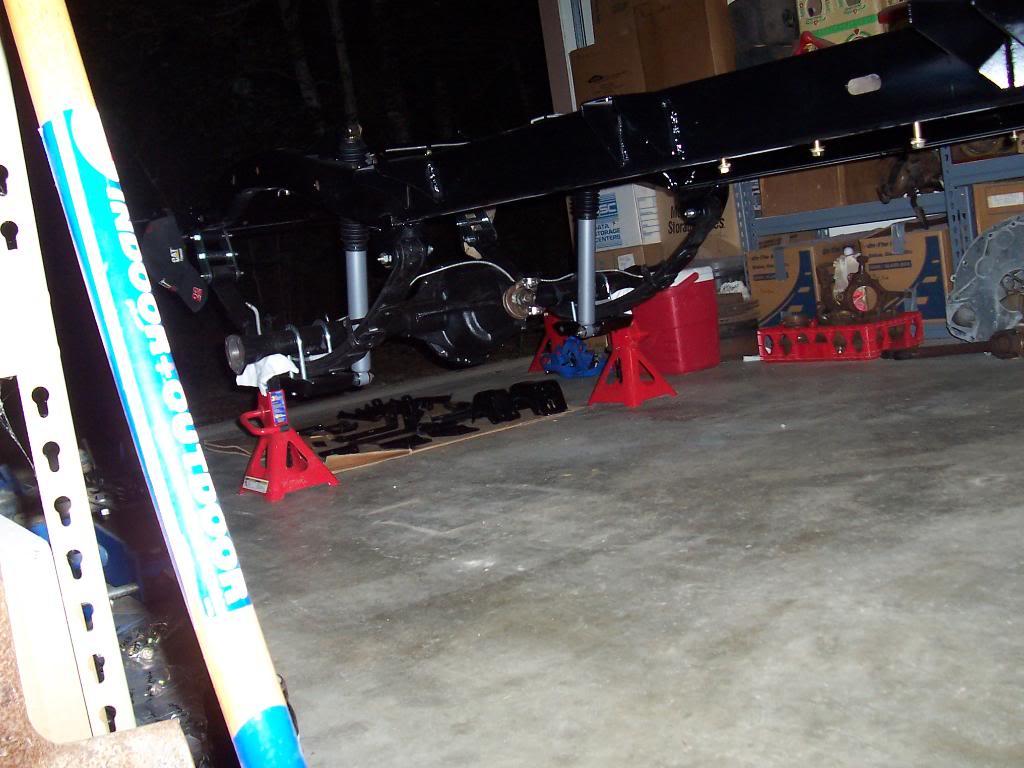
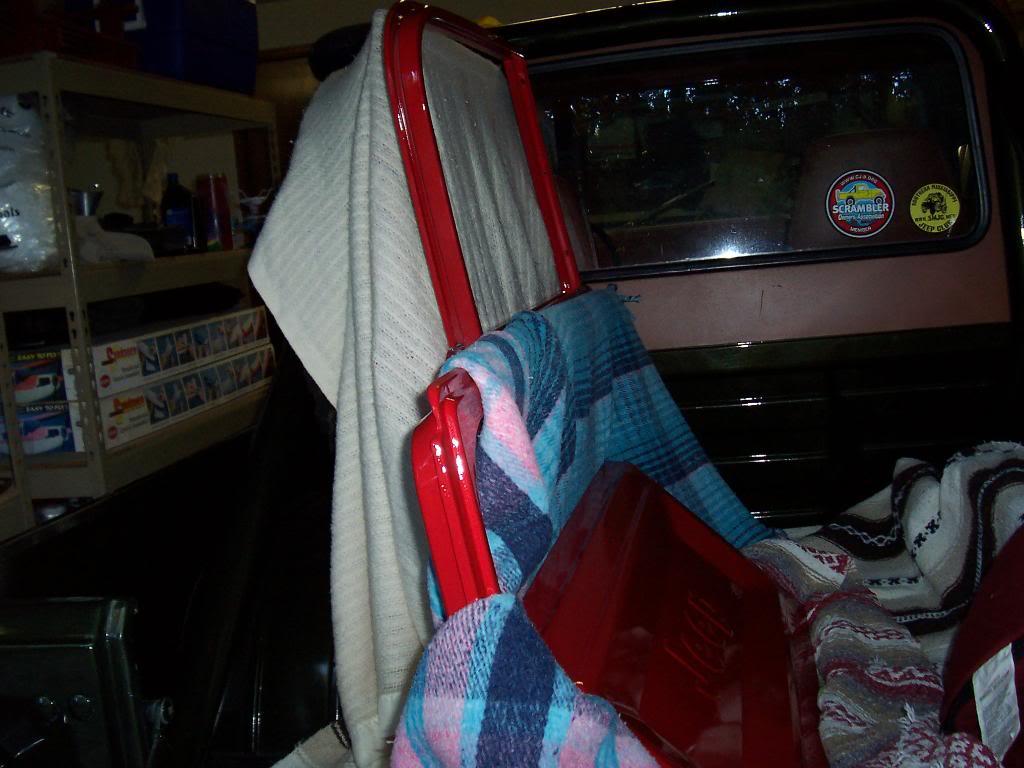
Moved the jack stands from the frame rails to under the axles, outboard of the springs. Much more stable and solid now.
100_4993-1.jpg


100_4994-1.jpg


100_4995-1.jpg


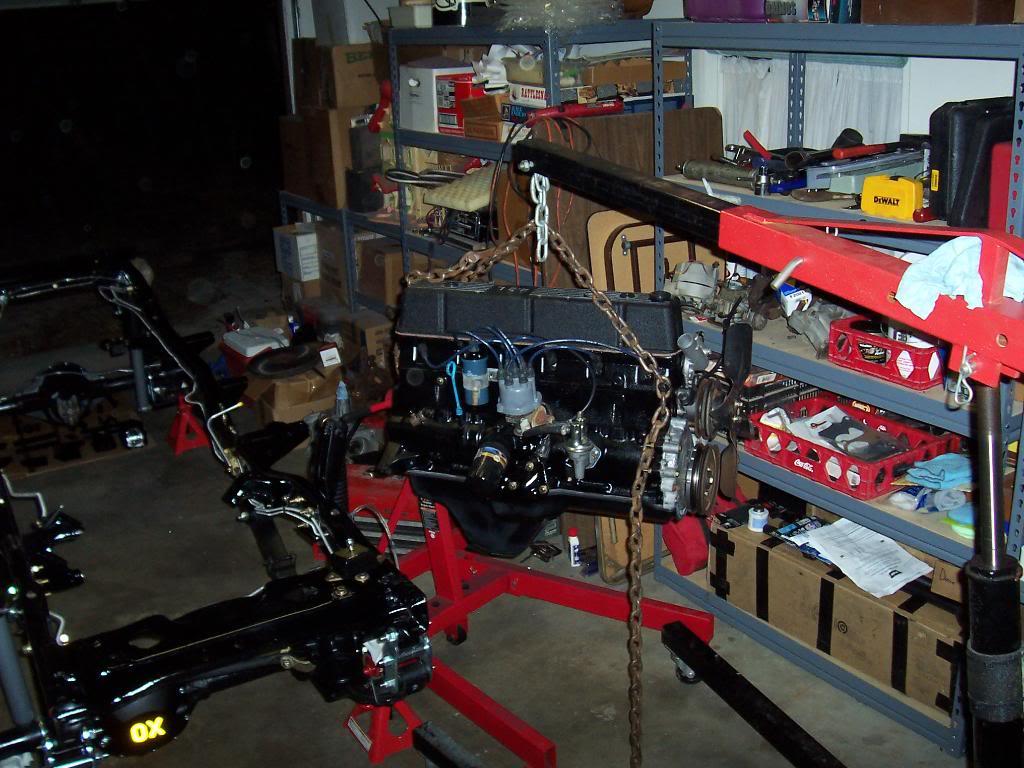
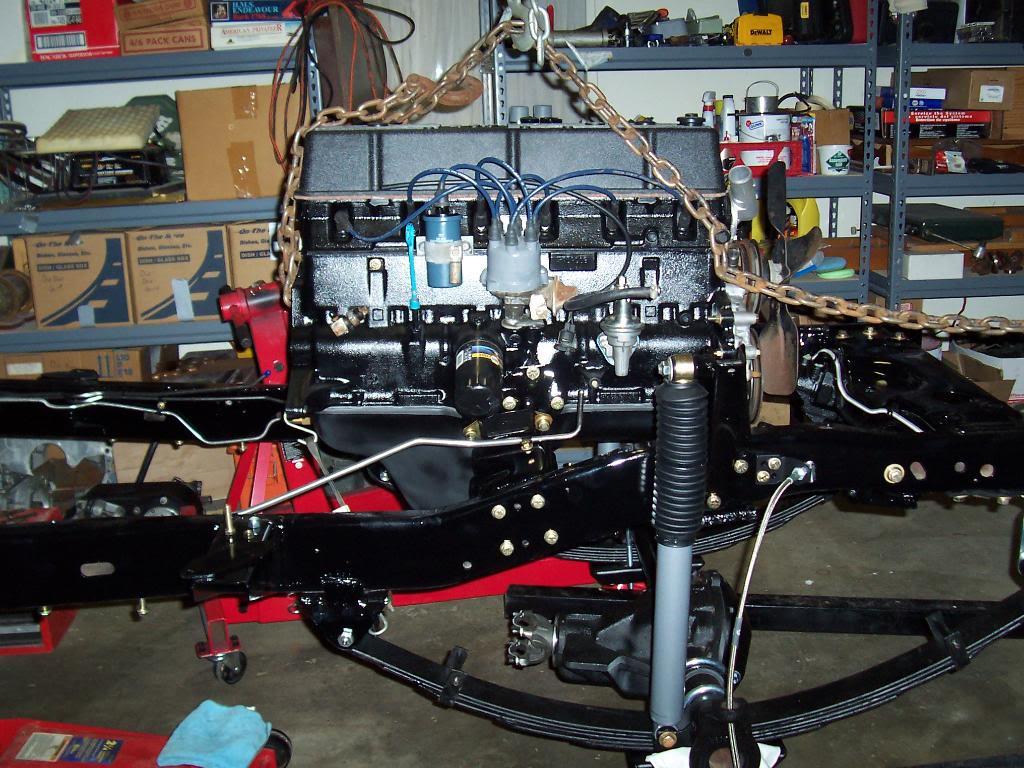
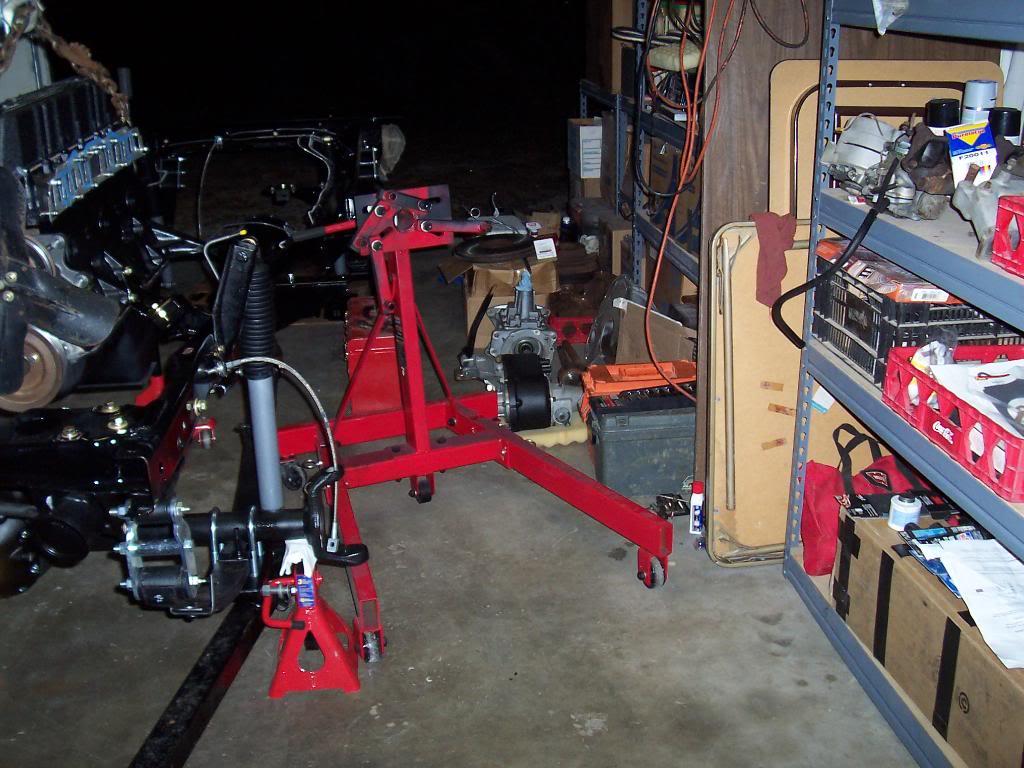
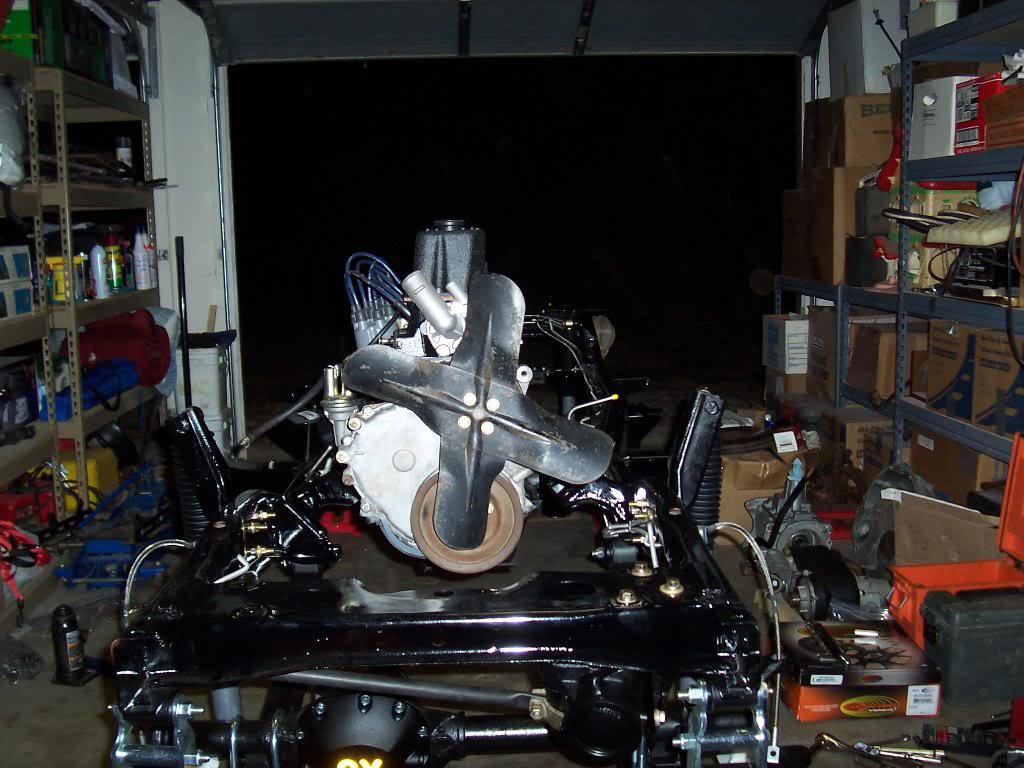
Now I could install the motor. Taking it off the engine stand, finally.
100_4996-1.jpg


Suspended by engine hoist.

100_4997-1.jpg


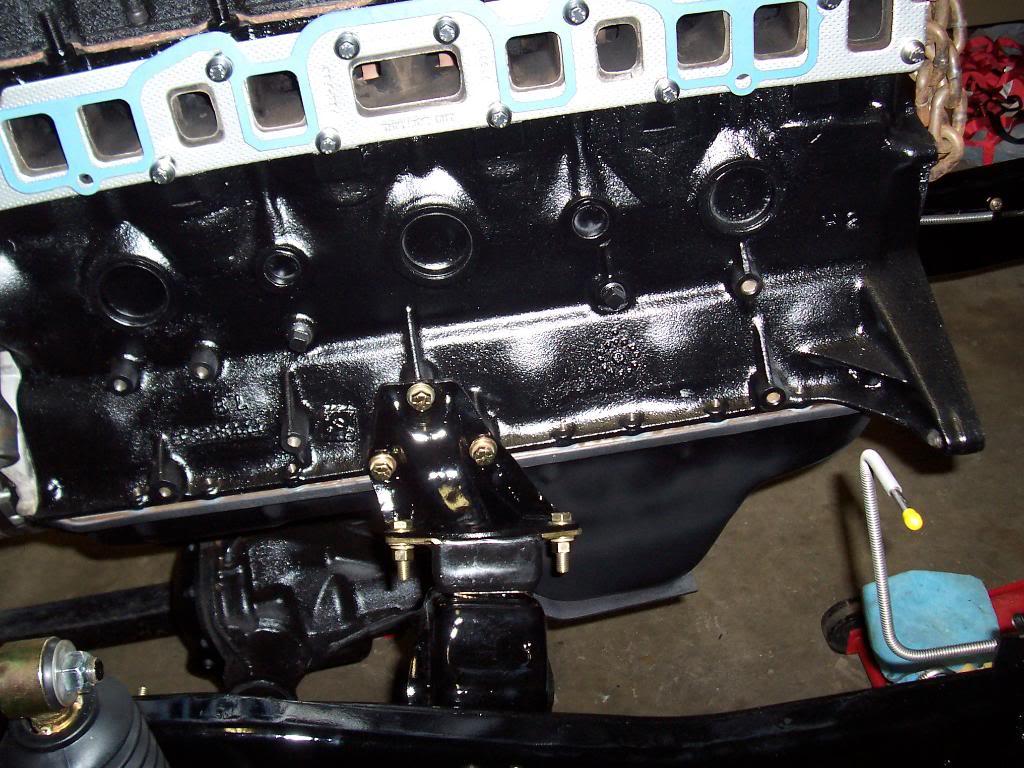
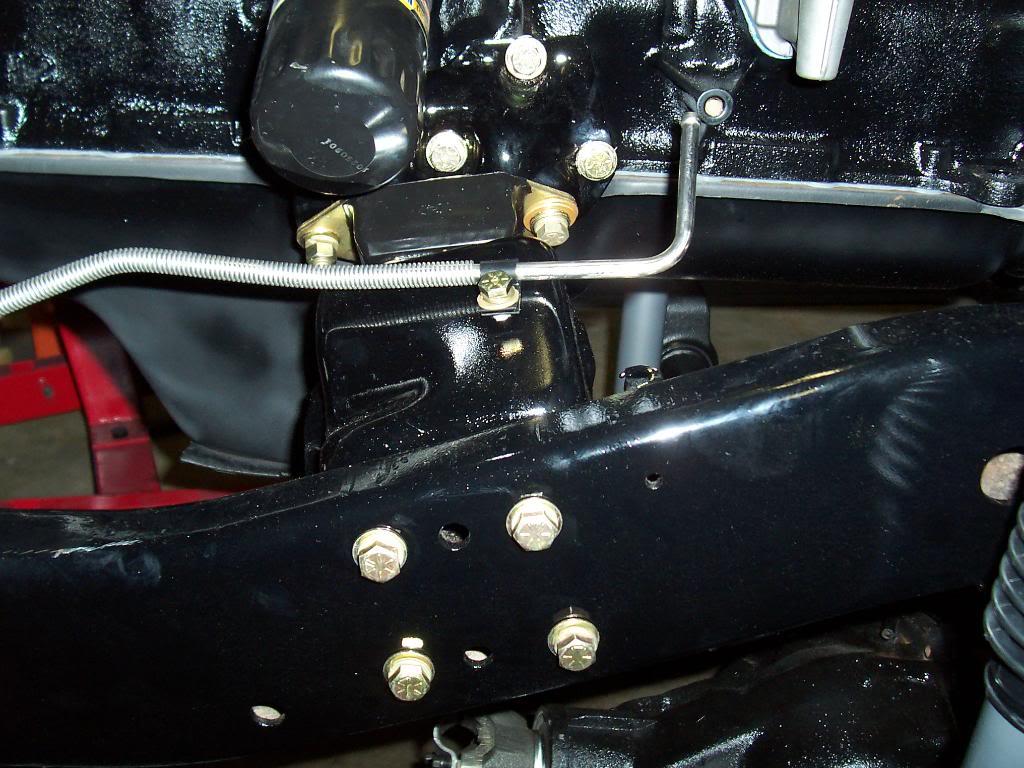
And bolted in. Some of my bolts are too long, so the hoist is still hooked up so I can replace these bolts.

100_4998-1.jpg


100_4999-1.jpg


100_5000-1.jpg


I can see the corner again.

100_5001-1.jpg
 
Last edited:
Once I get the bellhousing/trans/t-case installed, I will see this part of the floor again, too.

100_5002-1.jpg


100_5003-1.jpg
 
Last edited:
Motivation:thumbsup:

Motivated for two reasons:

#1) Need to make room in the garage for all the body parts
#2) Its great to finally see some body parts again.

100_4991-1.jpg


And in the sun.

100_4990-1.jpg
 
Last edited:
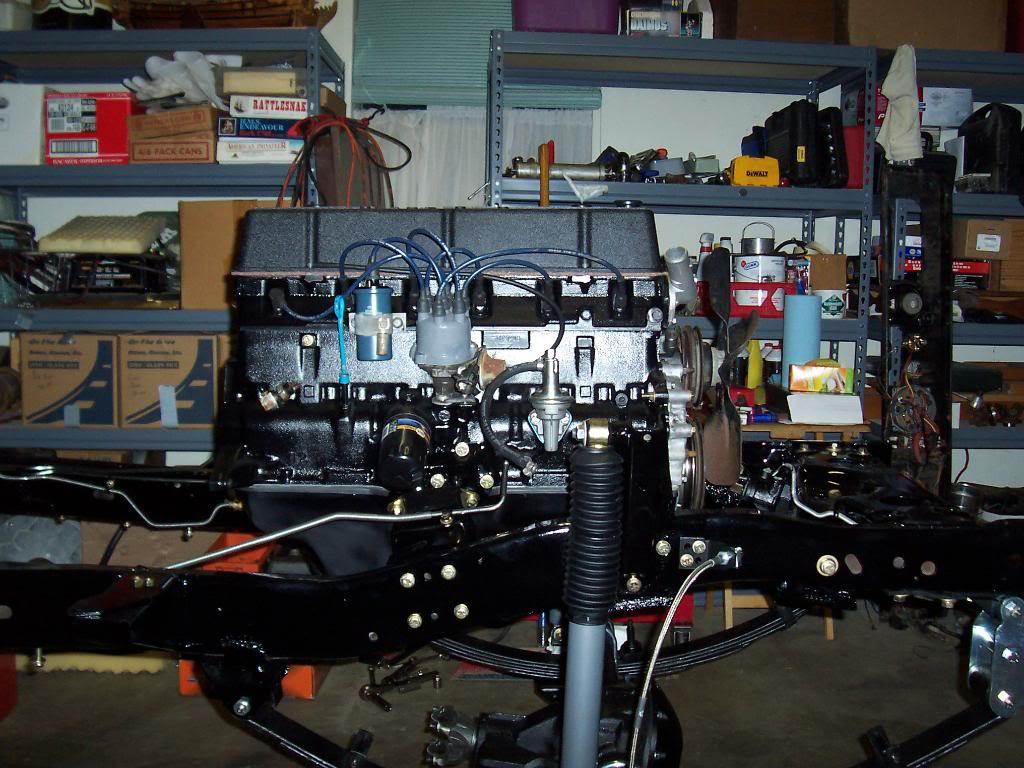
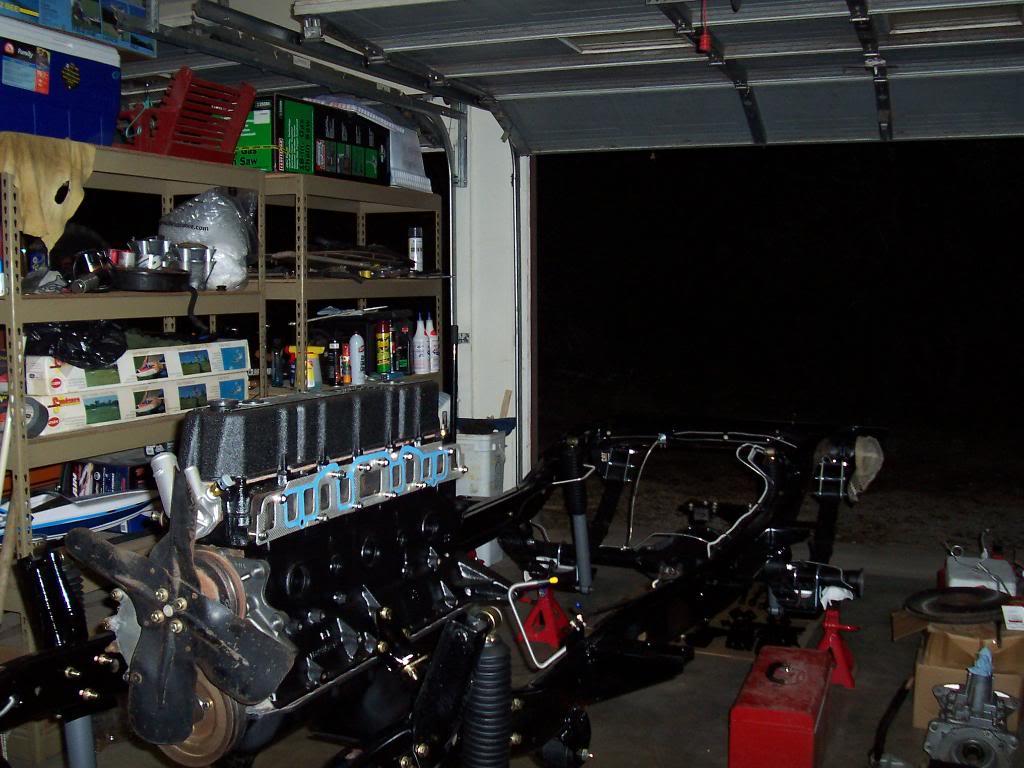
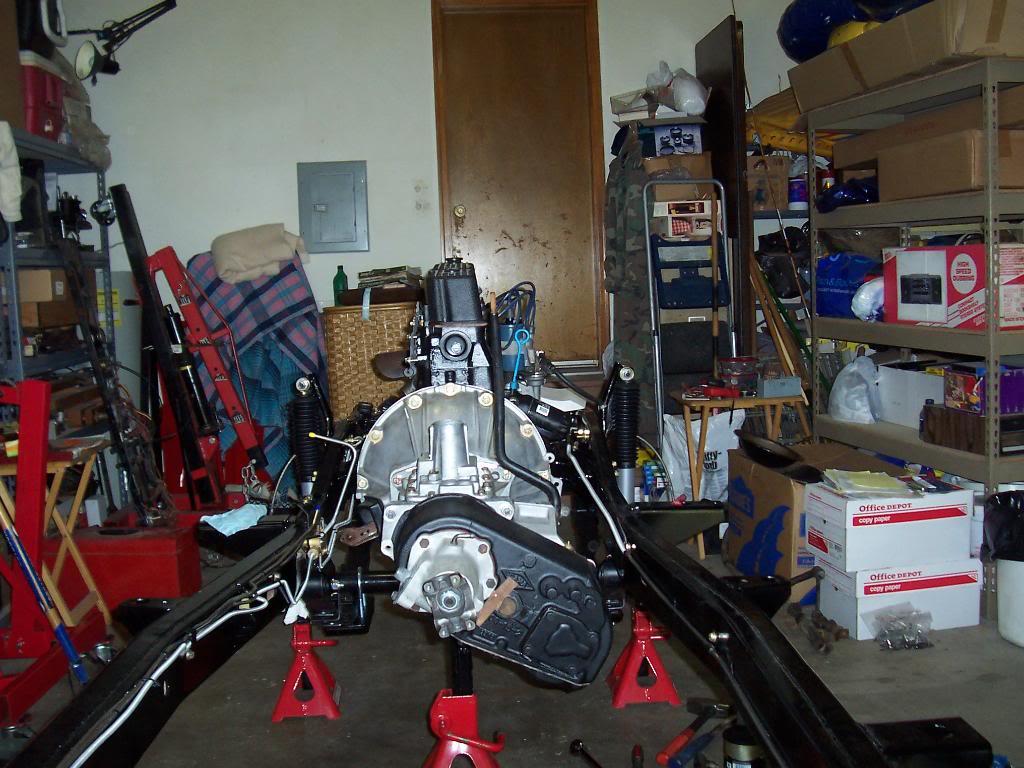
Got the engine bolted down. It balances really well on the motor mounts. Should be able to get the flywheel/clutch/bell housing/transmission/transfer case bolted in fairly easy this weekend. Will definitely put a jack stand under the oil pan before i bolt all that stuff on. Quick pics of the installed engine.

100_5014-1.jpg


100_5015-1.jpg


100_5016-1.jpg


100_5017-1.jpg
 
More Scrambler power train installation pics.

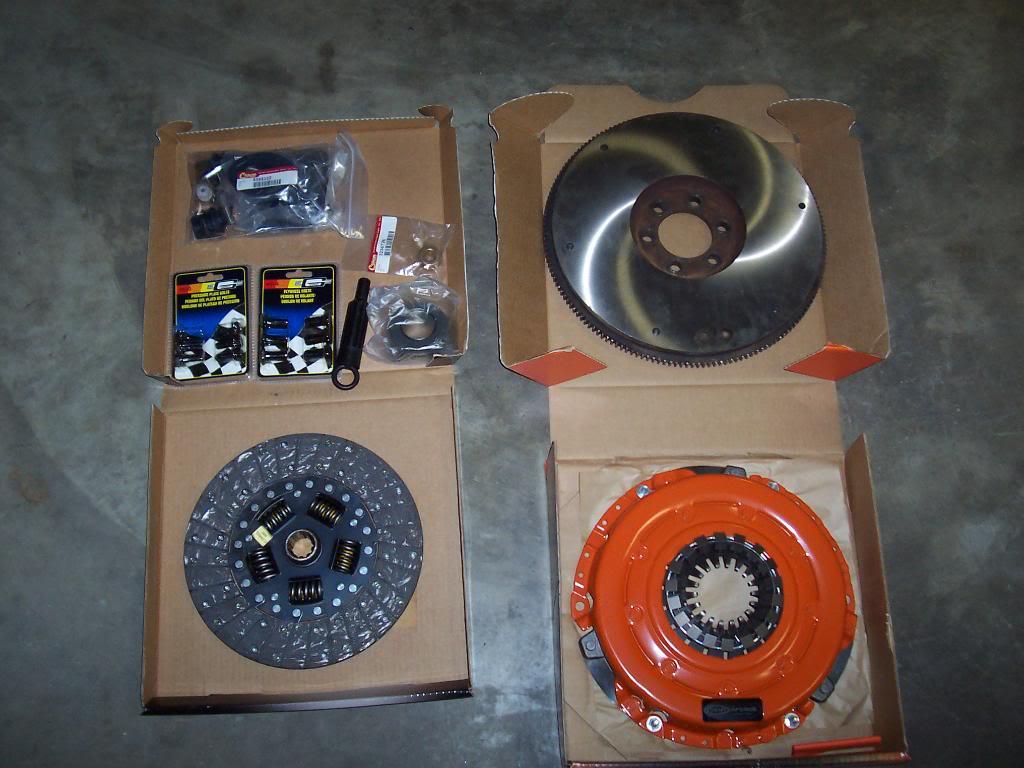
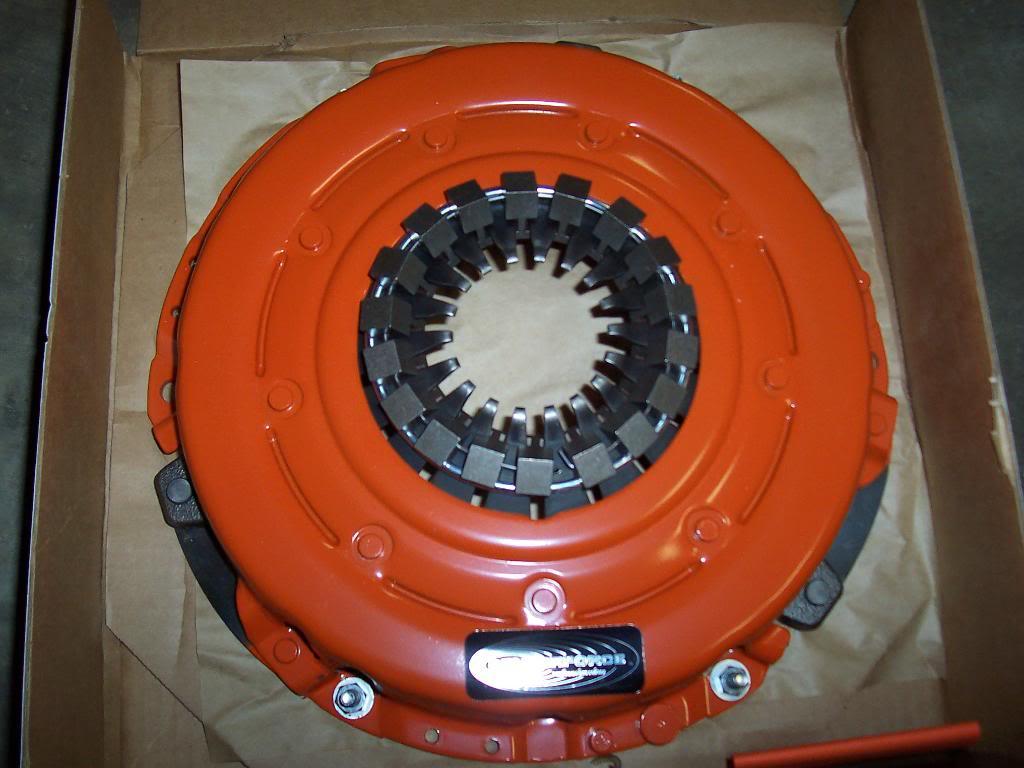
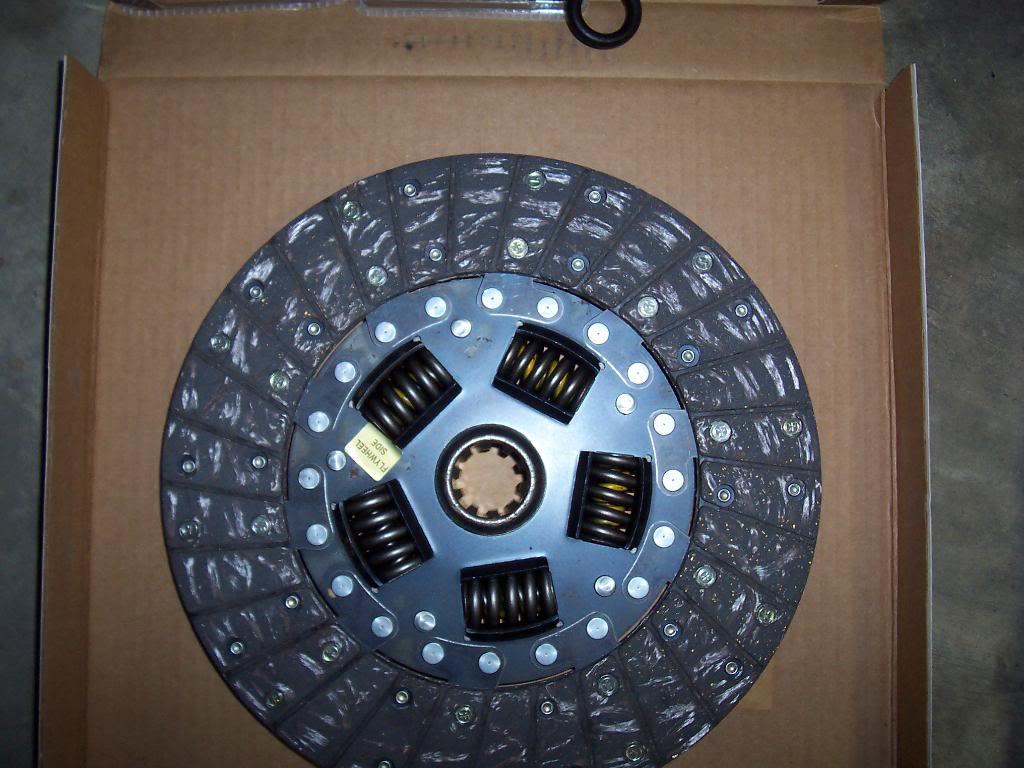
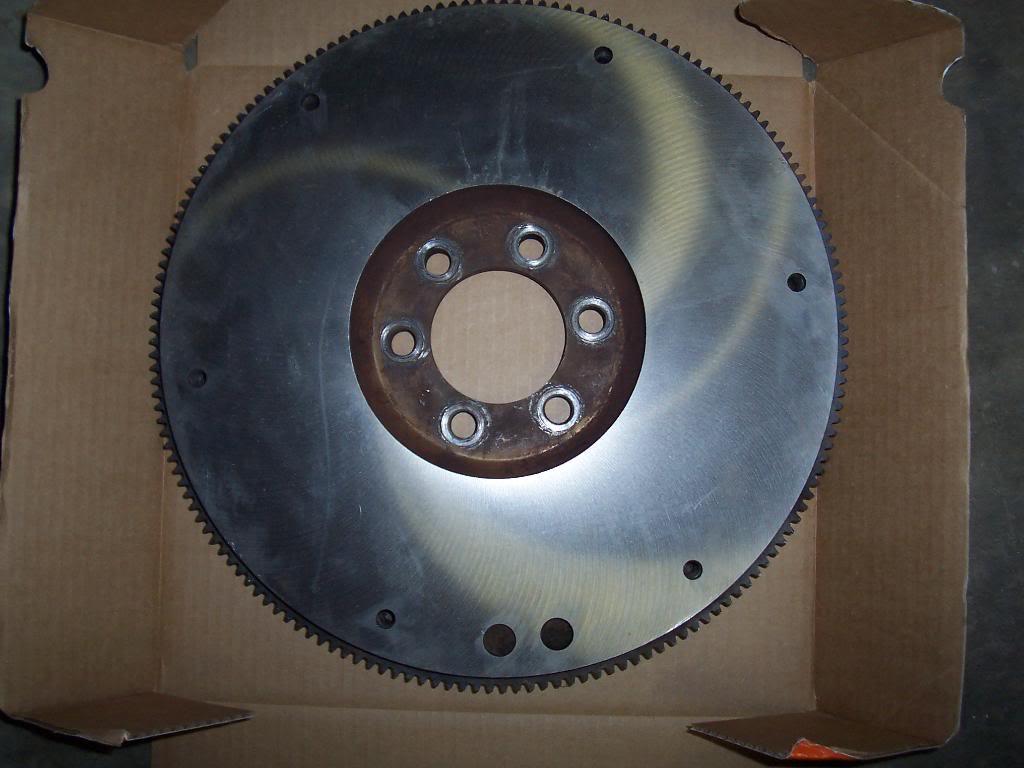
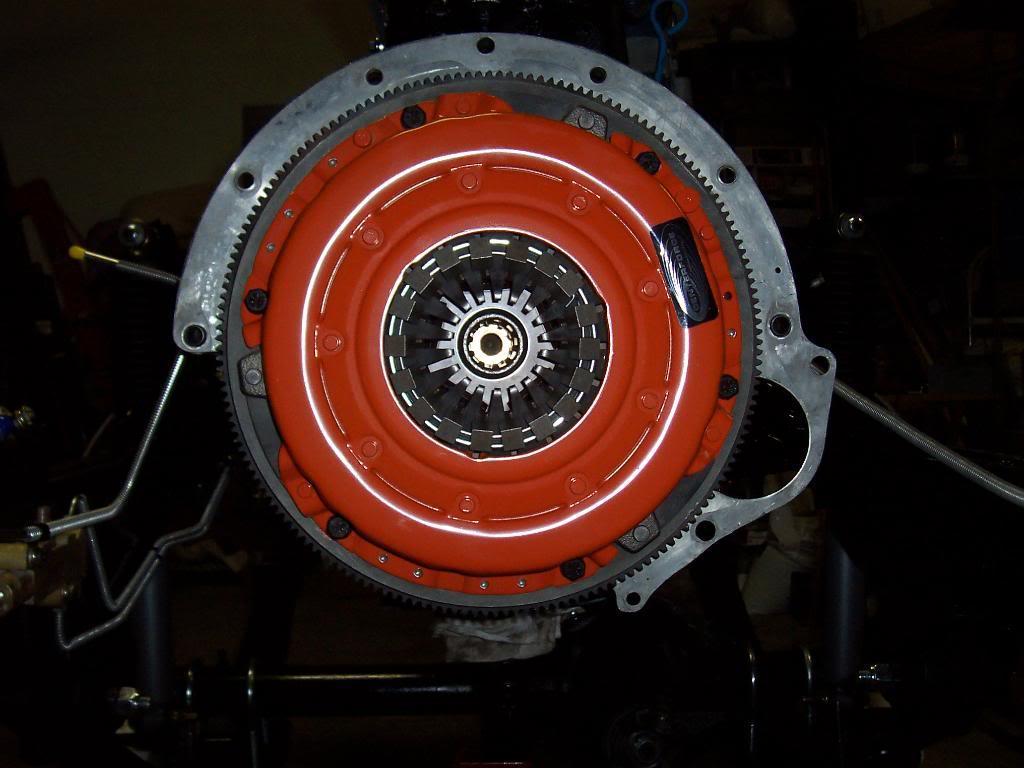
Pic of the clutch and associated components. Re-used the stock flywheel, I had it refinished and I also flipped the ring gear over, it was in great shape, just the leading edge of a few teeth were chipped, so i flipped it over. Centerforce Stage II disc and pressure plate, new flywheel bolts and clutch pressure plate bolts, throwout bearing, etc.

100_5018-1.jpg


100_5019-1.jpg


100_5020-1.jpg


100_5022-1.jpg


100_5023-1.jpg


Spent about an hour trying to remove the old pilot bushing using the old "pack it full of grease and hydraulically force it out" technique. It wasn't working, so i broke the old bushing into pieces with a pick and a punch.

100_5025-1.jpg


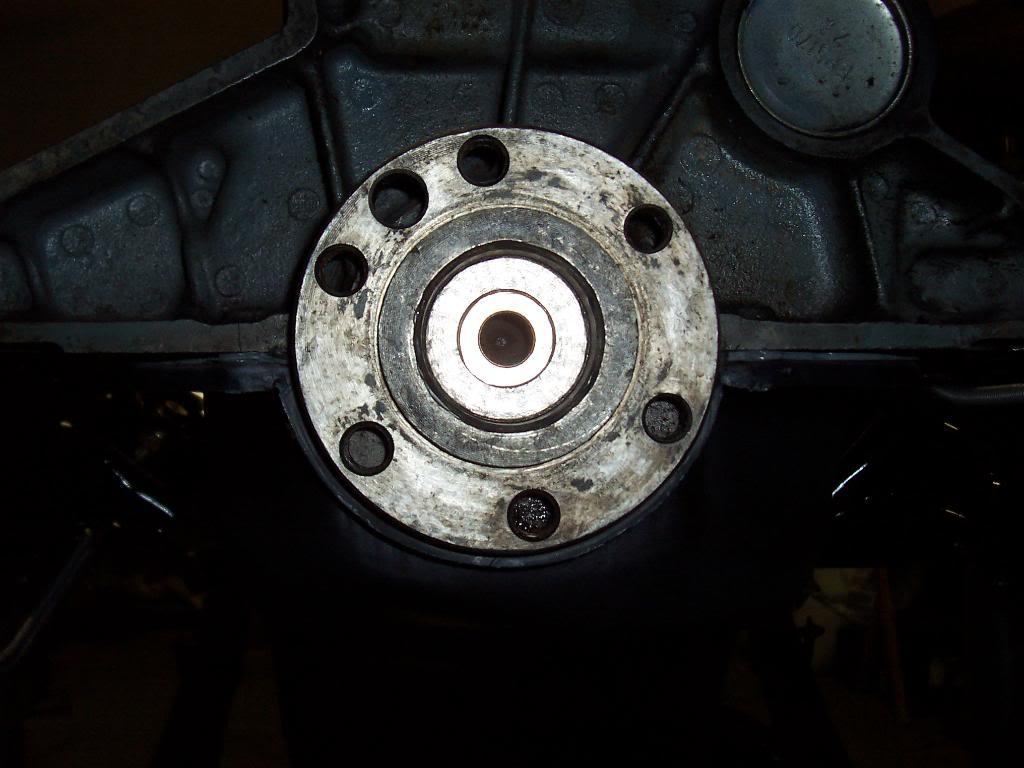
Empty crank bore.

100_5026-1.jpg


New bushing installed.

100_5027-1.jpg


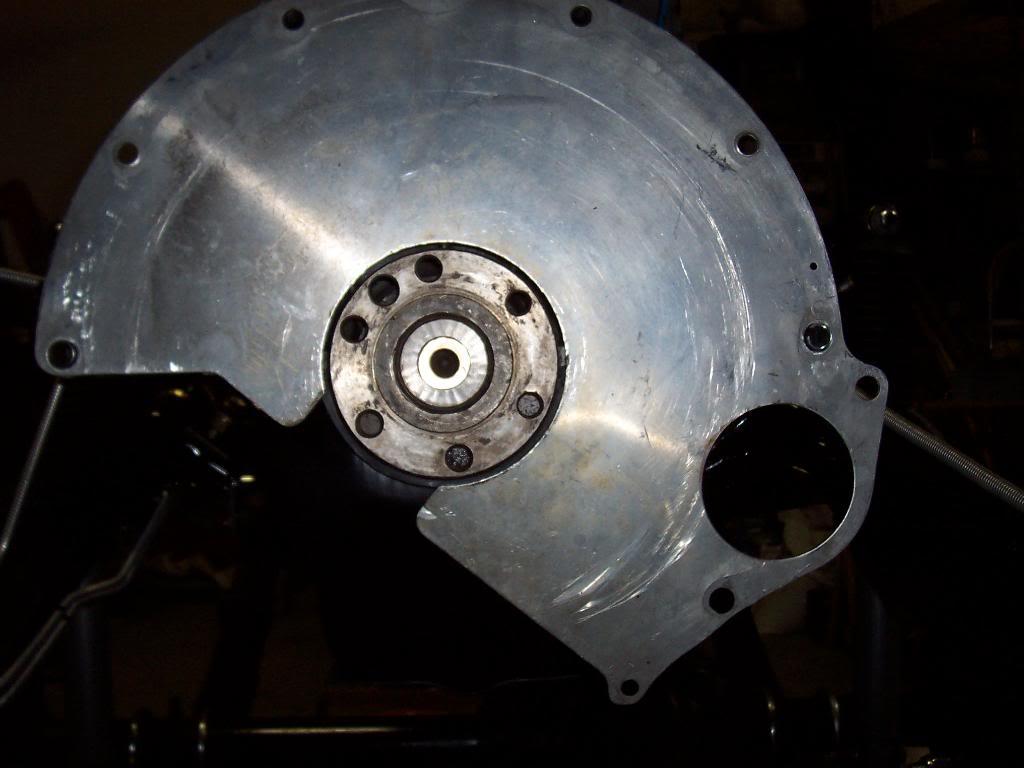
Next I installed the spacer plate on the two dowel pins located on the bell housing.

100_5030-1.jpg


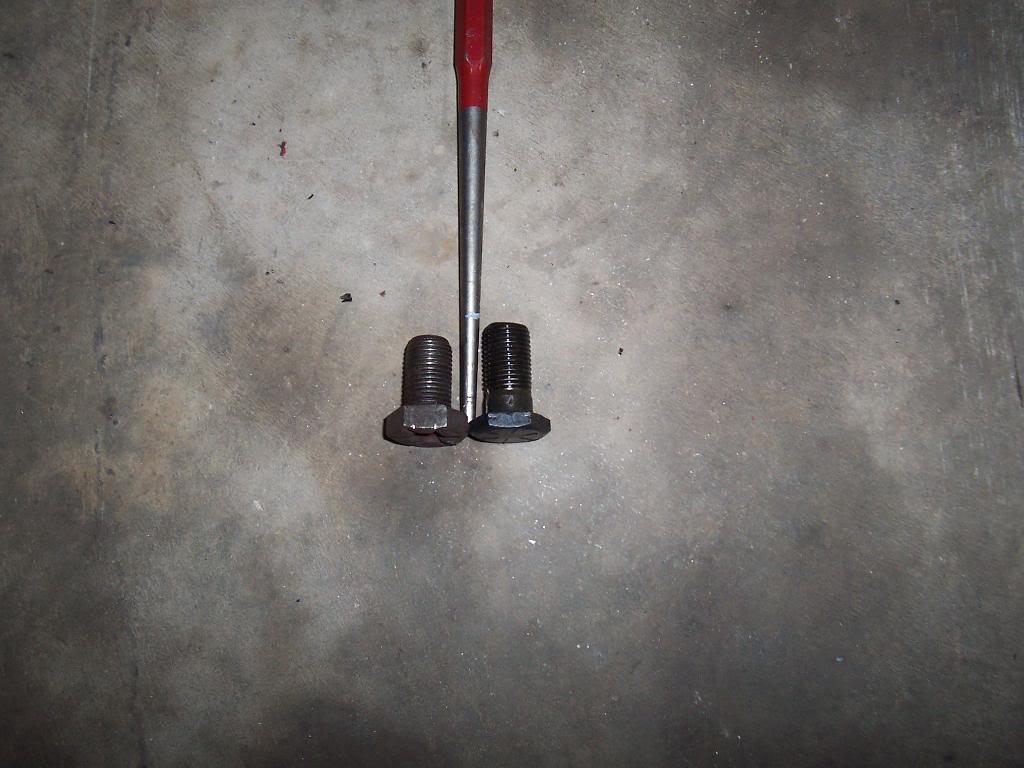
Pic of the new vs old crank bolts. The new ones are longer then the old. The white mark on the punch represents how far from the face of the crank the bolts can be until they hit the block, without the flywheel on. These bolts are longer, but they wont hit, so I used them.

100_5031-1.jpg
 
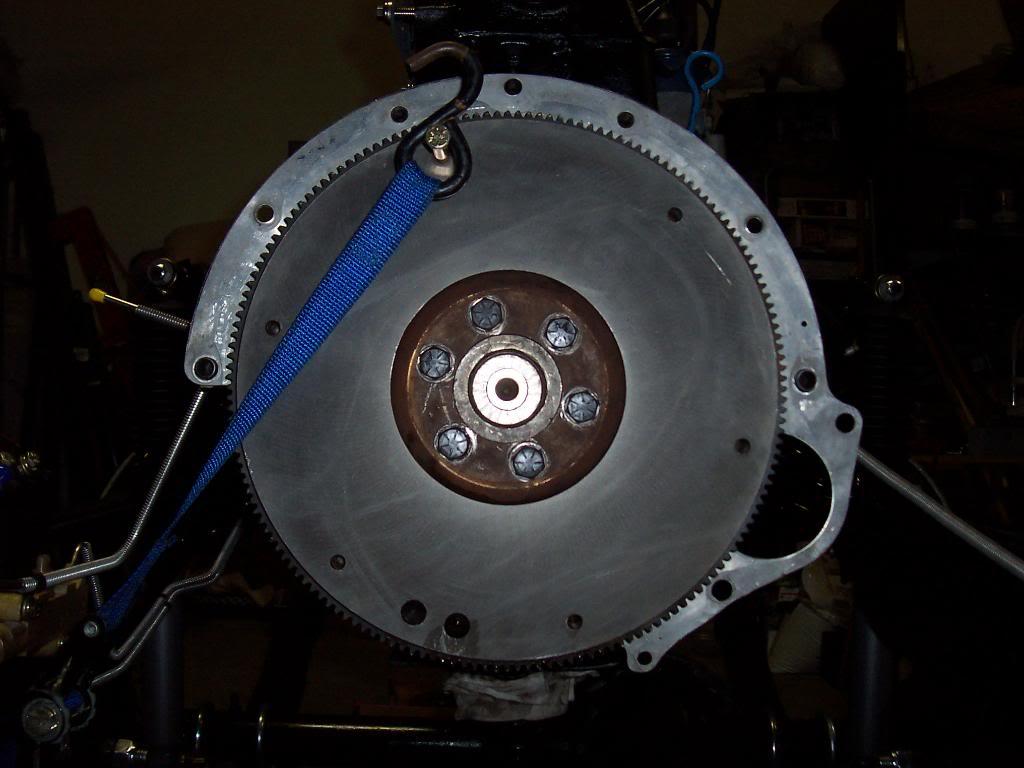
Installed flywheel and torqued the bolts. I used the blue ratchet strap to keep the flywheel from turning while I torqued the bolts down.

100_5032-1.jpg


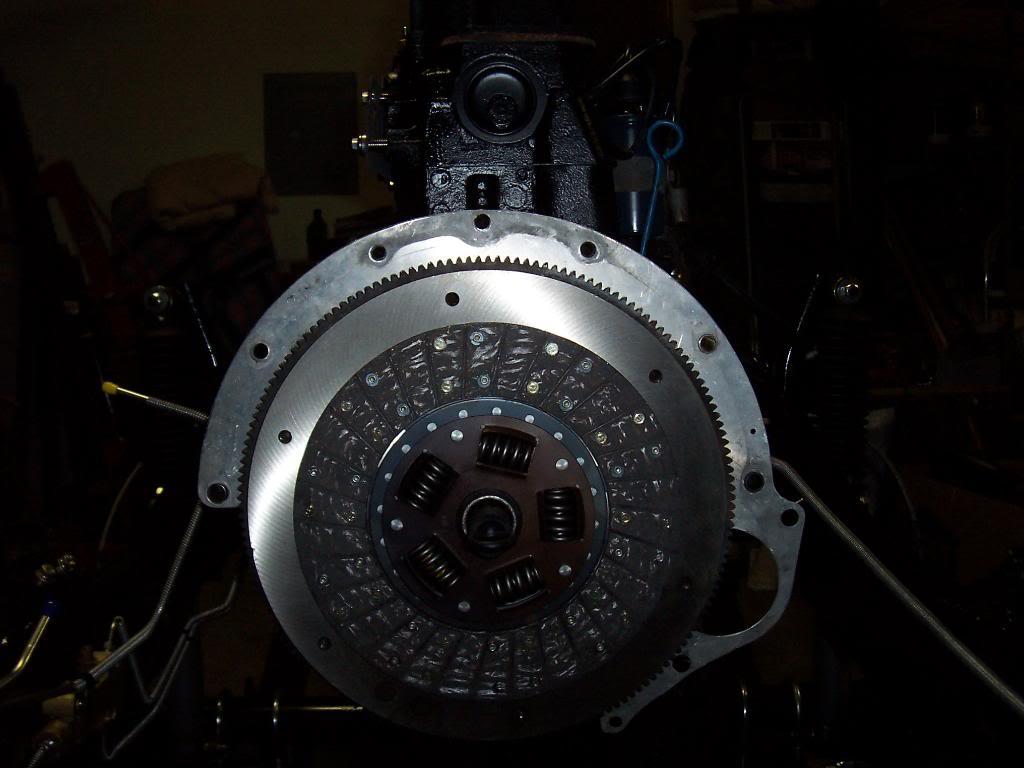
Installed the disc. I used the little "dummy shaft" to keep it centered.

100_5035-1.jpg


Bolted up the pressure plate next.

100_5036-1.jpg


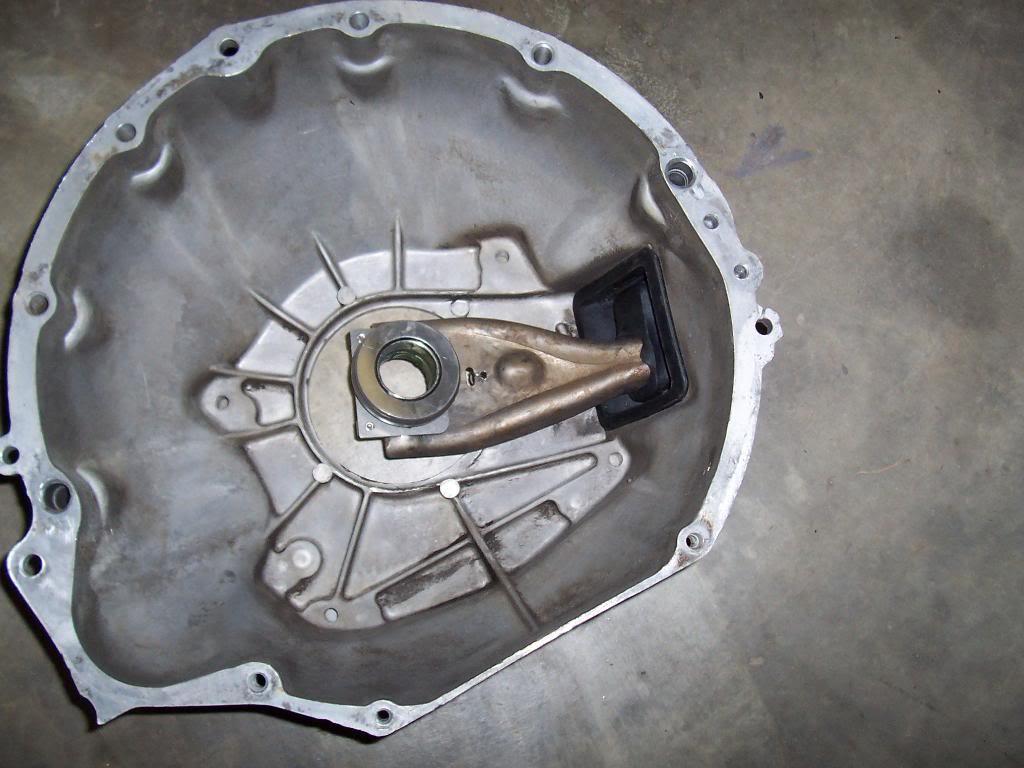
Installed a new clutch fork ball and return spring inside the bell housing. Installed a new boot on the outside. Reused the old clutch fork, it is in good shape.

100_5037-1.jpg


100_5038-1.jpg


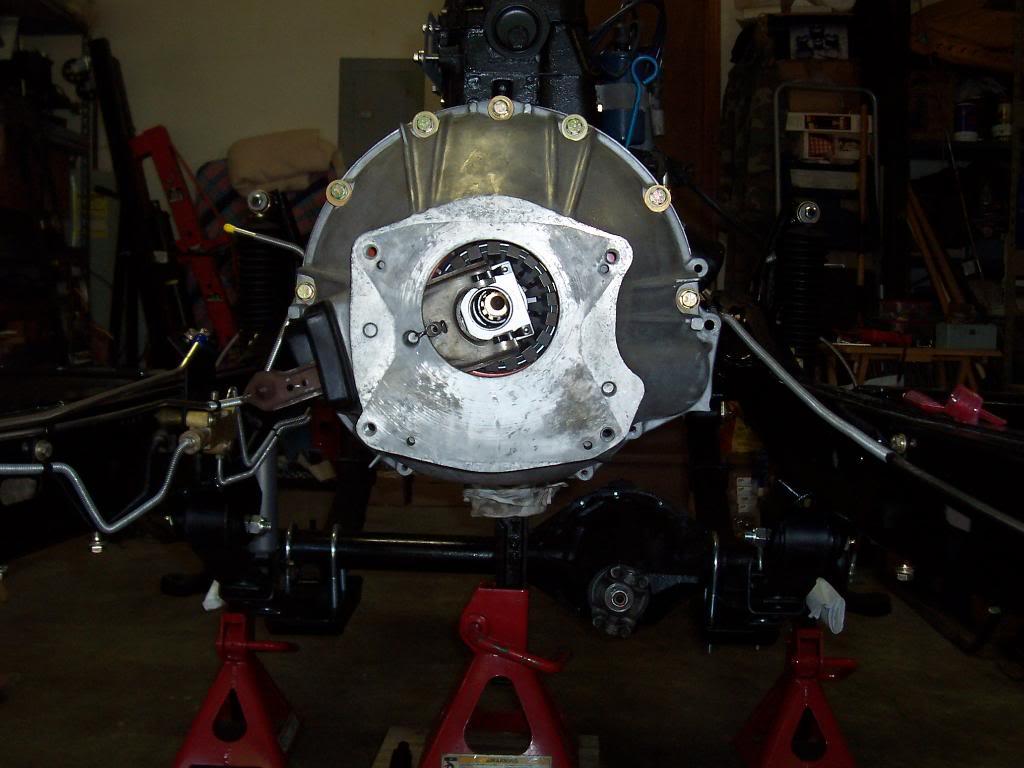
Bolted up bell housing.

100_5039-1.jpg


100_5040-1.jpg


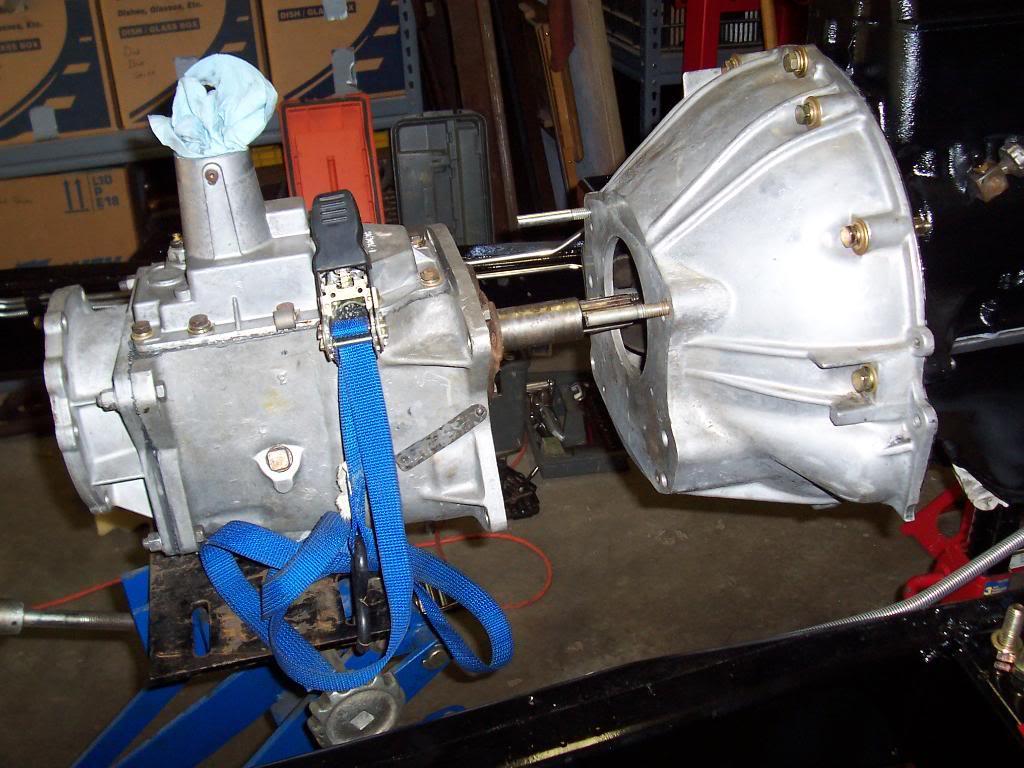
Installed T176 transmission next. I used a transmission jack to ease the installation. Cut off the heads of some long bolts to act as guide pins. Installed fairly easy, I had to pull it in with the mounting bolts for the last inch. I think the pilot bushing was a tight fit on the transmission input shaft.

100_5041-1.jpg


100_5042-1.jpg


100_5043-1.jpg
 
View of the rear of the transmission.

100_5045-1.jpg


Bolted up the transfer case next. I just picked it up, lined up the 3 studs that are installed in the transfer case with the corresponding holes in the transmission adapter housing, and it slid on with no issues. The shift housing, located on the front of the transfer case, does rub slightly on the transmission adapter housing. I had to pull it past this tight spot by tightening a nut on a stud. Really not a problem, just thought I would mention it.

100_5046-1.jpg


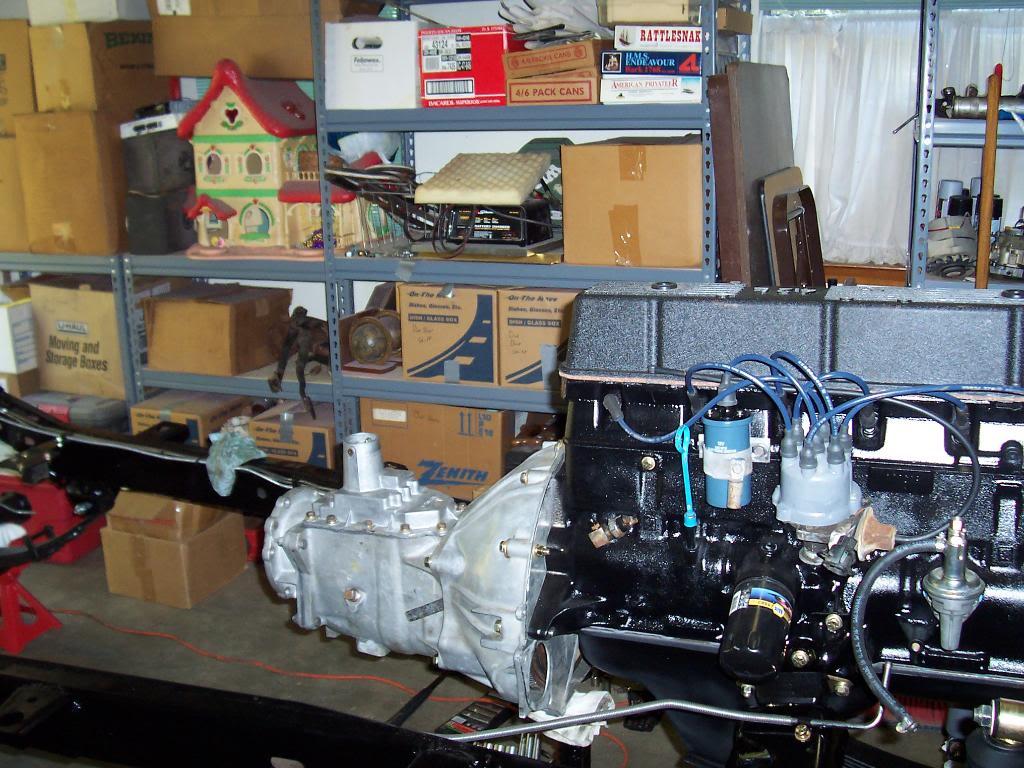
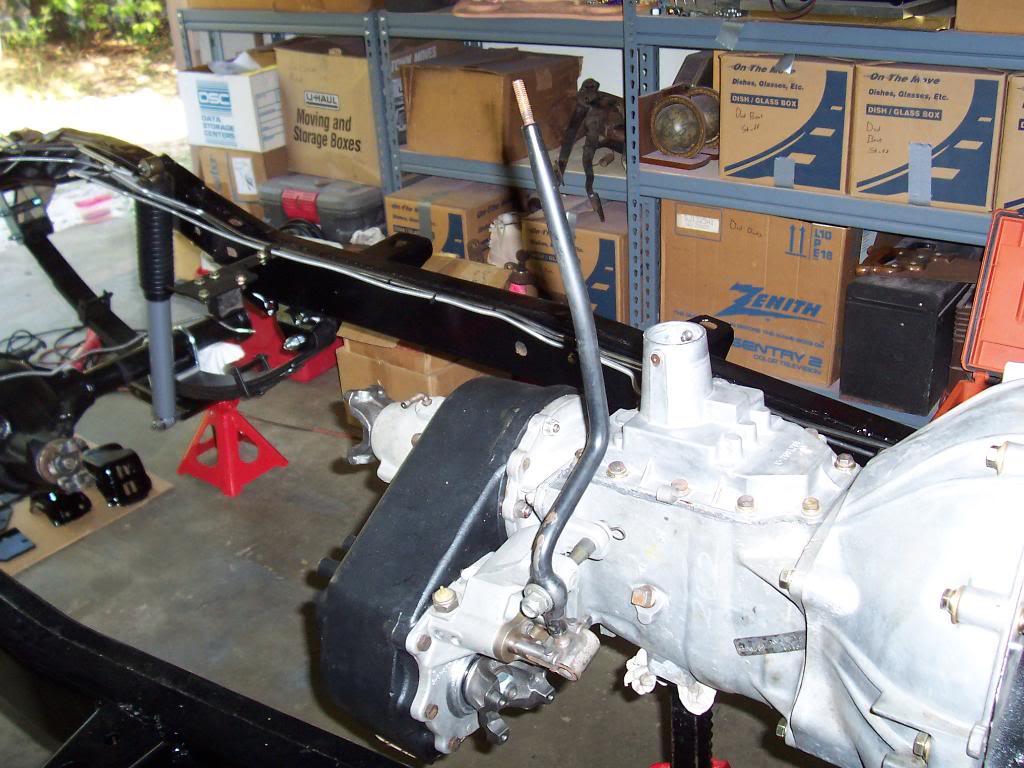
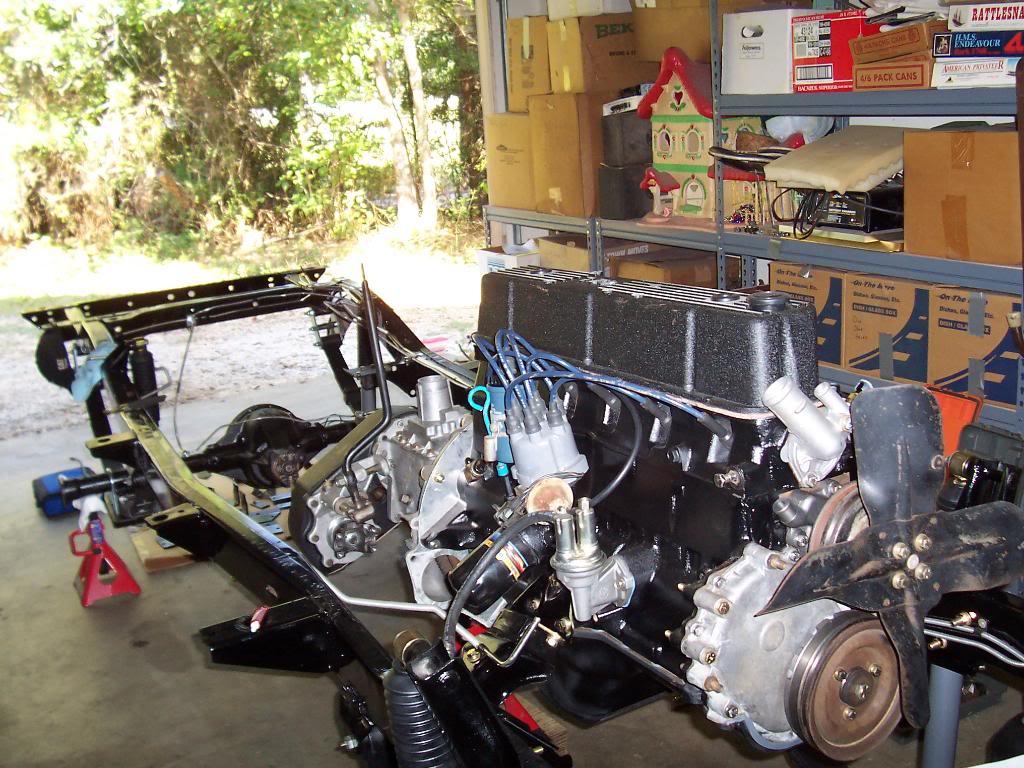
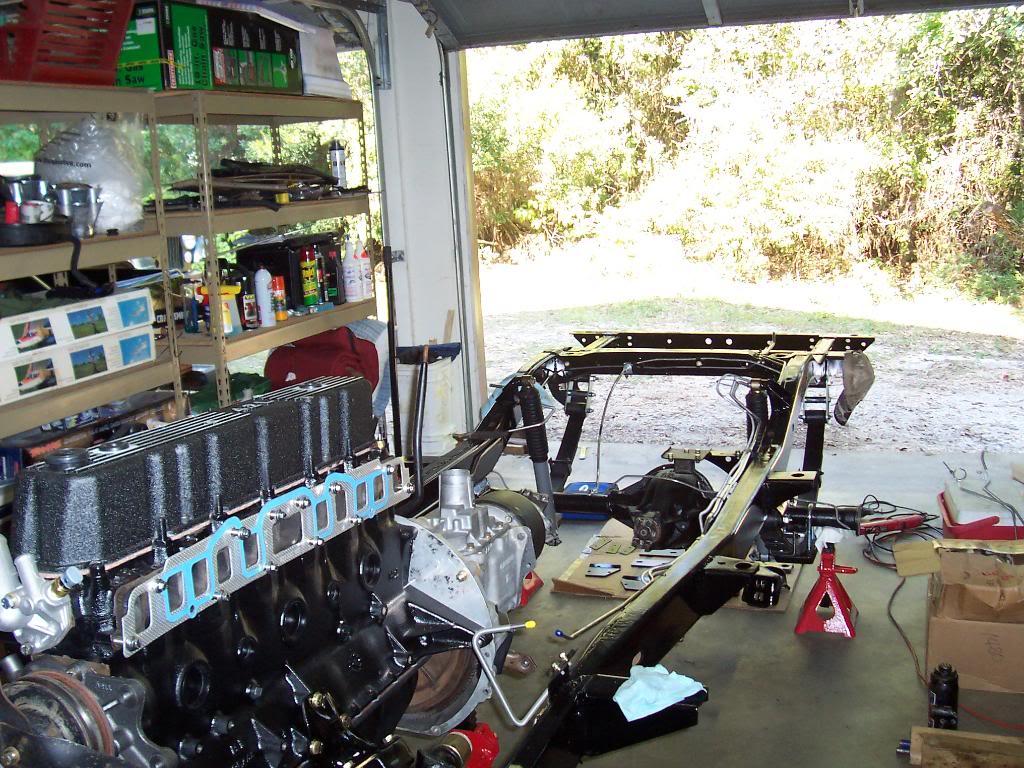
And some pics of the installed power train.

100_5047-1.jpg


100_5048-1.jpg


100_5049-1.jpg


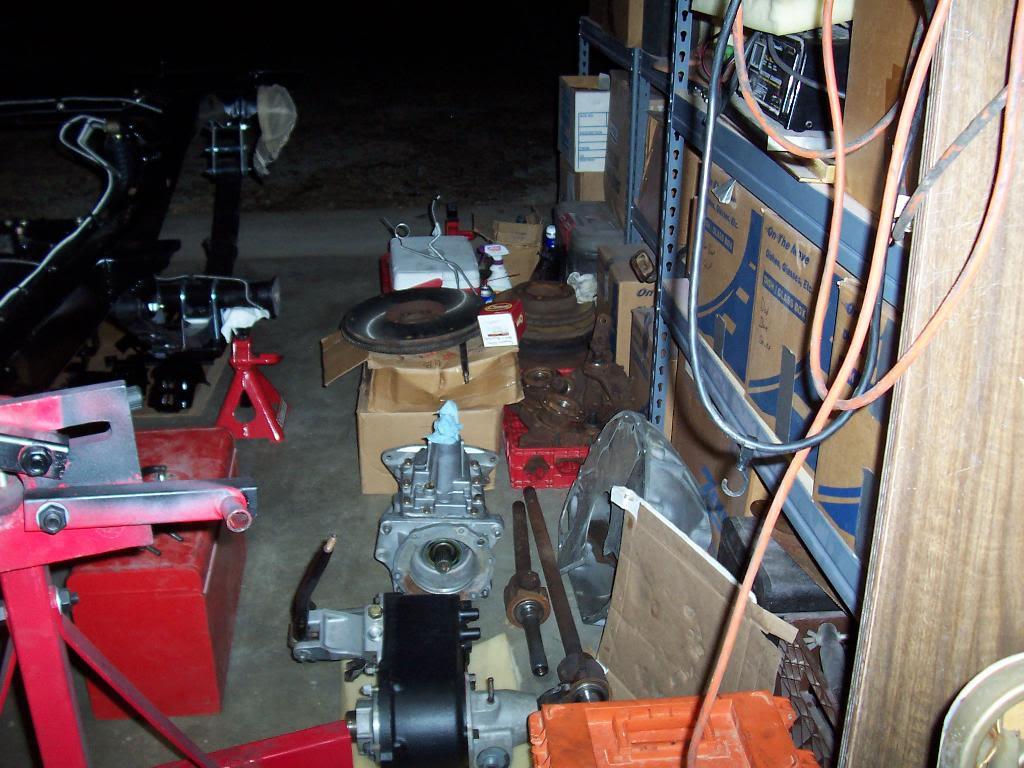
I will probably start installing axle/hub/brake assemblies onto the axles next.
 
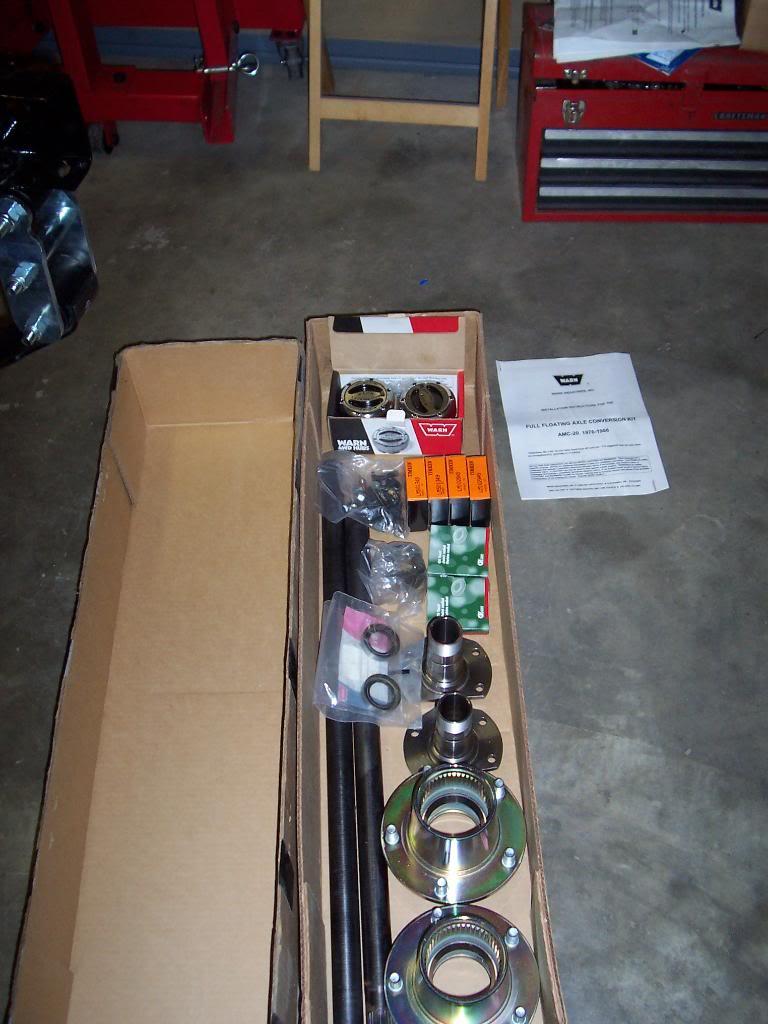
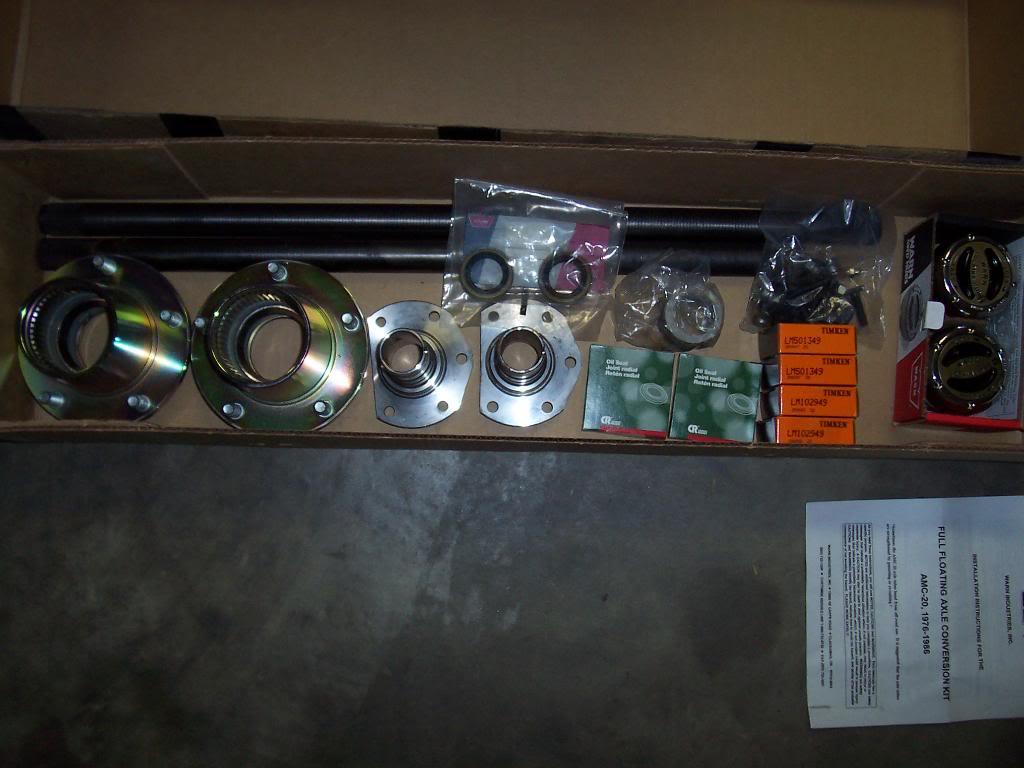
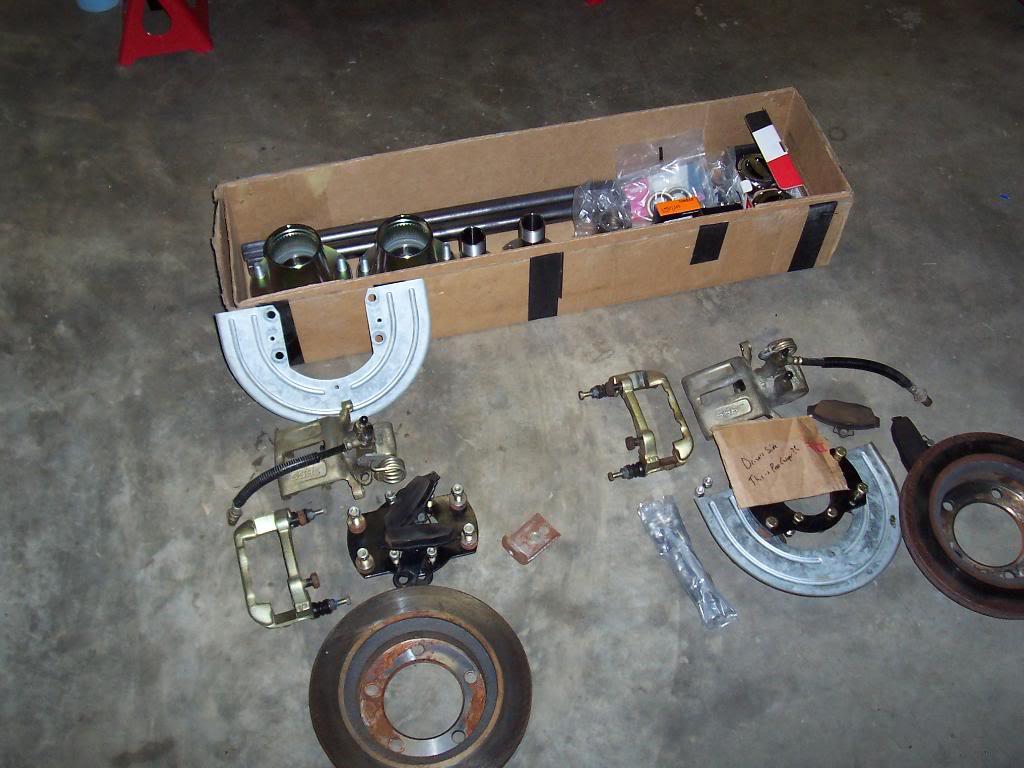
Plan on installing this stuff in the next few days - Warn Full Float Rear Axle Conversion and the SSBC rear disc brake kit.

100_5101-1.jpg


100_5096-1.jpg


100_5097-1.jpg


100_5103-1.jpg
 
Last edited:
Did you have any trouble get the inspection cover on the bell housing with the longer flywheel bolts?
 
Back
Top