• Notice for iPhone users: DO NOT use the image size reduction option when uploading photos to the forum. This causes portrait images to post as landscape. We have added a warning to the image insert pop-up as well.

Another Scrambler Purchase/Road Trip - UPDATE- BODY ON FRAME AGAIN

Small update.

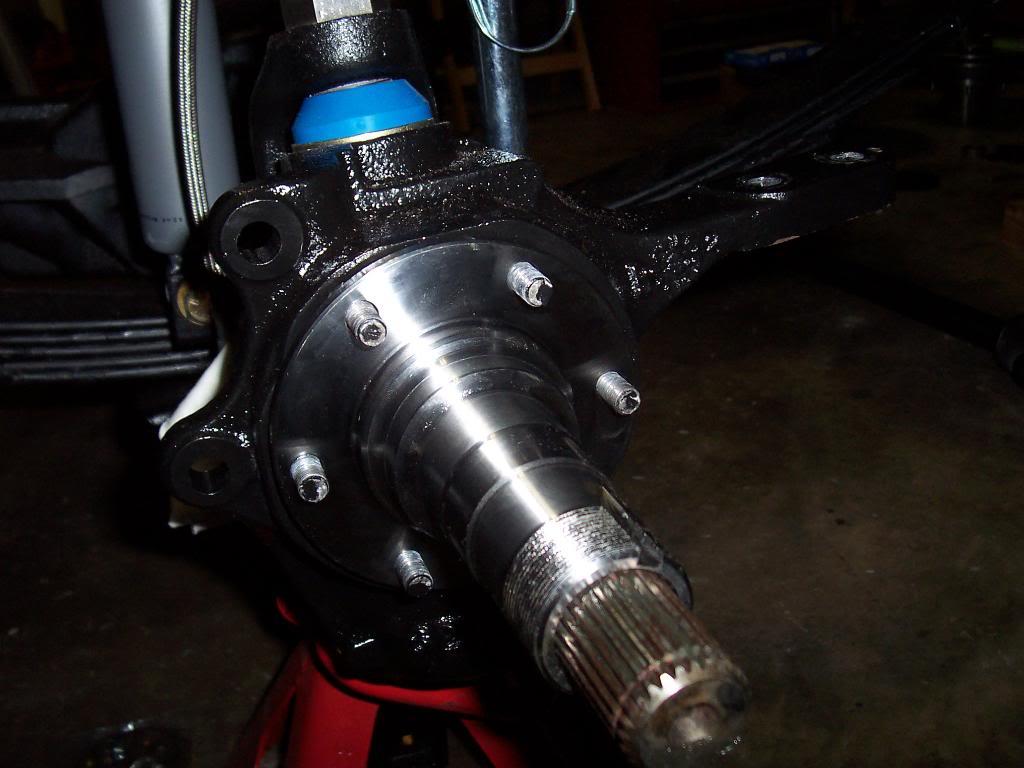
Got the other ball joint pressed in.
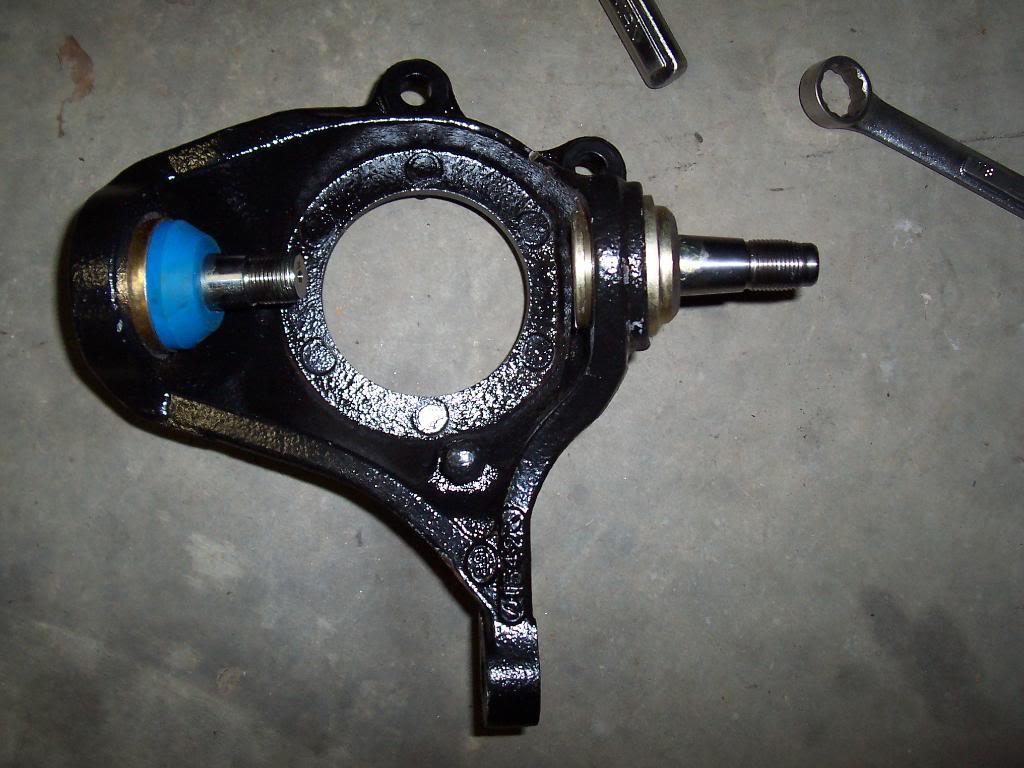
100_5147-1.jpg


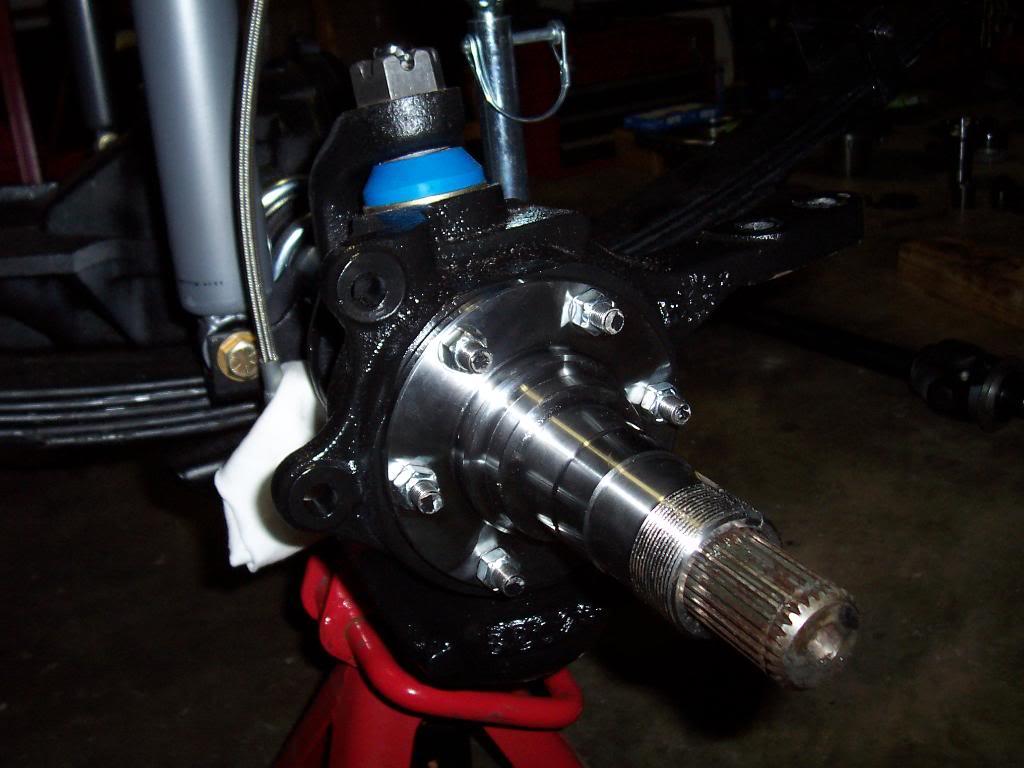
And the knuckle mounted up.

100_5148-1.jpg


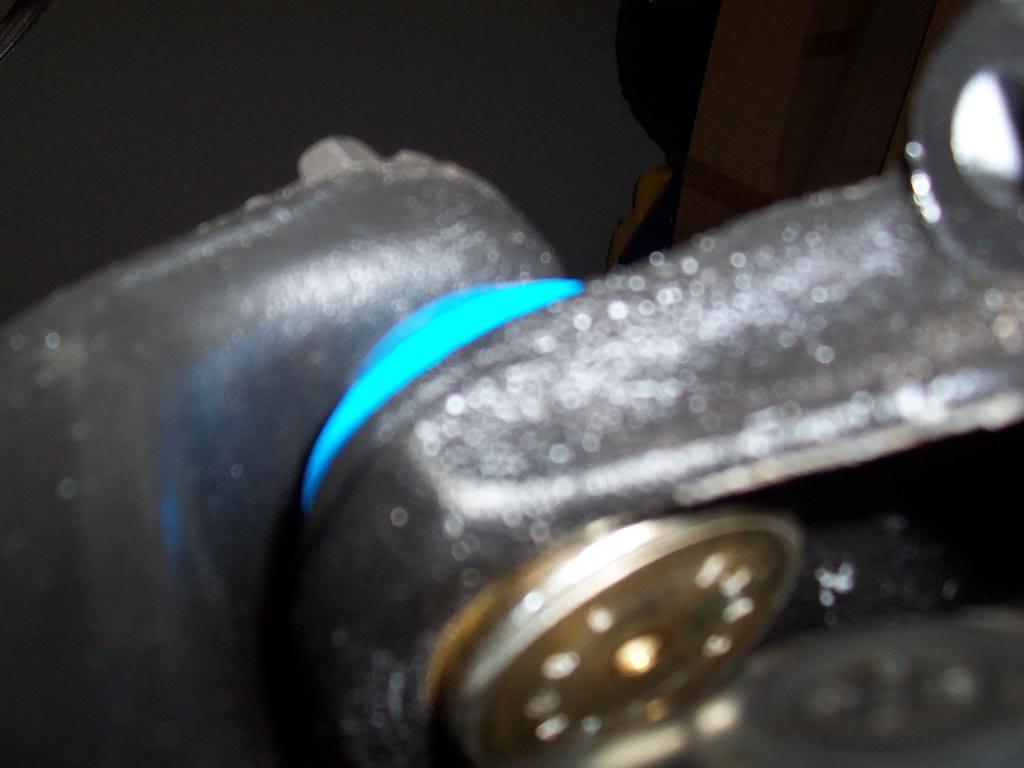
Unfortunately, I broke one of the ball joint tool cups while installing the ball joint. I finished installing the joint, was about to loosen the tool, when it went bang.
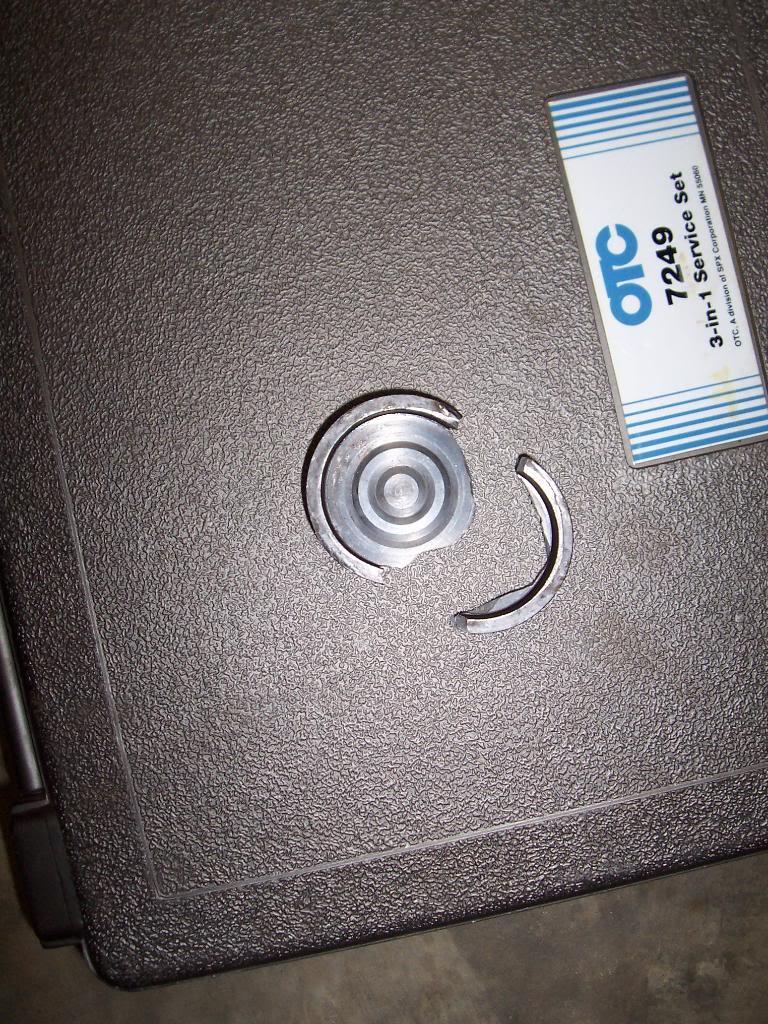
100_5146-1.jpg


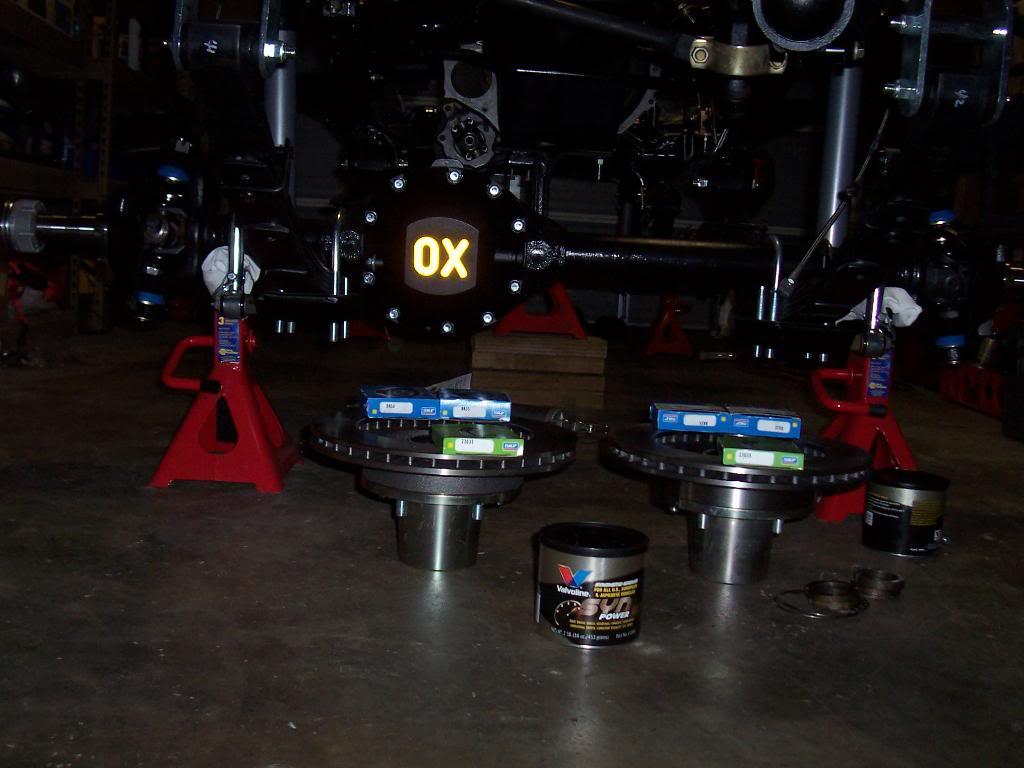
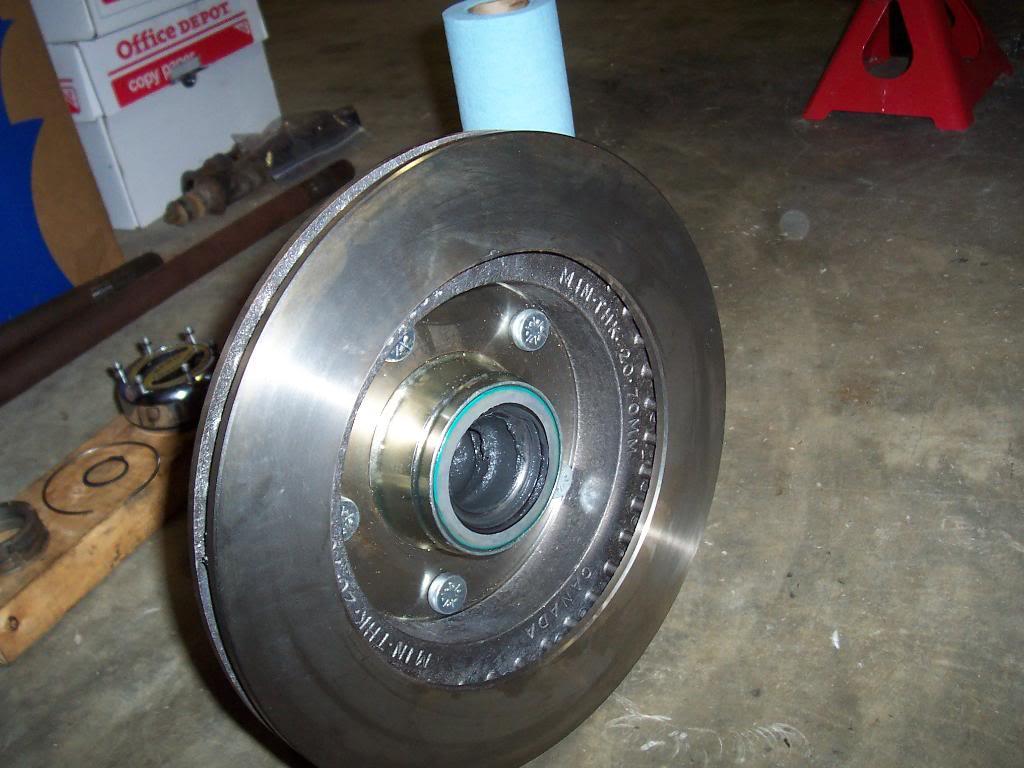
Still waiting on spindles and one wheel hub. Installed 1 rotor to 1 wheel hub. That's it for now.
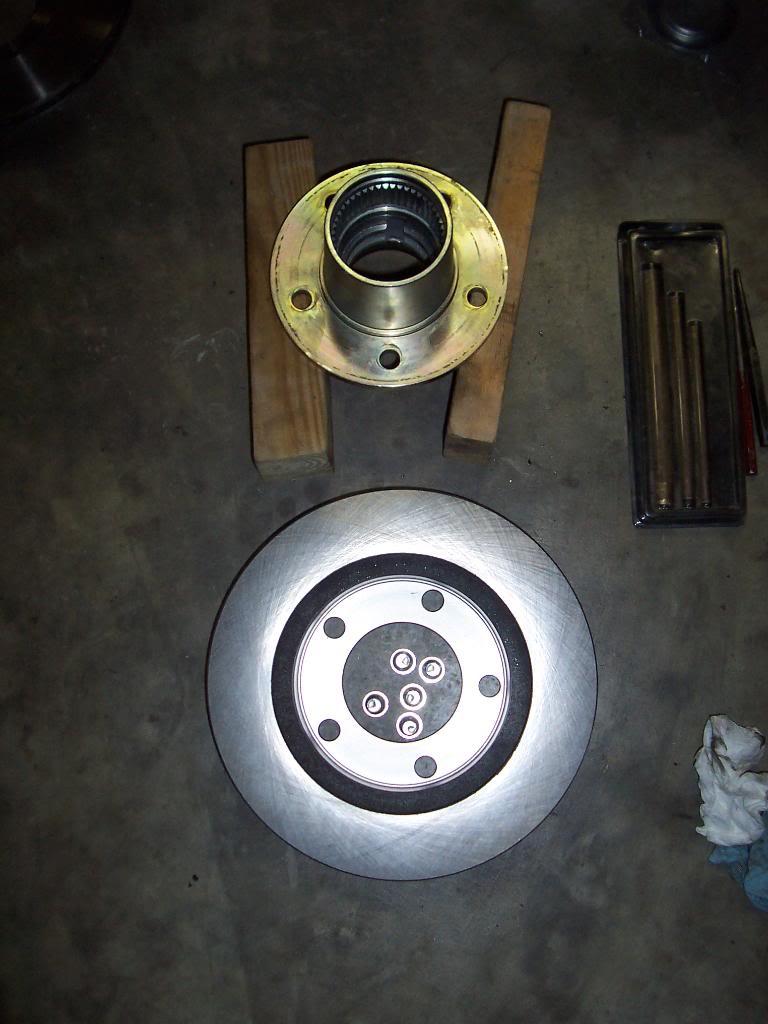
100_5149-1.jpg


100_5151-1.jpg
 
Hey Raymond, glad to see the spare parts finding a good home. Let me know if i can help in any way. Project looks fantastic with great attention given to the details !
Dave
 
Hey Raymond, glad to see the spare parts finding a good home. Let me know if i can help in any way. Project looks fantastic with great attention given to the details !
Dave

Appreciate it Dave:cheers:

Thanks a million again for the Warn 37132 components you had, I will definitely be putting them to good use:thumbsup:
 
One last update before Talladega.

Did a little bit of front end work last night.

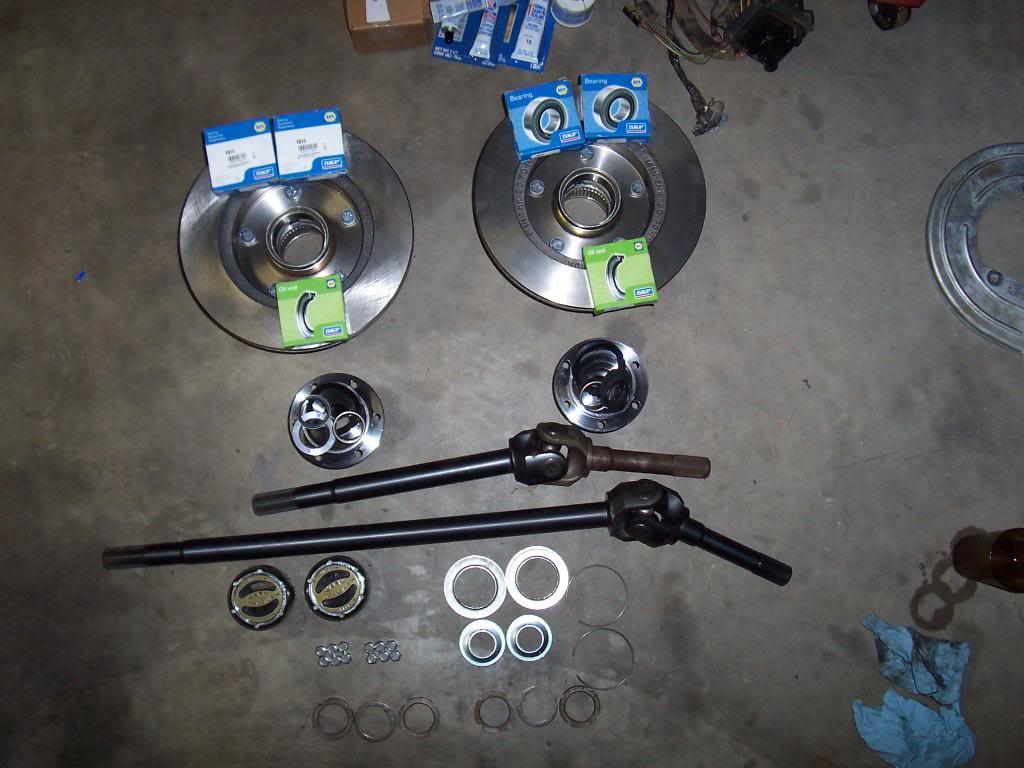
Pic of all the parts.

100_5153-1.jpg


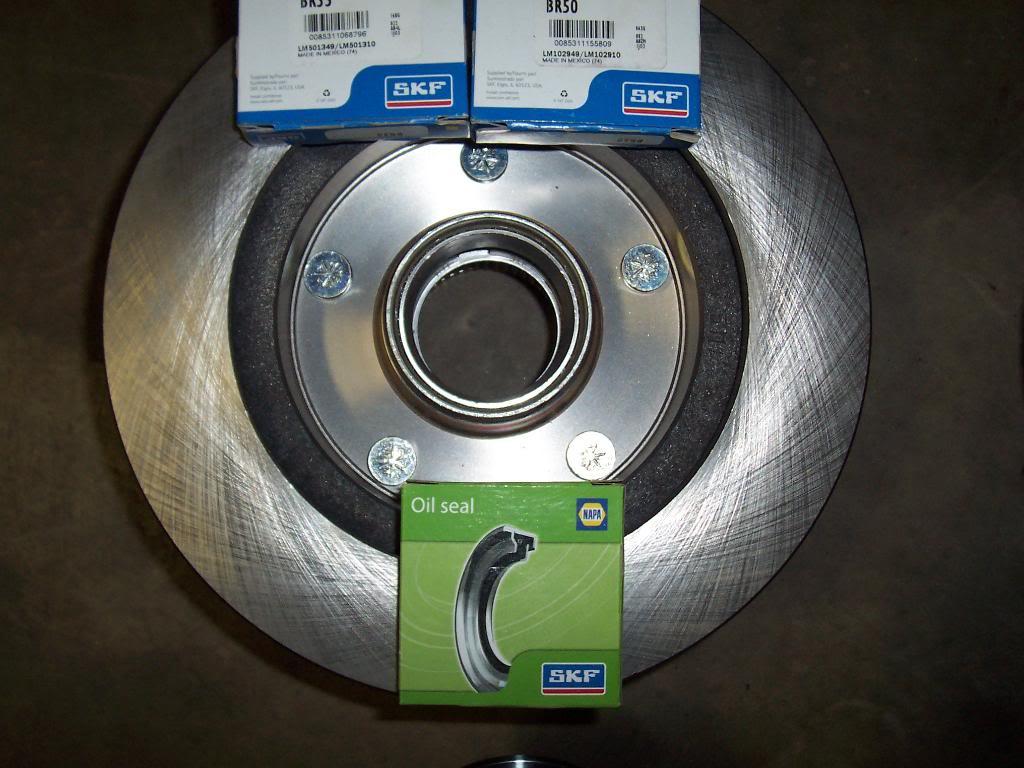
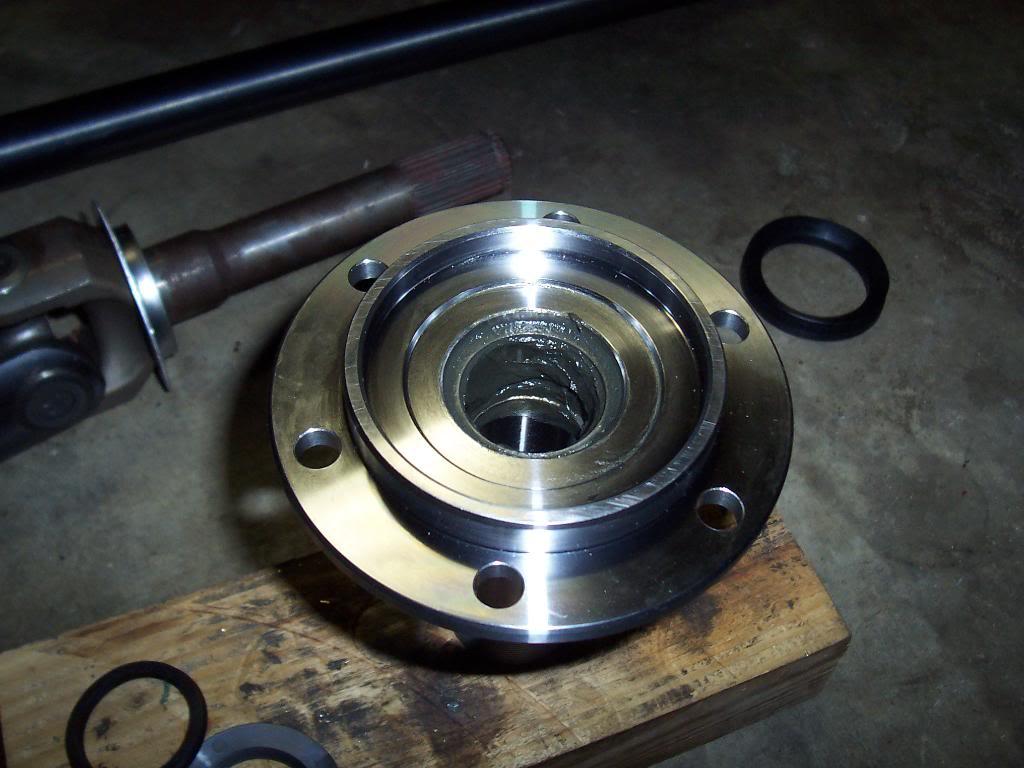
Front rotor/hub assemblies with bearings and seals.

100_5154-1.jpg


New spindles with associated bearings, seals, and washers.

100_5155-1.jpg


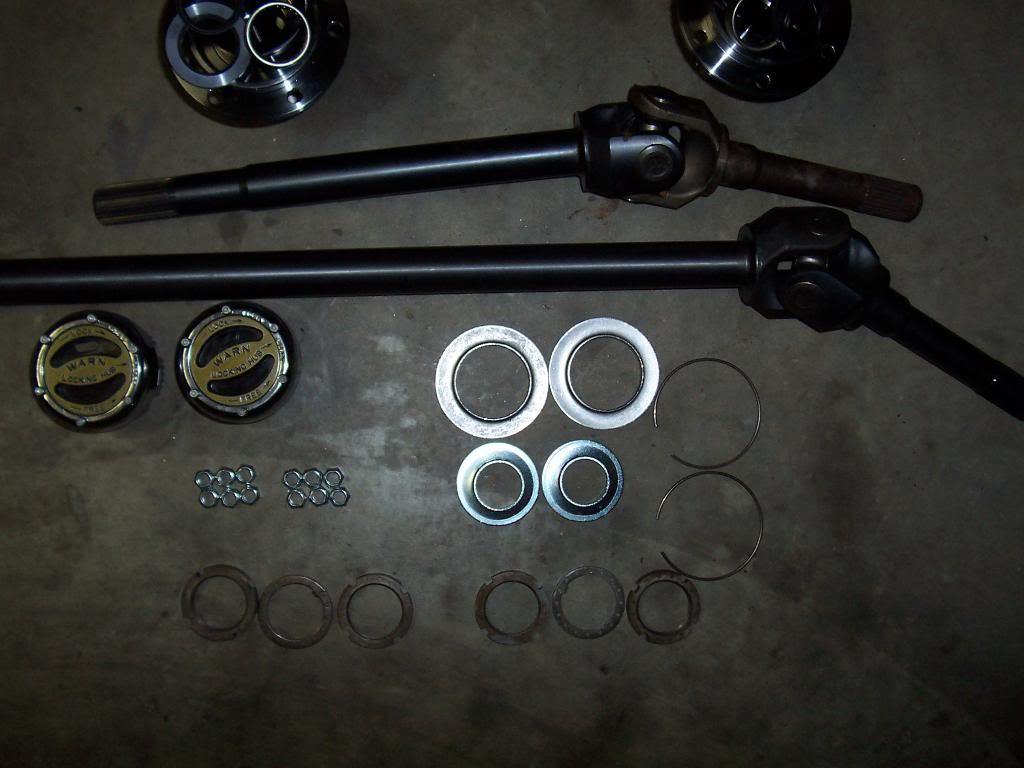
Axles, hubs, spindle nuts, snap rings, etc. Still need to get 2 new outer axle snap rings. The lock in hubs are used, but still look/function like new.

100_5157-1.jpg


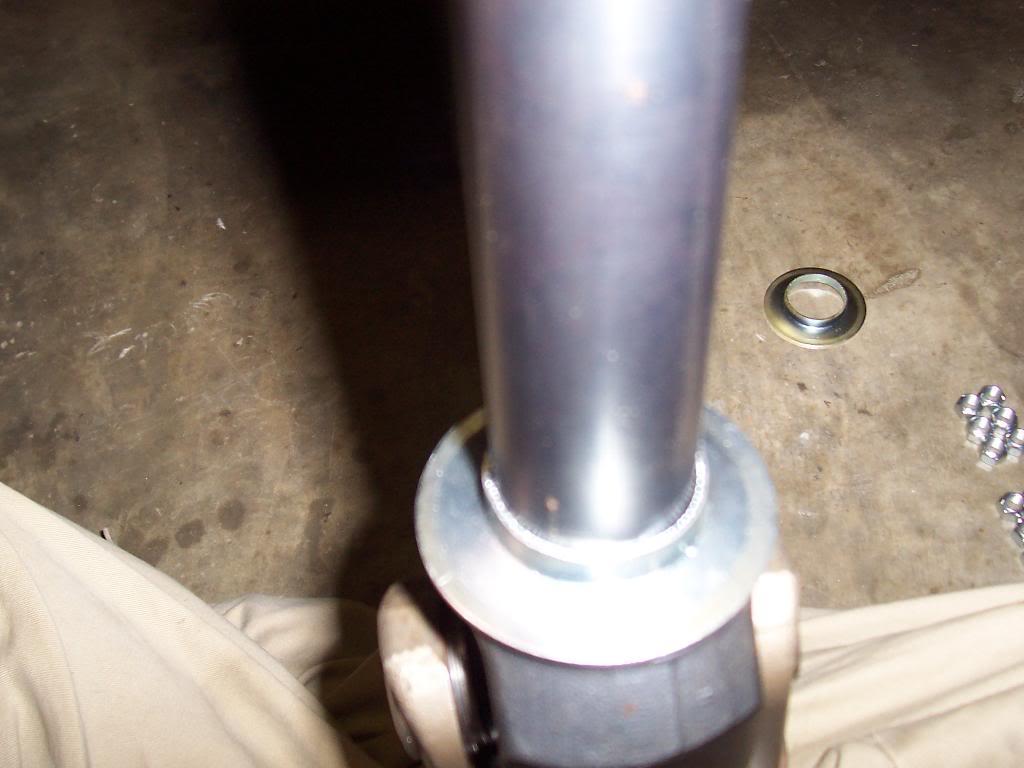
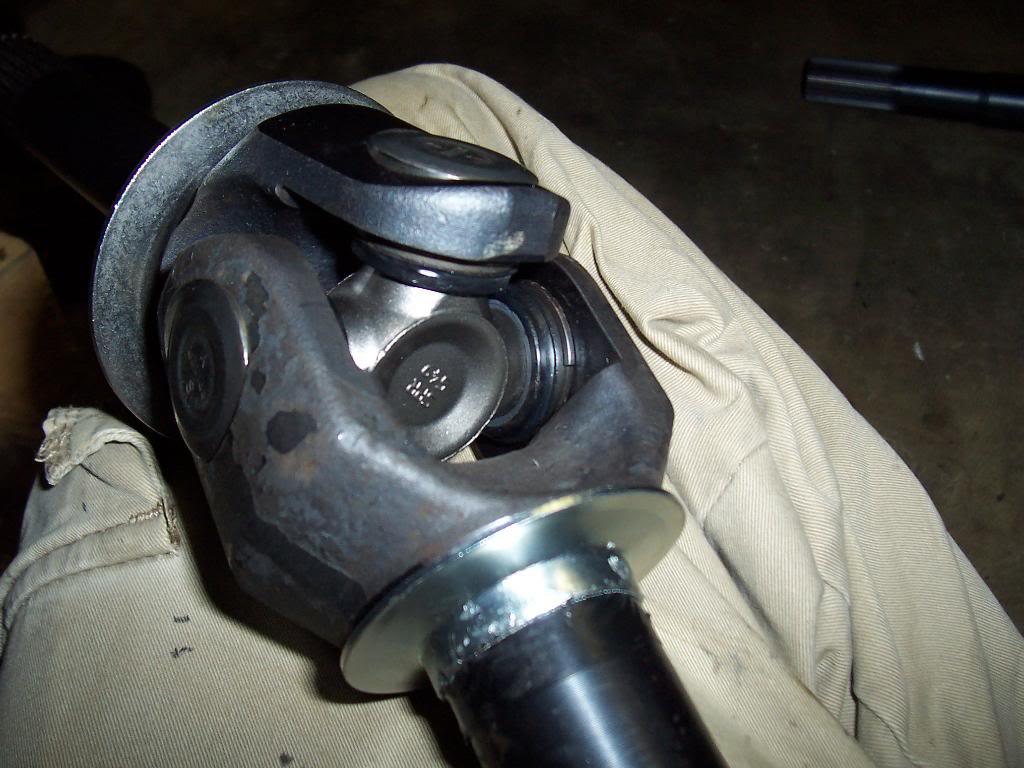
Installed big washer thing on stub axle shaft. Spindle seals ride against this piece.

100_5158-1.jpg


100_5159-1.jpg


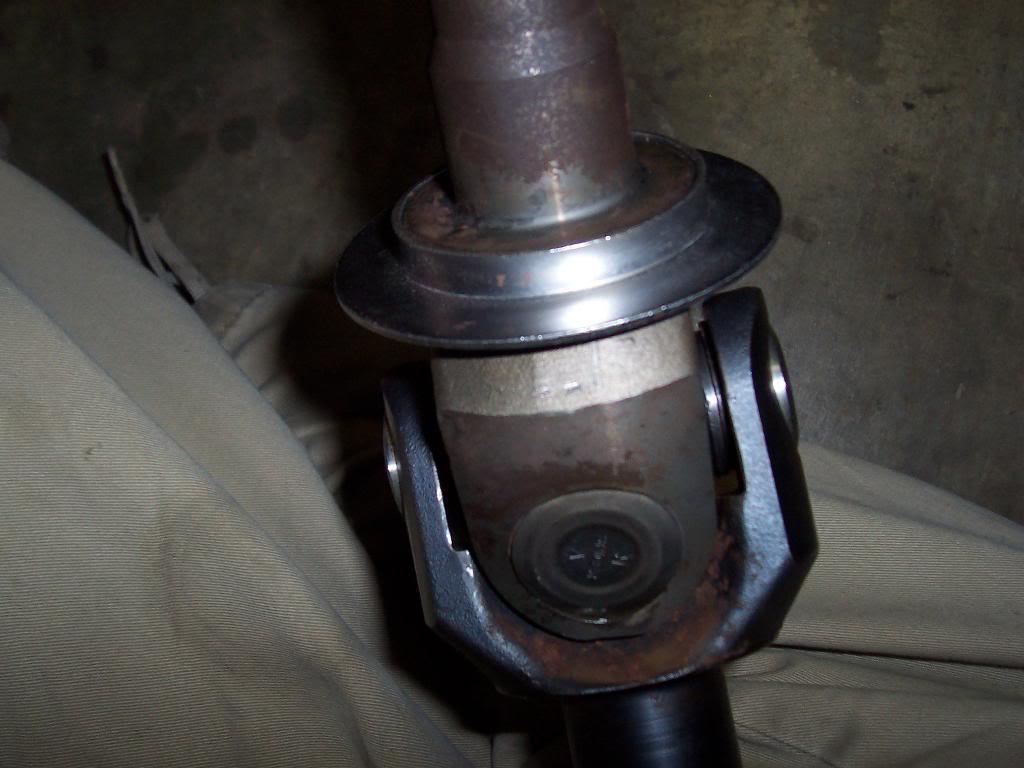
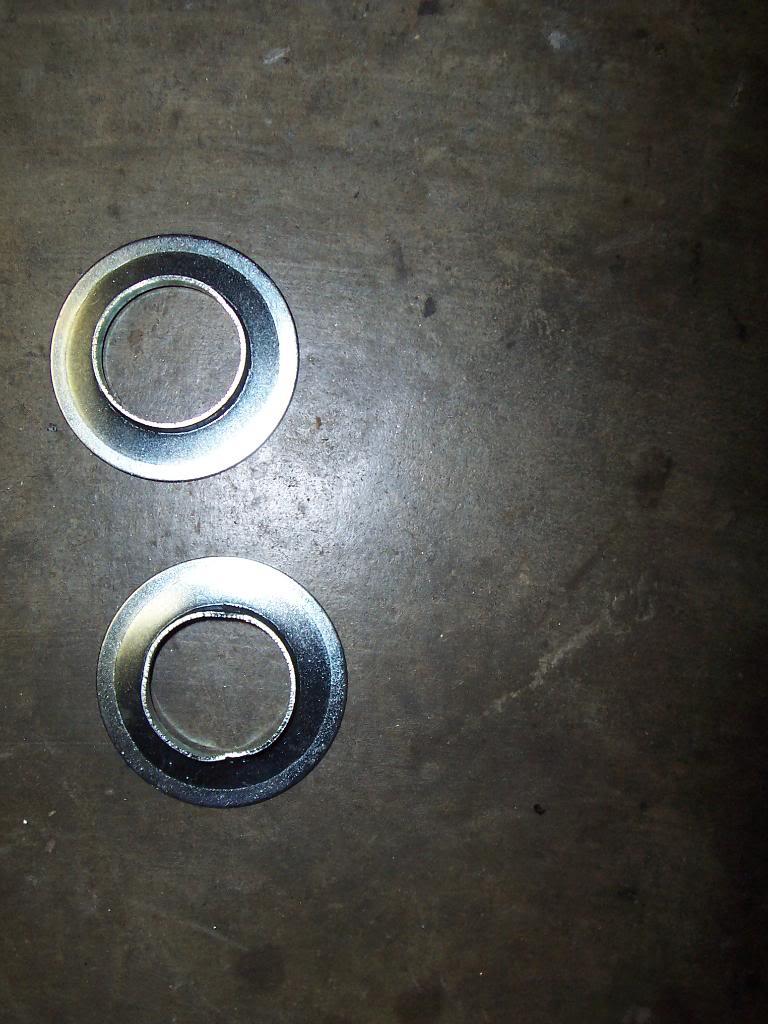
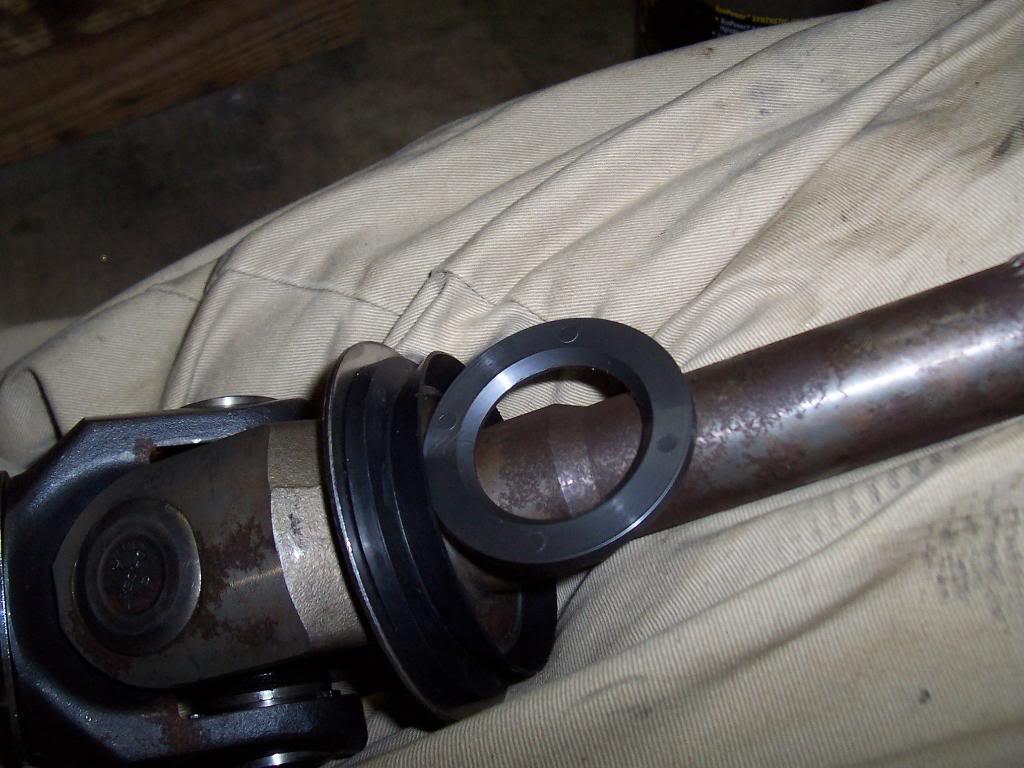
Installed the smaller of the washer things on the inner shafts. These act as dust shields for the axle tubes.

100_5161-1.jpg


Unfortunately, they do not fit tight on these shafts. The Warn shafts I have don't have the slight ramp up at the end of the shaft were these things go. Some other aftermarket shafts are the same, I have ran into this issue before. So, I slightly bent them.

100_5160-1.jpg


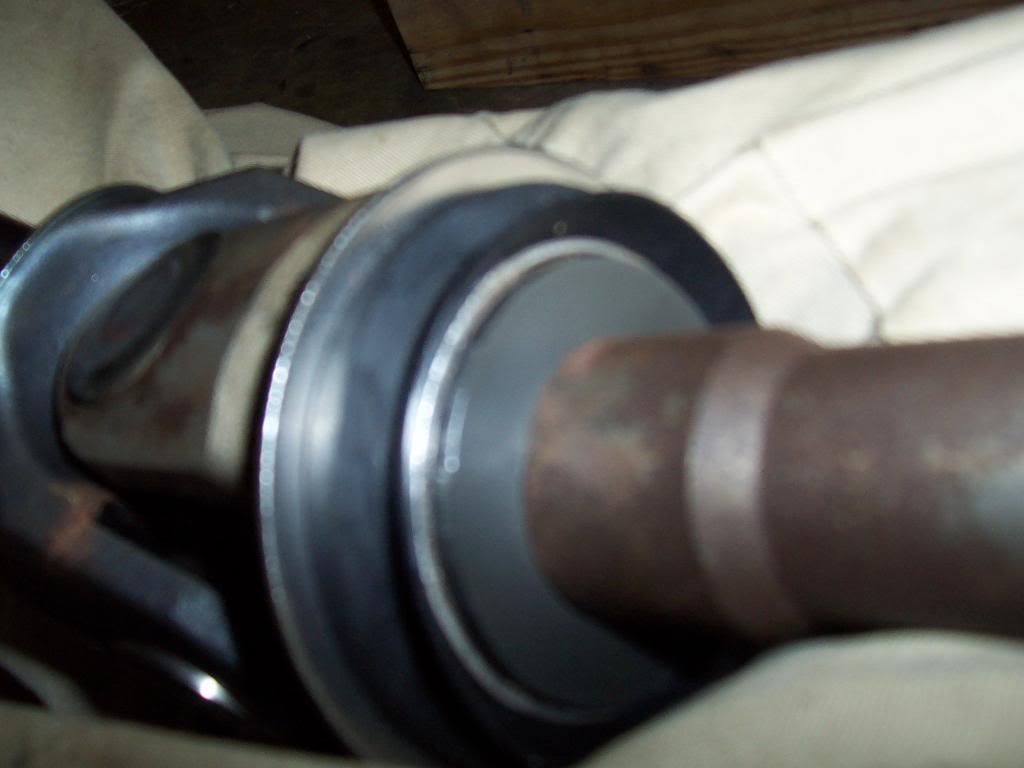
I also wrapped electric tape around the shaft to guarantee a tight fit. When you slide the shaft in the tube, these pieces do get pinned between the axle housing and the shoulder on the shaft, they cant fall off. I just didn't want to here them rattling around.

100_5162-1.jpg


Installed spindle bearings.

100_5163-1.jpg
 
Installed spindle seal next.

100_5164-1.jpg


Installed large spindle seal on the big washer thing on stub shaft. Slid plastic thrust washer on shaft.

100_5165-1.jpg


100_5166-1.jpg


Greased up axle splines, inserted axles into axle housing.

100_5167-1.jpg


Slid spindles on.

100_5168-1.jpg


Bolted spindles on, torqued nuts to 40 ftlbs.

100_5169-1.jpg


After assembling one side I remembered I didn't grease the ball joints. You cant put the zerk fitting into the upper ball joint with the axle installed.

100_5170-1.jpg


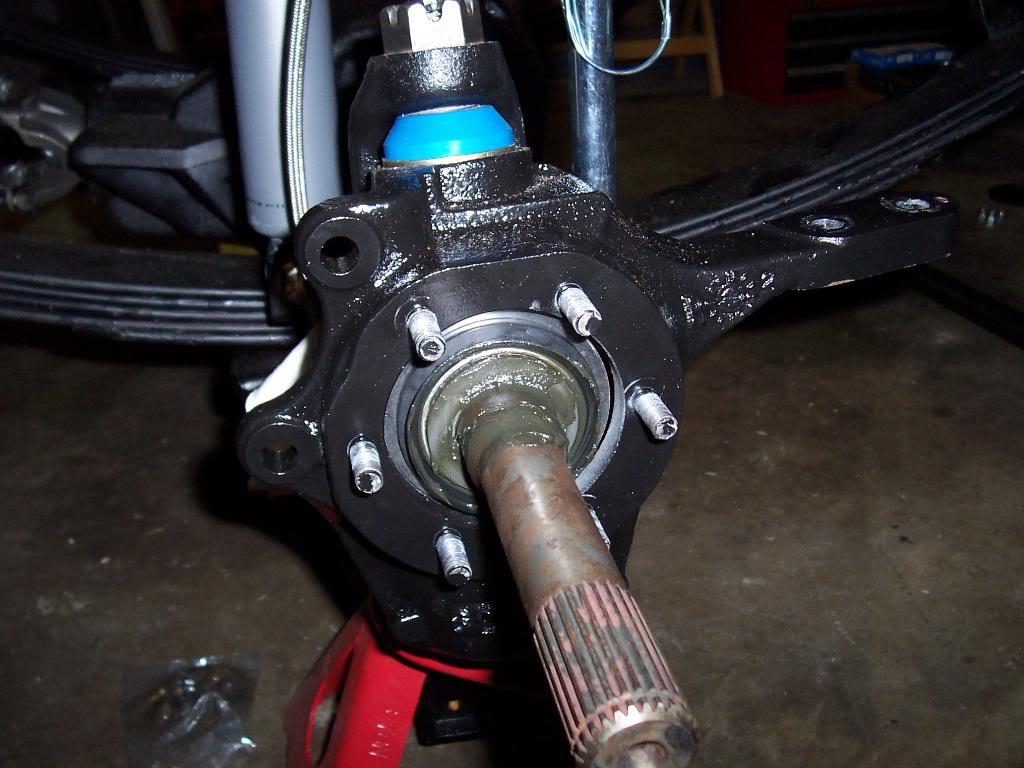
Took the one side apart, greased all 4 ball joints, reinstalled everything. That all the progress. I temporarily slid the lock in hubs over the stub shaft splines to keep people who walk by from pumping into the greasy splines.

100_5171-1.jpg


100_5172-1.jpg
 
Aren't you building this as your trail rig? If yes, what trails are you going on? It's a showpiece. Great work. I'm jealous! :thumbsup:
 
Aren't you building this as your trail rig? If yes, what trails are you going on? It's a showpiece. Great work. I'm jealous! :thumbsup:

Appreciate the compliments:thumbsup: I am actually very jealous of your projects progress, you are alot closer to the finish line, plus it looks great:cheers:

Yep, it will be my trail rig. When I started out, I never thought I would go through all this work. But, it kinda snowballed out of control, in a good way, I hope:rotfl:

It was one of those "OCD" type of things. Once I did a little work on "this", it looks pretty/new/nice, there was no way I could leave "that" looking old and cruddy, then multiply that line of thinking x1000 and you get to where I am at:thumbsup:

I will be taking it trail riding to most of the places around here (Southeastern US) (Grey Rock, Mountainside, Sicily Island, etc), plus I plan on driving it to Utah in the spring. That is one reason i am going through so much trouble, I want it to be a reliable dual purpose rig. It wont be a dedicated hard core rock crawling rig (obviously), but I think it should be capable of taking on some moderate trails; it should be able to tackle, on a scale of 1 to 10 up to maybe a 7 rating:shrug: It should be able to easily navigate any of the "Jeep Jamboree" trails, I hope:crazy:

If I ever decide to "restore" one, it will definitely take my OCD to the next level:rotfl:
 
I know the feeling. I thought I would use many of my old parts again, only to realize they don't look good enough. So I have replaced them with new; and there was nothing wrong with the used parts. Will have a garage sale afterwards and get rid of all of it. Keep at it.
 
I know the feeling. I thought I would use many of my old parts again, only to realize they don't look good enough. So I have replaced them with new; and there was nothing wrong with the used parts. Will have a garage sale afterwards and get rid of all of it. Keep at it.

I have something a little more interesting out in my yard that will gladly take my old, unused parts:evil::cheers::evil::rotfl:
 
Great work Raymond. I am impressed with all your detail photos and "tips". Look forward to wheeling with you. :popcorn::thumbsup:

Jannie ask me to tell you hello. Pleased her to see one of our "Kids" go to such a good home LOL. :thumbsup:

:wave:
 
Great work Raymond. I am impressed with all your detail photos and "tips". Look forward to wheeling with you. :popcorn::thumbsup:

Jannie ask me to tell you hello. Pleased her to see one of our "Kids" go to such a good home LOL. :thumbsup:

:wave:

Good to hear from you Toby, glad you have been watching the thread:thumbsup:

Tell Jannie I said hello, and tell her I am trying my best to take care of one of her wayward "kids" LOL:D

Hopefully I will be able to wheel with y'all soon:thumbsup:


This was one very solid Scrambler that you sold me. I think it could have easily gone a couple more years of driving with nothing more then basic maintenance. Besides the slightly wore shift fork, there were really no wore out parts. It is almost a shame I have upgraded everything and haven't used too many of the stock parts:confused: But, I do have a "stepchild" in the yard that will need many of the good/unused parts off of this one:thumbsup:

Thank you again for selling me this Scrambler Toby:cheers:
 
Finished up the front end.

Pic of the last of the front end parts.

100_5173-1.jpg


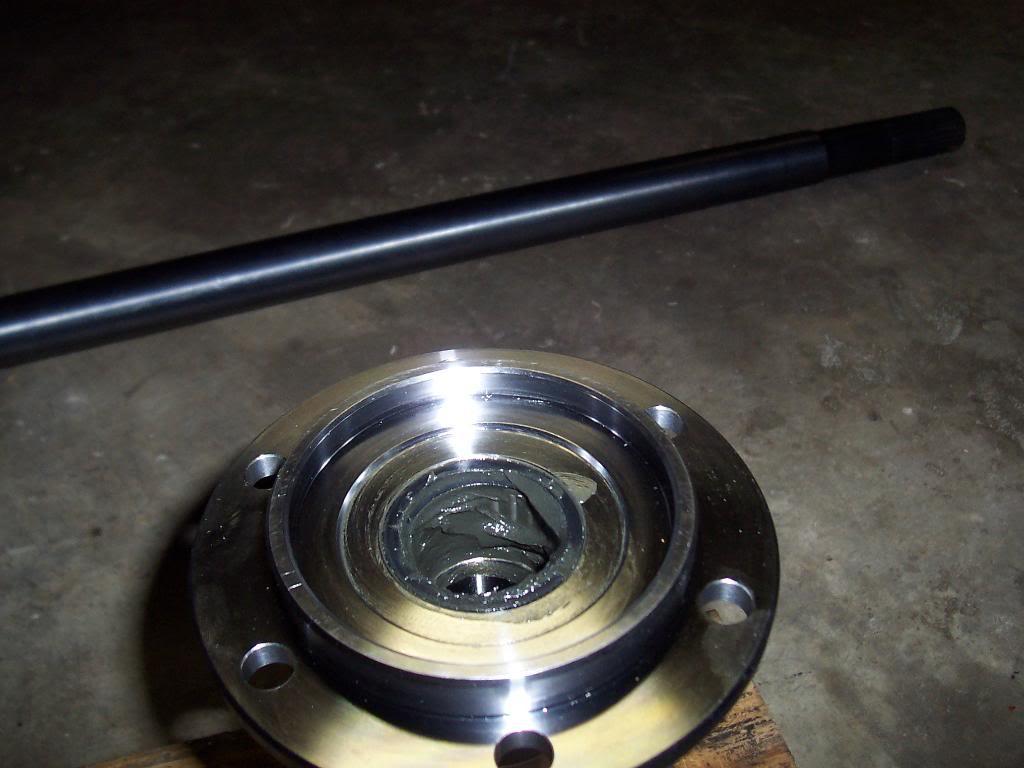
Packed wheel bearings and installed hub seals.

100_5174-1.jpg


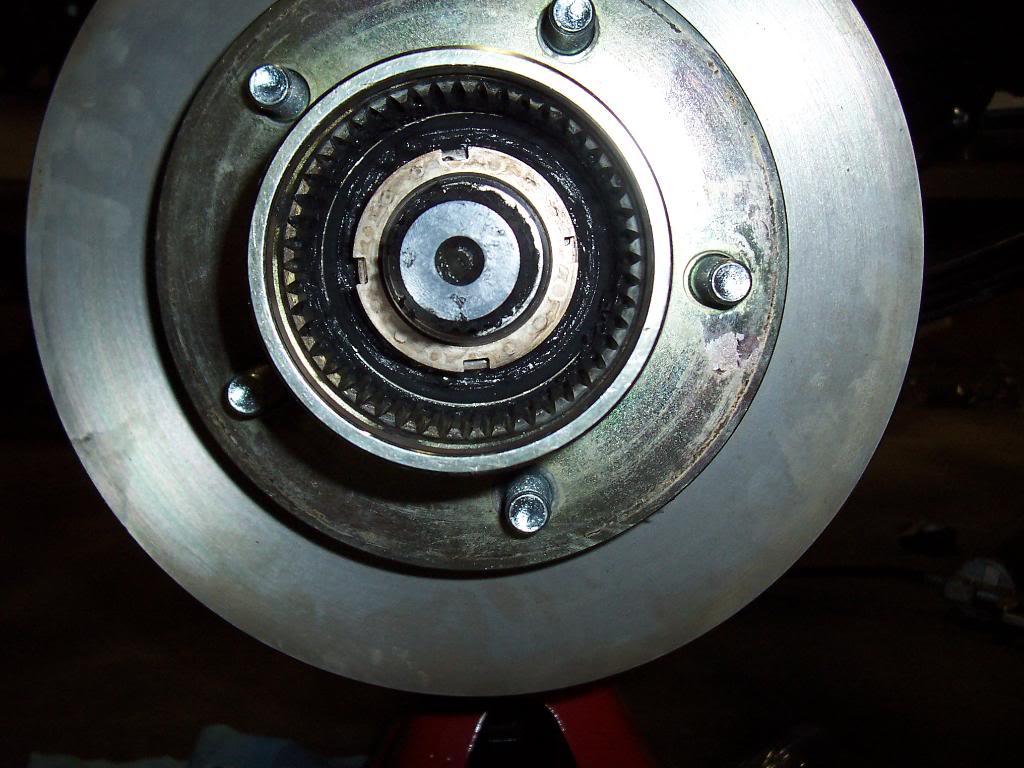
Slid the rotor/hub assembly onto the spindle, torqued the inner nut to 50 ftlbs, backed it off about 1/8 turn. Notice the little peg that sticks out from the face of the inner nut, toward 6 o'clock.

100_5180-1.jpg


Slid intermediate washer on spindle, tab in slot and peg in hole.

100_5182-1.jpg


And finally torqued outer nut to 150 ftlbs.

100_5183-1.jpg


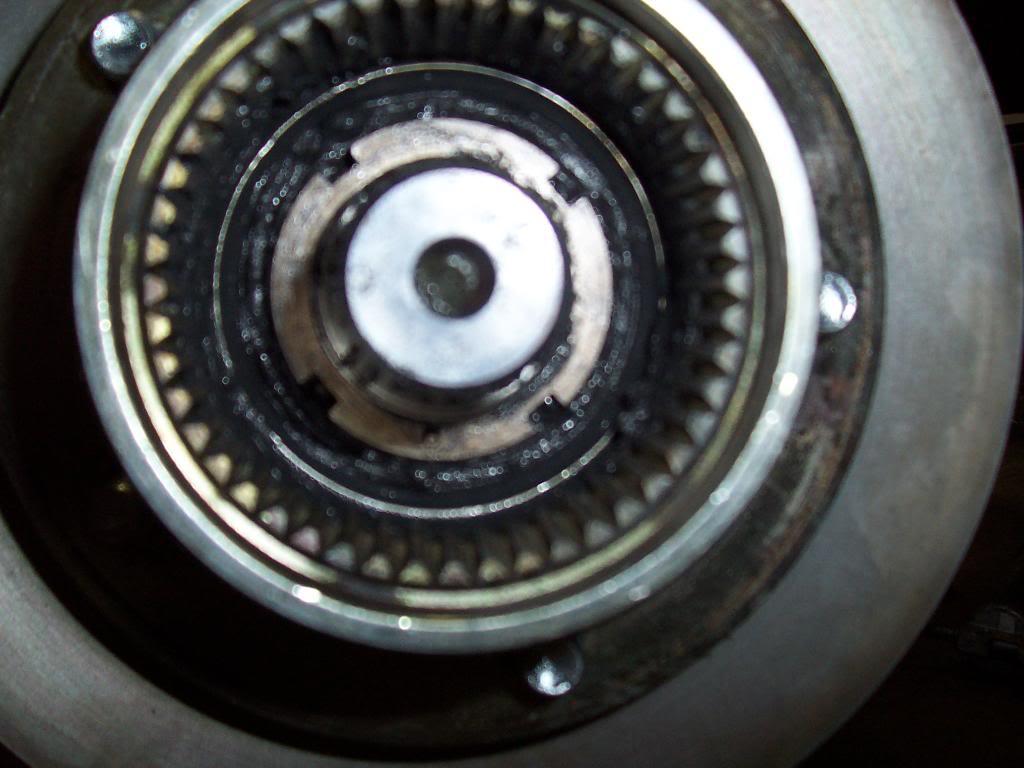
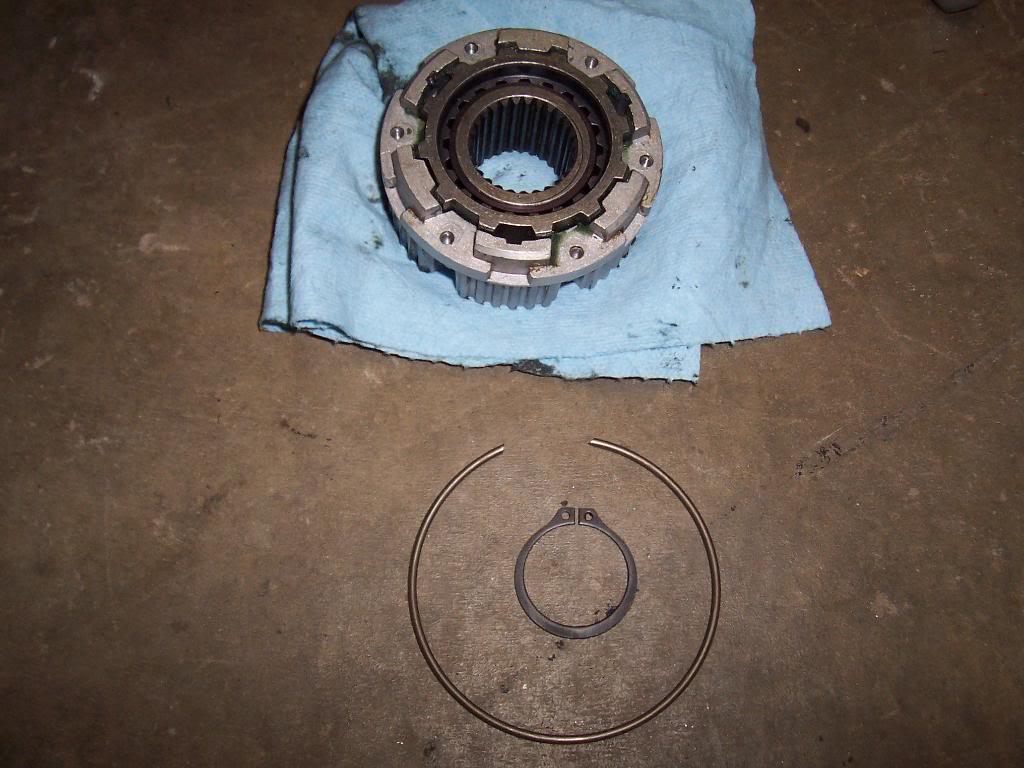
Pic of the inner hub body, axle shaft snap ring, and the large inner hub retaining snap ring.

100_5184-1.jpg


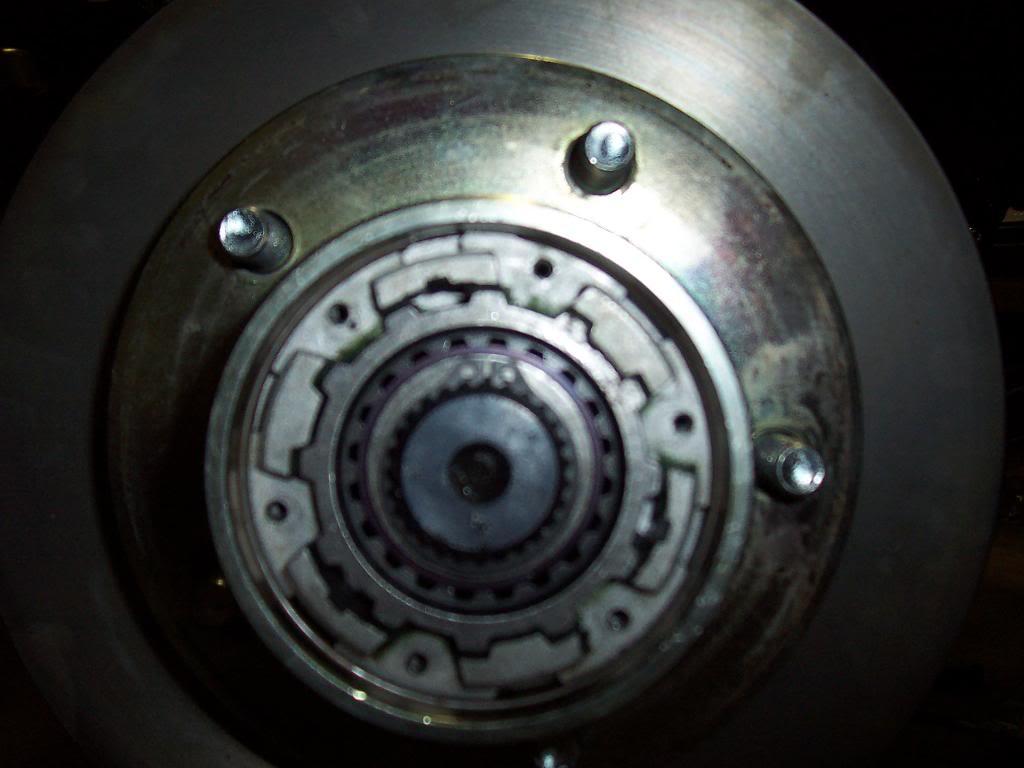
Above mentioned parts installed.

100_5185-1.jpg


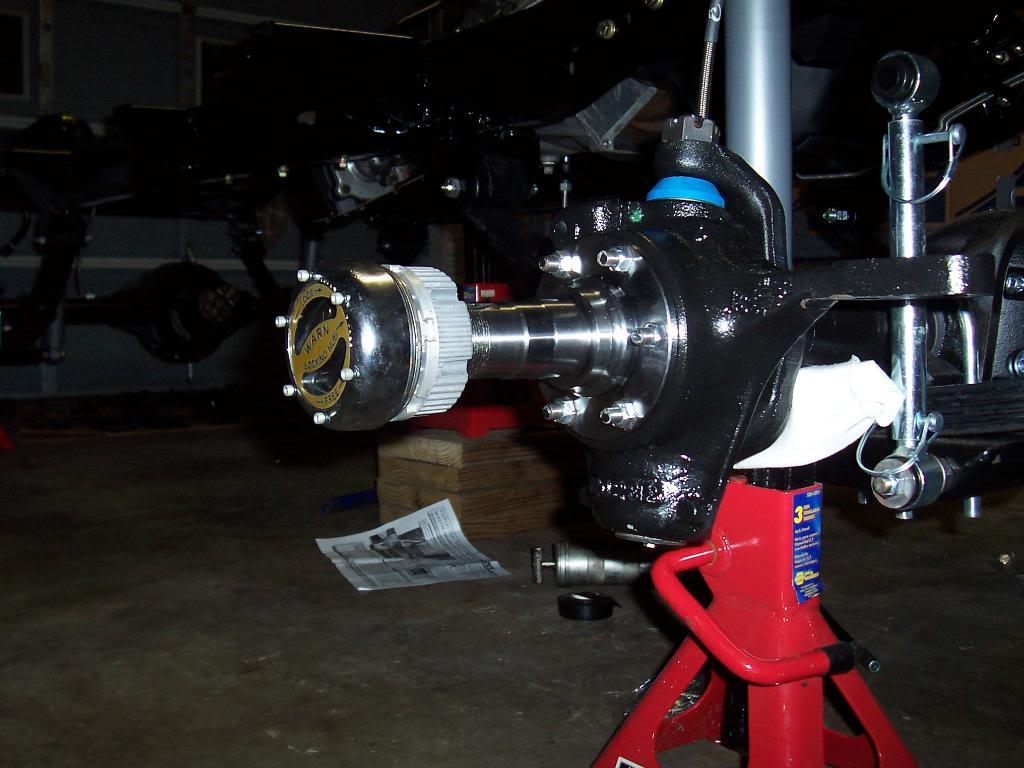
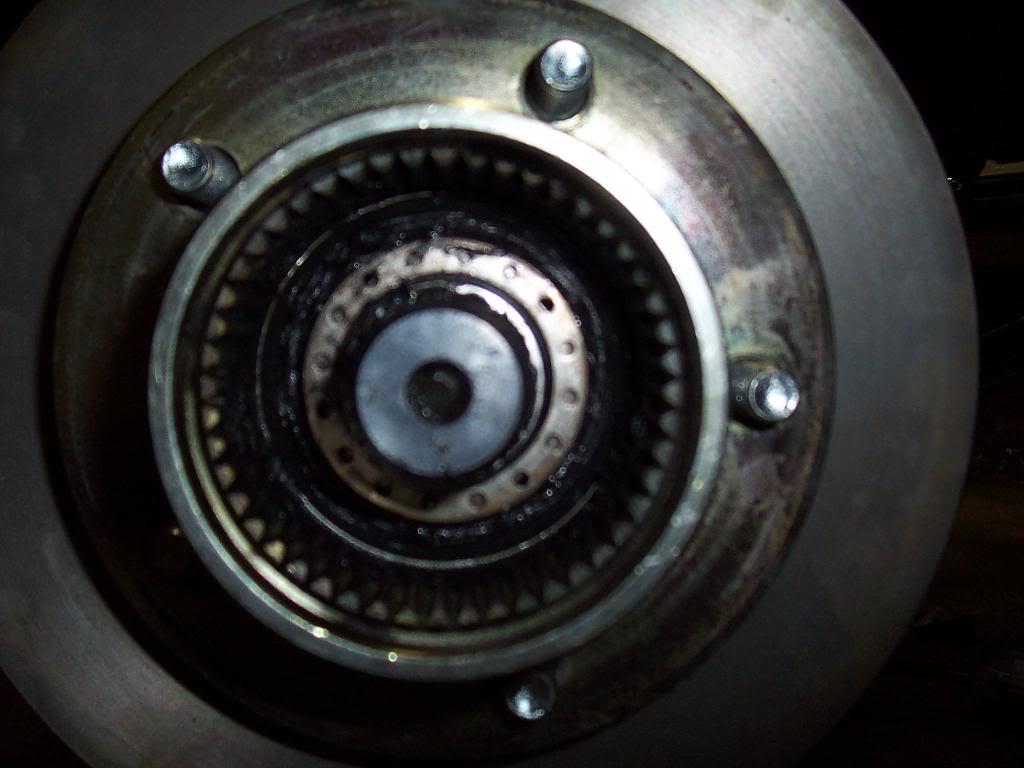
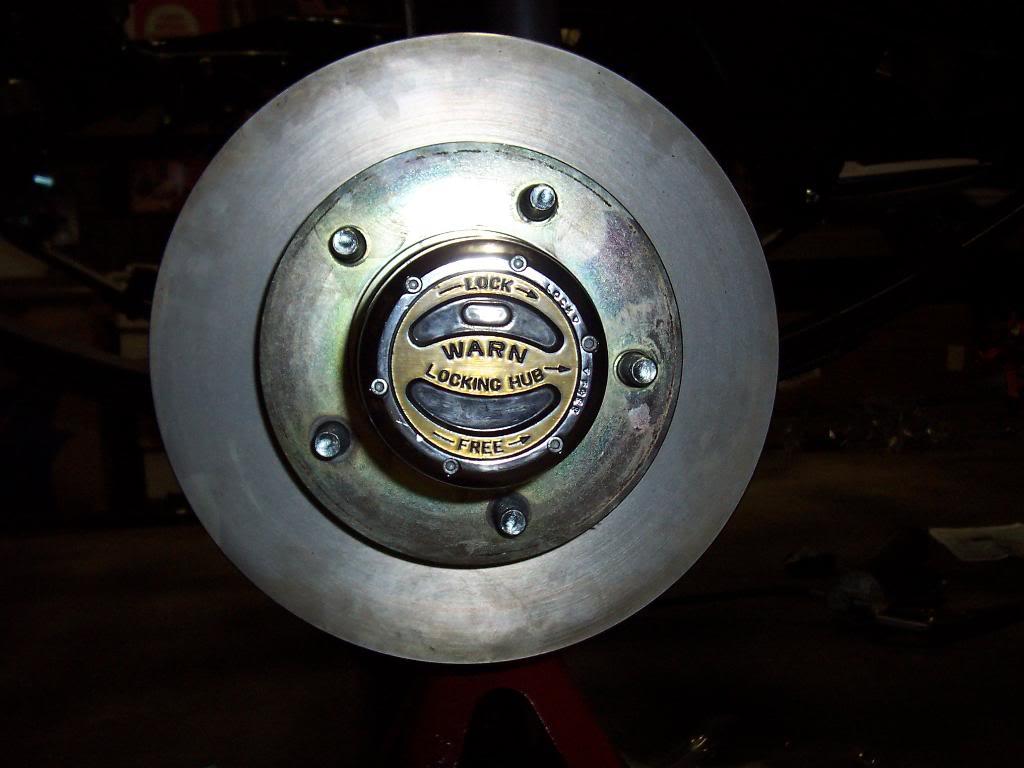
And finally a pic of the dial installed.

100_5187-1.jpg


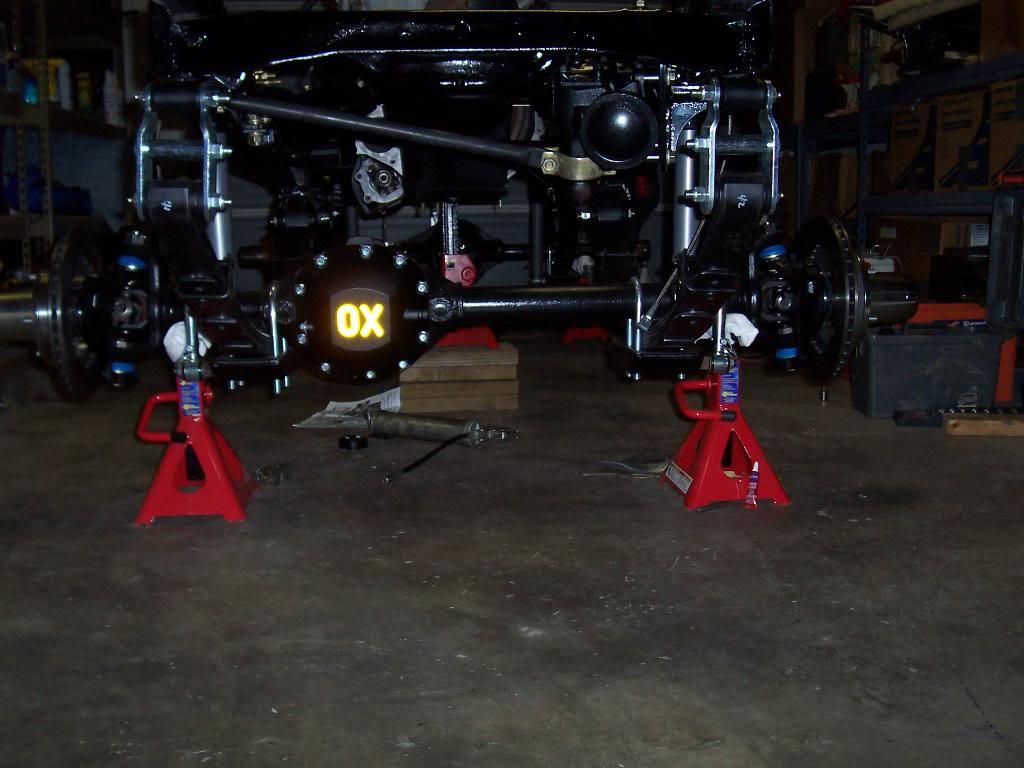
And the finsihed front end.

100_5188-1.jpg
 
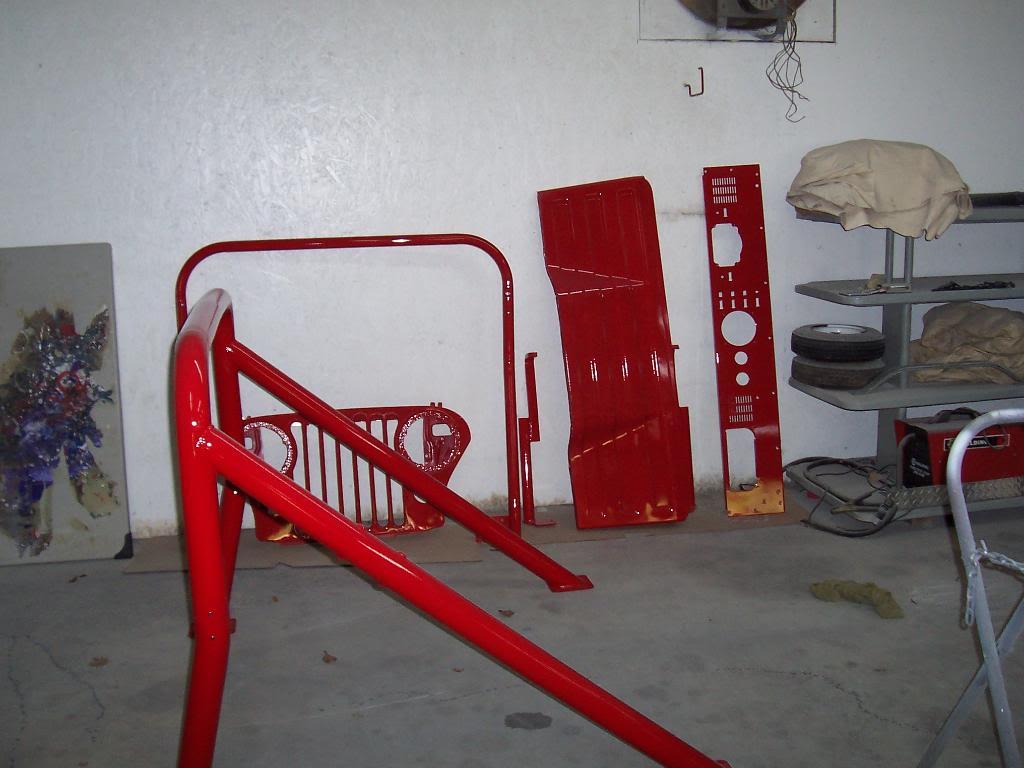
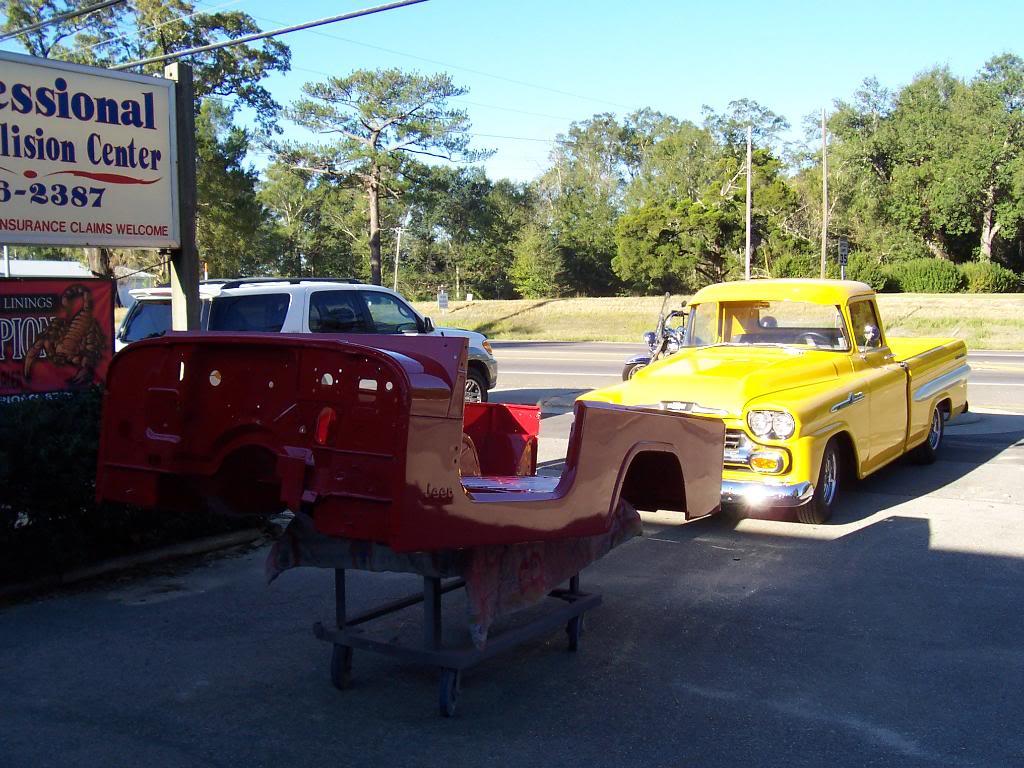
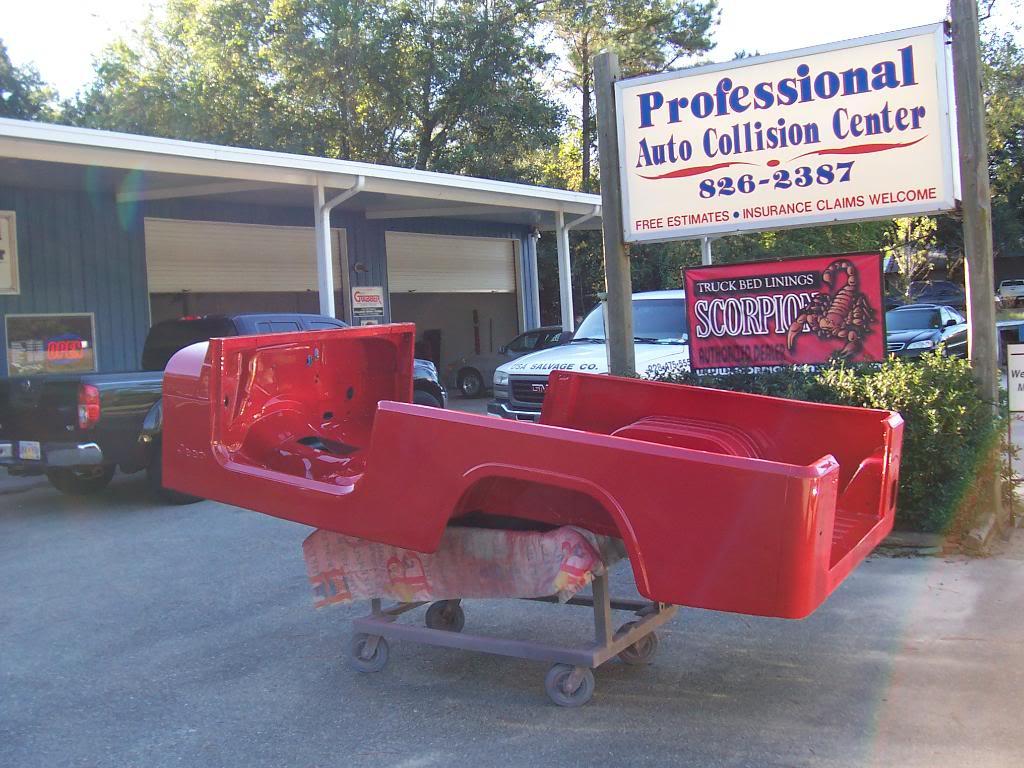
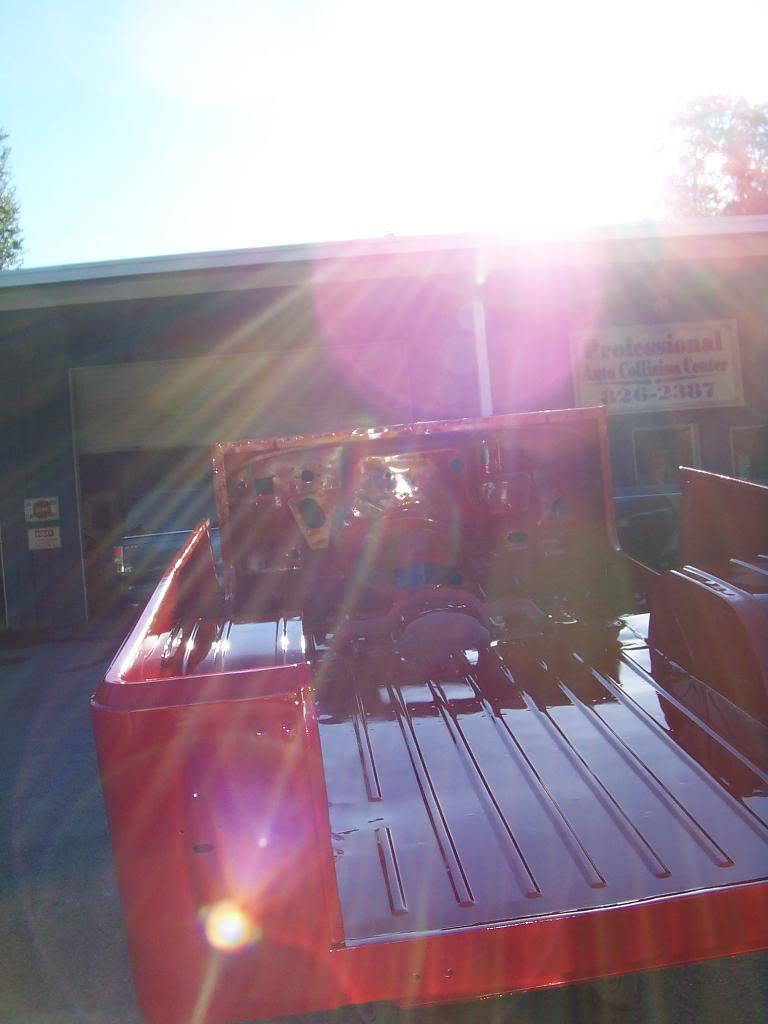
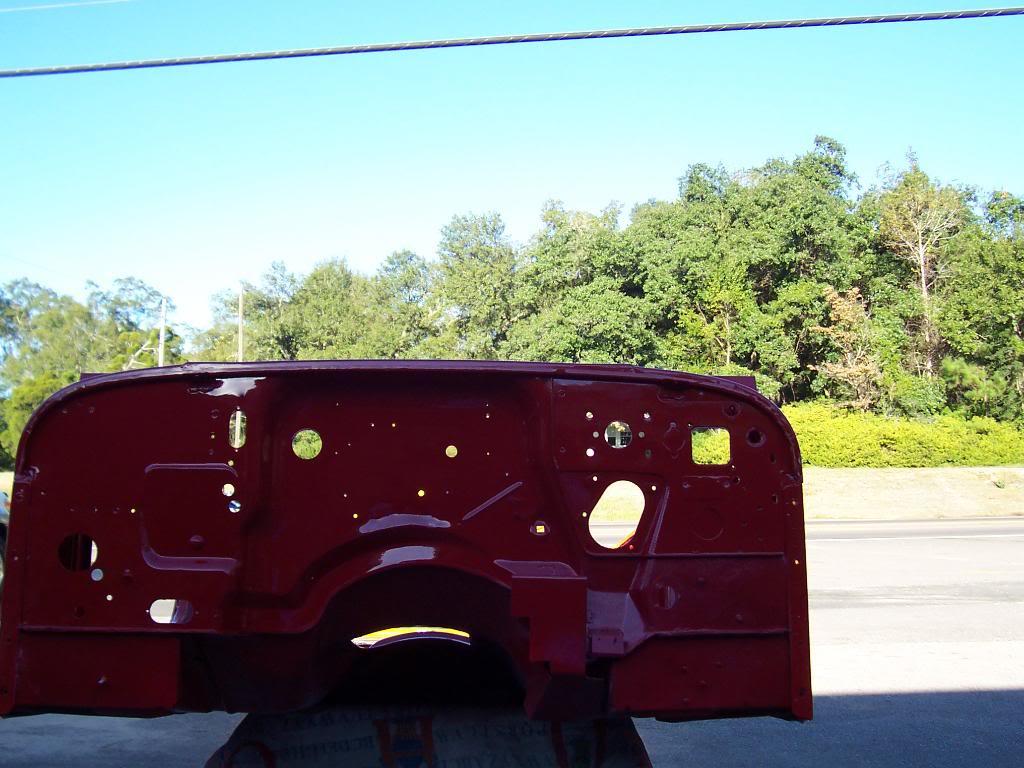
Painter got finished painting the body tub last night. He is just about finished painting everything. I will probably pick up all the body parts next week when he is 100% finished.This red color is pretty neat. It looks like a really red in the shade, but it gains an orange tint in the sun. Few teaser pics.


They didn't peel off all the rhino liner around the headlight buckets, that's why it looks textured. If the chrome bezels wont cover those two areas I will get them to repaint the grill.

100_5190-1.jpg


Outside shots. Darker in the shade, more orange in the sun.

100_5191-1.jpg


100_5192-1.jpg


100_5193-1.jpg


100_5194-1.jpg
 
Looks really nice, and about the color of red I am going to shoot on mine. What's the red color from? Is that the current Dodge red? Was it base coat / clear coat?

Looks awesome!

Oh, and what are your plans for getting the tub home (so you don't beat up the fresh paint on the bottom)? Maybe borrow their paint cradle it is siitting on, roll it on a trailer and strap it down?
 
Last edited:
Looks great! Great color choice. Smooth, shiny, straight. Any stripes going on the sides and hood? When will the body be home for re-assembly?

:thumbsup:
 
By the way, is that your late 50's Chevy truck behind it?

Nope, not mine, its one they just painted, it is very bright and shiney, too:drool: I knew their would be some comments about it, I should have chopped it out of the picture LOL:thumbsup:
 
Looks great! Great color choice. Smooth, shiny, straight. Any stripes going on the sides and hood? When will the body be home for re-assembly?

:thumbsup:

The painter gets all the credit for this part:thumbsup: I plan on putting some factory orange/yellow re-pro decals on it once its back together to help break up all the red.

I will probably pick it up next Wednesday, he still has to paint the front fenders and fix 2 small runs on the tub.

It came out very good. The only thing that bugs me is some of the original sheet metal that I left intact. The imperfections/pitting in some spots (underneath, parts of floorboards I didn't cut out) really stand out when next to the new sheet metal. I built it to be a runner, so it wont bug me too much, especially once I reassemble the whole thing.

Overall, I am very happy with it:thumbsup:
 
Looks really nice, and about the color of red I am going to shoot on mine. What's the red color from? Is that the current Dodge red? Was it base coat / clear coat?

Looks awesome!

Oh, and what are your plans for getting the tub home (so you don't beat up the fresh paint on the bottom)? Maybe borrow their paint cradle it is sitting on, roll it on a trailer and strap it down?

That's the factory 1983 Jeep/AMC "Sebring Red" color. The bottom was painted single stage, the interior and exterior were painted with a base/clear system.

As far as not scratching it up for moving it back, not sure yet. If my chassis was at roller status it would be easy:rotfl: I will probably just throw a blanket down on a trailer and strap it down:shrug:

I think the painter did a great job. The only way it would have came out better would have been if i would have let him change out all the sheet metal:rotfl:
 
Stupid question I know, but what is single stage? just the paint without the clear coat?
 
Back
Top