

You are using an out of date browser. It may not display this or other websites correctly.
You should upgrade or use an alternative browser.
You should upgrade or use an alternative browser.
Another Scrambler Purchase/Road Trip - UPDATE- BODY ON FRAME AGAIN
- Thread starter spankrjs
- Start date


- City
- Biloxi
- State
- MS
Started putting stuff together, finally.
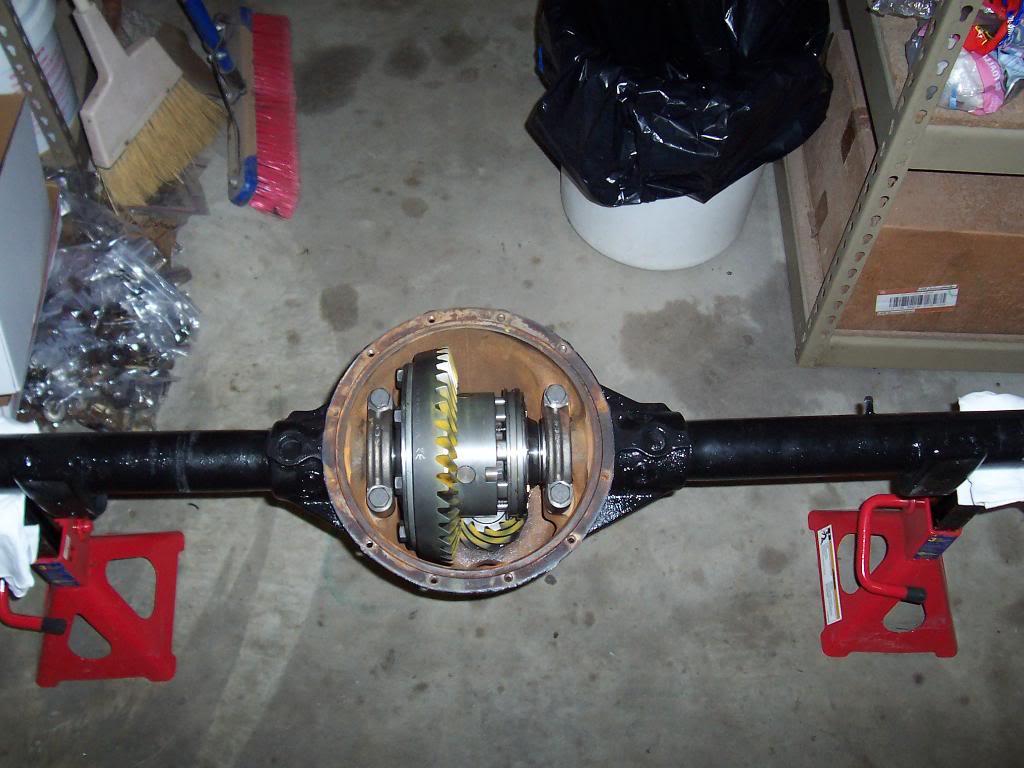
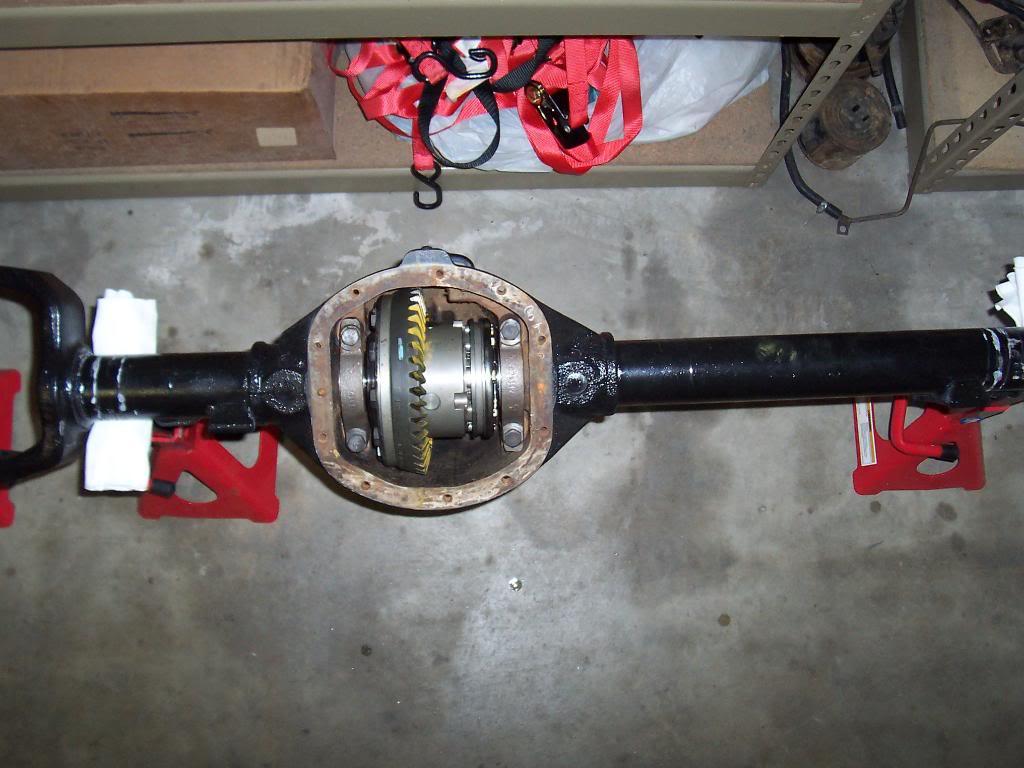
Pic of my axles. 4.10 gears and Ox Lockers front and back. Spicer gears in the front, Yukon gears in the back. All new bearings and seals, plus had to replace both yokes.
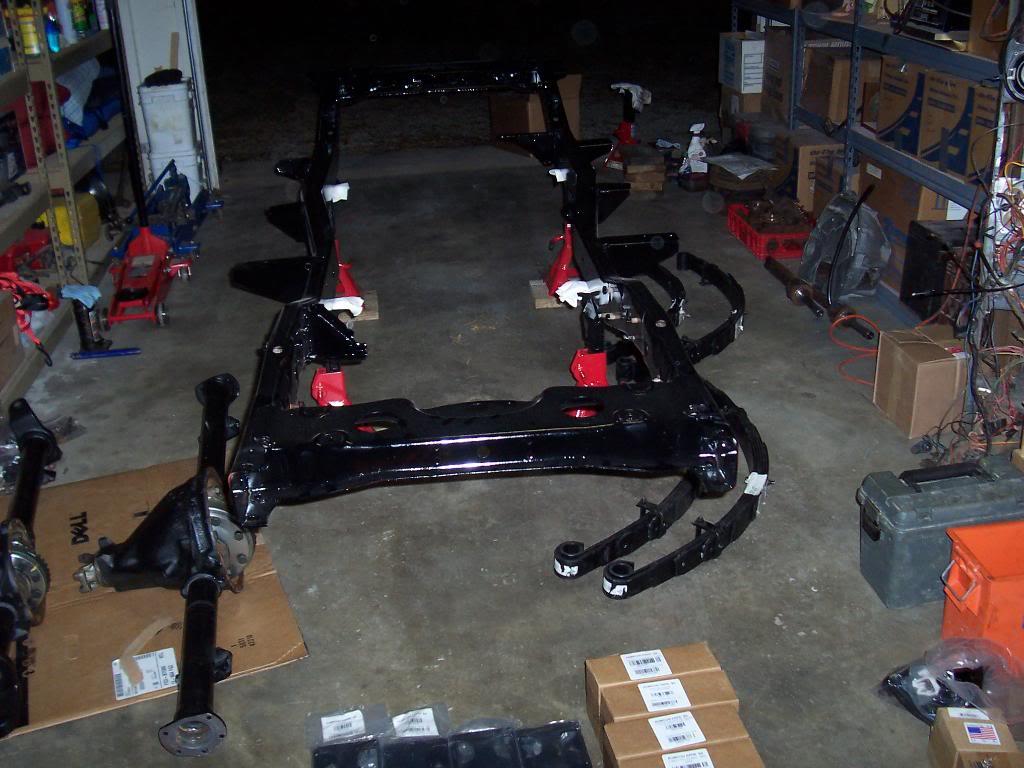
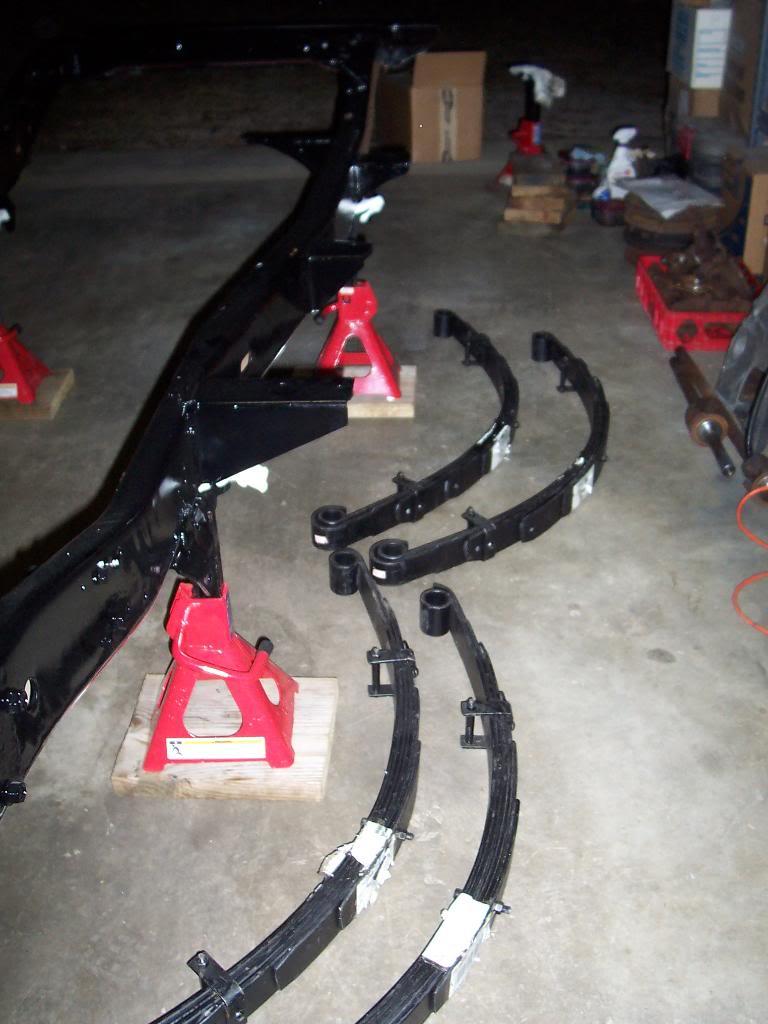
Pics of suspension components laid out. It took about 1.5 hours to scrape all the UPS stickers off the leaf springs.
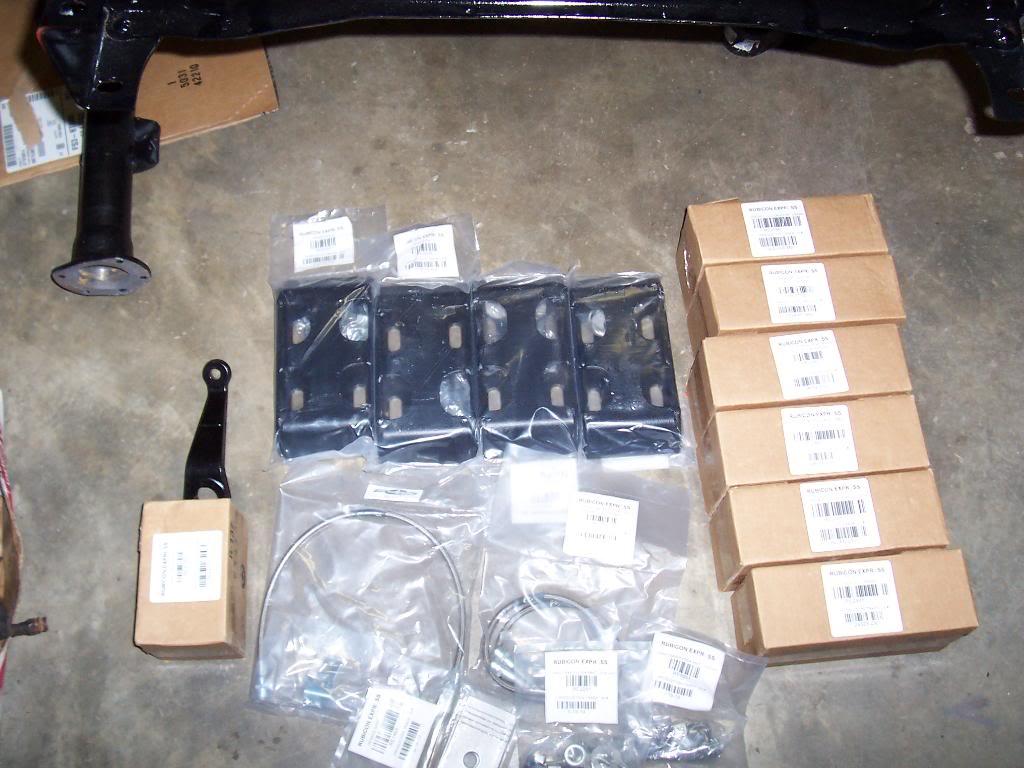
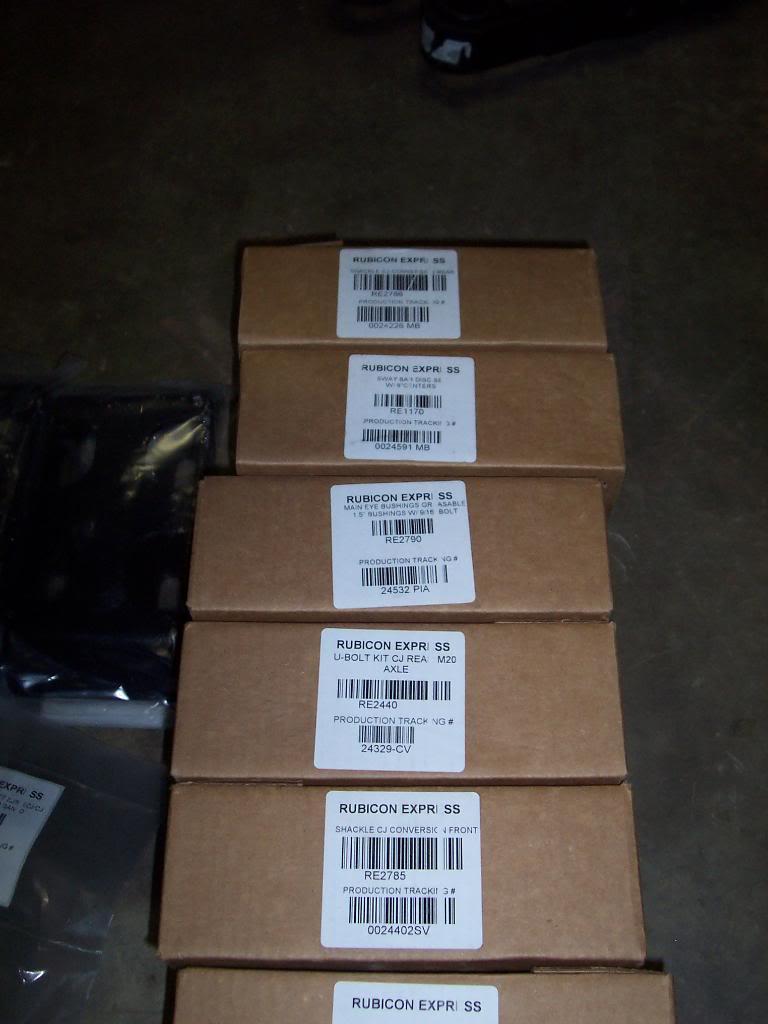
Pics of all the "extra" parts the Rubicon Express kit comes with.
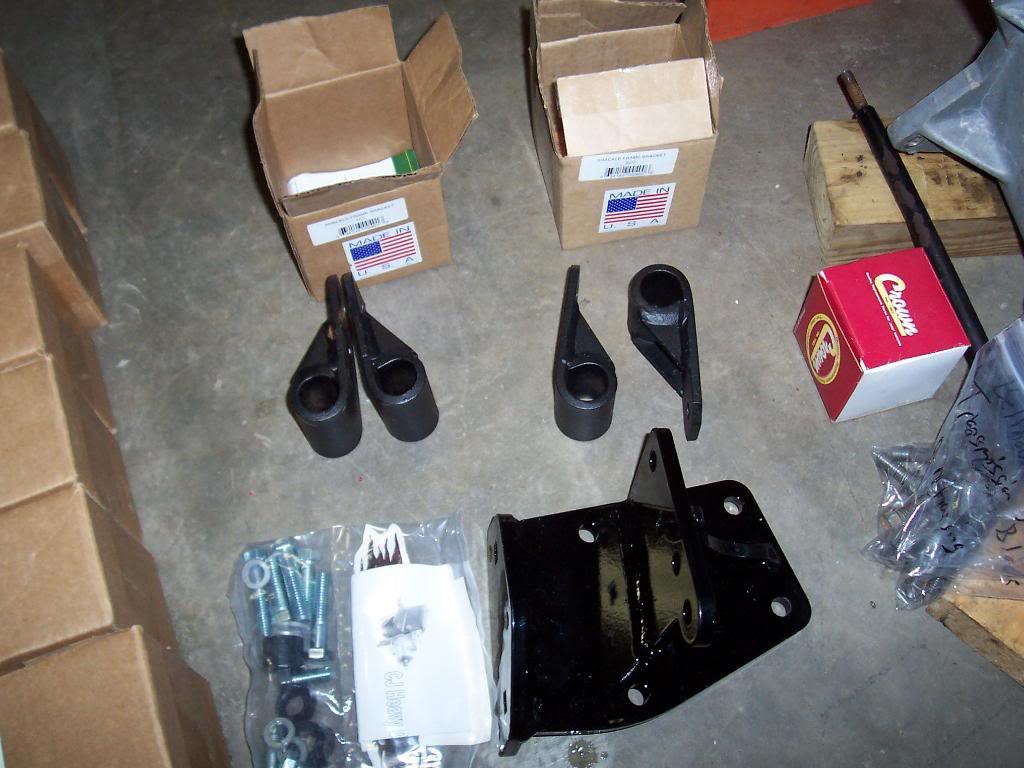
Pic of the heavy duty shackle hangers and the heavy duty steering box bracket.
Pic of the leaf springs, with all the dreaded stickers all over them.
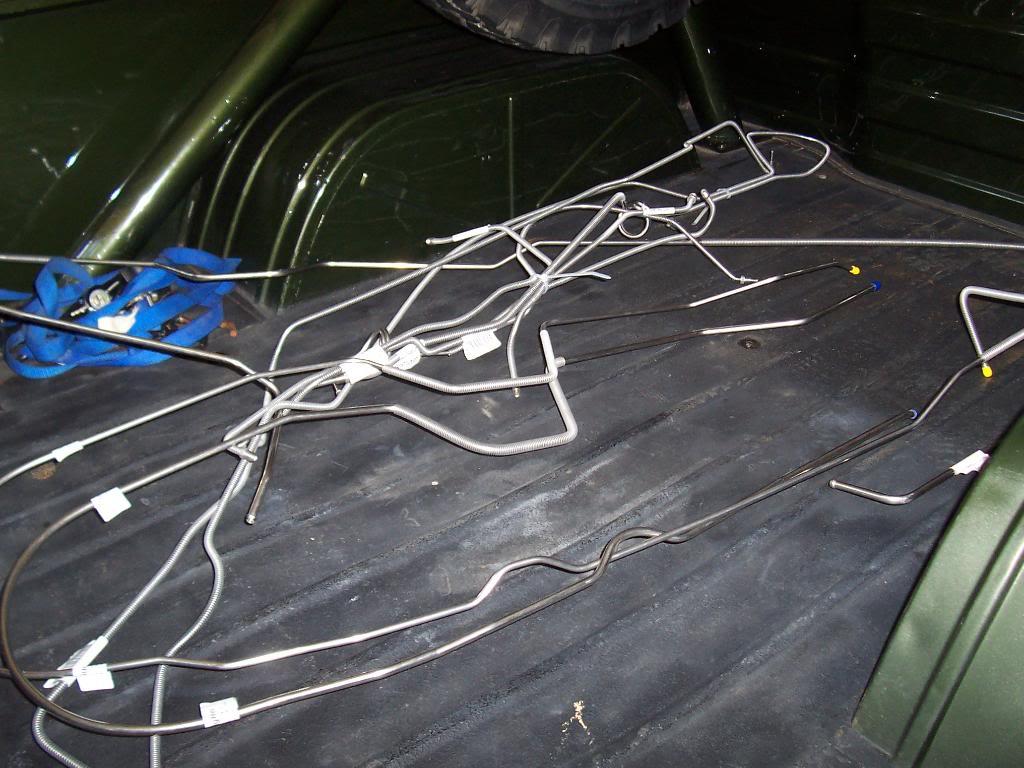
Quick pic of all the new SS brake and fuel lines. Most of them came from Classic Tube, the vapor and fuel return line came from Inline Tube.
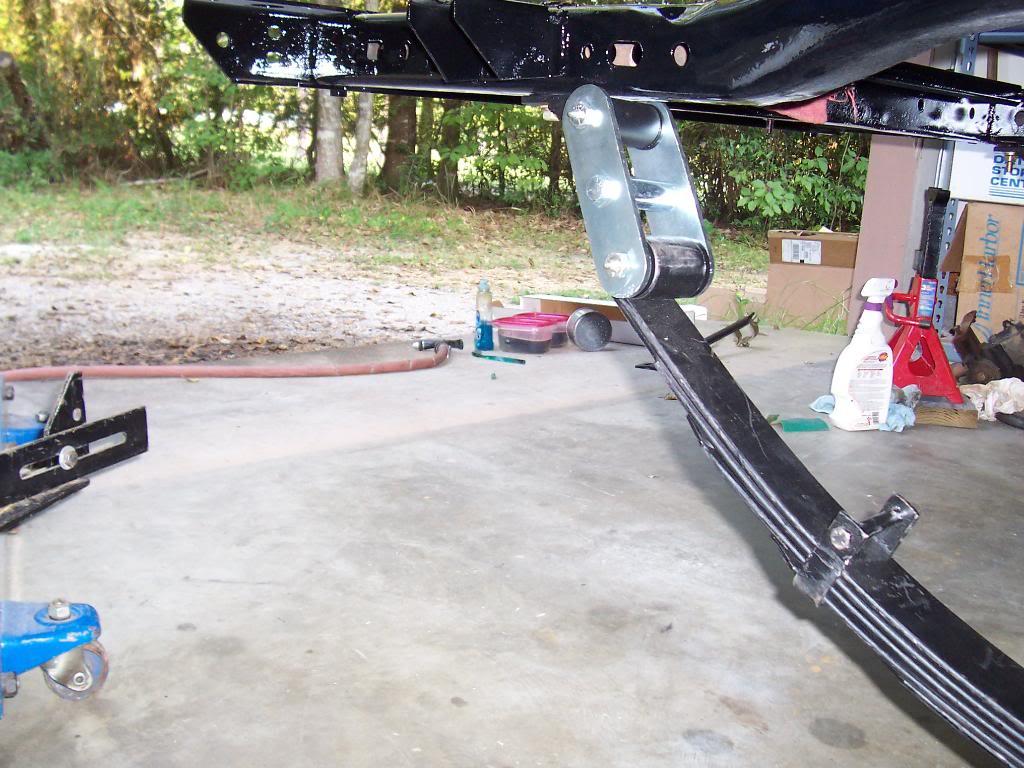
Pic of the leaf springs and shackles mounted up. All basic bolt on assembly. Just had to slightly bend the frame mounted hangers wider to allow the springs to fit in.

Pic of my axles. 4.10 gears and Ox Lockers front and back. Spicer gears in the front, Yukon gears in the back. All new bearings and seals, plus had to replace both yokes.
Pics of suspension components laid out. It took about 1.5 hours to scrape all the UPS stickers off the leaf springs.
Pics of all the "extra" parts the Rubicon Express kit comes with.
Pic of the heavy duty shackle hangers and the heavy duty steering box bracket.
Pic of the leaf springs, with all the dreaded stickers all over them.
Quick pic of all the new SS brake and fuel lines. Most of them came from Classic Tube, the vapor and fuel return line came from Inline Tube.
Pic of the leaf springs and shackles mounted up. All basic bolt on assembly. Just had to slightly bend the frame mounted hangers wider to allow the springs to fit in.
- City
- Biloxi
- State
- MS
3 of my shackle hangers bolted right up, the factory inside the frame nuts were still intact. The driver side rear factory nuts were both broke off, so i had to drop two bolts down from inside the frame. The second pic is of my homemade tool that I use to hold the bolt heads while I tighten the nuts. Works good.


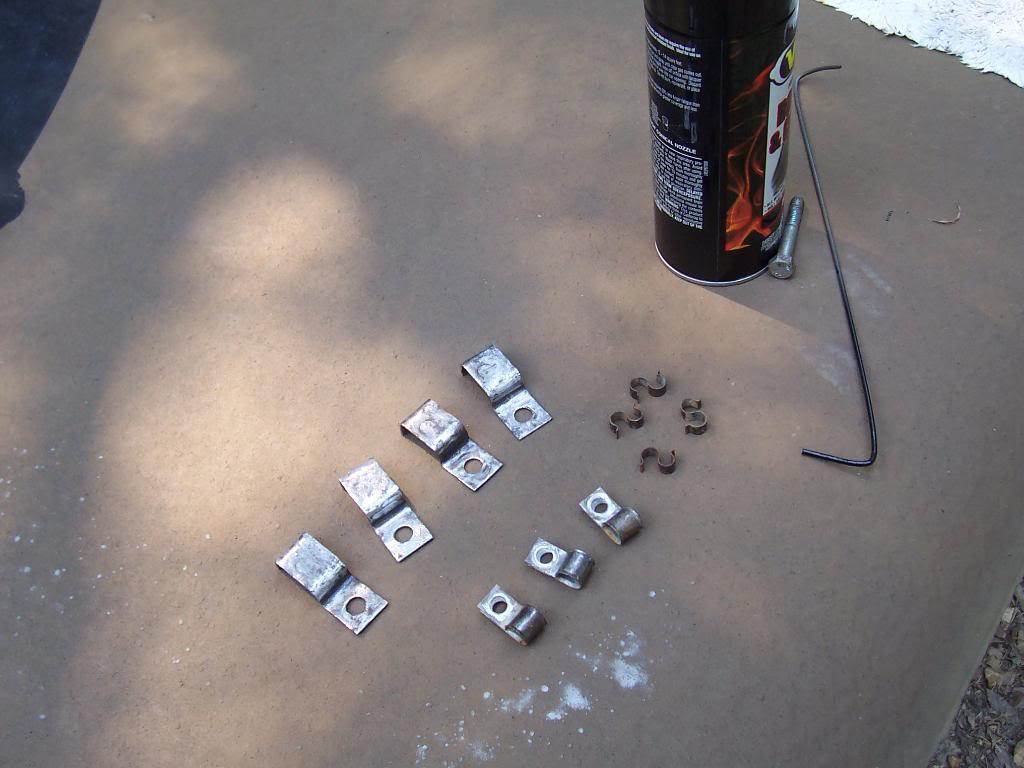
Started to paint some of the little clips that hold all the metal lines to the frame. I wanted to paint them ahead of time, so that they had time to dry before I needed them. These are just the rear clips. Still hav to clean, sand, and paint all the front brake line clips.
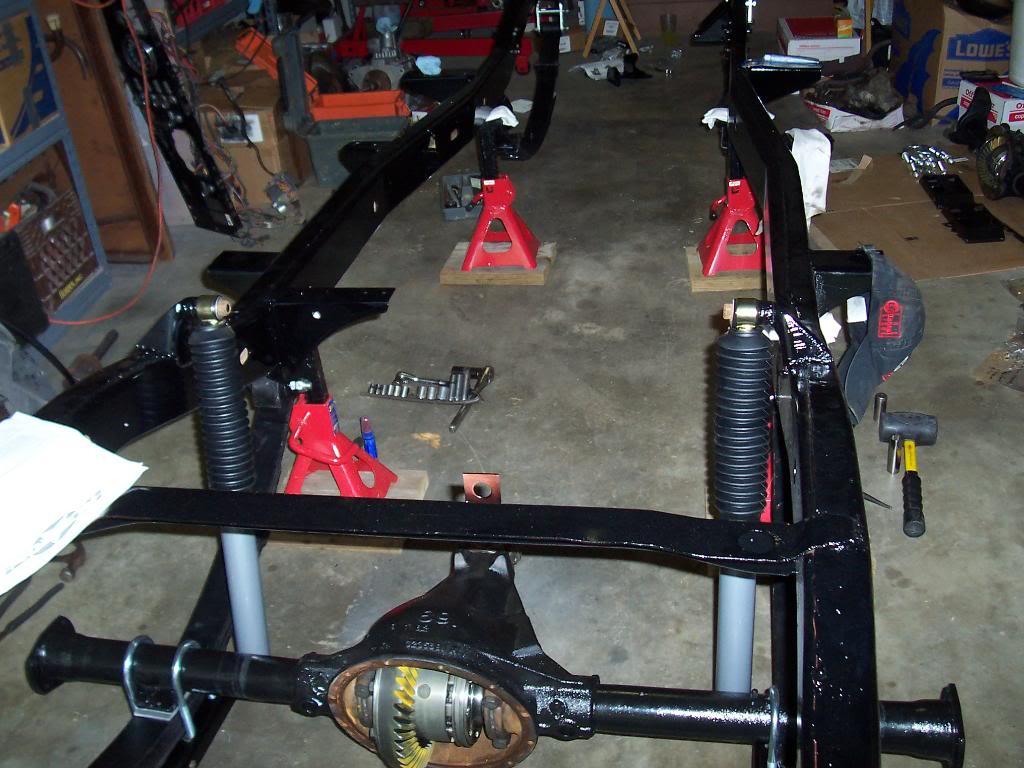
Pics of the assembled rear axle/suspension. I left the shock boots on for now to protect the shock shafts while I run all the metal lines. Will cut them off later. The u bolt skid plates are pretty cool.

Started to paint some of the little clips that hold all the metal lines to the frame. I wanted to paint them ahead of time, so that they had time to dry before I needed them. These are just the rear clips. Still hav to clean, sand, and paint all the front brake line clips.
Pics of the assembled rear axle/suspension. I left the shock boots on for now to protect the shock shafts while I run all the metal lines. Will cut them off later. The u bolt skid plates are pretty cool.
- City
- Biloxi
- State
- MS
Started to install the front axle.
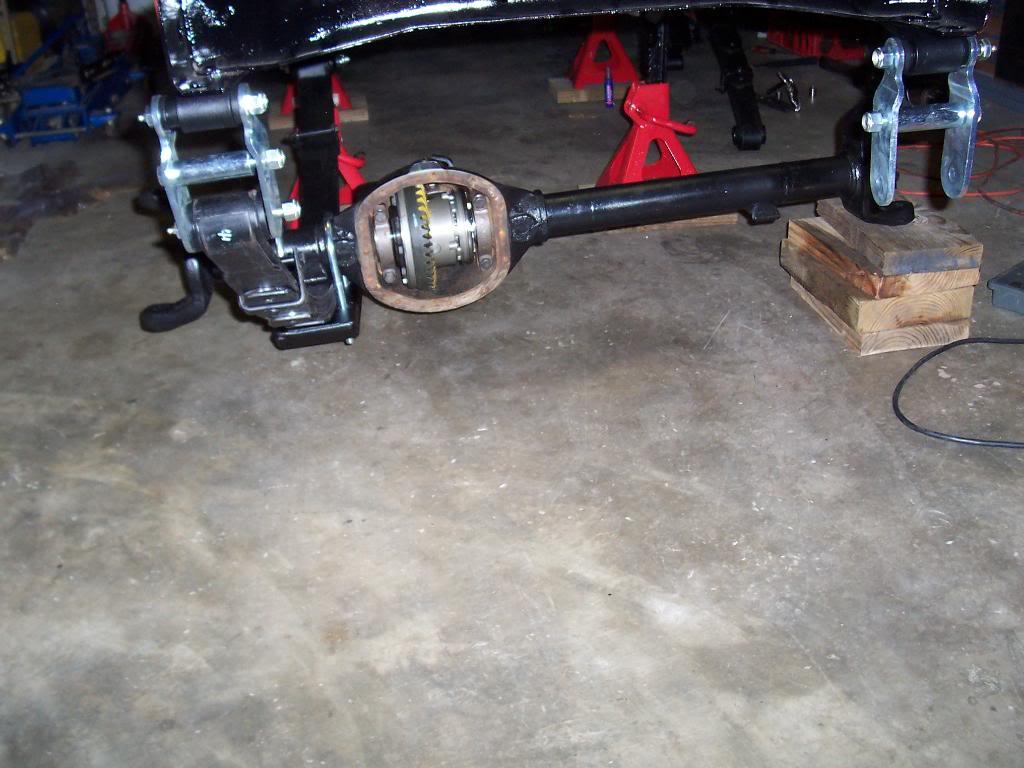
Tightened the U bolts down, but the center pin bottomed out in the axle before the axle perch sat flush with leaf spring.
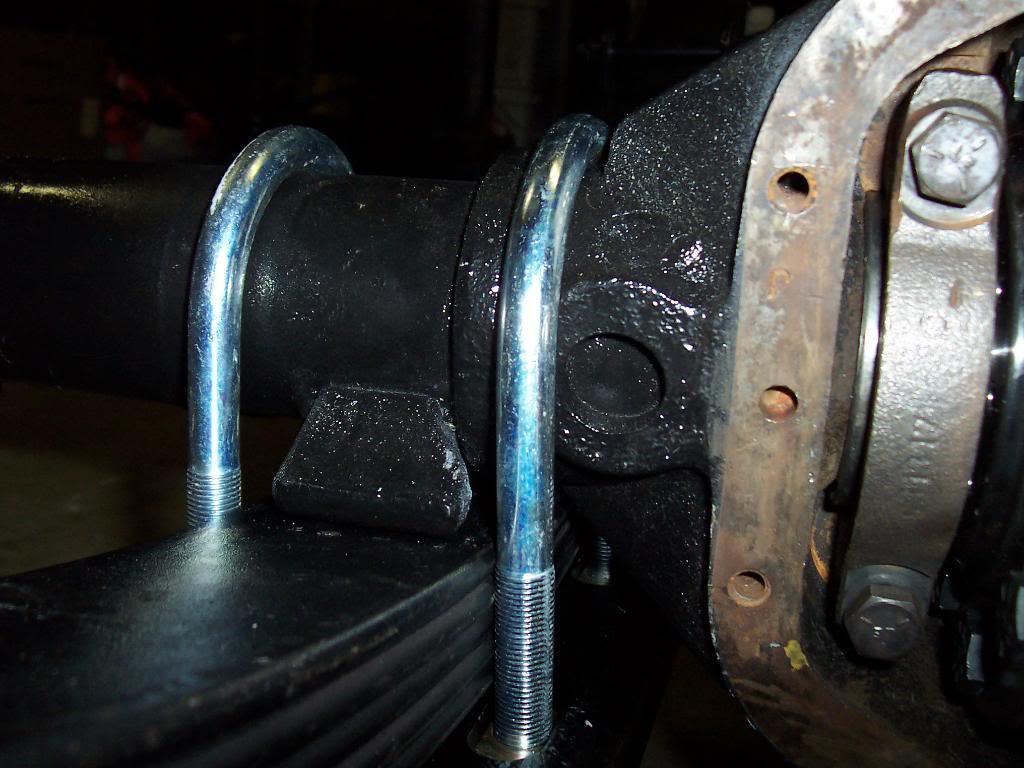
Should have read the instructions. They said to remove the spacer on the front spring center pins if you are not using degree shims. The spacers on the rear center pins worked due to the fact that I put on the degree shims.
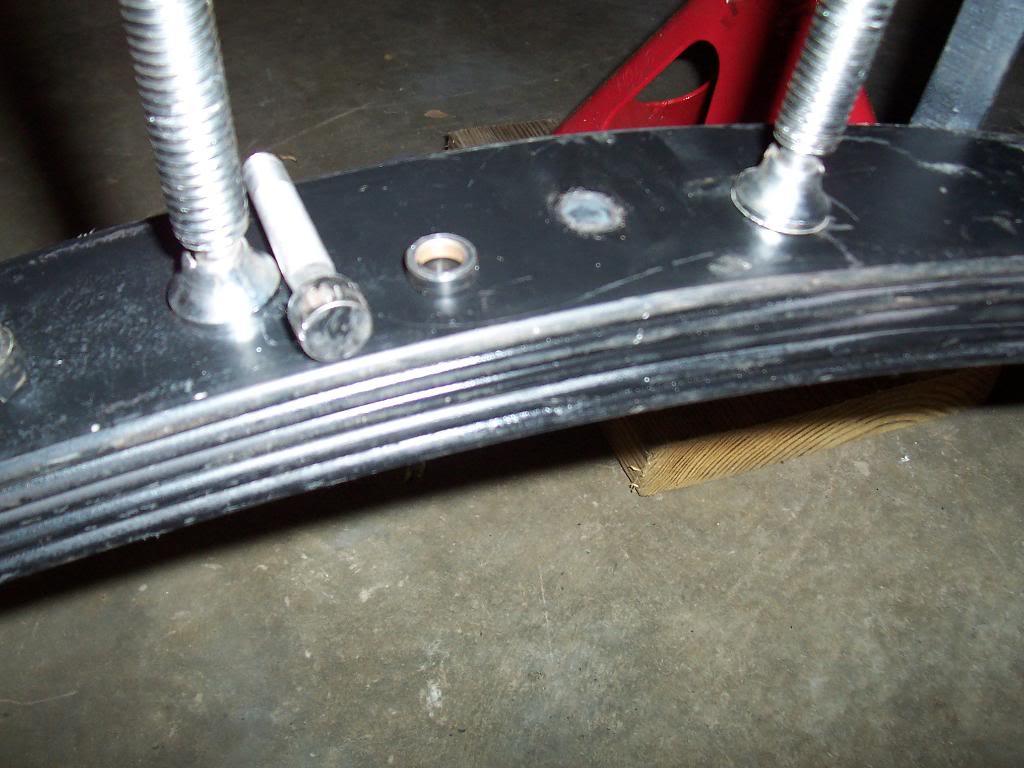
Now it sits like it should. The U bolts are just lightly tightened until I put the other side on.
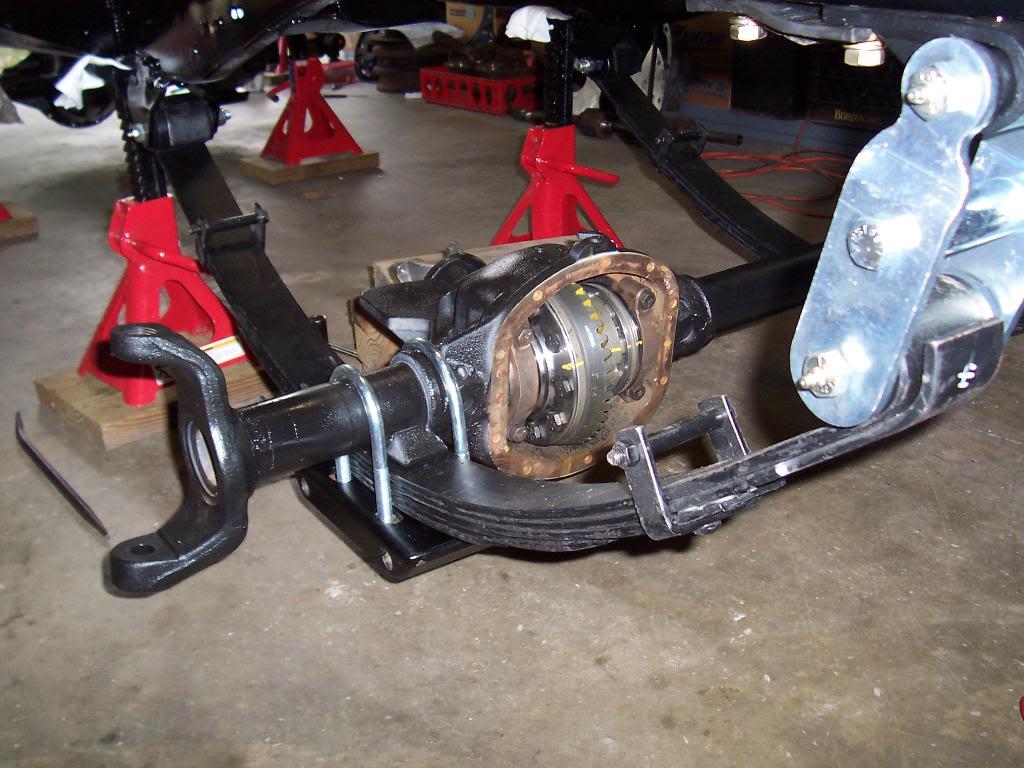
I haven't installed the driver side u bolts yet. I gave the painter the steering stabilizer bracket that gets sandwiched between the axle and the leaf spring, so this is as far as I got on the front end.
Tightened the U bolts down, but the center pin bottomed out in the axle before the axle perch sat flush with leaf spring.
Should have read the instructions. They said to remove the spacer on the front spring center pins if you are not using degree shims. The spacers on the rear center pins worked due to the fact that I put on the degree shims.
Now it sits like it should. The U bolts are just lightly tightened until I put the other side on.
I haven't installed the driver side u bolts yet. I gave the painter the steering stabilizer bracket that gets sandwiched between the axle and the leaf spring, so this is as far as I got on the front end.
- City
- Biloxi
- State
- MS
I had hoped to get more done this weekend, but my steering box conspired against me.
Went to remove the steering box from the factory mounting brackets so i could install it on the new heav duty mount. And of course, one of the 12 point headed fasteners was solidly stuck, and the head stripped. Cut the head off, drilled and retapped the hole.
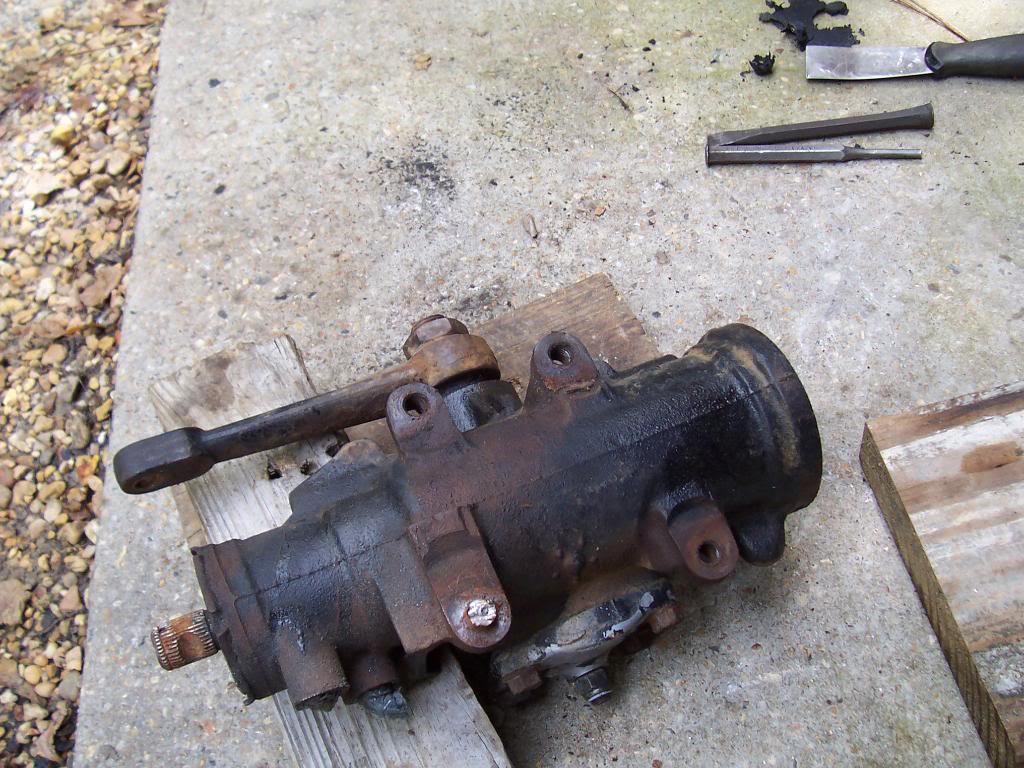
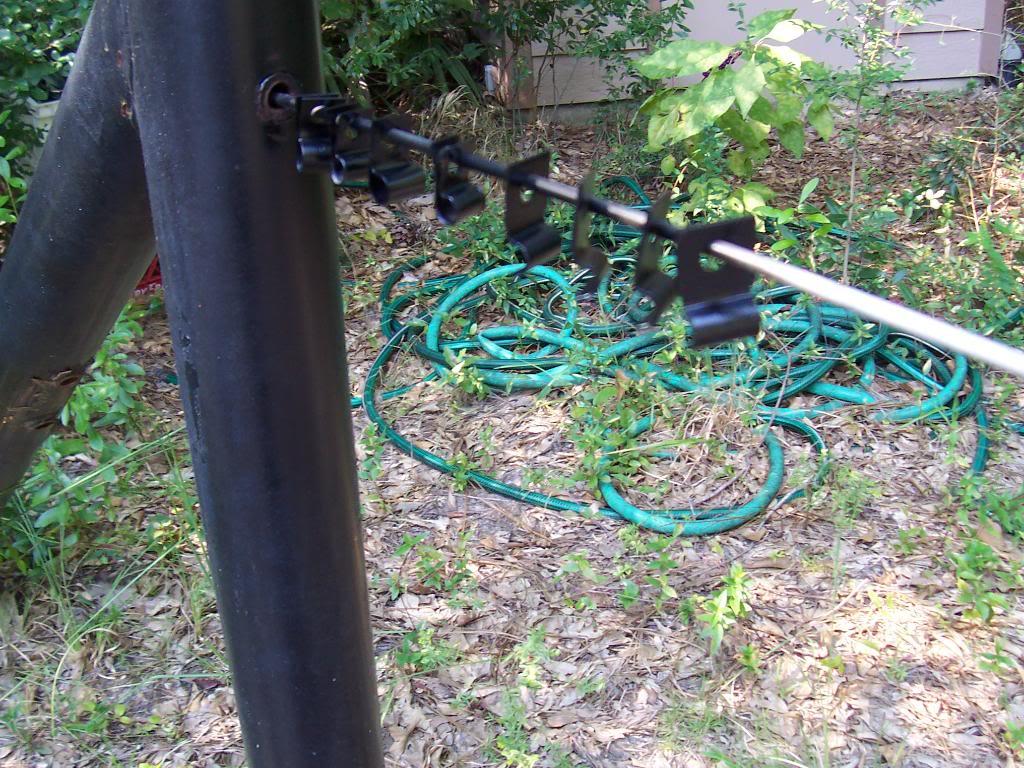
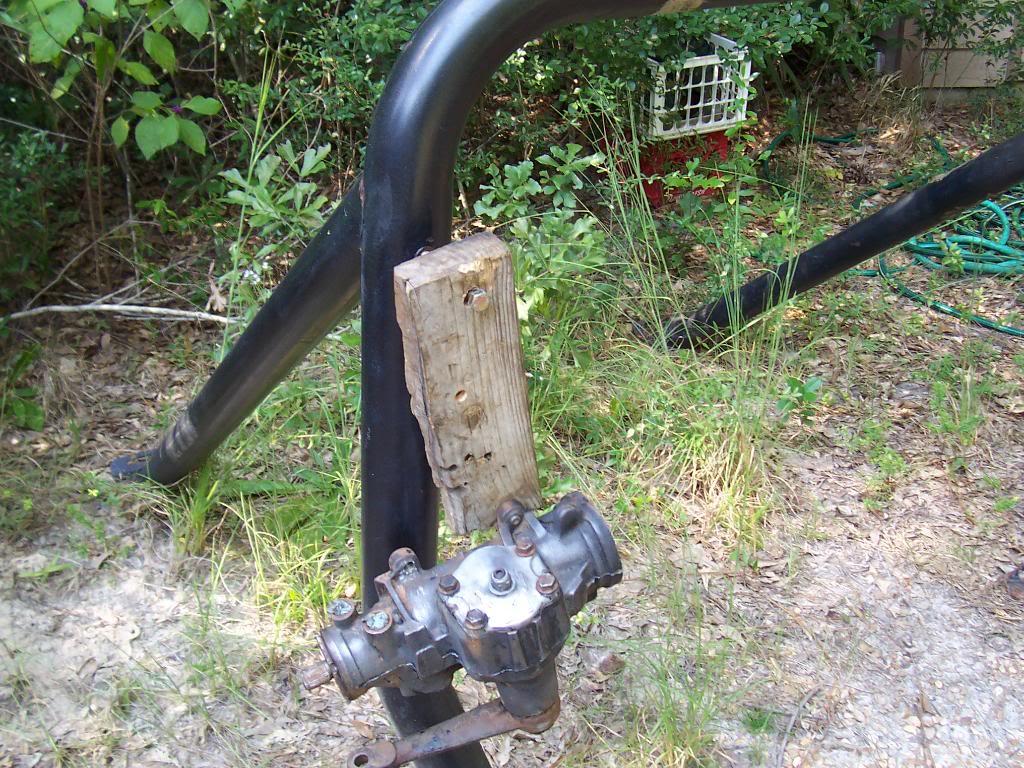
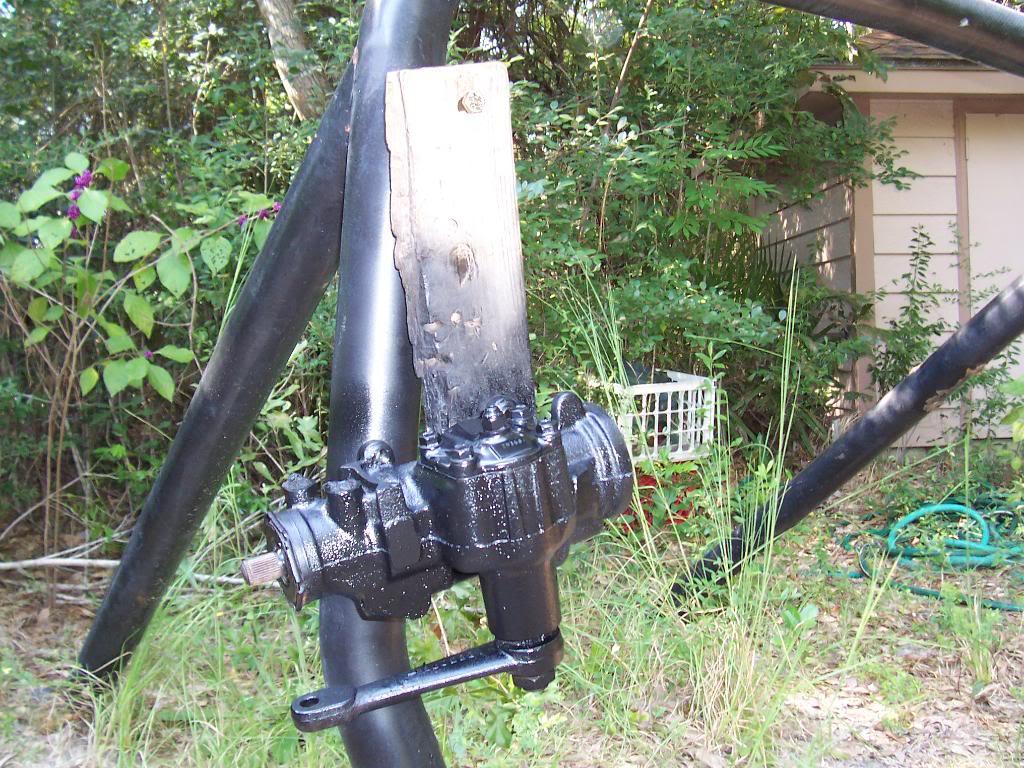
The steering box that came on this Jeep still worked well and doesnt leak, so for now i am going to reuse it. Might upgrade later on. But, since everything else is all new and painted, I couldn't bolt on a crusty looking box. So after a couple hours of cleaning and sanding, it as ready for paint. Check out the custom painting rig.
Hang up #2. The heavy duty steering box bracket and the heavy duty shackle hangers wouldnt work without some grindind and cutting. The steering box bracket is too fat to fit inside the shackle hanger reinforcement gussets.
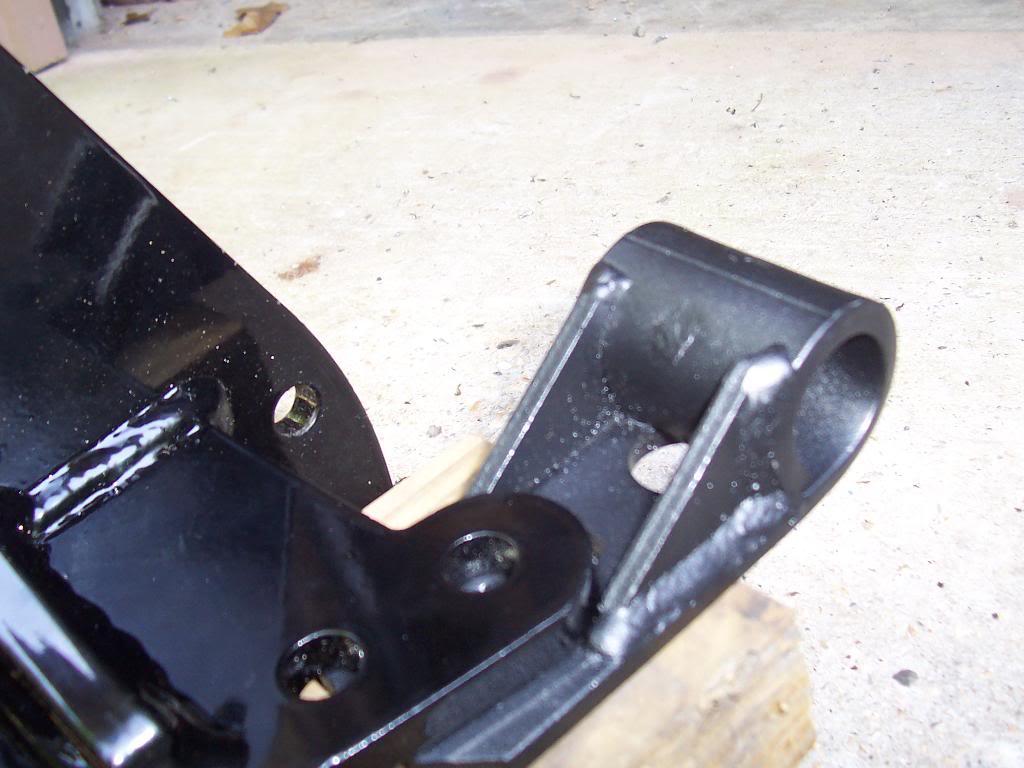
After grinding, filing, and cutting.
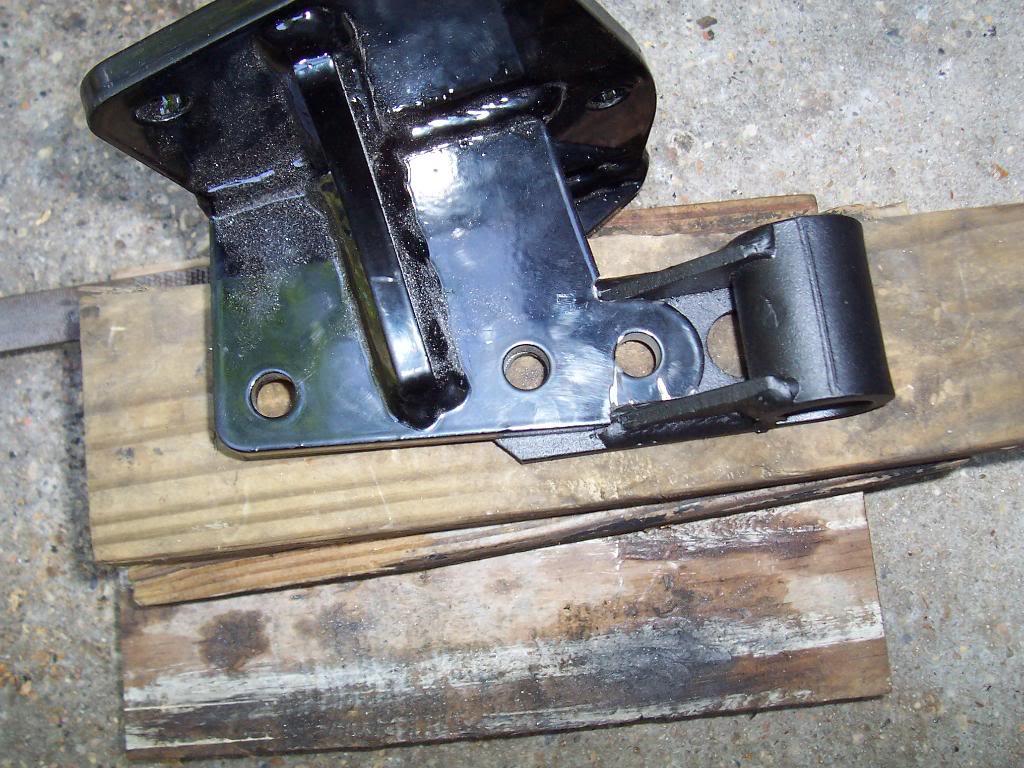
And the reason for the upgraded mount, pic of factory mount, notice the crack.

The new mount also required an additional hole being drilled in the cross member. Pic of factory two holes. Ignore greasy finger print LOL.

And the 3rd hole added.
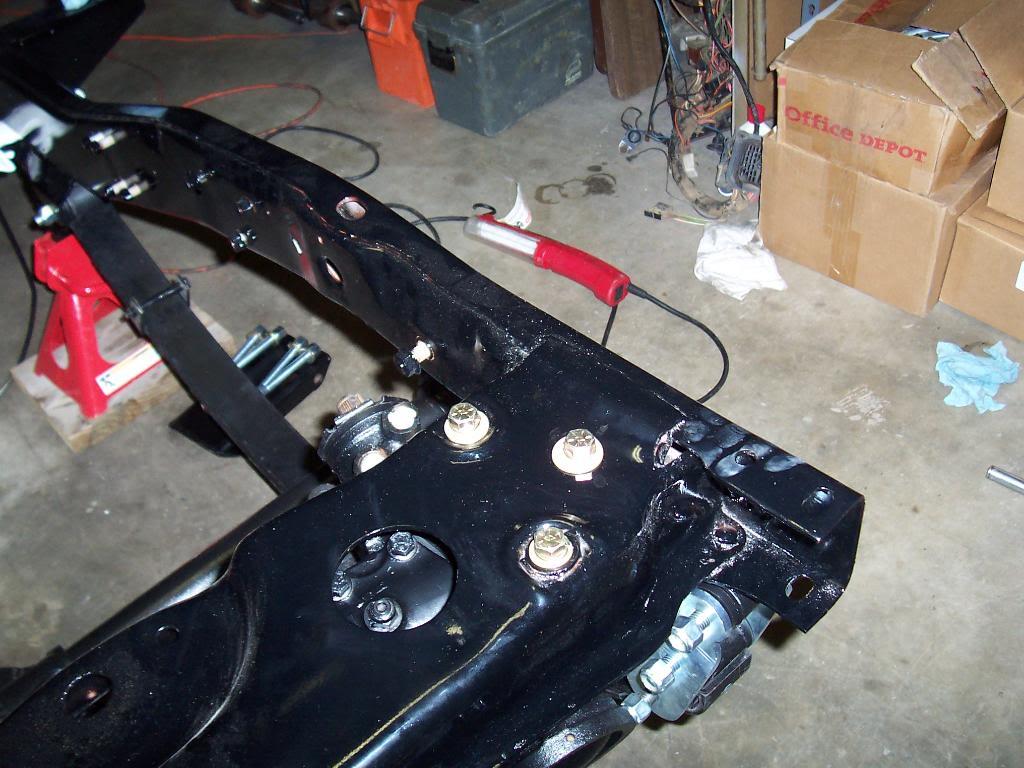
And the installed stering box. With the heavy duty box mount, plus the cross over reinforcement bar, I dont think this box will move and/or cause the frame to flex and break.
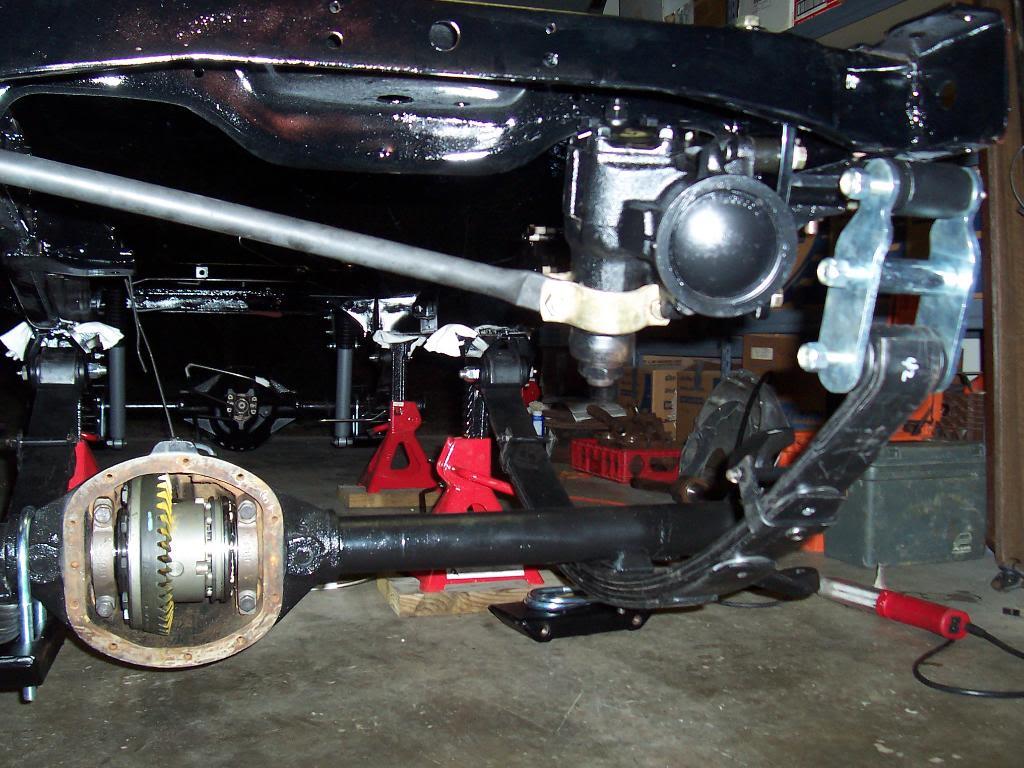

Went to remove the steering box from the factory mounting brackets so i could install it on the new heav duty mount. And of course, one of the 12 point headed fasteners was solidly stuck, and the head stripped. Cut the head off, drilled and retapped the hole.
The steering box that came on this Jeep still worked well and doesnt leak, so for now i am going to reuse it. Might upgrade later on. But, since everything else is all new and painted, I couldn't bolt on a crusty looking box. So after a couple hours of cleaning and sanding, it as ready for paint. Check out the custom painting rig.
Hang up #2. The heavy duty steering box bracket and the heavy duty shackle hangers wouldnt work without some grindind and cutting. The steering box bracket is too fat to fit inside the shackle hanger reinforcement gussets.
After grinding, filing, and cutting.
And the reason for the upgraded mount, pic of factory mount, notice the crack.
The new mount also required an additional hole being drilled in the cross member. Pic of factory two holes. Ignore greasy finger print LOL.
And the 3rd hole added.
And the installed stering box. With the heavy duty box mount, plus the cross over reinforcement bar, I dont think this box will move and/or cause the frame to flex and break.


Will_Texas
Legacy Registered User
- City
- Longview
- State
- TX
This thread is a great reference for everybody. Keep the little tips and tricks coming, they help people like me do stuff right the first time.
I have to ask though, are you going to use anything on the inside of the frame to help preserve it? Did the body shop blast the inside for you too?
Thanks
I have to ask though, are you going to use anything on the inside of the frame to help preserve it? Did the body shop blast the inside for you too?
Thanks
- City
- Biloxi
- State
- MS
That didn't make sense. Meant to say its going together well. Using phone to message. In Ohio for family emergency. No progress on mine....
Appreciate it
 Hope everything is OK.
- City
- Biloxi
- State
- MS
This thread is a great reference for everybody. Keep the little tips and tricks coming, they help people like me do stuff right the first time.
I have to ask though, are you going to use anything on the inside of the frame to help preserve it? Did the body shop blast the inside for you too?
Thanks
Appreciate it
I hope I am not boring everybody with the details. I just try to provide a little extra info on some of the minor issues that pop up that aren't really addressed in the FSM or aftermarket instructions. Realistically, everything I am doing to my CJ-8 is basically bolt on stuff with very little fab work. Just ask any questions and I will try to answer them
The inside of the frame was blasted and painted, to the best of human ability. It is really hard to blast/paint the inside of an enclosed box frame. The pics I take make the inside of the frame look like its bare metal, but in 70% of the areas it is painted. The painter didn't do the best job on painting the inside because I think he felt he would have made a big mess. I am going to paint any bare areas myself.
My frame didn't have any interior rust. The outside just had surface rust. The only damaged areas were the 3 body mount outriggers and the rear cross member, which were cut off and replaced. Living in the southeast, it is rare that I see vehicles (which have stayed in this area most of their lives and are taken care of) rusted out to the extent that vehicles up north are. My 78 CJ7 stayed in MS its whole life and had never been repainted. The frame was still in excellent shape, no interior or exterior rust. My green 83 CJ-8's frame is in perfect shape. Hopefully, by repainting this frame and taking reasonable care of this jeep (i.e. kept in a garage when not in use, washing out the inside of the frame from time to time with a garden hose, etc) this frame will last along time
I thought about galvanizing the frame, which is one good way to guarantee that you get full coating coverage, inside and out, but I feel there are two main drawbacks to galvanizing a vehicle frame:
1) I have heard (and I am sure some will disagree) that the process of hot dip galvanizing an old frame can weaken it.
2) It is a little harder to make field repairs (i.e. welding) on a galvanized frame.
In my circumstance, I feel painting was the best way to go. If I see any surface rust forming in the future I can simply sand/grind/wire brush it off and repaint. Same thing with repairs or future mods
- City
- Biloxi
- State
- MS
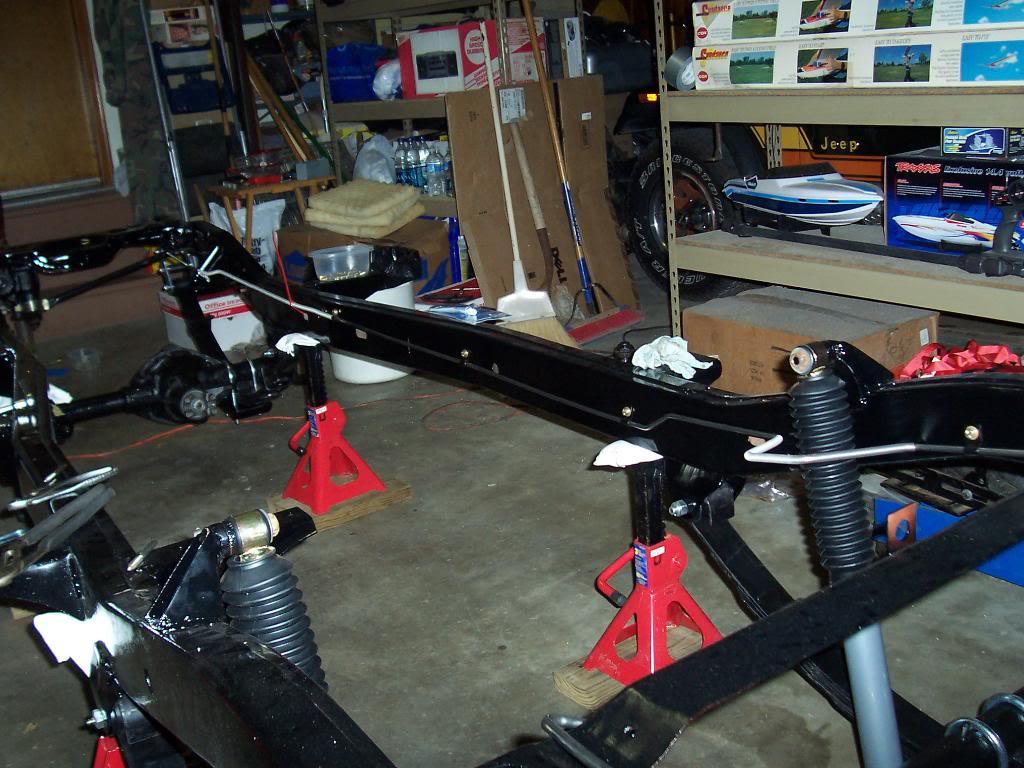
Did a little work last night, but stopped working early due to Monday Night Football. Started to run the new stainless steel brake and fuel lines. Started on the easy one, the fuel line that runs from the gas tank to the fuel pump. It is the only line on the passenger side frame rail on my 83, where as the drivers side has 3 lines: rear brake line, fuel return line, and fuel vapor line.
Quick pic of new line vs old line. I kept the old lines so that i could make sure the new ones match and also so that I could unbend the shipping bends and make the new lines match the old ones.
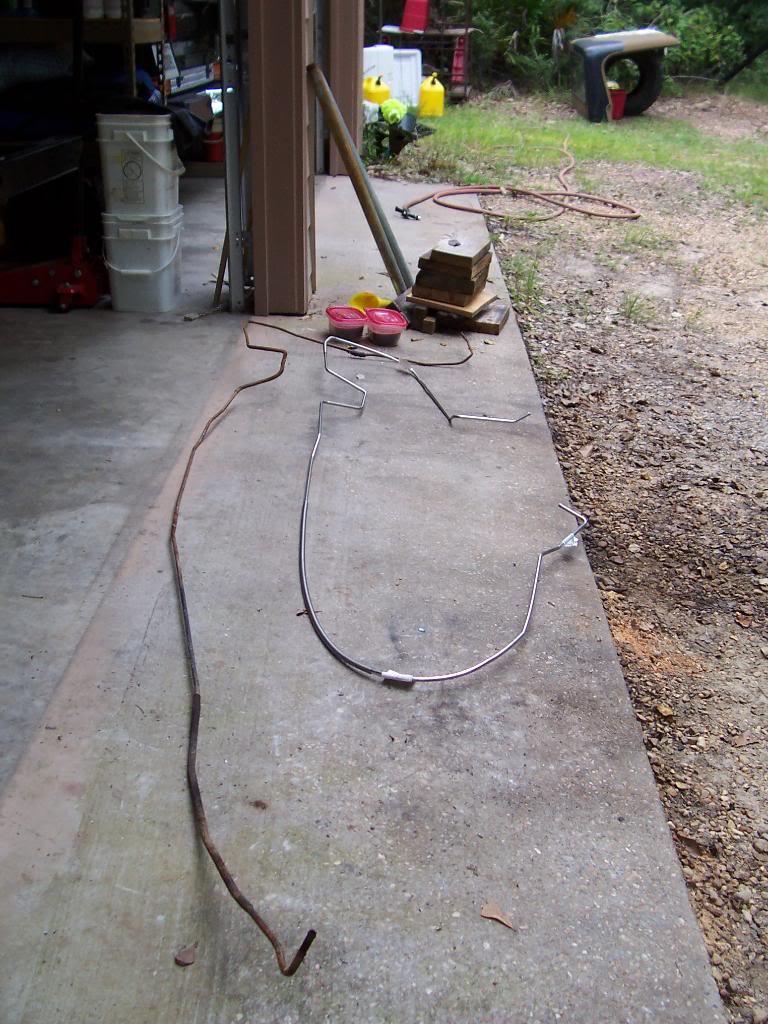
This line came from Classic Tube. Even has a tag on it telling you what line it is.
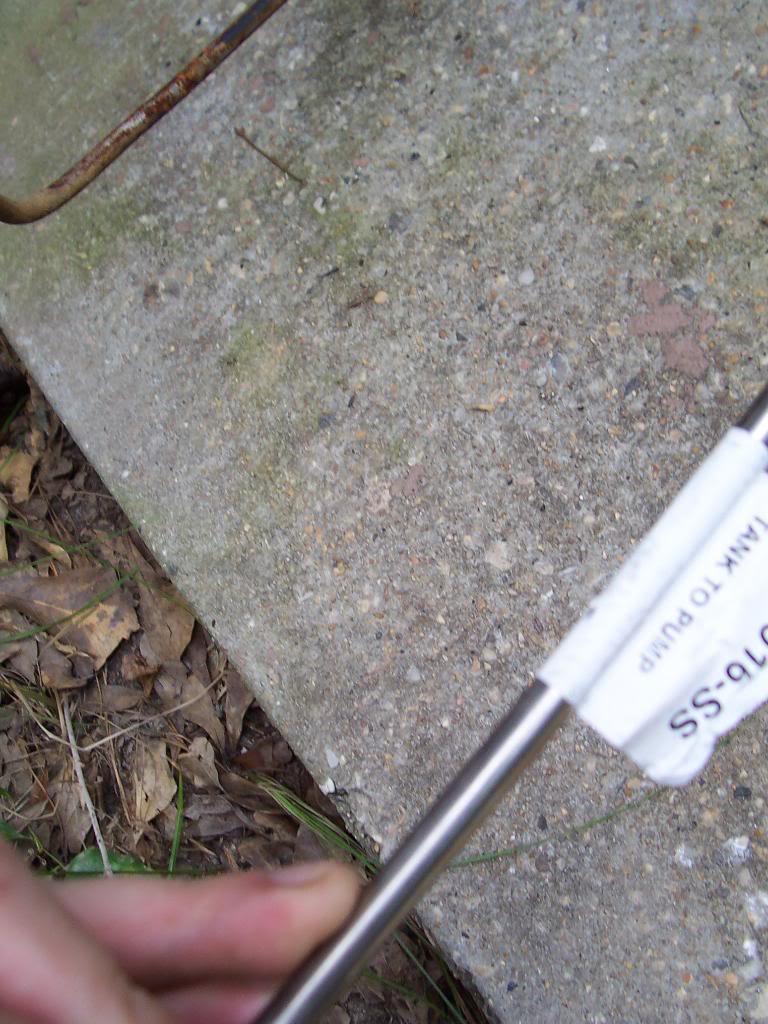
The line had to be bent for shipping purposes. Attached to the line are stickers that say "shipping bend". They put the shipping bends in areas where the line should be straight so it is fairly easy to straighten the line and get it to match the factory appearance.
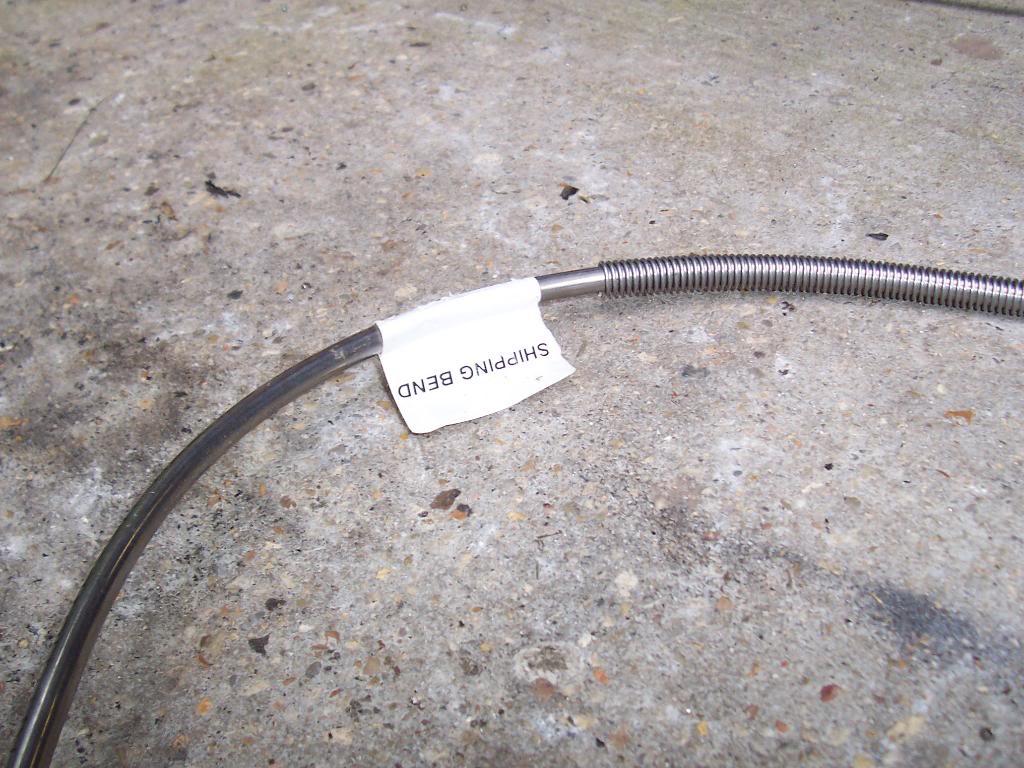
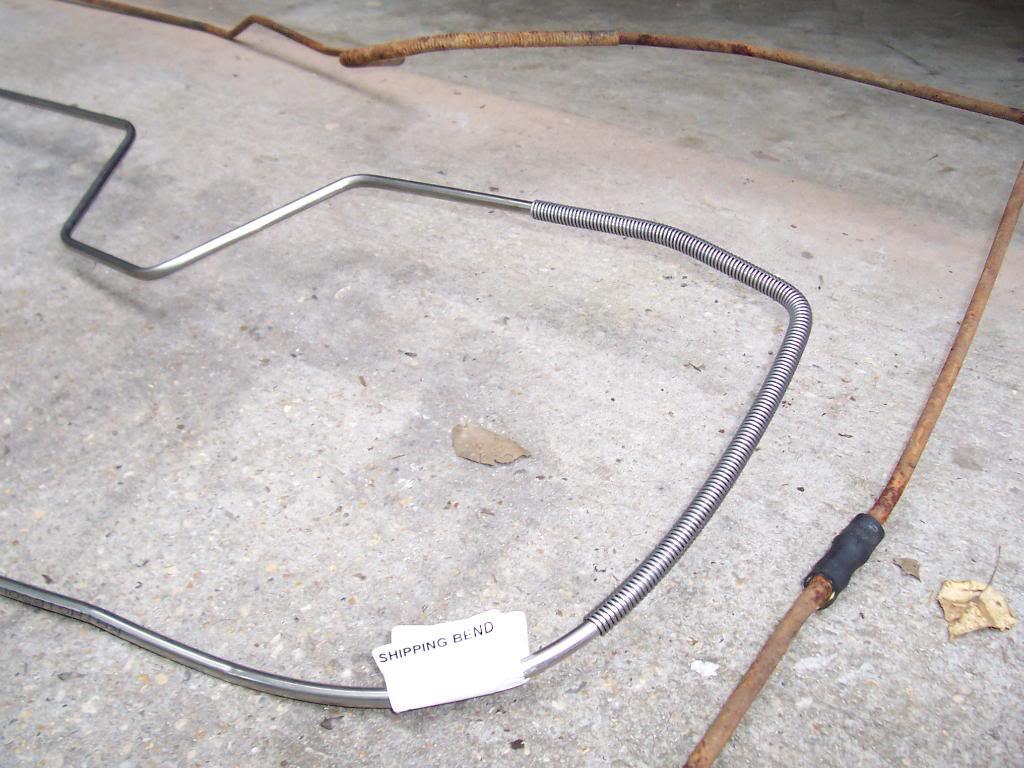
After a few minutes of carefully straightening the new line, it matches the factory line.

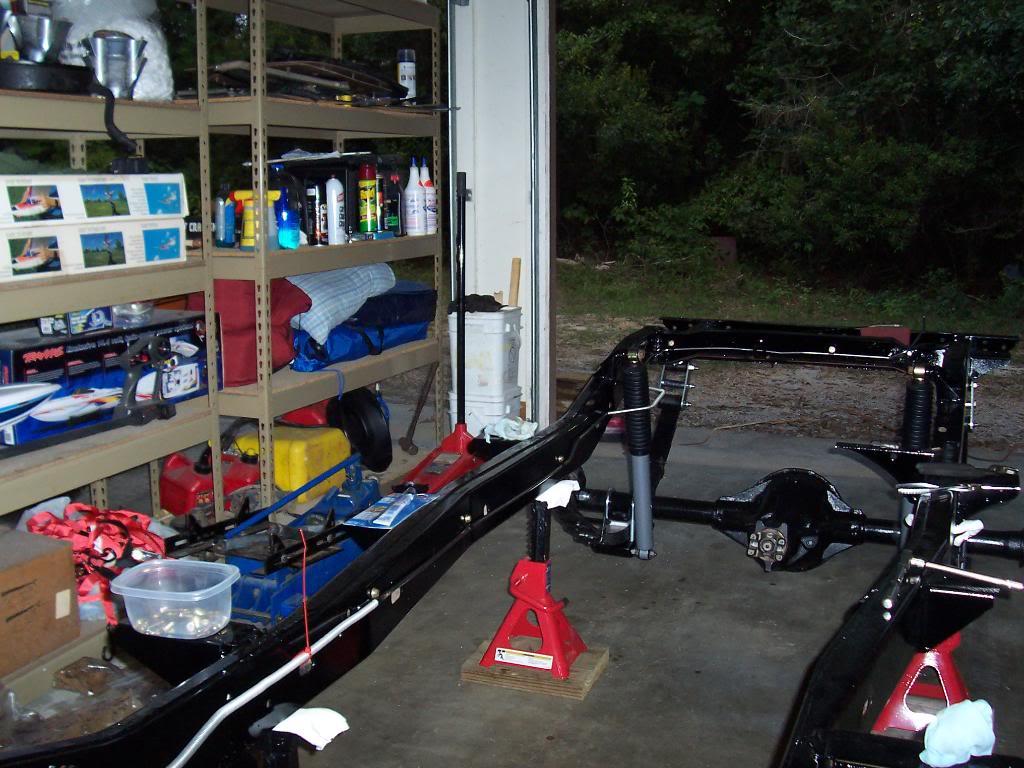
And some quick pics of it mounted on the frame. i tapped the frame holes out and applied anti seize to the frame bolts. I didn't take alot of pics of where the lines were bolted up at on my old frame due to the fact that I have another 83 in the garage. I just looked underneath my green 83 and bolted this line up in the same holes on this frame. Even without any reference pics it is fairly self explanatory on where the clips should go, well, on this side at least. The other side is a little more complicated due to 3 lines being run together.

Quick pic of new line vs old line. I kept the old lines so that i could make sure the new ones match and also so that I could unbend the shipping bends and make the new lines match the old ones.
This line came from Classic Tube. Even has a tag on it telling you what line it is.
The line had to be bent for shipping purposes. Attached to the line are stickers that say "shipping bend". They put the shipping bends in areas where the line should be straight so it is fairly easy to straighten the line and get it to match the factory appearance.
After a few minutes of carefully straightening the new line, it matches the factory line.
And some quick pics of it mounted on the frame. i tapped the frame holes out and applied anti seize to the frame bolts. I didn't take alot of pics of where the lines were bolted up at on my old frame due to the fact that I have another 83 in the garage. I just looked underneath my green 83 and bolted this line up in the same holes on this frame. Even without any reference pics it is fairly self explanatory on where the clips should go, well, on this side at least. The other side is a little more complicated due to 3 lines being run together.
Last edited:

- City
- Merton
- State
- WI
Those lines turned out great! Keep up the good work.
I have used Classic Tube in the past and the lines they have sent me have matched the OEM perfect. Of course as they say, we are... "Bent on Perfection"
Very cool to see the project turning out so nice. Thanks for posting so may pics.
Jeff
I have used Classic Tube in the past and the lines they have sent me have matched the OEM perfect. Of course as they say, we are... "Bent on Perfection"
Very cool to see the project turning out so nice. Thanks for posting so may pics.
Jeff
- City
- Biloxi
- State
- MS
Those lines turned out great! Keep up the good work.
I have used Classic Tube in the past and the lines they have sent me have matched the OEM perfect. Of course as they say, we are... "Bent on Perfection"
Very cool to see the project turning out so nice. Thanks for posting so may pics.
Jeff
The lines all worked out really good. I originally didn't plan on such a detailed thread, but once i started..............
Thanks for the compliment
- City
- Biloxi
- State
- MS
Got some more 'plumbing" done. I ran the 3 lines that run down the drivers side frame rail: fuel return line, vapor line, and rear brake line.
First pic just shows the fuel return and vapor lines after taking out the "shipping" bends. These two lines came from Inline Tube.

Cleaned my old proportioning valve up, repainted the shield thing that mounts between the valve and the frame, and mounted them up.

And some pics of all 3 lines mounted up. They all matched the factory lines really well. If I was being super picky about it, I would say that the brake line is about 2" too long, but it still works really well. Took a little while to get everything fitted up, alot of loosening of clamps, slight tweaking, retightening, etc.
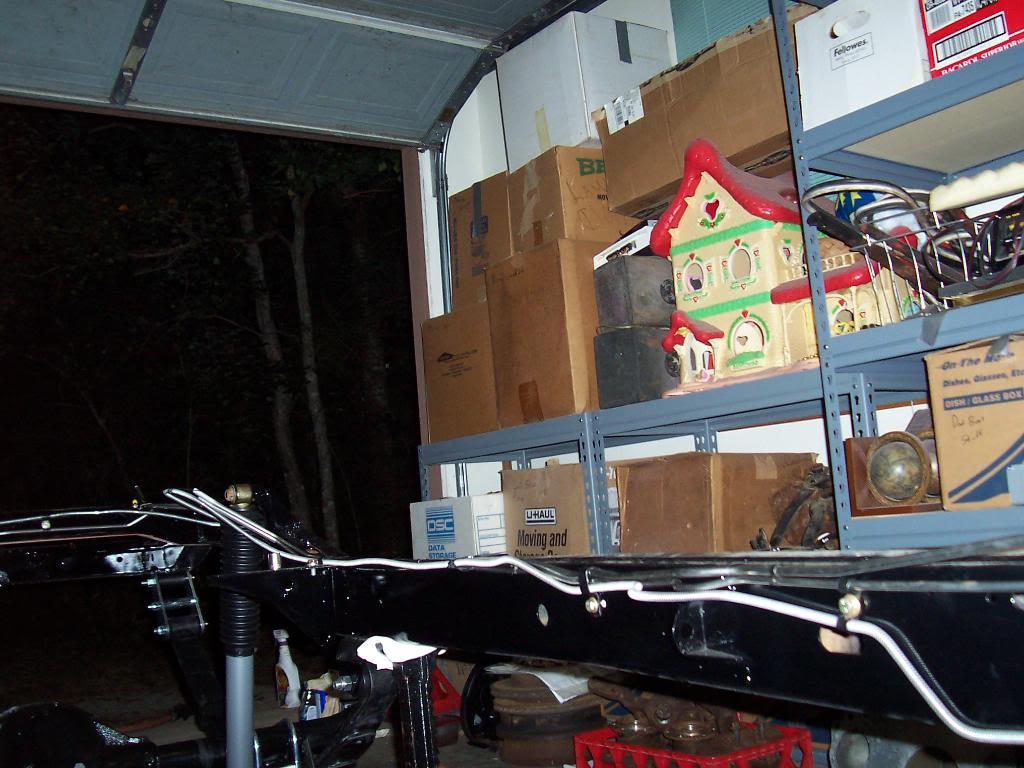


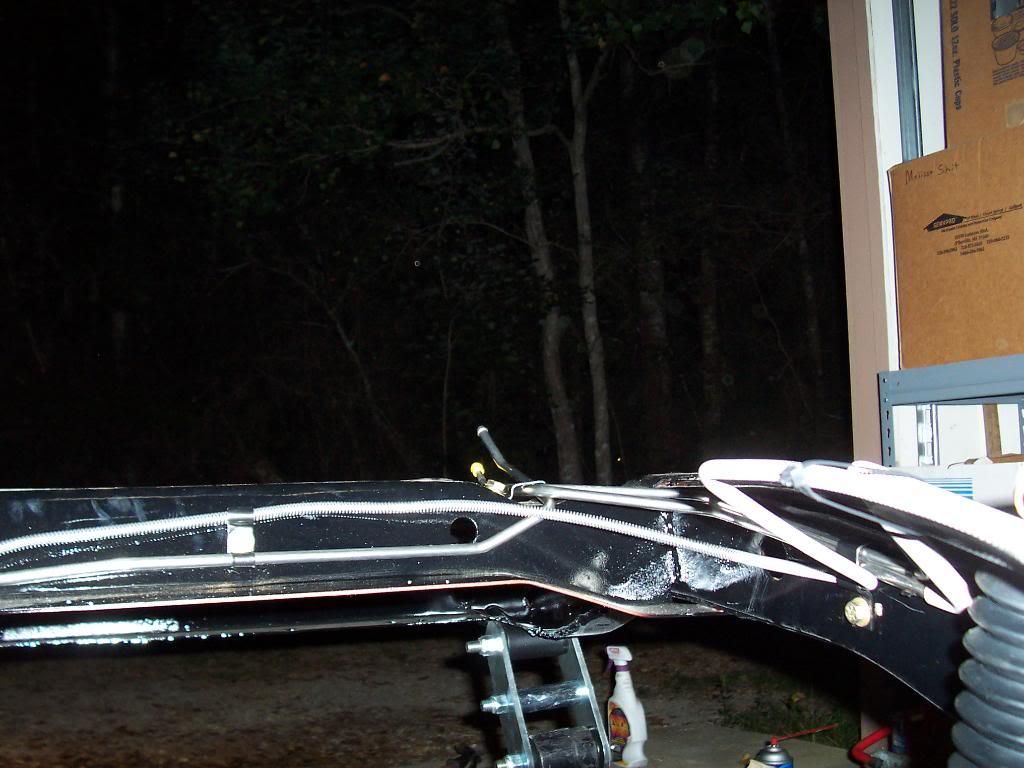
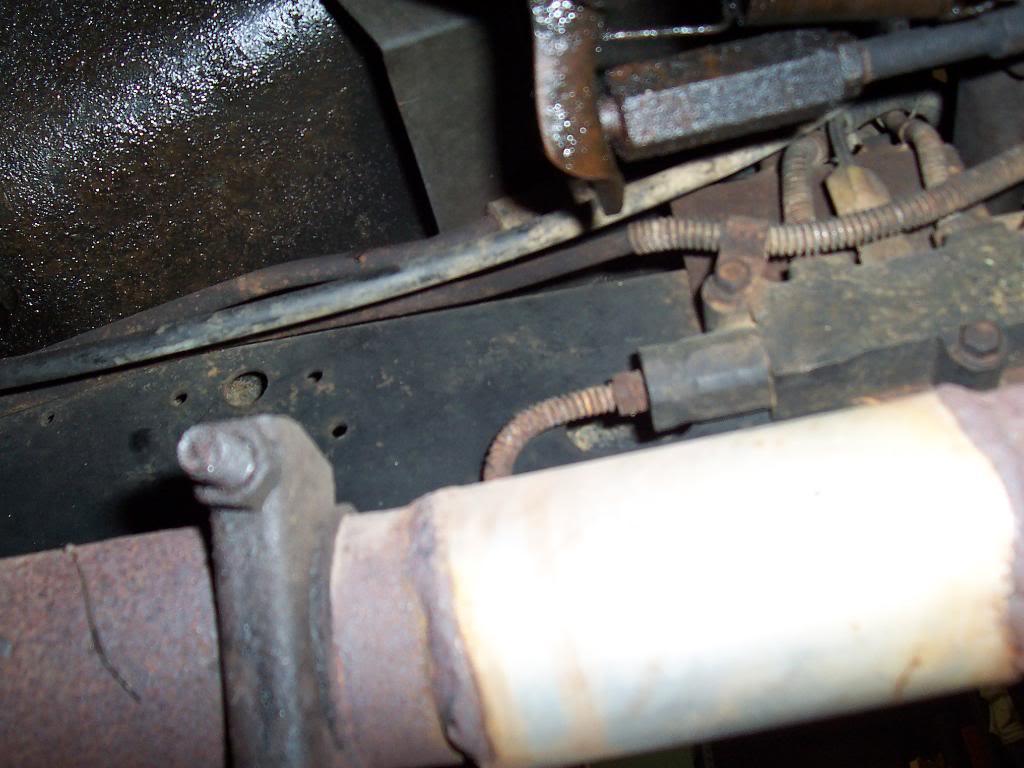
And some pics of my "reference" material. It comes in really handy having an all original 83 Scrambler in the garage. I would lay underneath my green one, make some mental notes on how everything looked, then replicate the layout and mounting on my project frame. The original and reproductions match up really well.
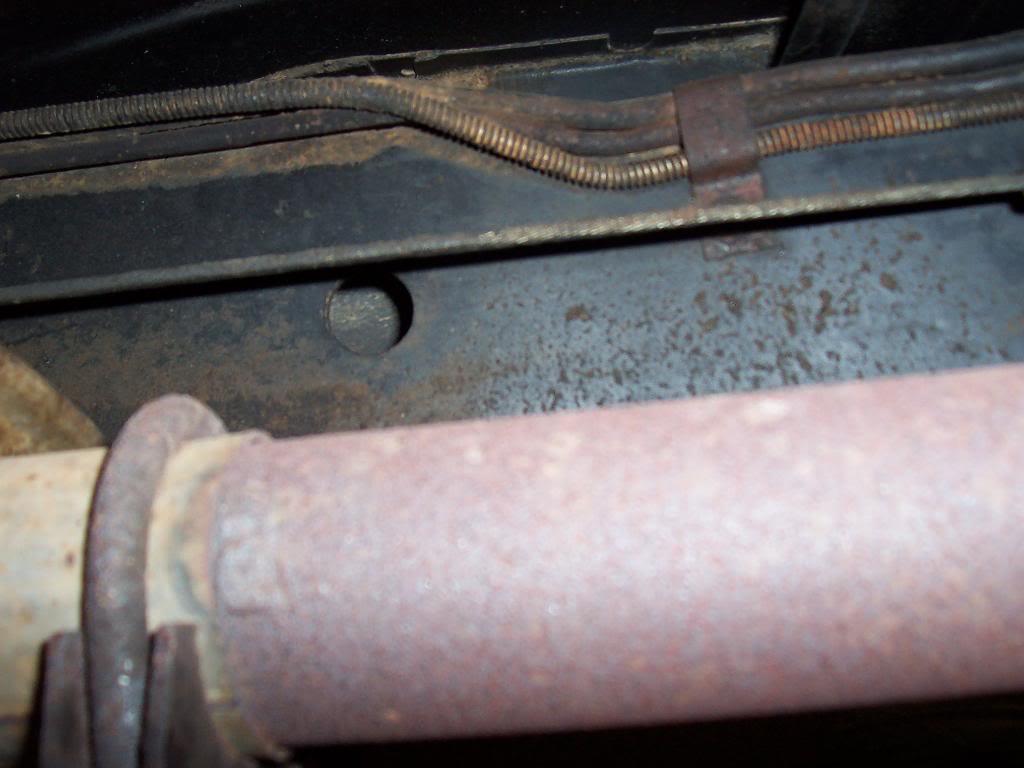

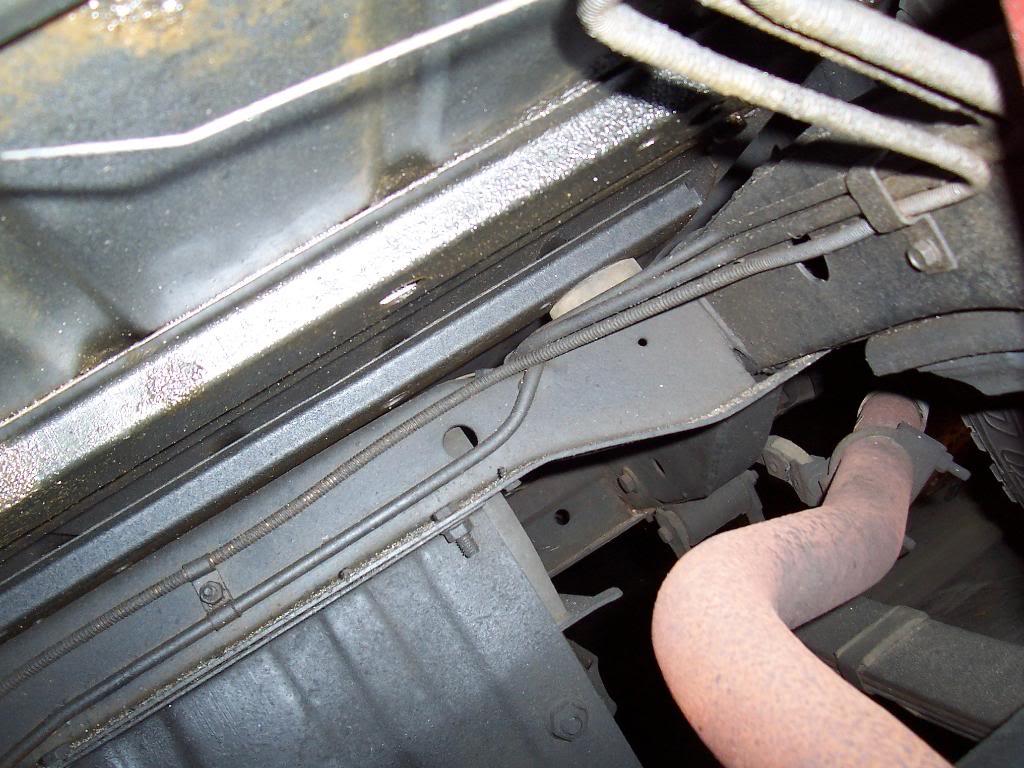
First pic just shows the fuel return and vapor lines after taking out the "shipping" bends. These two lines came from Inline Tube.
Cleaned my old proportioning valve up, repainted the shield thing that mounts between the valve and the frame, and mounted them up.
And some pics of all 3 lines mounted up. They all matched the factory lines really well. If I was being super picky about it, I would say that the brake line is about 2" too long, but it still works really well. Took a little while to get everything fitted up, alot of loosening of clamps, slight tweaking, retightening, etc.
And some pics of my "reference" material. It comes in really handy having an all original 83 Scrambler in the garage. I would lay underneath my green one, make some mental notes on how everything looked, then replicate the layout and mounting on my project frame. The original and reproductions match up really well.
- City
- Biloxi
- State
- MS
Did some more "plumbing". Got the rear axle brake lines pretty much finished up. I had to use the bracket that came with the Rubicon Express longer rear brake line due to the fact that this line fits loose in the factory bracket. You can see that I mounted the RE aluminum bracket next to the stock bracket. The stock brake line has two clips, one that fits on both sides of the flex line to frame bracket interface, to hold it firm in the stock bracket. The RE line only has 1 clip. If I would have used the stock bracket with the RE line, it would not have been held tight. The two lines that run from the junction block to each wheel are just loosely installed for now. I will put the 3 clips on these lines and tighten them down once I install the rear brakes. Pics:
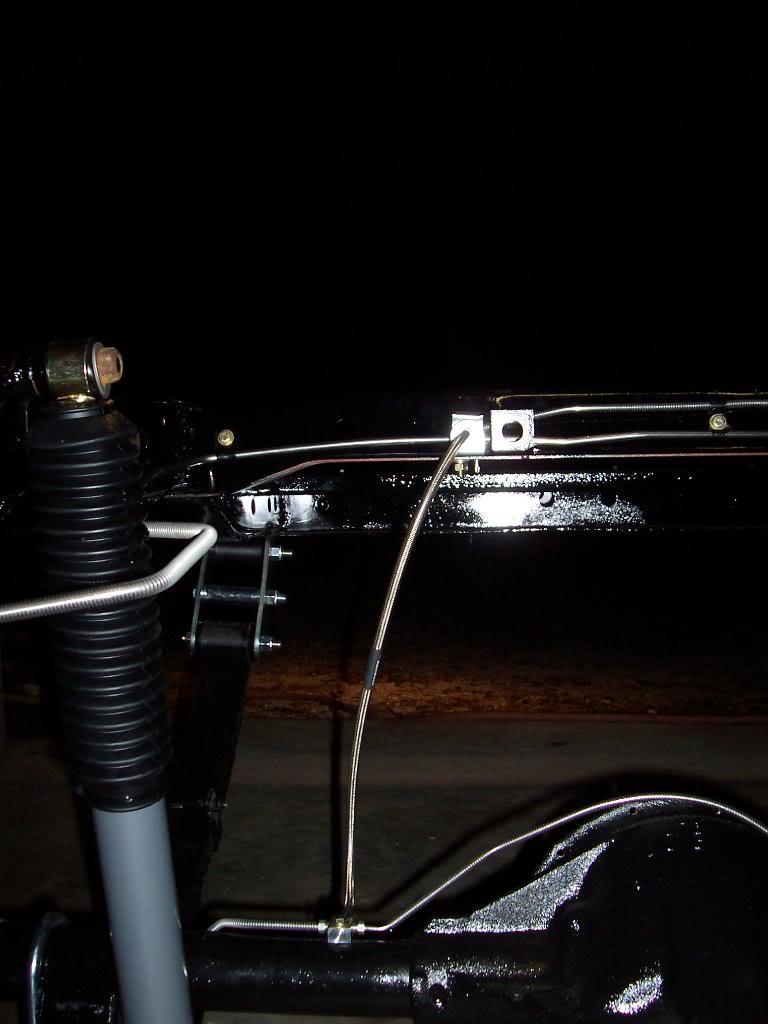
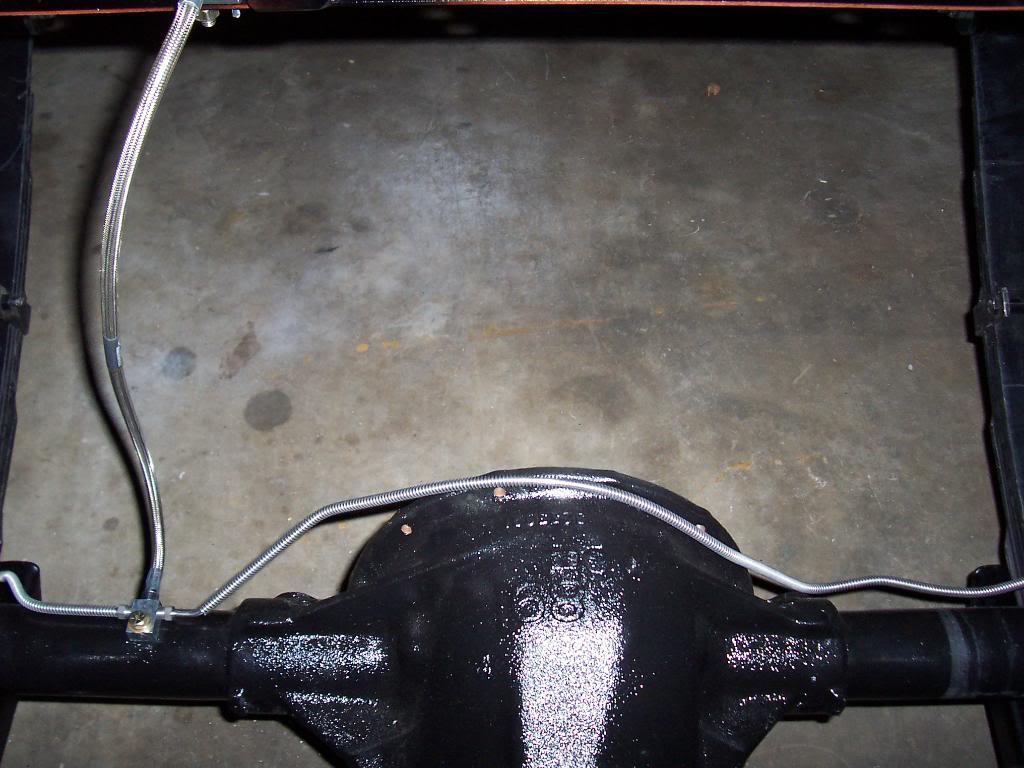
I went ahead and mounted the 2 front brake lines. I still need to clean and paint all the little brackets and clips before I can finalize this installation.

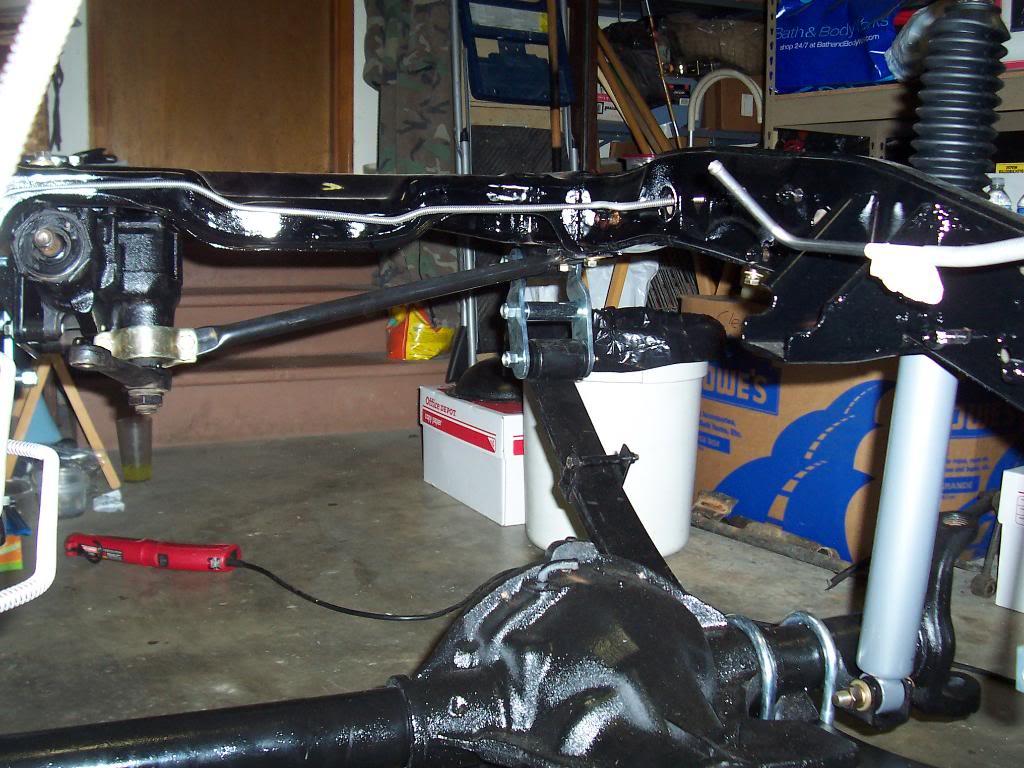
That about finishes up all the hard line plumbing for now. I still have to run the two lines that run from the master cylinder to the proportioning valve, but I will wait until the body is mounted before I run these lines. Same thing with all the parking brake cables.
I went ahead and mounted the 2 front brake lines. I still need to clean and paint all the little brackets and clips before I can finalize this installation.
That about finishes up all the hard line plumbing for now. I still have to run the two lines that run from the master cylinder to the proportioning valve, but I will wait until the body is mounted before I run these lines. Same thing with all the parking brake cables.
84jeepjohn
Basic User
- City
- Satellite beach
- State
- Fl
Looks GREAT!!! one thing I'll add just as an FYI. (I see you are by the coast. Had tech school there  good time. But came back after Katrina
 blown away by that)
Anyhow on your steering brace. Who made it? Reason I ask is I've got one from rugged ridge (mirror too) and nother have held up to the fl salt air. Just an FYI. I'd re paint it if I were you. If it is a rr one
good time. But came back after Katrina blown away by that)Anyhow on your steering brace. Who made it? Reason I ask is I've got one from rugged ridge (mirror too) and nother have held up to the fl salt air. Just an FYI. I'd re paint it if I were you. If it is a rr one
- City
- Biloxi
- State
- MS
Great work and fun to watch. Keep at it.
Appreciate it, your build is looking great, too
- City
- Biloxi
- State
- MS
Looks GREAT!!! one thing I'll add just as an FYI. (I see you are by the coast. Had tech school there
Anyhow on your steering brace. Who made it? Reason I ask is I've got one from rugged ridge (mirror too) and nother have held up to the fl salt air. Just an FYI. I'd re paint it if I were you. If it is a rr one
Not too sure who made the cross brace, it came with the Jeep
 The steering box mount is a "Rusty's Offroad" brand. The brace has its original paint on it which is still in good shape, albeit a little faded, so hopefully it wont rust
The salt air isn't too bad here due to the MS Sound being more "brackish" (salt + freshwater mix). That, and I live about 5 miles inland, so rust isn't too big of a concern for me
- City
- Biloxi
- State
- MS
My painter didn't have my brackets ready on Friday, so I didn't get as much done as I had hoped. But, I did a little work, so here are some more pics.
Picture of a bunch of new bolts. These are the bolts for the engine mounts, sway bar, shock towers, and skid plate. The bags on the right contain the old hardware.
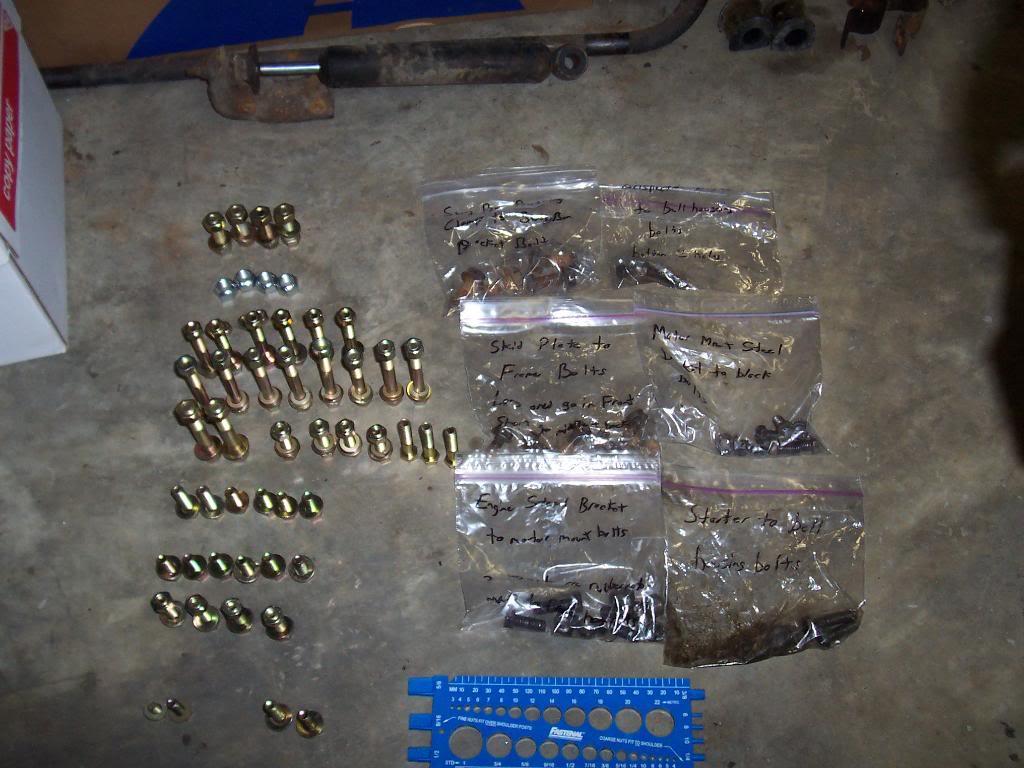
Picture of my box full of old hardware. I guess I am making progress.

Pic of the frame mounted exhaust hanger bracket and plate.
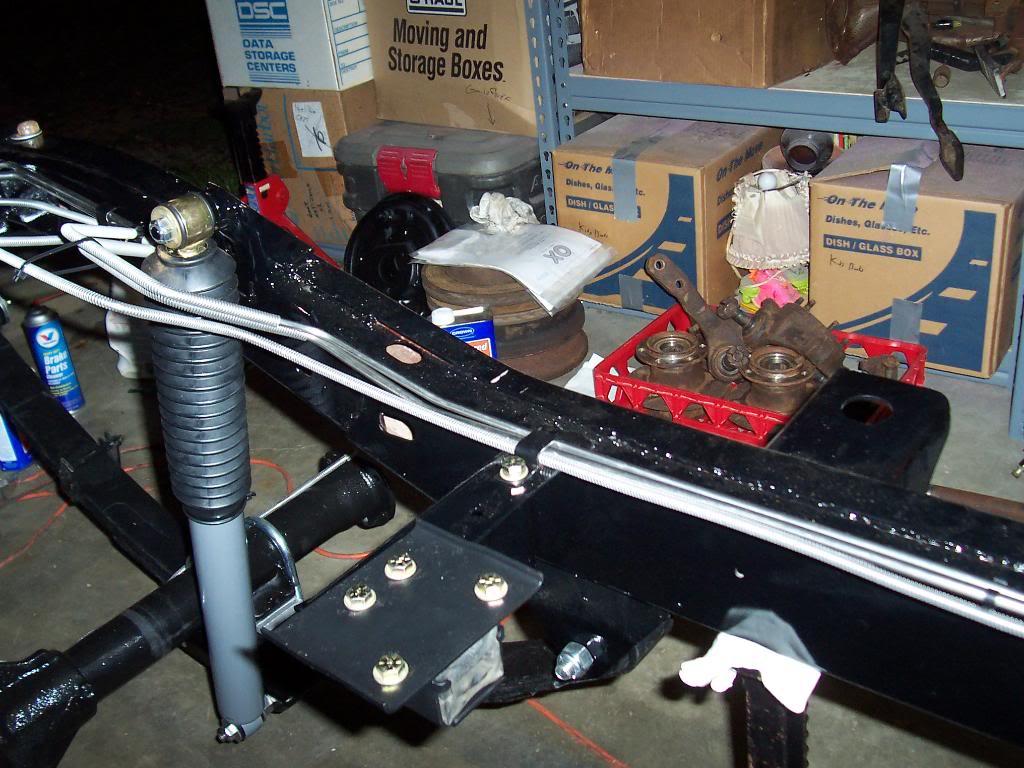
Pic of new bolts inserted into the front of the frame. They are just waiting on their corresponding brackets. From rear of frame to front: motor mount frame horns, shock towers, brake line attaching clip, sway bar to frame bracket
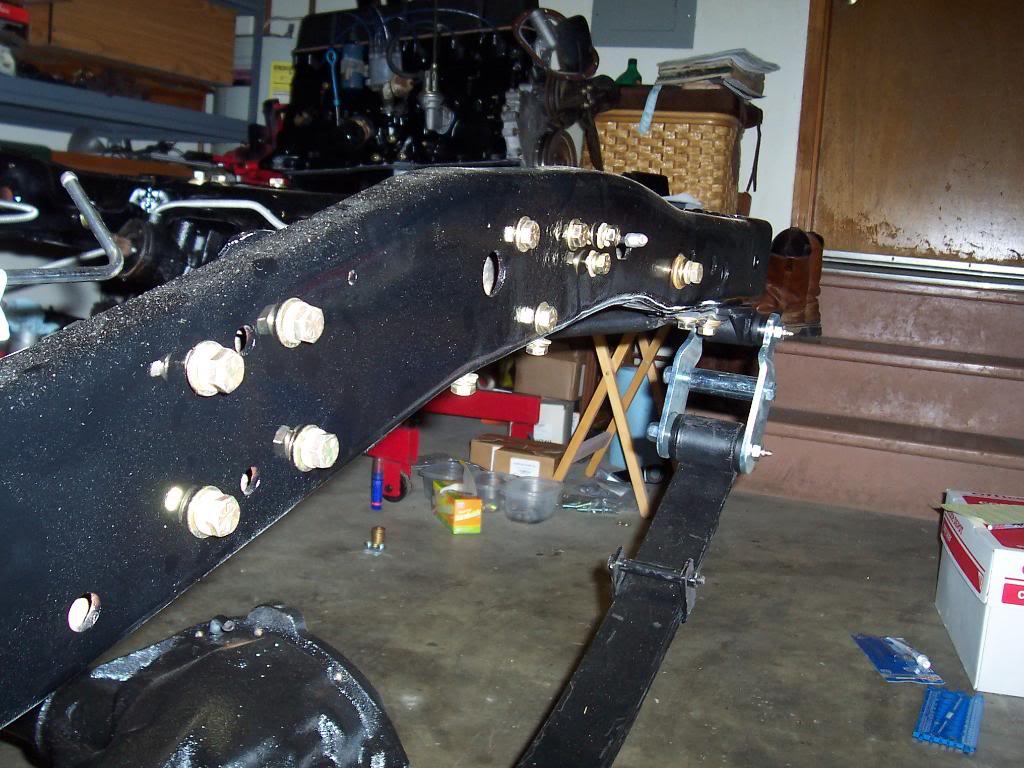
Painted the clips so I finished mounting all the front brake lines.
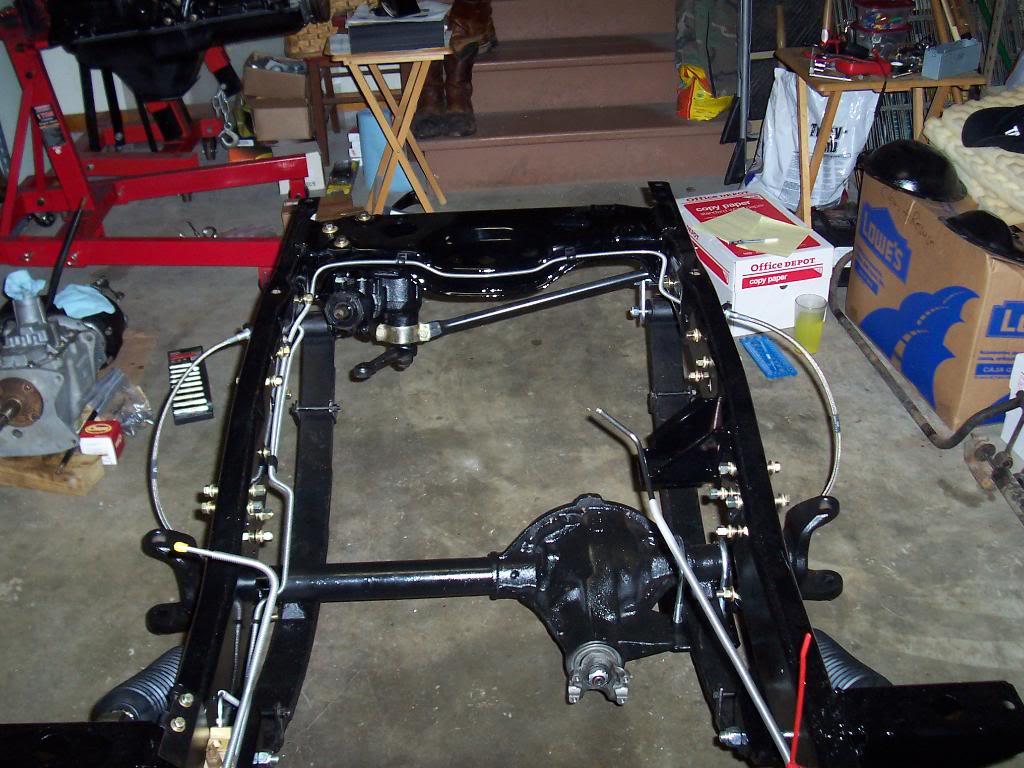
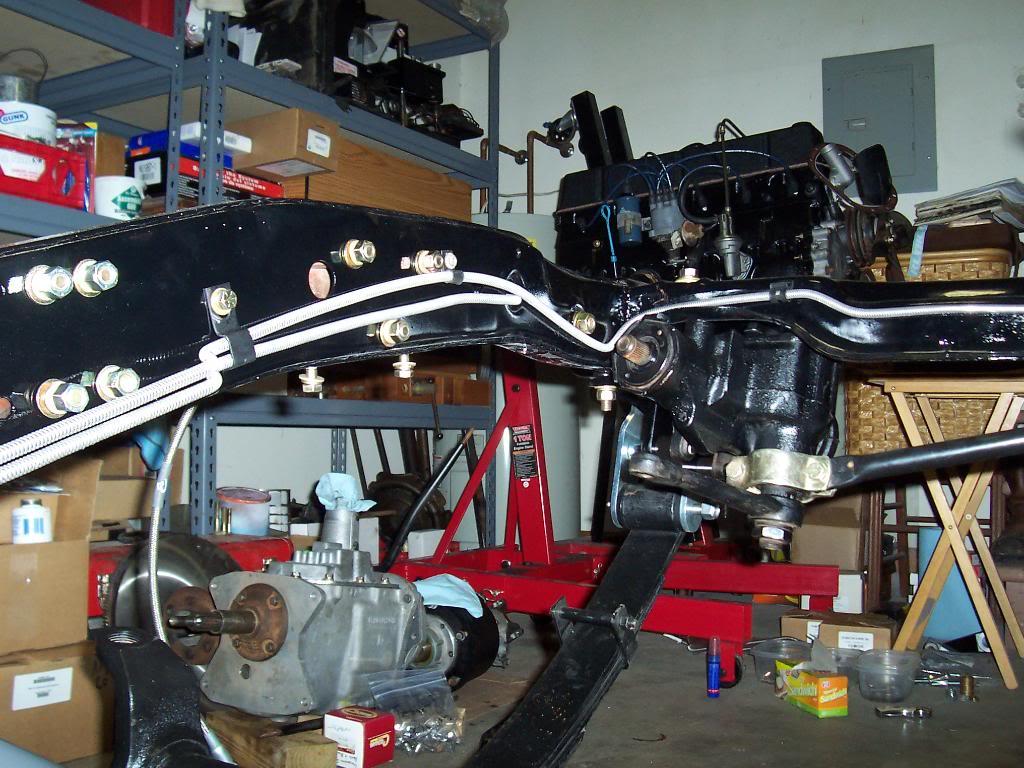
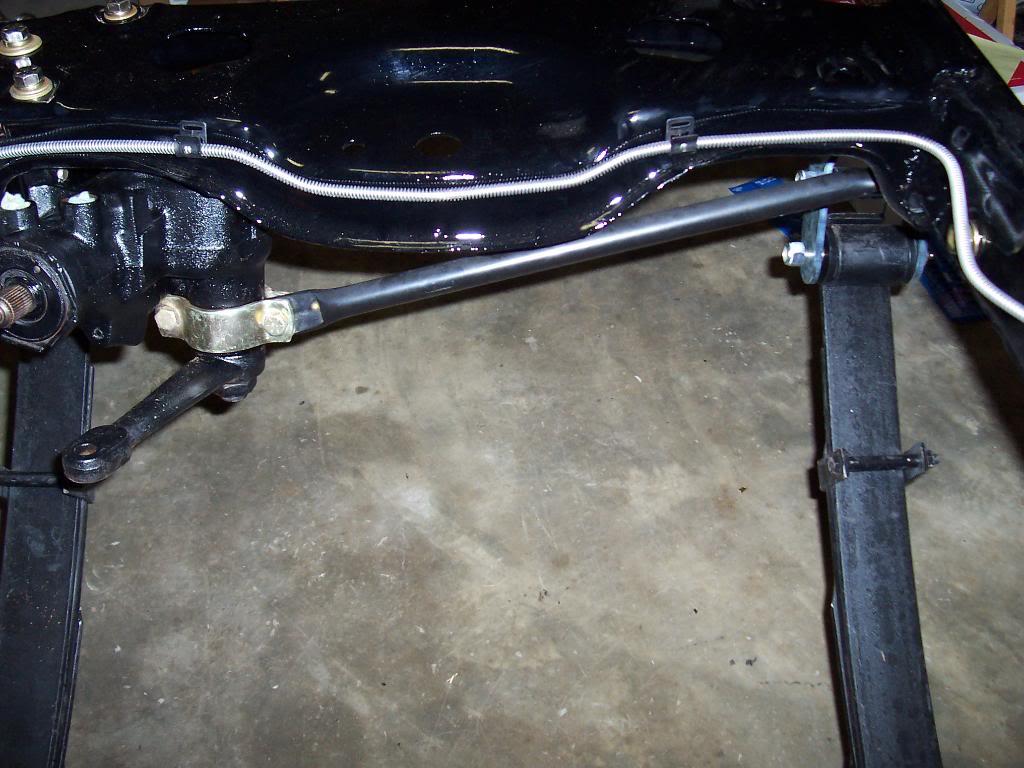
Quick pic of the front diff, 4.10 gears and Ox Locker.
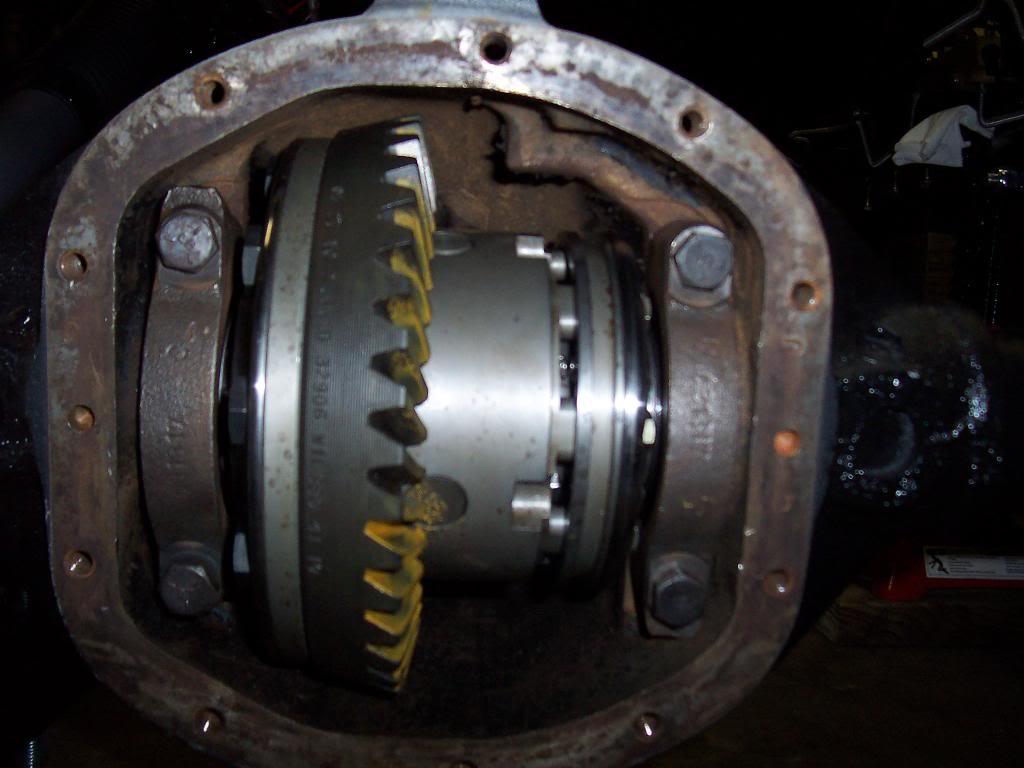
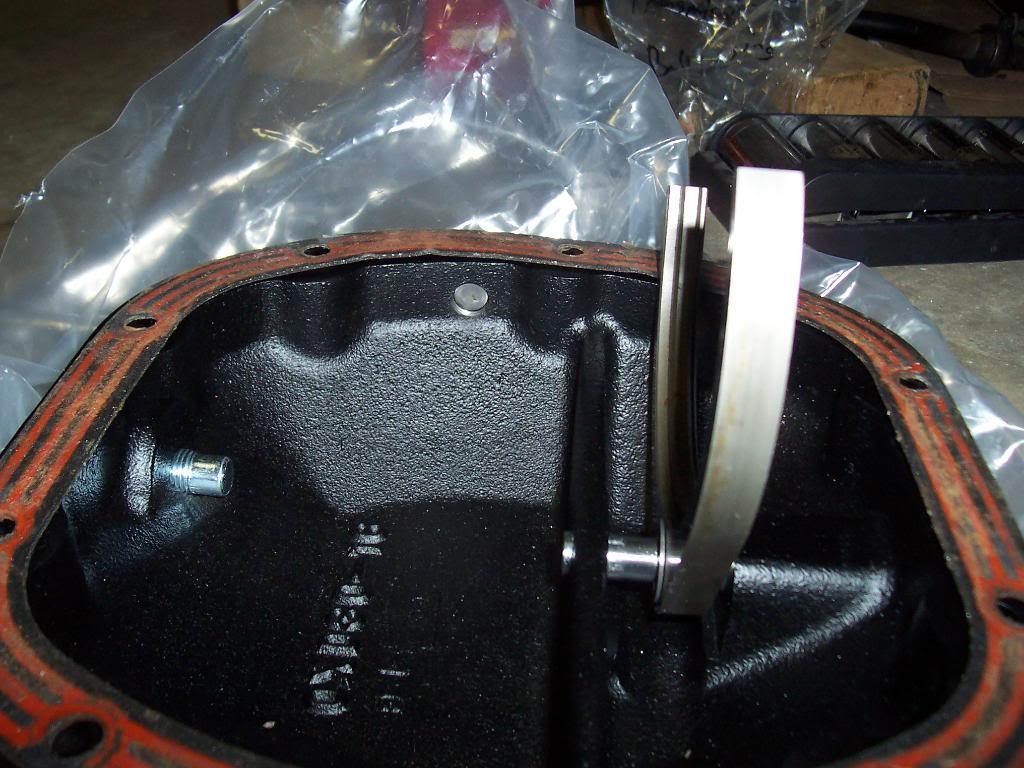
Pic of the Ox diff cover with built in shifter. Also, you can see the Lube Locker gasket (love these things)

Picture of a bunch of new bolts. These are the bolts for the engine mounts, sway bar, shock towers, and skid plate. The bags on the right contain the old hardware.
Picture of my box full of old hardware. I guess I am making progress.
Pic of the frame mounted exhaust hanger bracket and plate.
Pic of new bolts inserted into the front of the frame. They are just waiting on their corresponding brackets. From rear of frame to front: motor mount frame horns, shock towers, brake line attaching clip, sway bar to frame bracket
Painted the clips so I finished mounting all the front brake lines.
Quick pic of the front diff, 4.10 gears and Ox Locker.
Pic of the Ox diff cover with built in shifter. Also, you can see the Lube Locker gasket (love these things)