

You are using an out of date browser. It may not display this or other websites correctly.
You should upgrade or use an alternative browser.
You should upgrade or use an alternative browser.
Another Scrambler Purchase/Road Trip - UPDATE- BODY ON FRAME AGAIN
- Thread starter spankrjs
- Start date


- City
- Biloxi
- State
- MS
Nice work, and thanks for the reply on the spare tire carrier!
Oh, and in the pic above, your 'dog' appears to be frozen
No problem

I love that "dog", he is the most well behaved, easy to take care of pet I have ever had the pleasure of owning
- City
- Biloxi
- State
- MS
Quick, midweek update. Not visually dramatic progress, but necessary work. Been busy degreasing, cleaning, sanding and removing rust and grime from parts I am reusing.
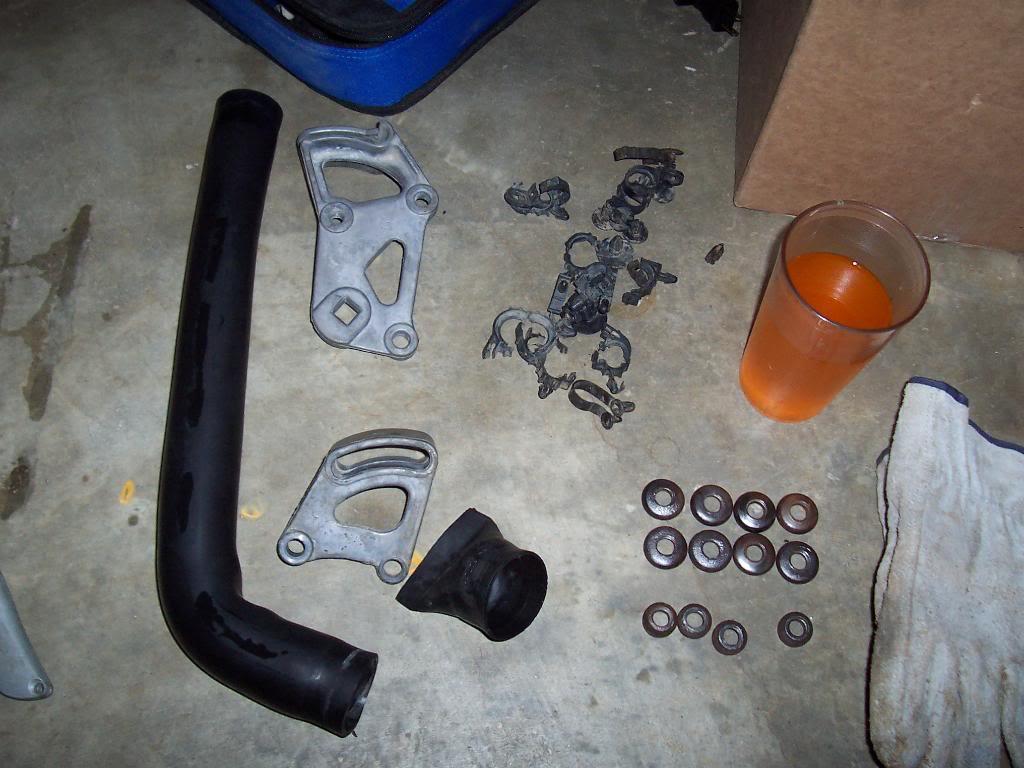
Pic of some ready to reinstall parts: the aluminum pieces that go to the power steering pump bracket assembly and the cowl drain hose. Also pictured are the intake/exhaust manifold bolt washers, patiently waiting for paint. Still need to clean all the black plastic wire mounting clips that are piled up, too.
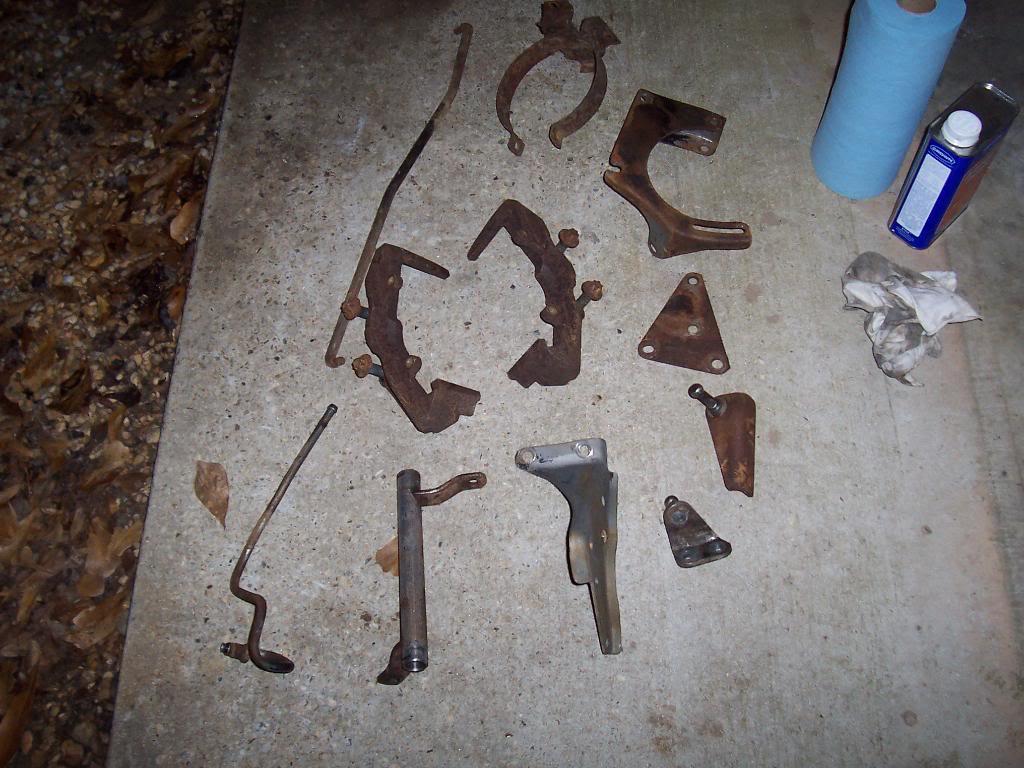
Pic of some parts after degreasing but before rust removal.
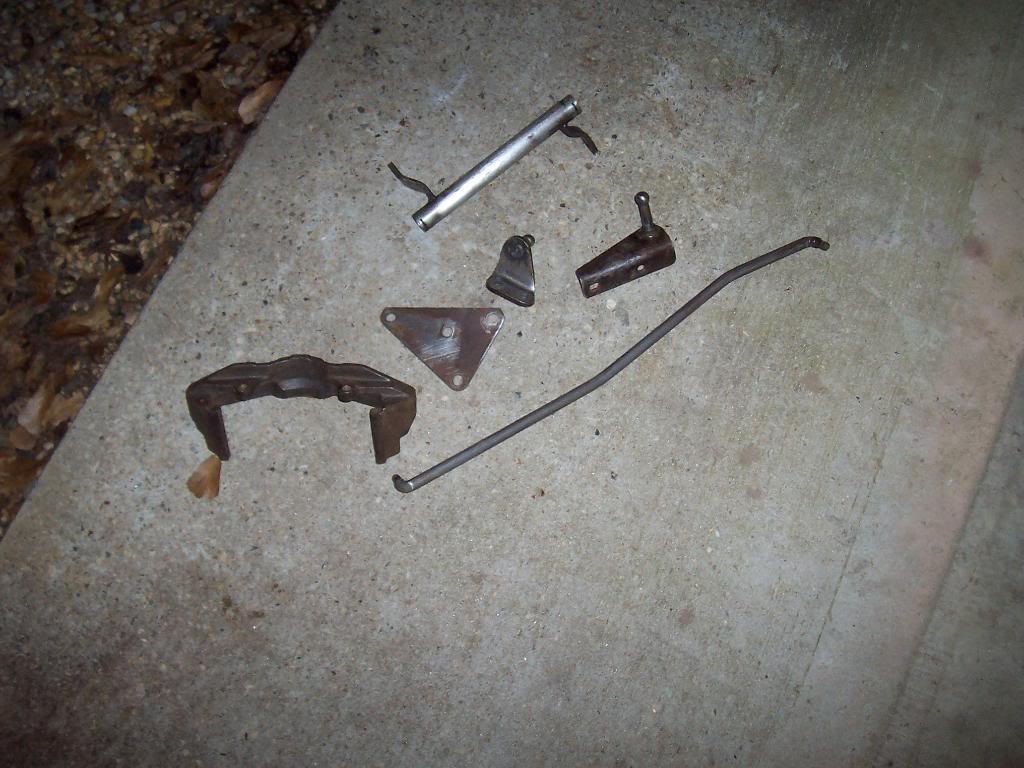
Some of the same parts after rust removal. They still need a little clean up here and there to be ready for paint.
That's it for now.
Pic of some ready to reinstall parts: the aluminum pieces that go to the power steering pump bracket assembly and the cowl drain hose. Also pictured are the intake/exhaust manifold bolt washers, patiently waiting for paint. Still need to clean all the black plastic wire mounting clips that are piled up, too.
Pic of some parts after degreasing but before rust removal.
Some of the same parts after rust removal. They still need a little clean up here and there to be ready for paint.
That's it for now.


- City
- Cobourg, Ontario, Cana
- State
- da
And a glass of Tang?
dammit, you beat me to it.
- City
- Biloxi
- State
- MS
And a glass of Tang?
Orange Gatorade
Should be drinking something hot, it has been around or below freezing at night when I get home to work on this stuff
 I have been doing all this clean up work outside, since it makes a mess, versus inside the nice, warm, clean garage. Oh well, at least the cold motivates me to keep working to stay warm


- City
- Cincinnati
- State
- Oh
You need some "Space Sticks" to go with that glass of Tang to keep your energy level up while doing all that hard work (we all know it's not really Gatorade). Anybody remember Space Sticks?
- City
- Biloxi
- State
- MS
The black plastic wire mounting clips are readily available on line and cheap--by the bag--- called 'rosebud clips' if you need to replace any. FYI. Nice work as usual.
I bought a bag of 20 at NAPA, just in case I lost any
I will probably use the new ones and only clean and reuse the old ones if necessary
- City
- Biloxi
- State
- MS
Yep! I remember the Space Sticks well!
Oh, and forgive my ignorance, but what is a 'cowl drain' and where does it go? I don't recall that hose when I tore my rig down to the frame.
Many thanks!
The "cowl drain hose" fits onto the firewall, to the right of the battery tray if you are standing in front of your jeep and looking at it. You should have a plastic, round, tube-like pipe protruding from the firewall that attaches to the air-box assembly. This is the drain, it allows the rain water that enters the air-box through the cowl vent to drain out. You don't have to have the hose, but the hose allows the water to dump out at roughly the same level as the bottom of the firewall. If you don't have the hose, the water will dump out under the hood at a higher elevation.
- City
- Biloxi
- State
- MS
You need some "Space Sticks" to go with that glass of Tang to keep your energy level up while doing all that hard work (we all know it's not really Gatorade). Anybody remember Space Sticks?
I don't remember Space Sticks, maybe before my time (born in'76)?

- City
- Cincinnati
- State
- Oh
I don't remember Space Sticks, maybe before my time (born in'76)?
Oh, thou callow youth.
Space Sticks were one of the many gimmick products that flooded the market during the early space program. They were about the size and consistency (and taste) of those colored sticks you buy at the hardware store to fill in nail holes. Apparently, they are still around. http://www.spacefoodsticks.com/ Tang had a huge marketing blitz since that's what the astronauts drank.
My mom used to buy a product called "Ayds". It was a box of chocolates that had an appetite suppressant. Tasted nasty. I am not too sure how that product would sell today. http://en.wikipedia.org/wiki/Ayds
Back to the topic, I might have missed it, but what type of paint did you use on those little parts, like the ones hanging from the roll bar?
- City
- Cobourg, Ontario, Cana
- State
- da
Orange Gatorade
Should be drinking something hot, it has been around or below freezing at night when I get home to work on this stuff
I was working in my garage last night. Had the heat on, then realized I had to use torches and grinder... Had to leave the garage door open and let all my heat out. 3 hours in garage with no heat, door wide open. it was -12C (10F) out and inside the garage.
- City
- Biloxi
- State
- MS
I was working in my garage last night. Had the heat on, then realized I had to use torches and grinder... Had to leave the garage door open and let all my heat out. 3 hours in garage with no heat, door wide open. it was -12C (10F) out and inside the garage.
But your from Canada, you are used to it, I am from south Mississippi, our winters temps should only get down to 60 LOL

- City
- Biloxi
- State
- MS
Oh, thou callow youth.
Space Sticks were one of the many gimmick products that flooded the market during the early space program. They were about the size and consistency (and taste) of those colored sticks you buy at the hardware store to fill in nail holes. Apparently, they are still around. http://www.spacefoodsticks.com/ Tang had a huge marketing blitz since that's what the astronauts drank.
My mom used to buy a product called "Ayds". It was a box of chocolates that had an appetite suppressant. Tasted nasty. I am not too sure how that product would sell today. http://en.wikipedia.org/wiki/Ayds
Back to the topic, I might have missed it, but what type of paint did you use on those little parts, like the ones hanging from the roll bar?
I remember Tang, used to drink it all the time as a kid, tasted pretty good from what I remember
For the little parts, I have been using "VHT Chassis and Roll Bar paint". Pretty impressed with it so far. Sprays with a very fine mist, no primer needed, no runs or fish eyes yet. Lays down smooth, nice gloss finish. I used the same brand paint on my transfer case (the cast iron part) except it was just "black", not "gloss black". The "black" variety of this paint has a very flat finish.
I have also used Duplicolor Engine Primer and Duplicolor Engine Enamel on some parts. This stuff works out good, too. But, you have to prime first
- City
- Biloxi
- State
- MS
Got a little bit more finished this weekend. Not as much as I wanted, but I had some other stuff to do.
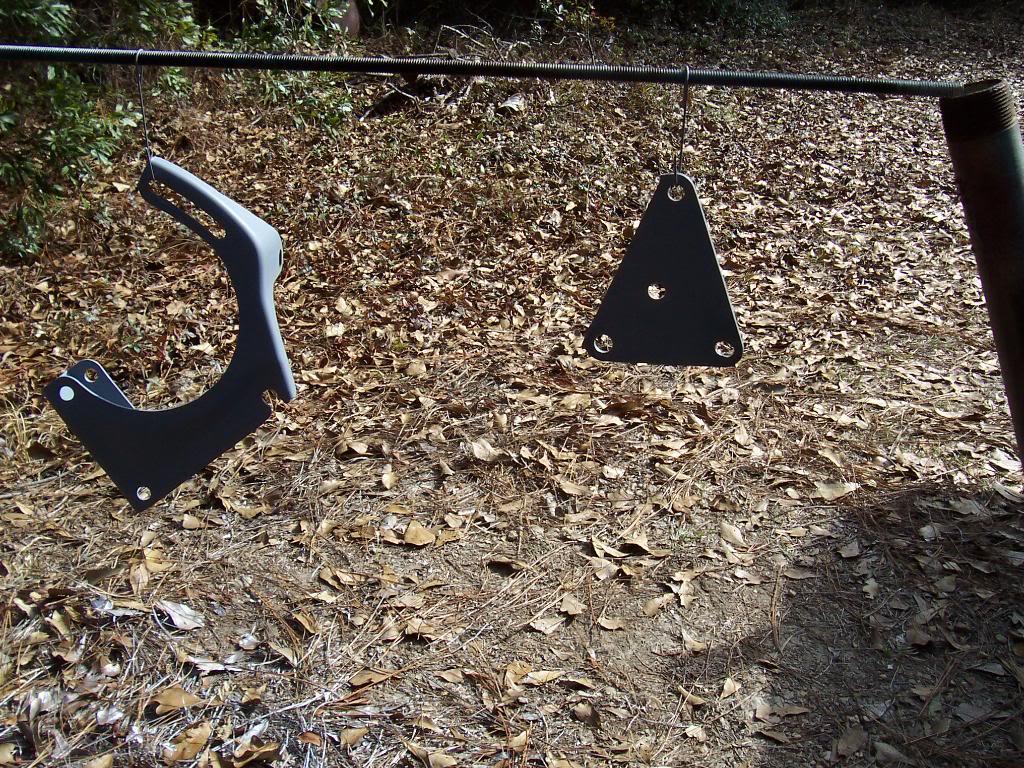
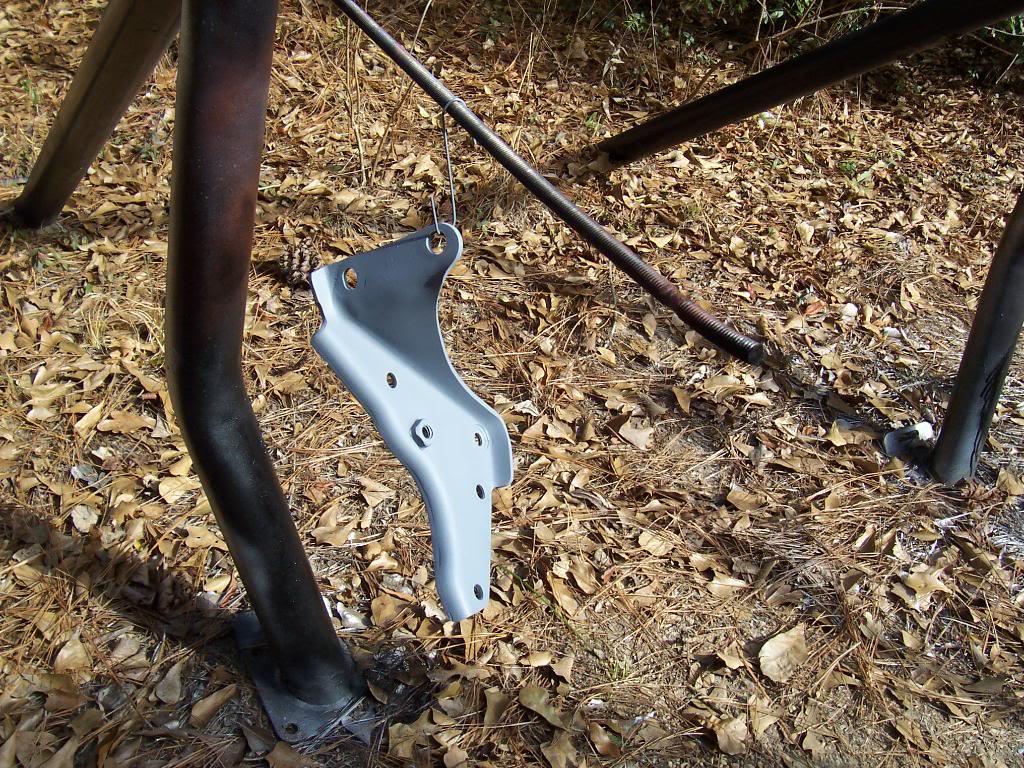
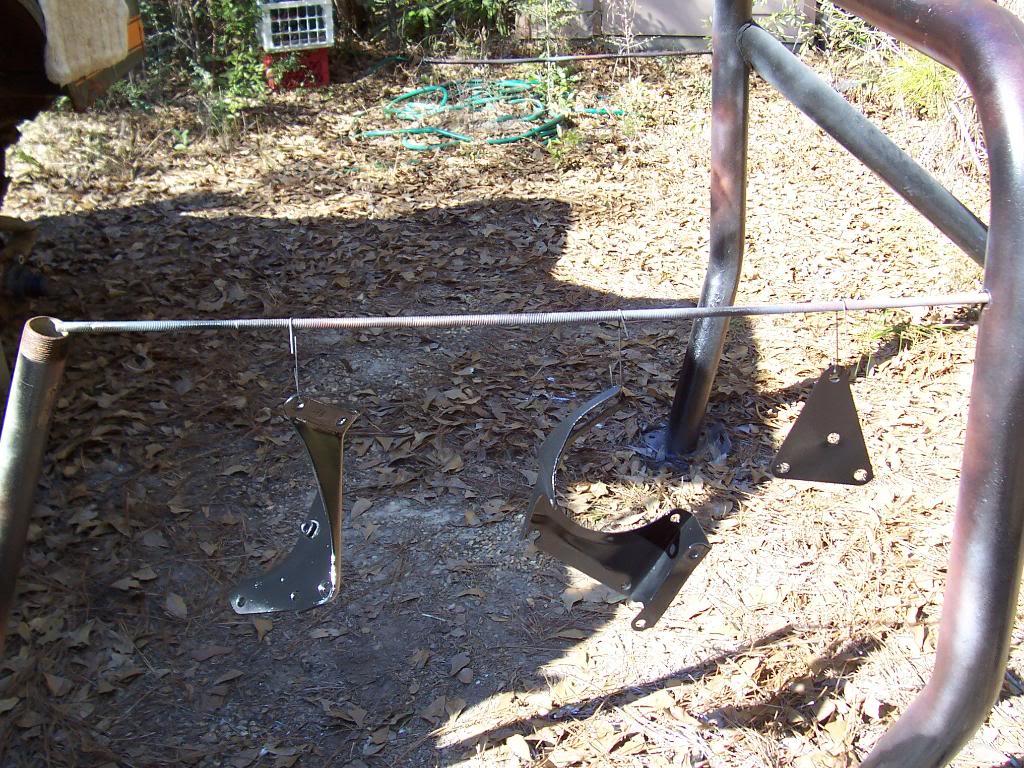
Got all the parts painted that I spent all last week freezing my butt off prepping for paint.
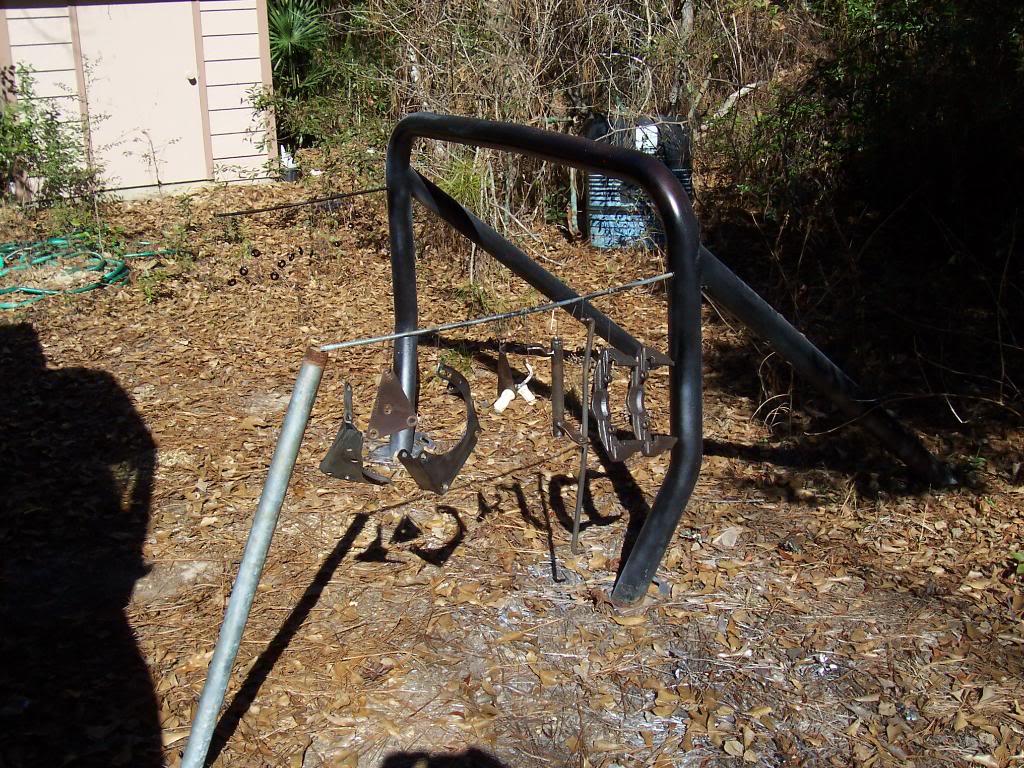
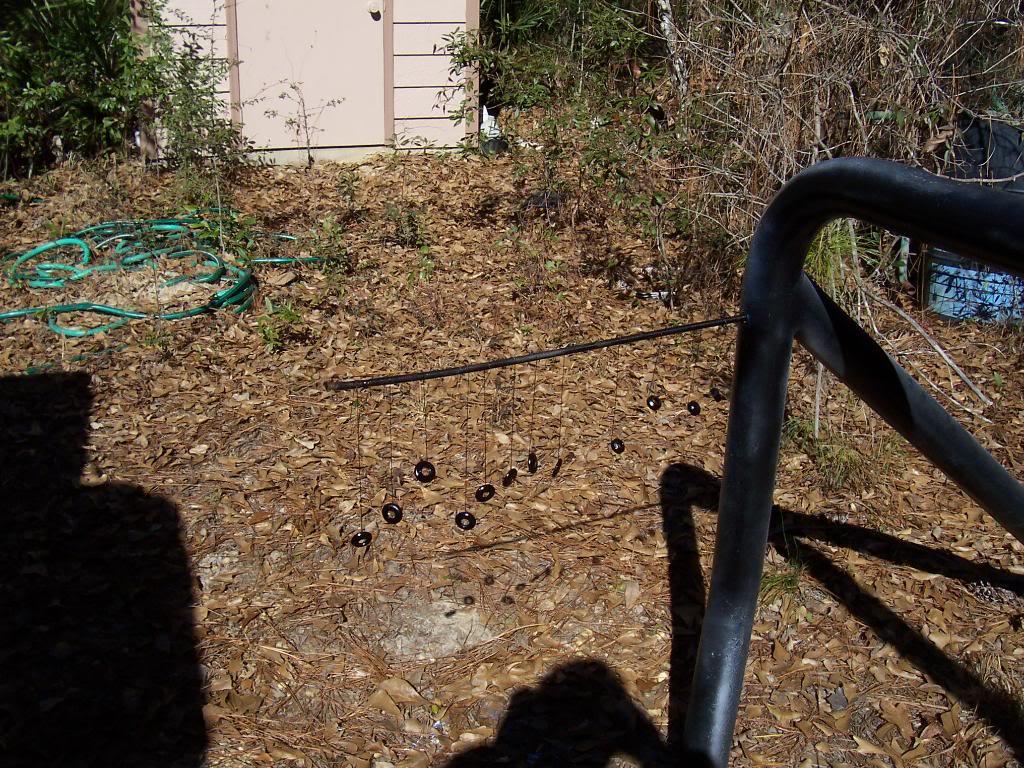
All the parts hanging up on my painting stand.
Intake/exhaust manifold bolt washers. I painted them with high temp paint, not sure how long it will last, though.
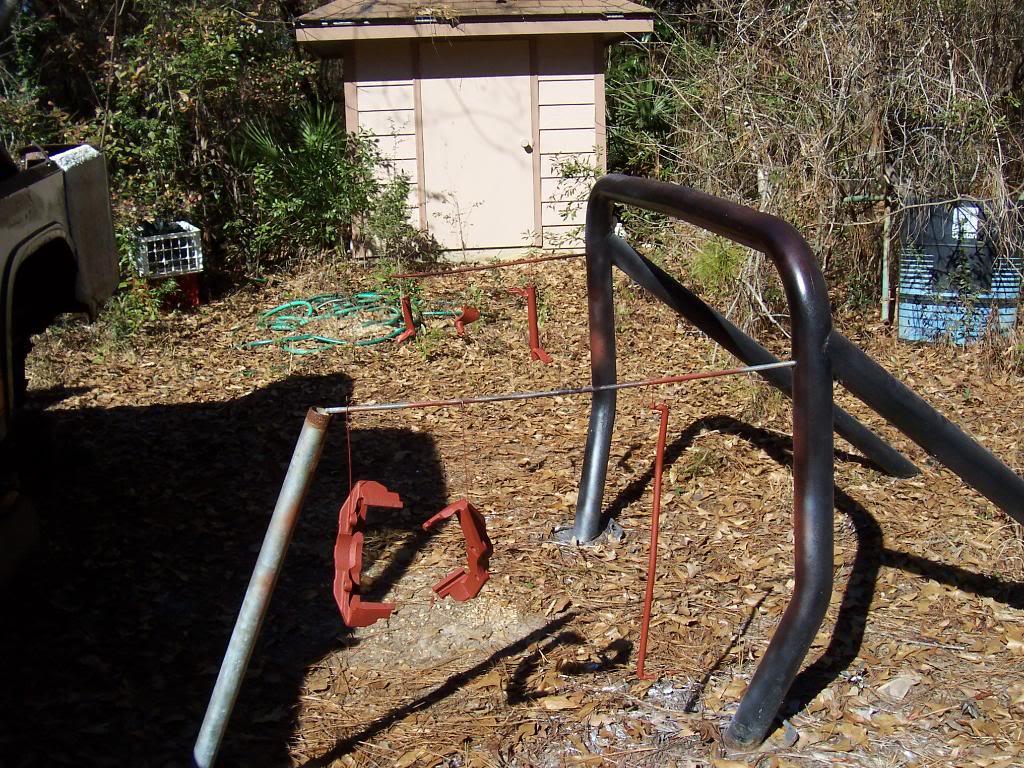
Brake caliper mounts and clutch linkage parts. I painted these parts with Krylon primer and Krylon paint, same stuff that I used to paint my axles.
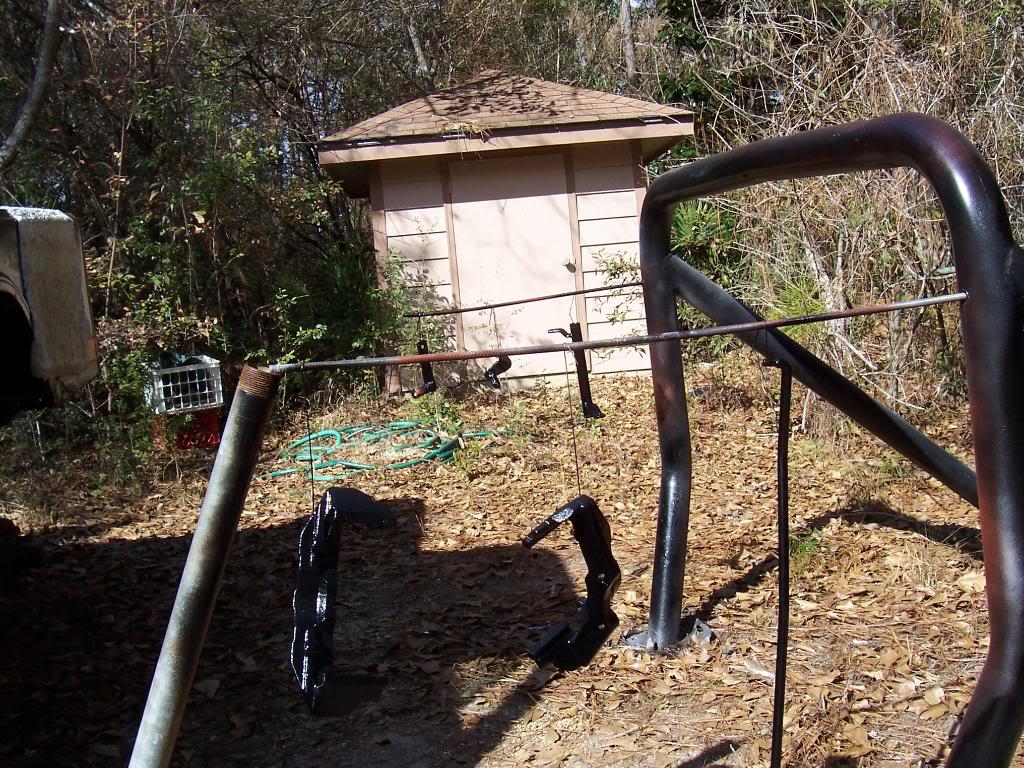
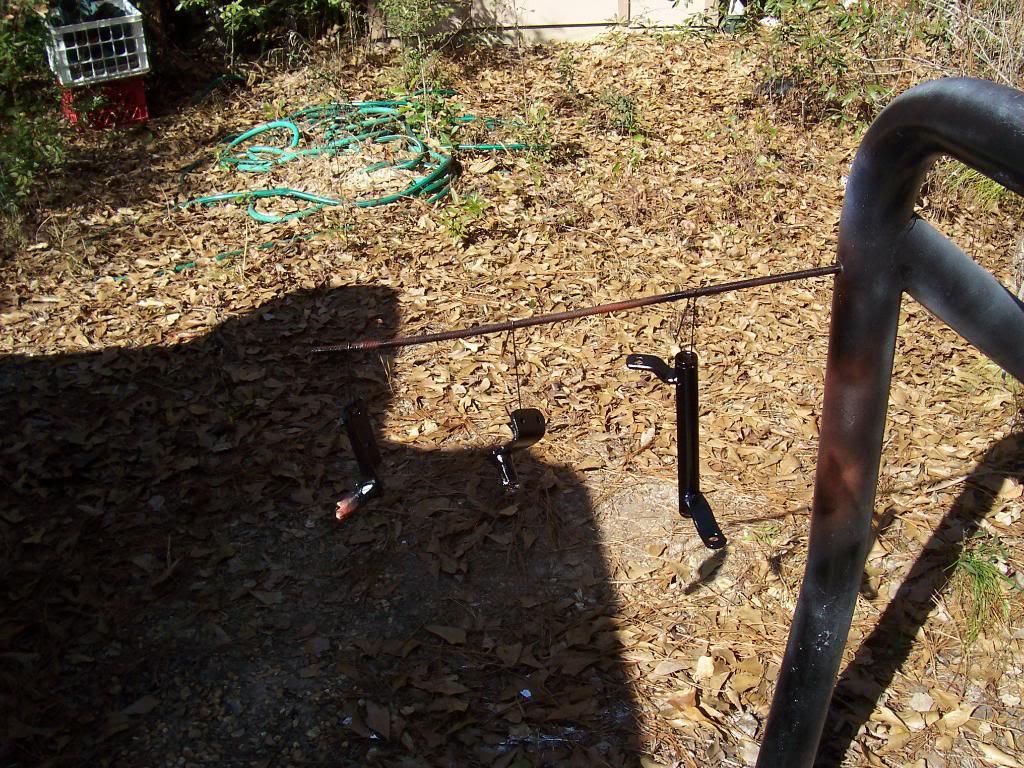
Also painted the alternator bracket and the power steering pump brackets. I used Duplicolor engine enamel paint on these parts.
And a pic of all the parts hanging up in my garage, waiting to be installed.
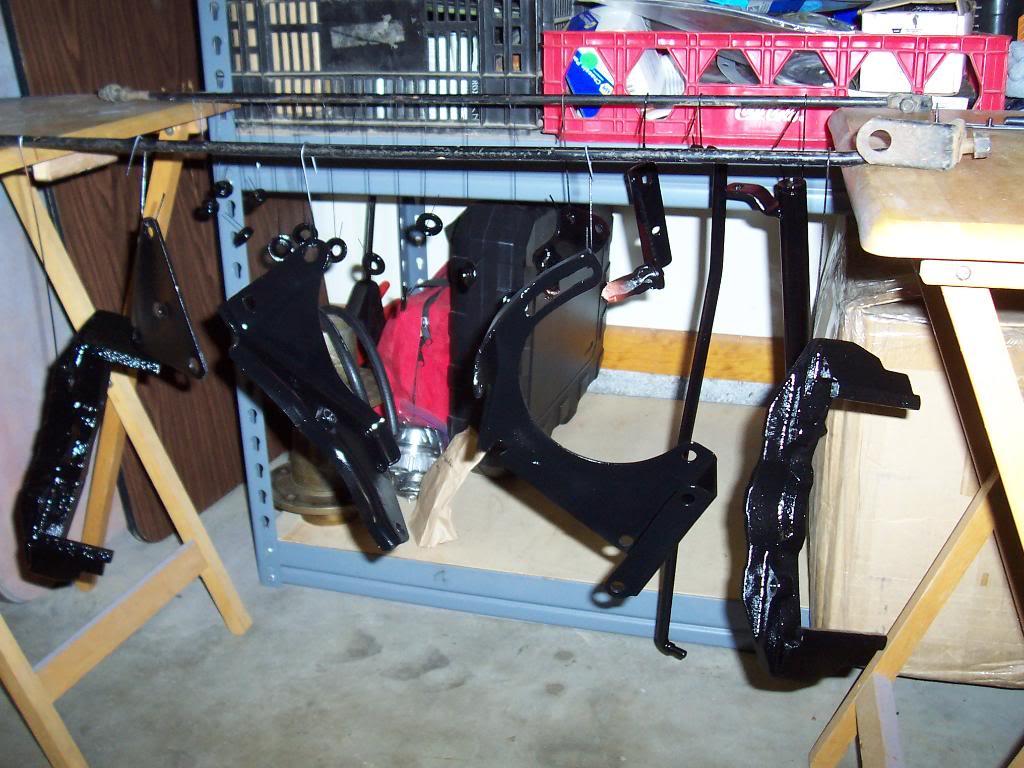
I will probably spend all this week cleaning/prepping the last of my old parts for paint. Still need to clean up and paint the following components:
engine fan and pulleys
bracket for rollover and liquid check valves
evap canistor bracket
clutch, brake, and gas pedal assemblies
lower steering column
Thats it for now.
Got all the parts painted that I spent all last week freezing my butt off prepping for paint.
All the parts hanging up on my painting stand.
Intake/exhaust manifold bolt washers. I painted them with high temp paint, not sure how long it will last, though.
Brake caliper mounts and clutch linkage parts. I painted these parts with Krylon primer and Krylon paint, same stuff that I used to paint my axles.
Also painted the alternator bracket and the power steering pump brackets. I used Duplicolor engine enamel paint on these parts.
And a pic of all the parts hanging up in my garage, waiting to be installed.
I will probably spend all this week cleaning/prepping the last of my old parts for paint. Still need to clean up and paint the following components:
engine fan and pulleys
bracket for rollover and liquid check valves
evap canistor bracket
clutch, brake, and gas pedal assemblies
lower steering column
Thats it for now.
- City
- Biloxi
- State
- MS
Quick update of this weeks rust removal / paint stripping / cleaning progress.
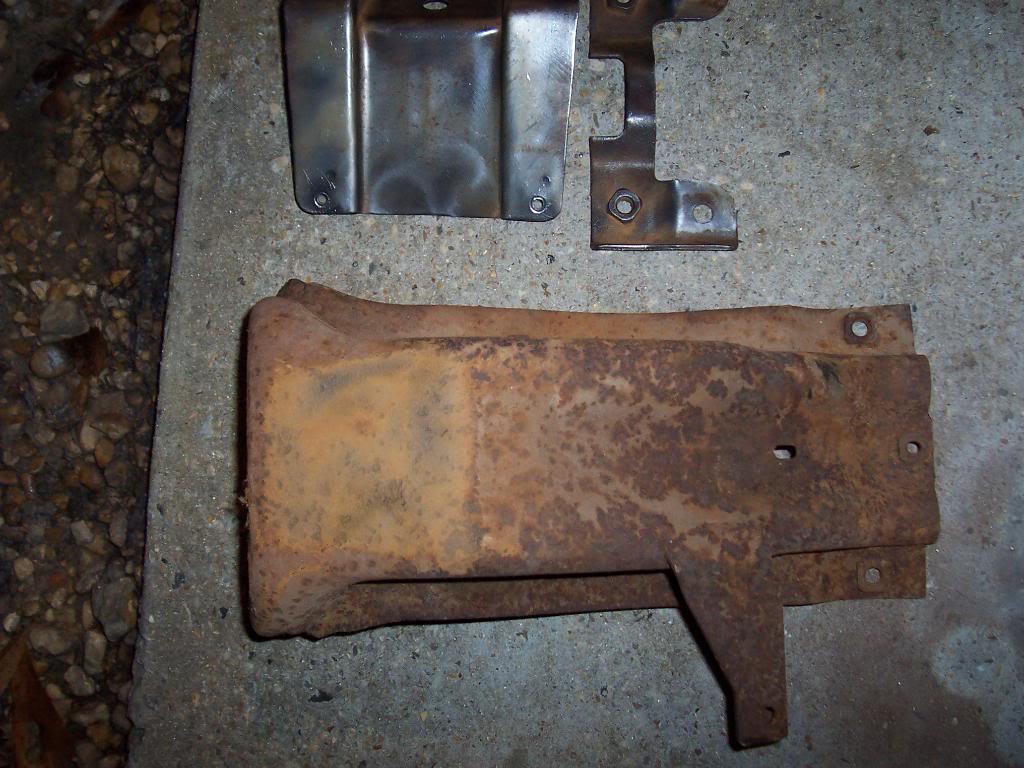
Pic of the heavy brackets that hold the brake/clutch pedal assemblies. I think (if I remember correctly) the two smaller pieces are for mounting the steering column.
The two smaller pieces looked just as bad as the big piece before I started to clean them up. I do not think these pieces were ever painted at the factory. There was no evidence of paint found anywhere on these pieces, the big piece anyway.
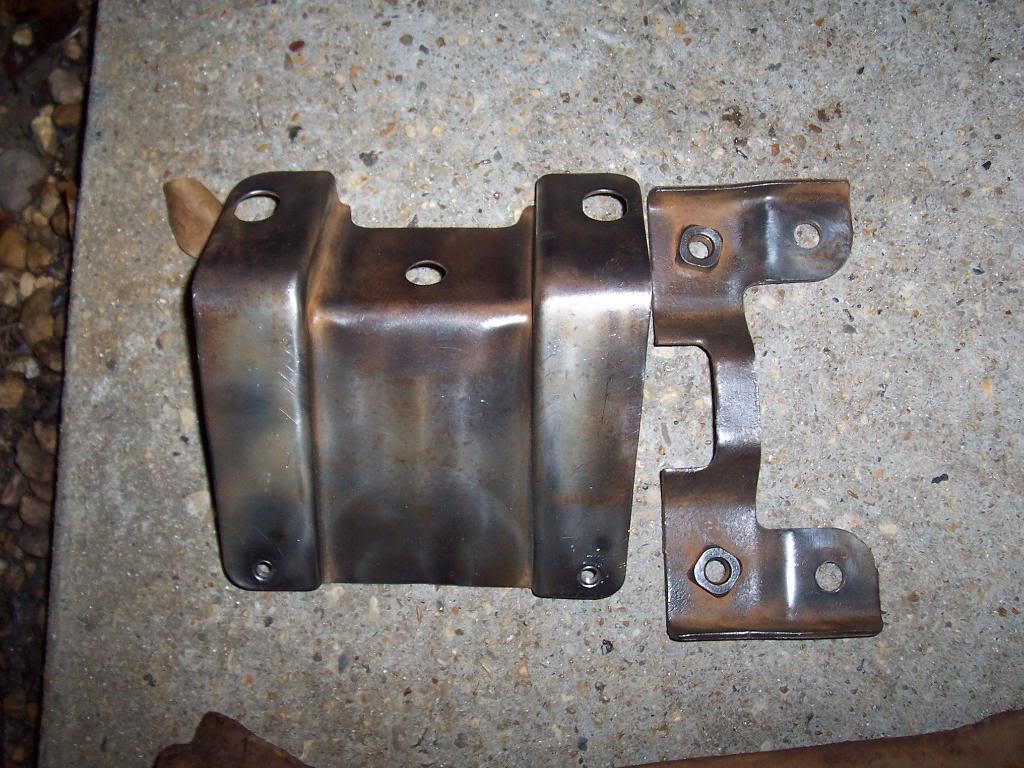
And almost ready for paint.
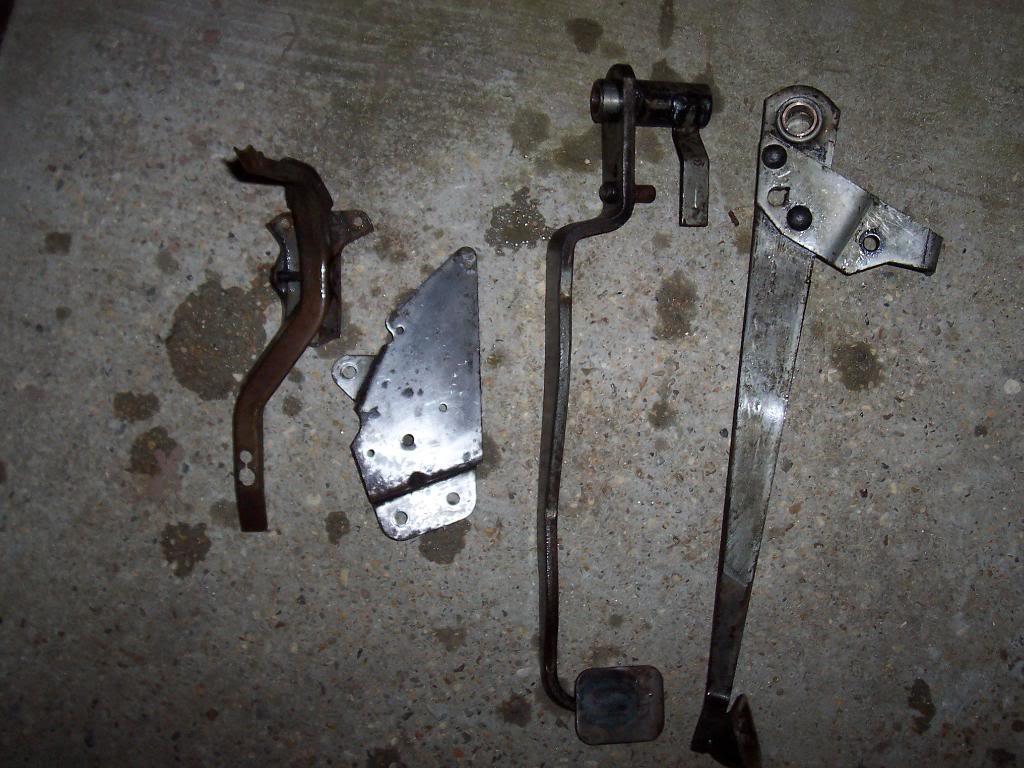
I also have been working on prepping the pedal assemblies for paint. I forgot to take before pics, but these parts were not in as bad as shape as the above pictured parts. I had alot of paint to strip from these pieces. I used the "Aircraft Stripper" in a can that is found at Auto-zone. Works pretty good, I had to re-coat two to three times to get the pieces to this point. The flat piece pictured is the mounting plate for the rollover check valve and the liquid check valve that mount up inside the drivers side rear corner of the body.
I bought a can of this stuff at Auto-zone.
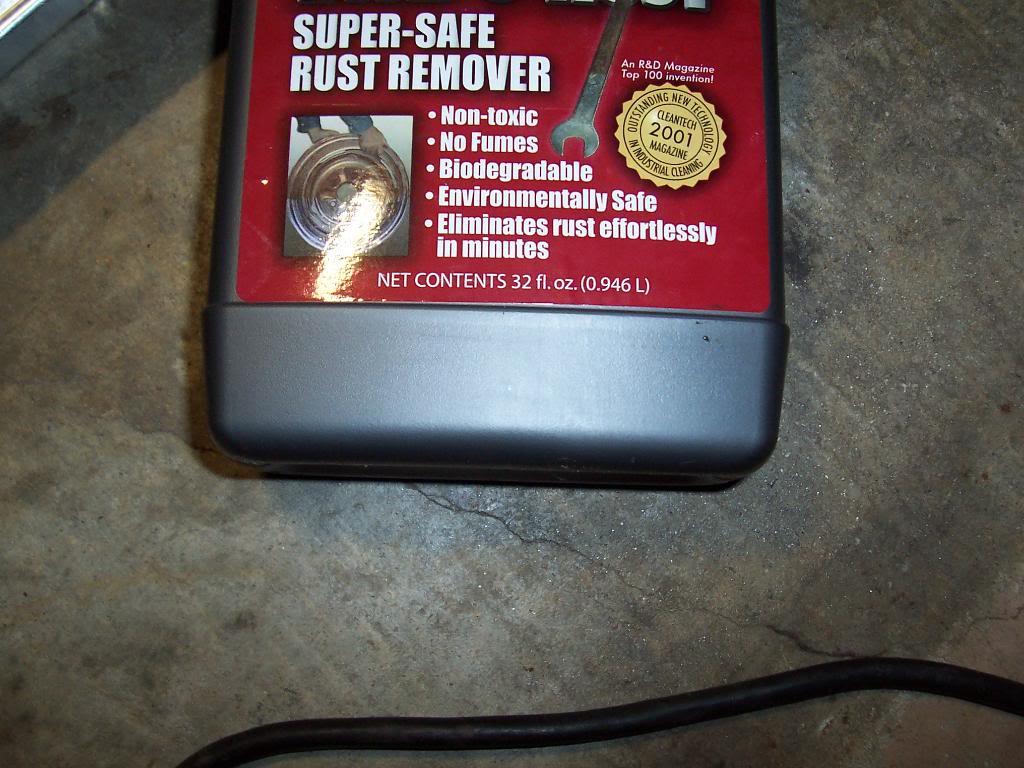
Now, I don't usually believe that these types of products would work. It only cost $8 so i figured that I would try a can. Surprisingly, after leaving a few smaller parts to soak in this stuff (completely submerged) overnight, I was amazed to see that it did remove the rust. Now, to be fair, I had removed all of the super heavy rust off these parts with a wire brush, but this stuff did remove the rust from all the hard to get to nook and crannies plus it completely removed all the light rust from the pieces.
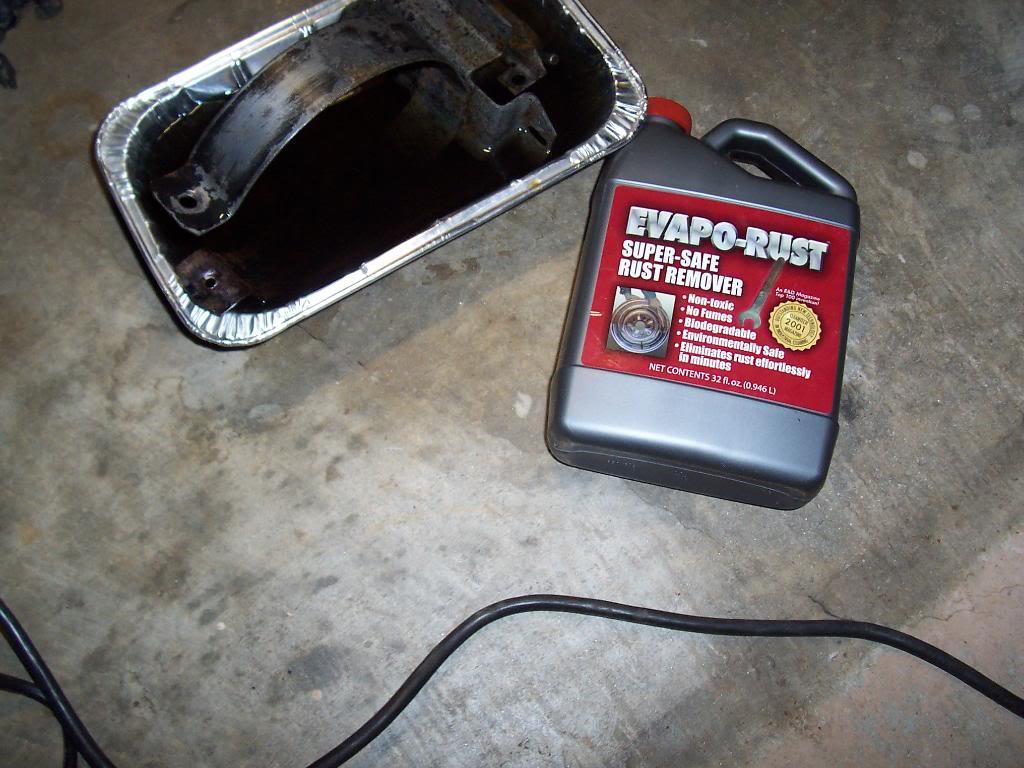
Close up of a part that soaked in this stuff for 10 hours. You can see how the liquid is a rusty brown color, plus the bottom of the pan is covered in rust flakes. The black stuff remaining on the part is old paint that I still need to remove.
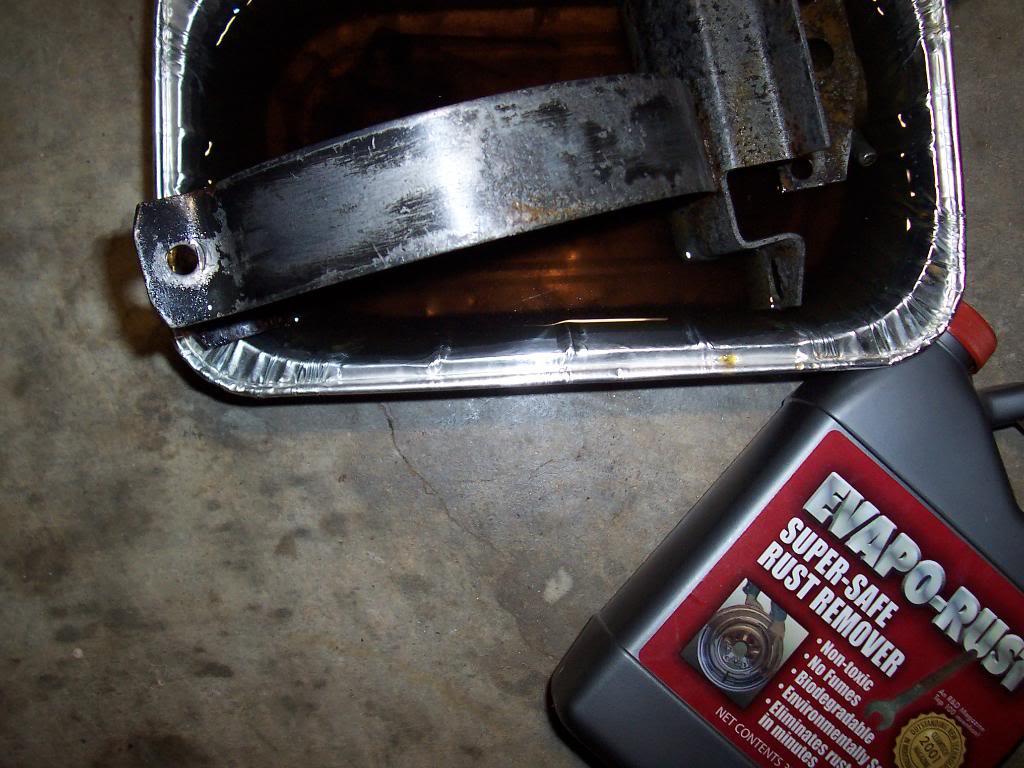
If only I could afford to fill a swimming pool with this stuff I would be in business. I will probably buy another can of this stuff so that I can soak a few more small, hard to clean parts.
I also removed the pulleys and fan from the engine so that I could clean and paint them.
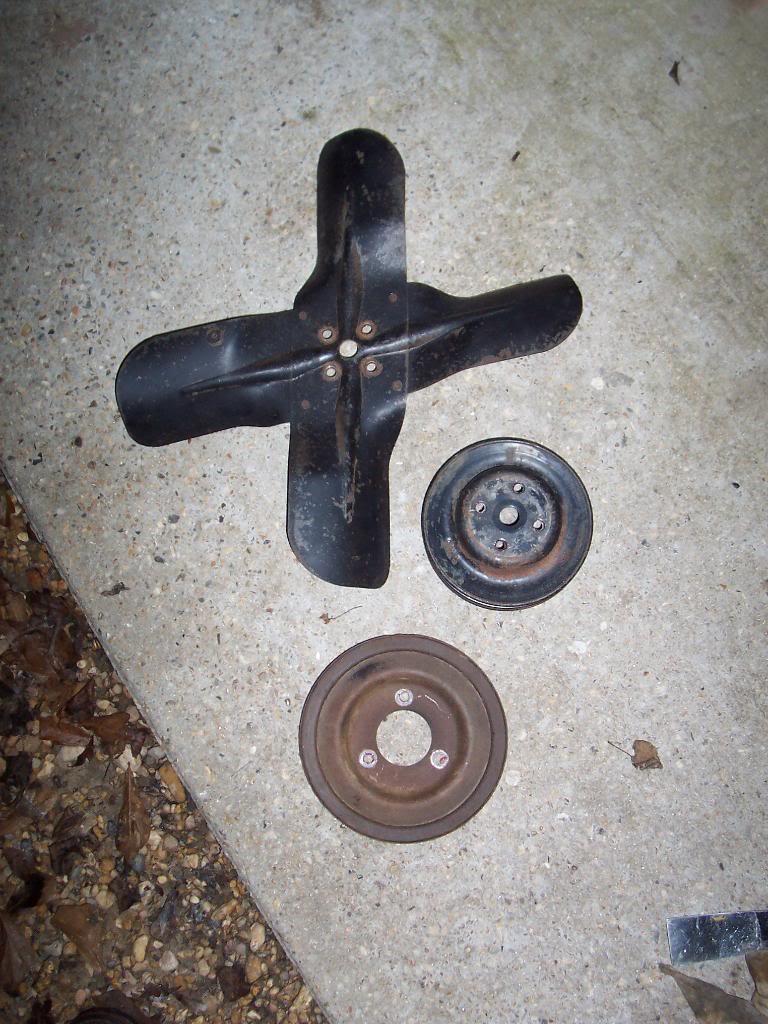
Pics of the engine without the above mentioned parts. Since the rest of the engine is clean and painted i couldn't skimp on these parts.
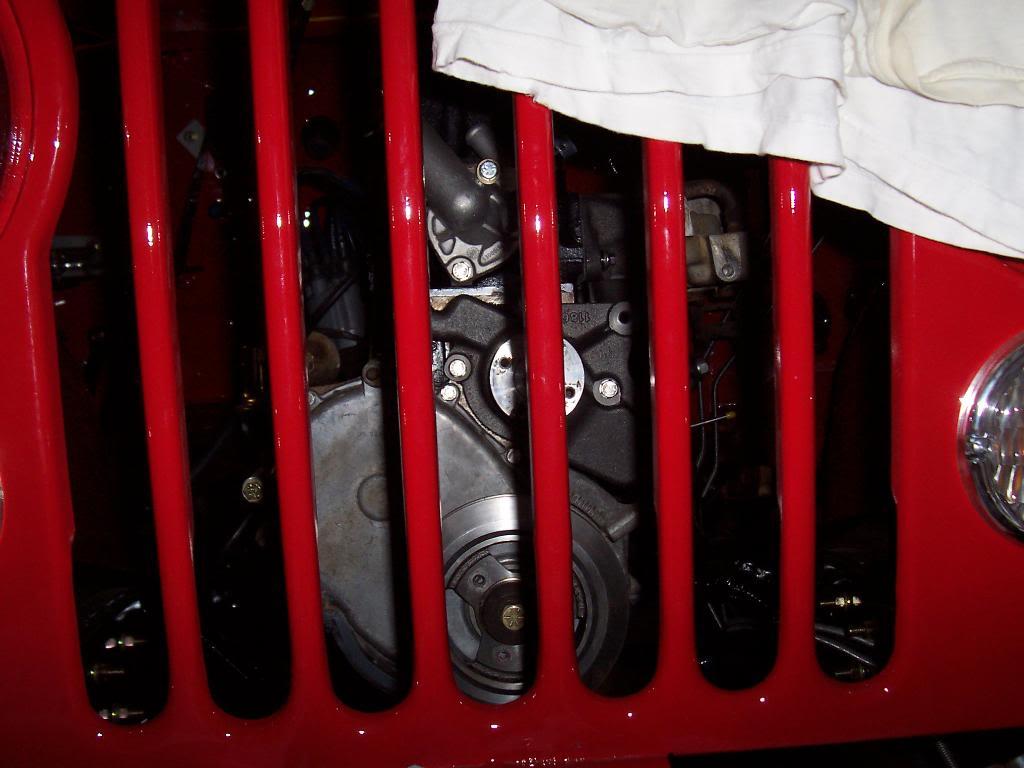
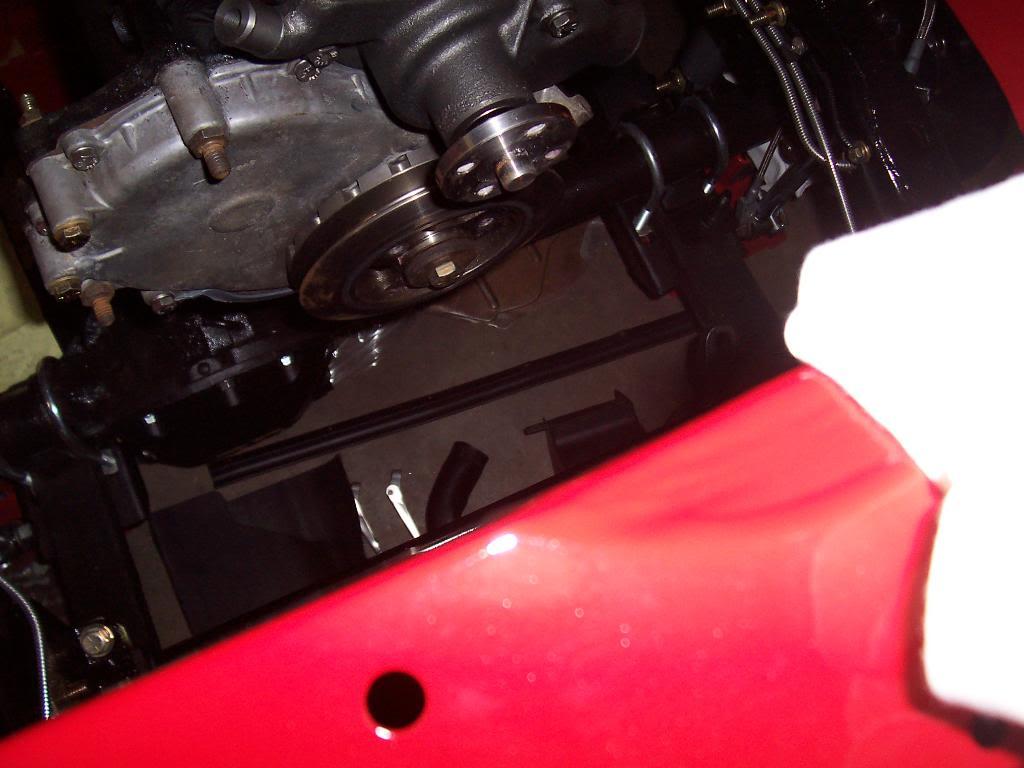
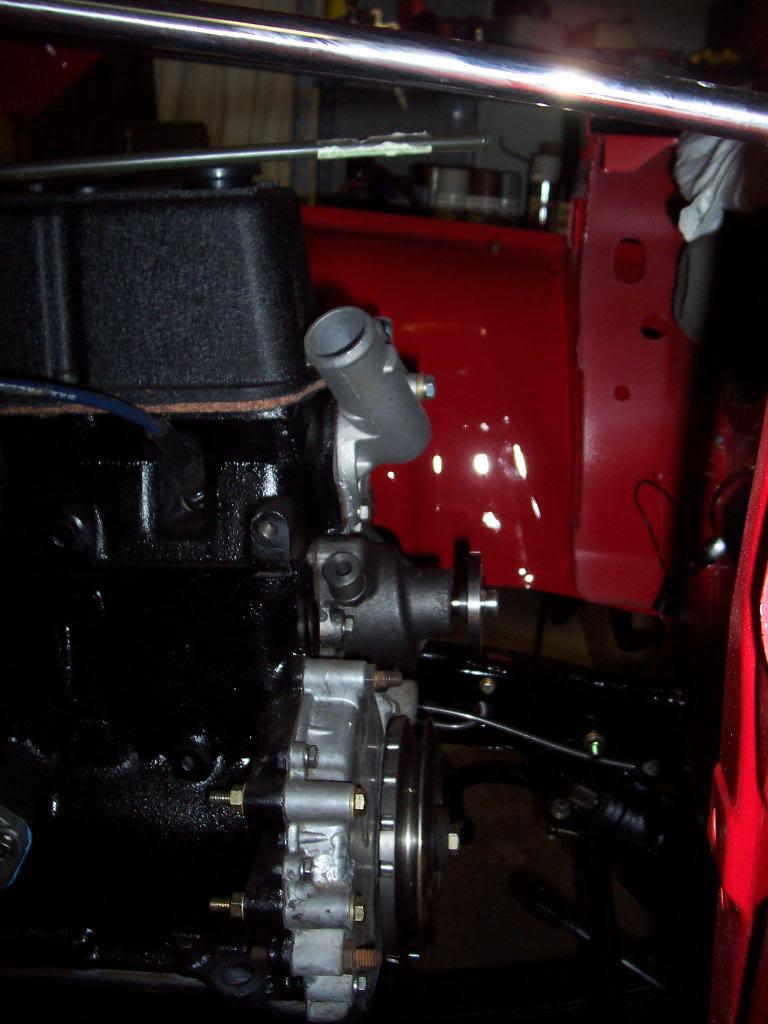
Still more cleaning and painting to do. That's it for now.
Pic of the heavy brackets that hold the brake/clutch pedal assemblies. I think (if I remember correctly) the two smaller pieces are for mounting the steering column.
The two smaller pieces looked just as bad as the big piece before I started to clean them up. I do not think these pieces were ever painted at the factory. There was no evidence of paint found anywhere on these pieces, the big piece anyway.
And almost ready for paint.
I also have been working on prepping the pedal assemblies for paint. I forgot to take before pics, but these parts were not in as bad as shape as the above pictured parts. I had alot of paint to strip from these pieces. I used the "Aircraft Stripper" in a can that is found at Auto-zone. Works pretty good, I had to re-coat two to three times to get the pieces to this point. The flat piece pictured is the mounting plate for the rollover check valve and the liquid check valve that mount up inside the drivers side rear corner of the body.
I bought a can of this stuff at Auto-zone.
Now, I don't usually believe that these types of products would work. It only cost $8 so i figured that I would try a can. Surprisingly, after leaving a few smaller parts to soak in this stuff (completely submerged) overnight, I was amazed to see that it did remove the rust. Now, to be fair, I had removed all of the super heavy rust off these parts with a wire brush, but this stuff did remove the rust from all the hard to get to nook and crannies plus it completely removed all the light rust from the pieces.
Close up of a part that soaked in this stuff for 10 hours. You can see how the liquid is a rusty brown color, plus the bottom of the pan is covered in rust flakes. The black stuff remaining on the part is old paint that I still need to remove.
If only I could afford to fill a swimming pool with this stuff I would be in business. I will probably buy another can of this stuff so that I can soak a few more small, hard to clean parts.
I also removed the pulleys and fan from the engine so that I could clean and paint them.
Pics of the engine without the above mentioned parts. Since the rest of the engine is clean and painted i couldn't skimp on these parts.
Still more cleaning and painting to do. That's it for now.
- City
- Biloxi
- State
- MS
Another quick rust removal update.
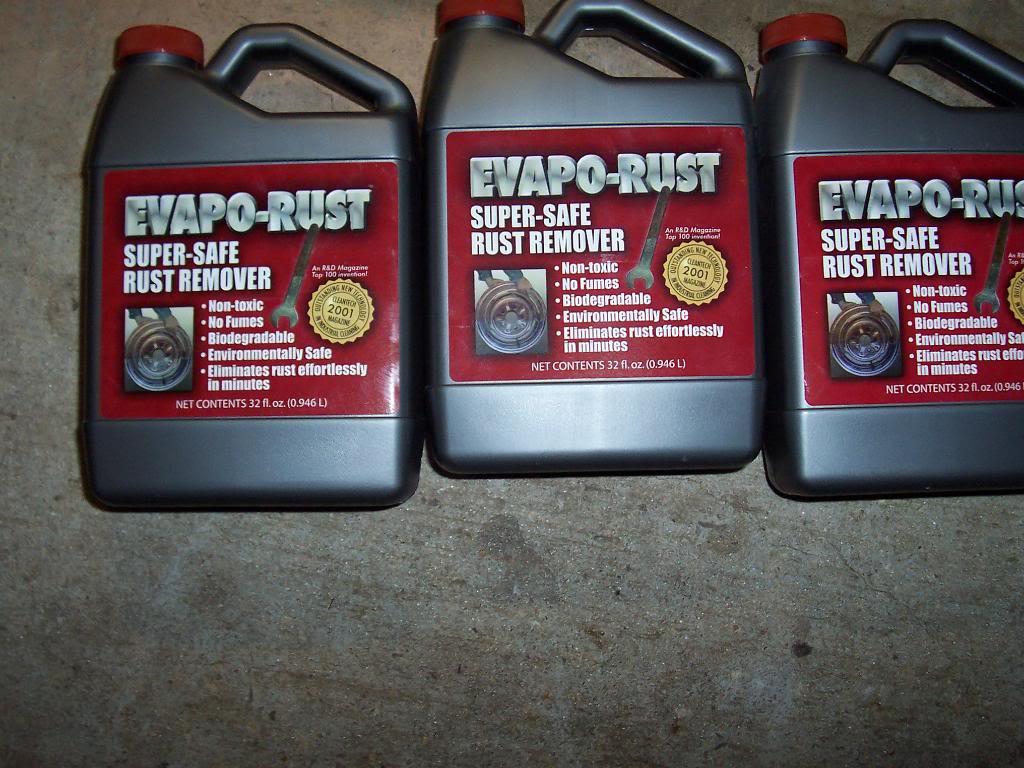
I was so impressed with rust removal chemical I bought 3 more bottles.
This is a picture of the gas pedal assembly. All I did was soak it in this stuff overnight and it took all the rust off of it.
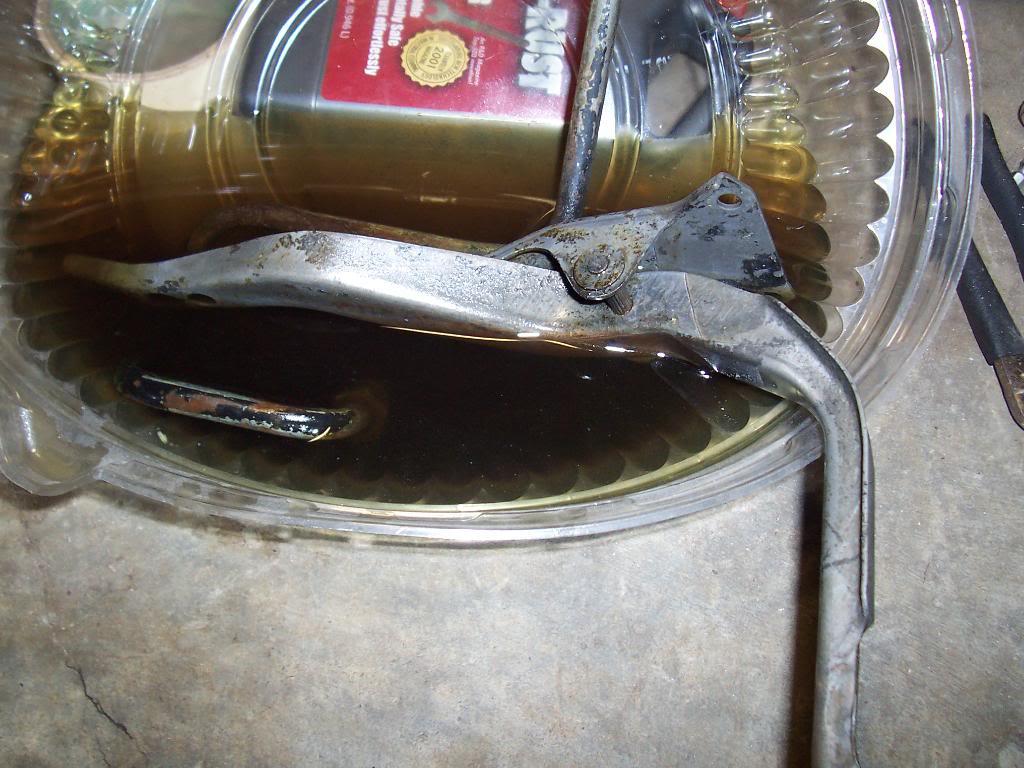
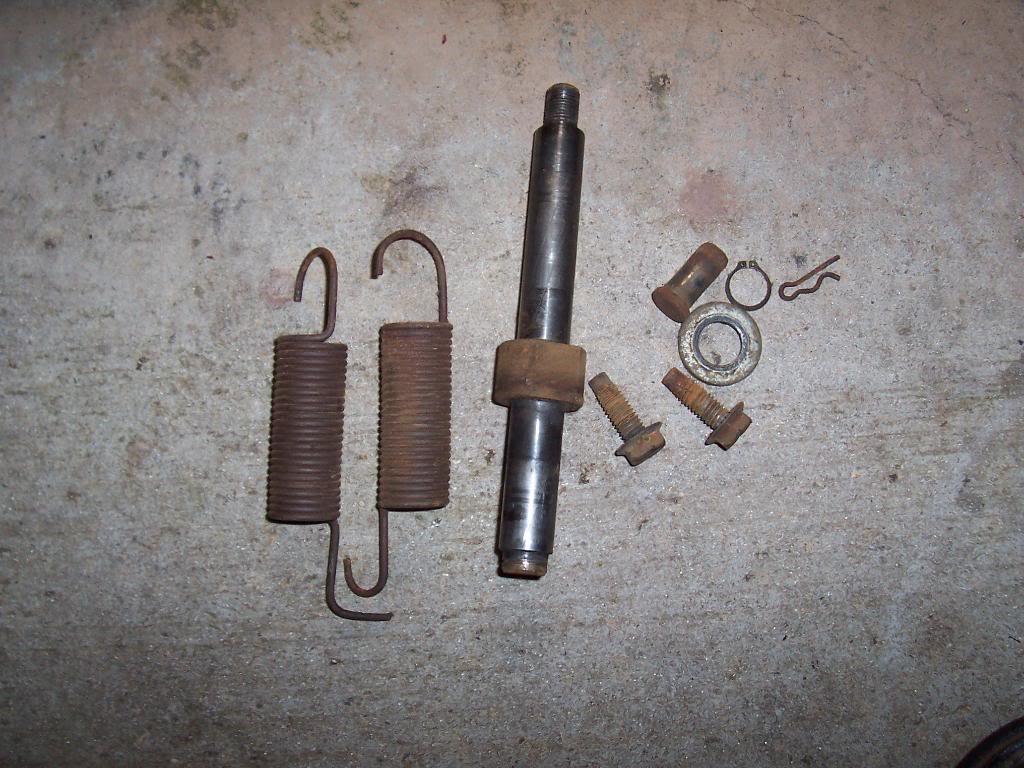
I found some more small parts to clean. I will soak these in the chemical and take an "AFTER" picture.
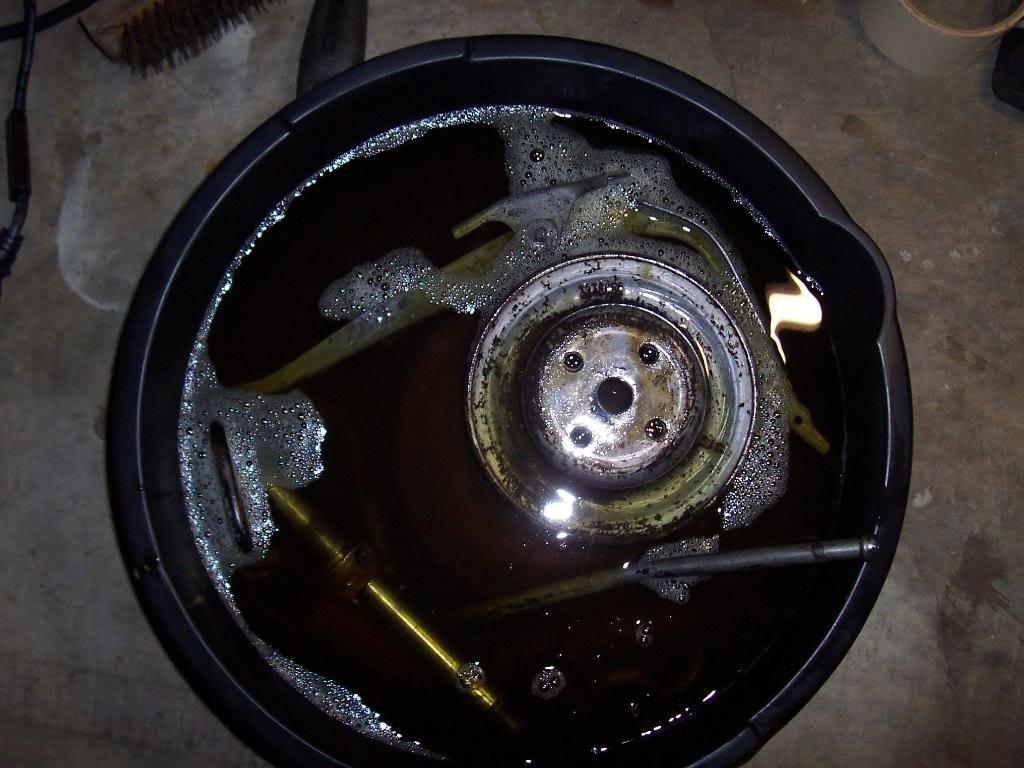
Pic of some small parts soaking in the rust remover chemical. Used my oil drain pan as a holding tank. 4 quarts of chemical and these parts fit fine inside of it.
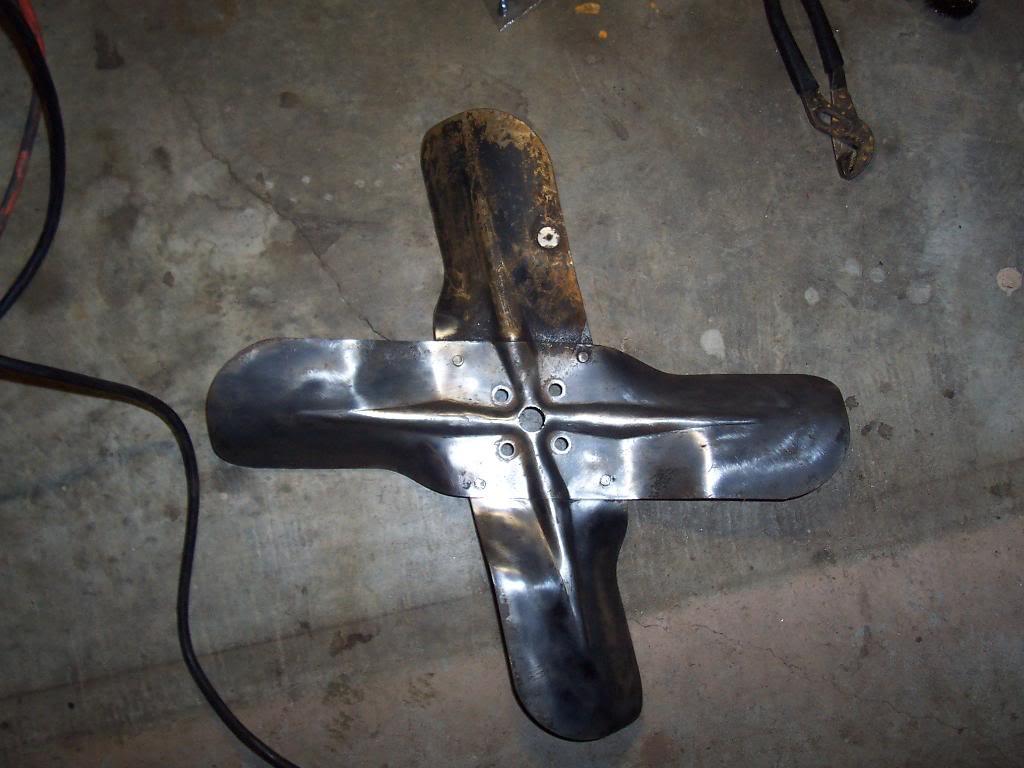
Sadly, this part is too big to fit inside my chemical holding tank. i would buy some more chemical, but at $9 a quart it is kind of pricey, plus I am running out of small rusty parts, THANK GOD!!!! Had to clean this the old fashioned way, wire brush on my trusty Dewalt drill.
More clean up tonight, hopefully paint this weekend. Thats it for now.
I was so impressed with rust removal chemical I bought 3 more bottles.
This is a picture of the gas pedal assembly. All I did was soak it in this stuff overnight and it took all the rust off of it.
I found some more small parts to clean. I will soak these in the chemical and take an "AFTER" picture.
Pic of some small parts soaking in the rust remover chemical. Used my oil drain pan as a holding tank. 4 quarts of chemical and these parts fit fine inside of it.
Sadly, this part is too big to fit inside my chemical holding tank. i would buy some more chemical, but at $9 a quart it is kind of pricey, plus I am running out of small rusty parts, THANK GOD!!!! Had to clean this the old fashioned way, wire brush on my trusty Dewalt drill.
More clean up tonight, hopefully paint this weekend. Thats it for now.

- City
- stafford
- State
- va
 looking great !!!
do you think that stuff will remove paint and undercoating, or at-least soften it for easier removal !!!!
i like to use my dewalt anlgle grinder with a wire wheel,works nice
Last edited: