• Notice for iPhone users: DO NOT use the image size reduction option when uploading photos to the forum. This causes portrait images to post as landscape. We have added a warning to the image insert pop-up as well.

Another Scrambler Purchase/Road Trip - UPDATE- BODY ON FRAME AGAIN

Sorry, maybe I'm :crazy: but isn't this supposed to be your WHEELIN Jeep?? :eek:

I wouldn't go near a tree with either one of those tops! :D :bow:

That's the great thing about soft tops - they are easy to remove:thumbsup:
 
Nice score on the tan top! It'll look good on there--put it on. :popcorn: Wheel it outside for a pic too (if it's mobile)....
It is not mobile yet - wont get the wheels back until next week and still saving $$$ for tires, which I haven't picked out yet, but hopefully pretty soon:thumbsup:
 
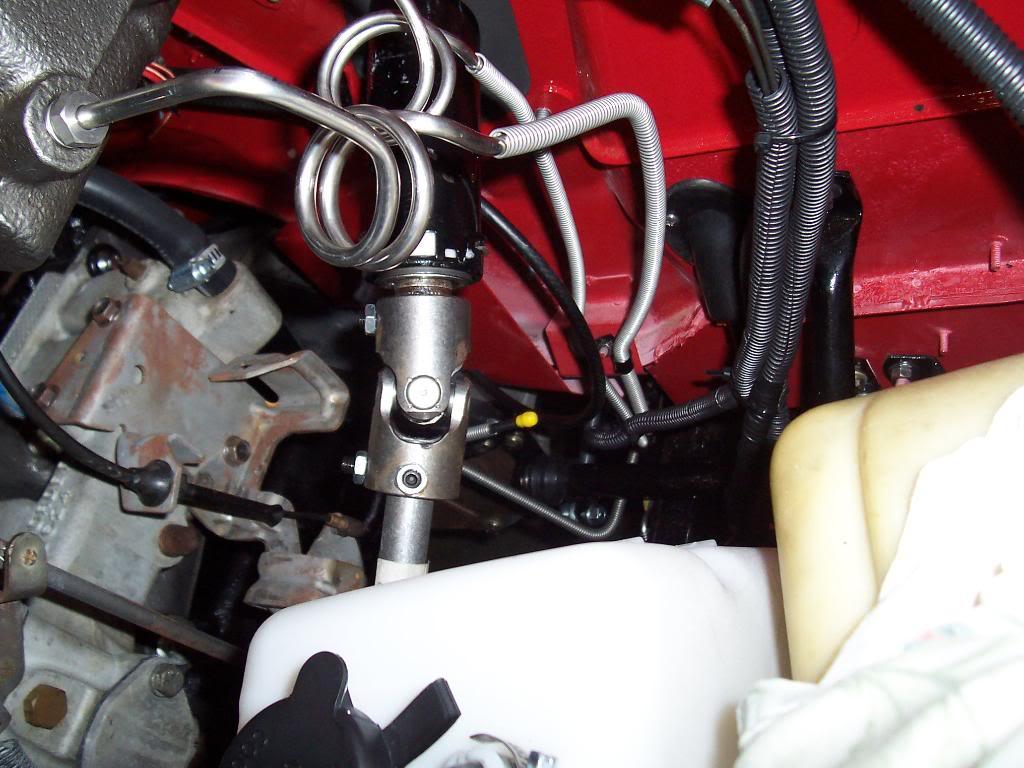
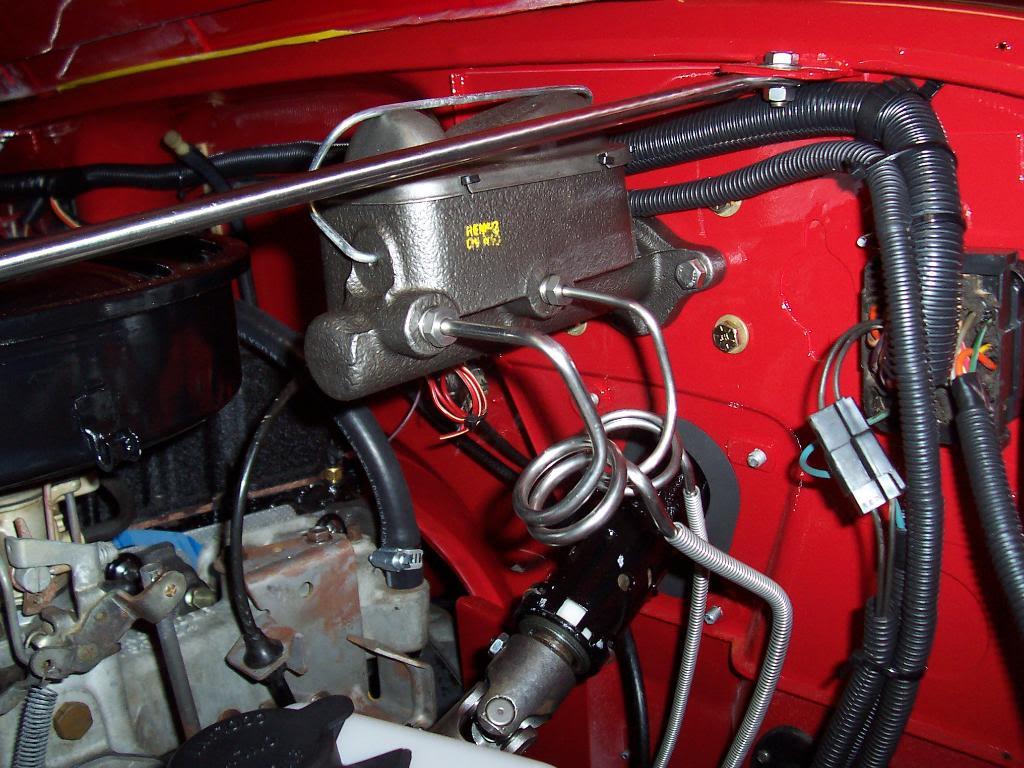
Small update. Finally hooked up the brake lines that run from the master cylinder to the proportioning valve. There are 4 little clips that hold the lines to the body/frame, took about 2 hours to do this little job.

100_5681-1.jpg


100_5682-1.jpg


My lines probably don't look exactly like they are factory installed due to the 1" body lift throwing them slightly off. I had to "tweak" them a little to reach. I also plugged in the brake warning light harness to the proportioning valve, ran the speedometer cable, and cleaned up the wiring in this area. Finally put oil and a new filter on the engine, too.

Besides installing the following:

tie rod and drag link
drive shafts
tires and wheels

I am pretty much finished with "big" jobs. But, I still have lots of little odds and ends to finish up. Much of these smaller jobs aren't really picture friendly, but i will update progress. Wont get too much done this weekend due to working on somebody else's Scrambler.

That's it for now.
 
Maybe I can be of some help this weekend. By the way, I hope my build comes out somewhat like yours
 
Maybe I can be of some help this weekend. By the way, I hope my build comes out somewhat like yours

Yours is going to be the same color as mine and have the same suspension............... Hey wait a minute, you ARE copying me LOL:cheers::D

Appreciate the help this weekend:cheers:
 
I figured I would post up some pictures of the interior pieces I plan on using. Found all of this stuff locally and for pretty cheap. I cleaned everything up this weekend.

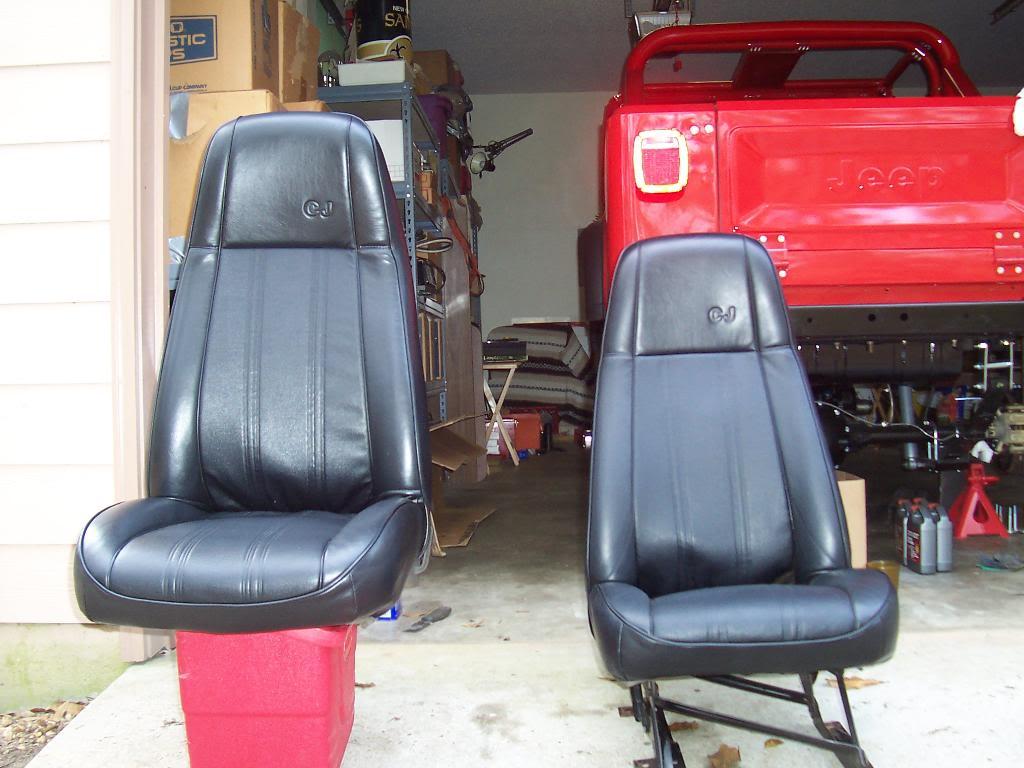
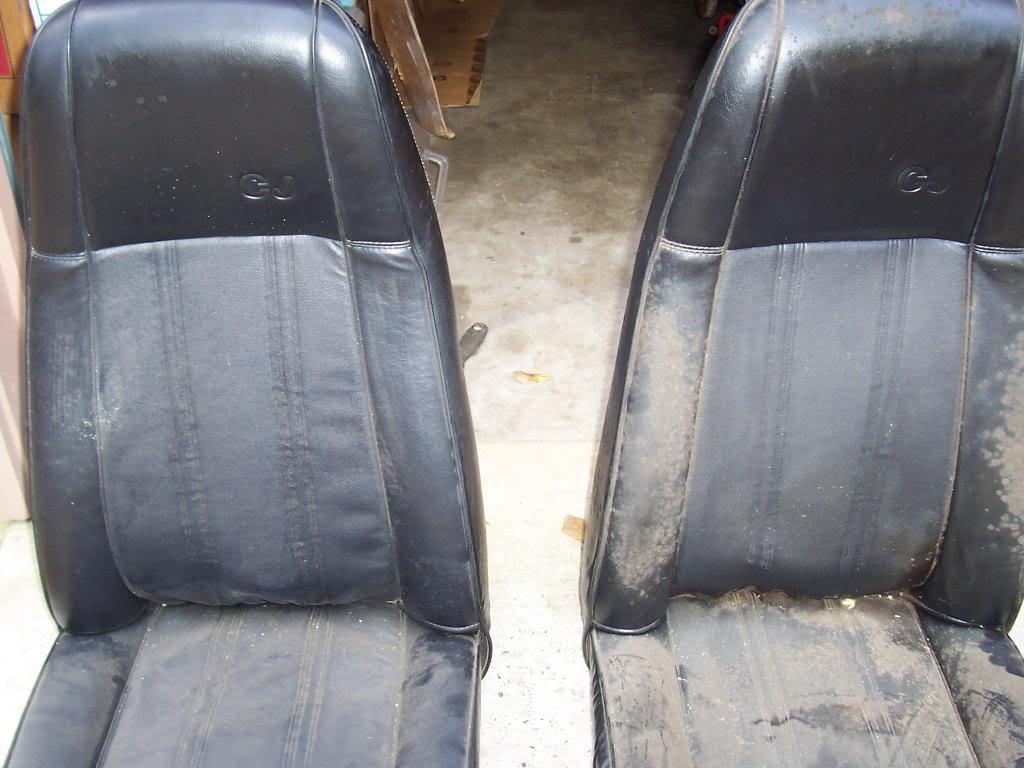
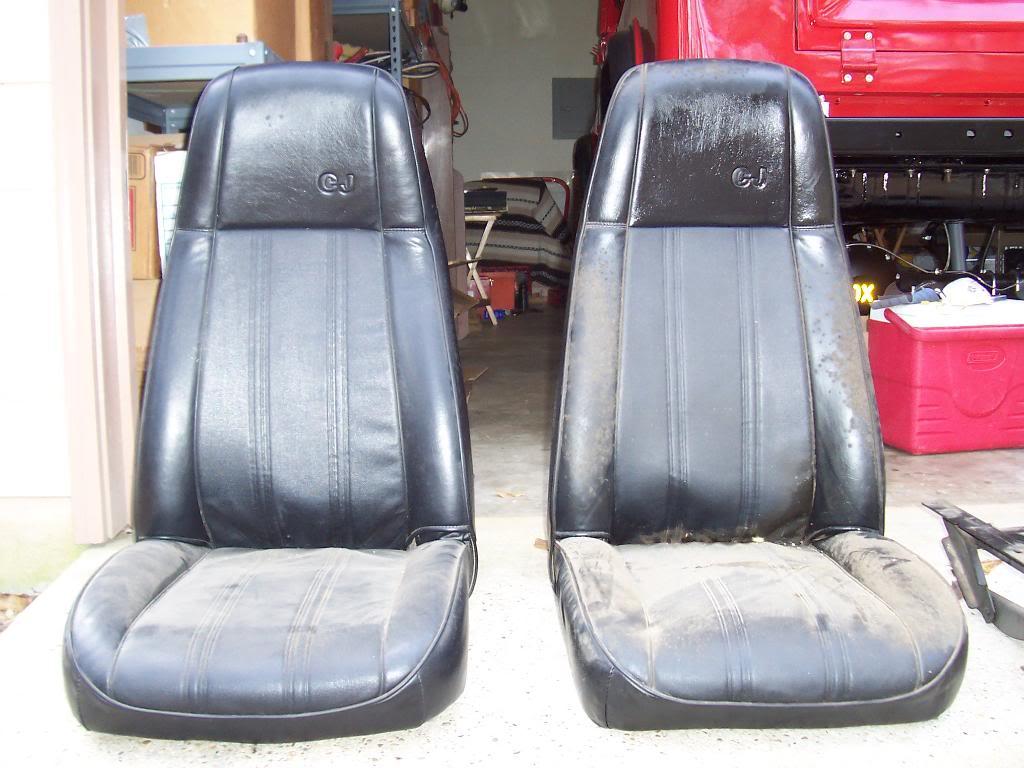
Front seats. Pair of "base" model CJ seats. They were very dirty/oily/greasy/sticky from being in storage for a very long time.

100_5683-1.jpg


100_5685-1.jpg


A couple hours of cleaning with Dawn dish washing soap, "Lift Off Adhesive remover, and "Tough Stuff" multi purpose cleaner, they cleaned up almost as good as new. One seat has a very small 1" slit in the vinyl, but other then that they are in very good to excellent shape. Amazing what a little elbow grease can do.

100_5691-1.jpg


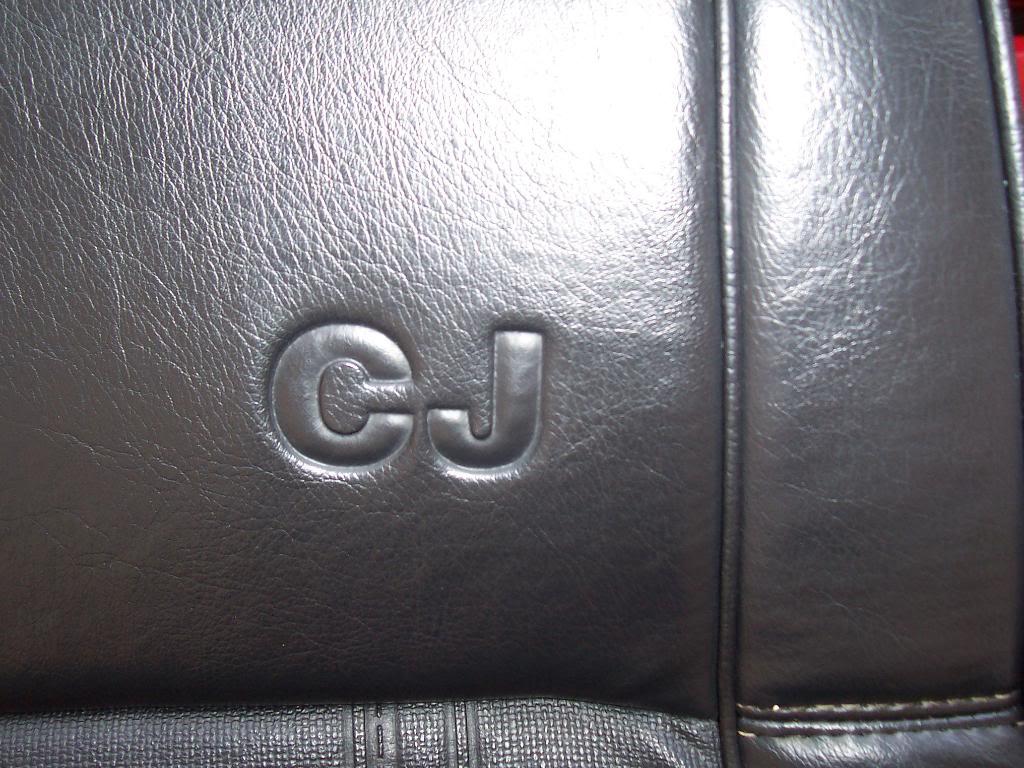
That name right there about sums it up.

100_5694-1.jpg


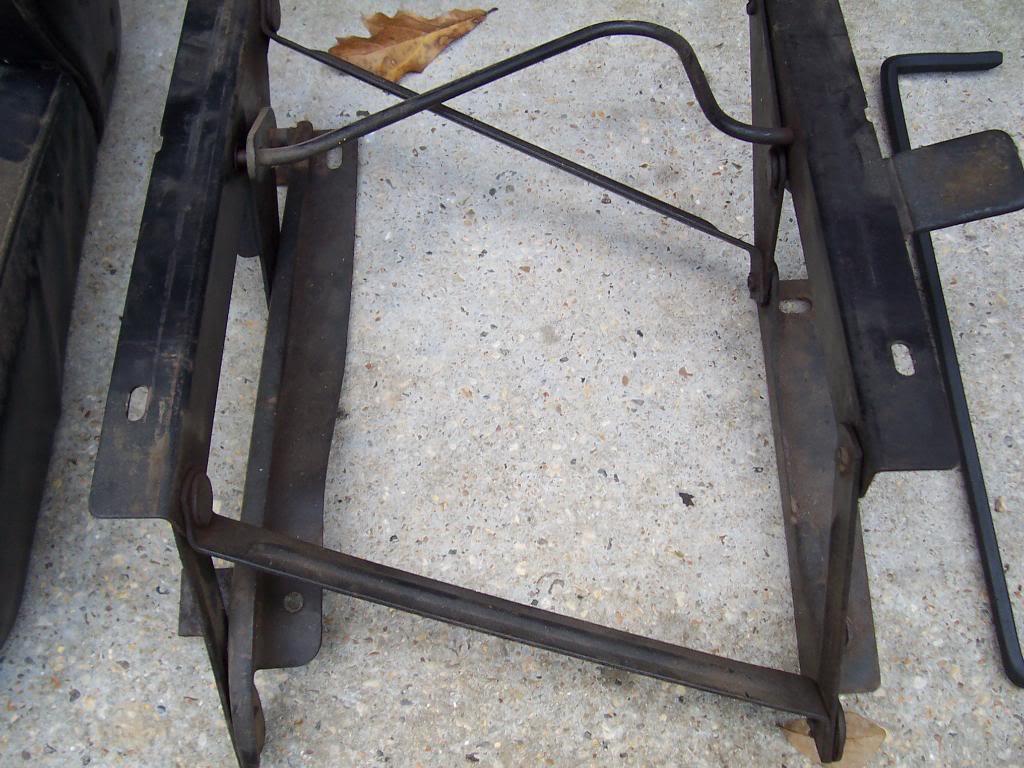
Drivers side seat bracket, the kind that flips forward. Figured it would be helpful to have the ability to flip both seats forward, especially if I use the 1/2 soft top. It will make it easier to access the bulkhead mounted storage bag that holds all the Whitco soft top hardware when not in use.

100_5686-1.jpg


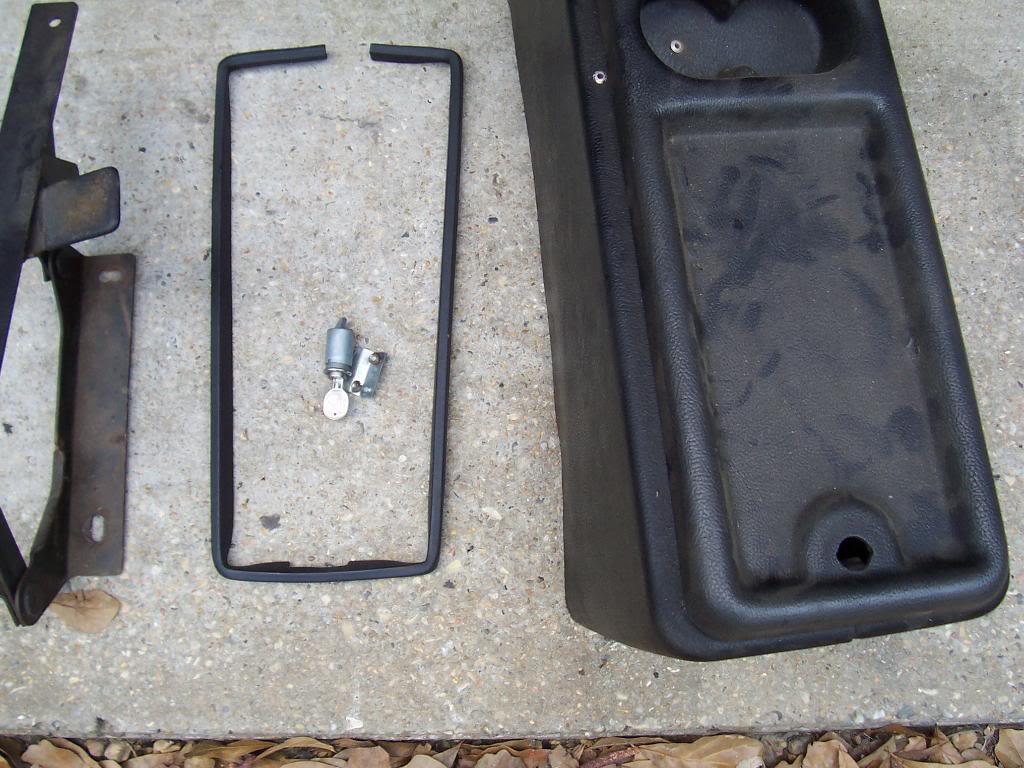
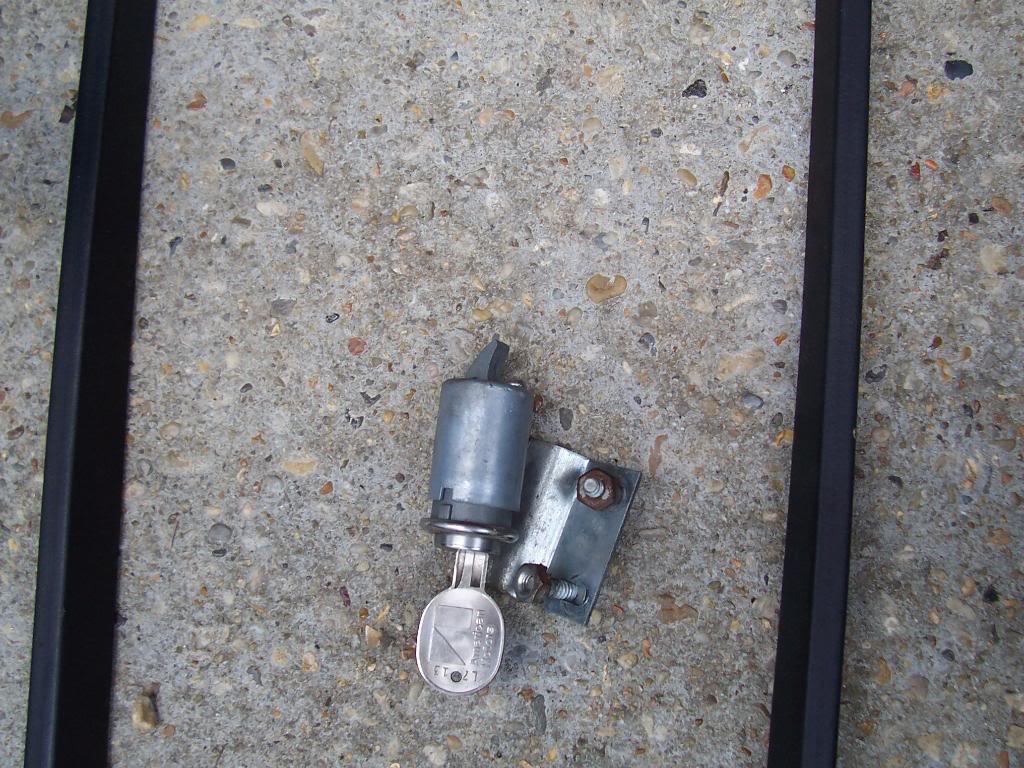
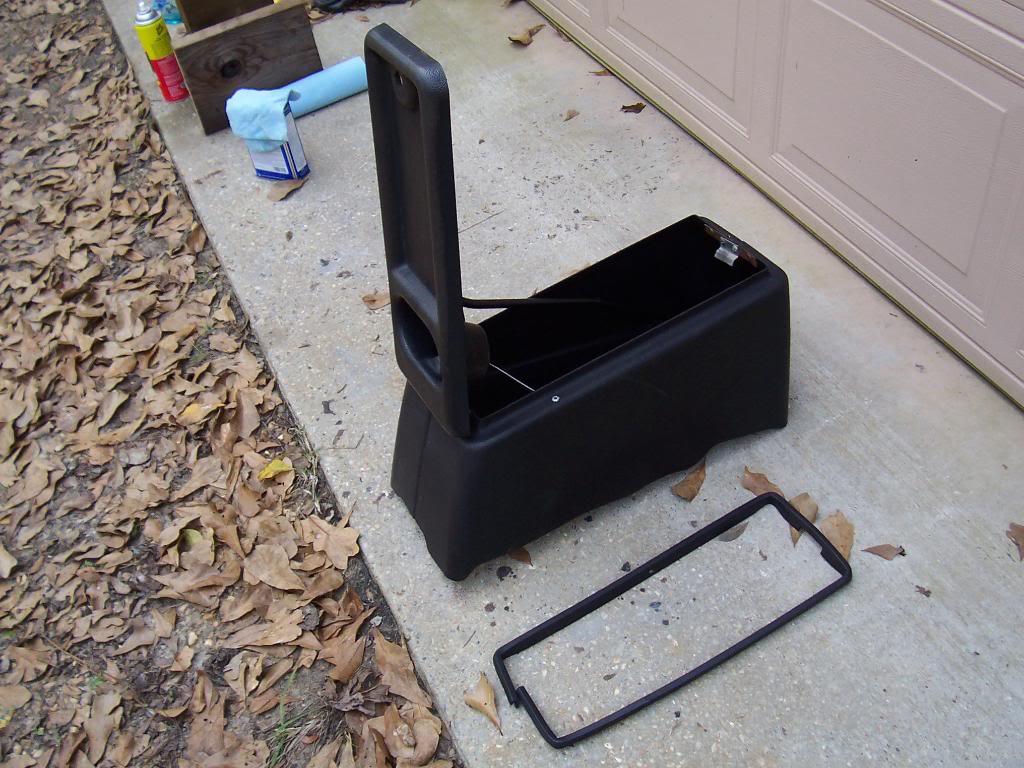
Factory CJ center console. It has the lid gasket plus all the lock pieces. I had one of these consoles in my CJ7 and I loved it. They don't make good arm rests, but they are fairly weather resistant, fit between the seats really well, and can hold an OK amount of stuff.

100_5687-1.jpg


Close up of the key, AMC logo.

100_5688-1.jpg


And it also cleaned up really well.

100_5690-1.jpg


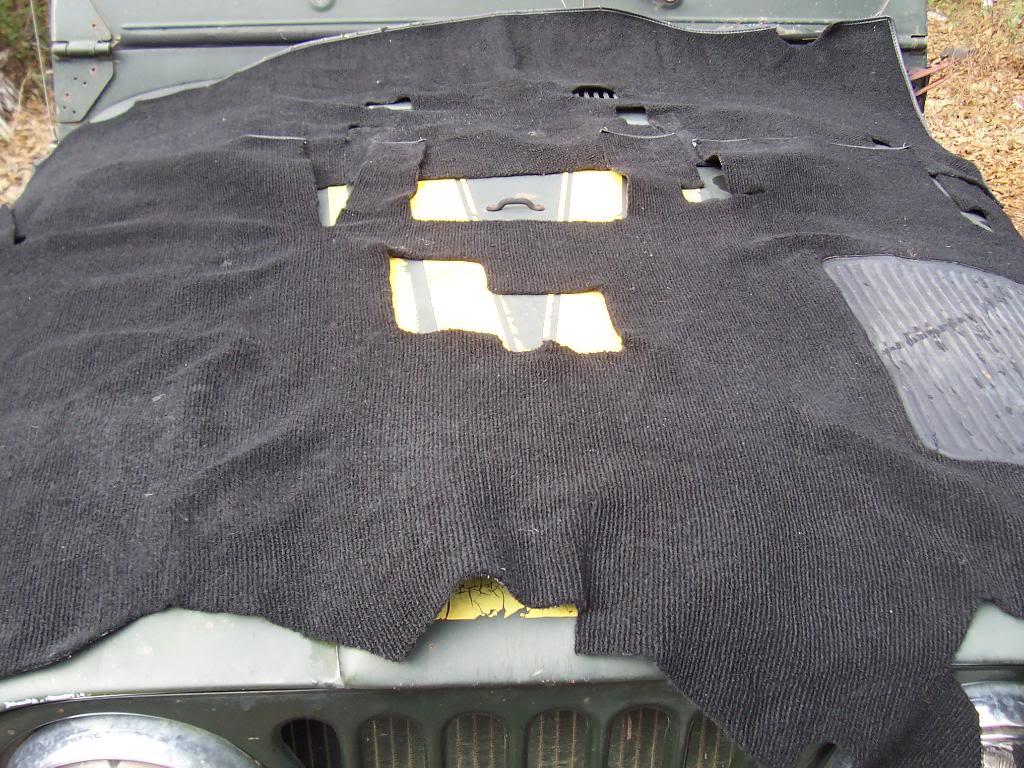
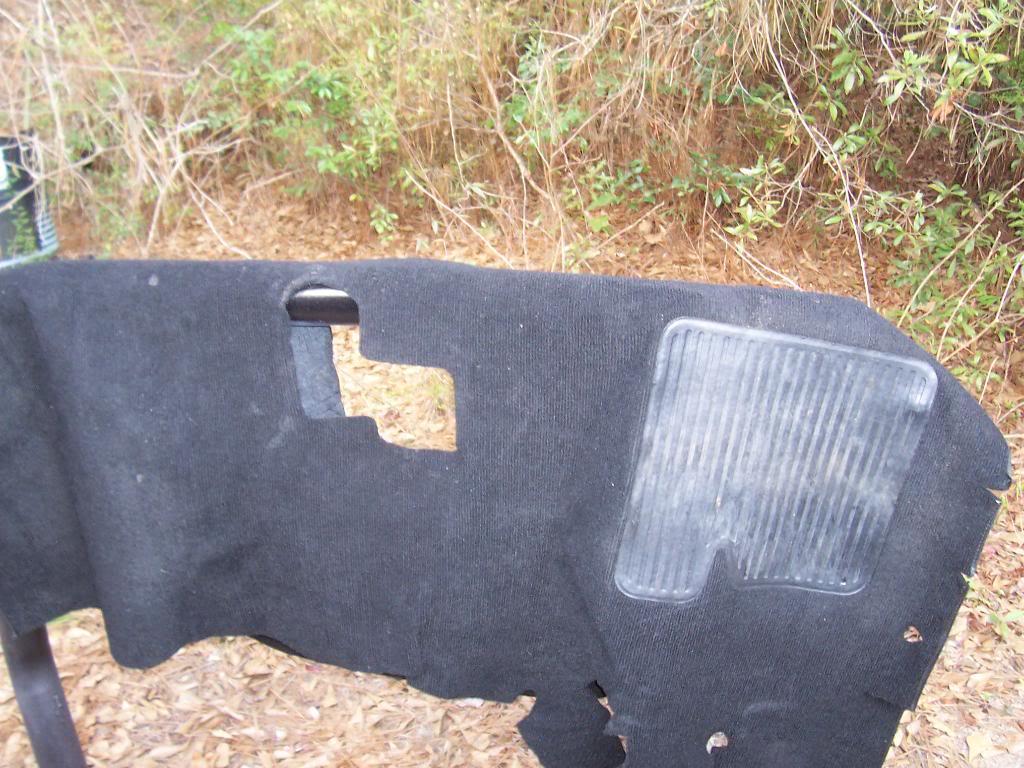
I also found some factory CJ-7 carpet. I think I will have to trim the back piece to make it fit into the Scrambler tub correctly, but other then that it should fit in perfectly. I pressure washed it at the car wash, it was very dusty, but it cleaned up really well. No tears, holes, mildew or any real damage. I will probably clean it with a Bissel carpet shampoo machine, too. I know not everyone likes carpet, but it really helps to quiet down the interior. Also, the factory carpet is made so that it can be removed very easily from the vehicle for cleaning. It simply Velcros in place. The only two mechanical fasteners that hold it down are the two screws that secure the factory center console. So basically, you remove two screws and then you can pull the carpet out for cleaning. I really lucked out with the fact that this carpet kit came out of a CJ-7 with a T-176 transmission, so it already has the correct cut out for my Scrambler.

100_5689-1.jpg


100_5692-1.jpg


At first I really wanted to use a Nutmeg interior with all the factory parts like I have shown above. But, the Nutmeg stuff is really hard to find and is really expensive if you are able to find it. Plus, my green Scrambler has a Nutmeg interior, so I figured it would be OK to go with a black interior in this one. That and the fact that I sourced all these parts locally for next to nothing sealed the deal for me on a black interior. I think the black interior will look good with the red paint, white wheels, nutmeg top/tops, and yellow/orange decals. I still need to get some black door panels and a factory black dash pad.

That's it for now.
 
There's no way those are the same seats!:eek:

I didn't know they made a driver's bracket that flips forward, that's a new one for me.


Lookin good! :thumbsup:
 
There's no way those are the same seats!:eek:

I didn't know they made a driver's bracket that flips forward, that's a new one for me.


Lookin good! :thumbsup:

Maybe it's just me, but when I added a driver's flip base, it ended up higher than the fixed base. I think it was because the driver's had a slider and the passenger's didn't. If you are using parts from different years, you might want to check that out.

Seats are Amazing!:thumbsup:
 
There's no way those are the same seats!:eek:

I didn't know they made a driver's bracket that flips forward, that's a new one for me.


Lookin good! :thumbsup:

Appreciate it:cheers:

The seats cleaned up really well, surprised me, too:thumbsup:
 
Maybe it's just me, but when I added a driver's flip base, it ended up higher than the fixed base. I think it was because the driver's had a slider and the passenger's didn't. If you are using parts from different years, you might want to check that out.

Seats are Amazing!:thumbsup:

Appreciate it:cheers:

I mocked up the drivers seat and flip froward base last night. I don't have a slider yet, but it seems to be sitting about the same height as with the fixed base. I will have to compare the fixed base to the flip forward base and see if one sits higher then the other. That could be an issue seeing as I don't have a tilt column. From the initial mock up looks like had plenty of clearance between the tops of my legs and the bottom of the steering wheel. The flip forward base could definitely be an issue with the thicker aftermarket seats.

Thanks for the heads up:thumbsup:
 
No picture update.

Finished hooking up the washer pump hose and windshield squirter assembly.
Hooked up the ignition switch, brake light switch, and a few other under dash wires.
Hooked up battery cables, still need to hook up ignition.

Hooked up the battery and tested some electrical stuff. Brake lights are stuck on as soon as the battery is hooked up and the rear hazards don't work, but other then that all the other electrical stuff works: running lights, headlights (high and low beam), windshield wipers, heater motor, turn signals, etc.

Bumped the engine over with the starter, it turns over:woot:
 
Hazard lights won't work because the brake lights are already lit. Once you take care of the brake light switch, the rear hazard lights should work properly.
 
I got the brake light problem fixed. When the pedal was released and pushing against the switch, it wasn't pushing back far enough to fully depress the switch. I gently bent the bracket that holds the switch about 1/16 of an inch closer to the pedal tab, and it fixed the problem. Hazards all work now, too. About the only electrical gizmo not working is the squirter pump, but I have not grounded the pump motor yet.

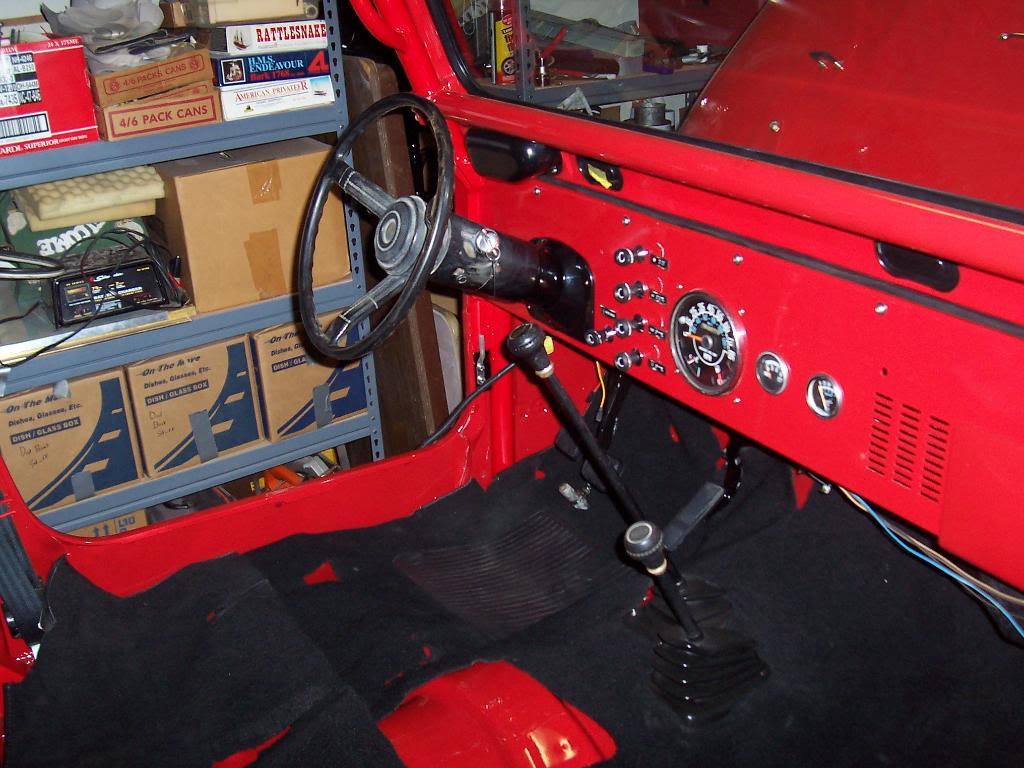
Some pictures of the carpet installed.

001-1.jpg


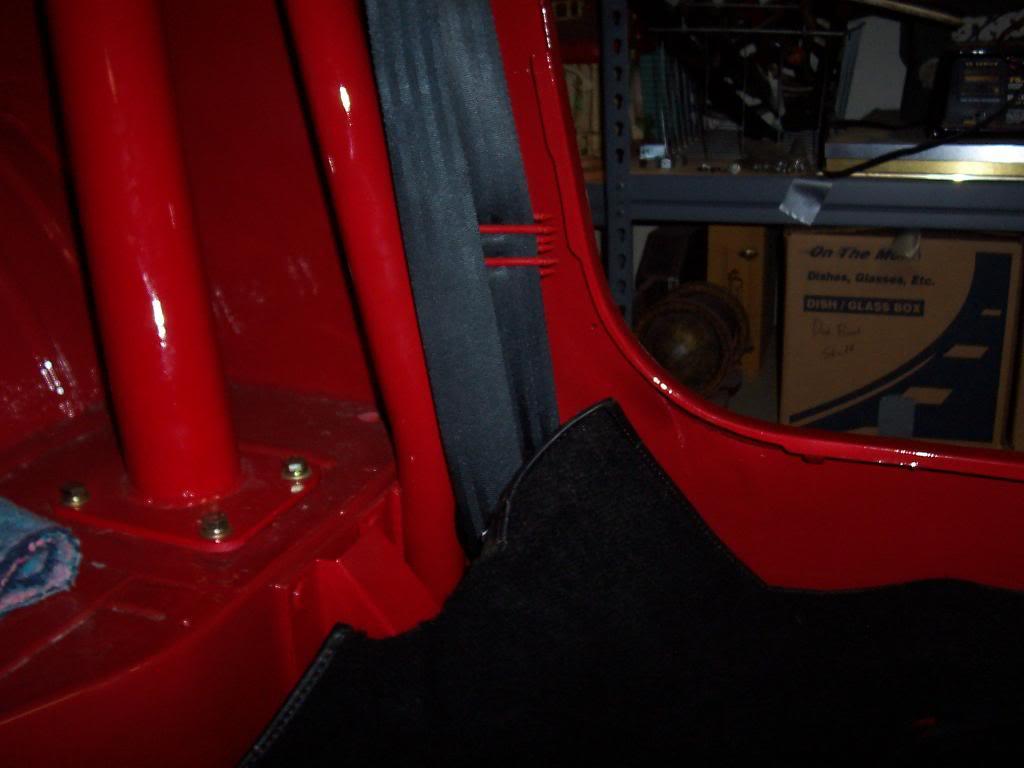
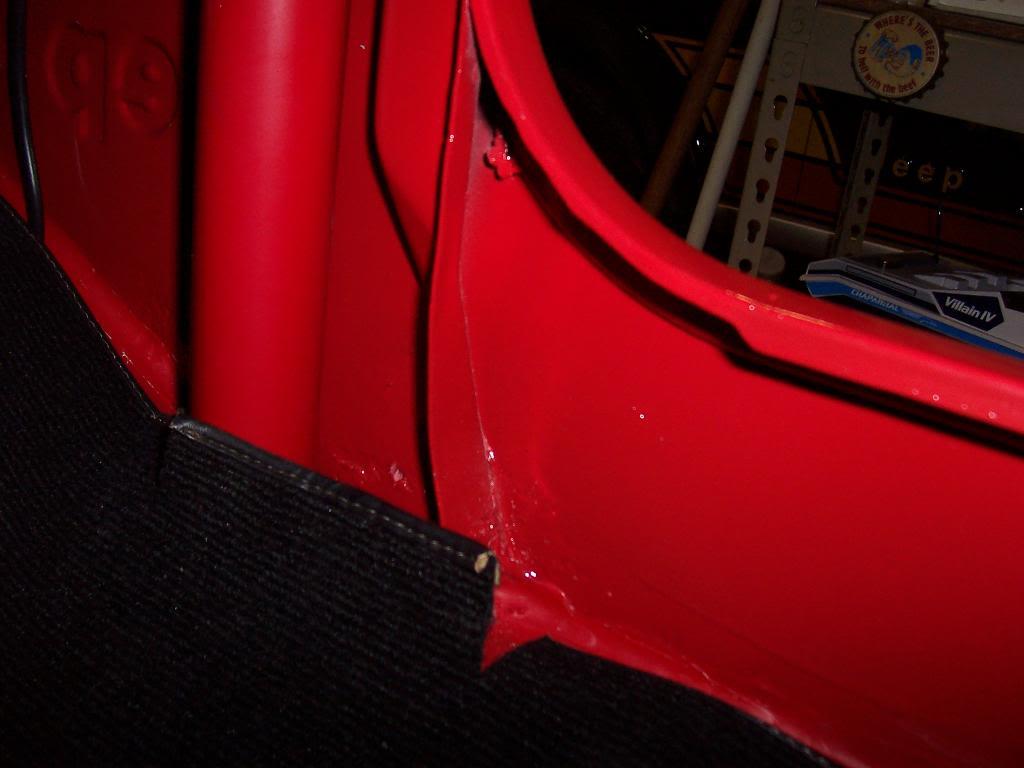
Picture showing the problem with the rear piece of carpet. This carpet is made for a CJ-7, which is different then the Scrambler. The round notch in the carpet was made to fit around the CJ-7's roll bar which goes all the way to the floor. Also, and I am guessing because I don't have an 80's model CJ7 at the house, the back corner where the riser meets the floorboard must be different. On the Scrambler, the door striker piece runs to the floor and prevents the carpet from laying flat in this area. I will cut the carpet to fit and then sew on an edge band to prevent the carpet from unraveling.

002-1.jpg


The only other issue with the carpet is my in cab cage. The carpet came already notched to fit into the side body channel behind the "Jeep" stamp on the side. This is where the roll cage piece sits. I thought I was going to have to cut out the carpet to fit around the "feet" of the down bar, but it actually fits pretty good, so I think I will leave this part alone.

003-1.jpg


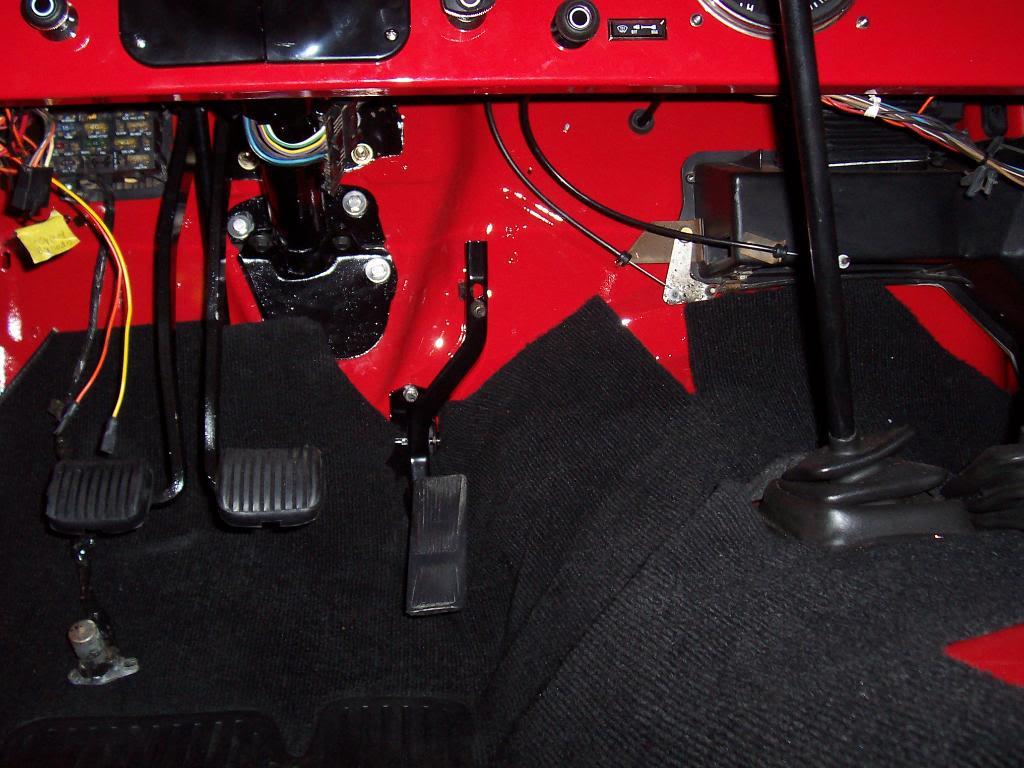
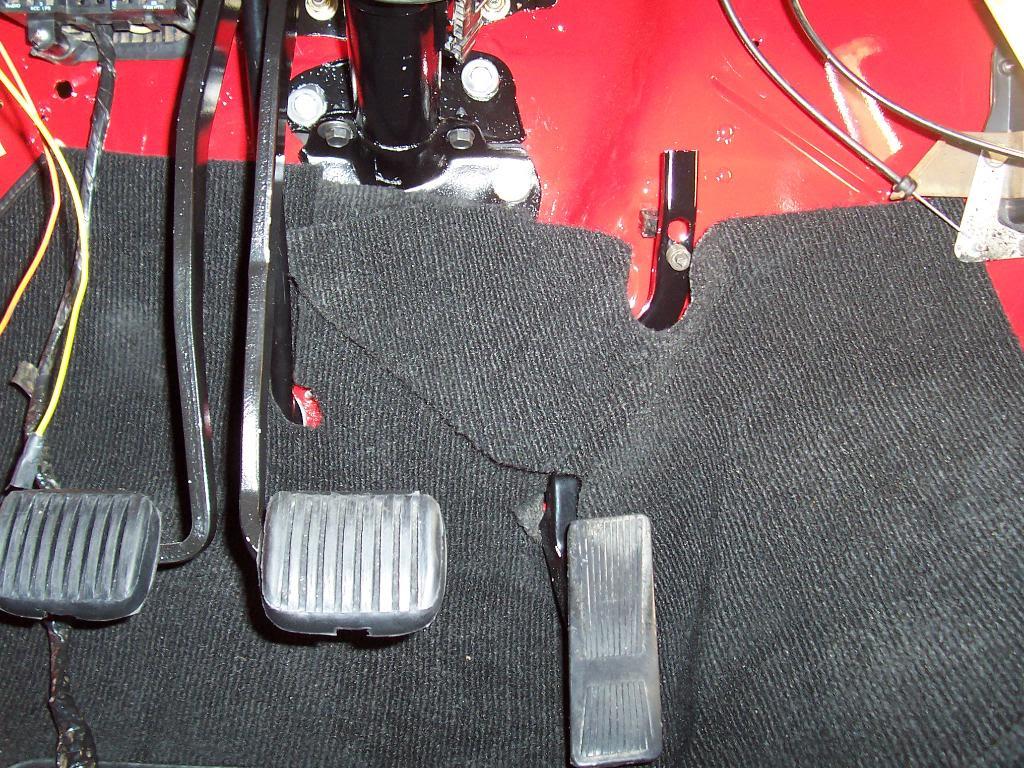
The other strange thing about this carpet is how it runs up the firewall in the drivers area. Most of the carpet I have seen stops where the floor board meets the firewall. But, my green Scrambler still has the Velcro stuck directly under the steering column where the factory carpet must have ran this high? The only issue I have with this is how the carpet fits around the gas pedal assembly.

First picture, I don't have the carpet fixed correctly around the gas pedal.

004-1.jpg


Carpet installed correctly around the gas pedal, I think.

005-1.jpg


Before I cut or modify the carpet I am going to wait until I have the seat brackets installed, and I will probably, at least for now, fasten the carpet to the floor with the transmission/transfer-case boot. Once I have the carpet positively located I will then mark it for any modifications I plan to make to it.

That's it for now.
 
Last edited:
I'm 99% sure that the flap goes under the gas pedal, not over it.

Carpet looks good in there.
 
The "Good Stuff" Update.

Put gas in the tank, put a little in the carb, motor fired up and runs. It is a little loud, however, due to the lack of the exhaust system, its still in the yard LOL. It felt a hair rough when accelerating, but I realized later that the vacuum advance wasn't hooked up.

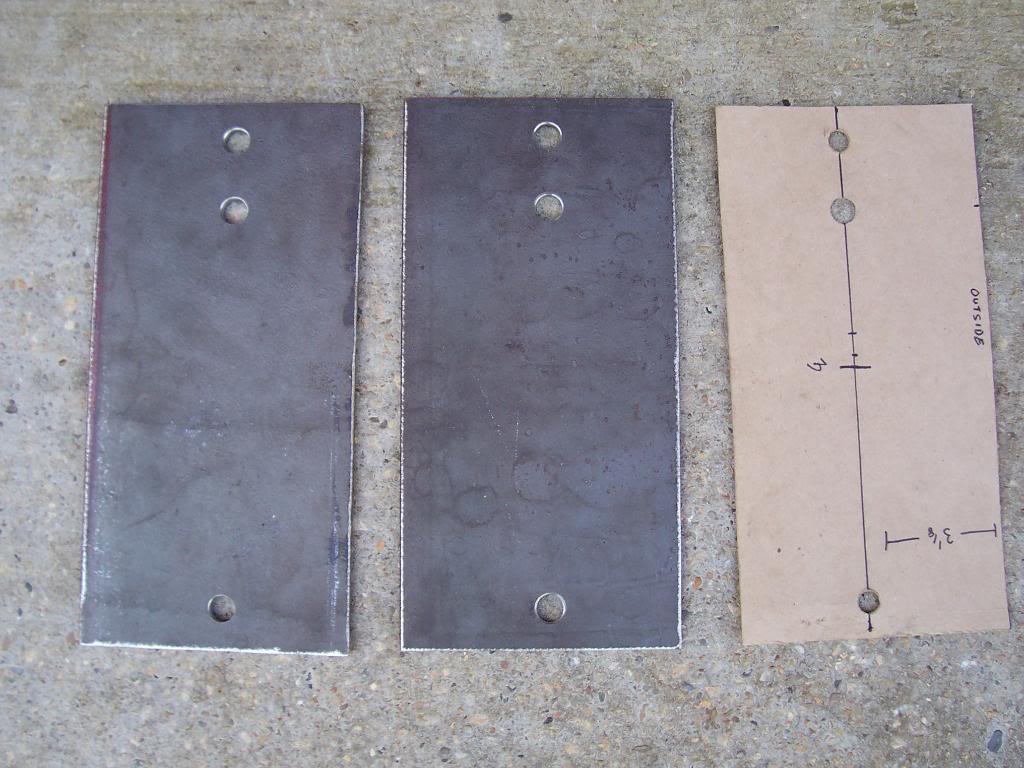
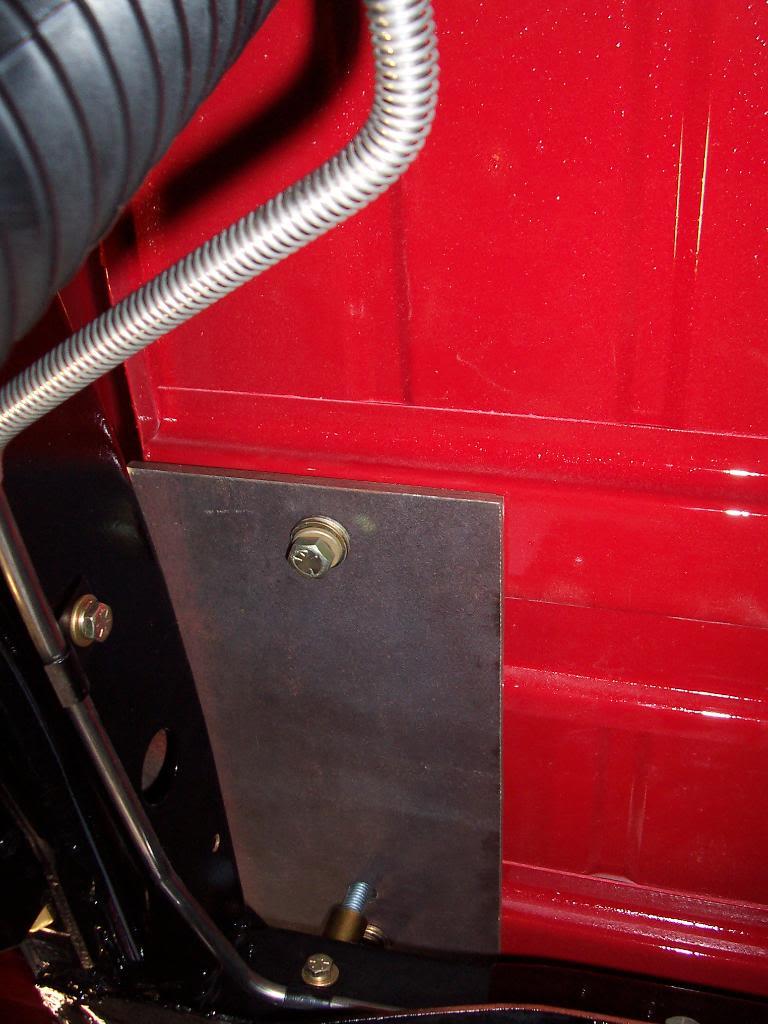
Finally made my body mount repair plates. These were necessary on my build due to the fact that the Classic Enterprise rear bed floor was made wrong. I emailed them about it, never heard back from them. Anyway, the reinforcement channel that is attached to the bottom of the bed floor where one of the body mounts goes is in the wrong place. This was my solution. Note my custom CAD template LOL. The holes at either end tie onto the other under body reinforcement pieces. The other hole is for the body mount bolt.

100_5702-1.jpg


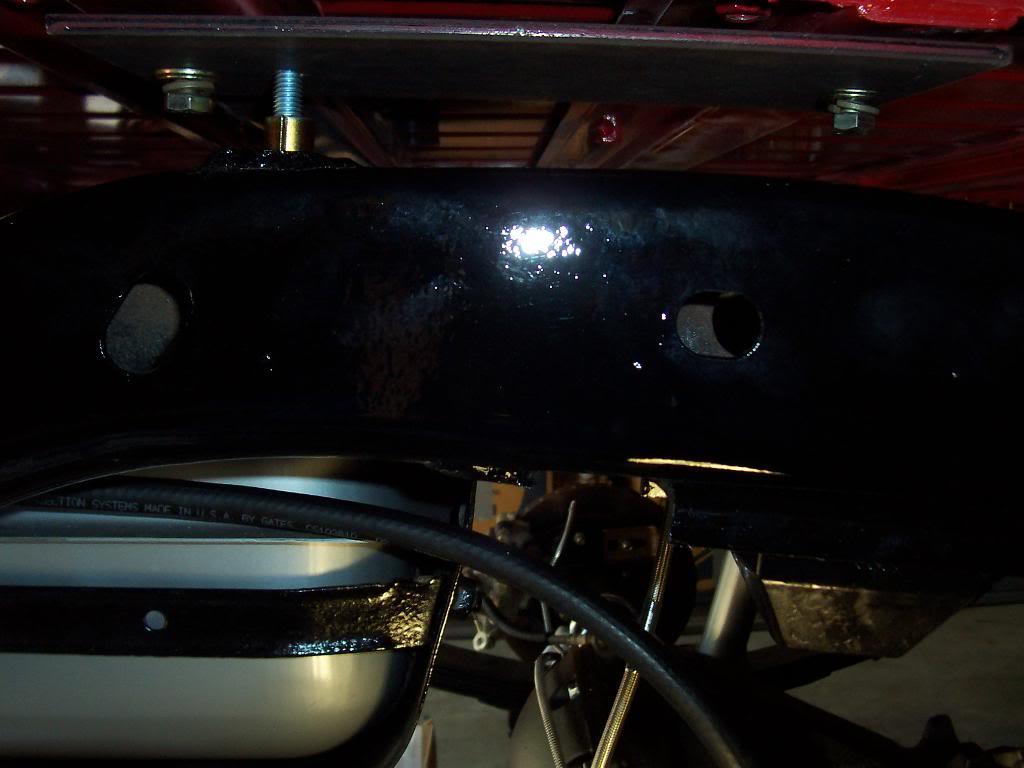
And installed. Look at the top of the picture. You can see a bolt head at either end securing the plate to the body. You can see the body mount bolt sticking through the plate, secured with a nut. Body mount not installed yet, still need to cut them down by 1/4" to make up for the thickness of the plate.

100_5704-1.jpg


From the bottom, looking up.

100_5705-1.jpg


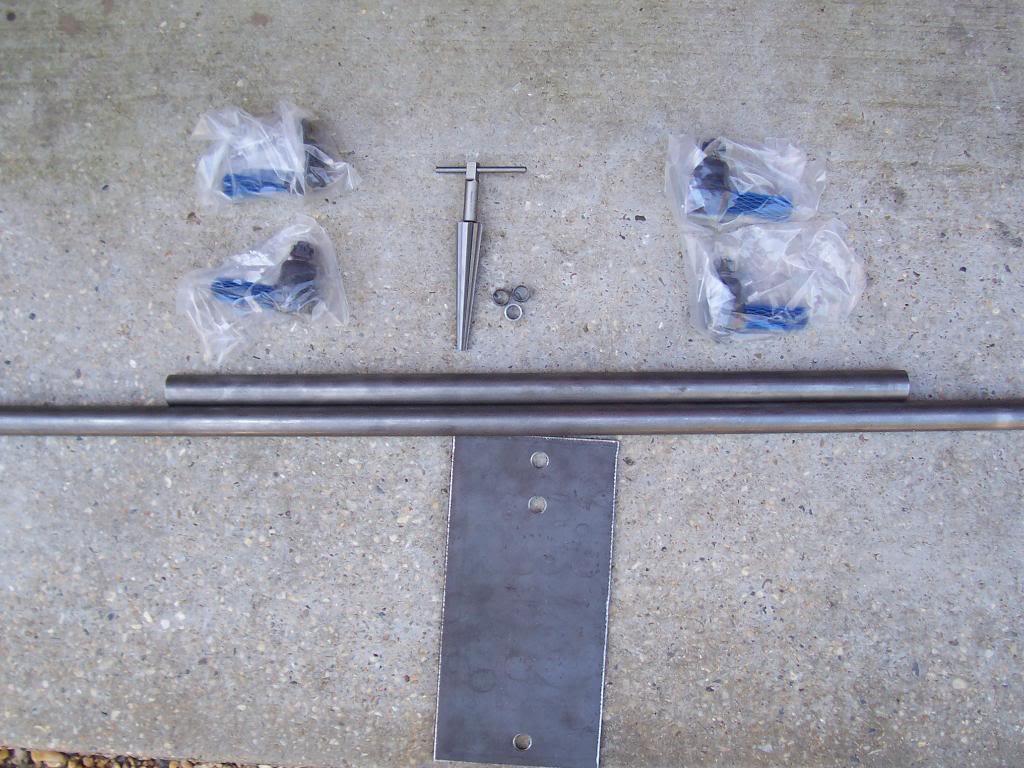
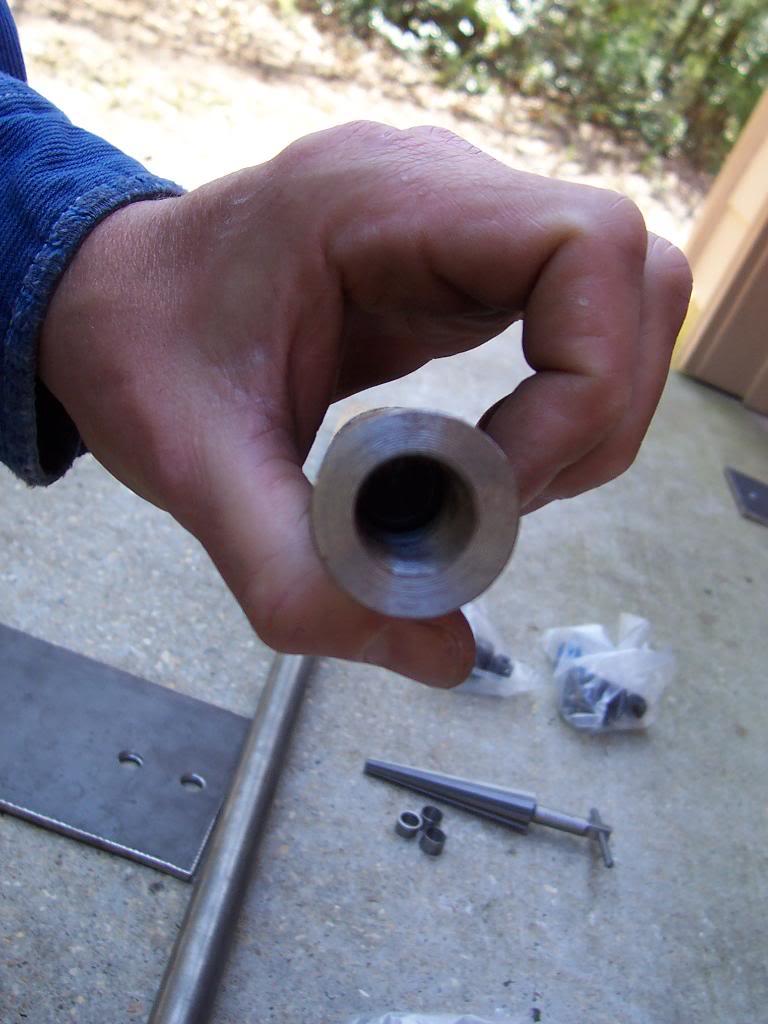
Received my heavy duty tie rod, drag link, and tie rod flip kit, too. I ordered the complete kit from OK Tire and Auto.

100_5706-1.jpg


Pretty thick tubes.

100_5707-1.jpg


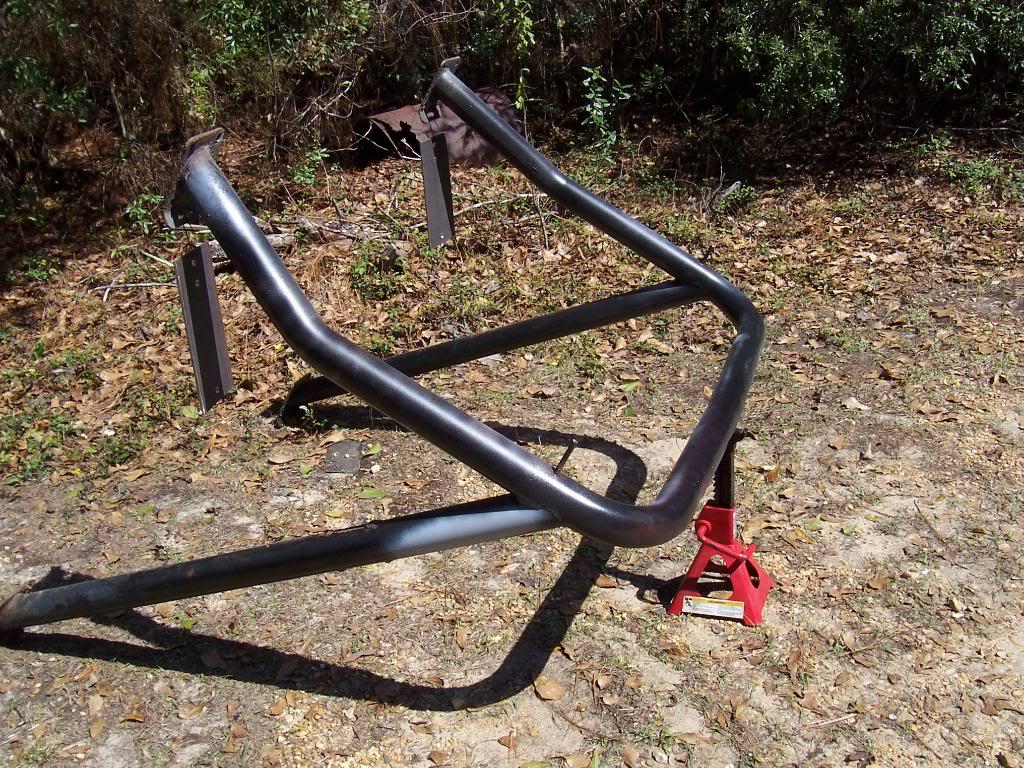
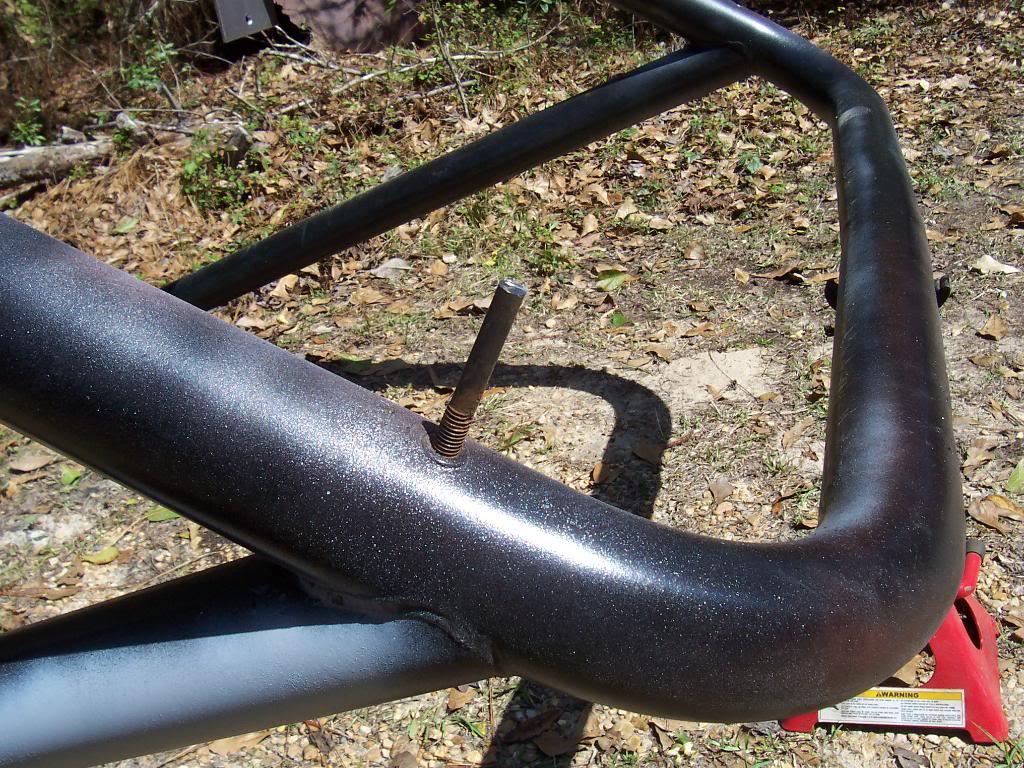
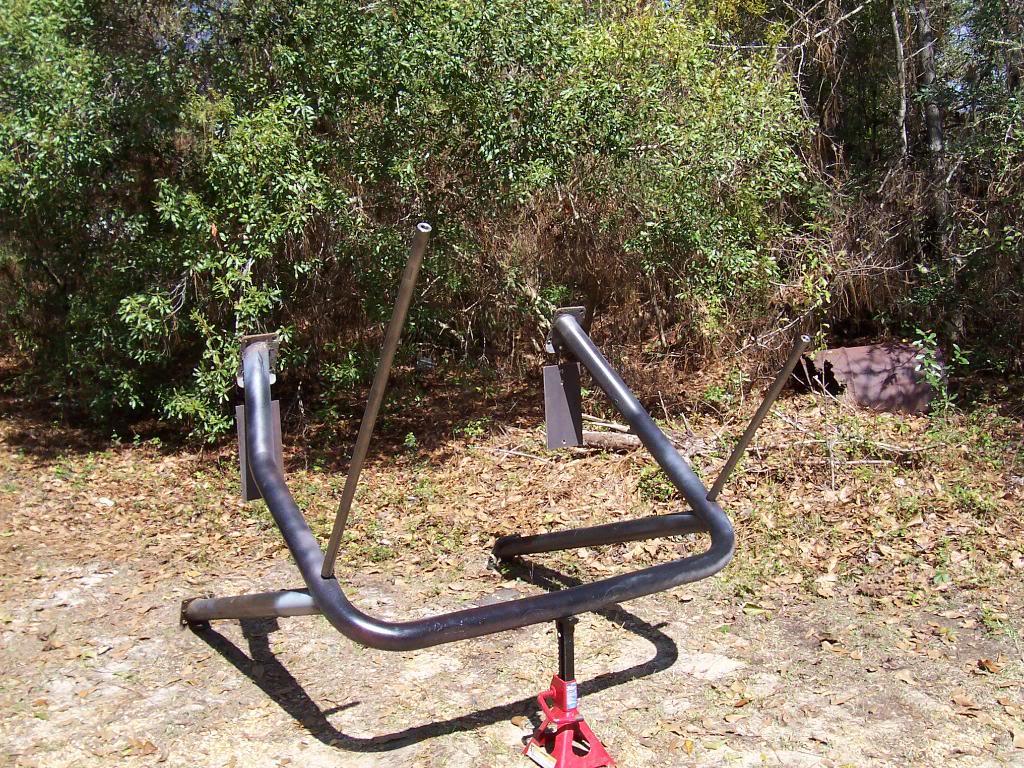
My old roll bar is coming in very hand as a painting stand.

100_5709-1.jpg


Close up of my mounting lugs, two bolts with their heads cut off.

100_5710-1.jpg


And everything mounted up.

100_5711-1.jpg


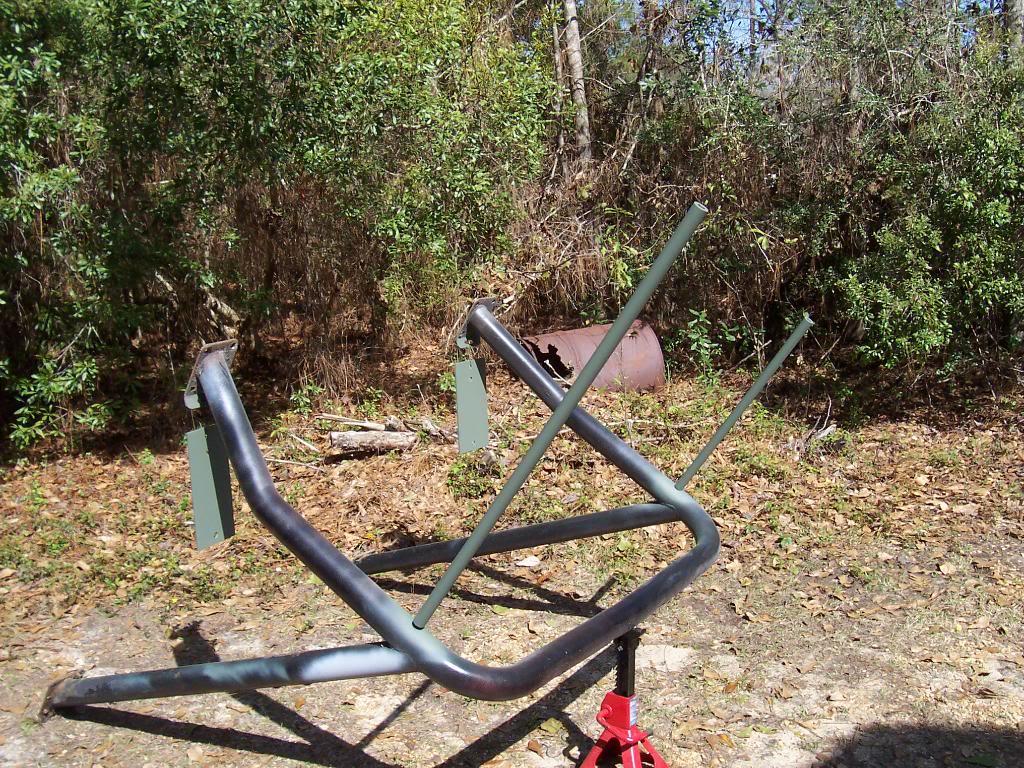
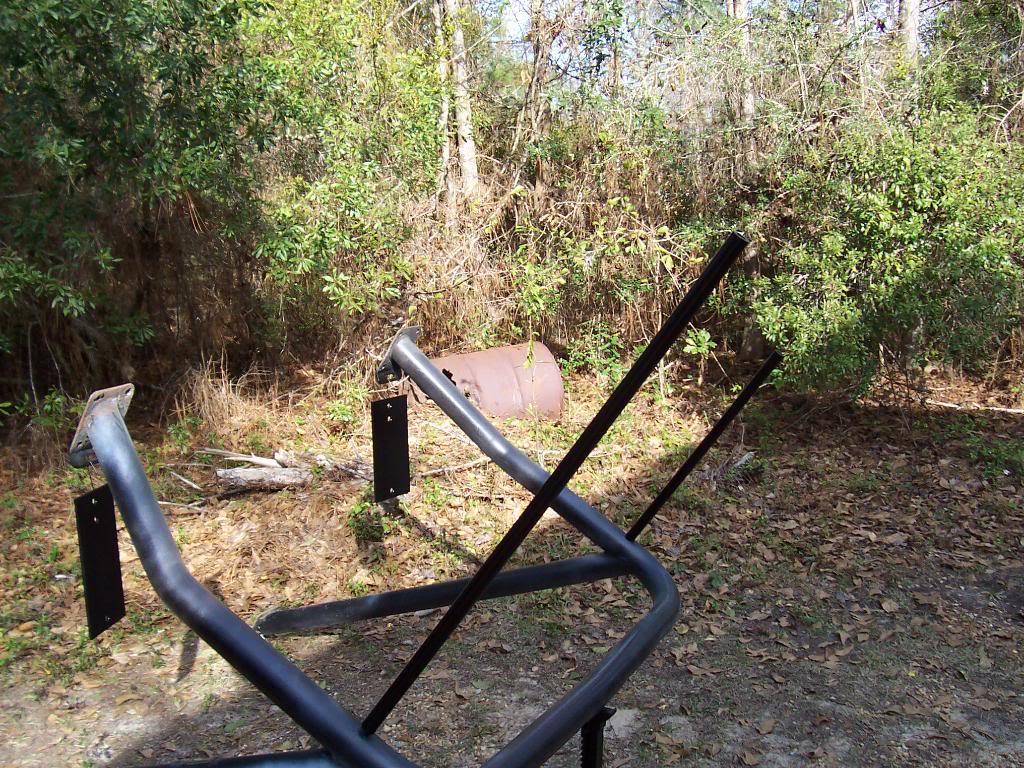
Primed and painted.

100_5712-1.jpg


100_5713-1.jpg


That is all of the "Good Stuff" updates.
 
Had the same problem with Classic Enterprise to. They said no way it was like that. Never did call me back or offer to give me any kind of refund.
Man yours looks good. Wonder witch one of us will be finshed first :rotfl::rotfl::rotfl: :thumbsup:
 
Back
Top