• Notice for iPhone users: DO NOT use the image size reduction option when uploading photos to the forum. This causes portrait images to post as landscape. We have added a warning to the image insert pop-up as well.

Another Scrambler Purchase/Road Trip - UPDATE- BODY ON FRAME AGAIN

Nice country around there. I used to do a lot of deer hunting on Choccolocco Management Area a little NE of there. When I was over in that area around Christmas someone had a really nice FC-150 for sale maybe you will see it on the trails there.
Enjoy the trip.

Yep, really looking forward to the trip, but I don't think the weather is going to cooperate this weekend:fingerscrossed::shrug::(
 
I have been having a really loud banging sound, when hitting bumps, lately while driving this Scrambler, which seems to be coming from the front floor board area. After checking transmission/transfer case to floor board clearance, and finding no problems, I checked all the body mounts, and they are all tight. I just replaced all the suspension bushings, so they are fine.

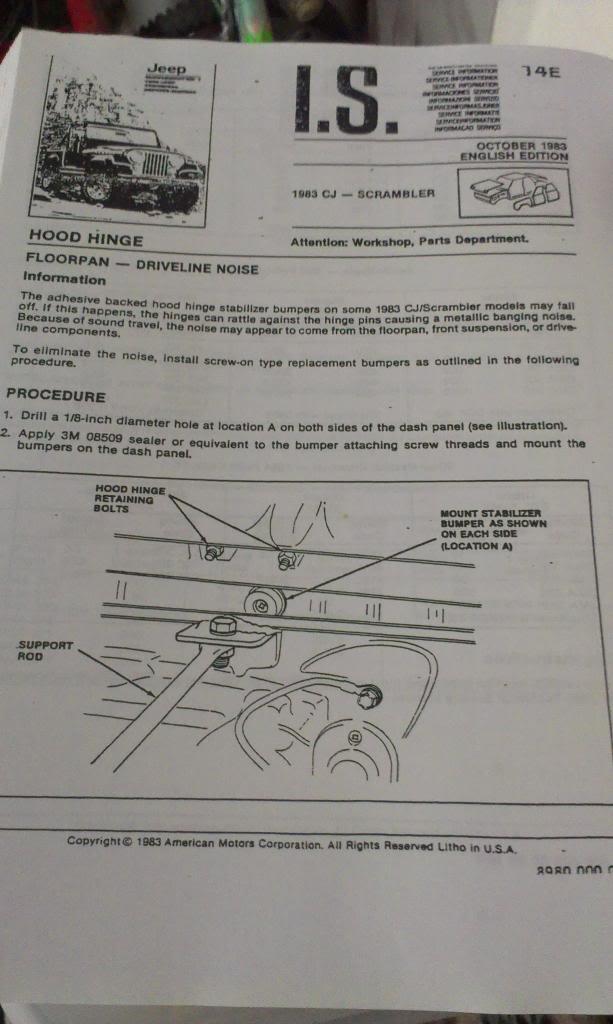
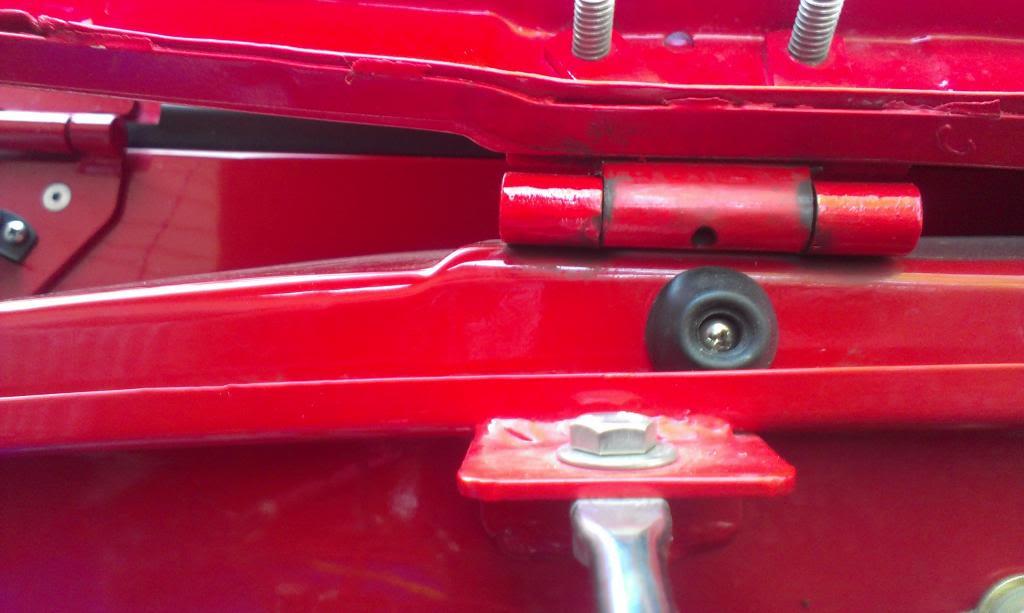
I remembered I had a similar issue with my green Scrambler, and it was caused by the hood hinges being loose. So, I checked this Scrambler, and sure enough, there was some slack in the hinges, which was allowing the back of the hood to make contact with the cowl. I placed some pieces of card board between the hood and cowl, shut the hood, went for a test drive, noise was gone.

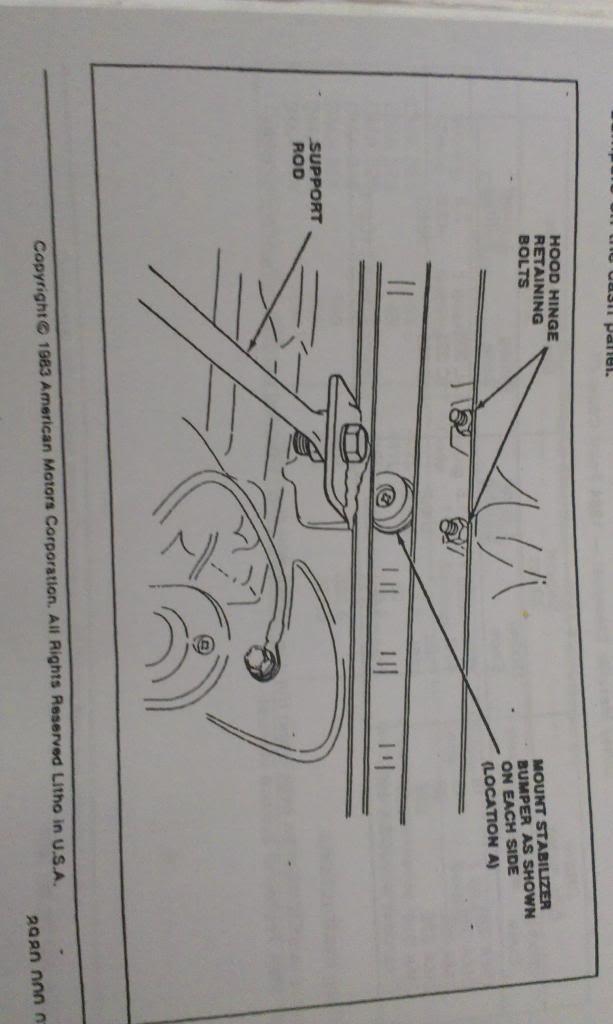
I then remembered this:

IMAG3231_zpsa1a344af-1.jpg


IMAG3232_zps64deb781-1.jpg


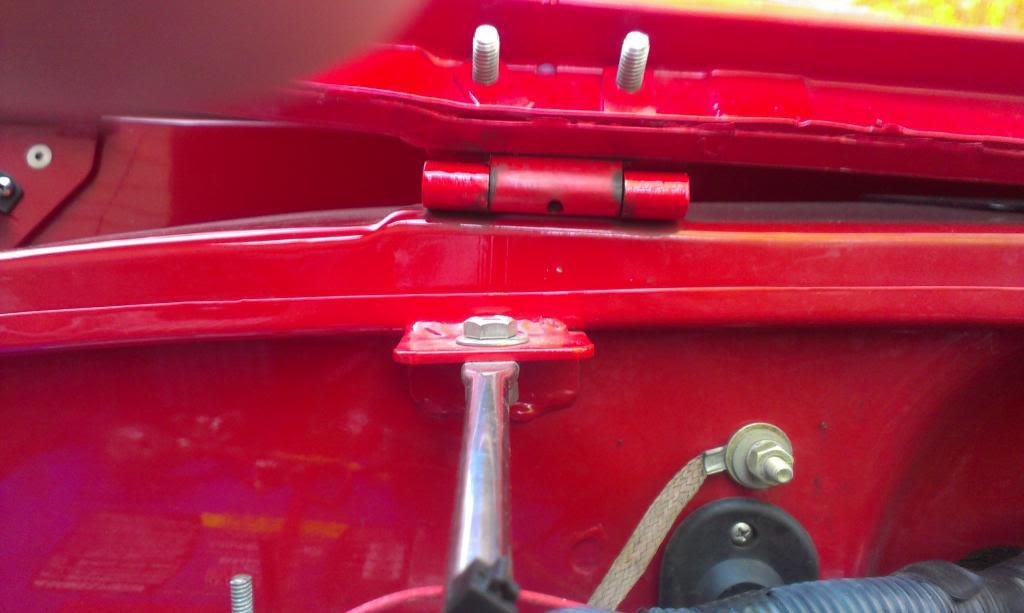
On my 1984 Tan Scrambler, these were already installed, screwed in from the factory:

IMAG3228_zpsef00b5ef-1.jpg


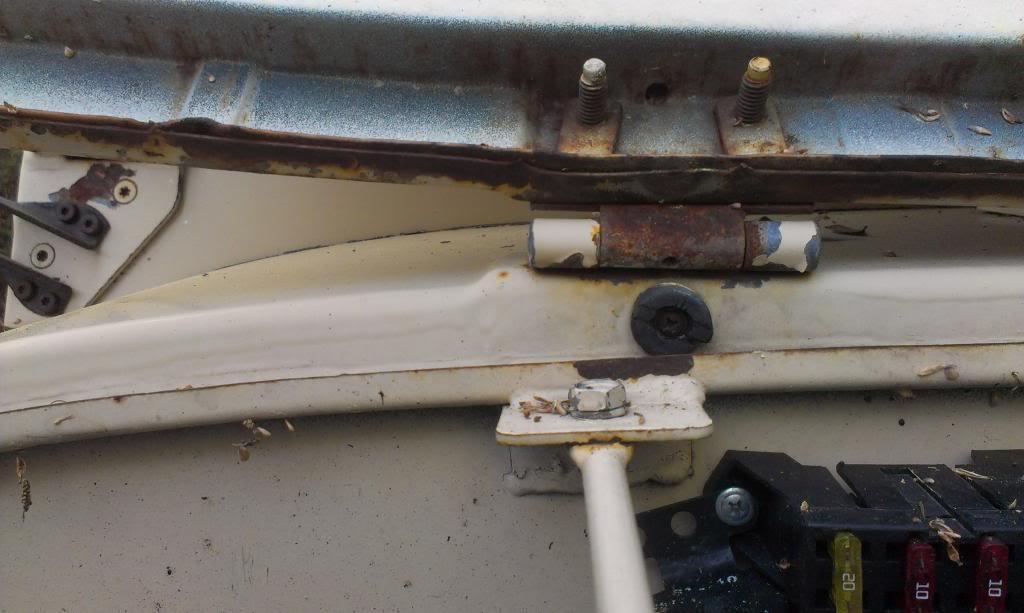
On this 1983 Scrambler, no rubber bumpers:

IMAG3229_zpsd654ef42-1.jpg


I had bought some of these pieces from a member on this site a few years ago, so it was an easy fix.

IMAG3230_zps40810638-1.jpg


Problem solved, easy fix, and much better solution then my card board wedges:rotfl::thumbsup:
 
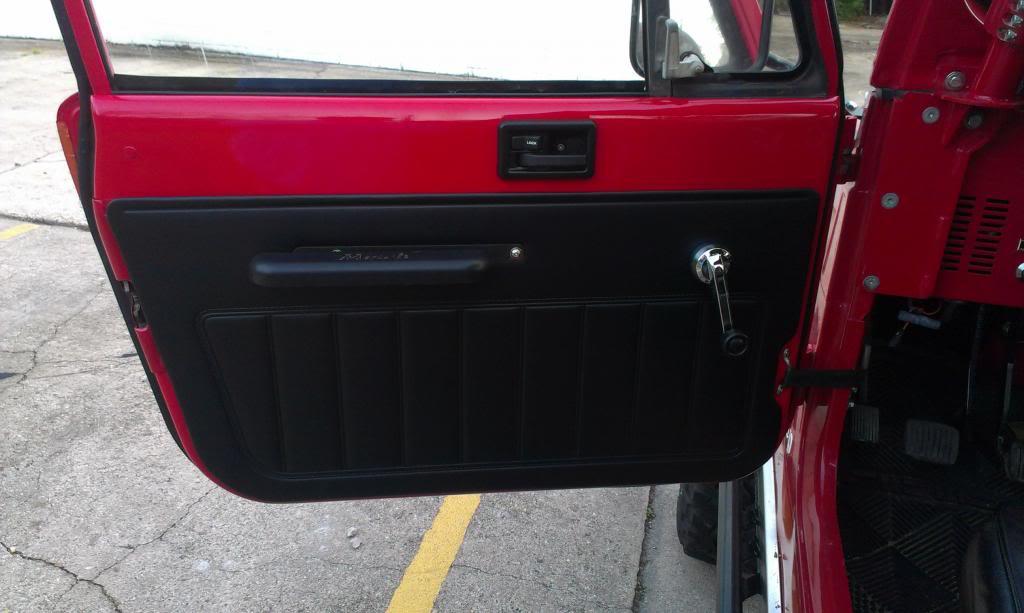
I decided to knock out another "issue" last night, too, lack of door panels. For whatever reason, I just keep procrastinating about purchasing and installing inner door panels. Late last week, I went ahead and bought a set of reproduction panels from Collins Brothers, and they got here quick. They came with the little door clips, so I decided to install them.

IMAG3233_zps9aea5e45-1.jpg


Overall, they are really nice, and match factory panels really well. I wish I would have taken a shot with one of these reproduction panels next to a factory panel, but I forgot.

My biggest problem with these panels: They do not come with the window roll down handle hole, or the grab bar holes, in place. You have to cut them out. While this is no big deal, and the backing board is cut out already, just not too thrilled about this. For now, I simply cut out the material with a really sharp knife and left it. I might come back and see if I can fit some type of grommet/ring around the window handle holes, to keep the face material from possibly getting torn/chaffed.

IMAG3234_zps50318a47-1.jpg


These panels are made to fit CJ and YJ doors, so they have a few extra panel clip slots. I had to remove two little pieces of backing material from each panel, and I then installed all of the panel clips. I used an old panel to make sure I used the right clip slots, but you can also eyeball it.

IMAG3235_zpsa9def6b7-1.jpg


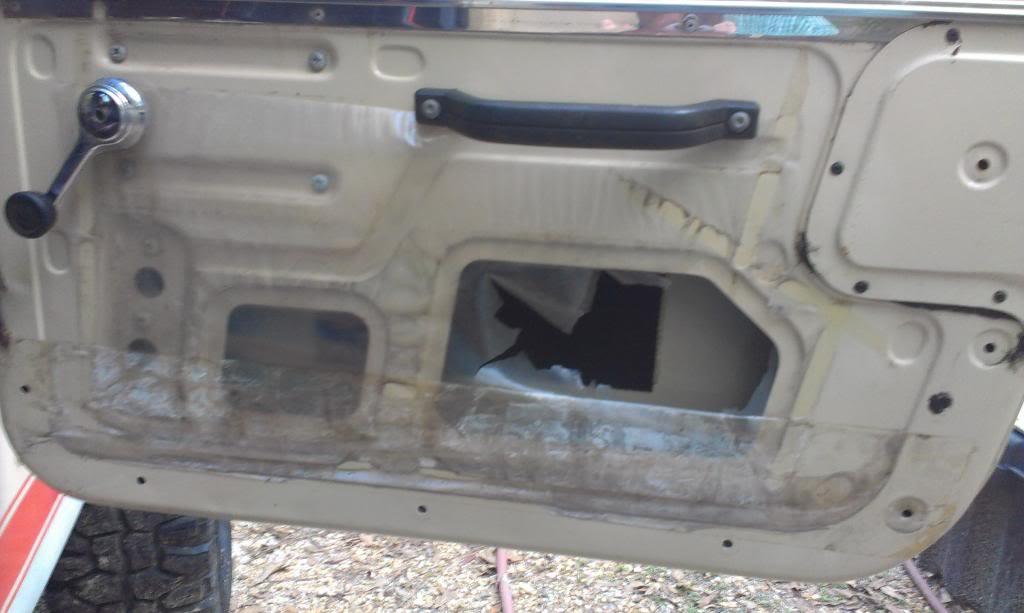
From the factory, the doors come with a piece of plastic installed to protect the back of the door panels from water that gets inside the door shells.

IMAG3236_zps984be074-1.jpg


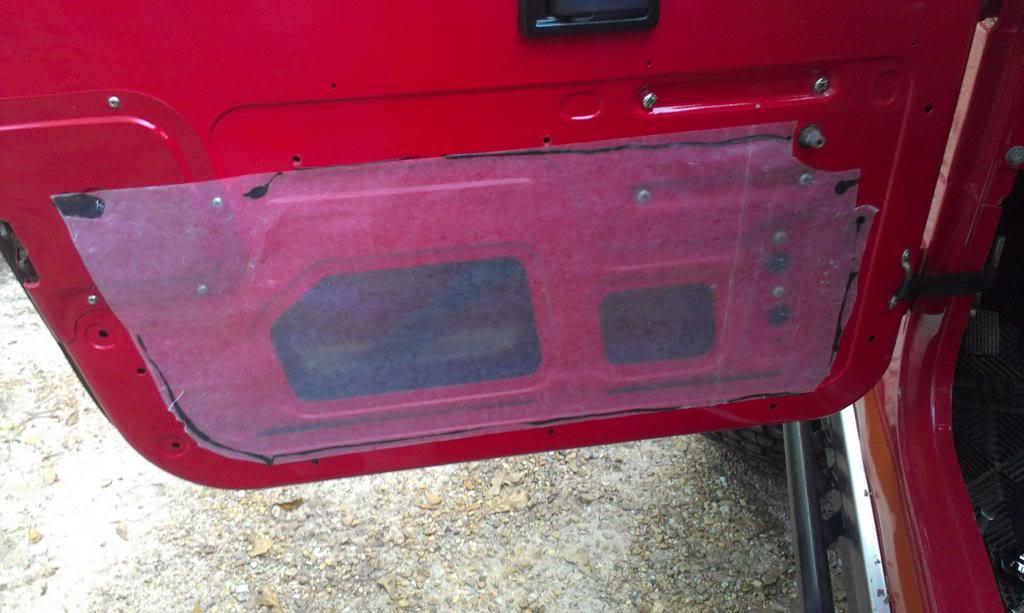
The back of these reproduction panels seems to have some type of waxy coating, but I decided to go a step further. Using some wax paper and adhesive, I made my own "water shields".

IMAG3237_zpsc5e63ddd-1.jpg


IMAG3238_zps43134ad7-1.jpg


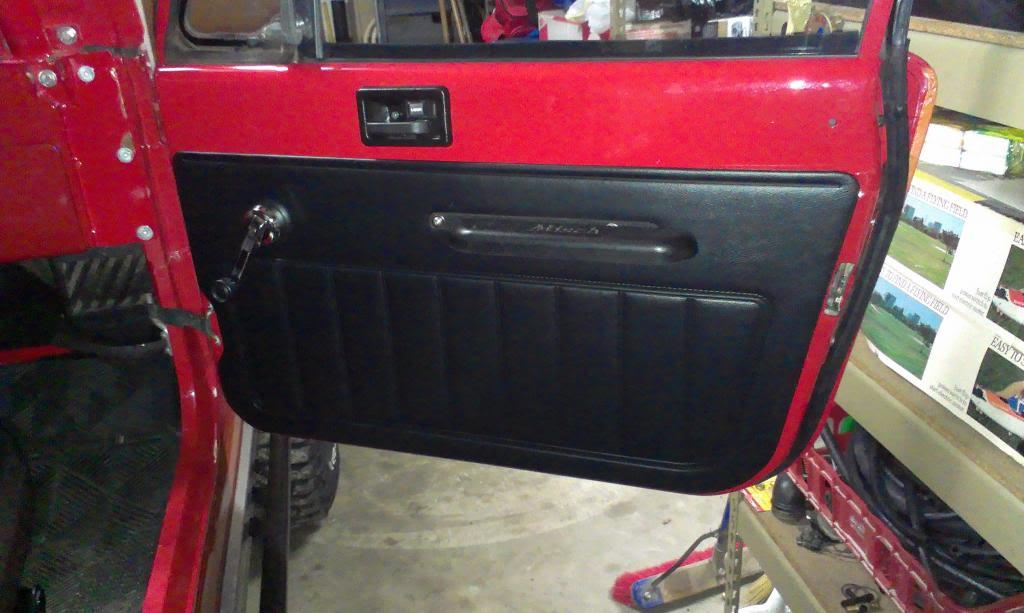
After installing my home made water shields, I installed the door panels. I forgot to install the little metal strips at the top of each panel. I found them on a shelf in the garage after I had installed the new panels. I will probably reinstall the little metal top strips in the future, but they are not really needed.

IMAG3239_zpsc6860317-1.jpg


IMAG3240_zps16dcb36d-1.jpg


IMAG3241_zpsd9ad13ac-1.jpg


Overall, besides the window crank hole "issue", I am really pleased with these panels. They were a super easy install, and they look really good, much better then my previous "naked" door shells LOL. As a bonus, they smell really good, too. The little bit of padding/insulation they provide makes a difference in cab noise/comfort level, too. I wish I would have bought/installed them sooner.


That's it for now:wave:
 
Raymond,

If you interested I think I have a set of the chrome runners that go across the top of the door pannels. pm me.
 
Raymond,

If you interested I think I have a set of the chrome runners that go across the top of the door pannels. pm me.

Appreciate it, but I have a set in the garage, sitting on the shelf, I just forgot about them until after I installed the panels:rotfl::thumbsup::wave:
 
The pre-Moab "shakedown" run to Choccoloca ORV (http://www.choccoloccomountain.com/)went pretty well:thumbsup:

On the way up, the new radiator blew out a tube, swapped it out for an Autozone aluminum/plastic tank radiator. Not too happy about this:angry::banghead:

And the wipers broke, again. Looks like I will be swapping to YJ linkage soon.

Other then that, no problems:thumbsup: The AX15, and everything else, worked perfect, had a great time wheeling:D

A few minor tweaks, and I will be ready for Moab:woohoo::woohoo:
 
Two random thoughts,
Are the backings for your door panels cardboard? If so, how hard would it be to replace with a flat piece of delrin (acetal) like this:
http://www.eplastics.com/Plastic?search=ACTLNAT0.125

Then you don't have to worry about moisture or condensation. The stuff is really easy to work with and you could use the original to shape it.

Other random thought, instead of using an x-acto or straight blade to cut the holes in the vinyl, what about either a round style Cigar cutter, or talk to someone who reloads about putting a super sharp edge on a 9mm or 45acp piece of spent brass. It's only got to cut vinyl and it will give you a non tearing round hole.

Hope a little outside-the-box thinking might help someone at some point somewhere.
 
Two random thoughts,
Are the backings for your door panels cardboard? If so, how hard would it be to replace with a flat piece of delrin (acetal) like this:
http://www.eplastics.com/Plastic?search=ACTLNAT0.125

Then you don't have to worry about moisture or condensation. The stuff is really easy to work with and you could use the original to shape it.

Other random thought, instead of using an x-acto or straight blade to cut the holes in the vinyl, what about either a round style Cigar cutter, or talk to someone who reloads about putting a super sharp edge on a 9mm or 45acp piece of spent brass. It's only got to cut vinyl and it will give you a non tearing round hole.

Hope a little outside-the-box thinking might help someone at some point somewhere.

The backings "might be cardboard", but if they are, they are covered in a heavy coating of a "wax type" substance. They might be fine by themselves, but I do like the Derlin idea:thumbsup:

That's a great idea for cutting out the round holes, I might revisit this on mine:thumbsup:

Not intended to hijack Spankrjs' Epic Thread, but here is a little door panel storage thingee I added to mine.
https://www.cj-8.com/forum/showthre...-upgrade-writeup&highlight=door+panel+storage

Another great idea, especially on our "never enough in-cab storage areas" Scramblers:thumbsup:
 
Two random thoughts,
Are the backings for your door panels cardboard? If so, how hard would it be to replace with a flat piece of delrin (acetal) like this:
http://www.eplastics.com/Plastic?search=ACTLNAT0.125

Then you don't have to worry about moisture or condensation. The stuff is really easy to work with and you could use the original to shape it.

Other random thought, instead of using an x-acto or straight blade to cut the holes in the vinyl, what about either a round style Cigar cutter, or talk to someone who reloads about putting a super sharp edge on a 9mm or 45acp piece of spent brass. It's only got to cut vinyl and it will give you a non tearing round hole.

Hope a little outside-the-box thinking might help someone at some point somewhere.

I go to the local hobby store- they have lengths of thinwall tubing in all different sizes. Put a sharp edge on them, and you have a great hole punch, be it for upholstery, gaskets, whatever.

Old pieces of brake line and steel fuel tubing can be put to the same usage. Also, they make great little spacers- cut a length with a tubing cutter, better than stacking washers.
 
Hopefully, the last "project" before Moab.

I usually run a factory 1/2 soft top on this Scrambler. While it is pretty cool, and relatively easy to take off, it is not the quietest thing on the highway. If you keep the windows up, or barely cracked, it is not too bad. But, still not as quiet as a hard top, especially compared to my tan Scrambler that has an Acme full hard top, or my green Scrambler with the factory 1/2 hard top.

Before I drive this thing cross country, again, I swore I would put some sort of hard top on it. When I first purchased this Scrambler, it came with a factory 1/2 hard top. Since I was not using it, I let JeepAddict have it. The one I gave to JeepAddict came with the seat belt holes. Since my shoulder belts bolt to the roll cage, I do not need this "more desirable" top. So, I traded my original "seat belt hole" top for one of his extra "81/82 no seatbelt holes" tops.

And this is what I came home with, a nice spray painted 1/2 hard top:

IMG_20140421_172737242_HDR_zps1c5758c5-1.jpg


IMG_20140421_172754715_zps120e2106-1.jpg


While it looks like crap, it is actually in great shape. No cracks, it has the metal strip still attached, the glass isn't broken, etc. I have not checked to see if the little threaded inserts are still intact, but even if they aren't, that isn't too big of a deal.

I really like my nutmeg colored 1/2 soft top, so I want to replicate that color scheme with this top. Anyway, after closer inspection, I discovered that this top still has the original nutmeg finish on it, it is just covered with some sort of black paint. The factory applied "texture" is still in great shape, too.

IMG_20140421_172742966_zpsf0d444db-1.jpg


I did a quick "experiment", wiped a spot on the inside down with an Acetone soaked rag. The black paint came off pretty easy:

IMG_20140421_173048244_zpsf4a6c964-1.jpg


These tops are fiberglass. So, you have to be careful about using chemical strippers on them. If you use something too aggressive, it will strip the gel-coat off. Also, I wanted to try to keep the factory color, if possible.

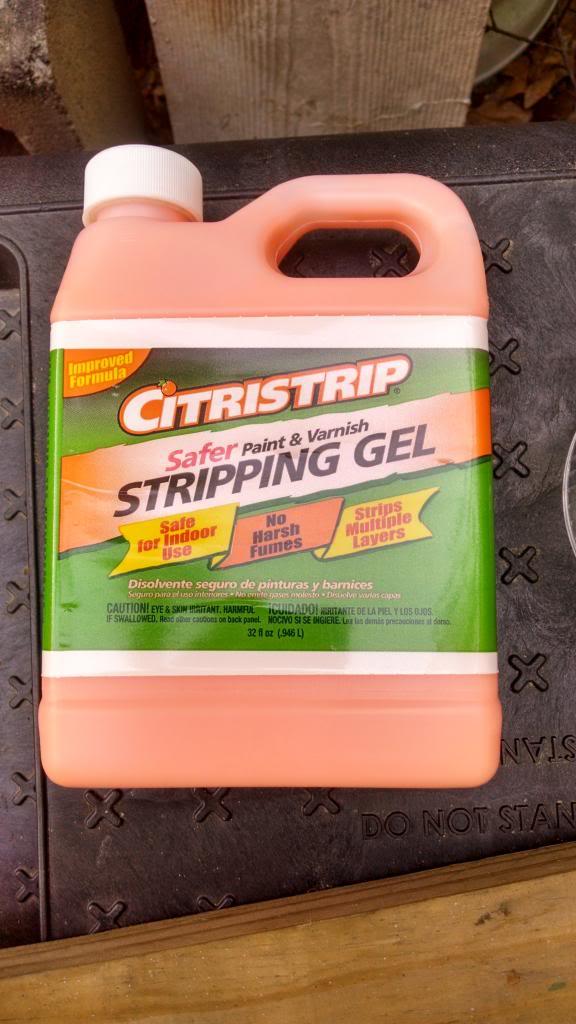
Most people recommend sanding the paint off, but if I do that, it will also remove the "texture". After doing some "internet research", I decided to try some of this stripper, found at the Home Depot:

IMG_20140421_173216157_HDR_zps162a6a85-1.jpg


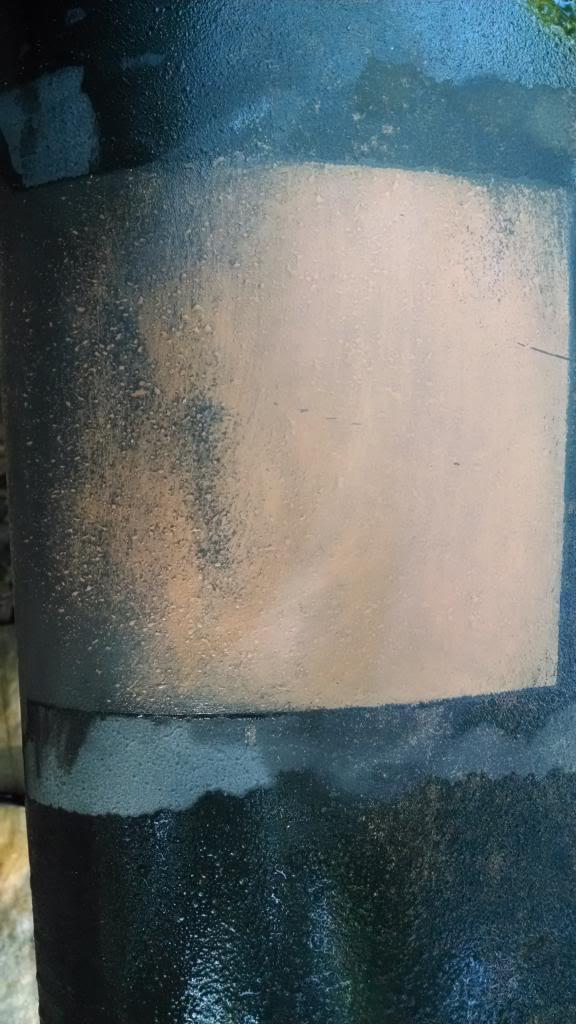
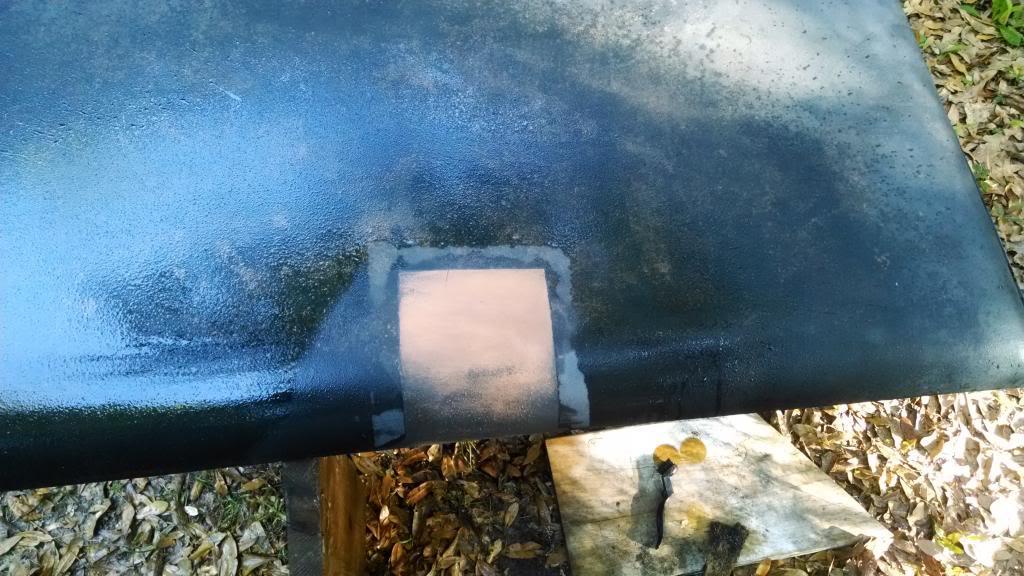
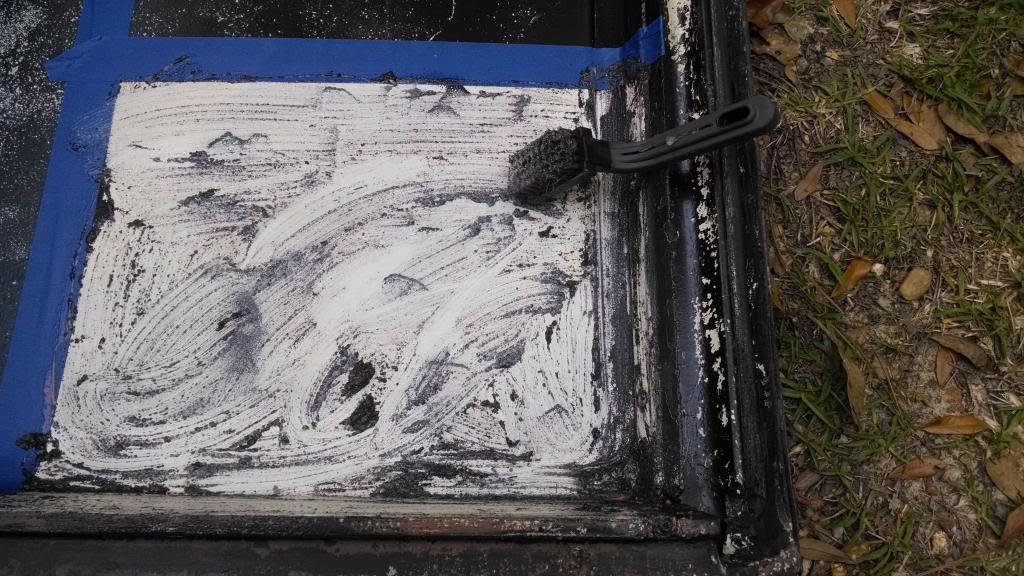
I taped off a 1' x 1' square on the inside and applied some stripper with an old paint brush. Within 30 seconds, the black paint was coming off:

IMG_20140421_173709673_zpsa6161b3a-1.jpg


I decided to try to speed up the process by scrubbing with a soft copper brush:

IMG_20140421_173848249_zps331172da-1.jpg


Using the brush was not the best idea, it was a bit too aggressive, and actually removed some of the white paint:

IMG_20140421_174230778_HDR_zps04fe29e5-1.jpg


Besides some of the white paint coming off, this stuff worked great. It did not harm the texture or the gel-coat:

IMG_20140421_174235565_zpscd2adc08-1.jpg


It is still "risky" to use chemical strippers on fiberglass. If you leave them on too long, or use too aggressive of a chemical, it could leach into the fiberglass. To minimize this, I am doing a 12" x 12" section at a time, leaving the stripper on for less then a minute, speeding the process up by scrubbing with a 3M paint removing pad, and thoroughly cleaning/flushing the stripper off with water.

 
The black paint comes off of the inside relatively easy. On the outside, a bit tougher, but not too bad. Same thing, small area, stripper on for about one minute, gentle scrubbing with a 3M pad:

IMG_20140421_175145397_zps92b06b8f-1.jpg


IMG_20140421_175151459_zps64710369-1.jpg


And after about one hour:

IMG_20140421_191232239_zps5bc98dbc-1.jpg


By not leaving the stripper on for too long, I am able to remove most of the black paint without harming the underlying factory applied Nutmeg color. But, the Nutmeg finish is not "perfect", so I will have to repaint the top:

IMG_20140421_191242234_zps10e7d131-1.jpg


I plan on stripping all of the black paint off. Then, I will thoroughly clean/scrub the top, to remove any traces of stripper. I then plan on painting directly on top of the factory Nutmeg paint, with something that matches close. I plan on painting the inside Nutmeg, too.
Not sure what I am going to paint it with, but I will update.

That's it for now:wave:
 
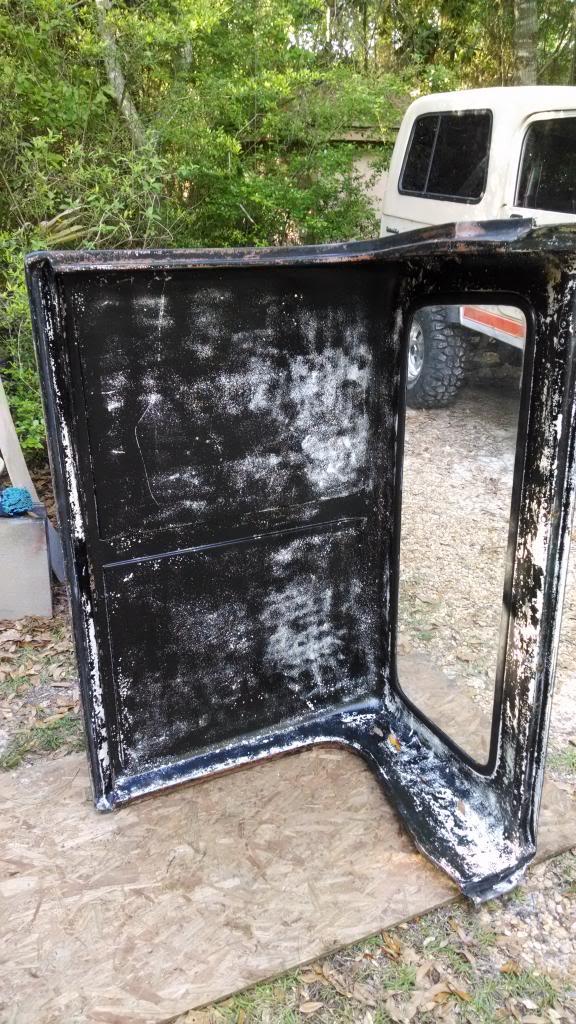
And some more paint removal completed. But, the more black paint I remove, the more damage I find.

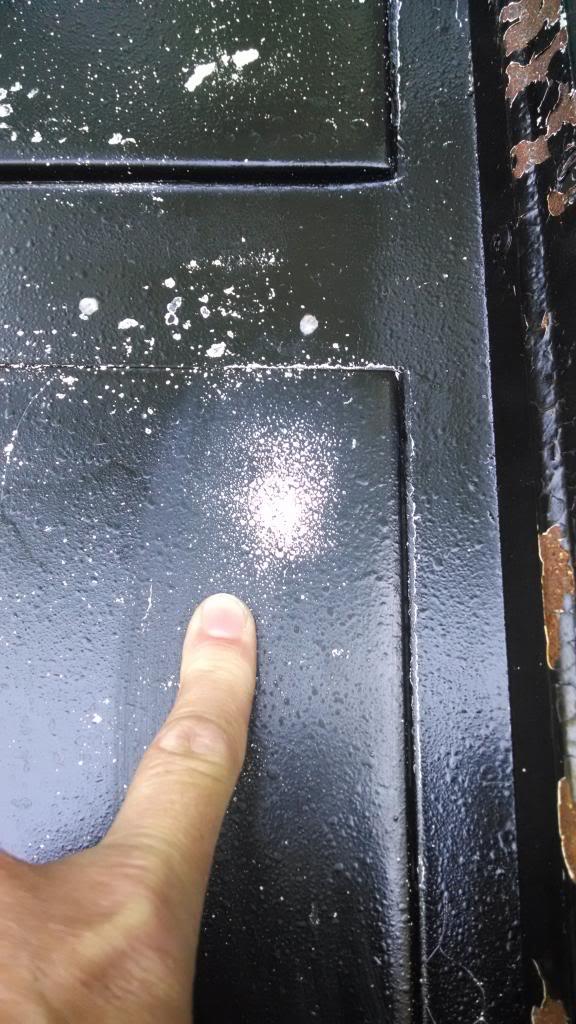
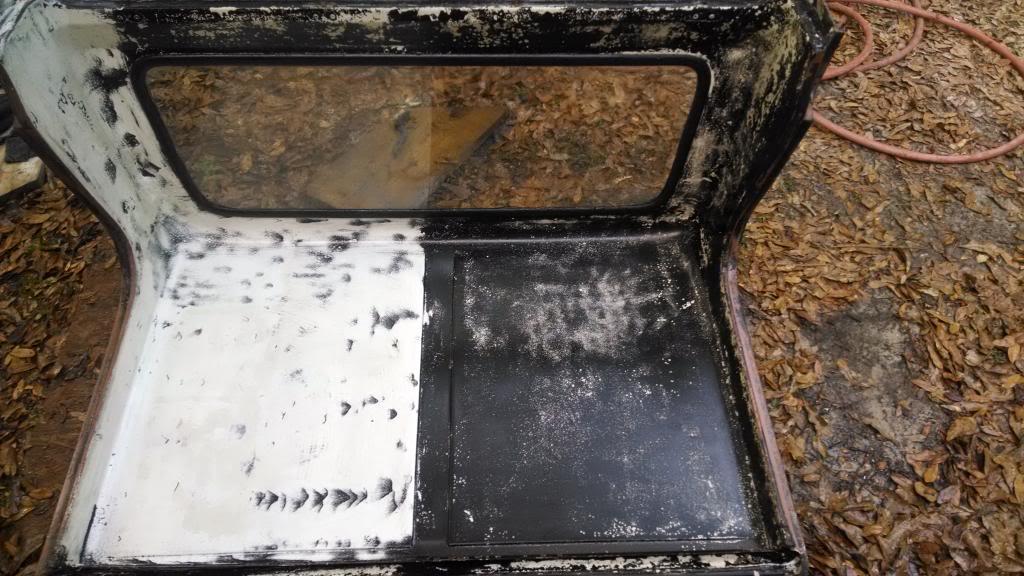
I got "greedy" and tried to do bigger sections. This kind of works, but so much black paint comes loose, it starts sticking back down, leaving the black swirl marks. I will have to come back and do another coat to remove the little balck paint swirls.

IMG_20140422_185626397_zps847d675d-1.jpg


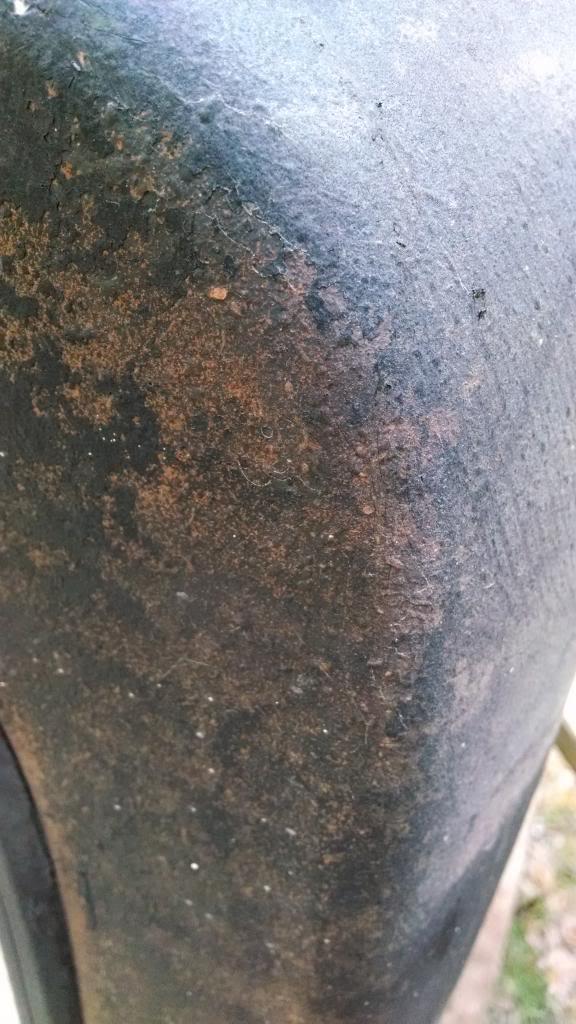
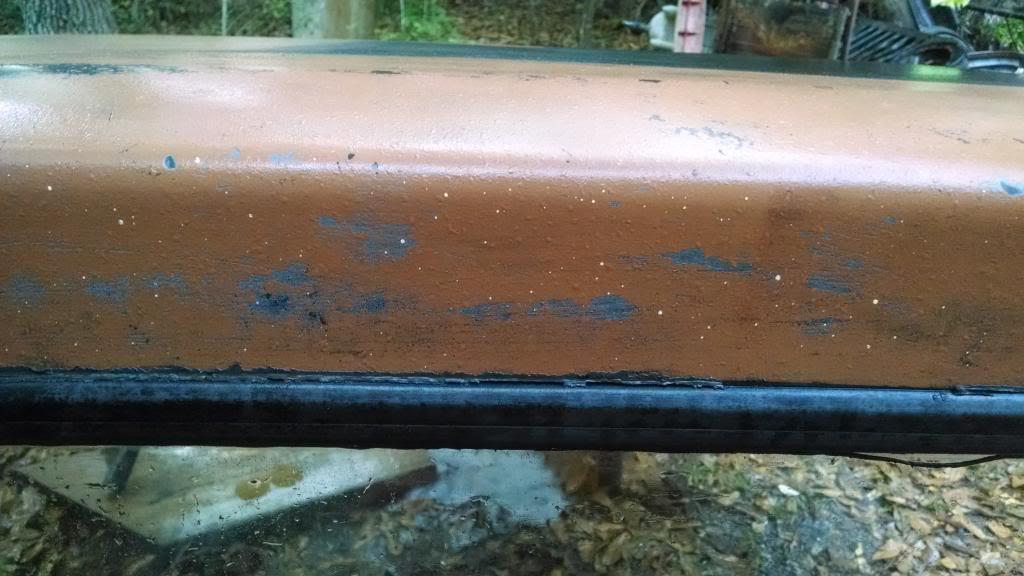
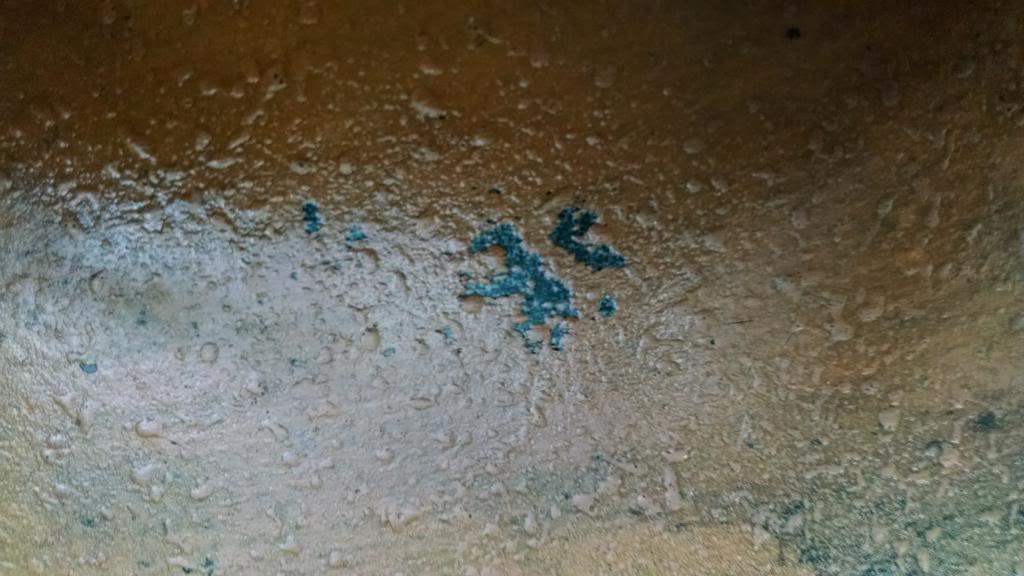
The black "splotches" that you see is not the top coat. It seems that from the factory, there was a smooth black coat, then the textured Nutmeg paint. These black areas are where the original textured paint is missing.

IMG_20140422_185600556_zpseea4b400-1.jpg


IMG_20140422_185616948_zps06468f33-1.jpg


The sides have a lot more missing textured paint areas.

IMG_20140423_064207561_zps0eb58e54-1.jpg


Now I know why they spray painted the top black LOL. Anyway, I am almost done with the exterior, just a couple more hours of paint removal work left.

IMG_20140423_064157328_zps8bdcdbee-1.jpg


I am tired of messing with the outside of the top, might do the interior tonight.

That's it for now:wave:
 
Finished up the "chemical paint stripping" work.

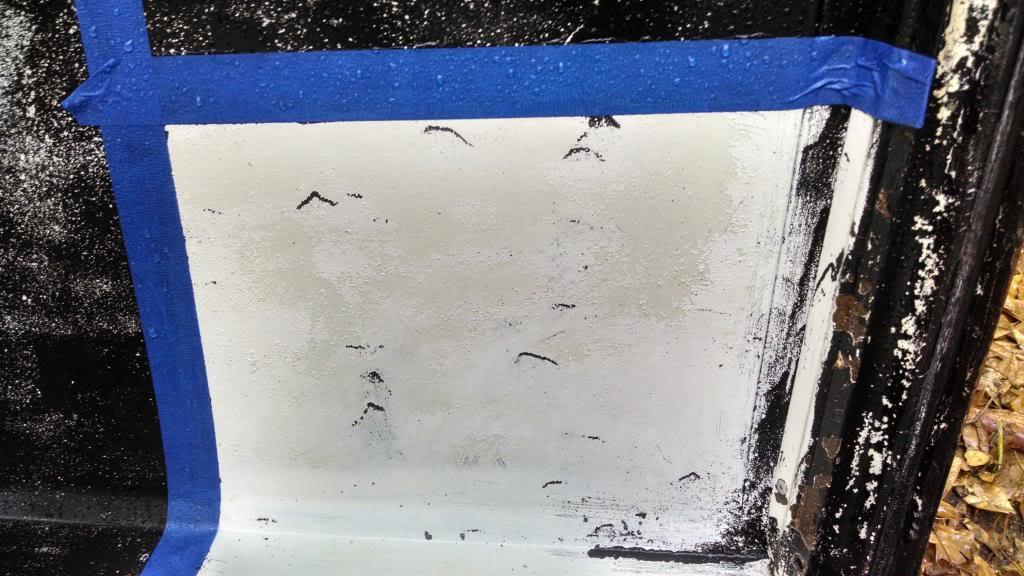
The inside was a bit easier.
IMG_20140423_181502026_zps847aa6d4-1.jpg


IMG_20140423_185834501_zps59e76aed-1.jpg


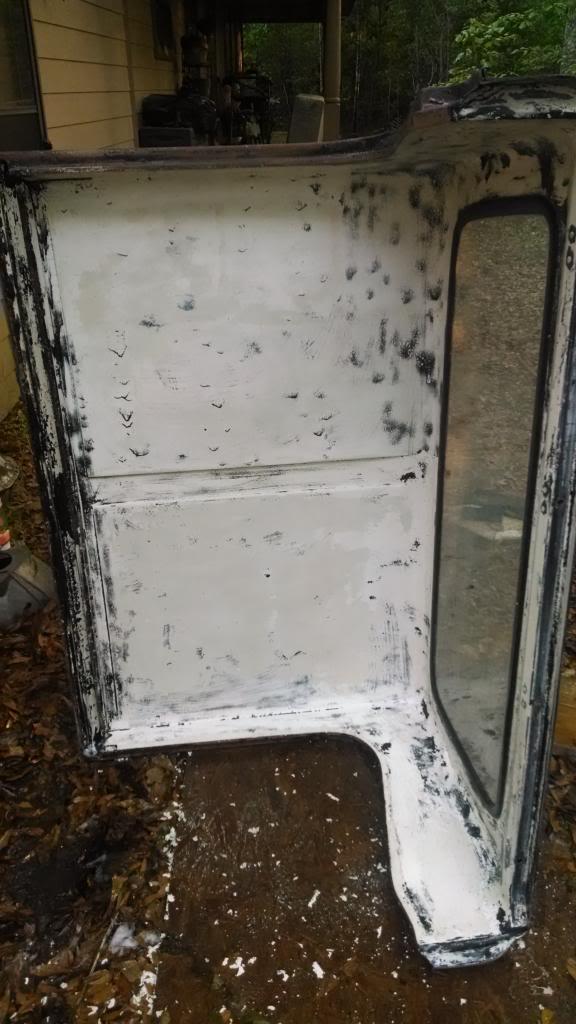
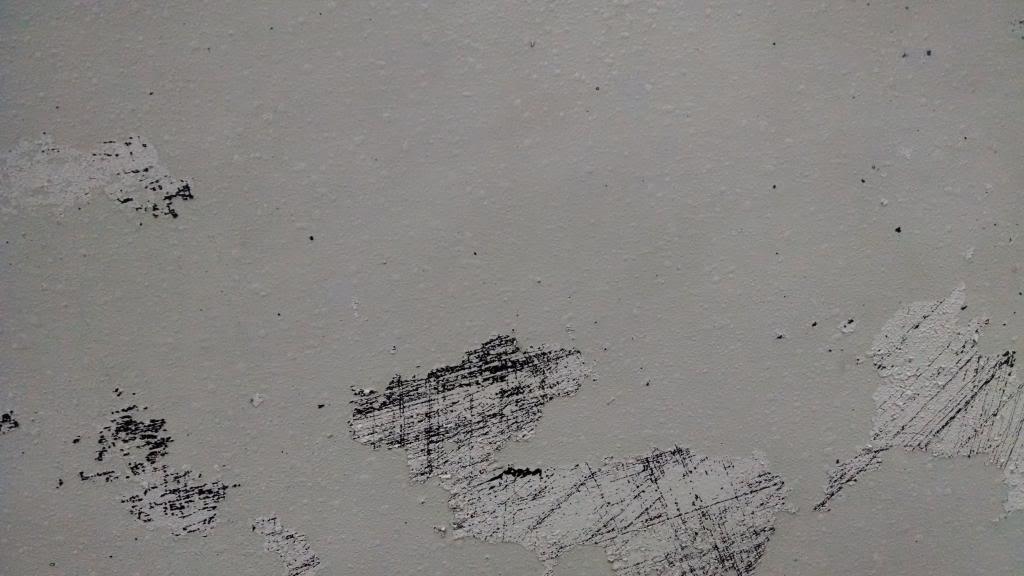
But, most of the white paint came off, too. But, the original texture/coating is still present. Maybe the white paint was a "rattle can job", too???
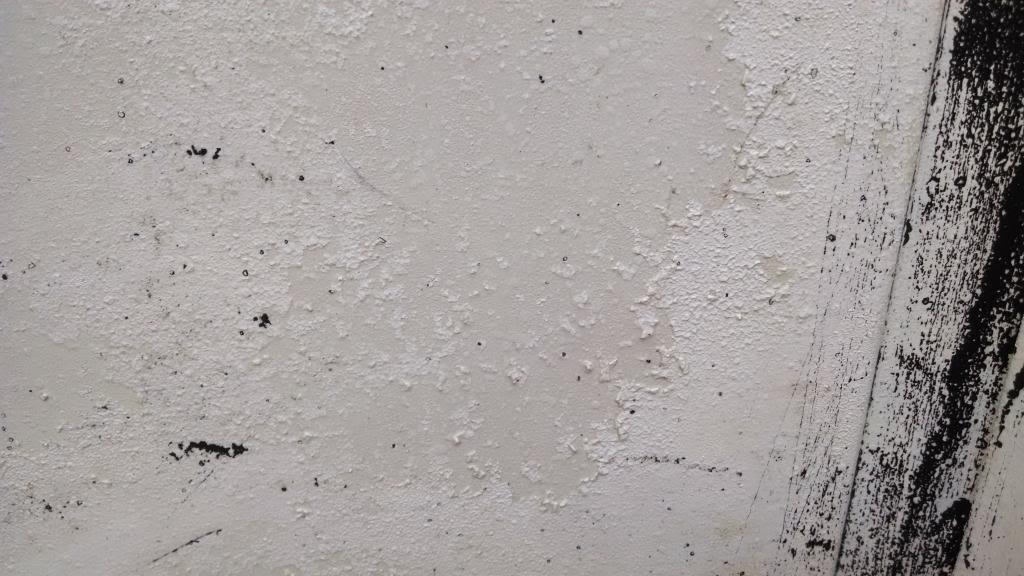
IMG_20140423_185846604_zps5672859e-1.jpg


I am going to take this thing to work and pressure wash/steam clean the paint remnants off, then thoroughly scrub the top with some Simple Green. That should remove whatever stripped is left, and hopefully, whatever loose paint is left, too.

I got "brave" and decided to remove the rear glass. Surprisingly, it came out easy, and I didn't break anything!!!

IMG_20140424_114040366_HDR_zps12e6e2a2-1.jpg


IMG_20140424_114048398_zps516d913b-1.jpg


To remove the glass, I carefully inserted a small flat screw driver into the "seam", which runs around the outer face of the entire seal. I "unlocked" the seal, and then gently pushed a corner of the glass seal inward, and it came right out. I am sure putting it back in wont be that easy!!!! It is much easier to handle the top without the glass, and it will be easier to clean/paint with it out.

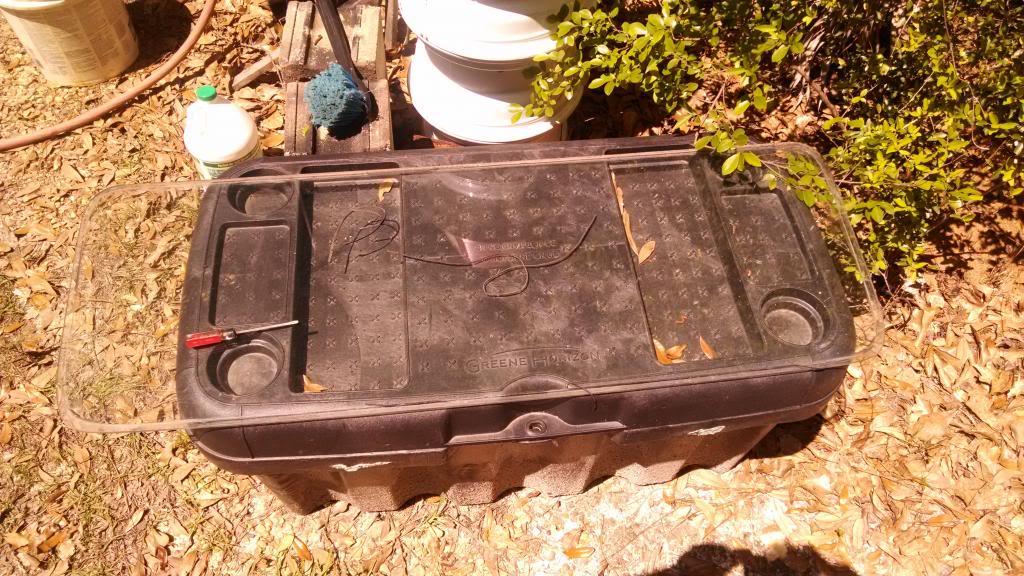
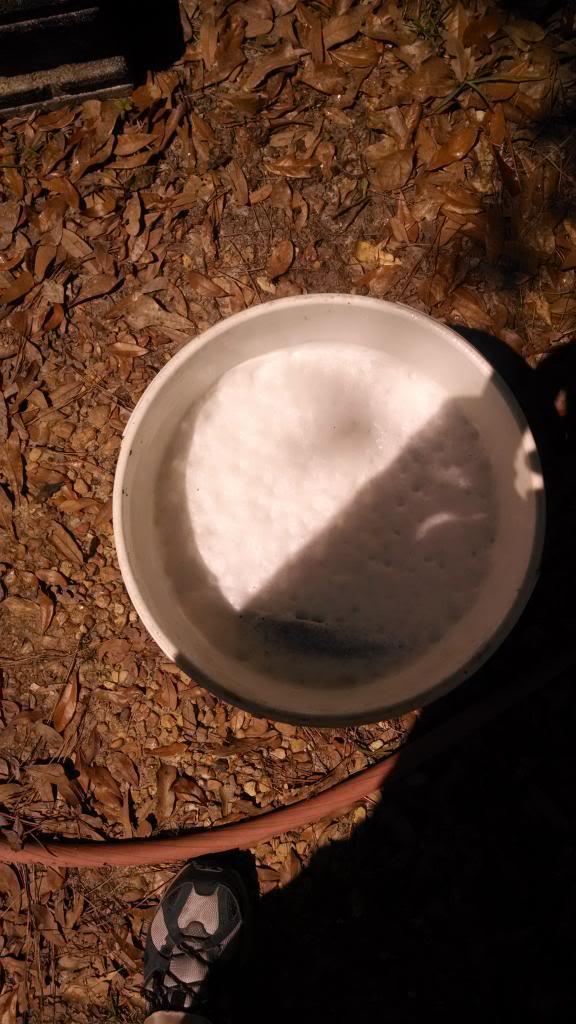
I am soaking the seal in a bucket of water/Simple Green. I need to get all of the old caulk off of it before I try to reuse it.

IMG_20140424_114056677_zps979a99bd-1.jpg


:fingerscrossed: that the steam cleaner finishes the paint removal!!!!!!!!!!

That's it for now:wave:
 
Wow. That is a lot of manual work. Makes me kind of glad that I just painted black on top of the black when I got mine. I know it is easier to paint dark, especially on top of a dark surface already. BUt I would not have had the patience for that chemical stripping work you are doing. More power to you. And by the way, I just went through this whole thread. WOW!!!!! Great stuff.
 
Wow. That is a lot of manual work. Makes me kind of glad that I just painted black on top of the black when I got mine. I know it is easier to paint dark, especially on top of a dark surface already. BUt I would not have had the patience for that chemical stripping work you are doing. More power to you. And by the way, I just went through this whole thread. WOW!!!!! Great stuff.

Appreciate it:cheers::thumbsup:

I think it would be better, if possible, just to paint on top of the existing paint. But, that black paint was flaking off way too easy:confused: Plus, I'm glad I took it down like I did, I found some chipped gelcoat that needs to be fixed;)
 
Are you going to drill out the holes before you paint the top?


Dain
 
Back
Top