• Notice for iPhone users: DO NOT use the image size reduction option when uploading photos to the forum. This causes portrait images to post as landscape. We have added a warning to the image insert pop-up as well.

Belizeit's 1984 CJ-7 Engine Swap/Upgrade

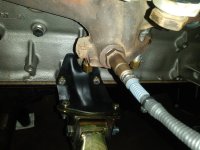
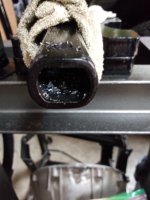
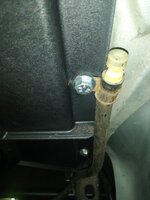
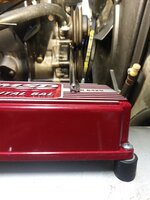
Used this stuff to seal the dipstick tube to the engine block.
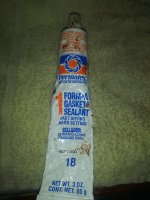
20220911_102055.jpg

Used an open end wrench around the tube, tapped the wrench with a hammer, tube installed easily, but tight.
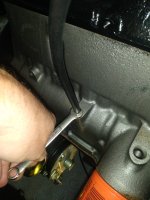
20220911_103351.jpg

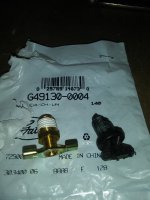
The solenoid was labeled opposite of how all of mine are installed????
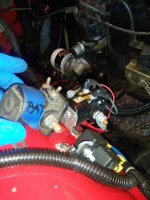
20220911_104132.jpg

Installed it, will research the wire stuff later.

20220911_105353.jpg

Fun stuff, removing all of the 4 cylinder feed back wiring, doo-hickeys, ECU, choke cable, vacuum lines, etc.

20220911_115005.jpg

Besides the big wire connector on the ECU, these two wire leave the ECU and go to the dash mounted "shift light" on the AMC 4 cylinder engines.
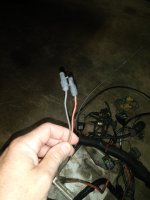
20220911_115013.jpg

Most of these wire will be reused - charging system, starting system, maybe some of the ignition/ignition coil wires.
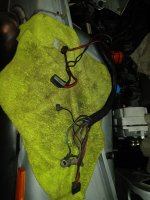
20220911_115038.jpg

A few "Andy Added" wires, one says horn, I think the rest go to an aftermarket tach, I'll trace them down.

20220911_115059.jpg

Might reuse these original ignition control module wires, too.

20220911_115112.jpg

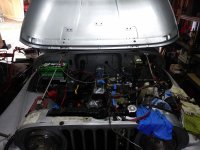
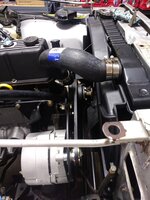
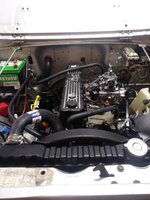
Much cleaner engine bay.

20220911_115123.jpg

Will clean/re-loom the OEM wiring, OCD and 238,000 miles of crud are bugging me.

A bit more disassembly/cleaning up work to do, but should be able to start working on the ignition/fuel injection/wiring stuff soon.

That's it for now!!
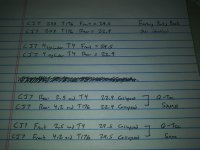
 
Quick notes on the driveshafts.

This is a 1984 CJ7, originally an AMC 2.5/T4. Andy added the Rancho 2" lift, OEM drive shafts worked fine for him.

According to the factory parts book, and Quadratec, an AMC 2.5/T4 uses the same driveshafts as a 258/T176.

20220911_173752.jpg

Now, this Jeep has a 2.5" lift so the driveshafts will not be working at the "optimum" lengths, but seems OK to me.

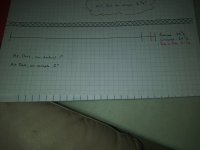
Notes on the rear. The circled information is correct, I made wrong measurements earlier.

20220911_173813.jpg

And the front:

20220911_173821.jpg

The front is a little better, I am sure the weight of the engine helps compress the stiff springs up front, the rear really does not have any real weight on it. I will have to measure, but pretty sure the rear sits a little higher then the rear.

These shafts worked fine before, should work fine again. I am going to use the OEM shafts. I would do the same if it was mine. Some new u-joints and some paint, good as new.

Now, if some softer springs, or different lift, was ever installed, I might revisit the driveshaft issue.
 
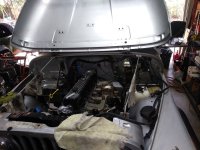
Finished up all the under hood demolition last night:

20220913_182602.jpg

I need to clean up and rework this original T4 reverse light/4wd indicator light harness or find the "correct" T176 harness. If I reuse this harness I can remove the circuit that deals with the dash mounted "Up Shift" light:

20220913_182620.jpg

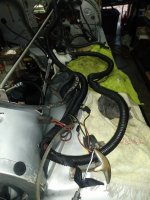
Swung the under hood harness over the driver side front fender to make it easy to work on/clean up:

20220913_182650.jpg

Going to clean the wires and re-loom, the passenger side portion from the firewall out to the alternator is soaked in 238,000 miles of oil and crud:

20220913_182659.jpg

The only "owner added" wires, one for a horn and the rest to the aftermarket tach:

20220913_182714.jpg

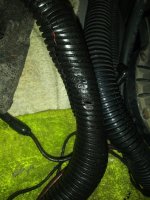
Removing the wire loom and cleaning/inspecting wires:

20220913_184838.jpg

20220913_184851.jpg

Most of the wiring is in great shape, I just found one odd butt connector splice on a green wire coming out of the firewall. IIRC, the Sniper only needs one OEM wire connection (HOT on Start AND Run), should be easy enough to find.

Finished with "demolition", should be able to start installing the Sniper/Distributor/Coil/ICM/Wiring/Fuel Lines/Exhaust soon:

20220913_190936.jpg

That's it for now!!
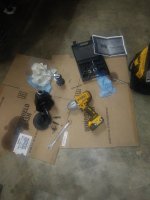
 
Worked on this one some today. A few easy tasks completed.

Installed new sway bar bushings:

20220917_095200.jpg

Installed a better drain valve in the radiator to replace the crappy plastic drain plug:

20220917_095653.jpg

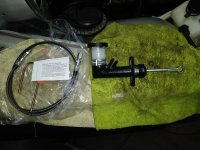
Andy installed (I believe??) a Novak hydraulic clutch kit. He installed the slave cylinder, so I need to install the clutch master cylinder and the hydraulic line.

20220917_100636.jpg

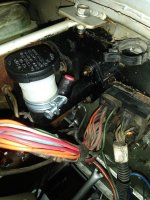
Master cylinder is easy enough to bolt into place:

20220917_101855.jpg

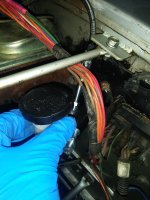
The hydraulic line will NOT install without some modifications, unless I am missing something really obvious?? No way it will clear the firewall or grill strut rod mounting bracket.

20220917_101020.jpg

I will need to do some more research/ass scratching/Google/print out the instructions on the hydraulic line issue.

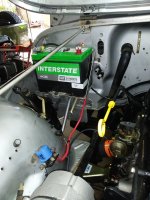
Installed the battery, battery cables, and starter cable:

20220917_105937.jpg

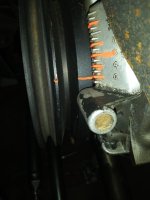
Installed the correct power steering belt, but I still have a problem. The PS reservoir sits cocked too far over, even with the pump adjusted all the way up/tight.

A quick comparison shows that there is a difference between a 258/150 pump, besides the obvious reservoir/return line fitting.

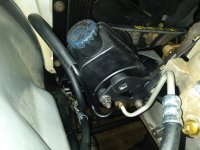
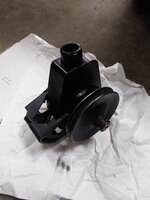
On the 4 cylinder pump, note where the upper threaded stud is located on the can, almost inline with the fill cap:

20220917_112501.jpg

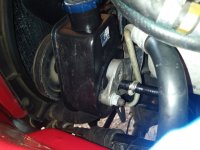
On a 258 PS pump note that the threaded stud is located closer to the nine-o'clock position:

20220917_112430.jpg

I ordered the correct pump/reservoir combo from NAPA, it will be here in a couple of days. I had to get a pump with the right reservoir since the 4 cylinder reservoir will not work on a 6 cylinder pump.

Pulled the pulley and studs off, just waiting on parts now:

20220917_142424.jpg

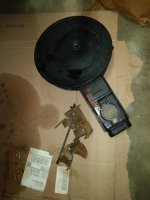
Dug out some needed parts out of my stash: a non power brake air cleaner assembly and the throttle cable bracket:

20220917_113922.jpg
 
  • Like
Reactions: SKT
Andy was using a MSD 6AL ICM and MSD coil with the original four cylinder engine. I am going to reuse these components on the new 258. Cleaned up the ICM/coil/wiring:

20220917_150948.jpg

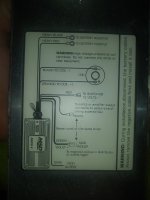
Love the wiring diagram attached to the bottom of 6AL!!!!

20220917_151007.jpg

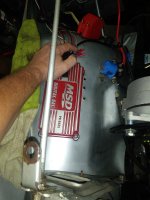
Installed the ICM/coil, one issue where my finger is pointing at:

20220917_152615.jpg

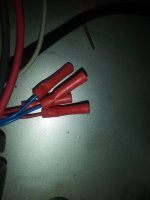
These two wire "loops" come connected from MSD:

20220917_152620.jpg

Since Andy originally installed this set up on a four cylinder engine he cut both loops as instructed. Since it is now going to be used on a six cylinder engine I will either need to repair one loop or buy a replacement harness:

20220917_152913.jpg

Went ahead a labeled the MSD ignition wiring:

20220917_152634.jpg
 
Waiting on parts before I can finish up numerous "meat and potato" tasks on the engine, so decided to start installing the Holley Sniper throttle body.

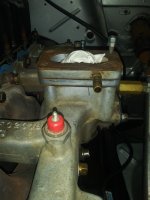
The intake manifold was all ready bolted onto this engine, and of course, it has some type of aftermarket carburetor adapter bolted to it.

20220917_154511.jpg

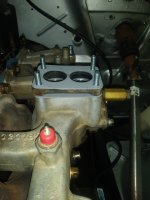
Removed the old adapter and studs, cleaned the intake, installed new studs, dug an old OEM Carter BDD phenolic spacer out of the parts stash, and installed the Sniper provided gaskets:

20220917_164014.jpg

The Holley instructions do not mention if phenolic spacer is needed, I presume it is?

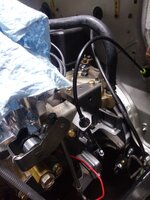
Bolted the Sniper TBI to the intake manifold, which added more wires to my current mess!!!

20220917_165634.jpg

Did a few more easy steps with regards to the Sniper.

I installed the included O2 sensor into the 258's exhaust manifolds original O2 port:

20220917_170526.jpg

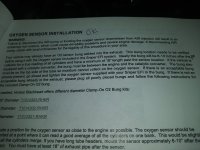
Note, the Holley instructions do not agree with me:

20220917_170712.jpg

Using the OEM O2 port you are probably only 2" below the collector, NOT the 6-10 inches that Holley wants. Does this matter??? I run my green Scrambler's O2 sensor in the factory port, no issues or problems. I can revisit this easy enough once I obtain/install the exhaust system.

Installed the coolant temp sensor into the intake manifold, directly into the coolant passage:

20220917_214723.jpg

Lot's of wires, BUT not all of them are needed:

20220917_171752.jpg

I want to finish up a few basic tasks BEFORE proceeding any further with the Sniper install:

1) fan shroud and radiator hoses
2) heater hoses
3) PS pump and lines
4) reinstall the paired down OEM under hood wiring
5) MSD ICM and coil wiring
6) install/hook up new MSD distributor
7) fuel supply and return lines

Going to the Saints game tomorrow, so leaving it like this for a little while:

20220917_171926.jpg

That's it for now!!!
 
Great progress Raymond ! I was up to the PNW for 8 days for the funeral of a younger member of the family. Didn’t connect to the Wi FI the whole time so I didn’t see what was going on. Even drove through Randyzzz hood a couple of times but didn’t have time to connect or stop for a cold brew. :cry:
 
I used the factory O2 location for my install. I think I am getting quality data, and the AFRs look stable.

I used the same port for CTS, and am getting stable 203 degree readings after warmup.

Do you think the MSD 6AL will provide a better spark than the stock ignition system? These are not high rpm engines, I have to think the stock ignition is good enough. Only benefit I could see is letting the sniper control the timing. Thoughts?
 
I will let spankrjs answer for the 6 - 258. On the 4 - 150 with over 200K miles it gave back the new engine feel of great idle and running great. That’s pretty much it I guess. A hot spark to make it run well again.
 
I used the factory O2 location for my install. I think I am getting quality data, and the AFRs look stable.

I used the same port for CTS, and am getting stable 203 degree readings after warmup.

Do you think the MSD 6AL will provide a better spark than the stock ignition system? These are not high rpm engines, I have to think the stock ignition is good enough. Only benefit I could see is letting the sniper control the timing. Thoughts?

Good to hear about the O2 sensor location, and the coolant temp sensor location :thumbsup:

As for the MSD stuff, I have no personal experience with it :shrug: This Jeep was an AMC 4 cylinder, Andy swapped on the MSD stuff awhile back, so the Jeep did not come with all of the correct OEM Duraspark stuff. The engine does have a 1985 OEM distributor installed, and I am sure I can scrounge up a coil/ICM, do a "nutter bypass", and hook up OEM ignition system. But, since I have the MSD stuff, and it was working, I will just use it.

I always had good luck with the OEM Duraspark stuff, so I never really looked into upgrading the ignition stuff. I have had bad luck with GM HEI components, but I think that has more to do with all the crap Made In China modules, but the same could be said for the Duraspark replacement ICM's. I personally like the D.U.I. HEI distributor/set up, works perfectly and really eliminates a lot of under hood components and wiring.

The MSD stuff is probably overkill for a 258, but if like Andy said it helped his older high mileage 4 cylinder's performance, hard to argue with that. On paper it seams to be an upgrade. I would not be opposed to swapping the same components on a stock 258 to see if there is any difference/improvement. But, if the Duraspark stuff is working, and the components are not wore out/malfunctioning, hard to really compare apples to apples :shrug: But, I am not opposed to the MSD stuff, just no personal experience.

Andy provided a new MSD distributor for me to install, too. It has adjustable mechanical and vacuum advance capability. I plan on installing this distributor, AFTER I adjust it to close to stock 258 vacuum/mechanical advance curves. It does have the ability to completely lock out the mechanical/vacuum advance and let the Sniper handle the ignition timing. I do no plan on using the Sniper ignition timing function at this time.

I have not really researched the Sniper timing features, but it might not really be necessary on a stock 258 :twocents: If the stock or MSD components are adjusted and working correctly, that should be good enough. The Sniper ignition timing control component is a great tool to have, especially on more exotic/far from stock engines/set ups. Just not sure if it is really needed with a stock 258??
I have used Howell TBI set ups with the OEM Duraspark components with no issues, I assume the same can be said for the Holley Sniper system.

The Holley system is definitely super adjustable, with regards to the fuel side and the timing side. I am hoping that it will work fine/self adjust after some driving, enough so that I do not have to dive to deep into the "user customizable" side :fingerscrossed:
 
If for some reason we have difficulty with the MSD Distributor or any of it, I’m not opposed to trying the D U I . I have heard good things about it. The original distributor at the time looked well used.
 
I see no reason why you would need to ”work the tables”. I looked at them when I was having fuel supply issues, but the self learning was doing its job. Even the ignition timing can be setup with the hand held display, answer the questions, and you will be close. Let the computer learn the rest.

Like you said, if it was exotic, fine tuning the tables would be best. That said, I think I did fine tune the AFR targets in the software (On a computer, not the hand held display). Leaned out some and fattened others up. Mostly to get what I wanted, not that their canned tune was that bad.
 
Going out of town this weekend, but did a bit of work to this one the other night. Nothing exciting, but forward progress!!

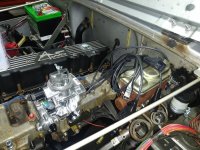
I was waiting on some parts, test fitting some stuff, removing some stuff, so kind of messy:

20220920_170306.jpg

I pulled the radiator back out to install the fan shroud. Well, since it was out of the way, the un-painted steering shaft that has been bugging me was glaringly obvious, and easy to remove. So, I pulled it it off. No one drilled the indentions in the shaft where the set screws press on the flats, so I took care of that.

Set screw location marks;

20220920_175156.jpg

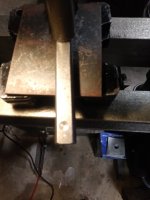
I used a 21/64" bit to drill the indentations for the 5/16" set screws on the flat sides of the shaft:

20220920_175422.jpg

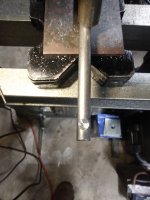
Used a 3/8" bit to drill the indentations on the round sides of the shaft:

20220920_181200.jpg

RedneckRay paint booth:

20220920_183102.jpg

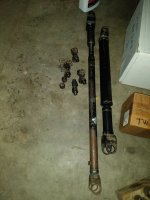
Removed the old driveshaft u-joints:

20220920_191100.jpg

Kind of scattershot, BUT I picked up some needed parts last night, so once I get back in town, I should be able to quickly finish up most of the "meat and potato" work, then move on to wiring/plumbing.

That's it for now :wave:
 
Did a little bit more work on this one today.

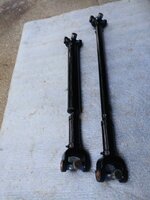
Cleaned and painted the driveshafts:

20220925_144300.jpg

Cleaned, primed, and painted the throttle cable bracket assembly:

20220925_145404.jpg

20220925_154924.jpg

Pulled the spark plugs out, TDC'd the engine (added engine oil, too):

20220925_155226.jpg

20220925_155239.jpg

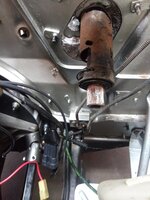
Drilled out this dimple inside the steering shaft:

20220925_161021.jpg

Assembled the steering shaft and attached it to the power steering box. Someone else already drilled the set screw dimple on the PS stub.

20220925_172440.jpg

Need to drill the dimple on the steering column lower shaft, and install a new lower steering column bearing assembly.

That's it for now :thumbsup:
 
Got back to work on this one today, knocked out a bunch of simple bolt on type work.

Installed the pulley on the PS pump assembly:

20221002_094916.jpg

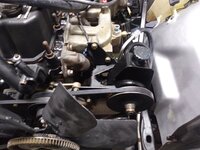
Installed the PS pump assembly, hooked up the lines, installed and adjusted both belts, added PS fluid:

20221002_102507.jpg

Installed the radiator and fan shroud. The fan was hitting the shroud on the passenger side. I used bolts with small washers on this side, slid the radiator/shroud over as far as it would go, fan still hitting.

20221002_111818.jpg

Loosened the grill body mount, slid the grill over, and now I have clearance. Never had this issue before, and I have installed quite a few of these radiators and shrouds. I am going to chock it up to the grill not being in the correct spot.

20221002_111825.jpg

Installed the upper and lower radiator hoses. I have had issues with the upper hose seeping at the radiator inlet and the t-stat housing, so I double clamped both ends from the get go:

20221002_114217.jpg

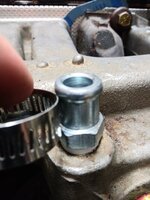
Installed the heater hoses, one small issue. These Dorman hose fittings will work, BUT a standard 1/2" wide hose clamp will not work properly:

20221002_140243.jpg

The clamp is too wide, it won't fit between the bubble ridge and the flange.

But, a narrower clamp will work:

20221002_140258.jpg

The clamps I used:

20221002_140309.jpg

Added three gallons of the coolant that was included with this project, need another gallon or two. I felt dirty using this stuff LOL:

20221002_142633.jpg

And the mostly complete cooling system:

20221002_143305.jpg
 
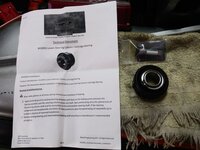
Installed a Wolff Engineering lower steering column bearing:

20221002_144945.jpg

The I presume original bearing assembly, lots of play and gritty feeling:

20221002_144956.jpg

20221002_145348.jpg

And installed. I highly recommend this product/upgrade. I'll post a link from another thread where I do a step by step install on one of my Jeeps.

20221002_154824.jpg

Installed the throttle bracket and a new throttle cable:

20221002_201708.jpg

Going to keep on plugging away on the simple tasks over the next few days.

That's it for now :wave:
 
Installed new Spicer U-Joints in the front and rear drive shafts before Monday Night Football:

20221003_180639.jpg

Not much, but even a little bit each day will add up.

That's it for today!!
 
Win some, lose some. Two steps forward, three steps back :banghead:

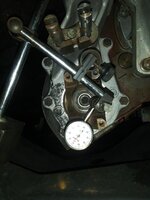
Th easy fix first. I noticed the front output shaft end play on the Dana 300 seemed a bit excessive. Checked it with the dial indicator:

20221004_181201.jpg

The FSM states the range is .001 to .005. It is at the end of the range now, with new bearings. I always like to set these up a bit closer to the tighter end of the scale. Easy enough to adjust now, before I install the front driveshaft or fill the Dana 300 with gear oil!!!!!!! Takes longer to clean up all the old sealant/dig through the shims then to actually adjust. Anyway, swapped one of the shims oyt, got it where I want it:

20221004_192125.jpg

The hard fix, easy part first. The engine has been leaking coolant from the front end. Little puddles on top of the water pump. Easy enough fix, snug up the two thermostat bolts that were only finger tight:

20221004_181225.jpg

That stopped the top end leak, but it was still leaking below the thermostat housing. The three "easy to get to" water pump bolts were also only finger tight, easy fix.

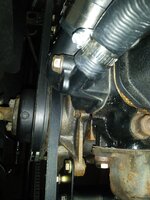
The problem: the fourth PIA bolt is about impossible to get to with the pulley/fan clutch installed (magnetic stick pointing to PIA bolt):

20221004_211547.jpg

20221004_211537.jpg

I was able to turn it about 10 degrees easily, but that is all I can do, due to interference with between the box end wrench/pulley/timing chain cover face. Since the other three bolts were loose, I have no reason to believe this one was torqued correctly. So, unfortunately, need to drain radiator, pull fan shroud and radiator, reattach the alternator/mounting brackets and tighten both drive belts, remove the fan clutch nuts that I red Lock-Tighted to the studs, loosen the accessories and remove the belts, remove pulley, fan and clutch, and tighten this one bolt :banghead:

These parts were installed on the engine before I got it, in hind sight I should have checked this stuff out BEFORE installing the fan/clutch. Live and learn 🤬

Not really hard/time consuming to go back and do, just sucks going backwards. BUT, easier to fix/know it is correct now, versus when I first start this engine up and try to break it in :twocents:

That's it for now :wave:
 
Back
Top