• Notice for iPhone users: DO NOT use the image size reduction option when uploading photos to the forum. This causes portrait images to post as landscape. We have added a warning to the image insert pop-up as well.

Expedition Scrambler..?

Any idea how many body mounts there are on a Scrambler? Bolt length, thread and pitch?

Pretty sure there are 6 in front of the wheel well, 2 at the wheel well and 4 behind, 12 total. no idea on bolt size, but Stainless used to sell the body mount bolts as a kit with daystar bushings.

There are 12 body mount bushings which use 3/8 course thread bolts. The ones on each side under the seats are the only ones that use a longer bottom bushing. One center of the grill that uses a 7/16" course bolt and does not look like any of the others for a total of 13. The Daystar 1" kit posted above is one of the only ones that comes with hardware.
 
Last edited:
Well.... this has been an epically $hitty weekend for me. Managed to end it with the girlfriend despite the effort...oh well. I suppose that I will use the Scrambler and the new XJ for therapy which means progress should resume.
 
sorry to hear, but remember, there are plenty of hot foreign bartenders out there. ;)
 
Sorry the relationship went south...but now think of all the progress you can make on your Jeeps with all that extra time and money!:thumbsup:
 
Guess I need to get the top off and play with the headlights so I can remember how much fun the jeep is.
 
douple sidetracked...

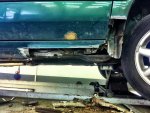
Workin' day... My plan/intent was to go to the shop and do a quick patch on the VW DD so I can get it to pass inspection and then move on to one Jeep or the other. Well... funny thing about rust... :O During the last inspection I was told I needed to repair the rust on the Pass side rocker just behind the front tire. At first I thought I had just had a difficult inspector and maybe a quick bondo and undercoating would get me back into the game. Well... while I'm SURE the inspector didn't see what I did today... Holy COW! About the only thing holding that part of the car together was the old undercoating and some packed in dirt. As I started to poke at it the mess just turned into Hell's snowball! What makes it worse is two things. One is that this is one of the jack points of the car should I need to change a tire. Kinda hard to lift the vehicle when the jack would push into the passenger compartment.!. The other thing that sucks is this is no more than a $500 beater car to get from A to B.Once the Cherokee is up and driving my intent was to pass it along to another for the same use. It still drives ok... just getting a little long in the tooth. And after the discoveries today I just couldn't justify not putting some effort into it. Yeah, it is turning out a little hack but hopefully it will be a lot better when its done. Here is a quick pic to show how far the damage was... mind you it started from a visible area about the size of a pencil eraser! I got the hardest part (I hope) done today so the rest will have to wait until next weekend. All the sheet metal I cut away had to be hand formed and tacked back into place. The donor metal came from the brand new door and trunk of a Mercedes E class. It was in the dumpster since it seems to have been shipped and was damaged in shipping? Anyway... felt weird cutting up brand new parts to fix old rusty junk. Last part left is the lower fender where it joins the rocker.
 

Attachments

  • IMG_0673.JPG
    IMG_0673.JPG
    139.8 KB · Views: 247
Me too brotha... ME TOOOOO!!!!!!! lol! Kinda makes me glad my 8 has been dead lined since before the last winter here. Every car here is like a rolling testament to the altar of rust! Germans....Great cars, Stupid winter road solutions!
 
try living around Toronto. They put now 7 billion tons of salt when there is 1/4" of snow in the forecast.
 
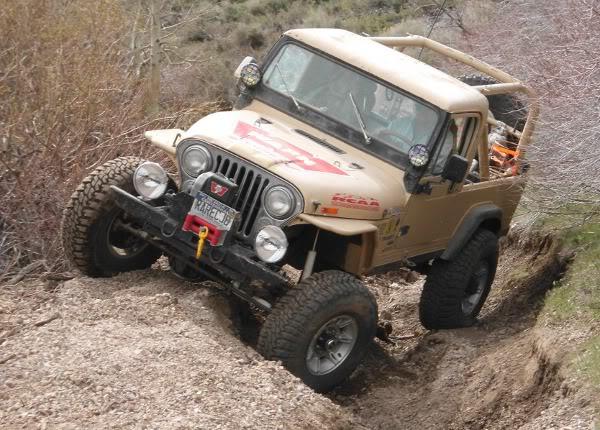
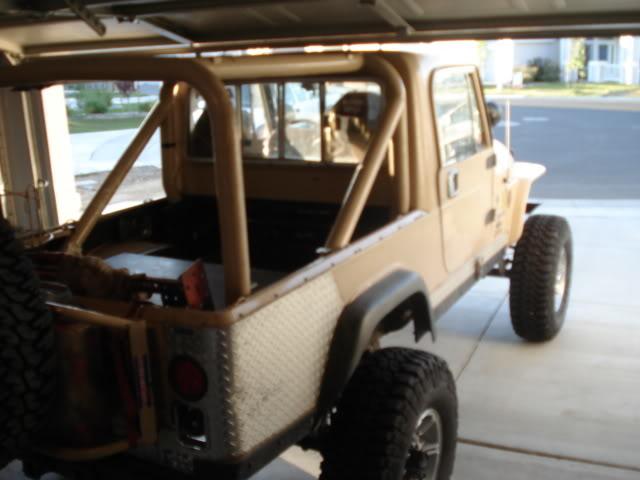
here's my 8

scrambleringully-1.jpg


another just for giggles

rareCJ8-1.jpg


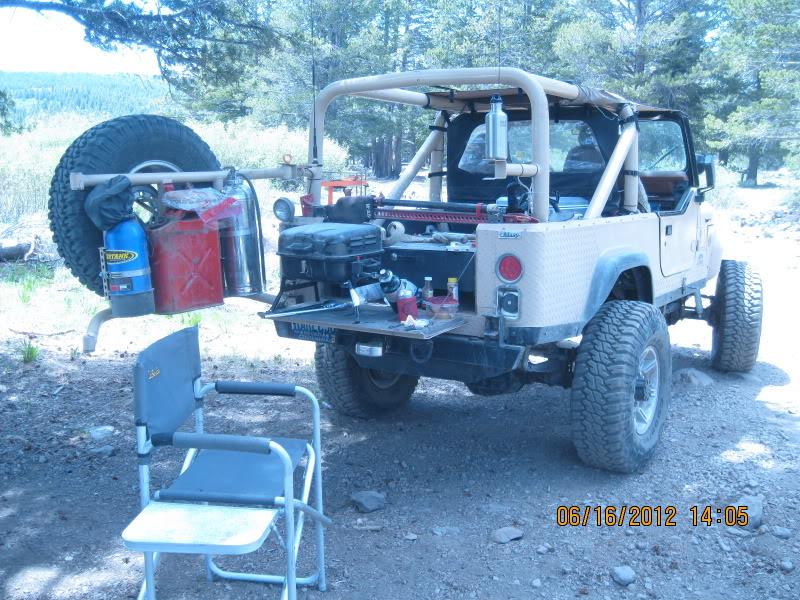
from a few years back and the Venturecraft pop up camper

DSC026501-1.jpg


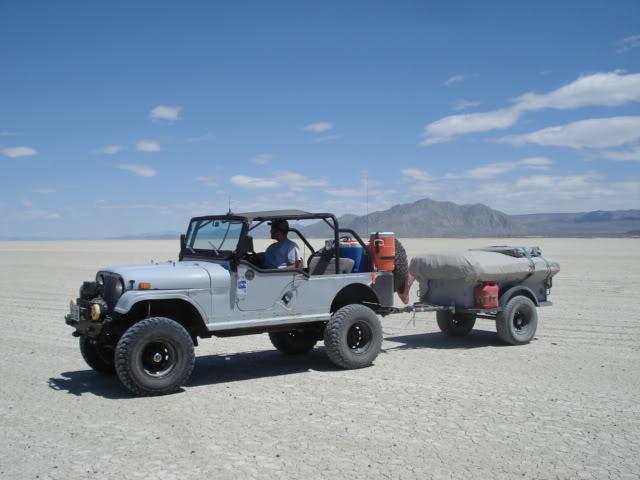
my buddy and his six and pop up trailer--- out on black rock desert playa

DSC02648-1.jpg


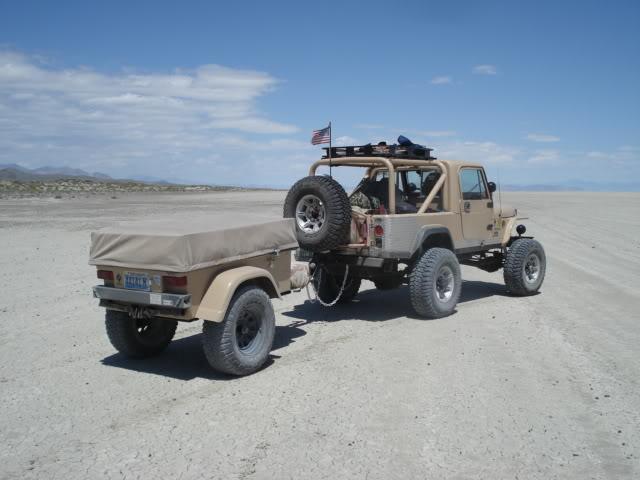
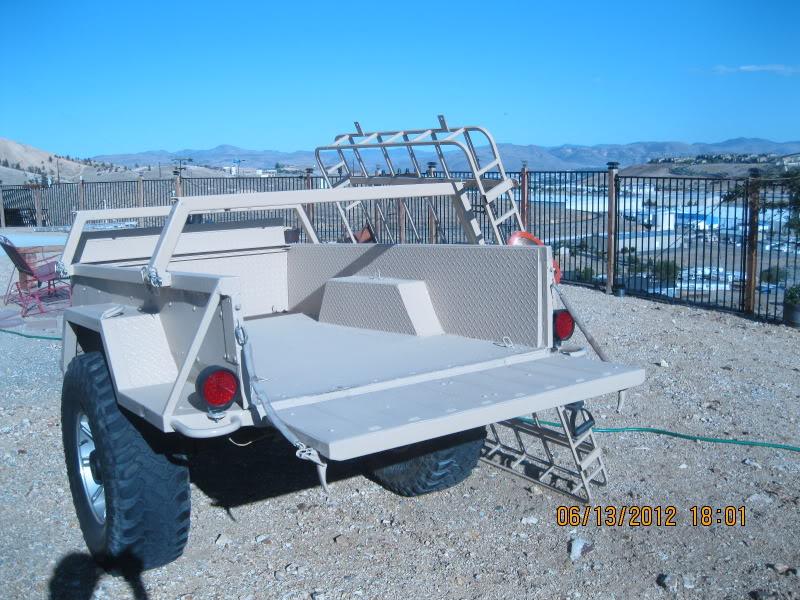
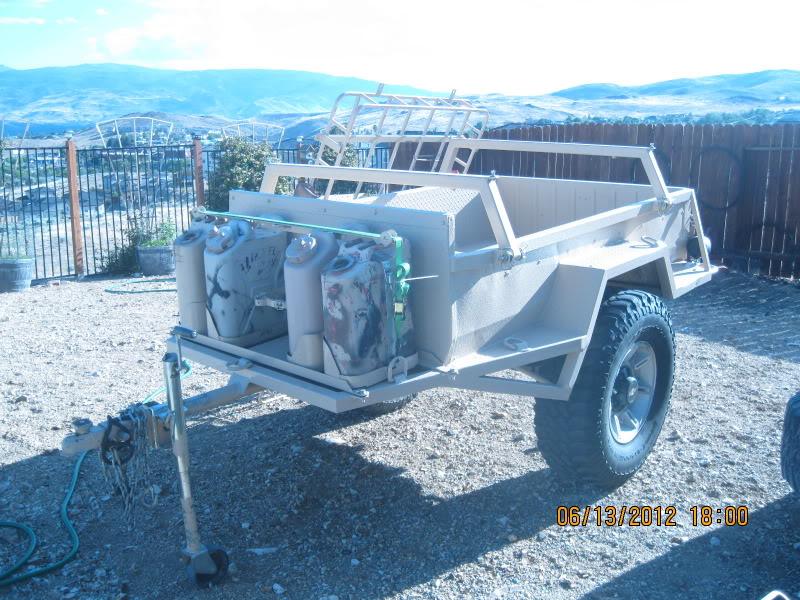
new trailer project-- added load bars for a RTT on trailer with a dressing room. Or add a roof rack on trailer. All rino lined on 8 lug 37s

IMG_50331-1.jpg


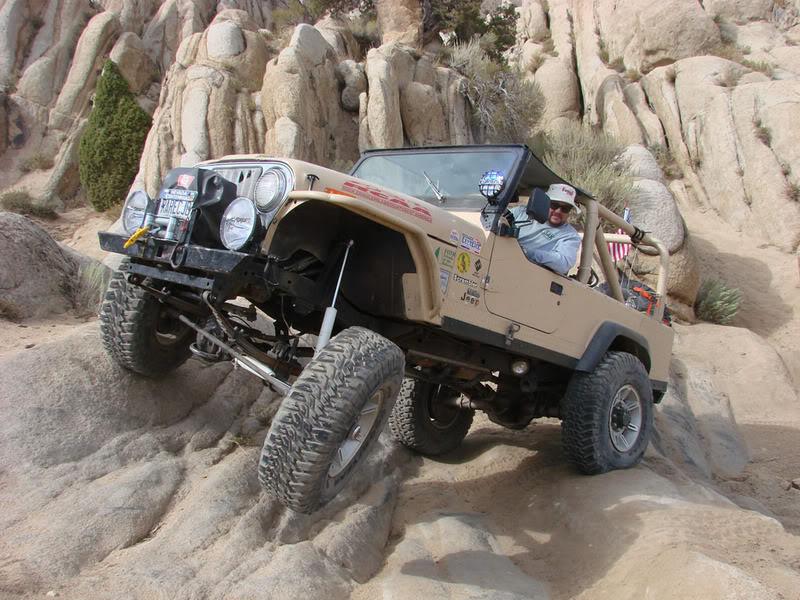
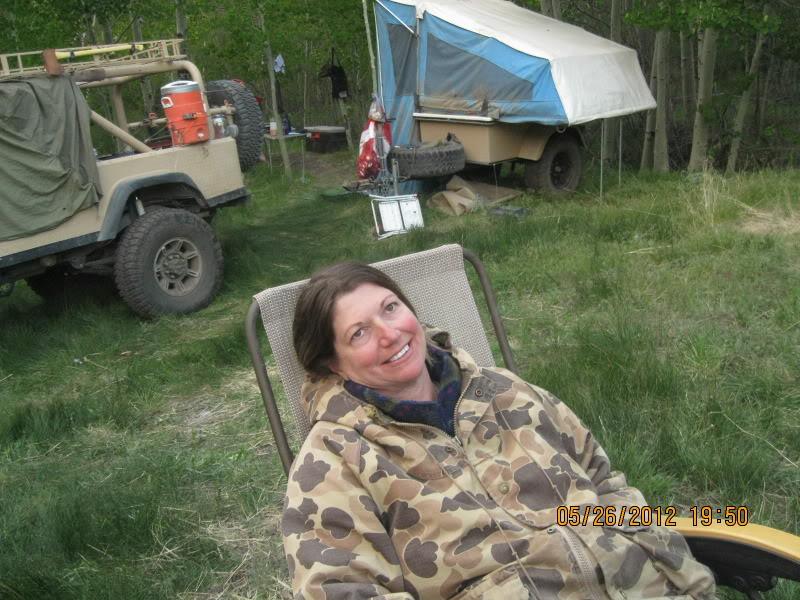
memorial day in the granite mountains

IMG_4990-1.jpg


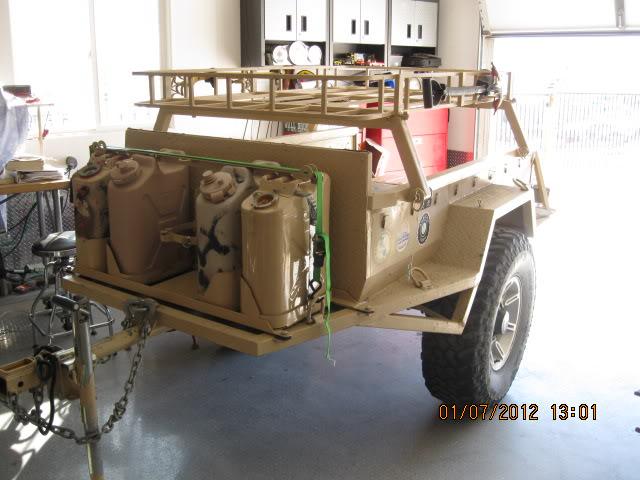
before the lining went on. front fuel tray is easily removed

IMG_4309-1.jpg


IMG_5032-1.jpg


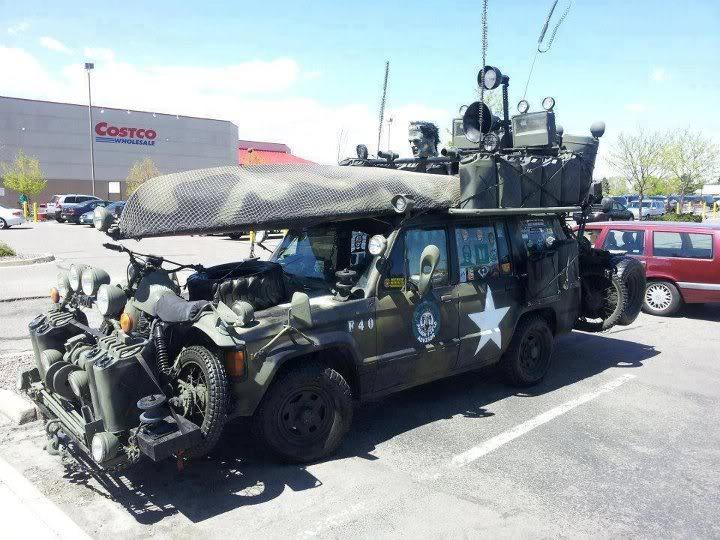
but if you REALLY want expedition?


zombiemobile-1.jpg


good thing i didn't get 40s LOL

DSC02628-1.jpg
 
Now that is some pure, awesome inspiration...Thanks!!!!!! Except for that poor XJ! lol
 
XJ or Isuzu Trooper II?
Kinda disguised.

Nice setup you have Mark.
LOVE the trailer.
 
IIRC that is an Isuzu. Not mine LOL

Tnx for the kind words. Just finished up the 4.6 stroker conversion and a twin stick for the D300 from advance adapters. See y'all on the trail. The new trailer runs 37s on 8 lug H2 wheels and all match the jeep, so makes for one less spare tire to carry.


XJ or Isuzu Trooper II?
Kinda disguised.

Nice setup you have Mark.
LOVE the trailer.
 
Tnx for the kind words. Just finished up the 4.6 stroker conversion and a twin stick for the D300 from advance adapters. See y'all on the trail. The new trailer runs 37s on 8 lug H2 wheels and all match the jeep, so makes for one less spare tire to carry.

:bow::bow::bow::bow::bow::bow::bow::bow:
 
Adding the twin stix from AA involved a lot more than i expected. i re built a donor D300 with the AA master kit and added the twin stix also. Had to machine out the opening where the shift rails clear the front housing. The rubber seals would not properly seat. Also, and more complicated is i run a Klune-V under drive which places the T case about 12" further back. in order to keep the T case stix in the OEM position took some creative fabrication, otherwise the levers would be between the seats. Need to get some pix, it all turned out perfect. And i have used the 'front burn' option already on some tight trails-- rear into neutral, set e brake, front locked in low range and crank the wheel to full lock. gently power out and it walks right around as if on a dime. Glad i did it.
 
Mark...
Your freakin' KILLING ME over here! I have buried myself in so many projects and needing to get back to the Scrambler for a while but I just can't yet! And since the Klune and my Northwest Fabworks Black Box are pretty much the same, I want/NEED to see pics of yours. Like to see your driveling angles too. Heck... full specs on the Jeep too please! Gears and whatnot. And what springs are you running for your SOA? Mine has a metric $h!t ton of junk in it right now but even before that it was butt low. Now its just sagged out completely. :(
Love that you found a way to make your tire carrier swing wither way. I'm about to chuck all mine I think. The entire rack/exo cage thing was an interesting project but I'm just not happy with it. It doesn't follow the lines like I think it should and isn't what the Jeep needs. I may just hack it off and get back to making it simpler.... save the RTT for either the XJ (project sidetrac here, thing two) or mount it on my Bantam trailer when I get back to the states.
Thanks for posting pics of yours and making me drool and want to work on mine again. Guess I got a lil burned out on it.
 
Stay safe over in sandland. I'll try to get pix soon. Basic run down is:

Full sizeChevy D44 up front w/ 4:88s and ARB. Cross over steering. T176 to the D300 to the klune. Rear is a Sterling Ford 10.25 with 488s and ARB. Springs outback are YJ and front is double military wrap pax that usually go on rear of a CJ. Sanden AC comp gives OBA plus a 5 gal tank from an 18 wheeler's air brake system. I use the OBA to run the ARB lockers and air tools. Rather than the electronic solenoids, etc mine is set up for fully independent manual pneumatic operation. An eaton/fuller shift lever activates the front/rear ARBs. Thanks for ur service.


for some reason photobucket is locked up so i cannot link a pic of the shifter. Basically,it screws onto the existing shift lever-- i cut it down about 5", and the air lines run down the lever into the tranny tunnel. use an old shock boot to hide the air lines. Now ARB control in palm of hand and no need to take eyes off trail. And they operate independently.
 
Back
Top