• Notice for iPhone users: DO NOT use the image size reduction option when uploading photos to the forum. This causes portrait images to post as landscape. We have added a warning to the image insert pop-up as well.

Mud Scrambler - Must be Red Dents are fine, some rust fine

5800rpm lol..... That motor will be done making power by 4500rpm.


So the question of the day is can you hook the main power wire from the MSD box through the OEM tachometer? I don't know how sensitive the OEM tachometer is and if it will pick up the extra pulses. I've always wanted to try that to see if it would work but I don't have a stock tachometer to test with.

Sent from my SM-G920V
 
5800rpm lol..... That motor will be done making power by 4500rpm.


So the question of the day is can you hook the main power wire from the MSD box through the OEM tachometer? I don't know how sensitive the OEM tachometer is and if it will pick up the extra pulses. I've always wanted to try that to see if it would work but I don't have a stock tachometer to test with.

We think it should work.
The OEM Tach is loop thru. IN & OUT
It's got a 12ga so heavy wire.
Still have to use tach adapter so it will read signal of MSD.

I hear the Motorcraft electric choke (heats fuel) uses a lot of amps, but can't determine how many.
 
Cleaned & installed the new the heater core and put new foam for damper seal.
resealed the box with stickey rope.

Got dash reassembled and used the 82 Oriental's dash indicator lights.
Mud Scrambler came factory with clock & tach :)

Did find out that the YJ rear horizontal body guards fit the rear of Scrambler's tub perfect !
Should really help to keep mud from building up under there.
Got to find my small right angle drill to make holes for plastic push nuts.

And early YJ oval shape A/C line firewall bulkhead seal is same part # as CJ & AMC cars.
 
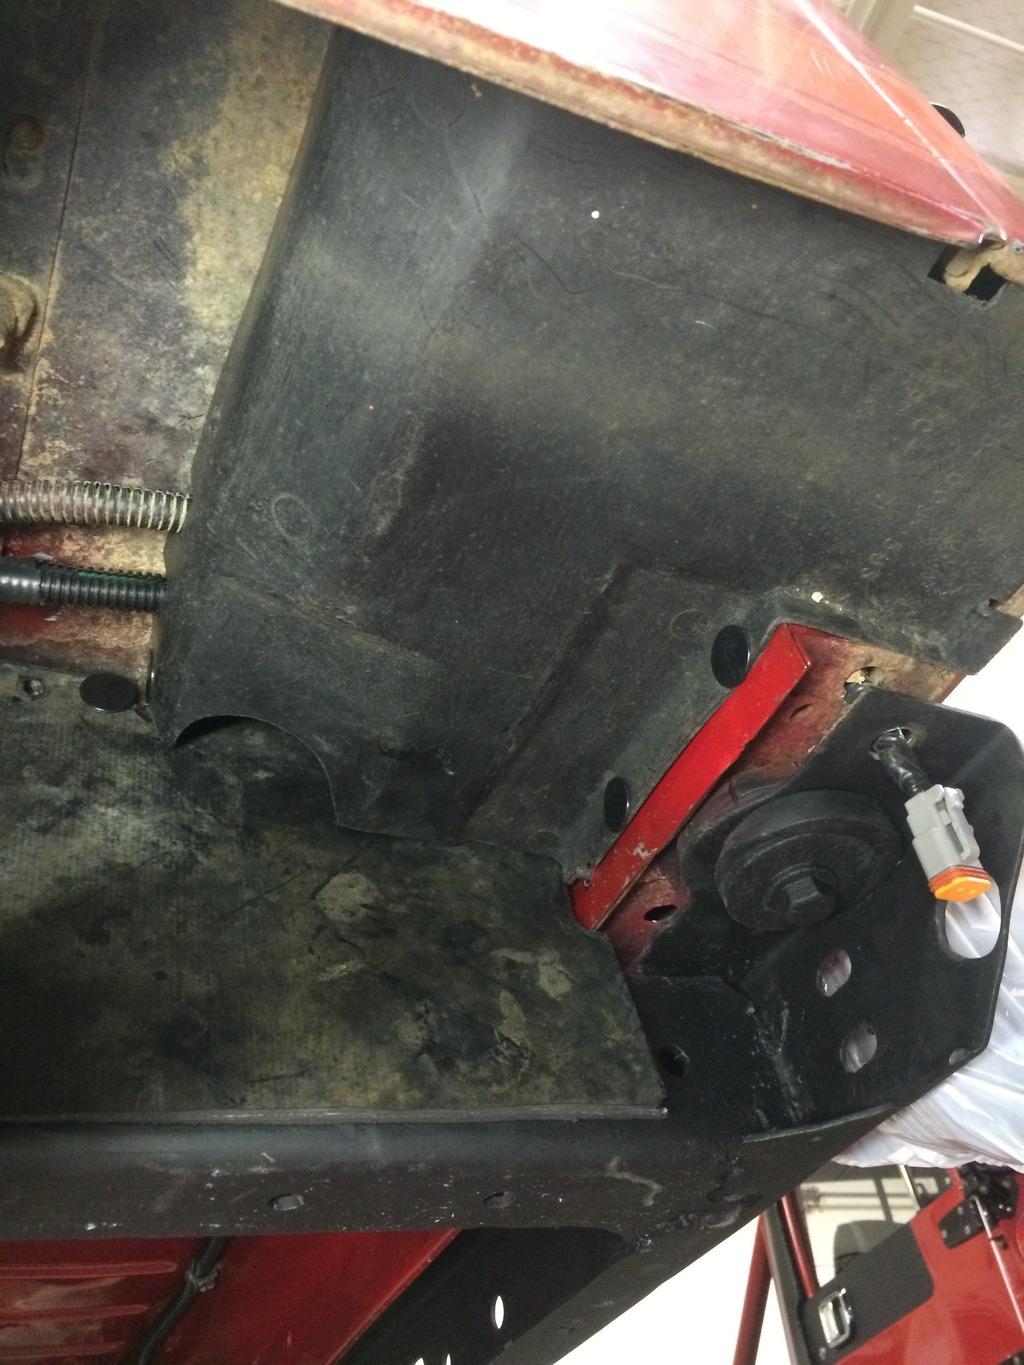
Got the YJ splash guards holes drilled and made ones to cover gap between frame and body.

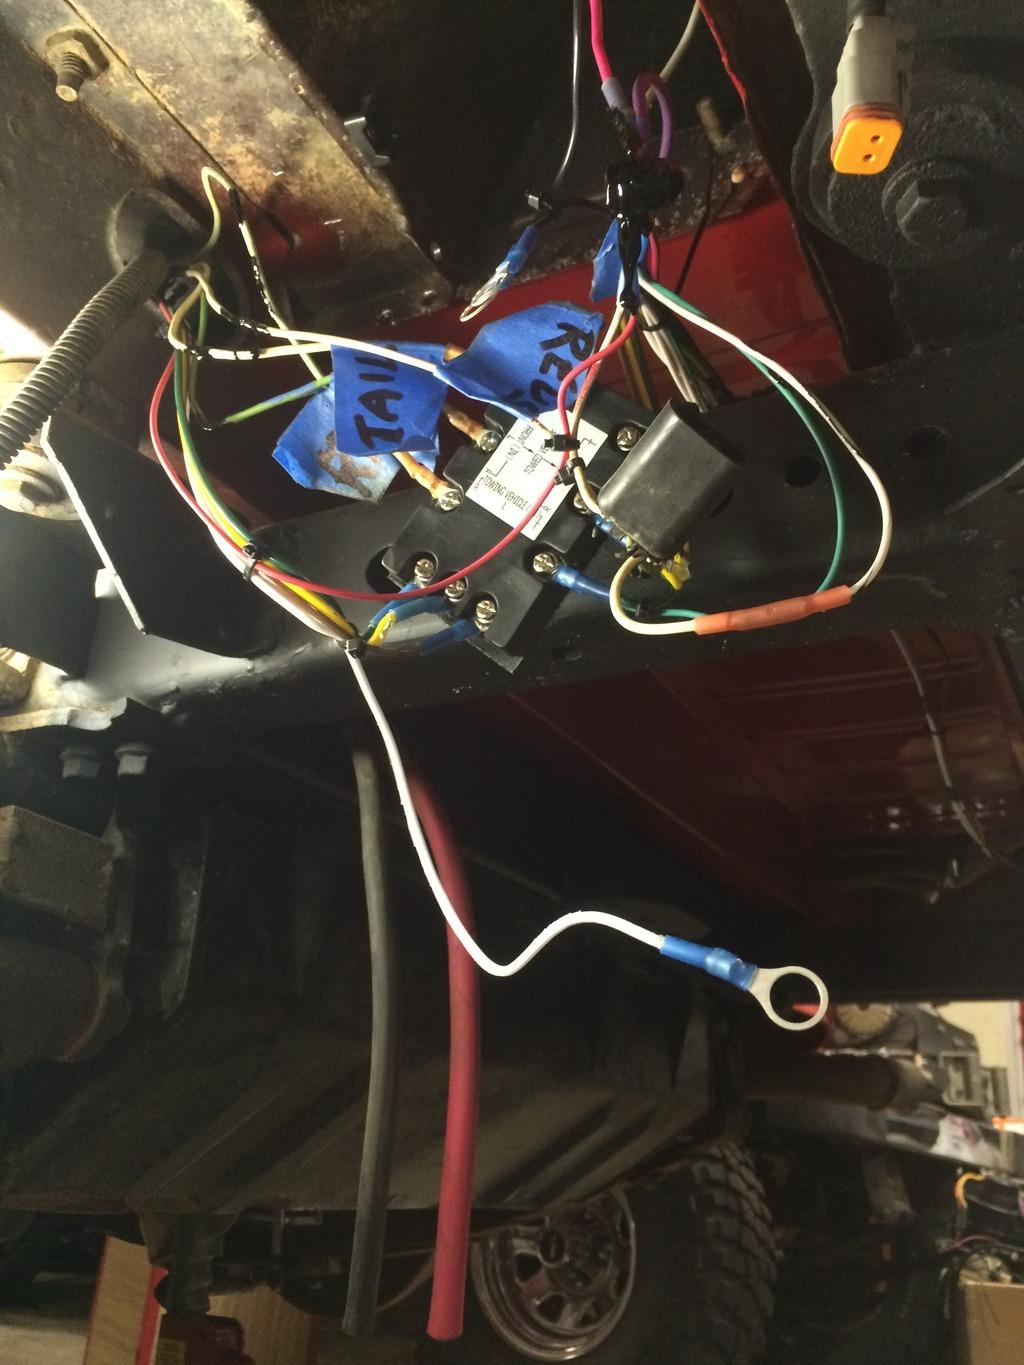
Wiring for flat towing and trailer wiring almost done... just needs wire loom & electrical tape.
Would of finished, but the liquid electrical tape (nasty stuff) was drying.

Wired reverse lights to turn on when OEM reverse lights come on or can manually turn them on.

The Rigid LED backup lights only draw 1.4 amps so no relay needed.

Almost ready to install rear winch :headbang:

IMG_1463_zps0ibykole-1.jpg
 
Got couple hours last night ...

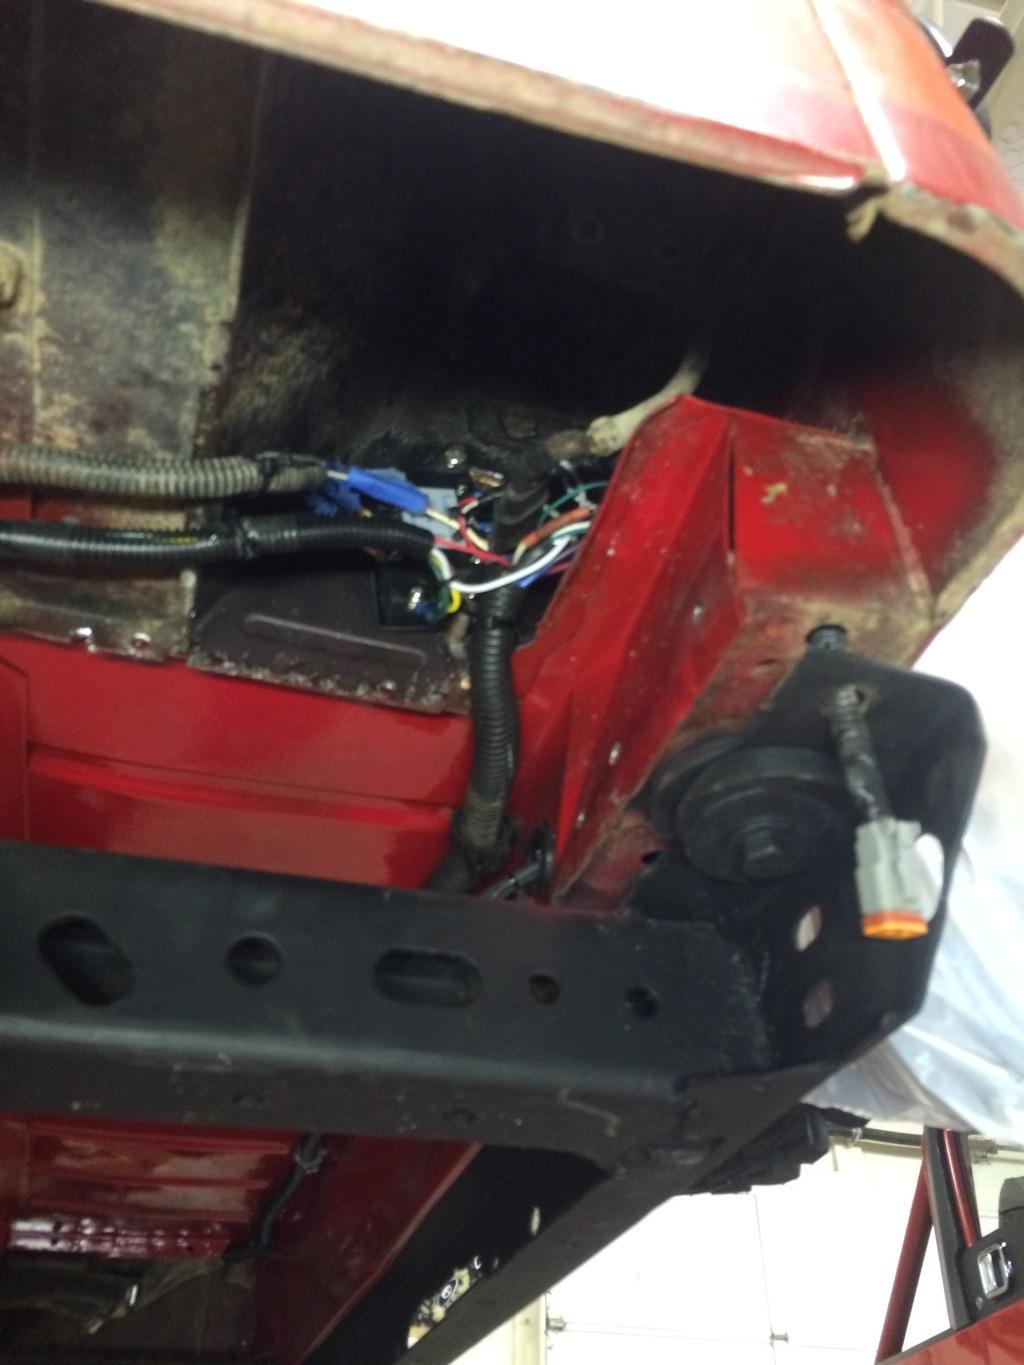
Tested all the wiring functions and buttoned it all up.

Really happy with how well the YJ guards adapted.

Thinking about running OBA with air chuck connector in rear .....so rear winch bumper will have to wait bit longer.


IMG_1464_zps9navfthn-1.jpg


IMG_1465_zpsfohlky7r-1.jpg
 
So... been looking for a good way to mount air chucks.

I'm thinking about the air chucks being on outside with some sort of cap on them.

Looked at the Wild Boar system... but too much $$ for what it is.

Not real excited about push to connect plastic tubing either, but no first hand knowledge.

Did like the idea of using a pressure regulator so can just attach connector to valve stem and not have to check pressure while airing up.

Anyone have experience making their own system?

Ideas or experiences?


Also where to mount electric compressor?

First thought is under battery tray.

It might get wet & muddy under there, (the YJ front inner fender guards would help) are these compressors sealed up pretty good?

Thinking about the ARB medium sized one.
 
I have a CTIS ( Central Tire Inflation system) on my Hummer H1. The trick is having a really good compressor. The replacement compressor for the H1 is over $1,000.00. I'm looking at installing a compressor on my "83 CJ8 build and spending around 350.00.
Using a air regulator is going to slow your inflation time way down. If you really want a top notch air compressor find a old york AC comp and mount it belt driven. Lots of pressure and volume.
 
I also have another compressor hooked up to my air control shocks on the Hummer and it uses the push to connect plastic tubing and has not had any leaks in the 3 years that it has been installed. If I understand this right the more pressure you apply the better they seal. My shop air also uses the 1/2 inch PEC push connect and I have a steady 130 lbs on them.
 
I've always wondered exactly how the H1 CTIS works.

Gotta have A|C as I can't stand dusty trails and why sweat it out like UTV's have to.
So... No York for compressor.

Talked to plumber buddy and he said push to connect or PEX with clamps would work.
Although NPT is easier.

Trying to decide about compressor mounting.

Prob best mount inside, but as everyone knows, not much room inside and I've got gun rack that mounts on floor behind console.

So guess under hood it goes.
 
Very few CTIS on H1's don't leak. New the warranty stated that it was acceptable to loose 2 lbs of air in a 24 hr period. Thats how reliable they are. PIA and expensive to keep up with. It's much simpler to just have a compressor and a hose.
 
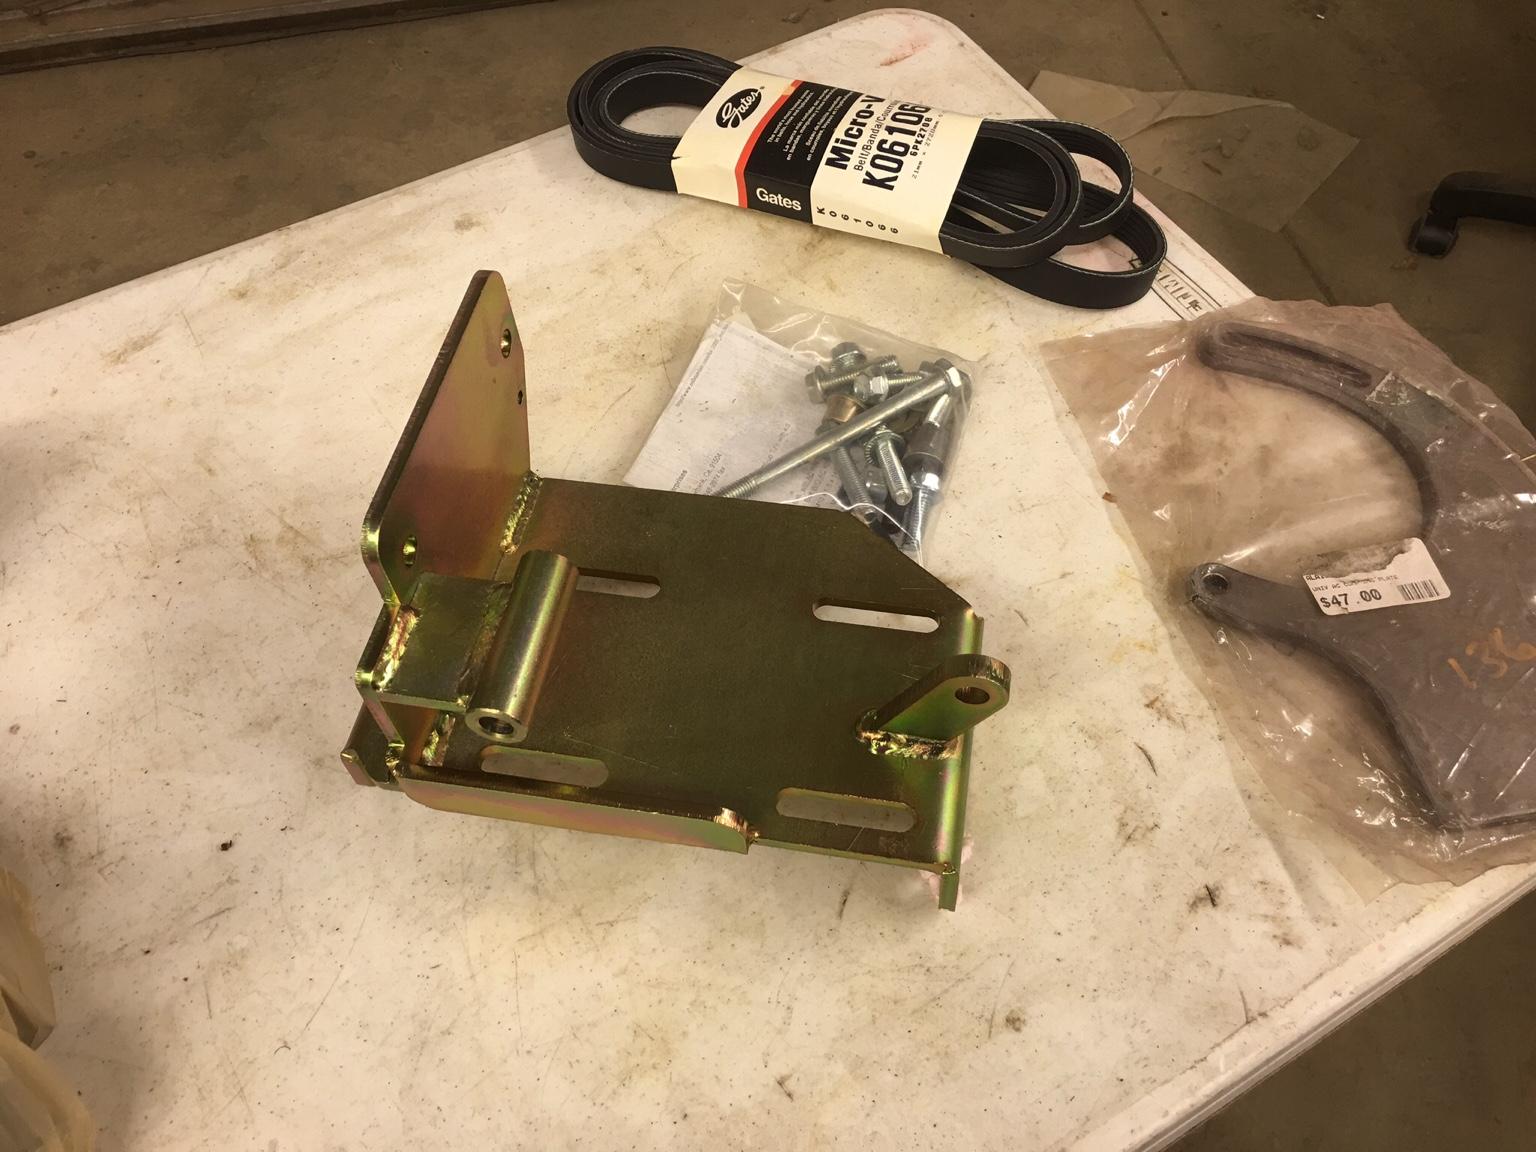
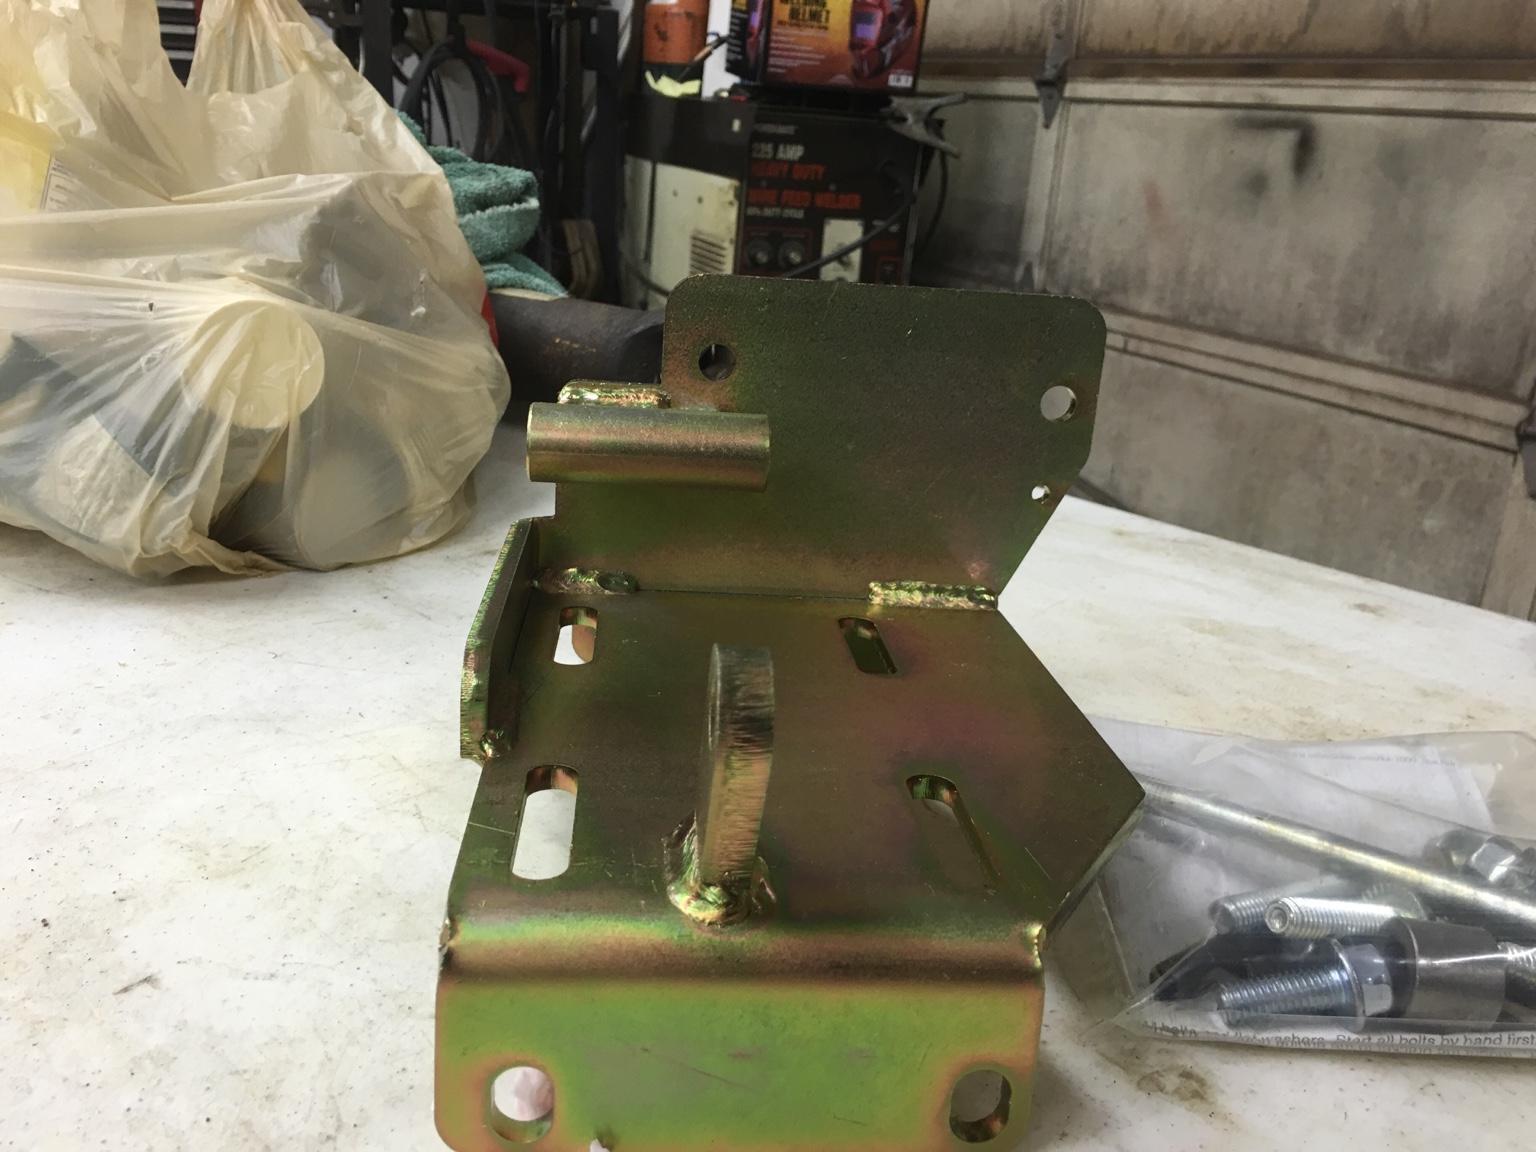
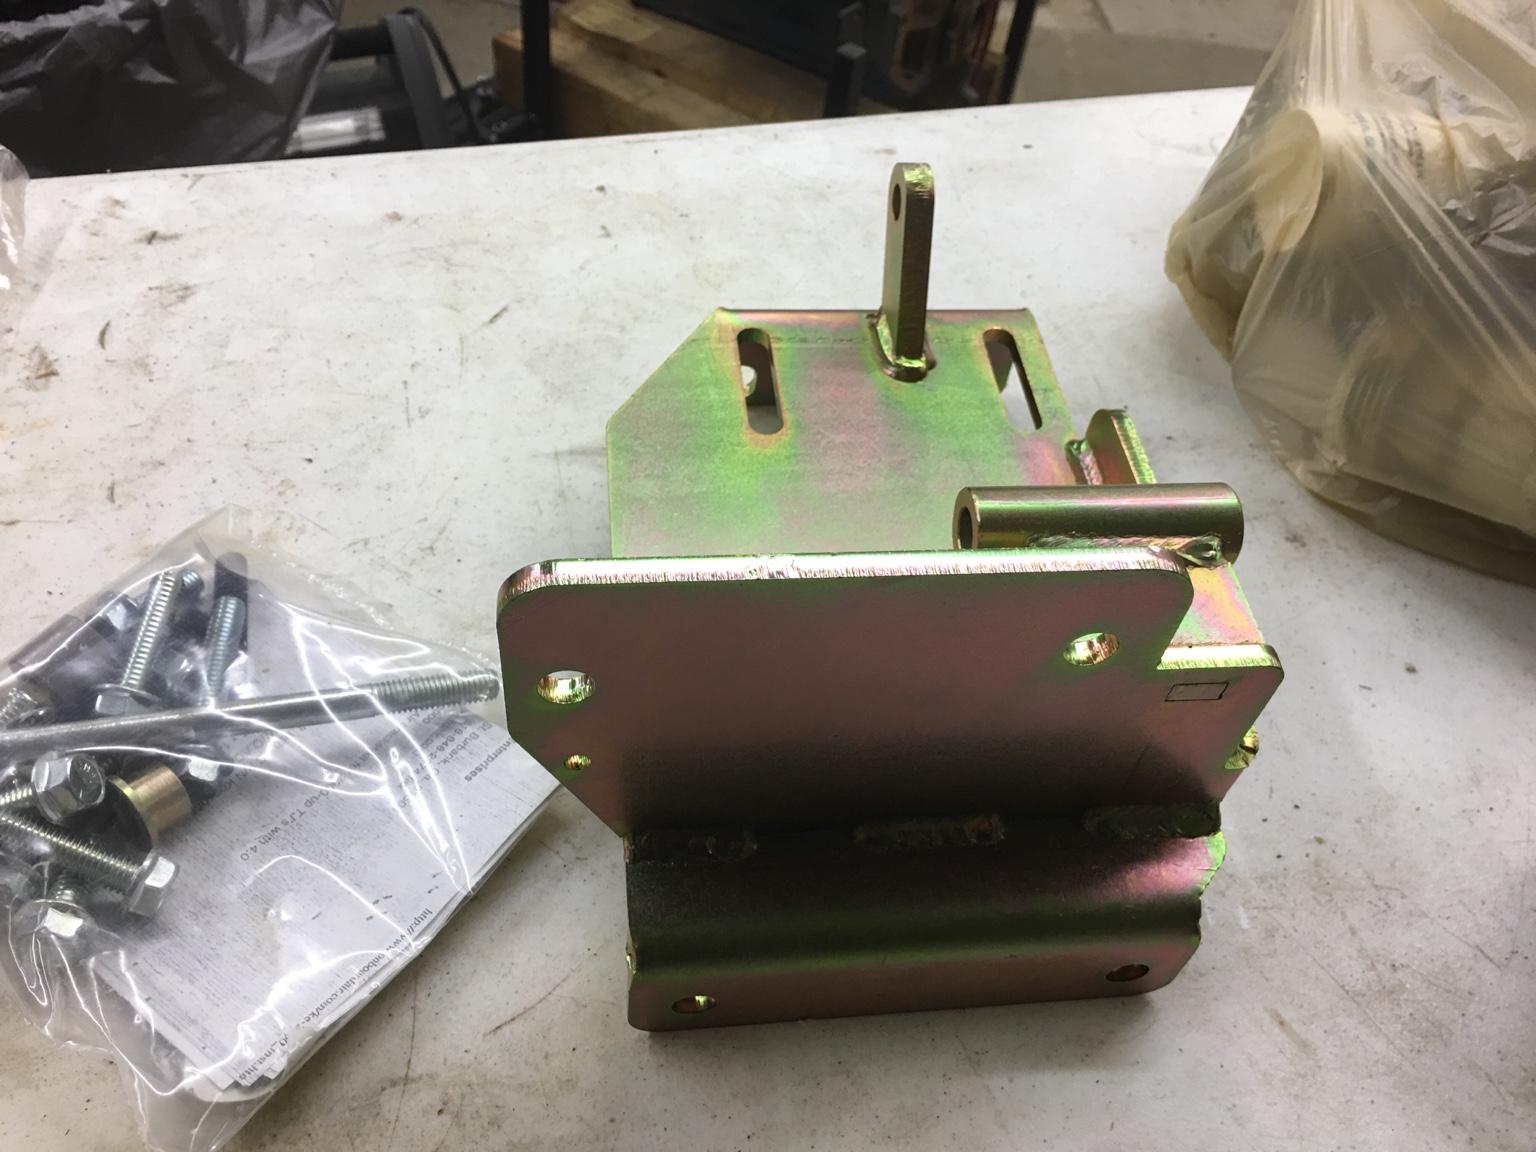
I purchased an aluminum bracket that bolts to my York to piggy-back them. one I use for the AC and the other for OBA. I'll see if I can dig the part number out if you like. :wave:
 
MRBeep I would be interested in that part# and where you got it. I was going to try and fab a bracket, but if something already exists I would like to know more about it. Thanks!
 
I purchased an aluminum bracket that bolts to my York to piggy-back them. one I use for the AC and the other for OBA. I'll see if I can dig the part number out if you like. :wave:

Hope to see a picture of that.
 
Back when CJoffroad was still up there was a thread on keeping A/C and running a York for OBA. Lot of good info was lost when that site went down.
 
I purchased an aluminum bracket that bolts to my York to piggy-back them. one I use for the AC and the other for OBA. I'll see if I can dig the part number out if you like. :wave:

Installed pics would be great.
Like to see belt routing & if still have 2 belts running A/C.
If not do belts squeal ?

Weather was so nice and family in town...
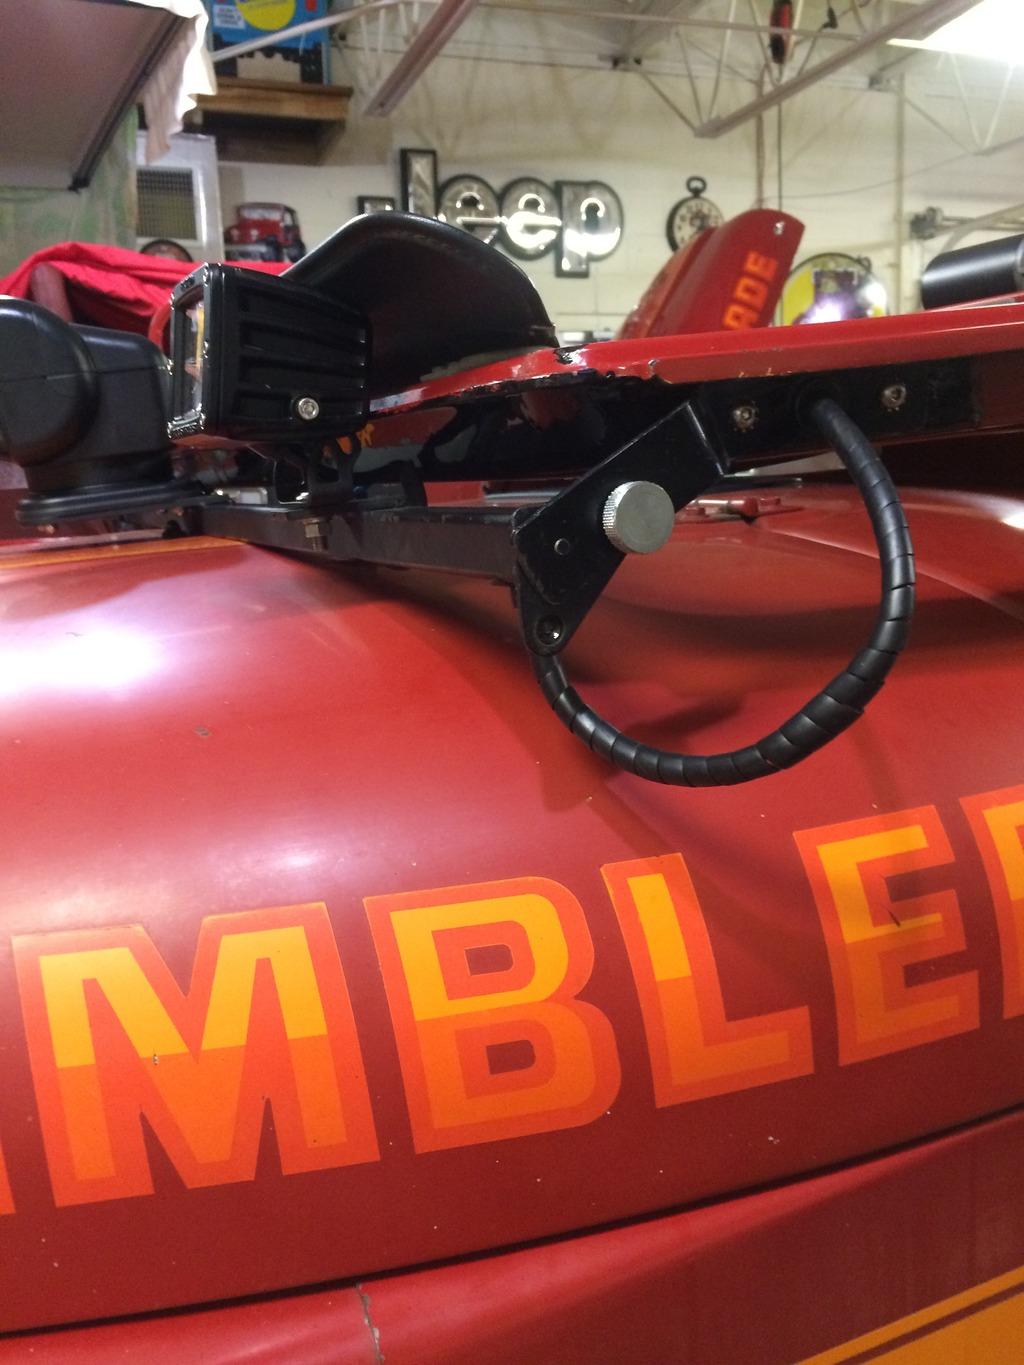
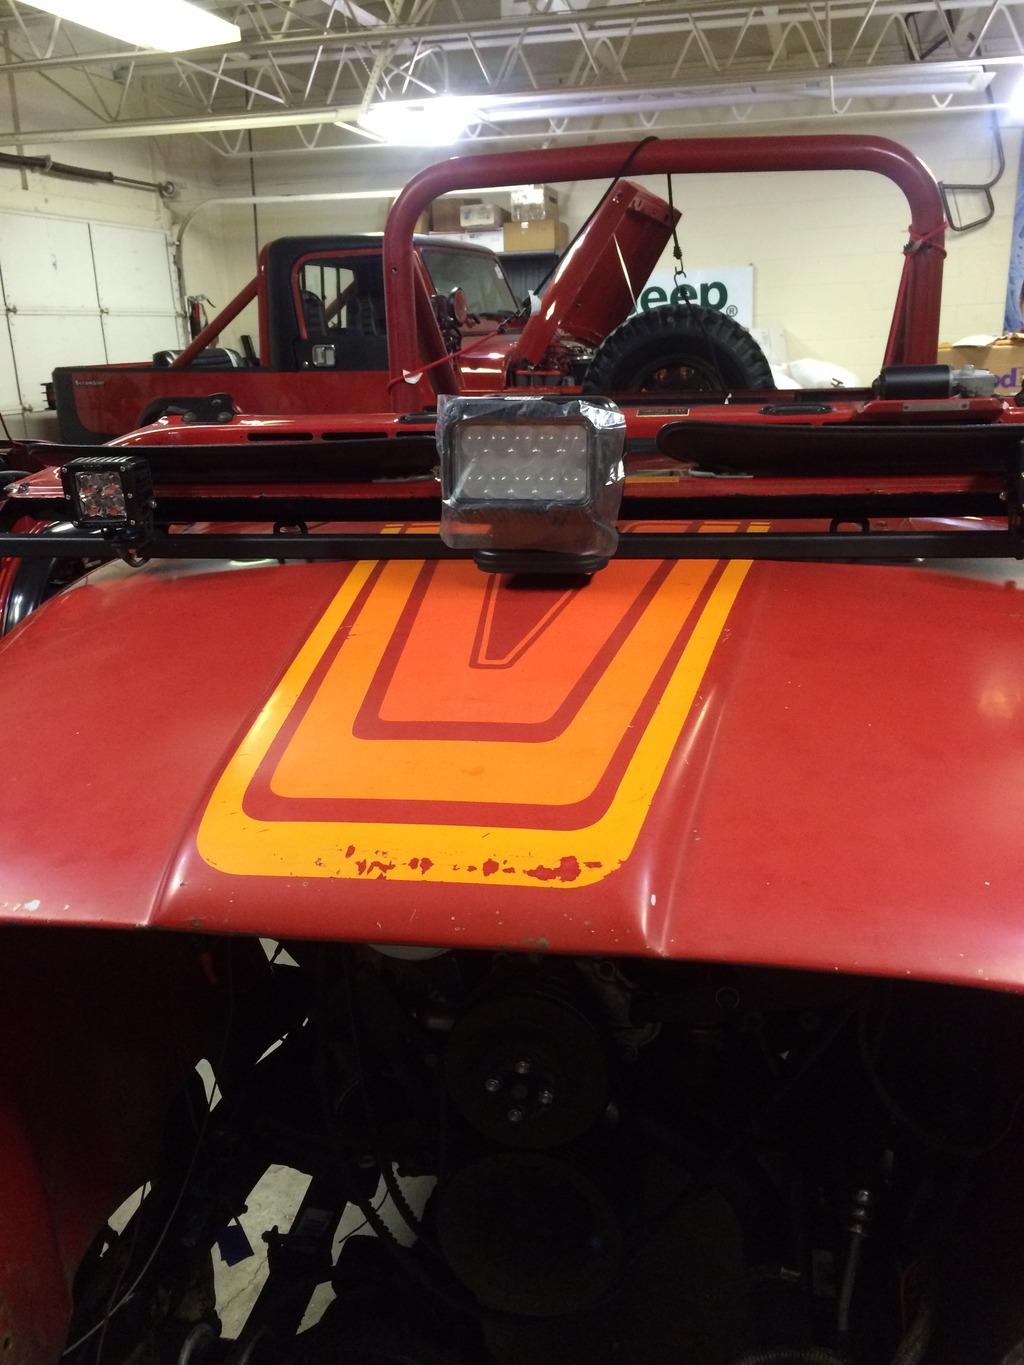
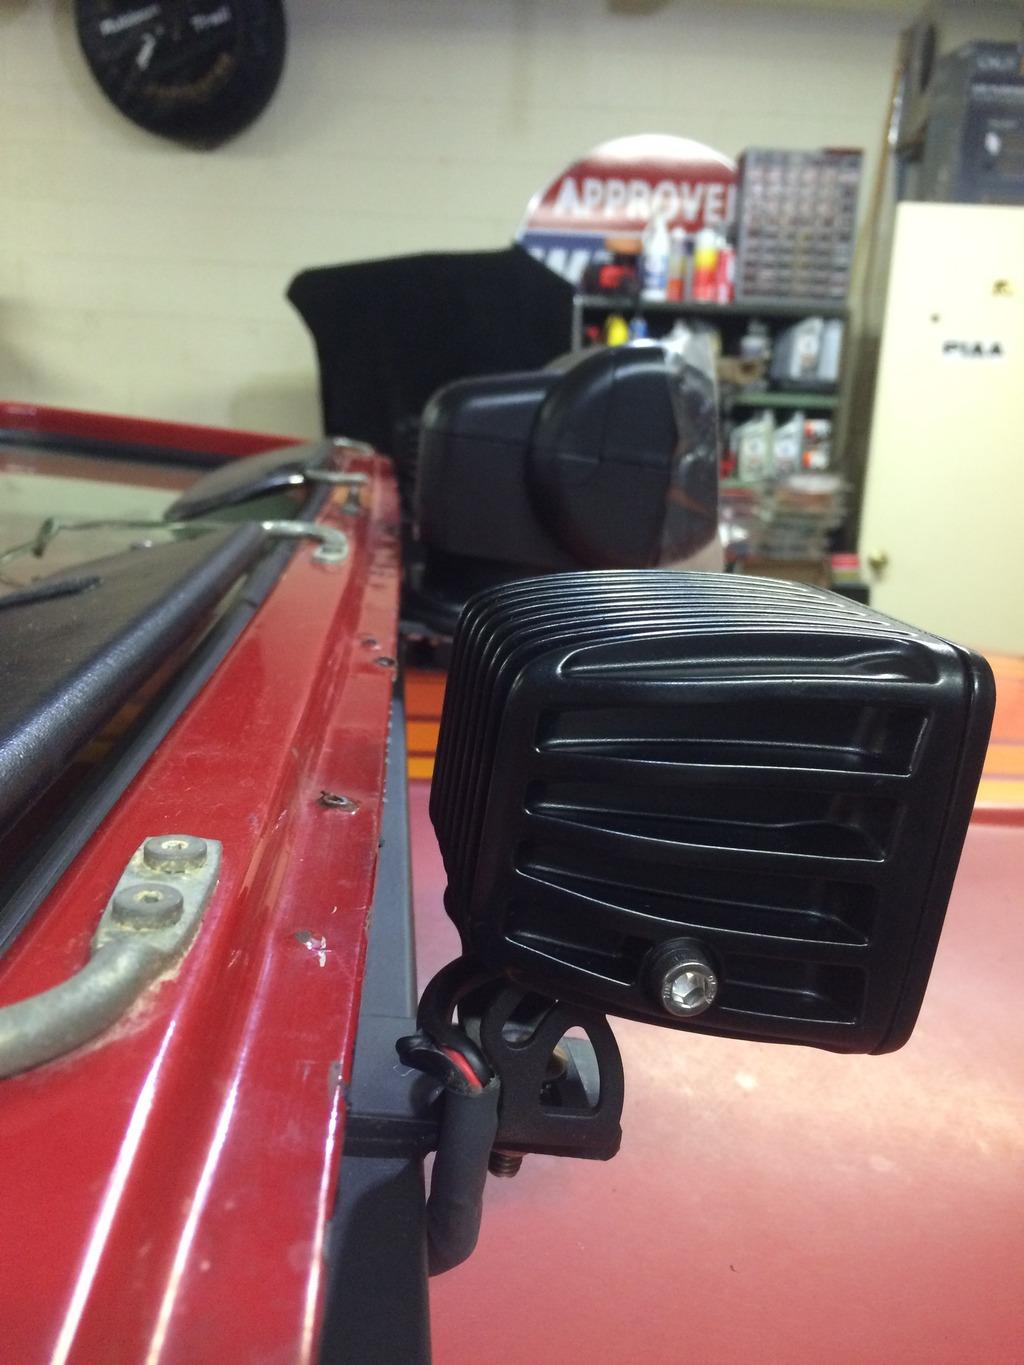
Yesterday it rained so spent couple hours fishing wires inside Jambo light bar and mounted it to windshield.
Had already welded a tab in middle for Go-light remote control spotlight and painted.

Yes, the Whitco Jambo light bar barely touches the hood.
I think I can slot the holes on mounting tabs.

IMG_1479_zpst4urv4bh-1.jpg


IMG_1480_zpsv6x3gyh5-1.jpg


IMG_1481_zpsnm7vsqyn-1.jpg
 
4c1b2c13ddb54fe96f41d4956da7eb42-1.jpg
d2c3659c01655d1d855e1fecaa5d8f3e-1.jpg
9250cfa9096525f8433bcd288cfb7eff-1.jpg
515701ea4ff532280dcaa8f1b3d77427-1.jpg
820b8d3c4246f608ea09cc4021b17bdc-1.jpg


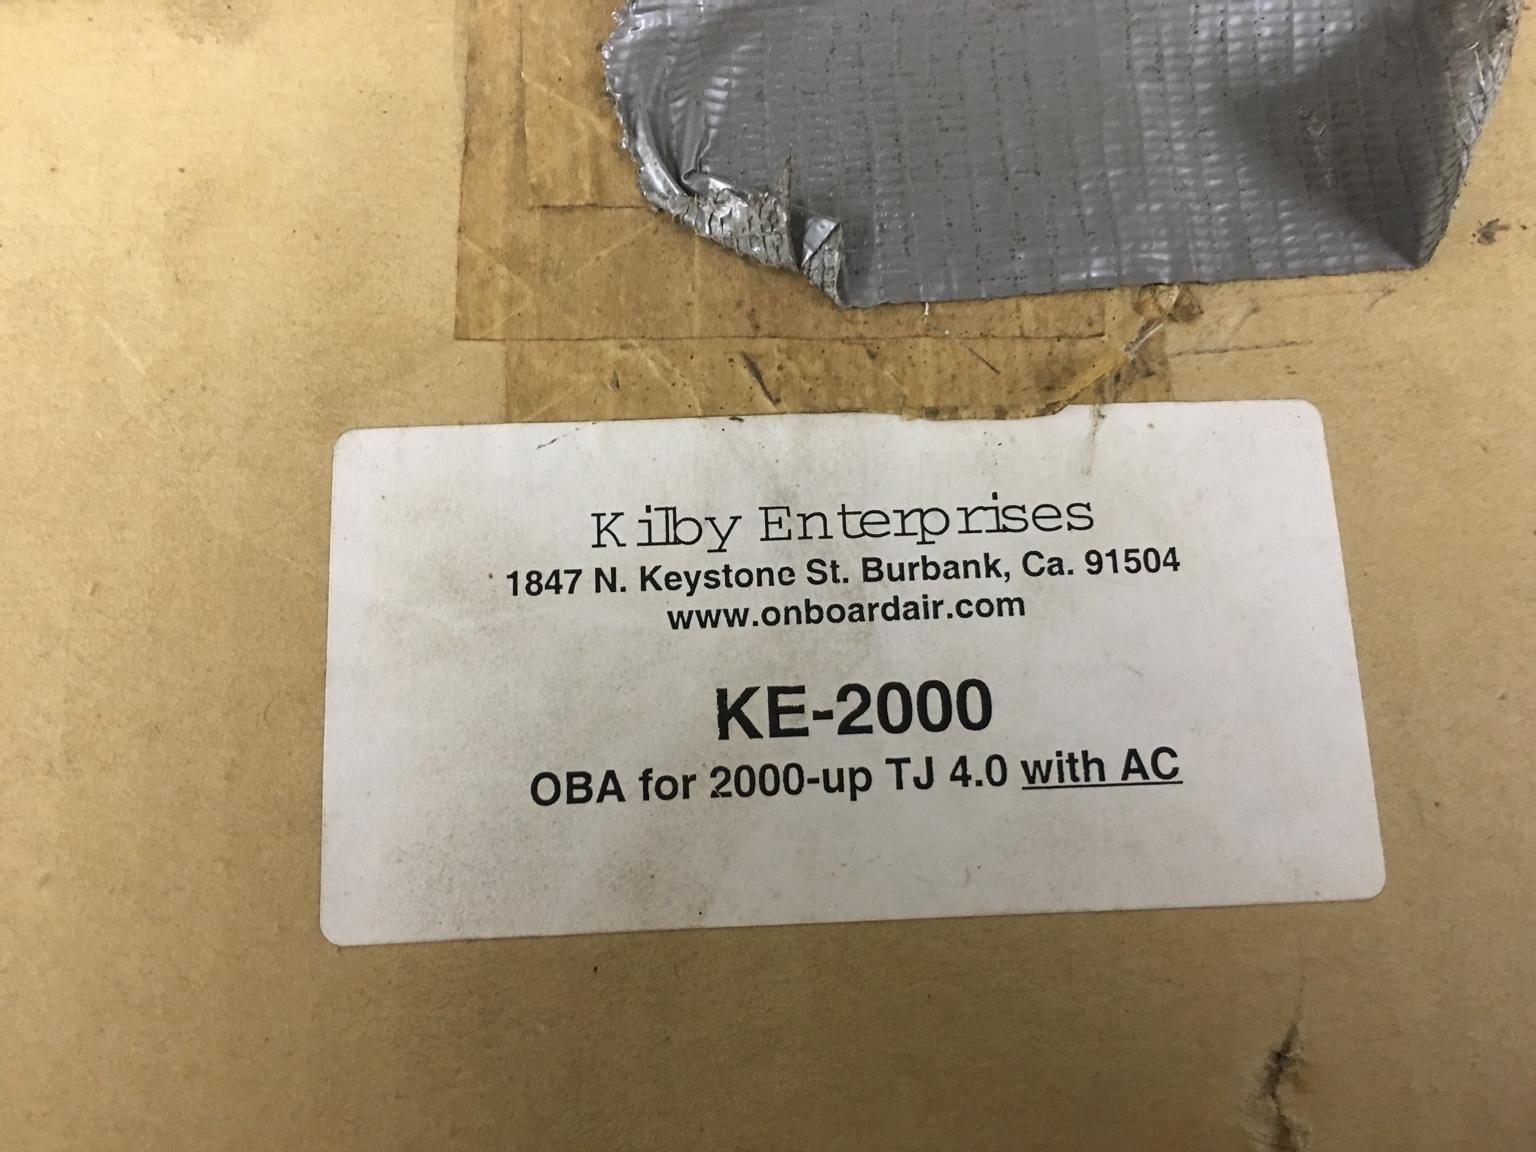
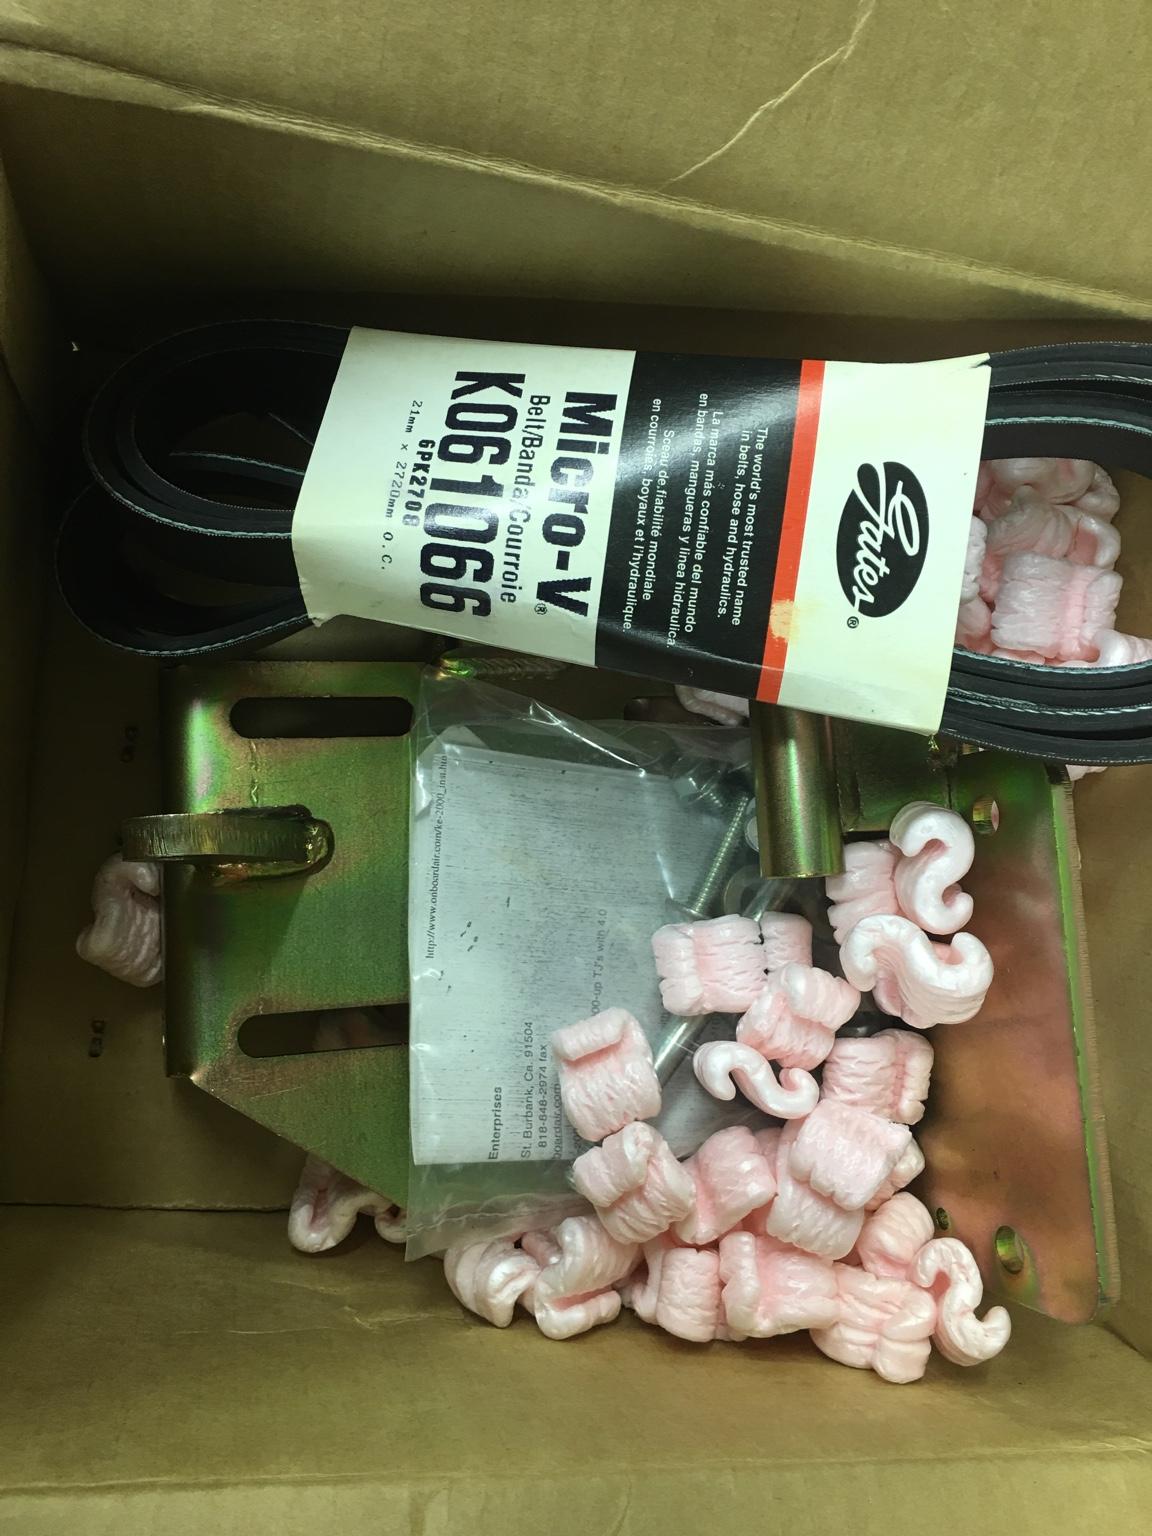
What I have is for the 4.0. I remember buying 1 for my Scrambler and an additional one for future use. Forgot it was for a 4.0.

I did check their web page and are still in business. Good info on thief Q&A page on on board air set ups.

The Scrambler I installed the piggy-back system on was sold to a friend of a friend in Australia and last I heard it is in New Zealand.


Kirby doesn't show air compressor mount for AMC V-8 with A/C.

So back to where to mount an electric compressor.
 
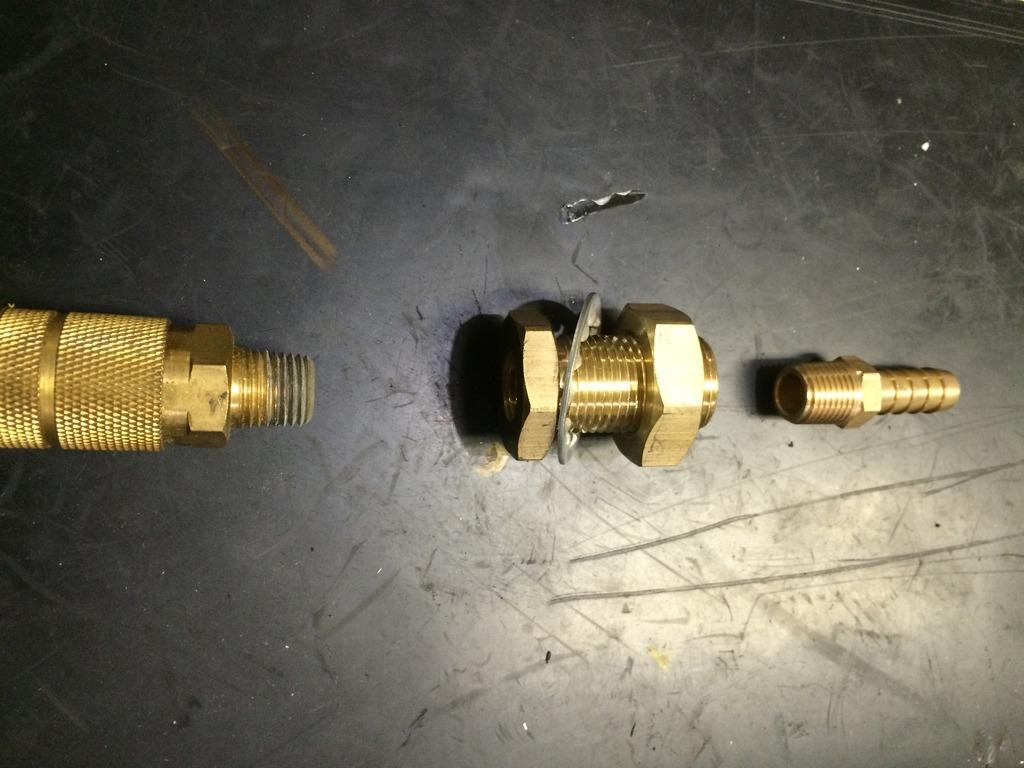
Plumbing buddy hooked me up. Just what I needed.
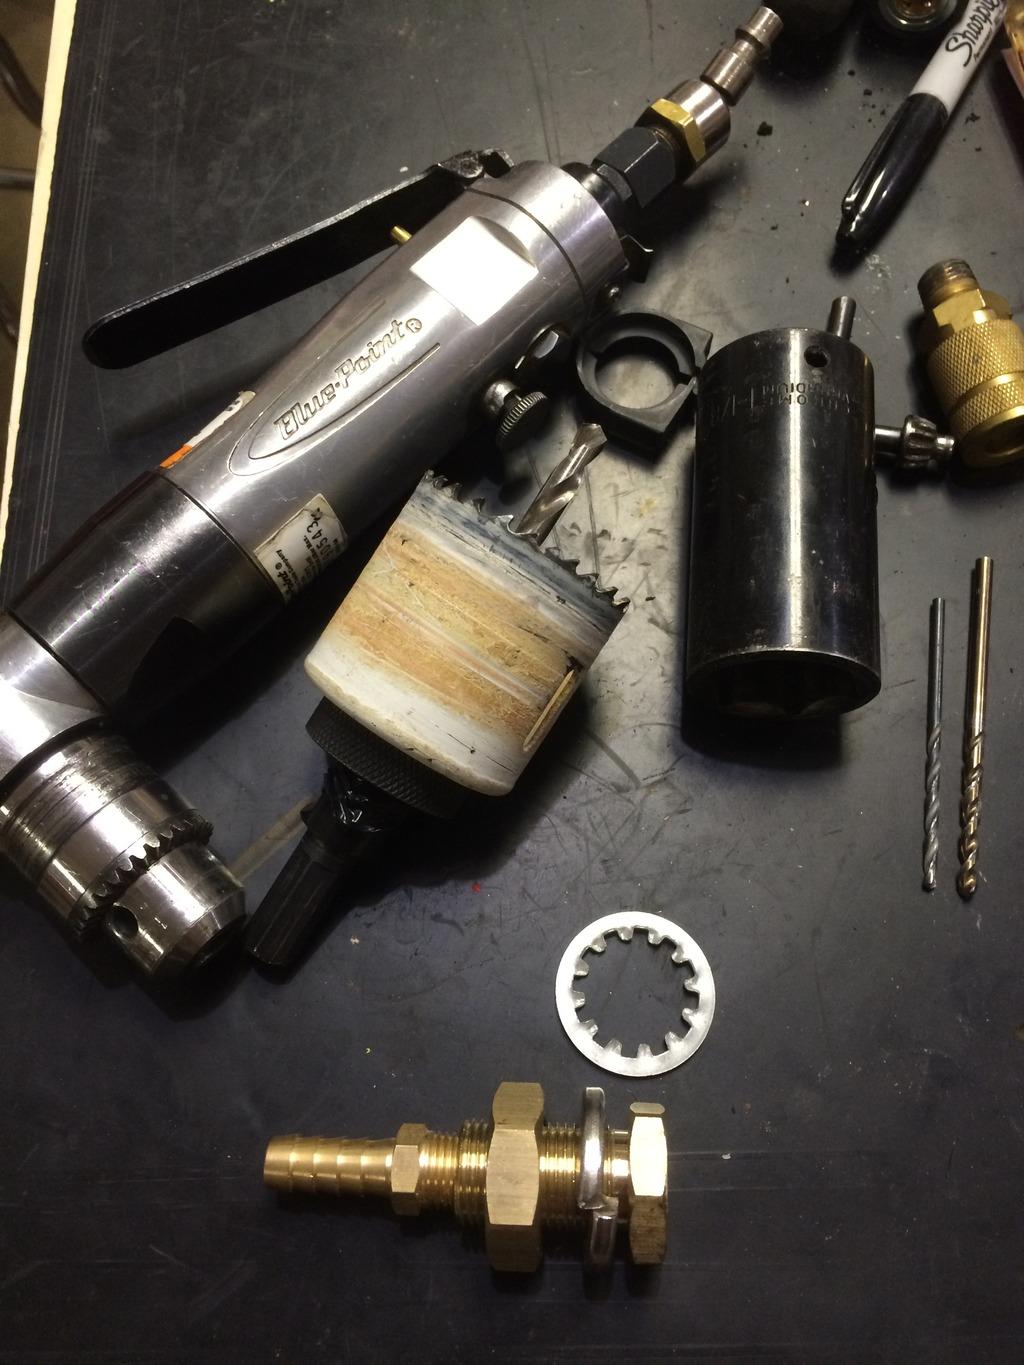
He call's the fitting in middle of picture a "flange connector"
It has 1/4" FNPT on both ends of the barrel

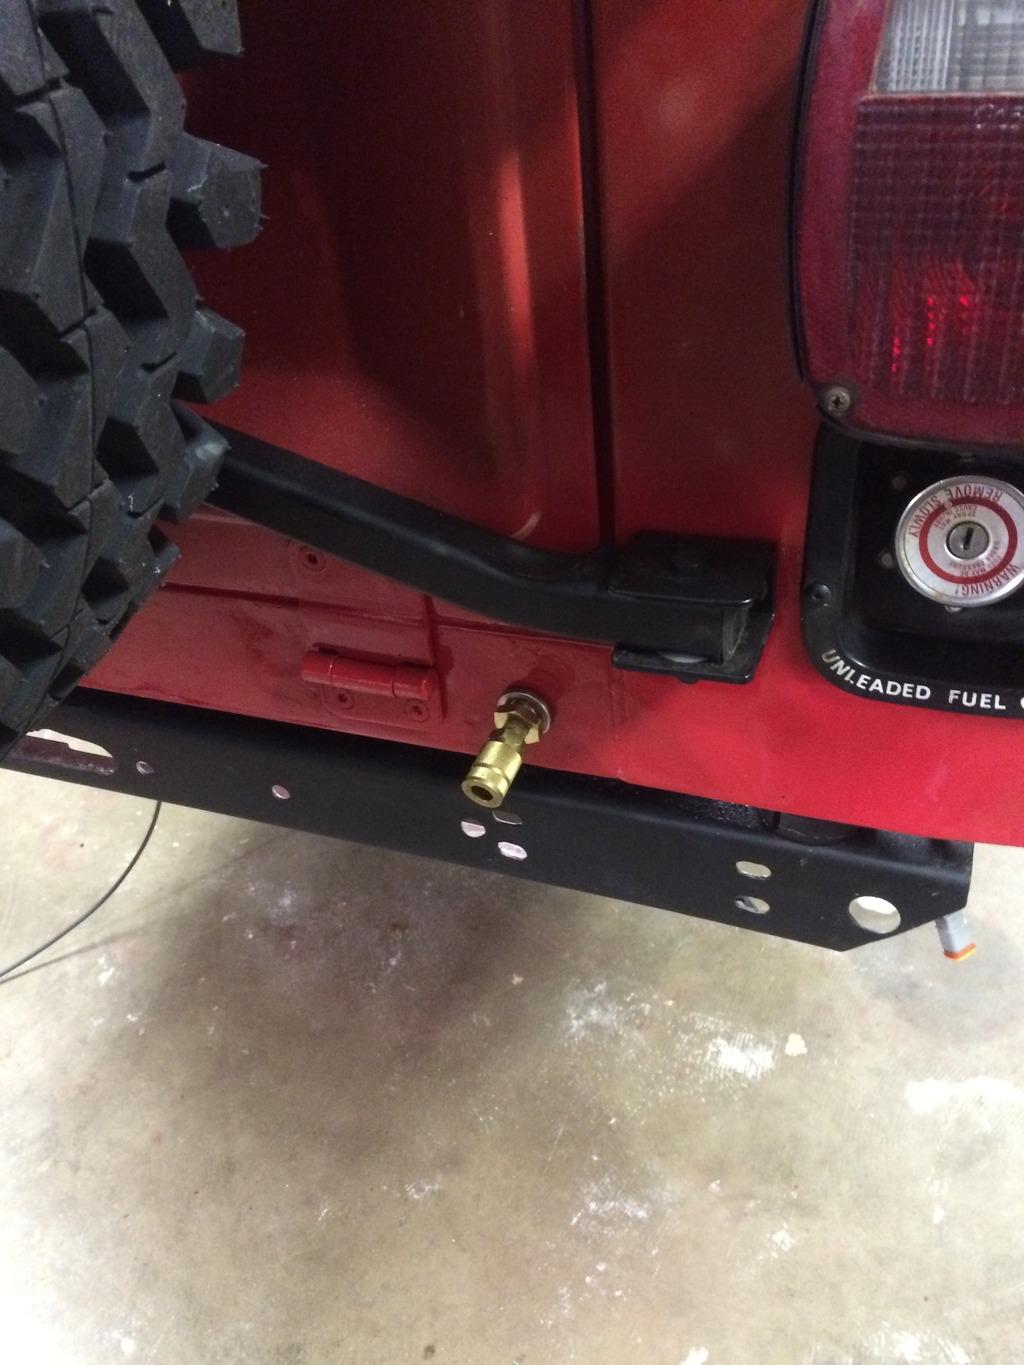
I have the rear winch remote connector and 7 way trailer plug to left of spare tire.
So putting the air chuck quick connect on right side.

IMG_1488_zpsmfrykmxw-1.jpg


The body below tailgate is boxed.
Centered and drilled 5/8 hole.

IMG_1495_zpsloaqzvt6-1.jpg


On backside of need hole for 1 1/4" socket to tighten the jam nut.
Dill with 1/2" chuck and 1 1/2" hole saw won't fit.
Right angle drill only has 3/8" chuck.
So going to need break out the big 1/2 right angle electric wrist breaking hole hog drill.

IMG_1494_zps1abvu71l-1.jpg


All the little details to make progress.

Still haven't decided where to mount compressor.
 
Back
Top