• Notice for iPhone users: DO NOT use the image size reduction option when uploading photos to the forum. This causes portrait images to post as landscape. We have added a warning to the image insert pop-up as well.

Mud Scrambler - Must be Red Dents are fine, some rust fine

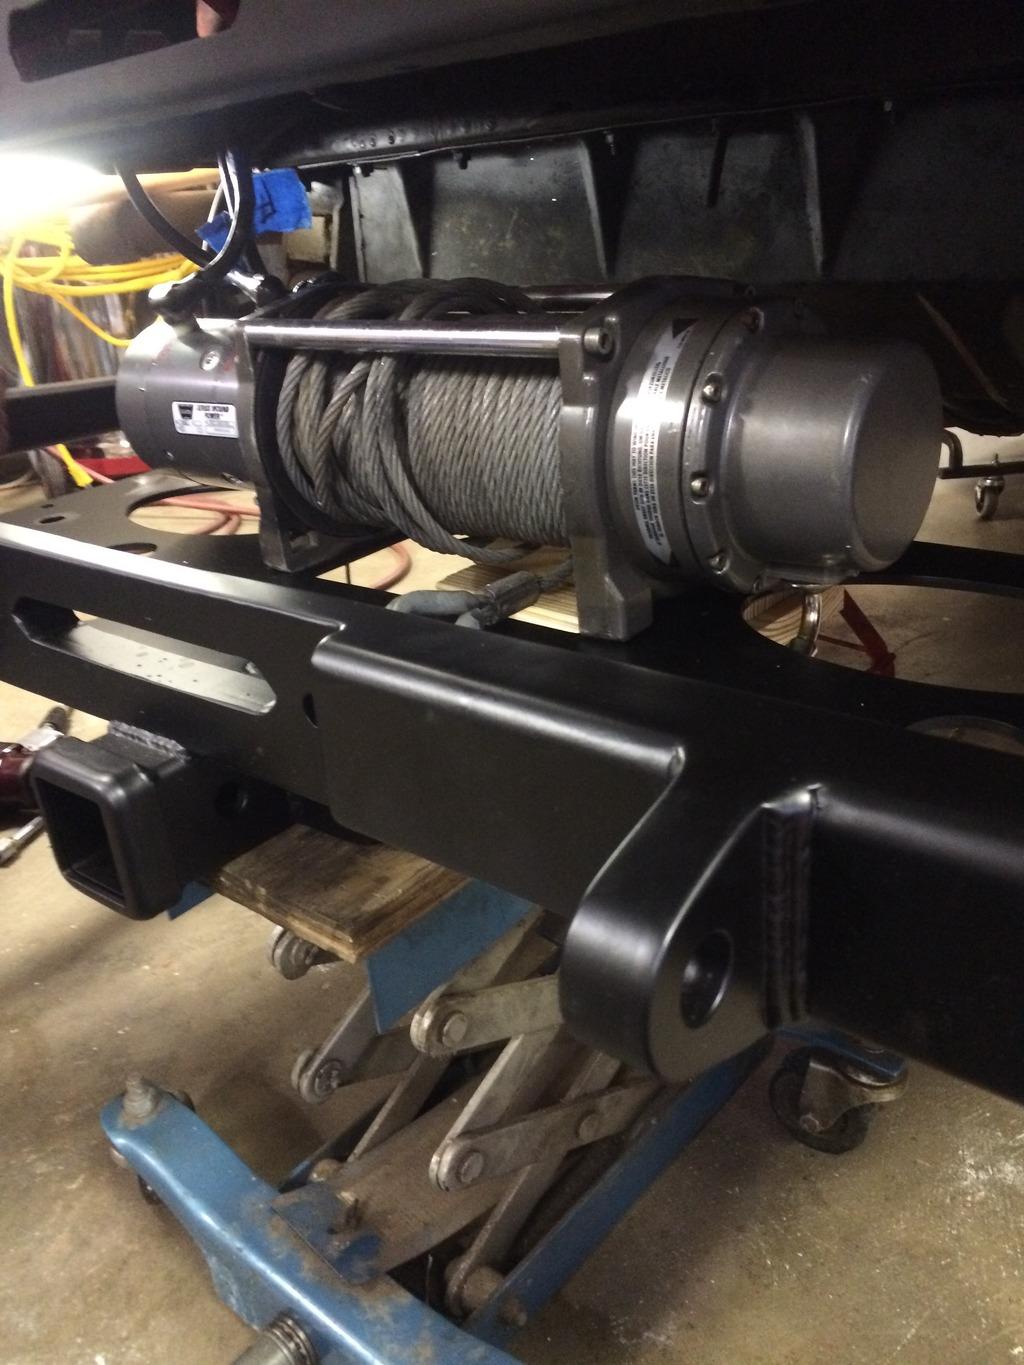
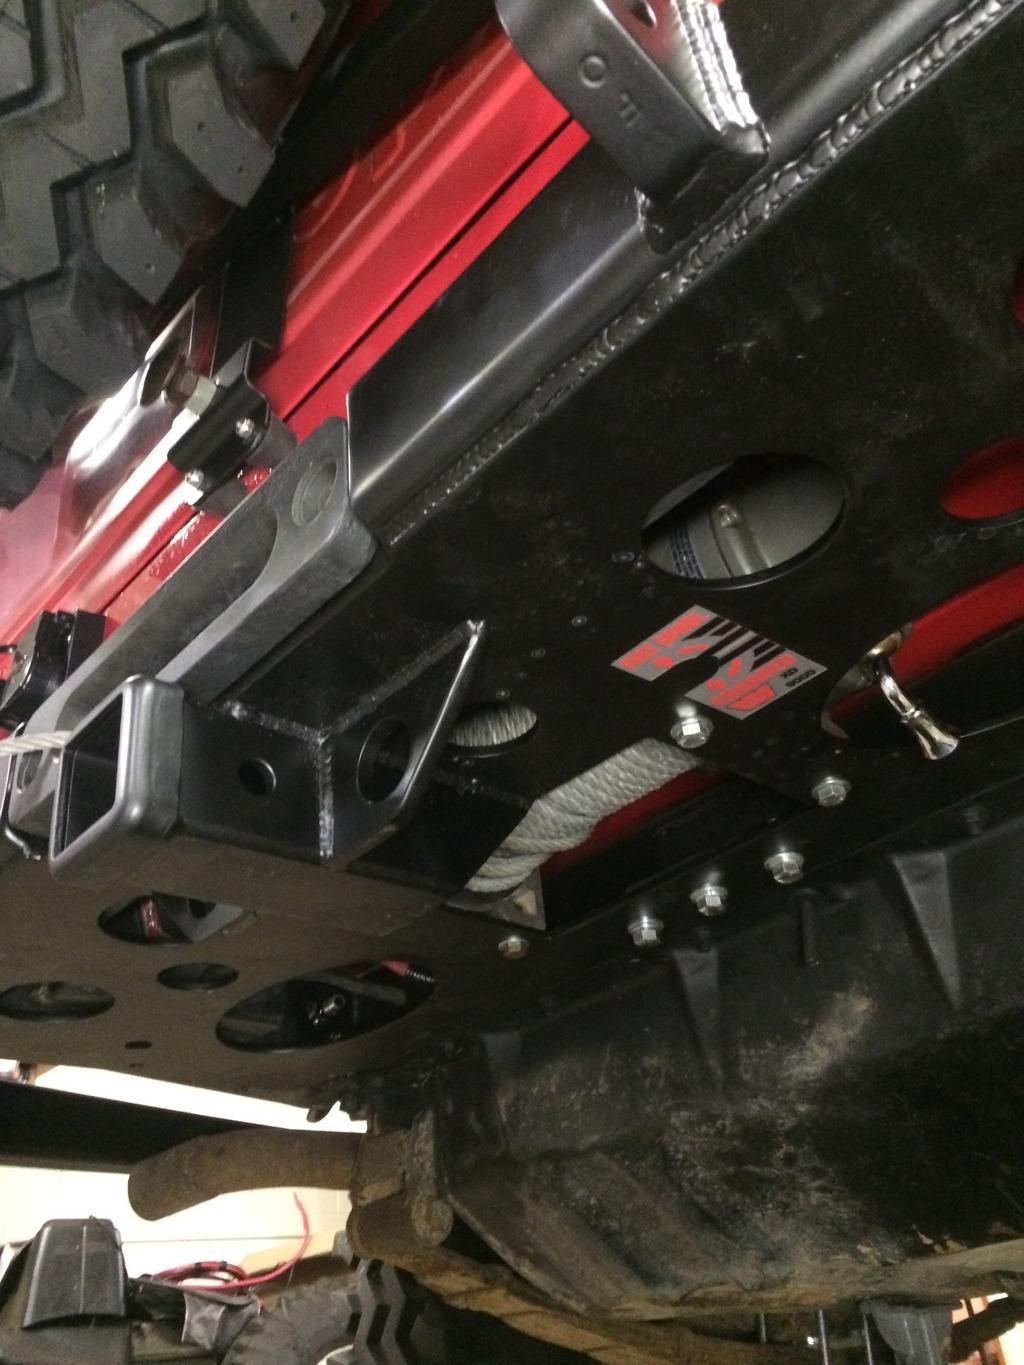
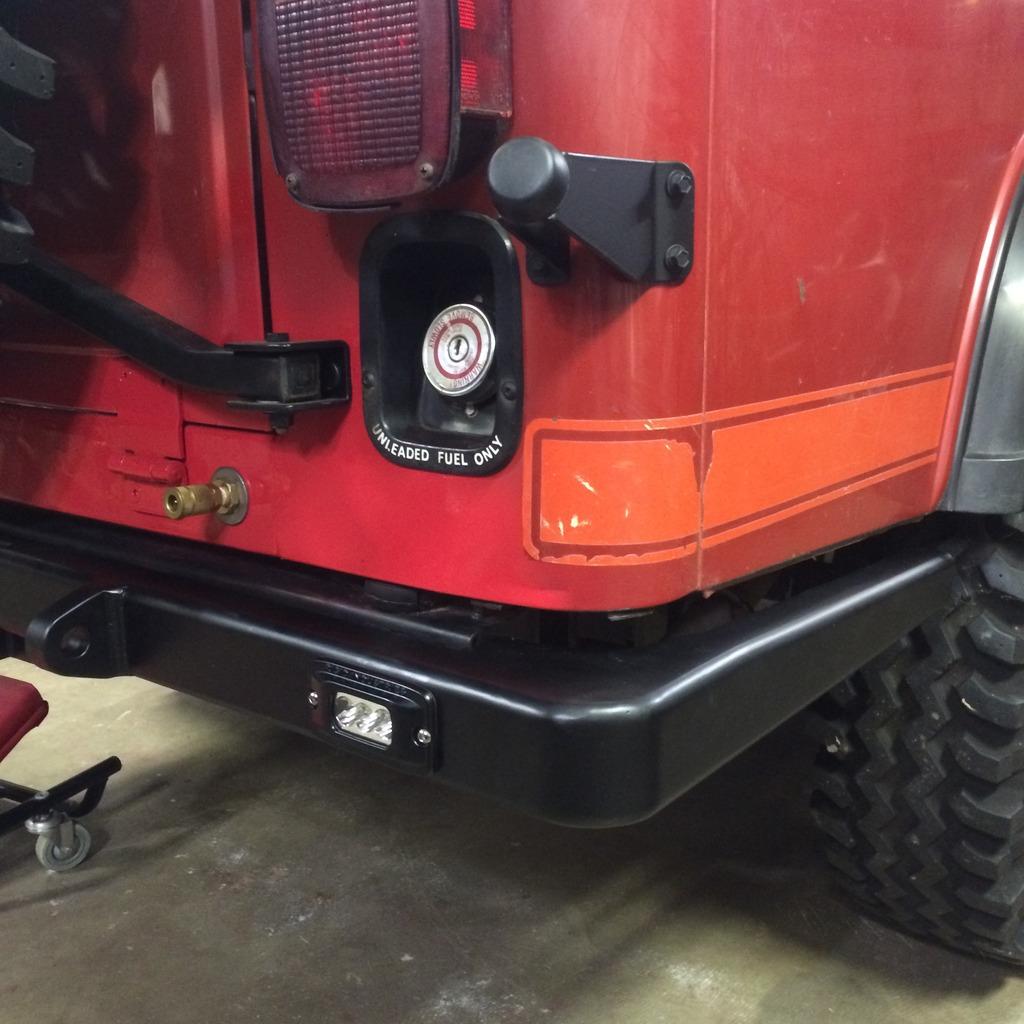
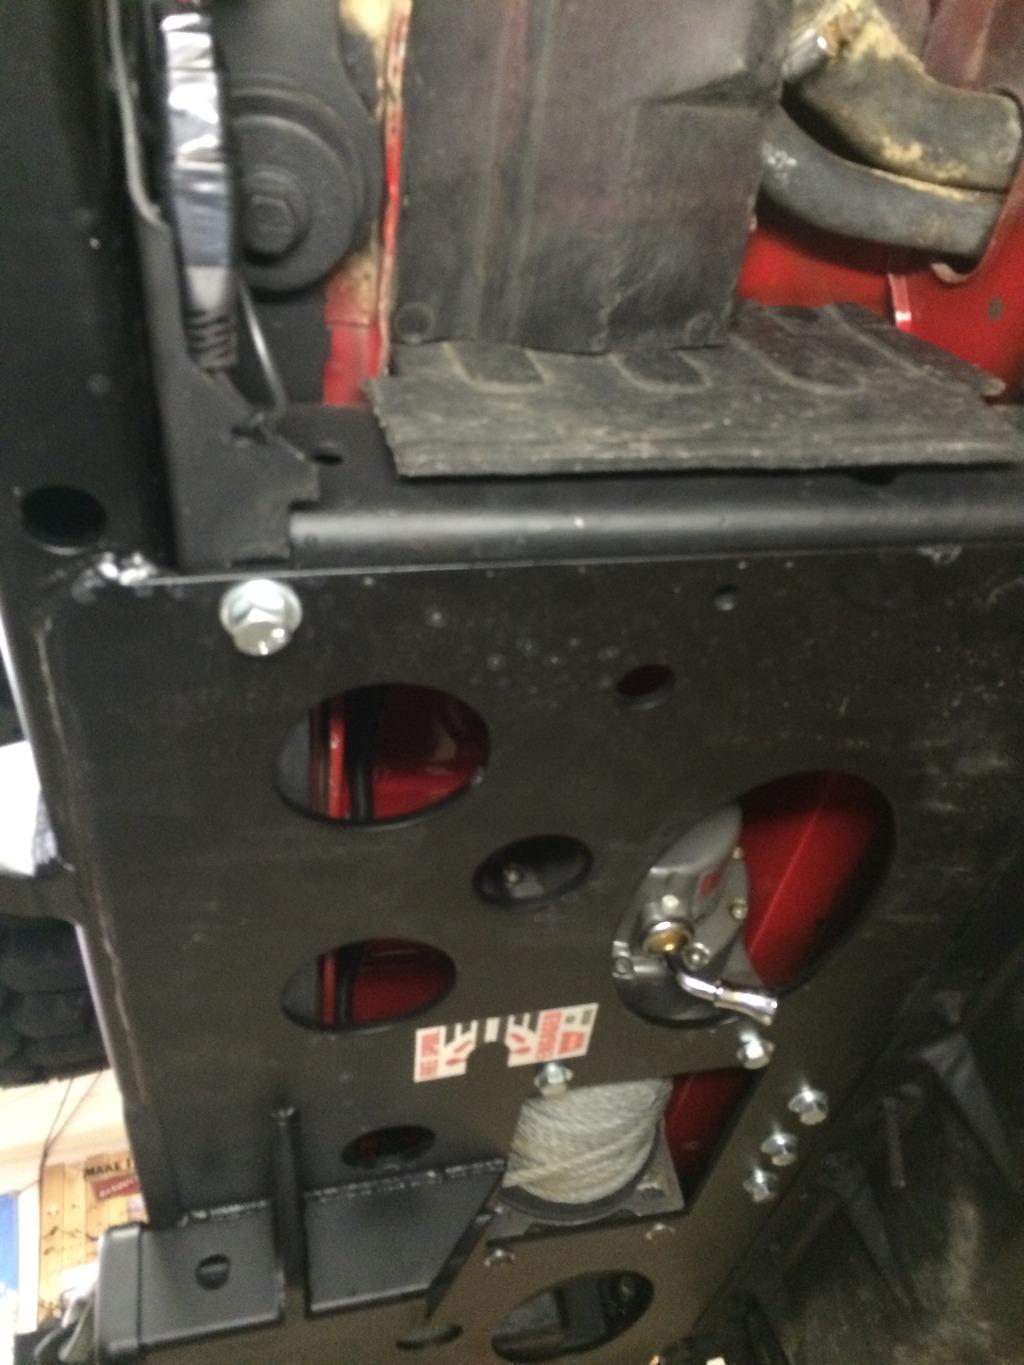
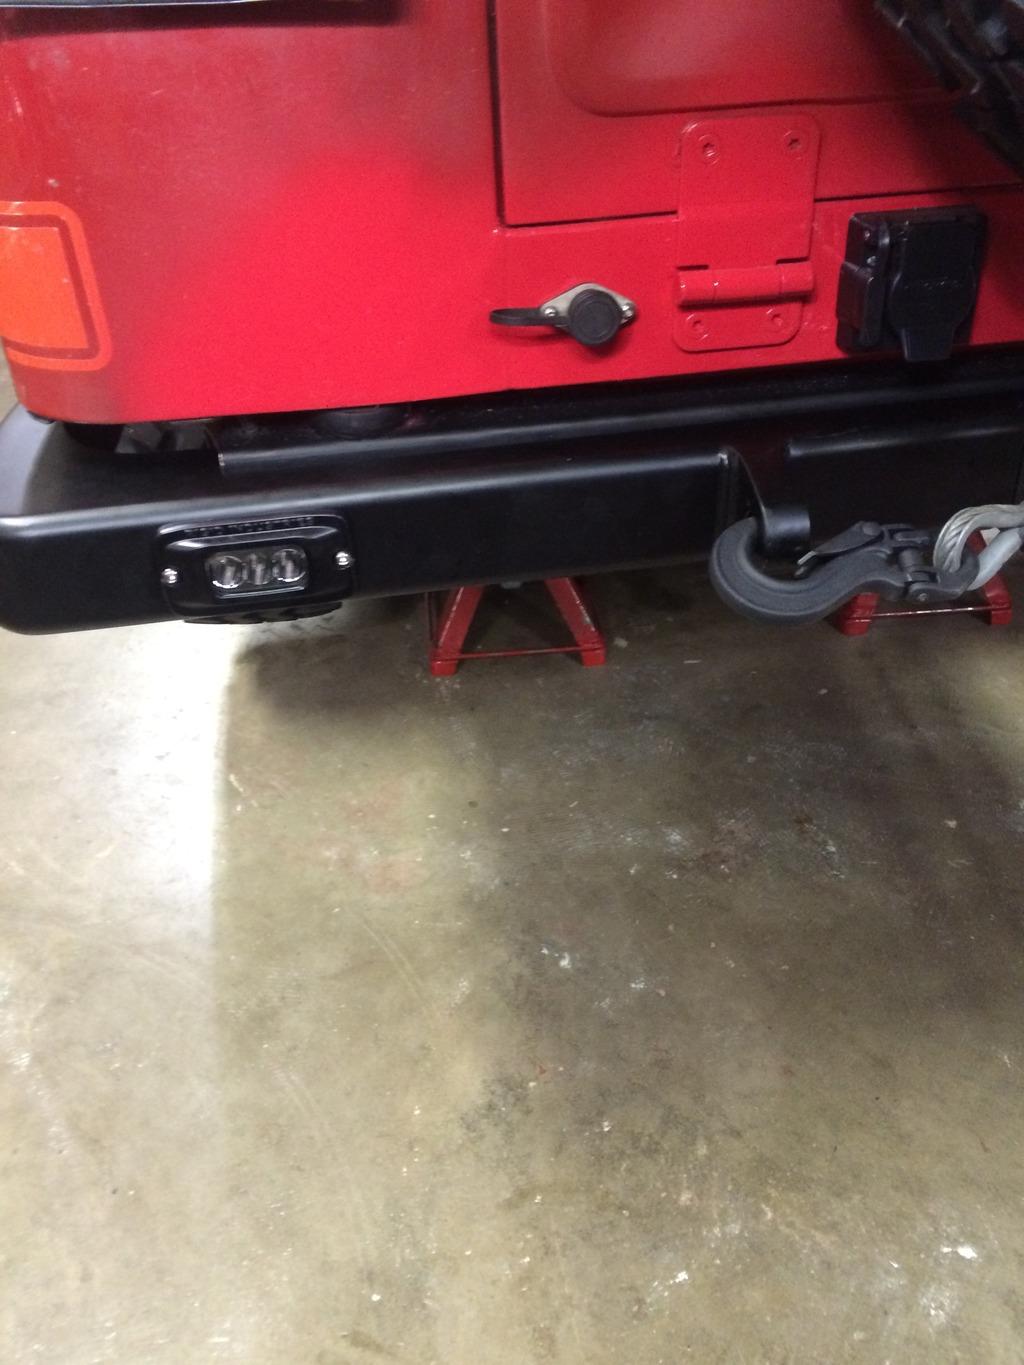
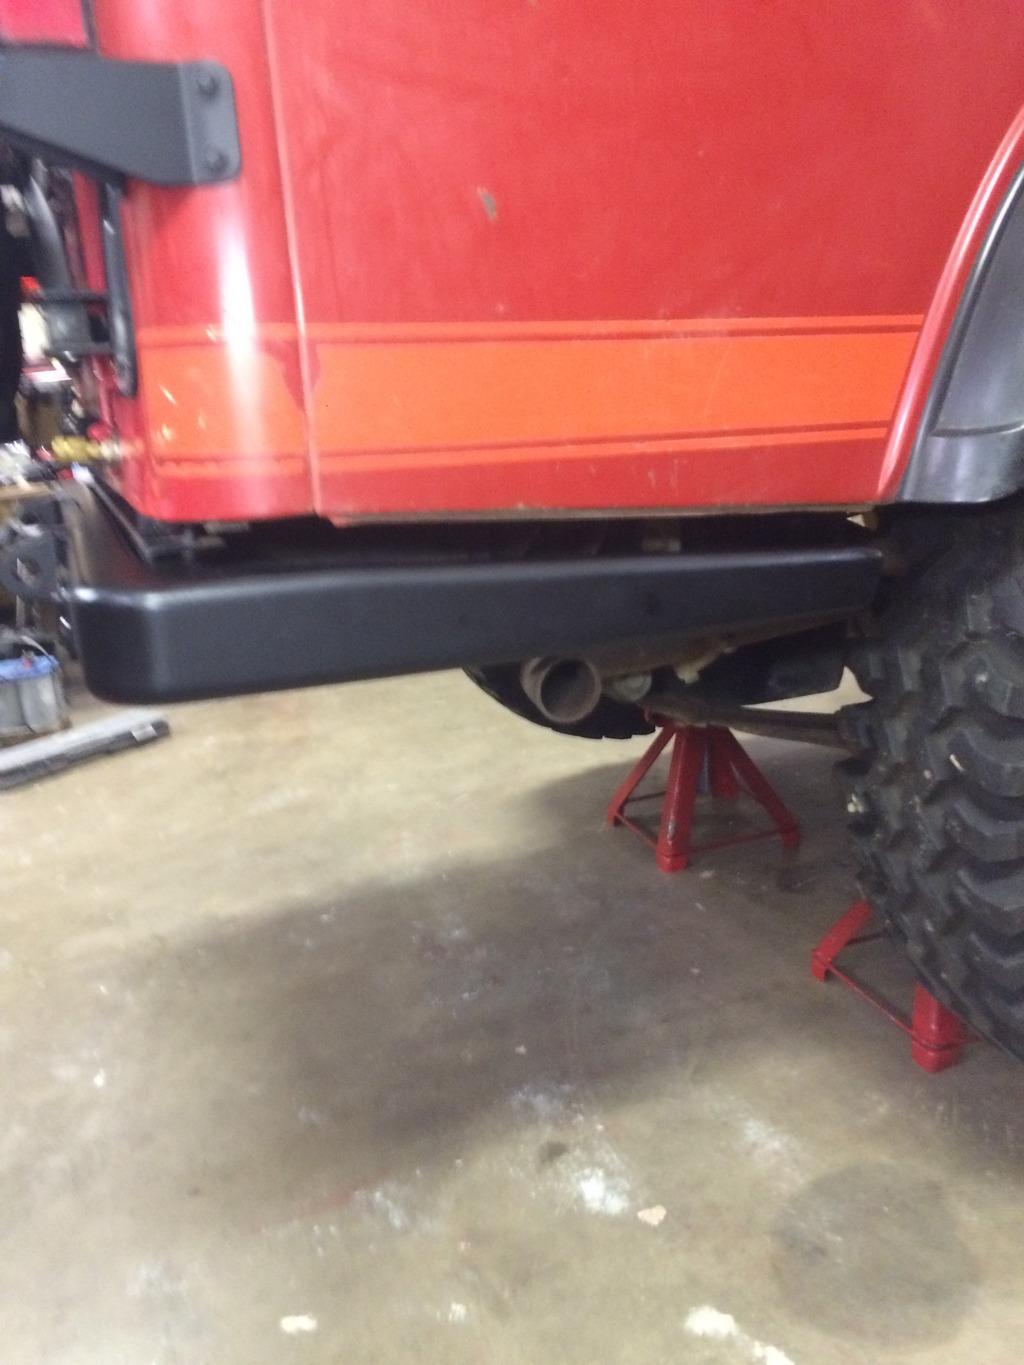
Rear hidden winch is installed !

IMG_1624_zpsbo31a4za-1.jpg


IMG_1633_zpscmm204dy-1.jpg


IMG_1641_zpsv9kmr5ph-1.jpg
 
Thanks guys... Glad to have rear winch install all finished up.
Was lots of work back there with wiring & air line and trying to stuff a Warn 9000 was tight.

Not doing the remote linkage for free-spool, like big Scrambler made it easier.

I can weld, but my buddy Jim's welds are a work of art.


Couple more pics:

Still need to fish in 2 - 3/8 a lolypop nut's inside frame.
There are 7 - 7/16 and 2 - 1/2 bolts, with nuts welded on for easy removal of bumper....so it's not going anywhere.

IMG_1630_zpsqgikkfih-1.jpg


Gussets in corners that match curve of rear tub.

IMG_1626_zpsql6iamkj-1.jpg


The rear is ready for trail dragging and I can't wait to get it stuck :)

IMG_1629_zps1y9hajub-1.jpg


Now back to wiring and A/C install.
 
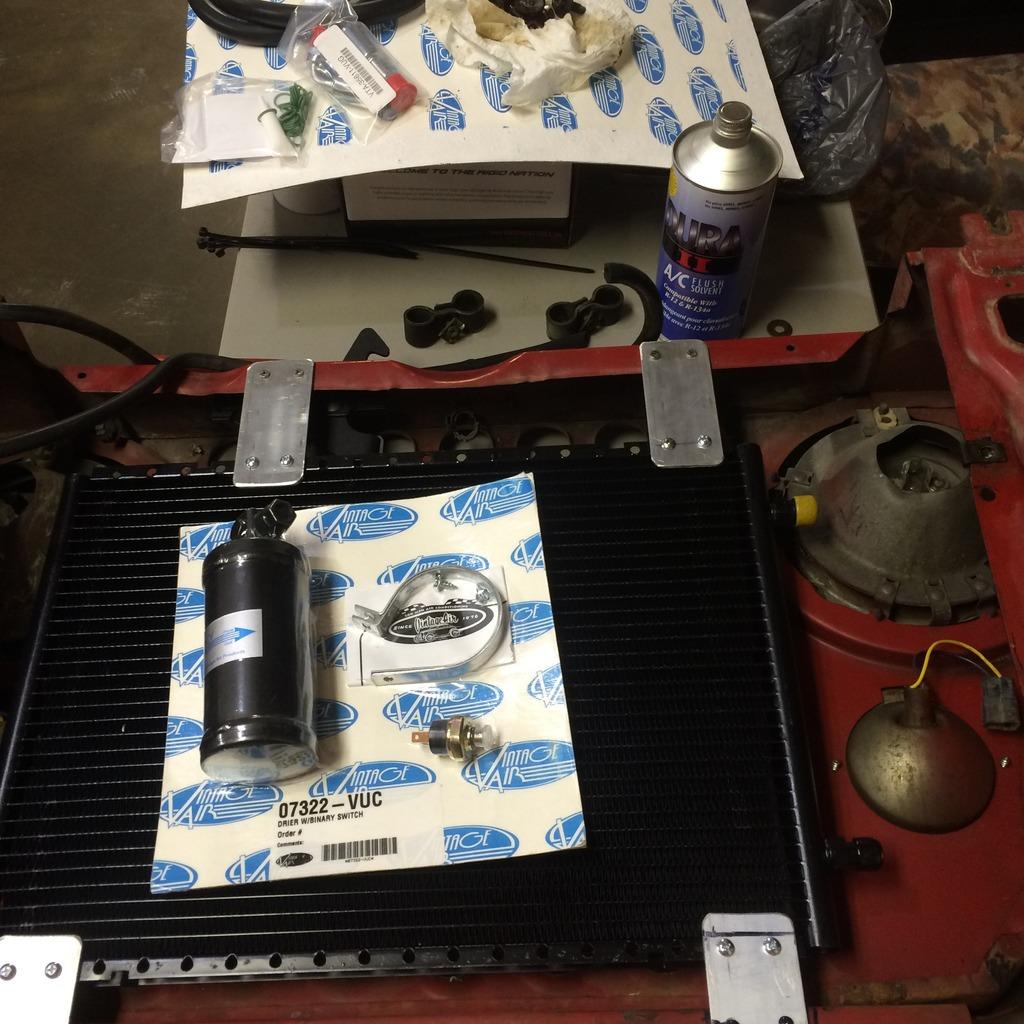
Went with Vintage air condenser instead of the Chinese crap.

Also their dryer with binary switch that fits the Jeep OEM harness connector.

Found the A/C 10 & 6 hose seperators from old 80's Ford truck.

IMG_1653_zpsc8iyrouk-1.jpg


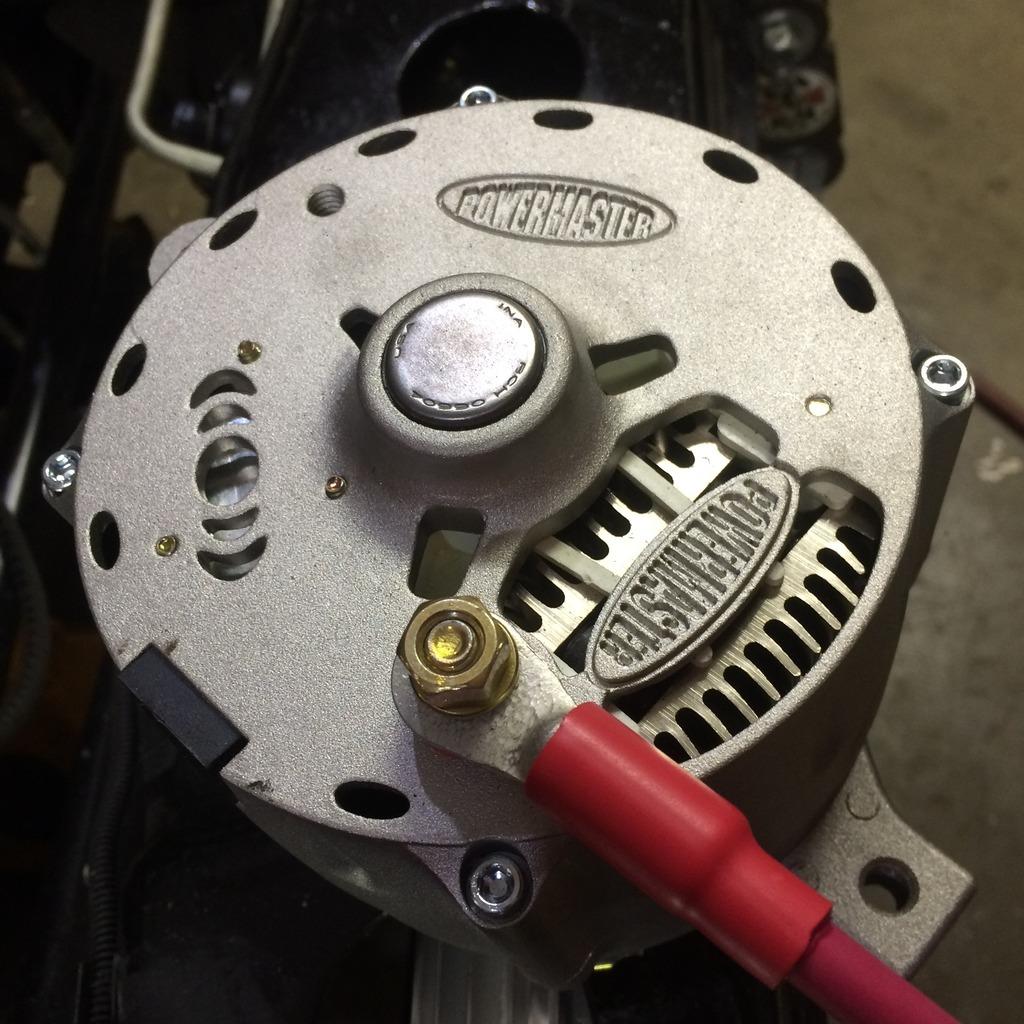
6 ga. charge wire with Quick Cable Fusion 6 to 8 ga. connector for the Powermaster.

6 ga. so when winching the charge wire won't get hot.

Plan to route it to the buss bar which connects directly to battery.

IMG_1649_zpsrrxcyntm-1.jpg
 
That winch/bumper is pure sex!!! WOW!!!
 
Went with Vintage air condenser instead of the Chinese crap.

Also their dryer with binary switch that fits the Jeep OEM harness connector.

Found the A/C 10 & 6 hose seperators from old 80's Ford truck.

IMG_1653_zpsc8iyrouk-1.jpg

Part number on that condensor and dryer? Do they use flange fittings or o rings?

I've got an extra A/C unit here with no condensor I plan on eventually putting on my tan CJ-7. Would prefer to keep the OEM type flange fittings if possible, but I know adapters are available.
 
Part number on that condensor and dryer? Do they use flange fittings or o rings?

I've got an extra A/C unit here with no condensor I plan on eventually putting on my tan CJ-7. Would prefer to keep the OEM type flange fittings if possible, but I know adapters are available.


Uses O Ring fittings.
art # is pictured above.


Found the YJ A/C wiring diagram for the NOS 1994 YJ under dash evaporator that I'm using.

blue and blue with black tracer are for kick up idle solenoid & low pressure switch in series.

White is power to fuse block, Red is for lighter, blacks are ground.

Using a 50 amp relay for the Sanden compressor clutch that will be located in the Hella gang relay box. Blue will trigger relay.
 
Uses O Ring fittings.
art # is pictured above.


Found the YJ A/C wiring diagram for the NOS 1994 YJ under dash evaporator that I'm using.

blue and blue with black tracer are for kick up idle solenoid & low pressure switch in series.

White is power to fuse block, Red is for lighter, blacks are ground.

Using a 50 amp relay for the Sanden compressor clutch that will be located in the Hella gang relay box. Blue will trigger relay.

Which condensor are you using?
 
Oops, pic of condenser part # not shown.

Vintage Air SuperFlow Horizontal Condensers 03261-VUC

It's 14x20" which is size of OEM.

Could squeeze in a 15x22" with headlight bucket trimming.
hoses would be hard to disconnect without pulling radiator.
 
Oops, pic of condenser part # not shown.

Vintage Air SuperFlow Horizontal Condensers 03261-VUC

It's 14x20" which is size of OEM.

Could squeeze in a 15x22" with headlight bucket trimming.
hoses would be hard to disconnect without pulling radiator.

Thanks! My stock A/C works fine when I use it, which is rarely, but I have A/C to go in my other Jeep so the OEM size should work fine.
 
Could squeeze in a 15x22" with headlight bucket trimming.
hoses would be hard to disconnect without pulling radiator.
I had to trim my headlight bucket on my first build. This time I'll go with the smaller coil.
 
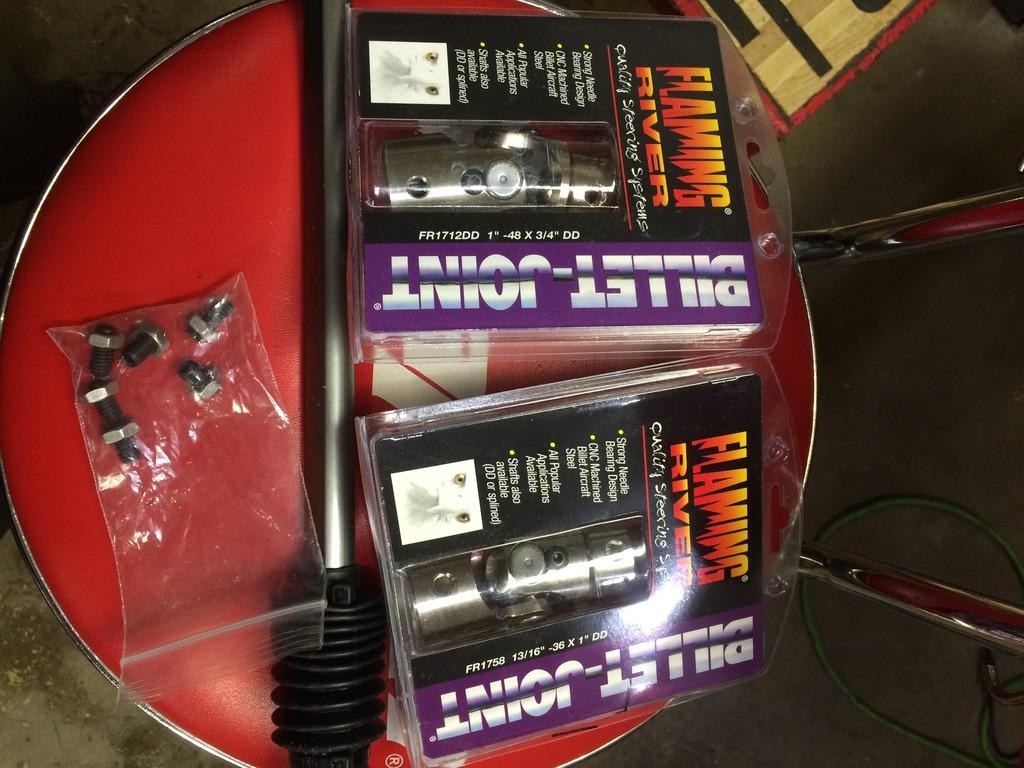
I don't know why Borgeson doesn't offer a stainless steering shaft.

I bought a Borgeson for 83 Scrambler in 1999, before I found stainless and it rusted in the shop before I even got finished with build.

From what I have been reading about A/C, the condensing & evaporator need to be matched in size.
Who knows if Jeep engineers matched, or just used what would easily fit.
 
I did like you on the cj7 build around 10 yes ago. The borgeson shafts was pitted with rust within a yr. That'said keeping the jeep in a building and only driving about 1000 might a yr. That'said why I went with the flaming river shafts (have flaming river steering columns on cj7 & cj8, should have used the flaming river shafts on the cj7).
 
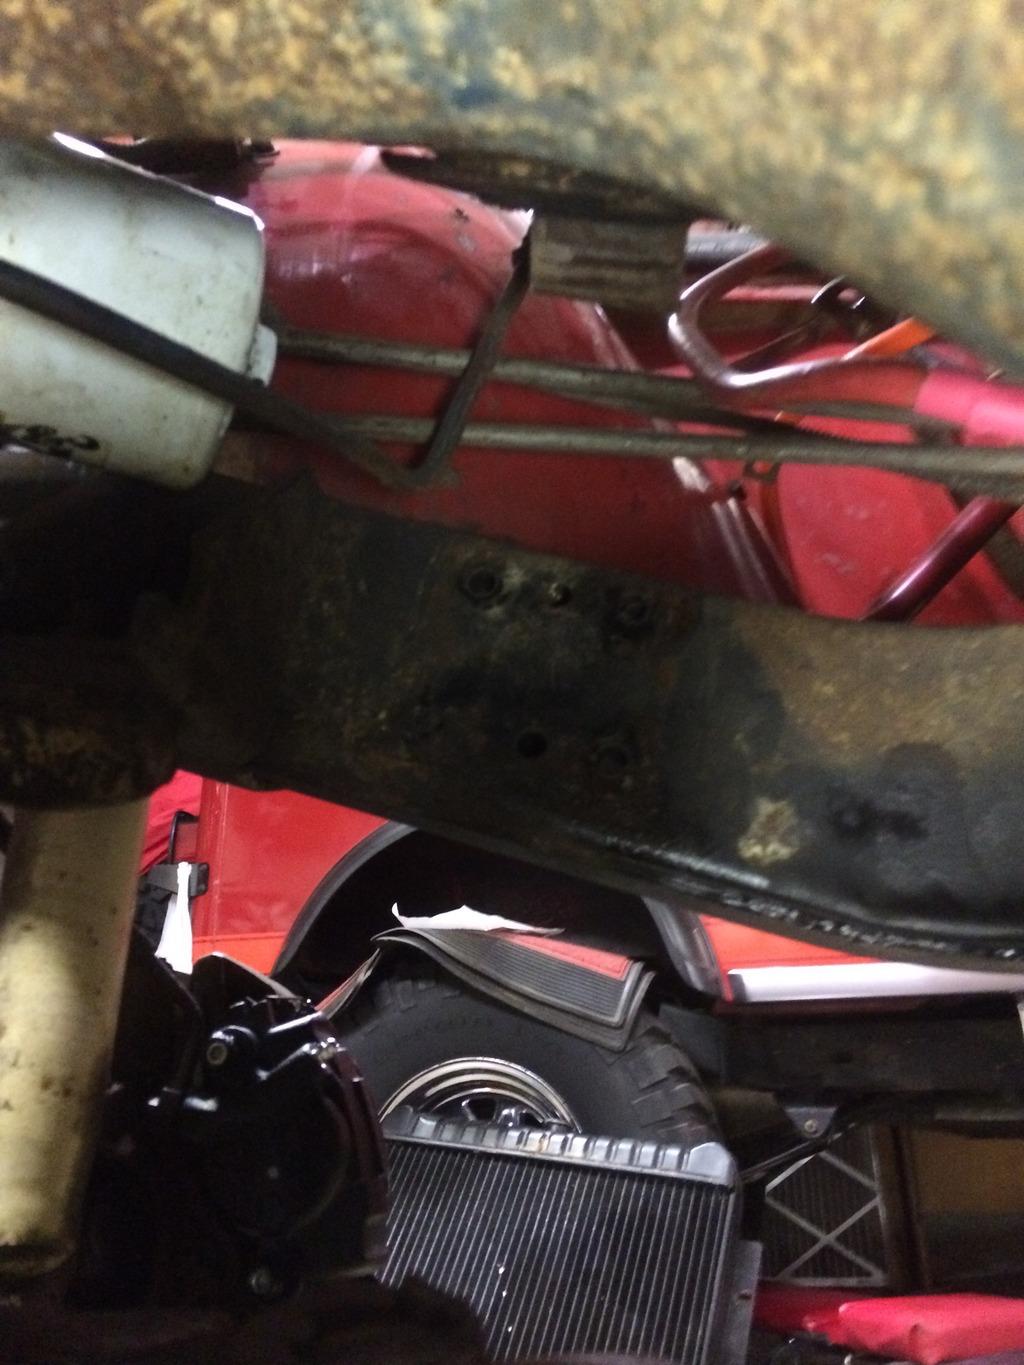
I've been dreading this fuel line correction as knew would have to pull the motor mount & engine cradle to reroute the hard line.

Should of done it when I had front axle out to install the Lock Rite lunchbox locker. (not sure if I recognized back then )

Posted pics of the problem with rubber line and hard line too close to exhaust earlier in this thread.
Dunno if it was a safety issue as PO drove it this way.
But was a pain to install full oil filter and cool fuel is always a good thing.

Just like shock towers, no rust on frame.

IMG_1720_zpsmbjsiqla-1.jpg


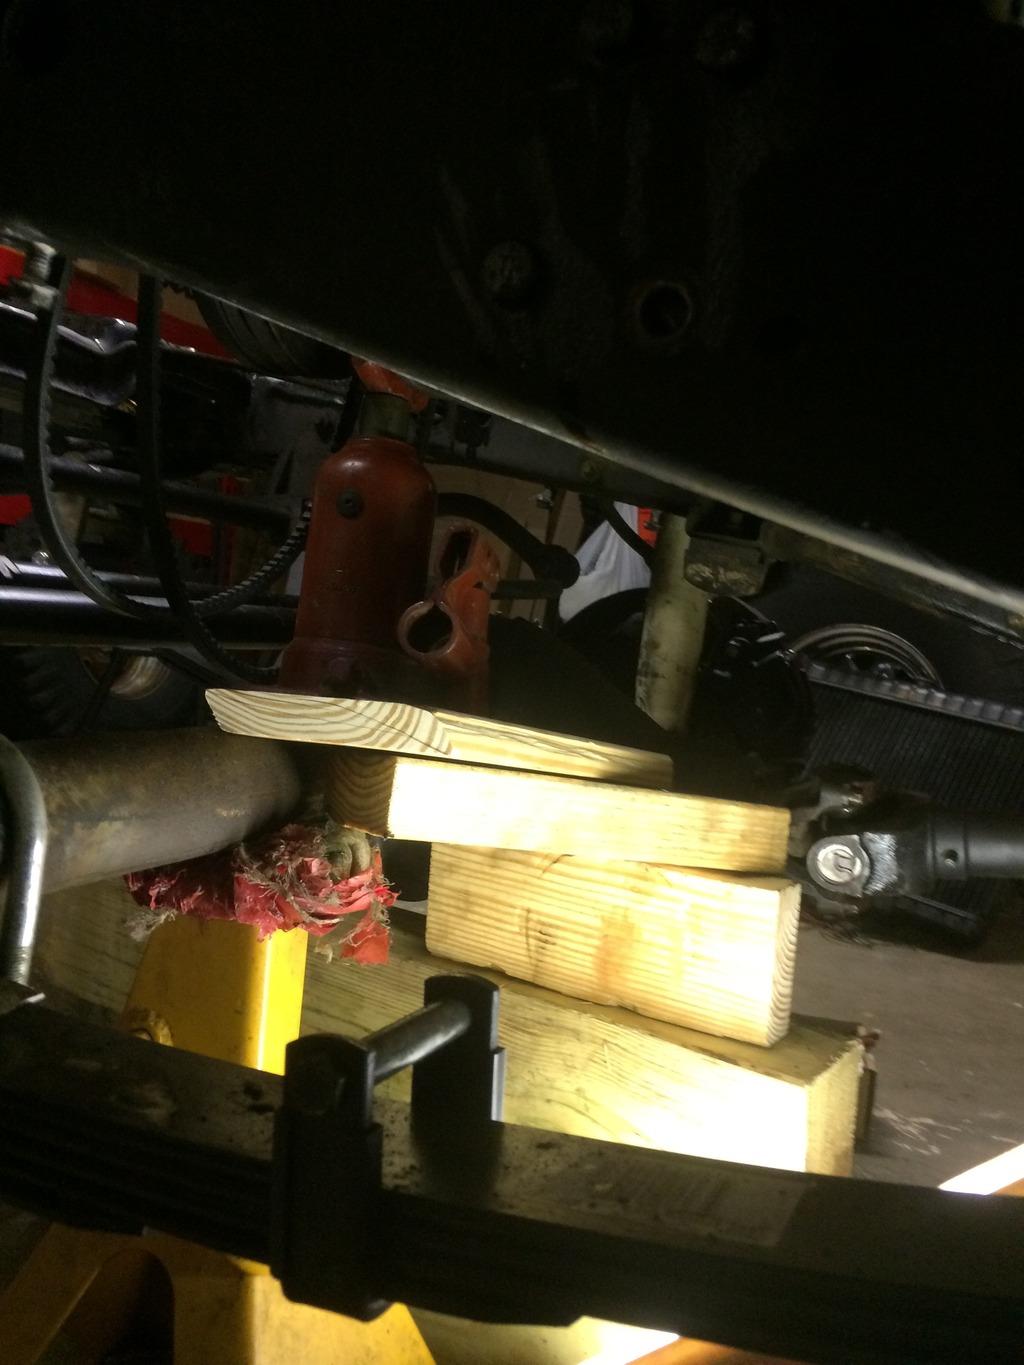
Stacked my lego's to use the trusty Land Rover jack that has nice cradle on end to lift motor.


IMG_1722_zpsrj3rlx73-1.jpg


Got new rubber motor mounts on hand.

Dropped off the nasty parts for 8 bucks worth of powdercoat.
 
Back
Top