• Notice for iPhone users: DO NOT use the image size reduction option when uploading photos to the forum. This causes portrait images to post as landscape. We have added a warning to the image insert pop-up as well.

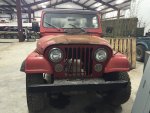
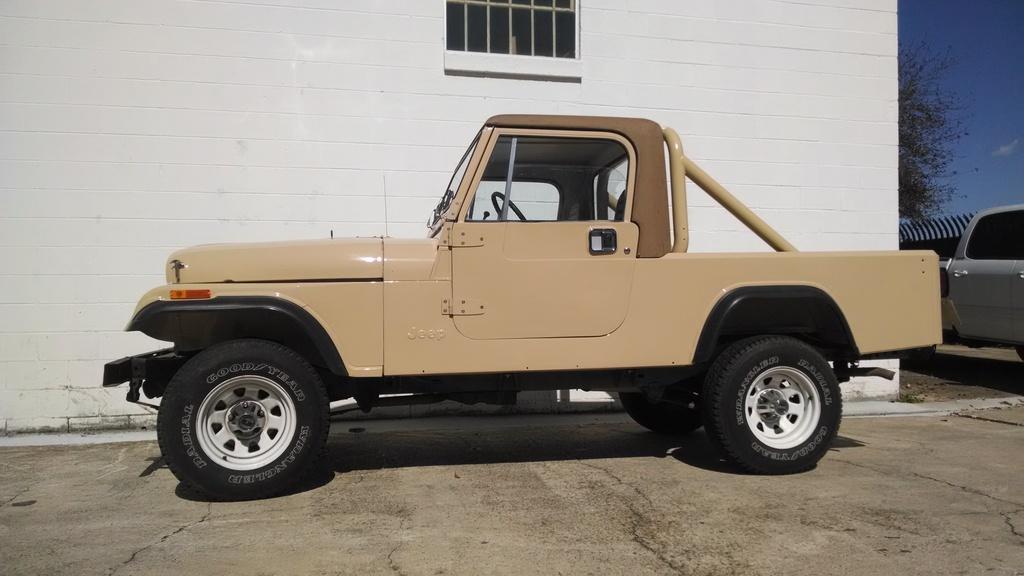
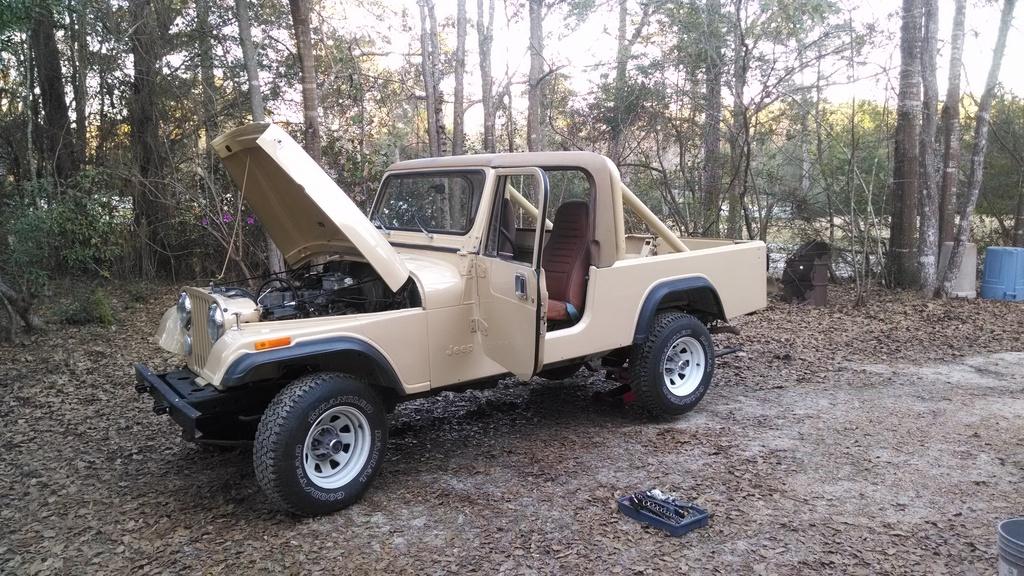
my new scrambler..and first one for me

Have you tried checking with a straight edge to see if valve cover is warped. I have a sick feeling that might be part of the problem. If so hopefully with tightening it down good and your rtv it'll fill the leak. That's a nice looking angle drill. Does it work off air (didn't see a air fitting). Looks like even the angle drill was a tight fit.

The valve cover and head are amazingly flat/true/straight. I can actually put the bare valve cover on the head and it does not "rock", it sits flat, amazingly :thumbsup:

The RTV/cork gasket should work, fingers crossed:popcorn:

The angle drill is an old Black and Decker model, electric. It was just a fixed speed, newer models are variable speed. But, it has a nice slow to medium speed, which worked fine for drilling the cast head :thumbsup: Even with it, it was a tight fit. I was just able to squeeze in there above the valve train and keep the bit straight without hitting the fire wall:cool:
 
Hope the cork gasket does it. Maybe the other gasket was too hard (no give). The drill is a nice size. Keep us up to date on the gasket, good luck.:knockonwood::popcorn:
 
Made some forward progress this weekend on the valve cover.

Before attempting to install the valve cover, I addressed one more issue that bugged me:

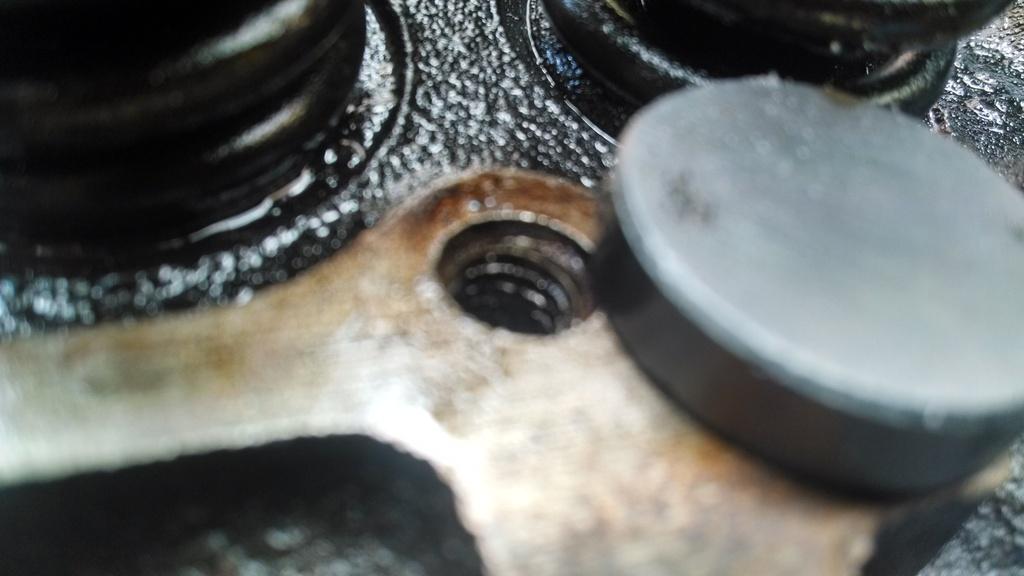
IMG_20160130_103354207_HDR_zpsg4cyygsa-1.jpg


The two threaded holes on the driver side of the cylinder head bugged me. The thread did not start toward the top, and there were only a few threads for the valve cover bolts to thread into. The black round thing in the picture is a magnet.

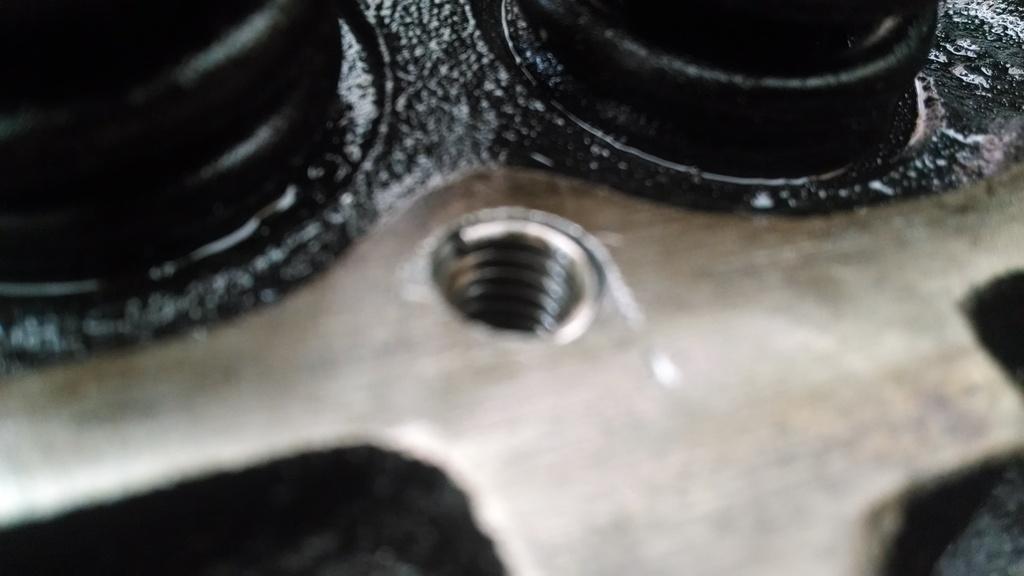
So, I drilled out the existing threads, drilled the two holes a little bit deeper, tapped the holes, and installed helicoils:

IMG_20160130_115719254_zpso4mfrpqi-1.jpg


In the above picture, I should have drilled the hole a hair deeper, but the helicoil was approximately 1/4 turn below the top surface of the head, so it should be fine. Using the helicoils, I now have 1/2" of thread engagement, that is a bit better then the driver side holes, so happy with that.

Now that all 7 holes have good threads for the bolts to go into, time to install the valve cover. Gently snugged it up, hooked everything else back up, started the engine, still a slight leak on the driver side :banghead:

But, here is my problem, from an earlier post:

008_zpshdiiccim-1.jpg


When I glued the valve cover gasket to the valve cover, I flipped the valve cover over right side up, so that the weight of the cover would help glue the gasket to the flange. BUT, before doing this, I did not thoroughly clean and dry the inside of the valve cover, so a bit of oil ran down into the wet RTV on the driver side.

I thought I was going to have to put on another gasket, but I slightly loosened the two driver side bolts, the leak stopped. When I loosened the bolts, the gasket sucked back into position and the leak stopped.

So, after all this rambling, what have I learned: (after previously having great success with valve cover gaskets)

1.) Make sure all 7 holes are present and have the correct threads.
2.) Clean and DRY the valve cover, inside and out
3.) Glue cork gasket to the cover
4.) Make sure valve cover bolts are not too long (i.e. bottoming out before they clamp the cover down)
5.) Gently snug down the bolts, very gently, it does not take much torque at all to seal the cover


So, now the engine isn't leaking oil.

So, I was on a role, decided to fix one other issue: upper radiator hose/clamp was hitting the valve cover. I pulled off the thermostat housing, no gasket. But, plenty of RTV, including all over the thermostat!!!!!!! I cleaned all this up, installed a thermostat housing gasket, reinstalled the hoses. Just the thickness of the gasket gave me enough clearance to slip on the hose clamp. Before I put the gasket on, it was too tight.

Engine running good, no coolant or oil leaks, so now it is leaking fuel out the top of the fuel pump :rotfl:

I took a break from the Scrambler and did yard work the rest of the weekend. I will look at the leaking fuel pump tonight.

That's it for now:wave:
 
It's a jeep, they are made to leak. This ones just keeping up with tradition. :rotfl::banghead:
 
I wouldn't have my "83 project if it wasn't for a valve cover leak that set the Scrambler on fire. Yes a leaking valve cover caused this damage.
 

Attachments

  • 005b.jpg
    005b.jpg
    391 KB · Views: 211
  • 001 (3).JPG
    001 (3).JPG
    412.5 KB · Views: 211
  • 008.JPG
    008.JPG
    192.9 KB · Views: 212
Did some leaking fuel pump investigation last night, don't want to end up like the Scrambler pictured above :eek:

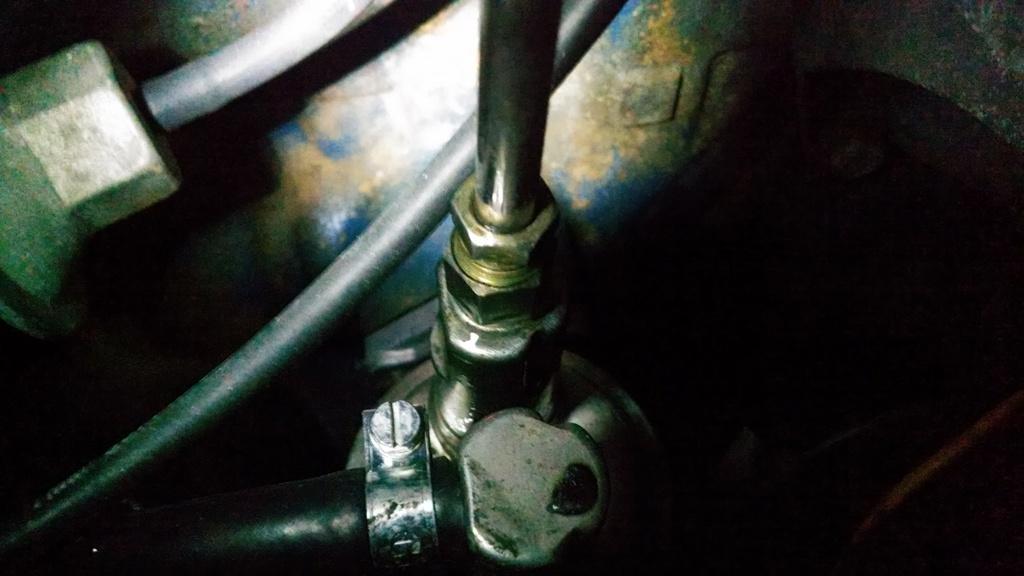
Good news, the fitting on the stainless steel fuel pump to carb line is not damaged, threads are fine.

Bad news, fuel pump still leaking out the top.

IMG_20160201_175407469_zpsgemcsud6-1.jpg


Looks like the threads inside the fuel pump outlet port are a little thin, and a groove/dent in the raised area where the rounded edge of the fuel line should seat against.

New fuel pump should be installed tonight, should fix the problem :fingerscrossed:
 
Simple fix, I imagine your just getting a little tired of the simple fixes. Be worth it when done.
 
Simple fix, I imagine your just getting a little tired of the simple fixes. Be worth it when done.

Always the little things, hope to get this one back to Josh soon :thumbsup::wave:

New fuel pump fixed the leaking gas issue, so back on track.

Hope to get the carb/ignition timing set this weekend, plus a few other simple odds and ends. Josh mailed me the new license plate, so hope to start driving this one more next week, maybe get it back to him next weekend, or the weekend after at the latest, fingers crossed:bacon:

Only one issue with the carb, flat spot if you accelerate quickly. Might have to adjust/replace the accelerator pump thingy, more diagnostic work needed :wave:
 
Well, probably my last weekend working on Josh's Scrambler. Plan on bringing it back next weekend, since Valentines Day is this weekend.

Was able to knock out some tasks, it is now a reliable driver.

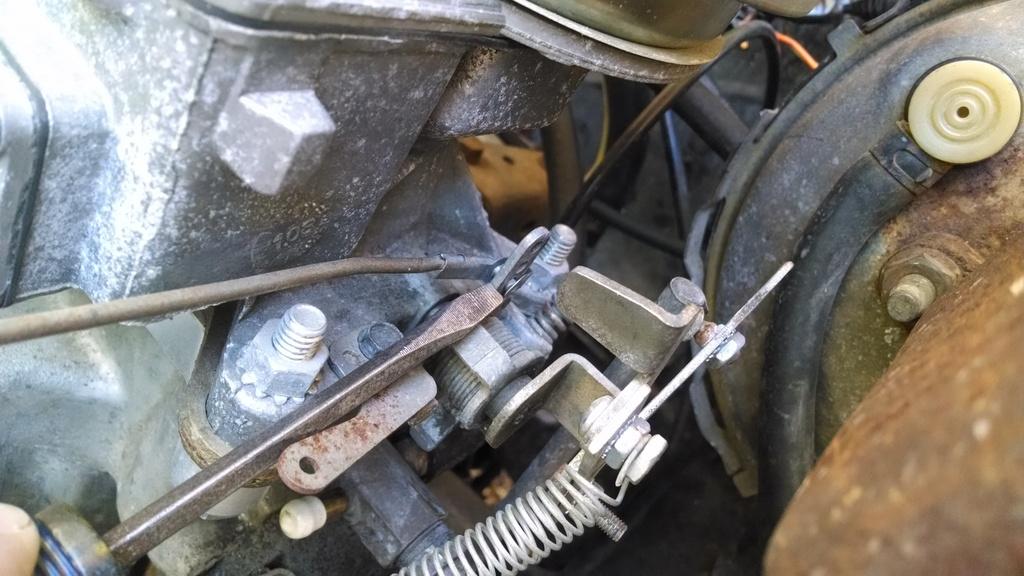
This Scrambler had a bad "flat spot" right off idle if you accelerated hard. Before making any other adjustments, I moved the accelerator pump level from the top hole to the third hole:

IMG_20160207_141702932_zpsbnkwotcs-1.jpg


This brings on the pumps squirt faster, got rid of the flat spot. Well, mostly. Every once in awhile a slight "dead spot" happens, but not often. I am going to change the fuel filter first, then check the float level. I wanted to stay out of the carb, but might have to go inside, we will see.

I checked the timing, it was around 8-10 degrees, so did not mess with that. I set the idle speed to 650, with the transmission in drive, idles great. Idle jumps up to around 800 when in park or drive. I might slow the "in drive" idle down a hair bit more, but it is pretty happy where it is. Biggest adjustment, the air/fuel mixture screws. This thing was running with both screws out 4.5 turns!!!! Very rich. i turned the screws in all the way, then both out 2 turns. With a vacuum gauge hooked up, they are both turned in around between 2 and 1.5 turns, holding 25in of vacuum. Runs much better, and the cat doesn't stink anymore.

After these minor adjustments, this thing is really fun to drive!!!!!!!!! Well, for a 258/Motorcraft carb/auto trans/2.72 axle gears/p-235 tires. Before, it would barely hold 65mph, and it stunk, poor acceleration. Now, it will easily hit 80mph, and the acceleration is brisk. Very "fun" to drive, if that makes sense. I have drove it probably around 200 miles, it is running great. I drove it on the interstate for several 20 mile trips, it runs at 70-75 just fine. So, very happy about that. The cat was really stinking before, but with a better air/fuel mixture, it doesn't stink anymore. I know we all bad mouth the 2.72 gears, myself included, but with an automatic transmission and stock sized tires, this thing is fun to drive.

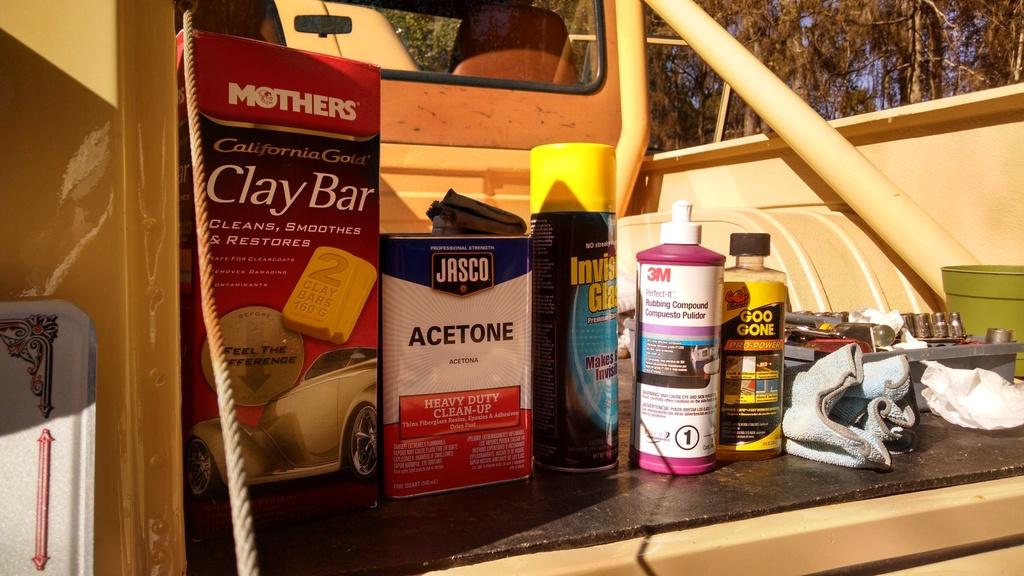
Well, now that I was driving it more, I noticed how bad the glass was. All the glass had a bad "haze". Turns out, it was paint over spray!!!!!!!!!! Normal glass cleaner wouldn't remove it, so I broke out an arsenal of products:

IMG_20160207_141722396_HDR_zpsess1nrqr-1.jpg


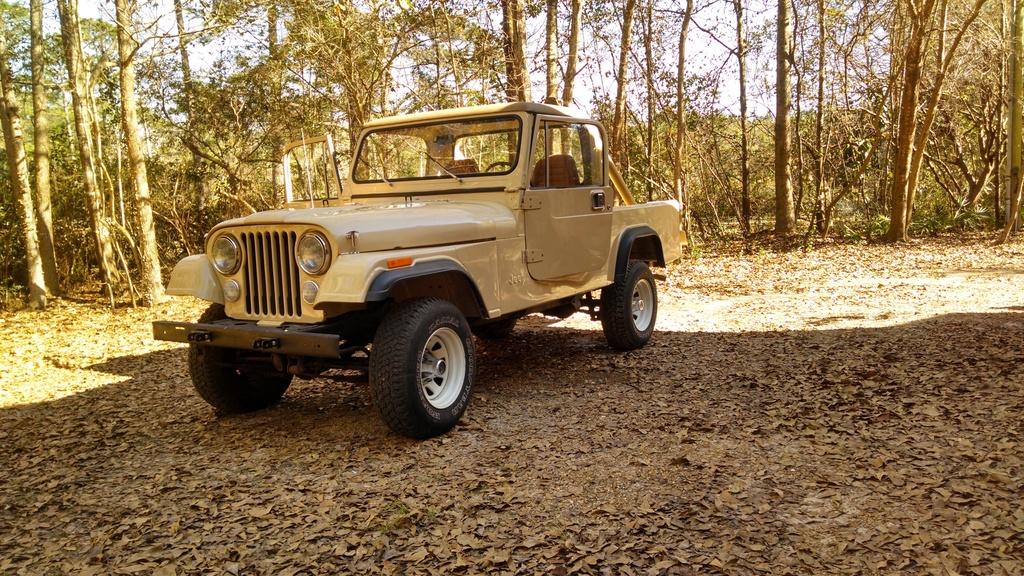
I had to first clay bar all the glass, inside and out. Next, wiped what was left off with Acetone, followed by the Invisible Glass cleaner stuff. Now, I can see. I also clay barred the hood, it had a bunch of rough spots/trash, then polished it out with the 3M stuff. Now, it looks much better, and I can see!!!!!!!!!! Quick picture:

IMG_20160207_141845579_HDR_zpssbtb3apc-1.jpg


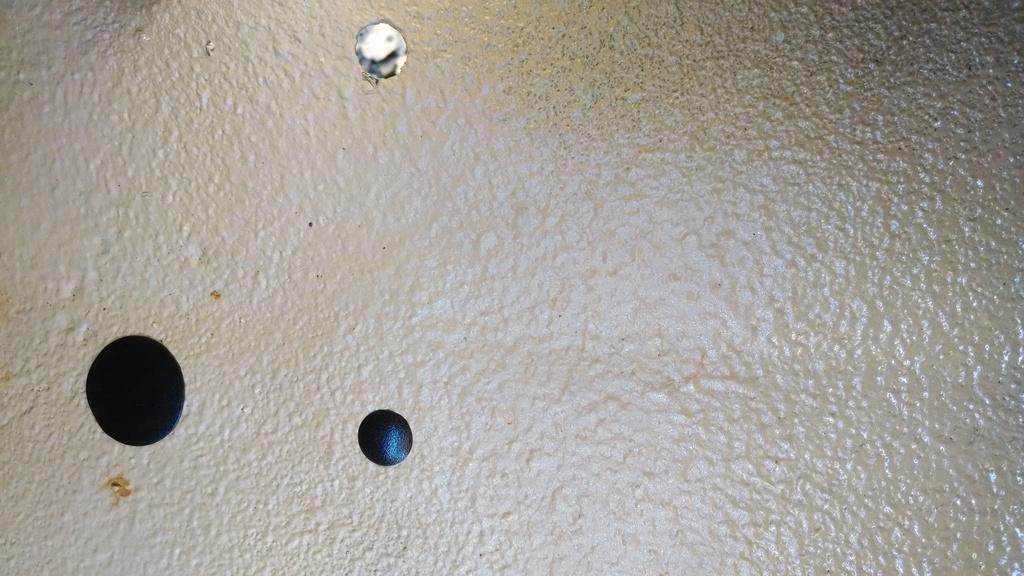
I also plugged all the floor board holes with plastic plugs purchased at Lowes: 1" for drain holes, 1/2" for side step mounting holes, 5/8" for the AC hole in the transmission hump. Cut down on drafts big time.

IMG_20160207_141733993_zpsjyye46c7-1.jpg


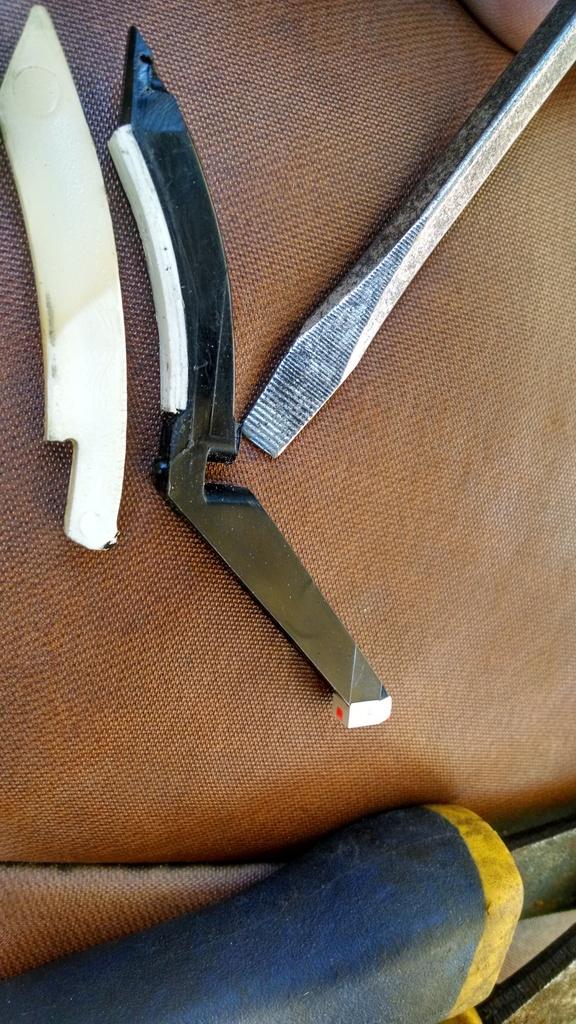
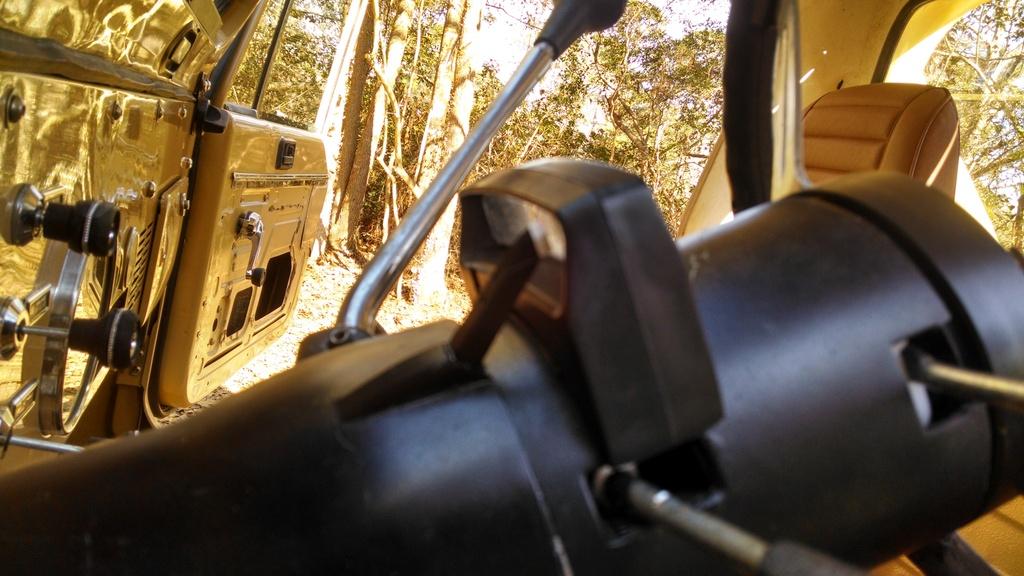
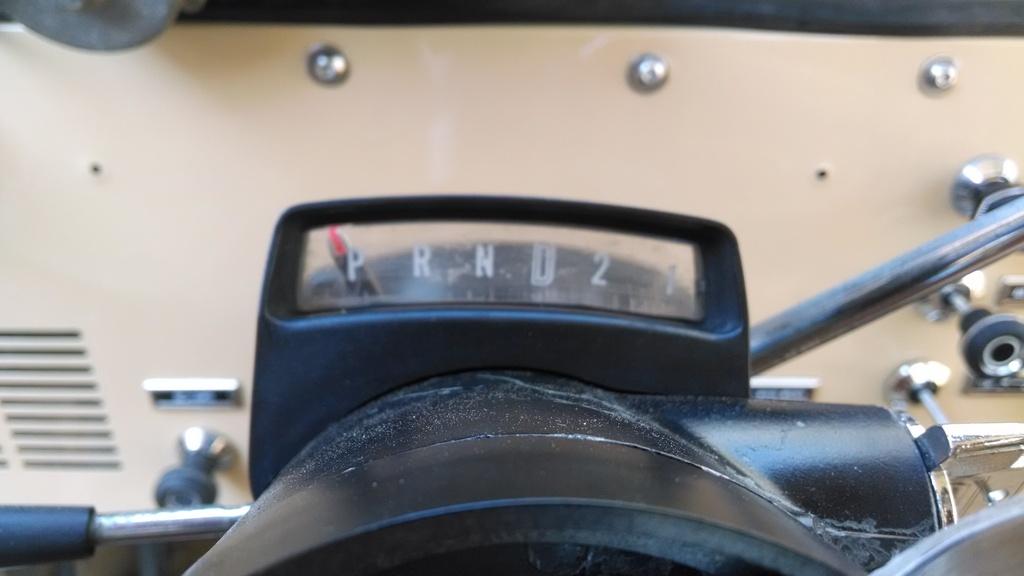
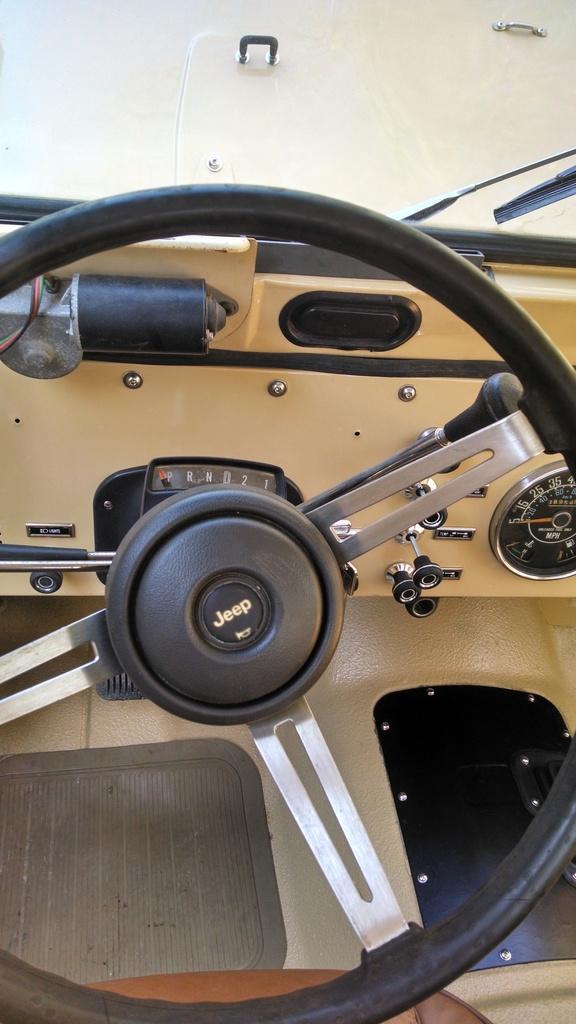
And, I finally finished up the the column mounted gear indicator install.

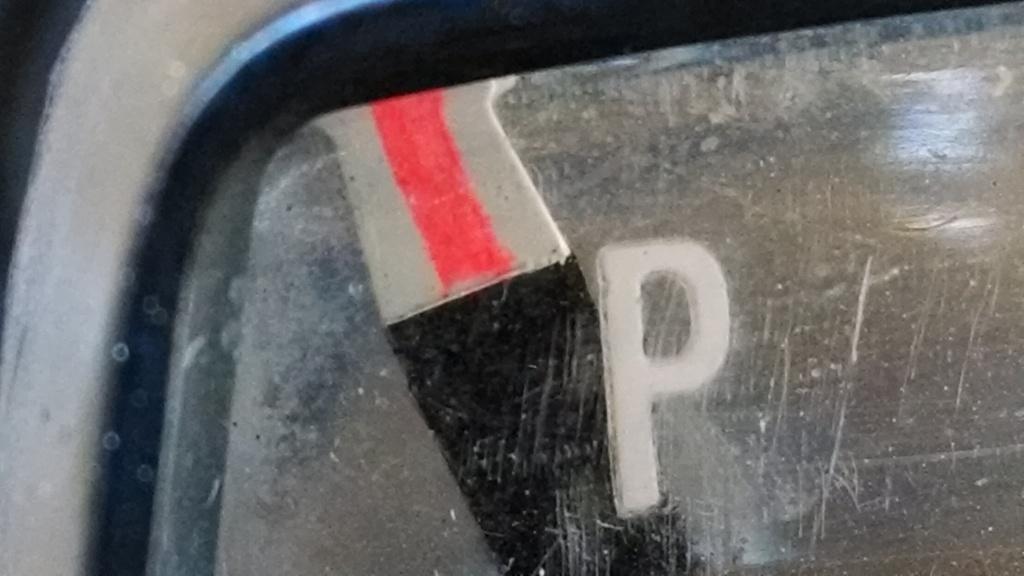
I cut/filed the nub that was present down:

IMG_20160207_142400723_HDR_zps1kuc0fqh-1.jpg


This allowed the needle to sit further back in the column, so it now no longer is jammed up hard against the indicator. The needle still slightly rubs the indicator with the column tilted all the way up, but this is about as good as it gets. I could notch the needle, but that would weaken it. So, I am going to call this little project done. Pictures:

IMG_20160207_142839837_HDR_zps5fgbs0gw-1.jpg


IMG_20160207_142832112_zpsk1qptevn-1.jpg


IMG_20160207_142929173_zps8ngqmtl5-1.jpg


And, finally installed a horn button. I know it is not the "correct button", but a $20 Cherokee button will work in a pinch. I know it is a little thing, but I was tired of looking at the horn contact ring/steering wheel nut stuff, and I was shocking myself every time i hit the horn LOL!!!!!!!!!

IMG_20160207_144944777_HDR_zps3d9wbdk9-1.jpg


I might "tinker" with a few other odds and ends on this one between now and next weekend, but for all intents and purposes, I am finished with this one. It still has a few odds and ends to sort out, and is missing a bunch of easily bolted on stuff, but its time for this one to go back to Josh. It is a Jeep, so it will "never be finished", but this one is in a good state, is reliable, and is ready to be enjoyed by its owner.

I think it will be leaving me in better shape then when it arrived.

I plan on driving this one a bunch over the next 2 weeks, make sure nothing falls apart, so far so good. I am confident enough in it to drive it to work, if that says anything.

One last picture for now, at the office parking lot:

IMG_20160208_121538598_zpszrdfsmyr-1.jpg


That's it for now.
 
One last "work summary" update :thumbsup:

Sat, 1/16 - (5 hrs) install intake/exhaust manifolds

Sat, 1/23 - (3 hrs) drilled and tapped two holes in cylinder head/installed valve cover/hooked everything back up, valve cover leaked

Sat, 1/30 - (5 hrs) drilled,tapped, installed helicoils in two locations in cylinder head/installed new valve cover gasket/hooked everything back up/valve cover no longer leaking/removed leaking fuel pump

Sat, 2/6 - (3 hrs) checked timing/adjusted carb/lots of test driving

Sun, 2/7 - (5 hrs) cleaned glass/polished hood/installed column mounted gear indicator/plugged floor holes


Total time = 216.5 hours


I mainly kept up with the time out of curiosity, never really tracked it before. That's a bunch of time!!!!!!!!!!!!!!
This concludes my time tracking experiment :thumbsup::eek:
 
I spent a couple of hours this past weekend working on Josh's Scrambler, I will be returning it to Alabama this coming weekend:fingerscrossed:

Driving in to work on Friday, noticed a few wiffs of oil burning. Noticed the oil fill plug on the valve cover leaking. Well, by the end of the day, the fill plug broke in half!!!!!!!! Luckily, the bottom part did not fall into the engine, so I was able to limp to a parts store and get a new plug.

Since I had access to a lift at work, I also adjusted the transmission shifter linkage. It would not start in park anymore. The bushings on the shifter linkage cross shaft have a bunch of slop, need to be swapped out, but I was able to adjust it enough to start in park.

I also spent some time chasing down the minor/inconsistent flat-dead spot. The float level was a tad high, lowered it, but that was not the cause of the issue. Looking in the FSM and at the Scrambler, I noticed that the throttle valve linkage (kick down linkage) did not have a return spring on it. I installed a return spring, then adjusted this linkage. No more flat spot, and much more consistent up/down shifting at part throttle, very happy about this.

I also installed the door panels, adjusted the headlights, fixed the parking brake warning light, adjusted driver side door to open/close easier, changed the engine oil and filter, and a few other minor things.

One last picture, love our south Mississippi winters :thumbsup: (need to get caught up on yard work :rotfl:)


IMG_20160213_171212627_zpsicb2dwxf-1.jpg


I also charged the battery on my green Scrambler and got it fired up, I haven't drove it in about 8 months:banghead:

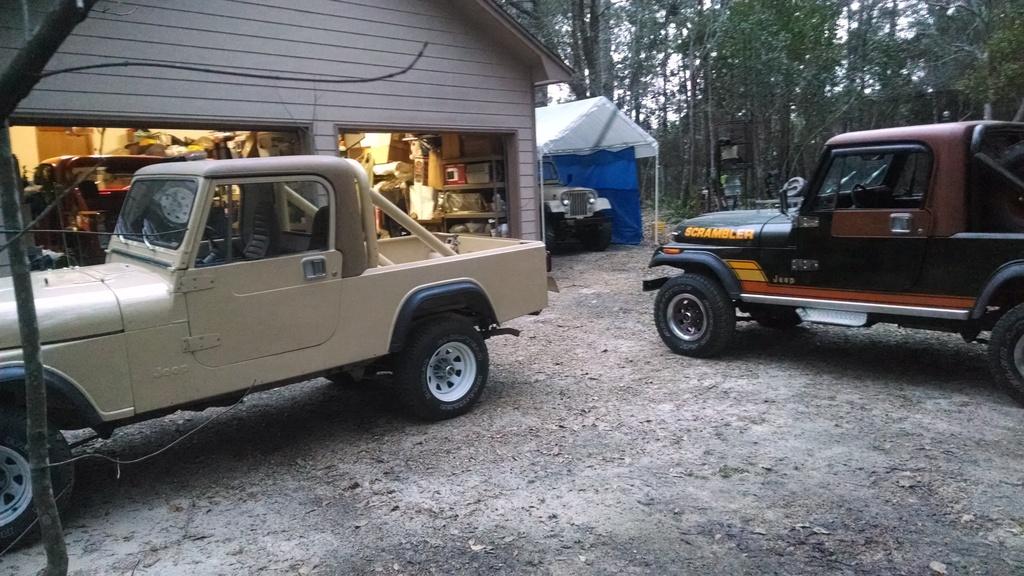
Picture of my three Scramblers and Josh's:

IMG_20160214_174431084_zpspxhjjvlc-1.jpg


Plan on driving this one to work this week, and hopefully back to Alabama this weekend :fingerscrossed:

That's it for now :wave:
 
Fantastic job my friend on Josh's. Do I remember correctly that the Green one my get to come to "Sand Blast" this summer?
 
Fantastic job my friend on Josh's. Do I remember correctly that the Green one my get to come to "Sand Blast" this summer?

Appreciate it Toby :thumbsup: I would like to take my Green Scrambler, not sure if I will have time to do any work to it, though, I've got some other projects lined up:rolleyes:


Excellent work my friend:cheers:...

Appreciate it, pal :crazy:
 
Back
Top