• Notice for iPhone users: DO NOT use the image size reduction option when uploading photos to the forum. This causes portrait images to post as landscape. We have added a warning to the image insert pop-up as well.

New To Me 83--Parts Needed

Wow!! I'm going to start taking the tan 84 apart to help you out on that one...

Easy. You have a great track record for getting and dismantling Scramblers. It's the assembly thing that you need to "help out" on. :rotfl:

Agreed! The only reason Spanks' tan 84 is still in one piece is because it's stored elsewhere. Everytime I go to the storage facility I get some blood flow thinking about striping her down. Then I remember I can't use her as a hostage for "Yard Scrambler" if she's missing a bunch of parts.:D


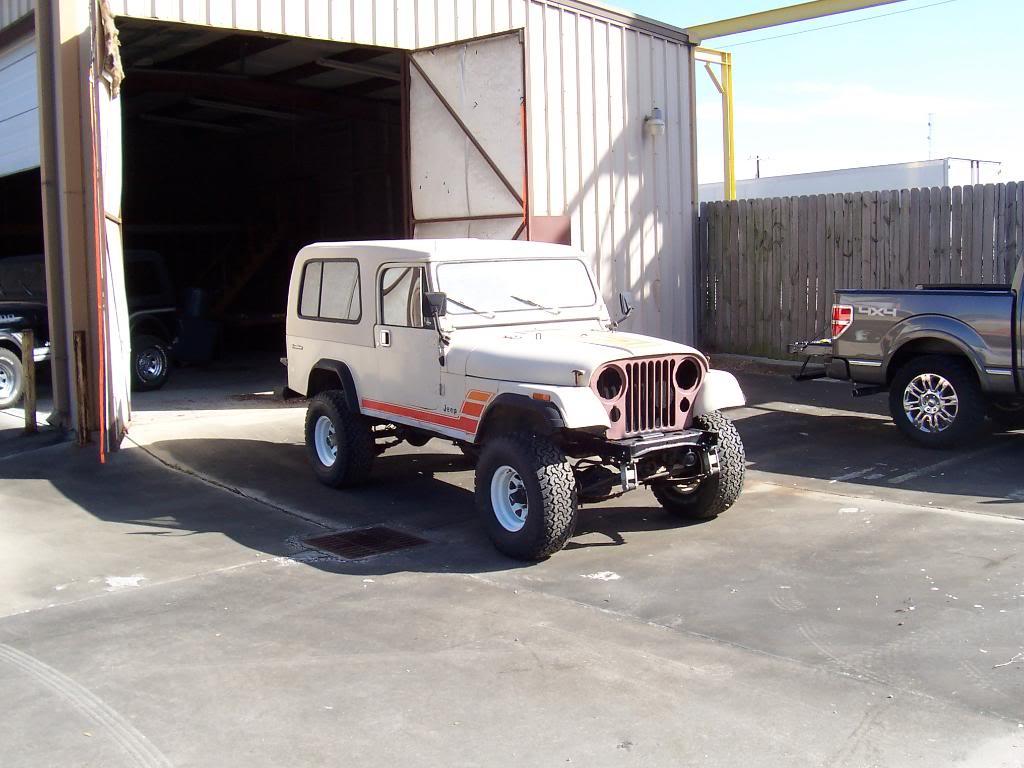
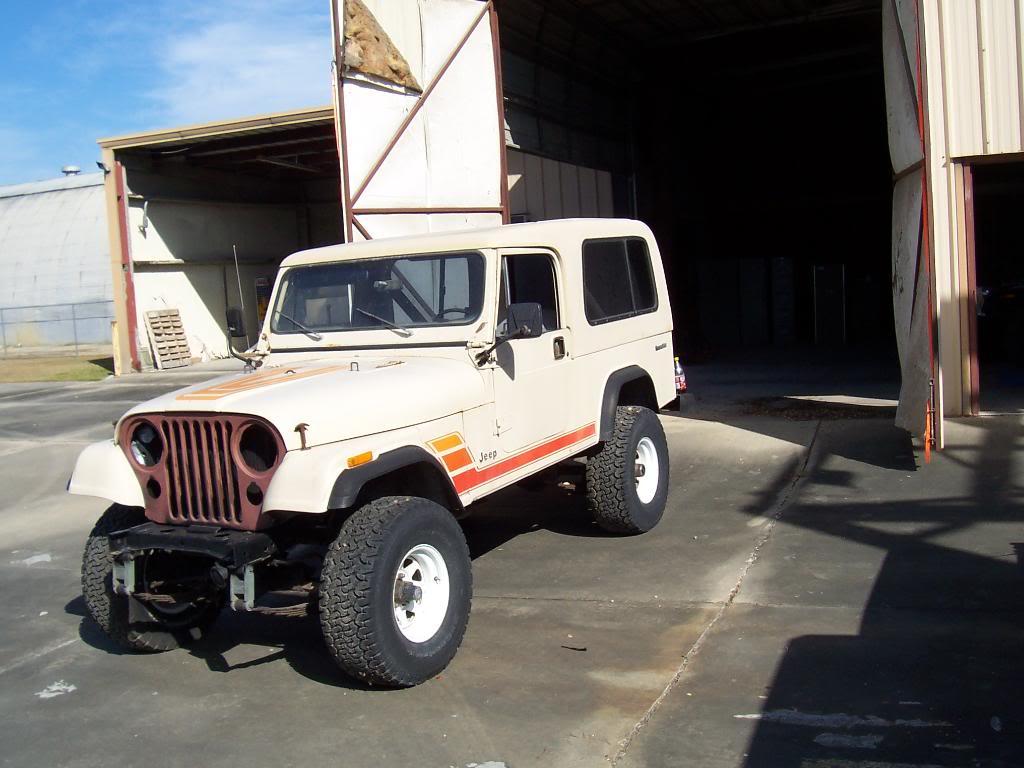
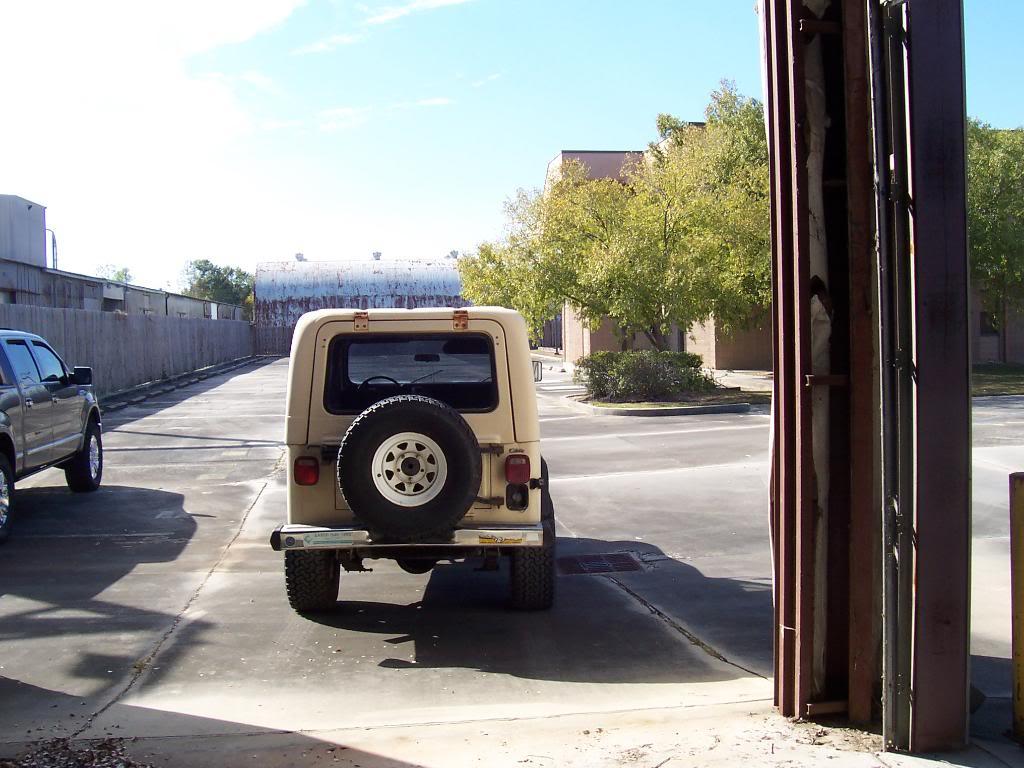
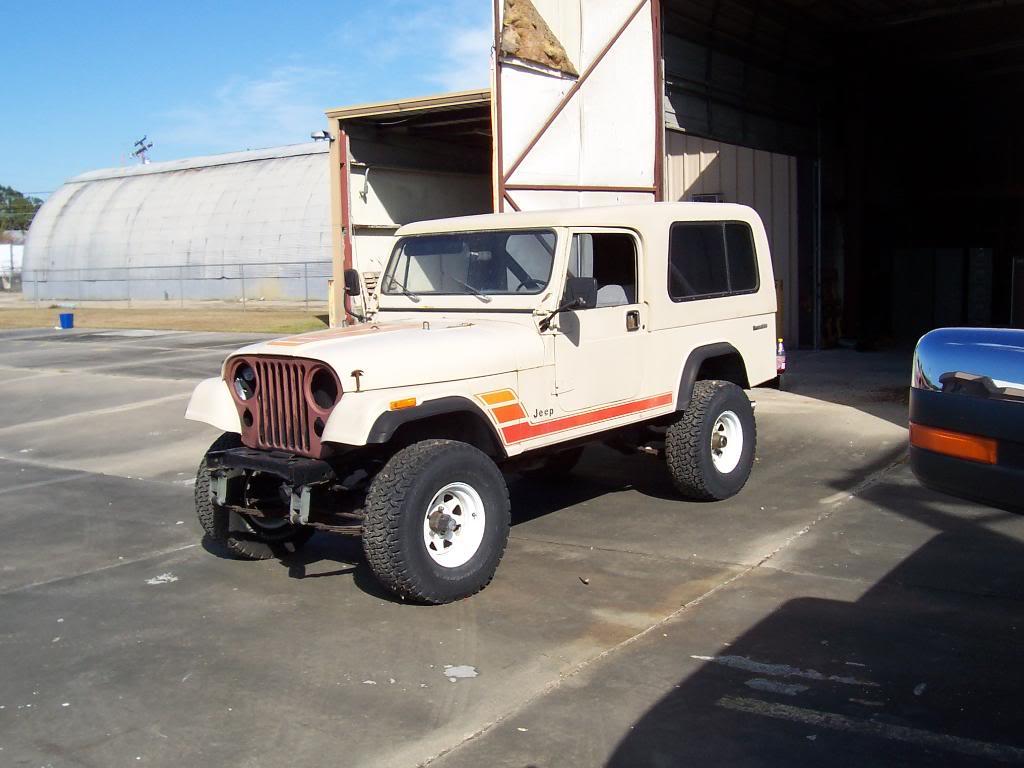
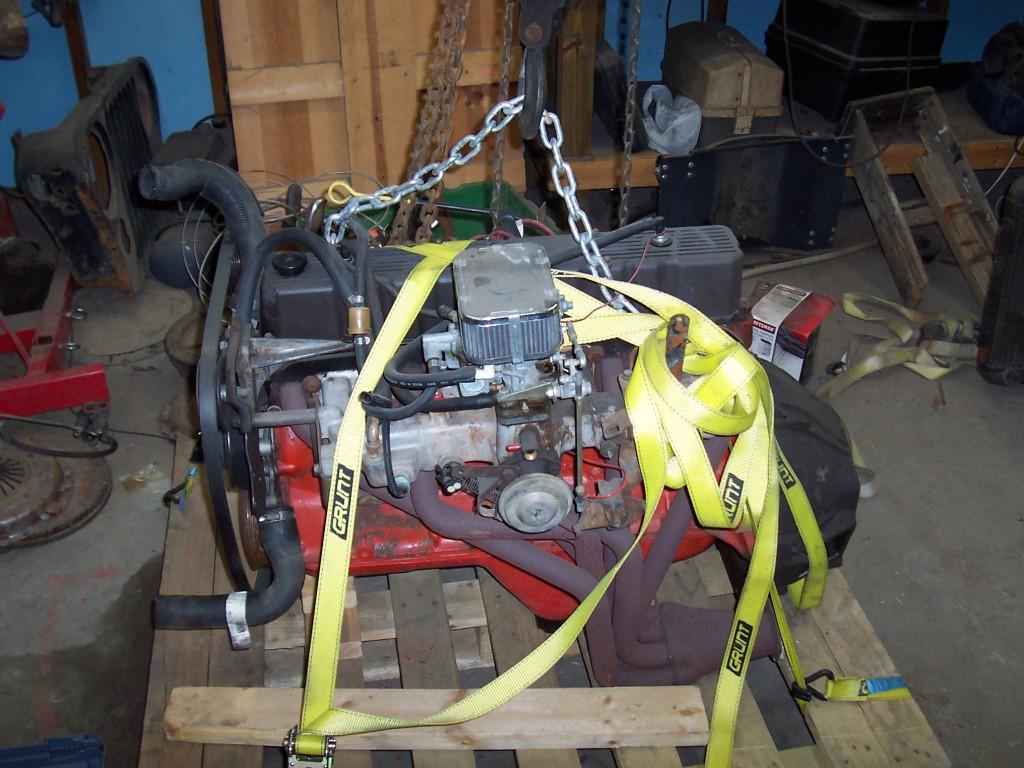
I almost forgot about my poor little "orphan" Scrambler:eek:

020-1.jpg


021-1.jpg


024-1.jpg


030-1.jpg


I need to hurry up with "Yard Scrambler" so I can play with my '84:thumbsup:

PS - Please don't touch it JeepAddict, as mentioned previously, you are great at taking stuff apart, better at losing stuff, and worse at putting stuff back together:rotfl:
 
020-1.jpg


021-1.jpg


024-1.jpg


030-1.jpg


Soooo, I've got a Scrambler that color (no stripes) and I have an ACME full length Hardtop......and I am REALLY digging the look of the HT being the same color as the Jeep. That IS an ACME top right? Did you paint the whole thing all at once or just get paint for the top? I know the paint code is 3A, just wondering if I paint this top if it's gonna match the 27 year old original paint........
 
wm69;259985 Soooo said:
IIRC, it is an ACME Top, but I havn't looked at it in probably a year:shrug::eek::banghead:

JeepAddict should be able to confirm if it is an ACME top:thumbsup:

As for the paint, I have no idea, it was like that when i got it:shrug: I am pretty sure that the top was painted at some point because IIRC it is fading/comig off on the passenger side slightly.
 
It is an ACME top. It's missing a few latches and levers (because I had to fix mine). Other than what it's now missing it's in great shape. The interior is the same color. I believe this is its original color unless somesome before me stripped it completly to paint it. Under all the hinges and rubber moulding is the same tan color. I have a nutmeg ACME that's the same all over color as this one is. Mine is now in great shape. I was able to locate all of the obselete, never to be found, might as well throw the top away missing parts to fix mine up. :evil::bacon:
 
Jeep Addict, I must say you are a very brave man, knowing Spankrjs mechanical ability and seemingly tireless approach to disassembling Scramblers. Or you have your Scrambler stored in a VERY BIG SAFE! :shrug: :wave:
 
All the good stuff is stored in the "Drive through safe". But, he has the combo and ability to strip mine down over night.
 
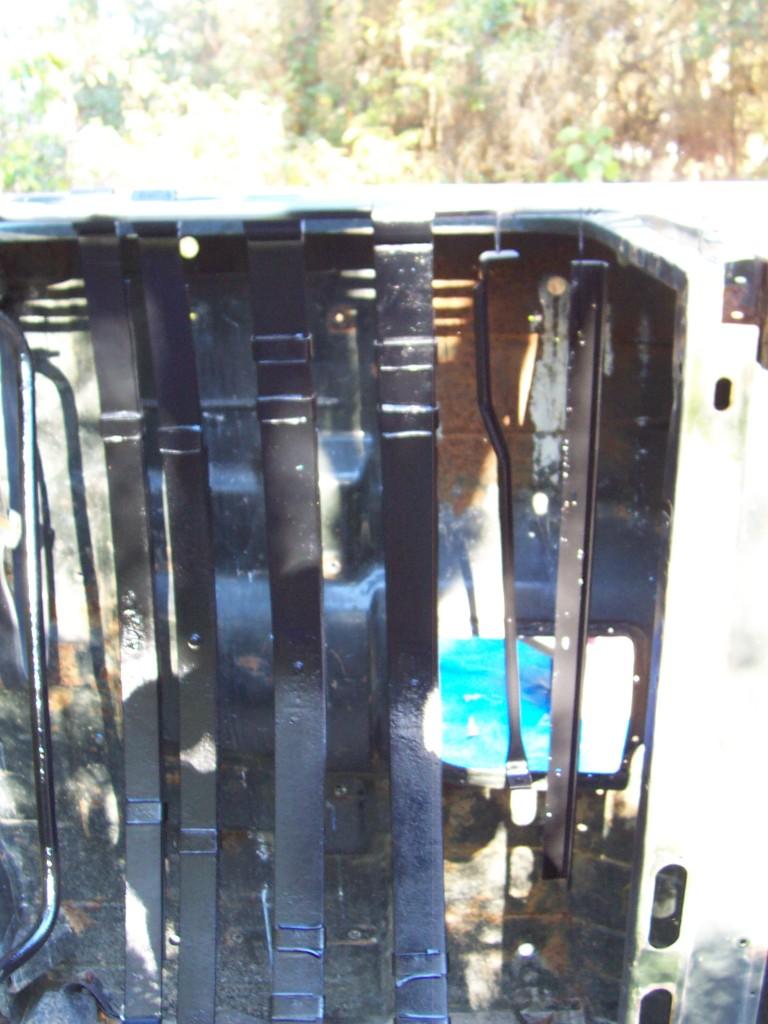
Now, for the fun part, rust removal. I used a wire wheel attached to a drill motor and removed all of the loose/flaky surface rust. I used a Dremel tool to get into the corners. Even though I spent 4-5 hours doing this, it is about impossible to get all the rust out.

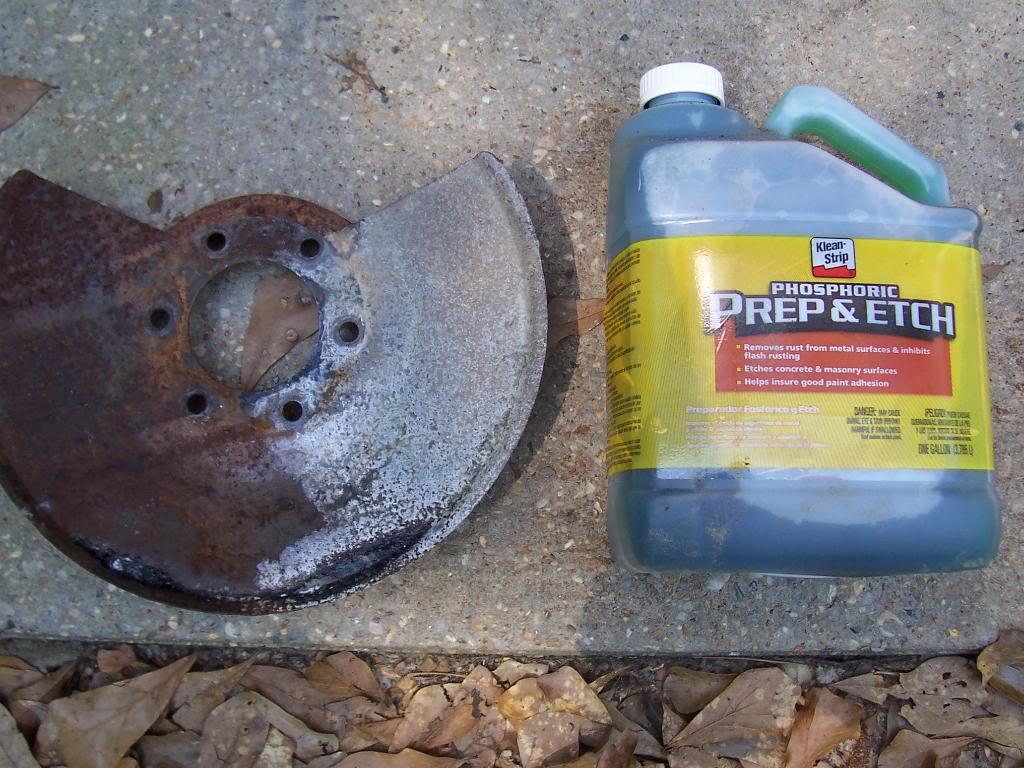
I decided to do an experiment with Phosphoric acid on an old front disc brake splash shield. I did no prep to this piece. I brushed the acid on, waited 24 hours, and this is what I found.

0106-1.jpg

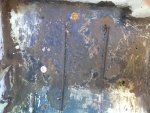
Ok Spanks, hope this isn't too much of a Hijack, but on my "rust free" CJ I pulled the rubber floor mats out and found this....:(


I had this Jeep painted back in the late 90's, and when the floors starting getting some light rust I wire brushed them and put some POR15 down, thinking that would work. This Jeep hasn't been driven much since 02 and I've just recently got it really confortable to drive again (brake issues) so I'm getting it ready to go while I do a manual to auto swap on my other Jeep. Apparently my 1/2 azzed prep job just allowed the rust to continue under the POR15 and now that POR has flaked off and I've got a rust problem. The drivers side just has one or two pinholes, but the passenger's side has quite a few. The floor pan is still sturdy so I used the phospho you have pictured, and plan to paint the pan for now. Question is, if I can grind enough of this out can I weld up these pinholes, grind it smooth, and use some glazing putty to smooth up the pits before I paint the floors? I don't have a welder so would have to get a friend to do it. I'm just wondering if that would work or if I need a new floor pan. I'm going to phospho it and paint it for now just to stop it from advancing any further.
 

Attachments

  • IMG_2454.jpg
    IMG_2454.jpg
    798 KB · Views: 138
Ok Spanks, hope this isn't too much of a Hijack, but on my "rust free" CJ I pulled the rubber floor mats out and found this....:(


I had this Jeep painted back in the late 90's, and when the floors starting getting some light rust I wire brushed them and put some POR15 down, thinking that would work. This Jeep hasn't been driven much since 02 and I've just recently got it really confortable to drive again (brake issues) so I'm getting it ready to go while I do a manual to auto swap on my other Jeep. Apparently my 1/2 azzed prep job just allowed the rust to continue under the POR15 and now that POR has flaked off and I've got a rust problem. The drivers side just has one or two pinholes, but the passenger's side has quite a few. The floor pan is still sturdy so I used the phospho you have pictured, and plan to paint the pan for now. Question is, if I can grind enough of this out can I weld up these pinholes, grind it smooth, and use some glazing putty to smooth up the pits before I paint the floors? I don't have a welder so would have to get a friend to do it. I'm just wondering if that would work or if I need a new floor pan. I'm going to phospho it and paint it for now just to stop it from advancing any further.

I would try to remove all the rust with a wire wheel first, then acid it. You should be able to weld the pin holes up with a welder. As far as the pitting goes, you could smooth it over with bondo, but the bondo would probably crack when the sheet metal flexes:confused: If it was me, I would just remove the rust, weld up the pin holes, paint it, and leave the surface imperfections. They can be covered up with a floor mat:thumbsup: Replacing the floor plan will involve a bunch more work, and it can possibly damage the exterior paint when the new one is welded in:eek:


On a side note, I have been slacking off on the "Yard Scrambler" project, I need to get back to work on it:banghead:

I did push the axles back underneath the frame, so it "looks" like I did something:D

I need to start cleaning/painting all the small suspension/engine/steering brackets and doodads so I can start reassembly.
 
Thanks for the info. I put a second coat of phospho on it yesterday and will clean it up today after work. I didn't think about the glazing putty cracking but you're right, the floor pans do flex a lot. I'll do as you suggested and weld up the pin holes and then just paint it. I'm going to wash the phospho out and paint it until spring before I can get the holes welded up (hunting season is here). Anything special I need to do as far as type of paint. I know there is weld through primer. Should I use that or just paint and then wire wheel it again when I get ready to weld?

Yeah, you need to get back to posting detailed pics on your work. This is a good tutorial on DIY work and I've got the thread marked for reference for some upcoming projects on the other Jeep.

Thanks for the help.
 
Glad all this stuff is useful, and I will get back to work on "Yard Scrambler" some time this week:thumbsup:

As for the primer/paint, I would just rattle can it for now. When you weld in the new pans, might want to ask some others with more experience with this type of work:thumbsup: I would imagine you use the weld through primer around welded areas, and normal primer/paint after welding/clean up is finished:shrug:
 
Man I can't believe it's almost two years since the revival of yard Scrambler started... Time sure flies :thumbsup:
 
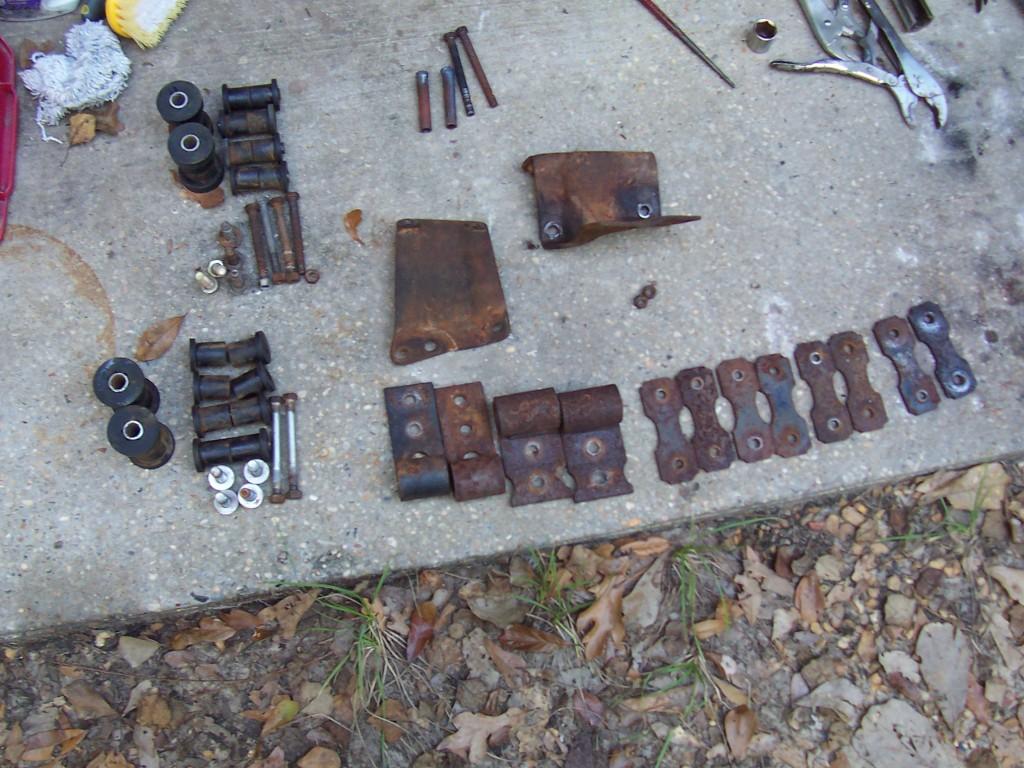
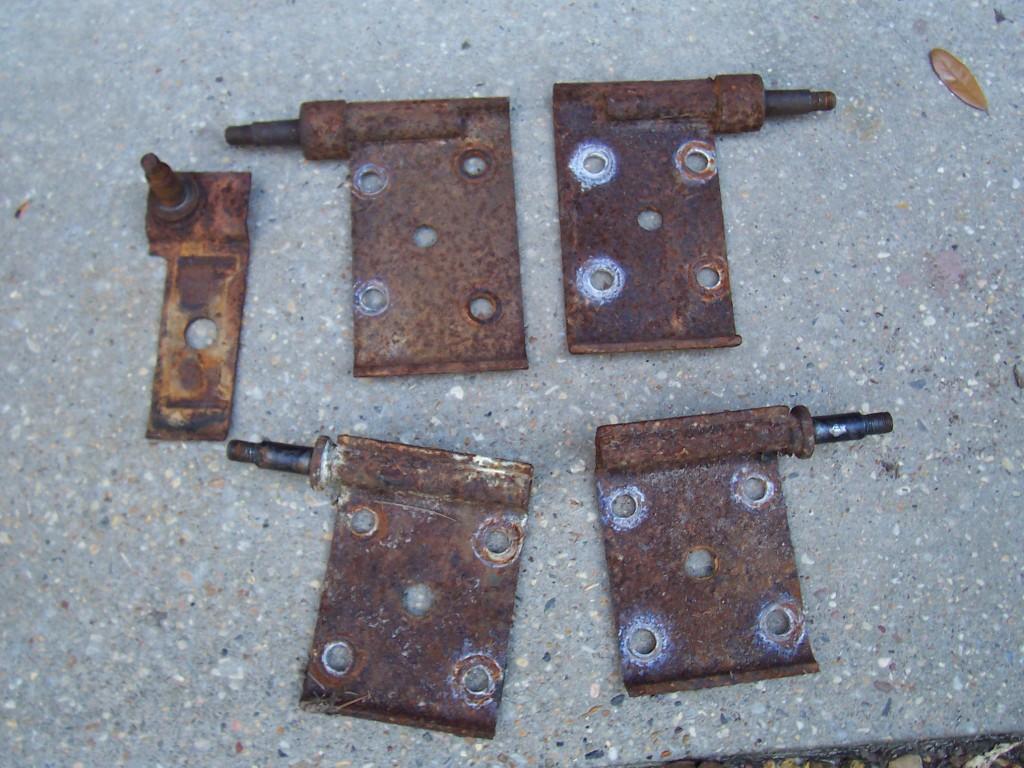
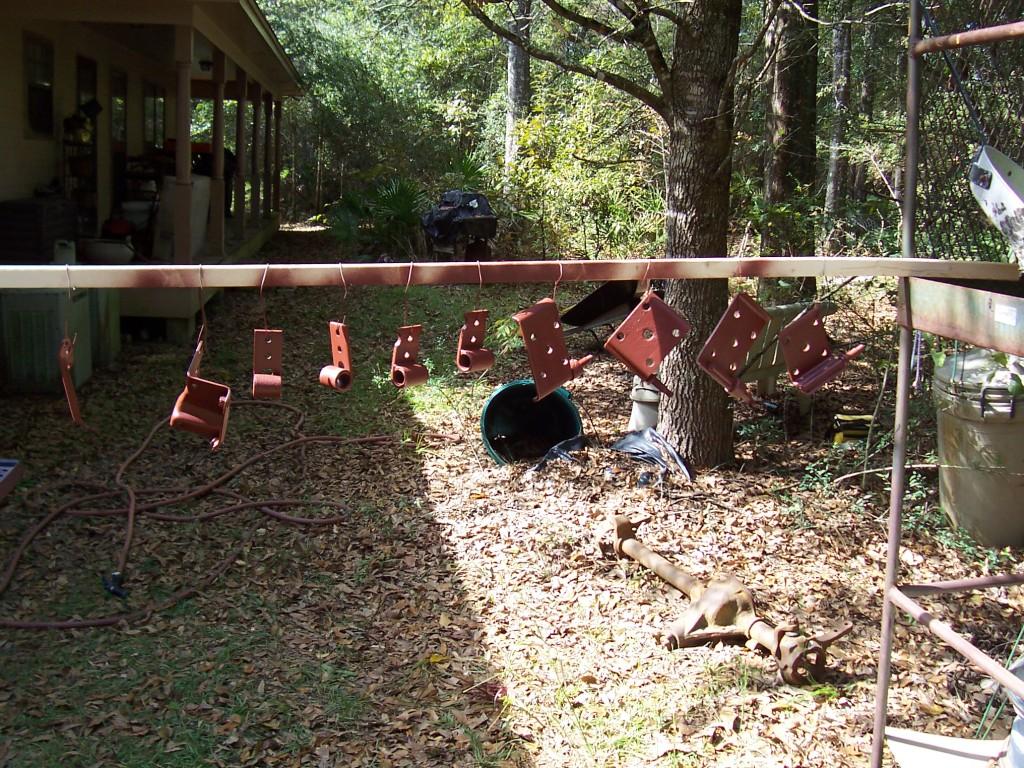
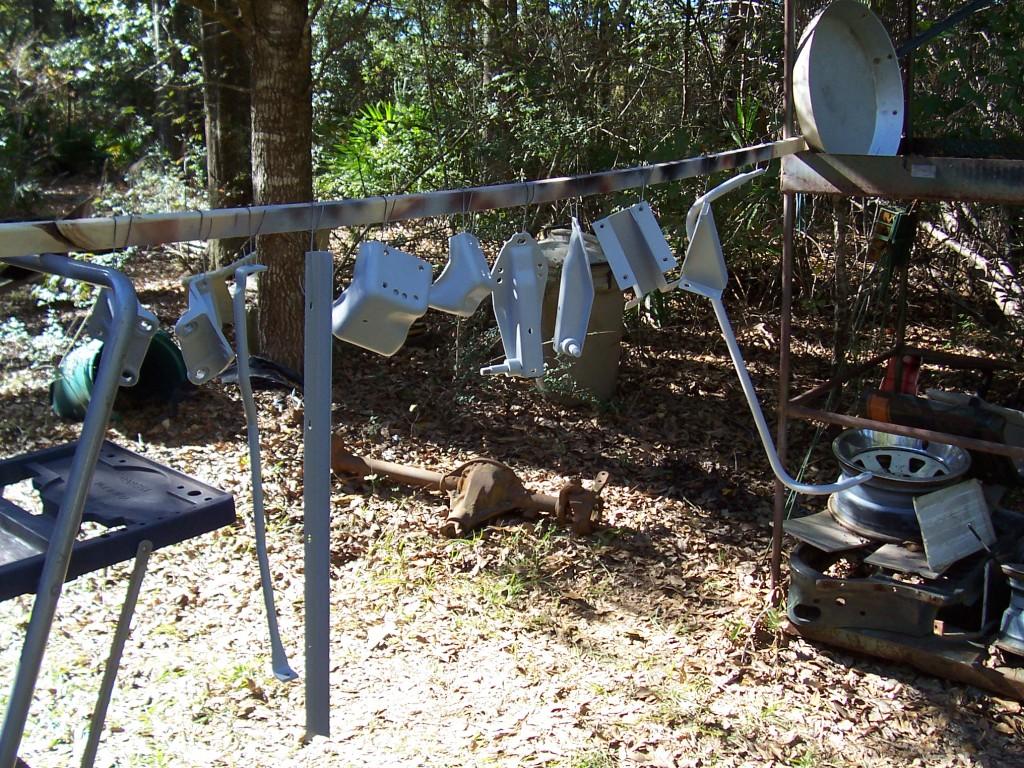
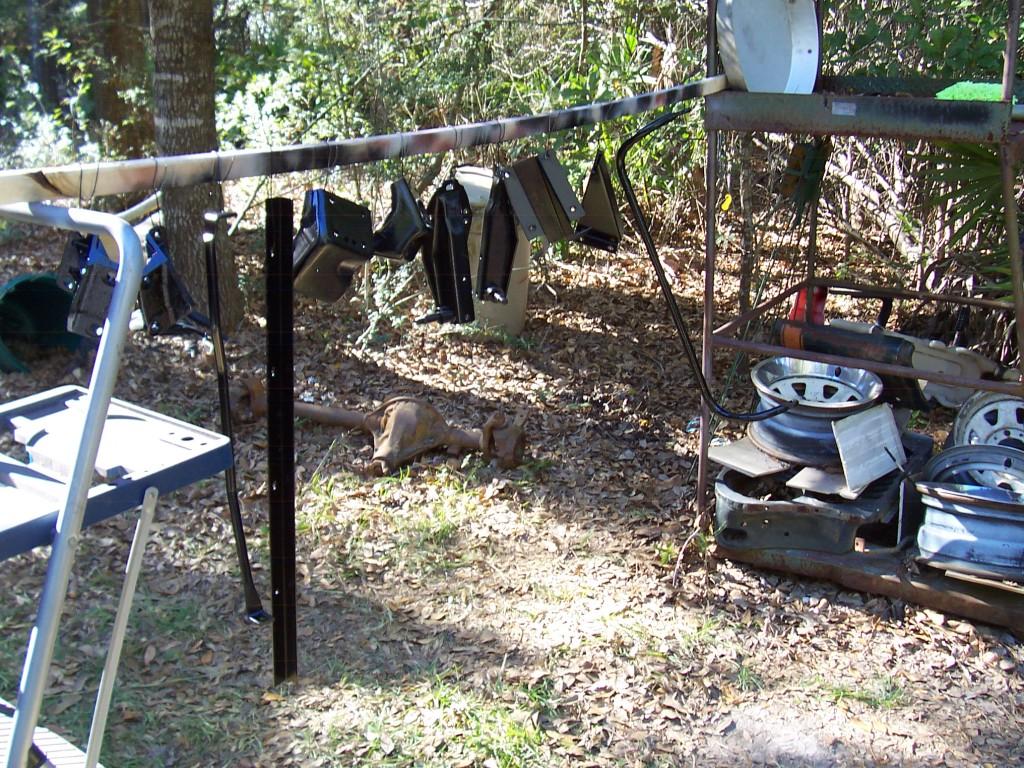
I got back to work on "Yard Scrambler" this weekend. I was able to clean/prime/paint all of the loose suspension/steering/frame attachment pieces that have been floating around in the yard. None of these parts were rusted too bad, but they were all covered in surface rust, and I could not bring myself to bolt this rusty "junk" on the nice clean frame.

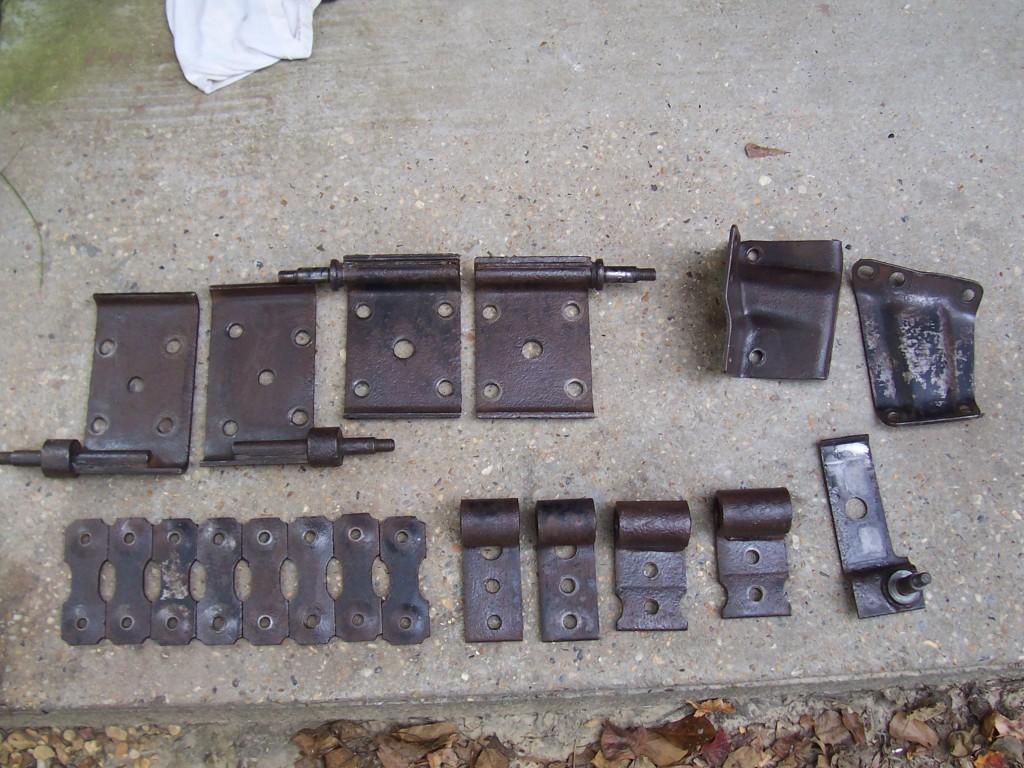
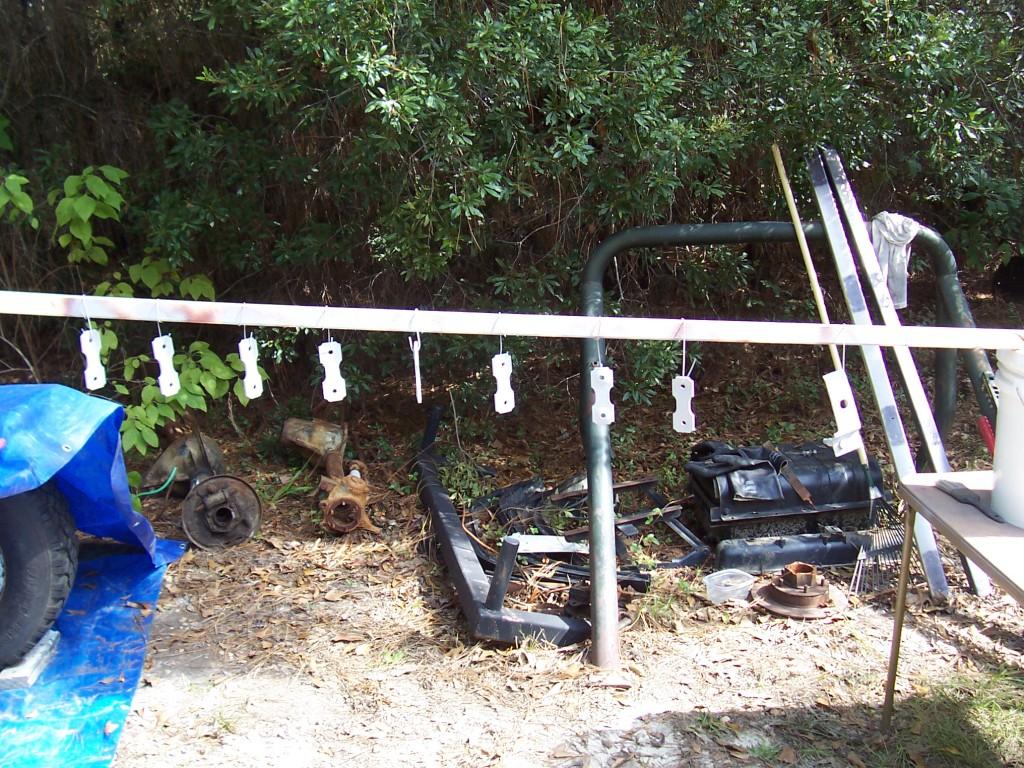
Before shot of all the parts needed to bolt the suspension back to the frame/axles: shackles, shackle hangers, steering box hangers, steering stabilizer bracket, and U-bolt plates. I removed all the new bushings from these parts before I started cleaning them.

00125-1.jpg


00226-1.jpg


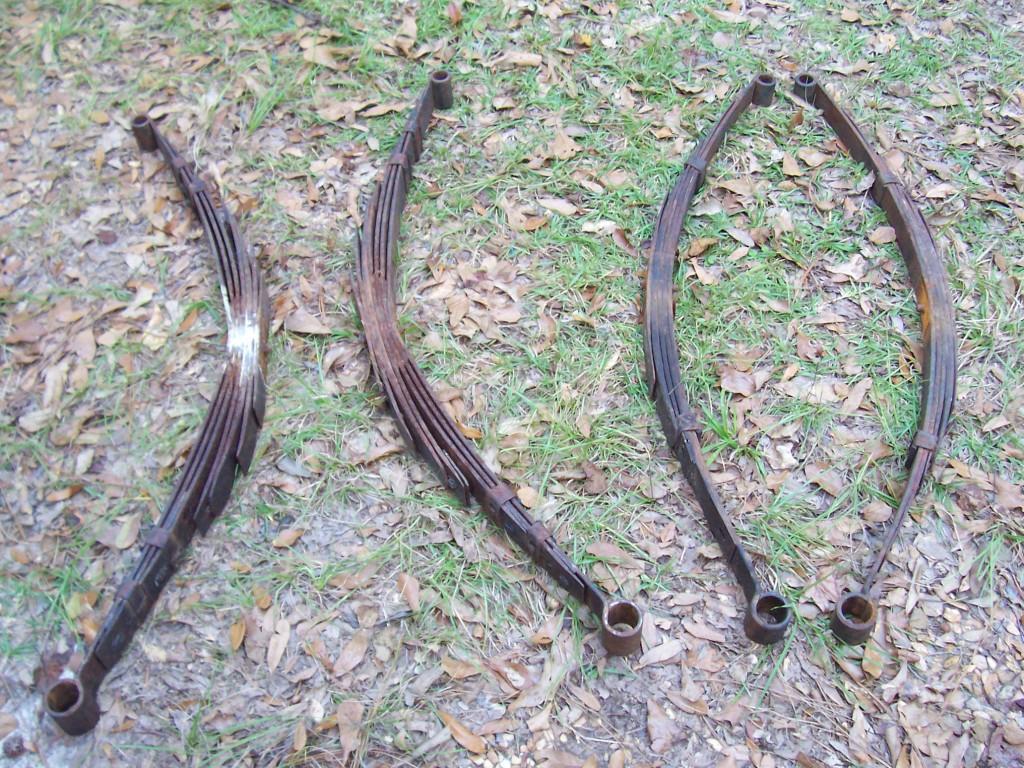
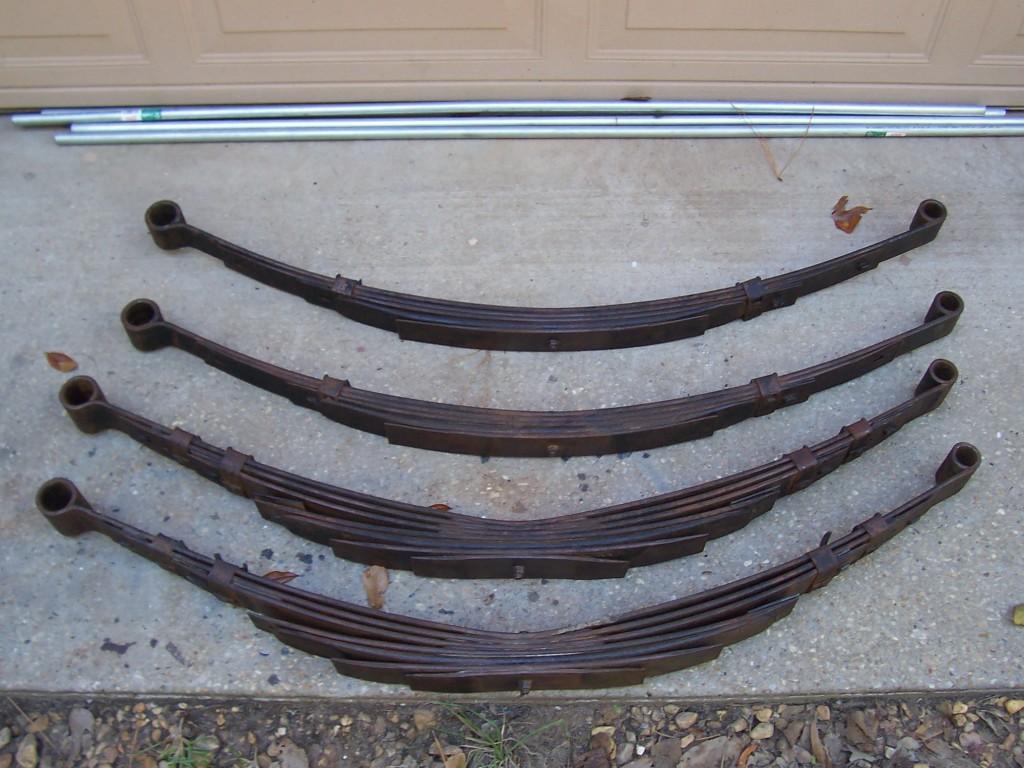
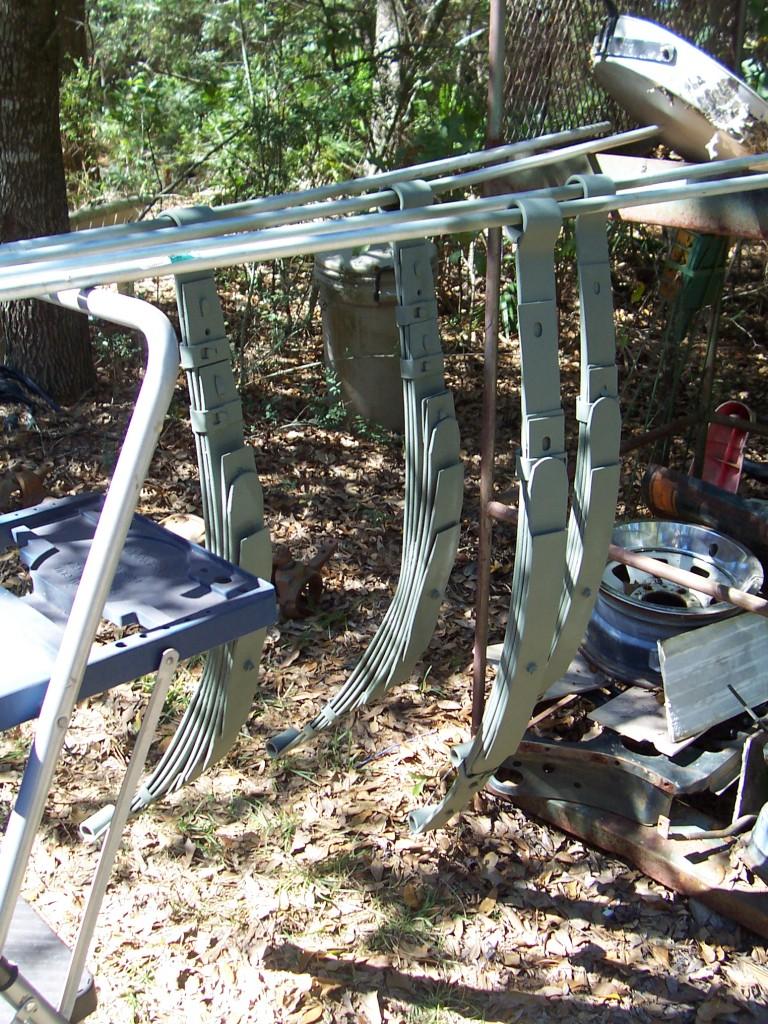
Picture of the leaf springs. At first, I was not going to clean them up, but in the end I did. I believe they are some type of lift spring, perhaps a Rancho 2.5" lift spring, they all have "RR" and various numbers stamped on the bottoms of them.

00327-1.jpg


And after thoroughly wire brushing/wiping down with acetone prior to painting.

00522-1.jpg


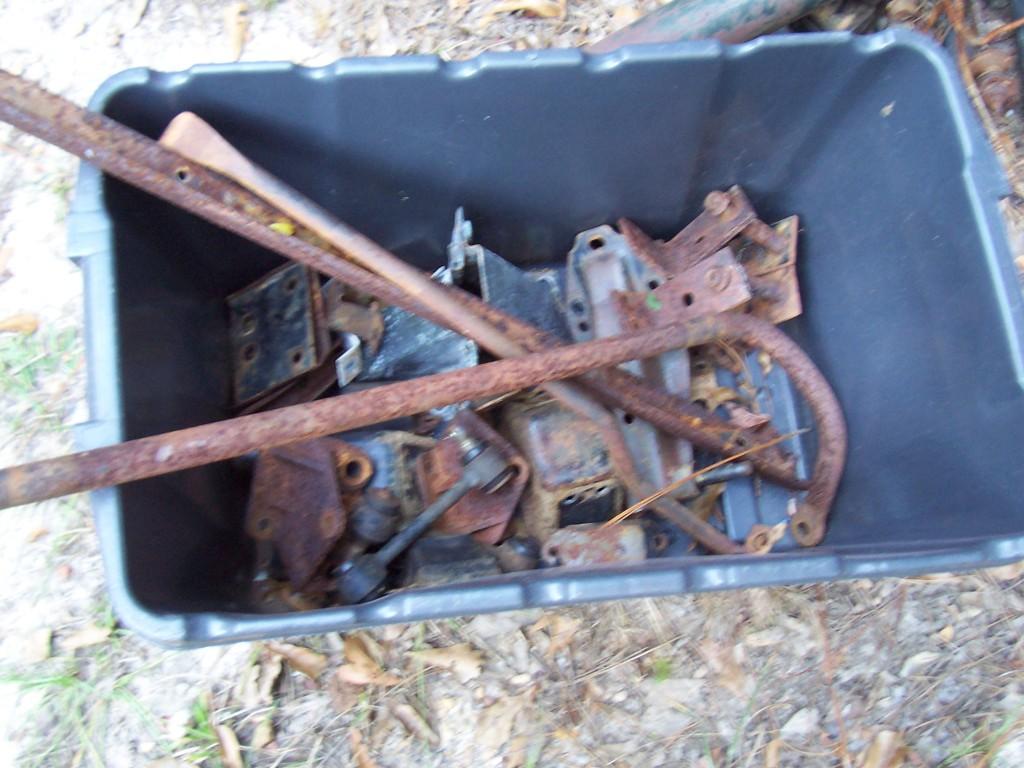
And the remainder of the parts, I knew that old recycling bin would come in handy.

00424-1.jpg


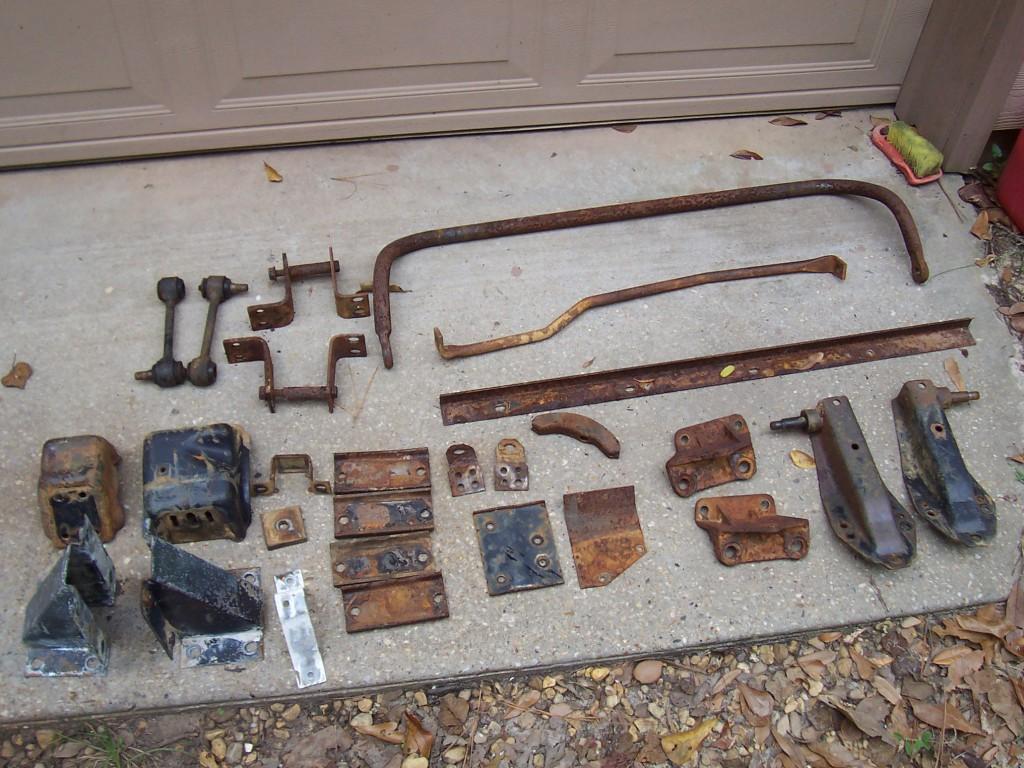
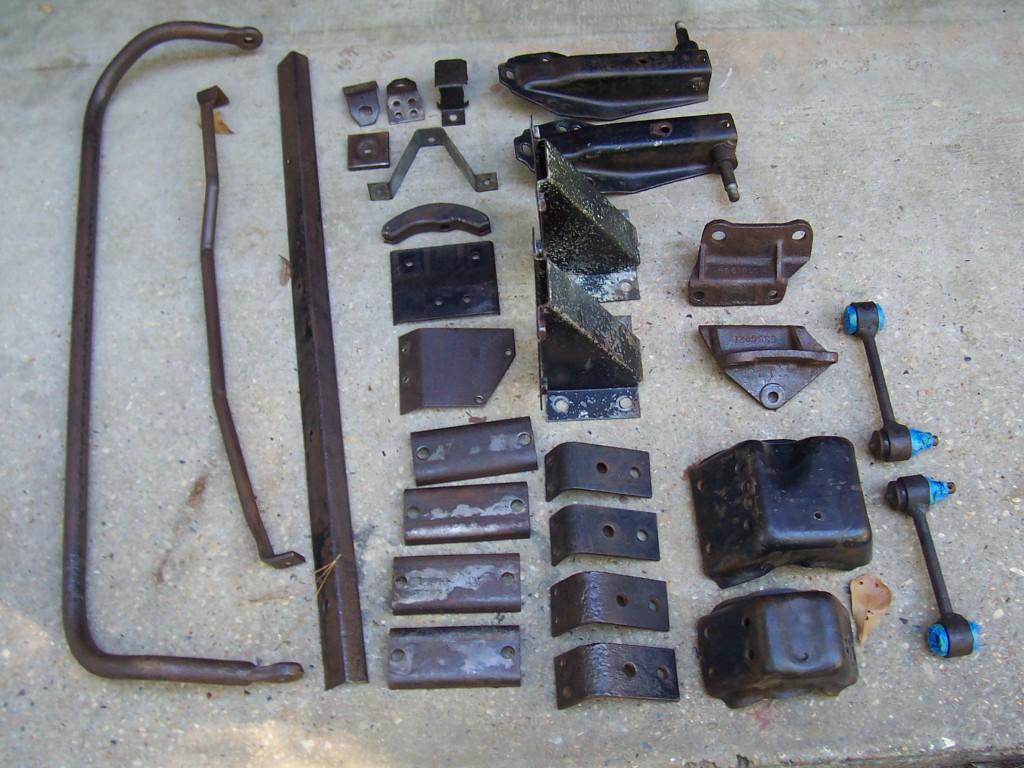
Picture of the above parts spread out on the ground. All of these parts bolt on to the frame.

01411-1.jpg


These parts include: sway bar (with attaching brackets/links), engine mounts, front shock mounts, rear cross member/bumper braces, bump stop brackets, front break line brackets, parking break brackets/pieces, proportioning valve plate, cross member angle piece, etc.

After cleaning them up.

01511-1.jpg


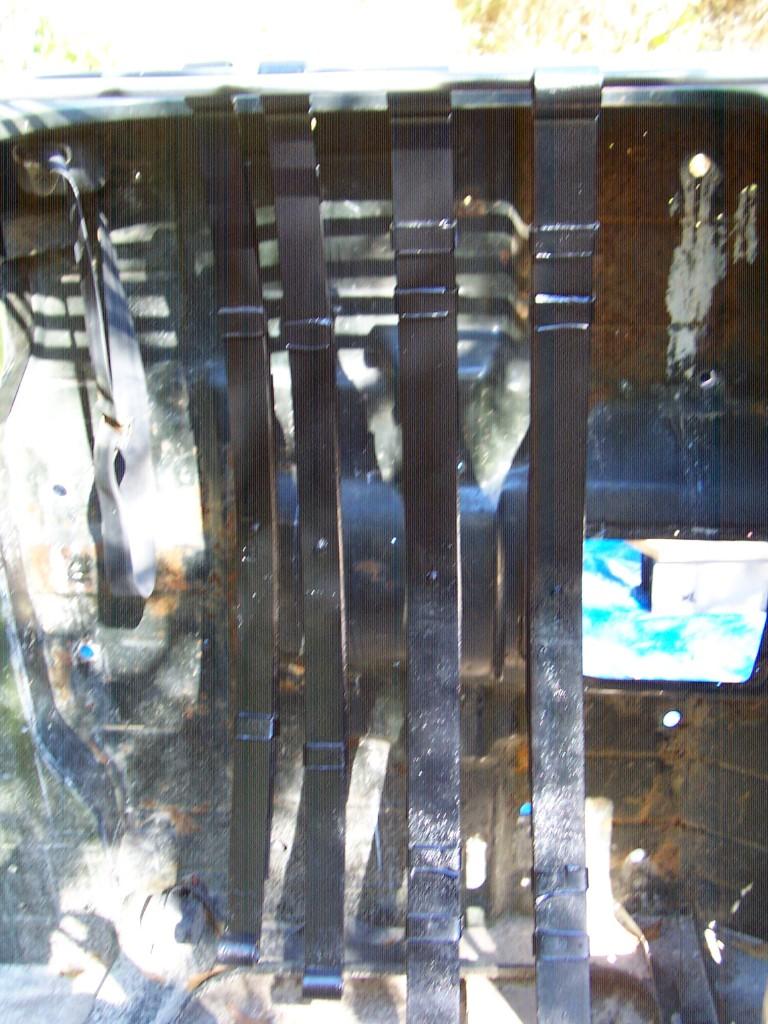
I also cleaned up the leaf springs. I spent about twenty minutes on each pack. I did not disassemble the packs, I just painted the assembled packs. Not the best way to do it, but better then nothing.

01610-1.jpg


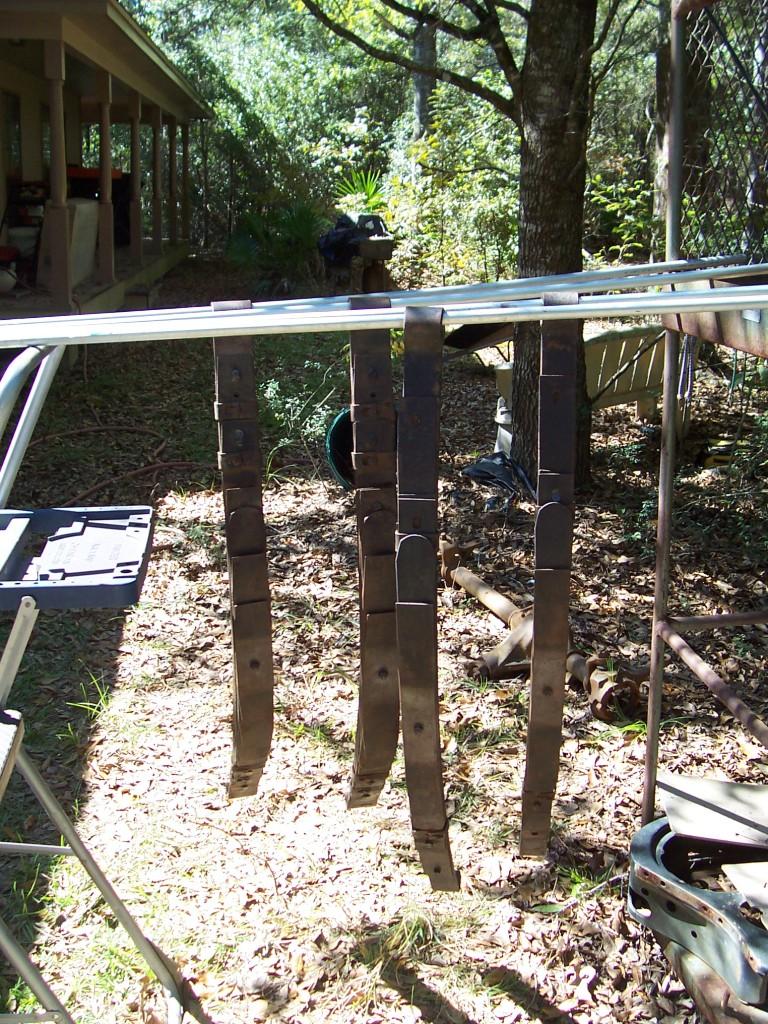
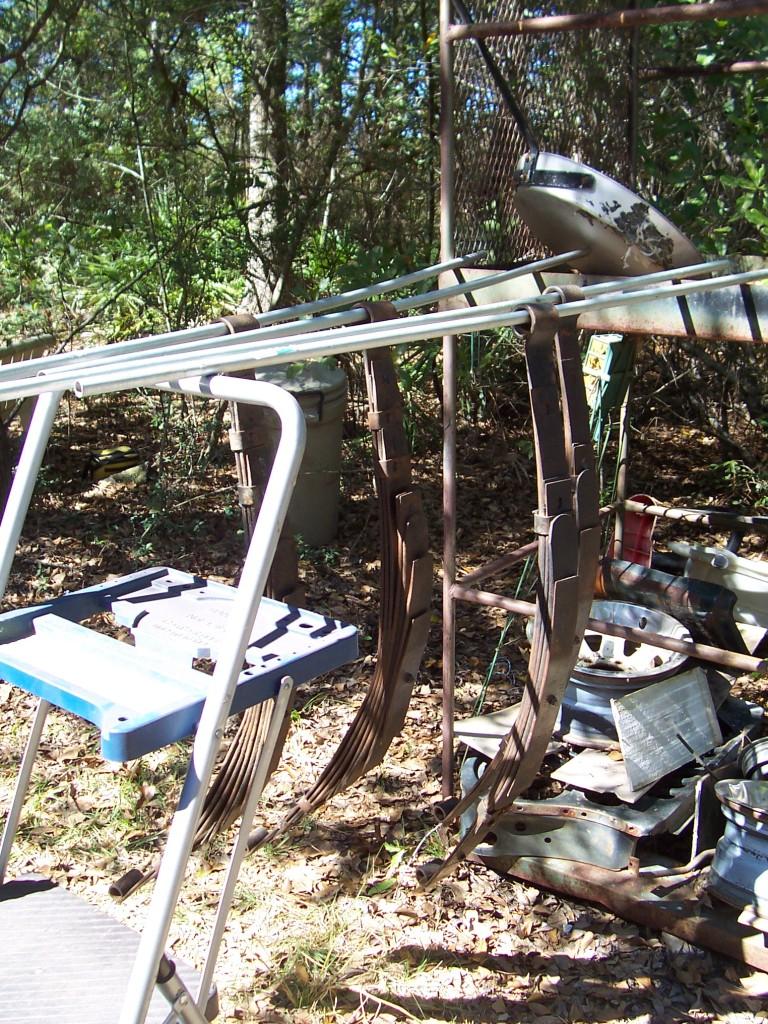
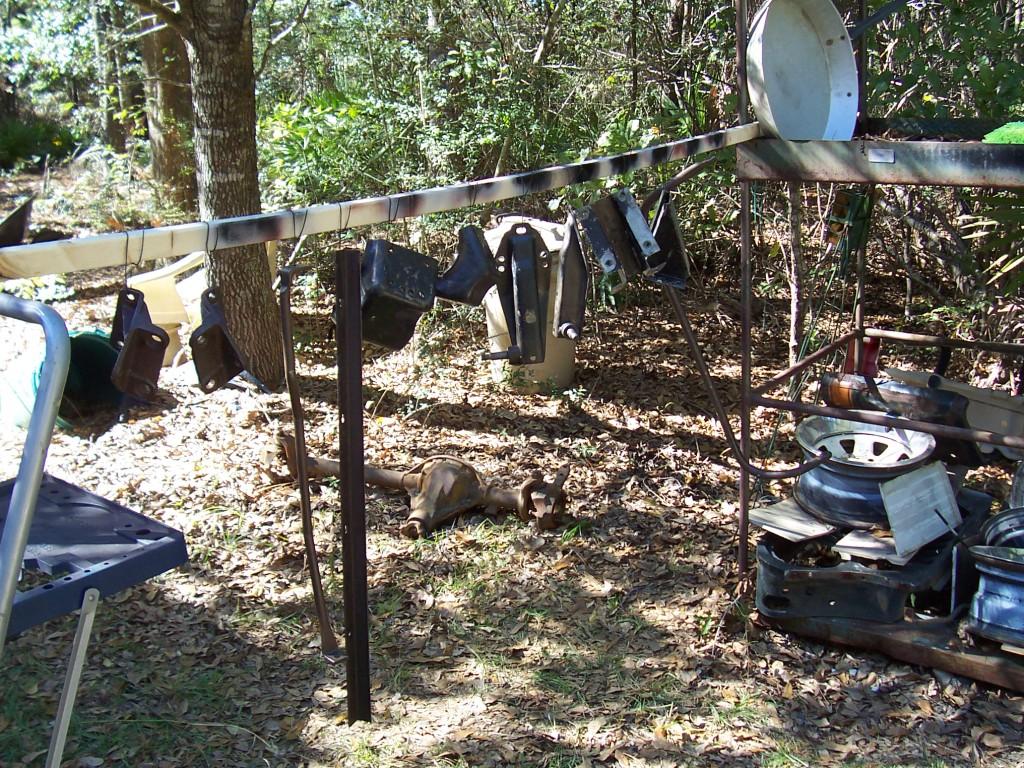
I used some 5' pieces of electrical conduit as paint holding fixtures for the leaf spring packs. These things are heavy, so only one leaf spring pack per piece of conduit.

01710-1.jpg


0187-1.jpg
 
I primed the leaf spring packs with a left over can of self etching primer.

0197-1.jpg


And the repainted leaf springs. They definitely look better.

0224-1.jpg


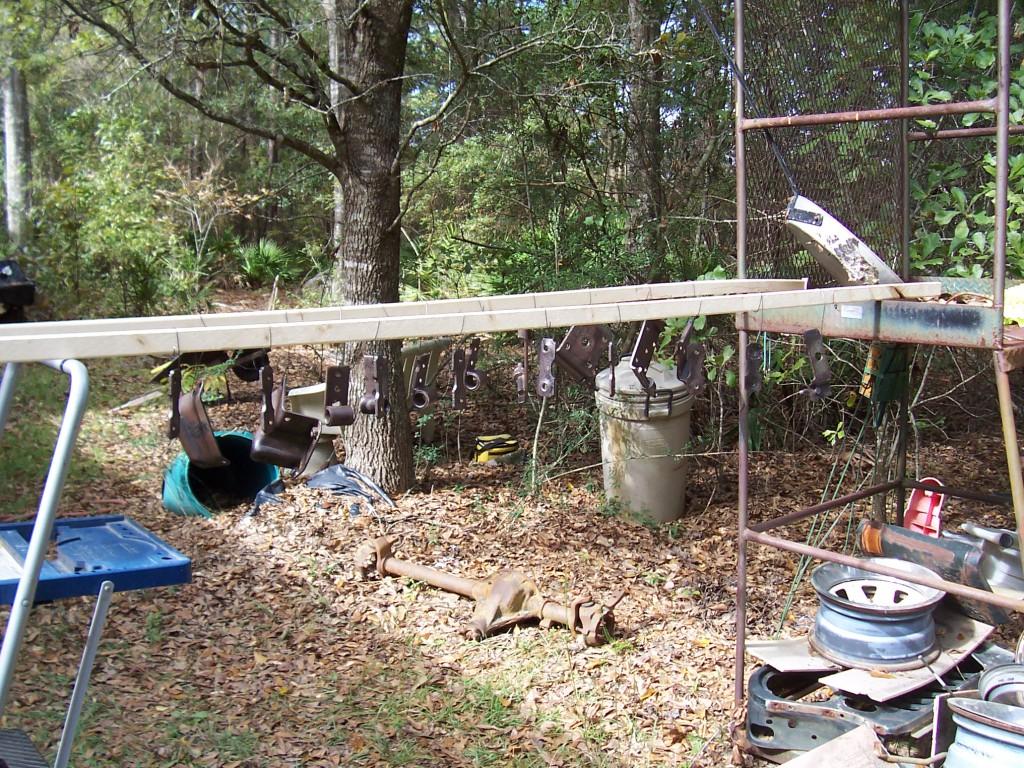
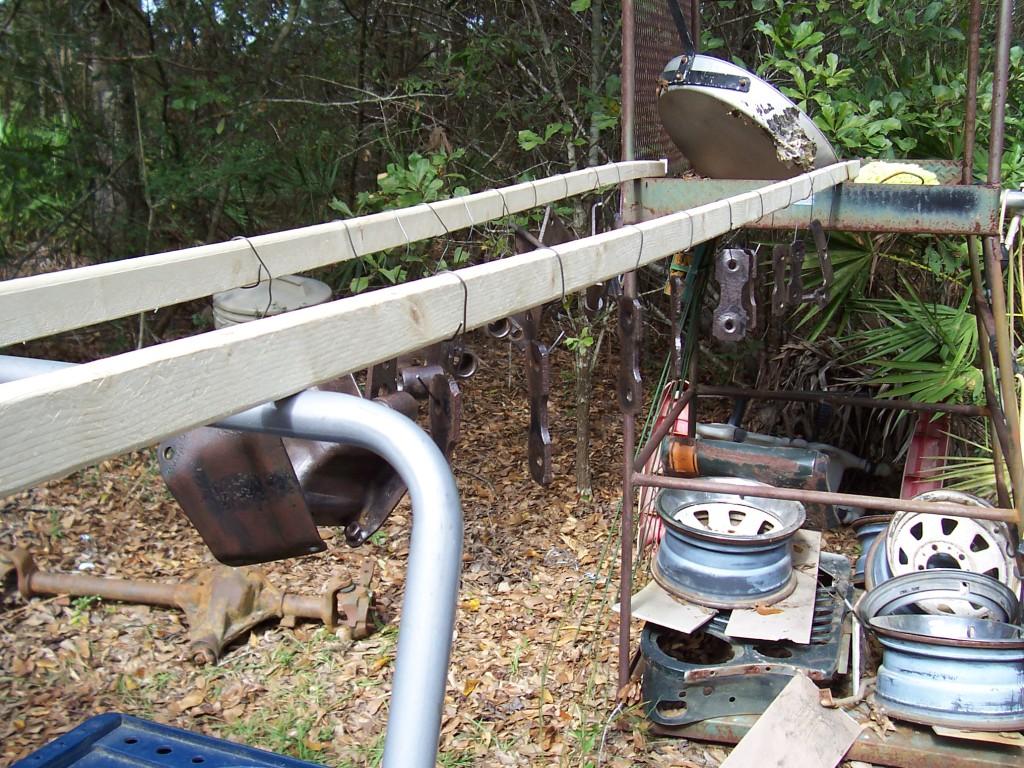
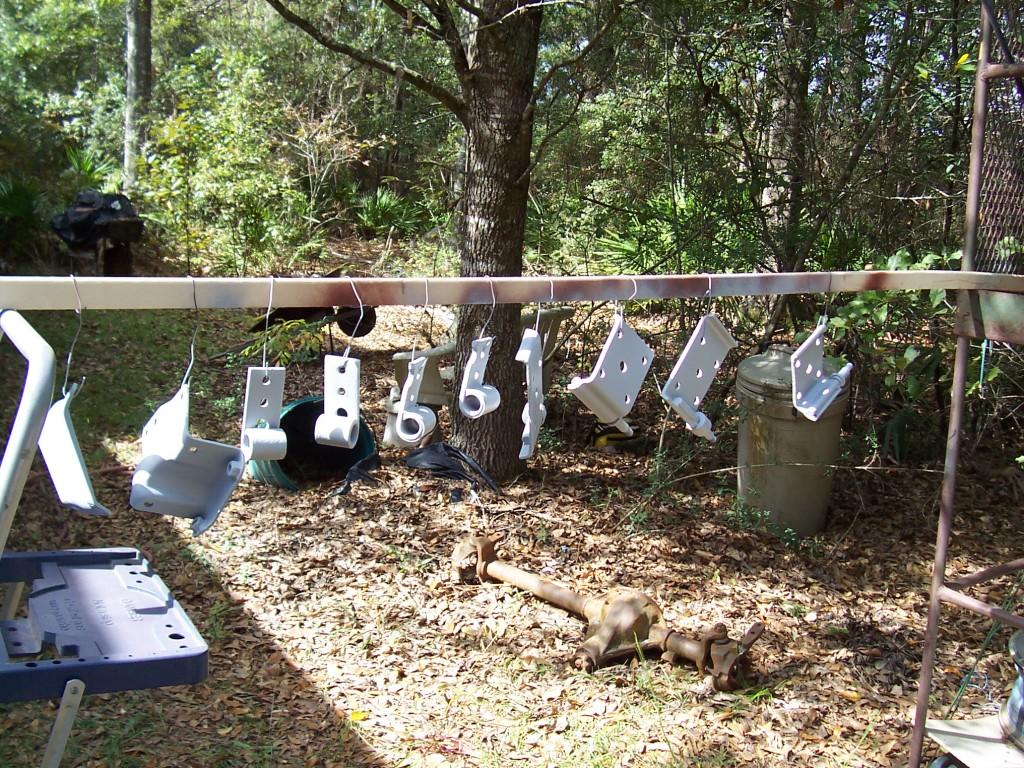
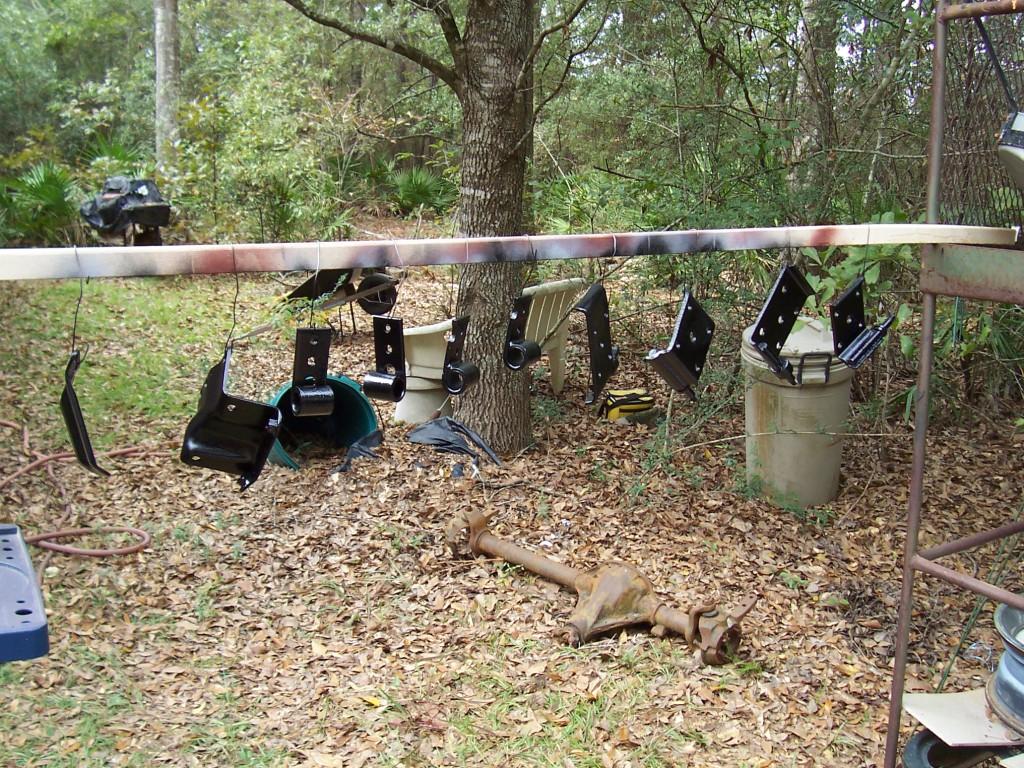
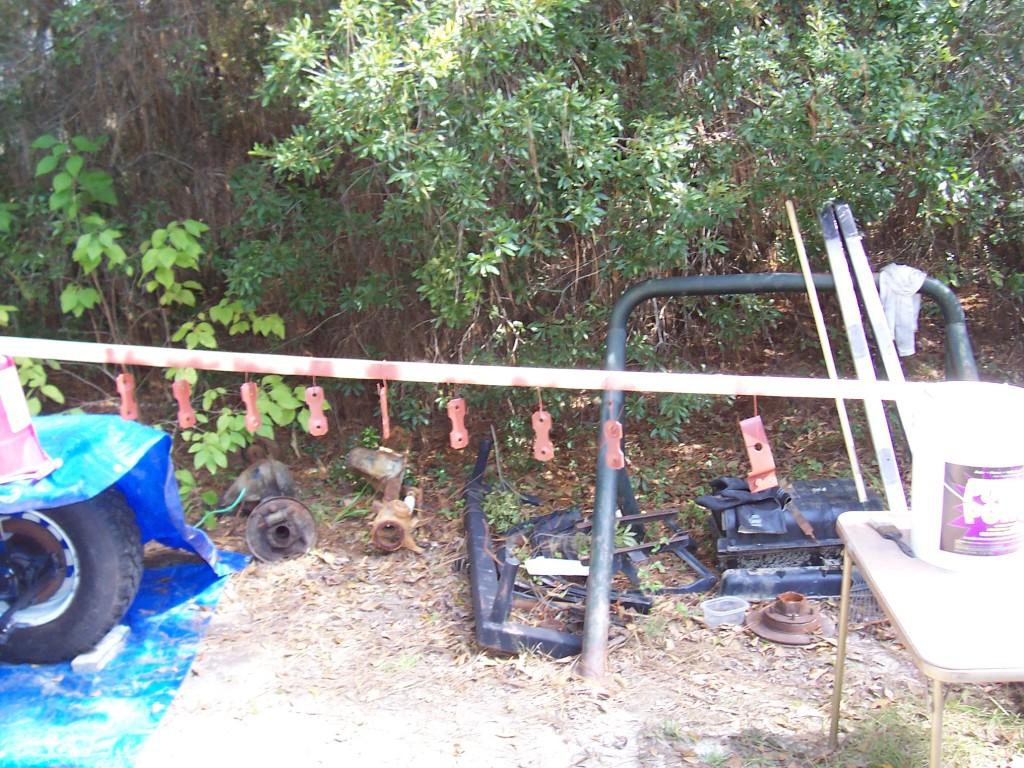
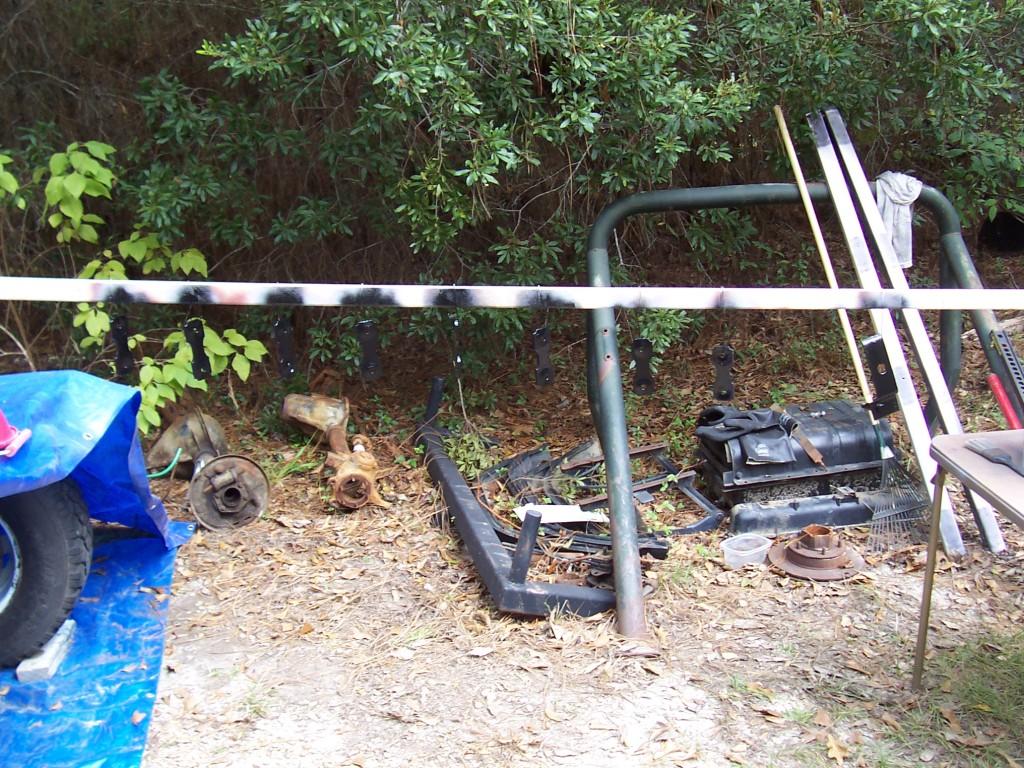
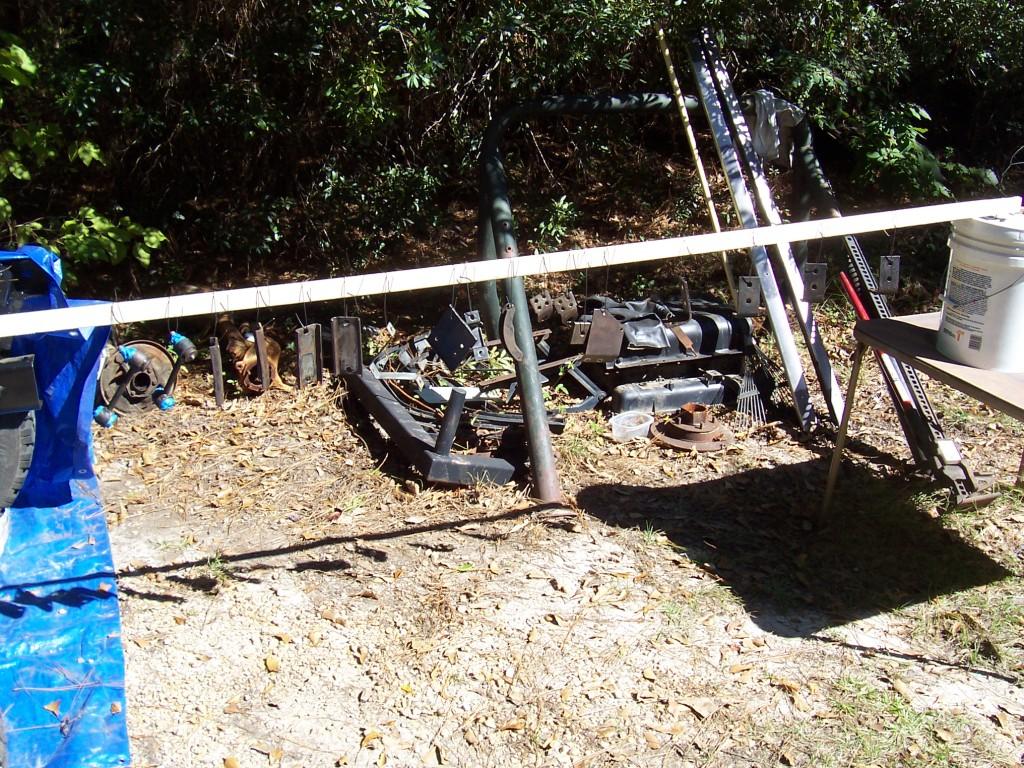
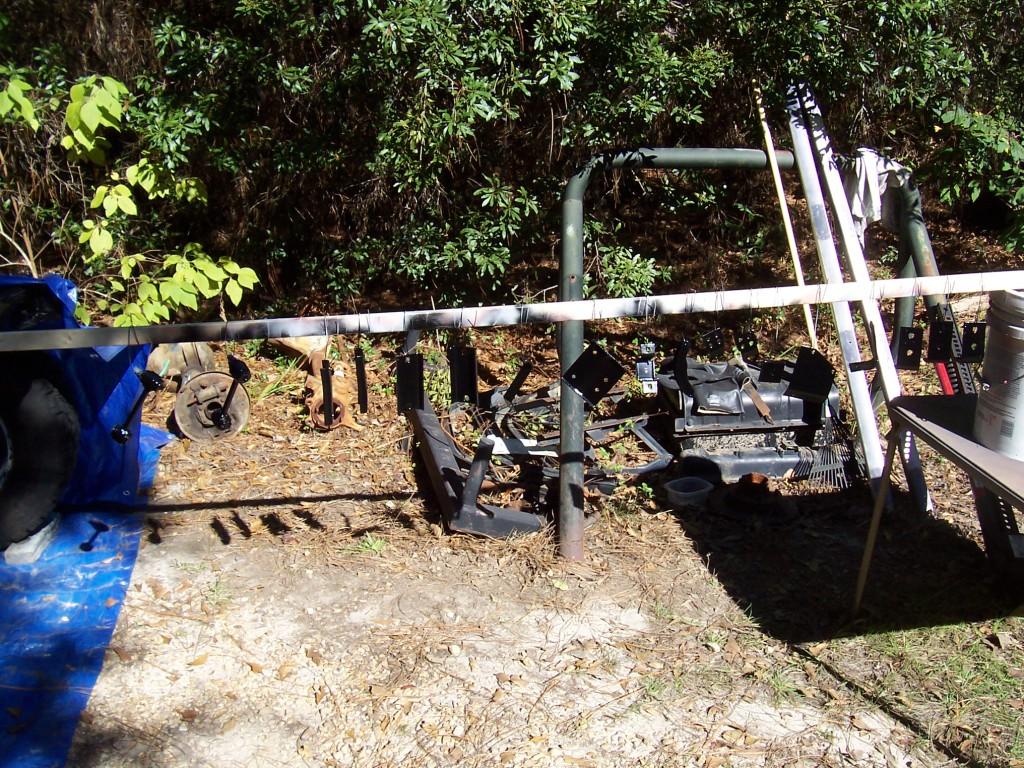
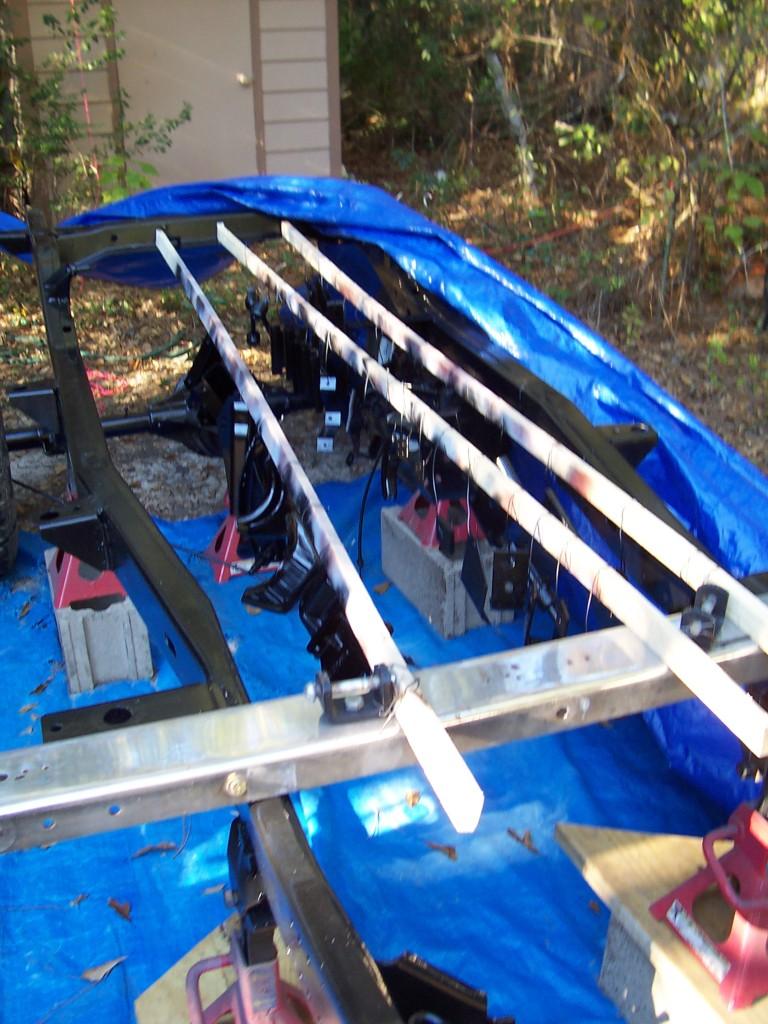
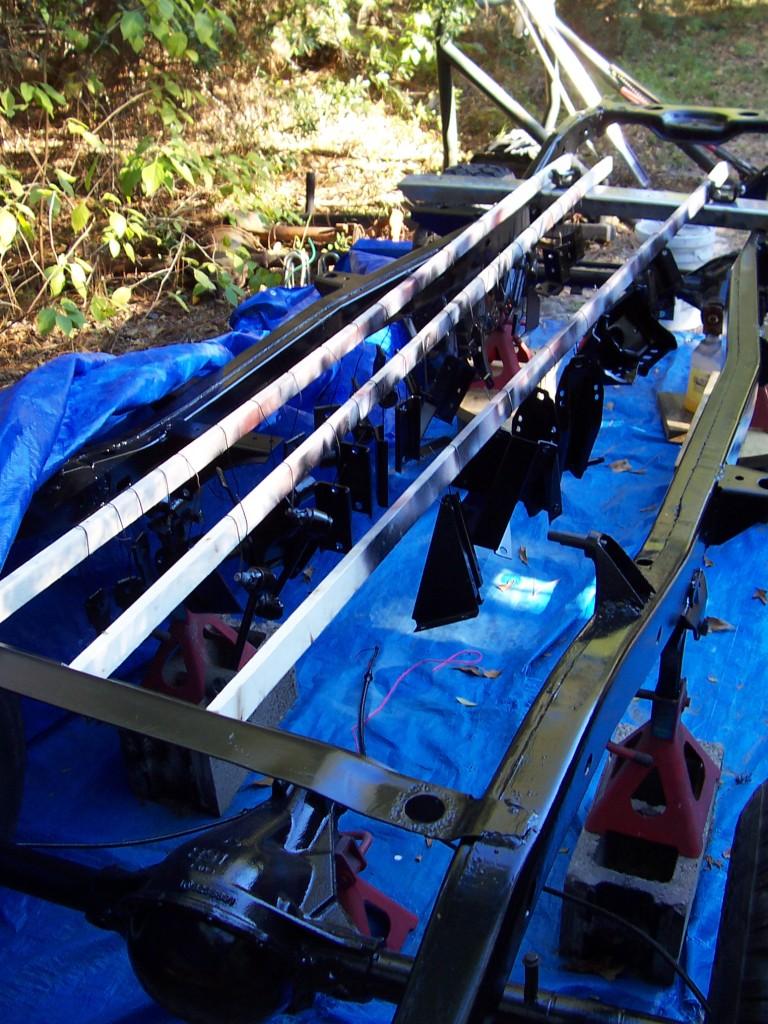
And a bunch of pictures of all the other parts being primed/painted. I coated everything with red primer, then grey primer, then painted with black paint. I used some 1x2 boards as holding fixtures; bought a roll of tie wire to make all the holding hooks/loops.

00621-1.jpg


00720-1.jpg


00917-1.jpg


01017-1.jpg


01211-1.jpg
 
And a few last pictures, all of the painted parts hanging up to cure.

0283-1.jpg


0303-1.jpg


0293-1.jpg


It may not seem like much, but that was a bunch of work. I keep the parts covered at night to protect from dew/rain, and pull back the covers in the morning to let the sun hit all the painted parts. I will probably let the paint cure for a week or two before I start reassembly.
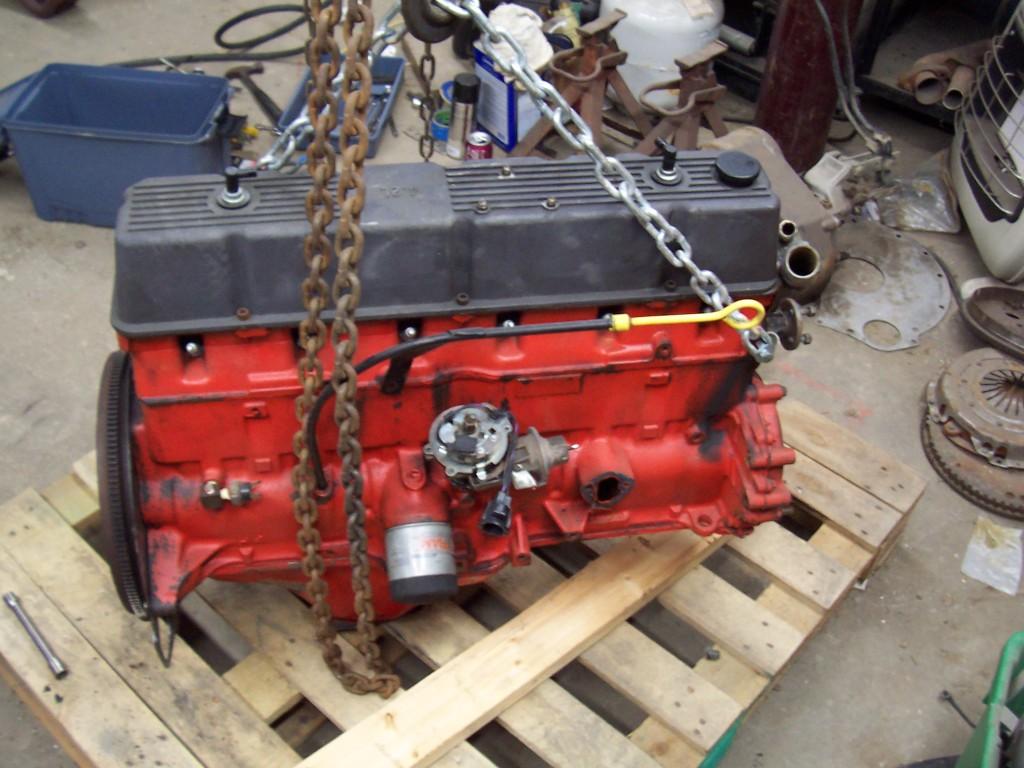
I still need to clean/paint all the line clips, get new hardware, strip/paint the replacement engine, and some other stuff over the next few weeks while the above parts cure. I plan on getting a bunch of prep work done now, so that when i finally start to reassemble this thing, it will come back together fast.

That's it for now.
 
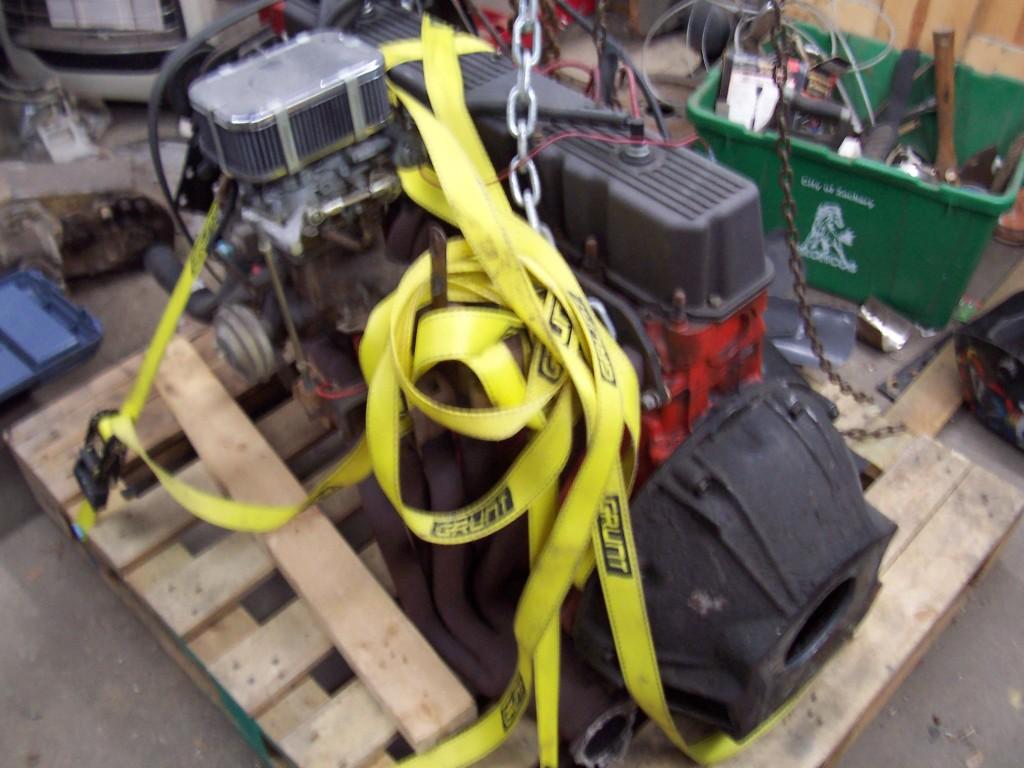
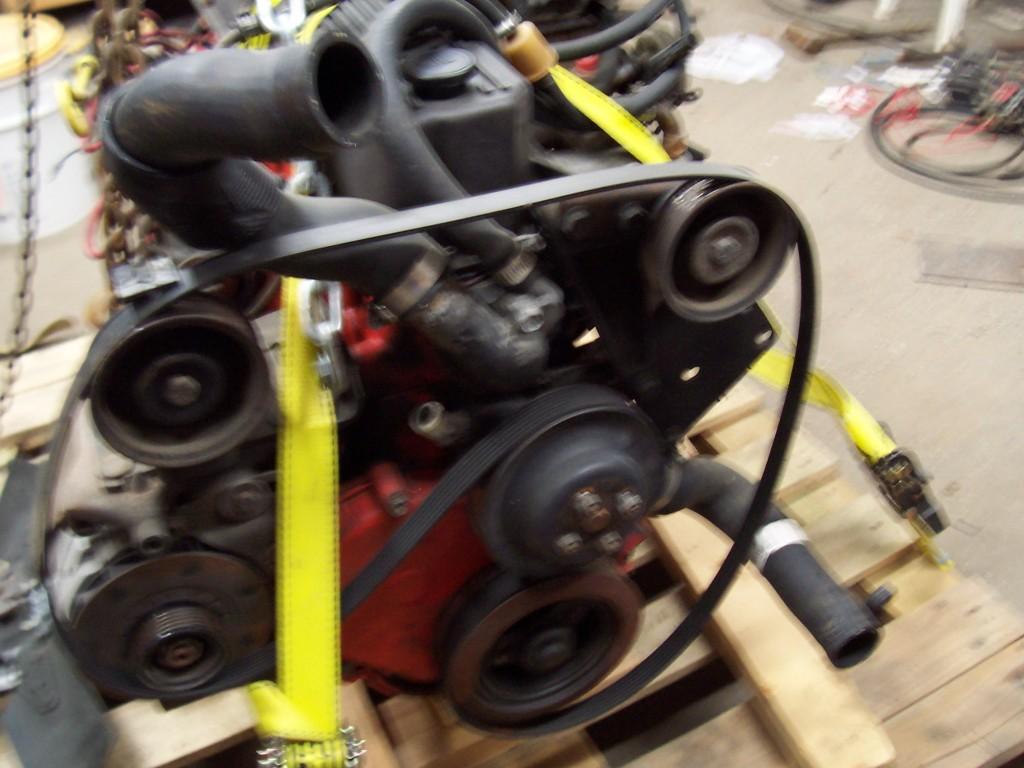
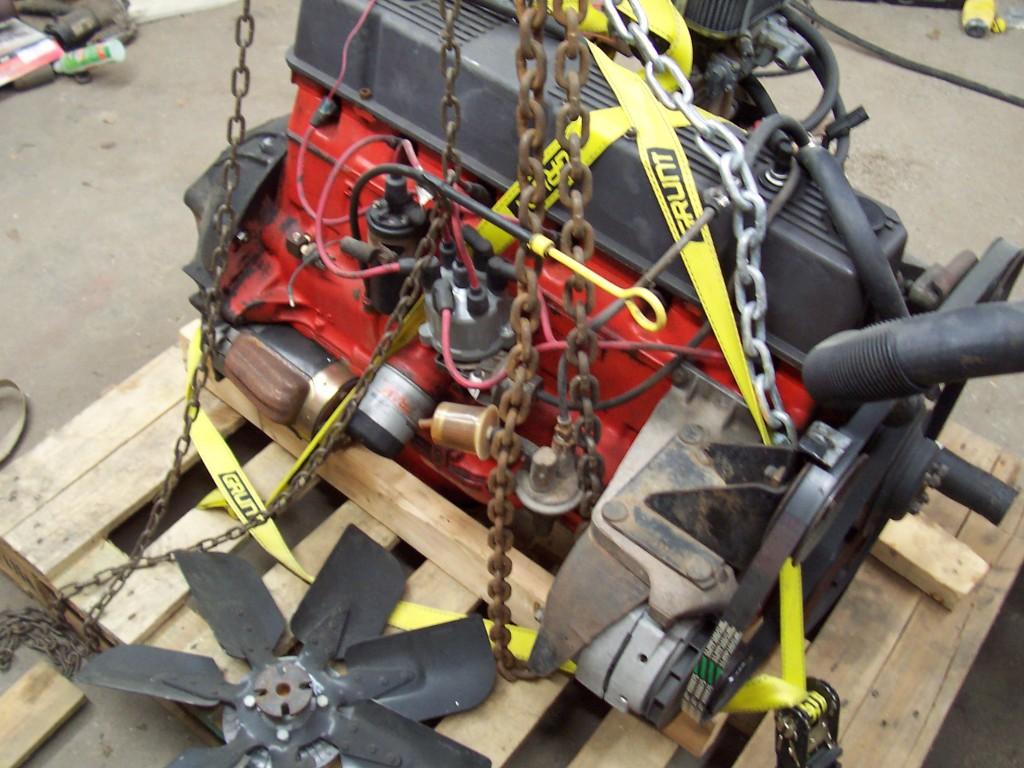
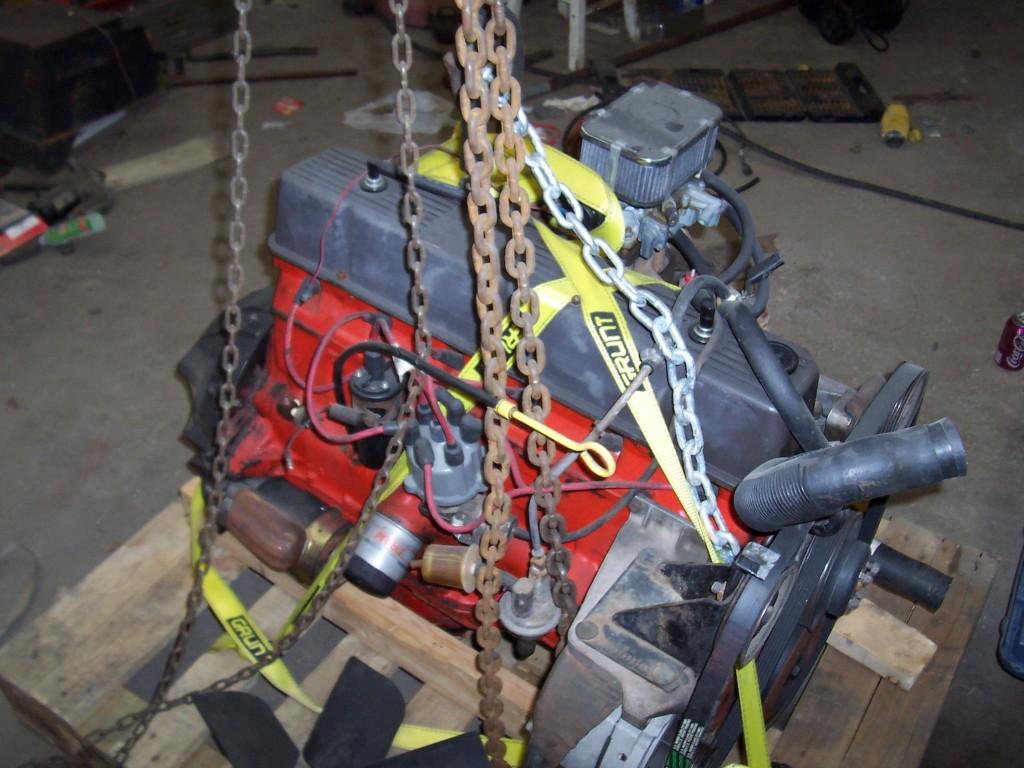
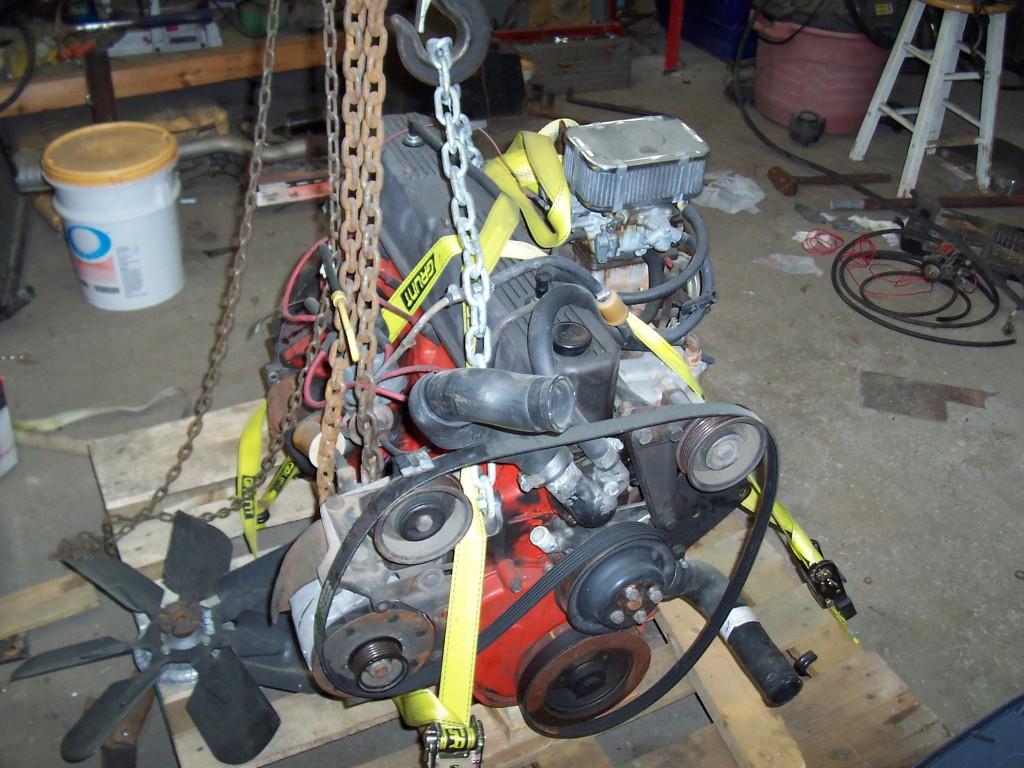
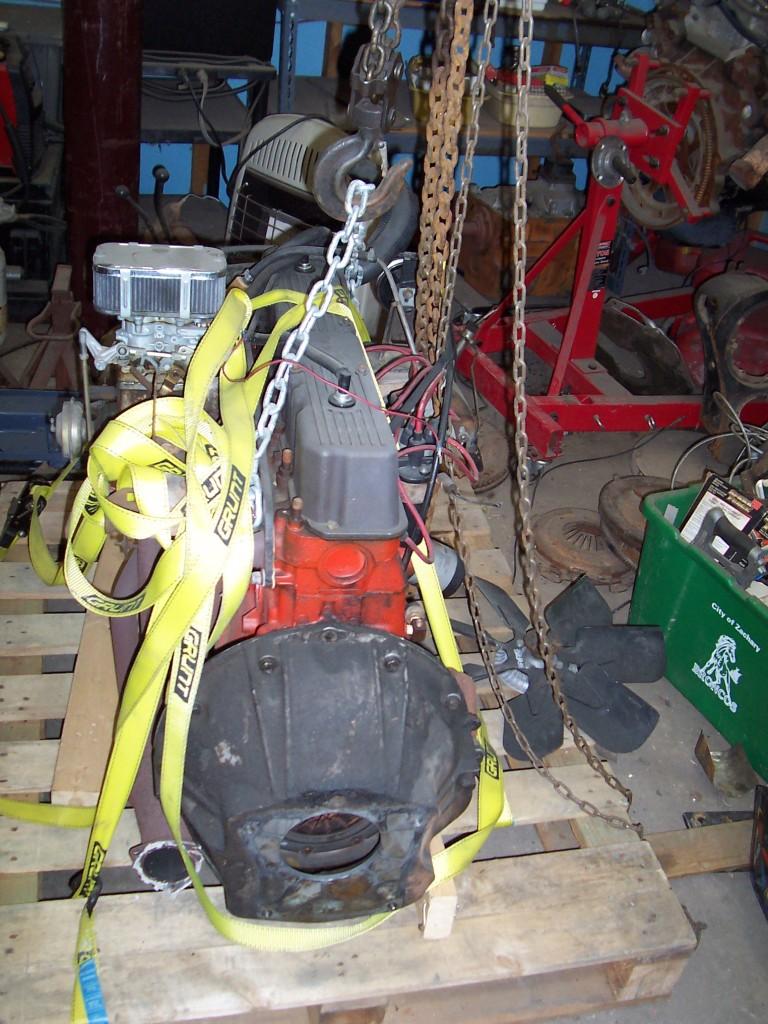
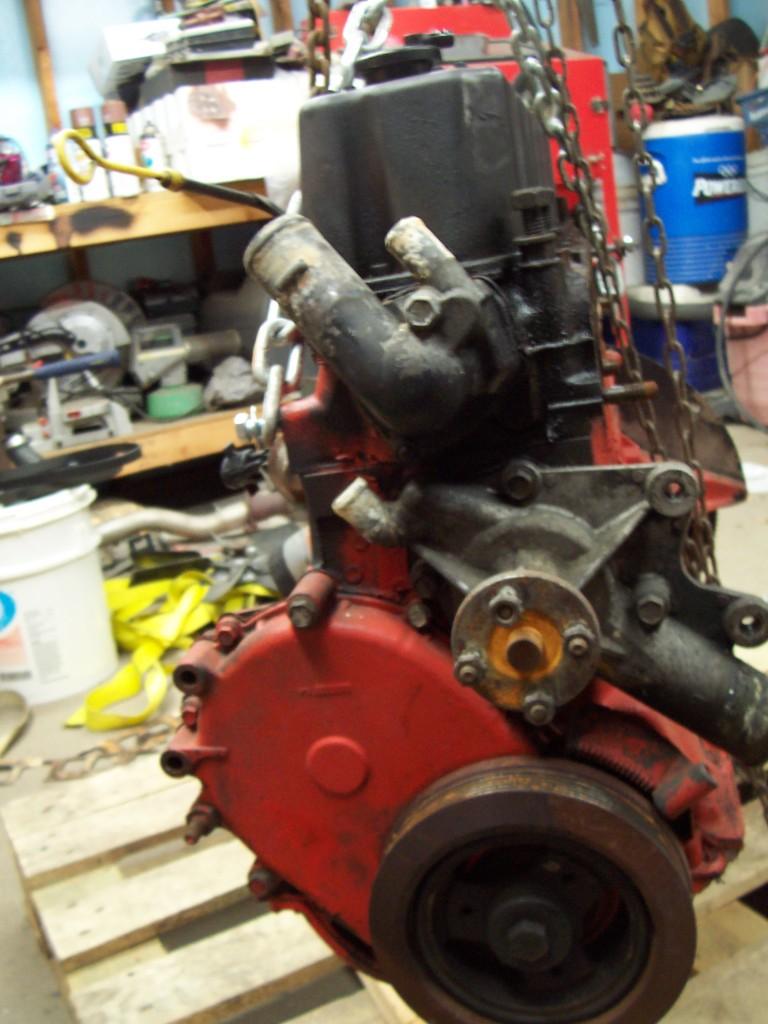
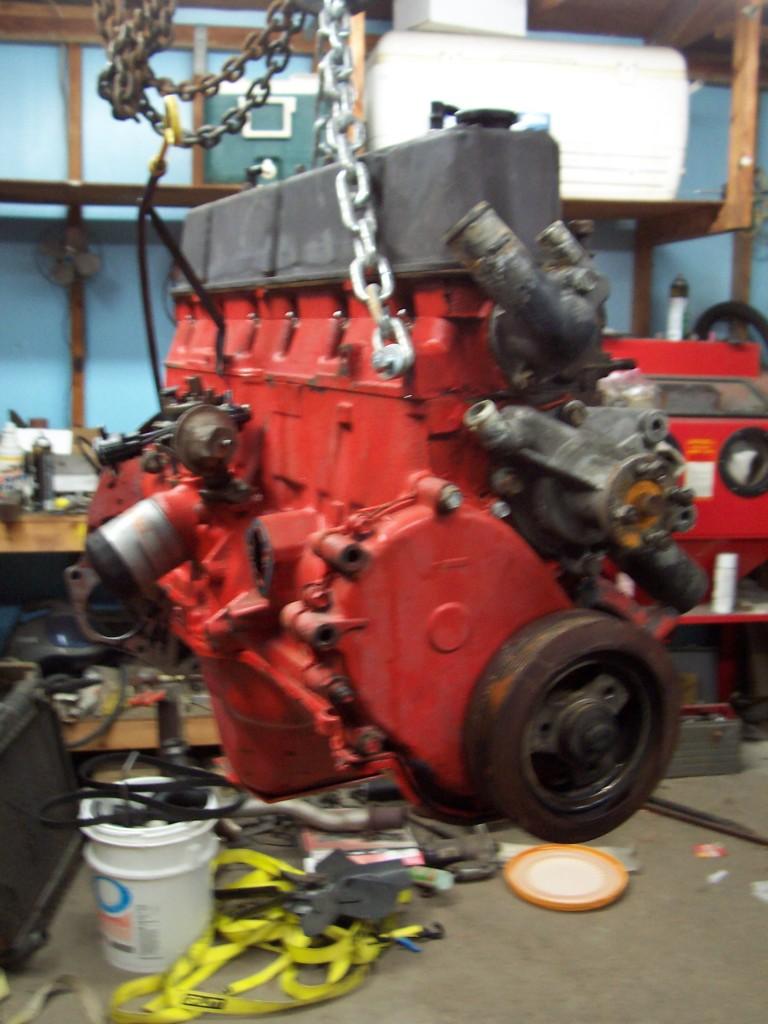
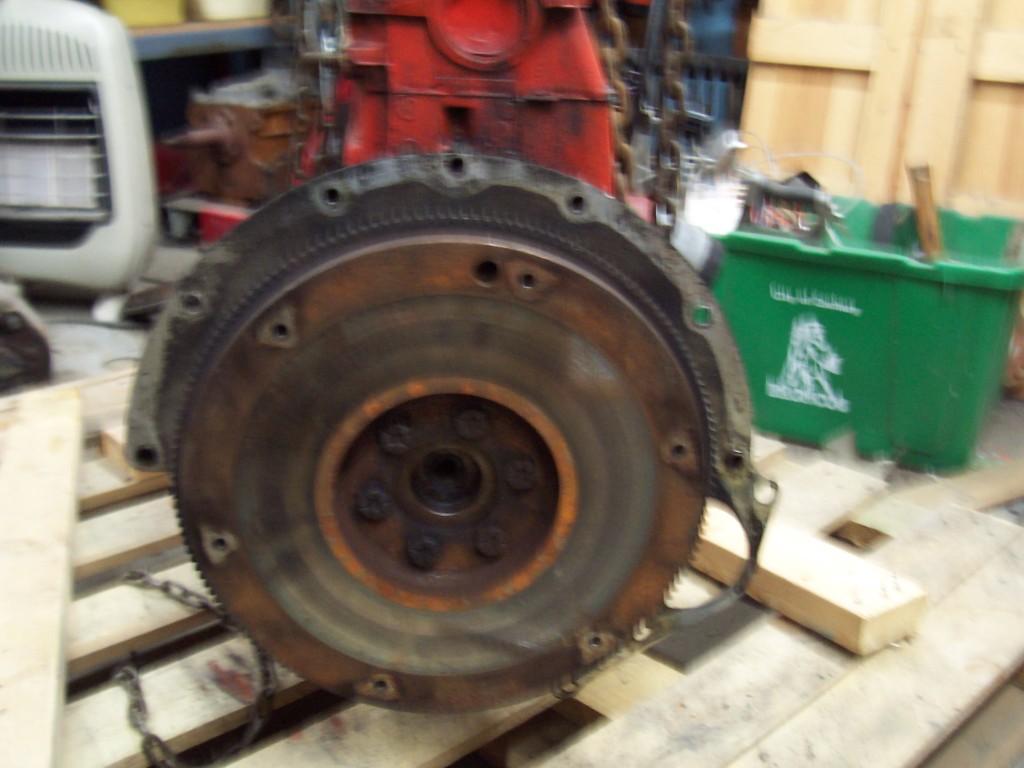
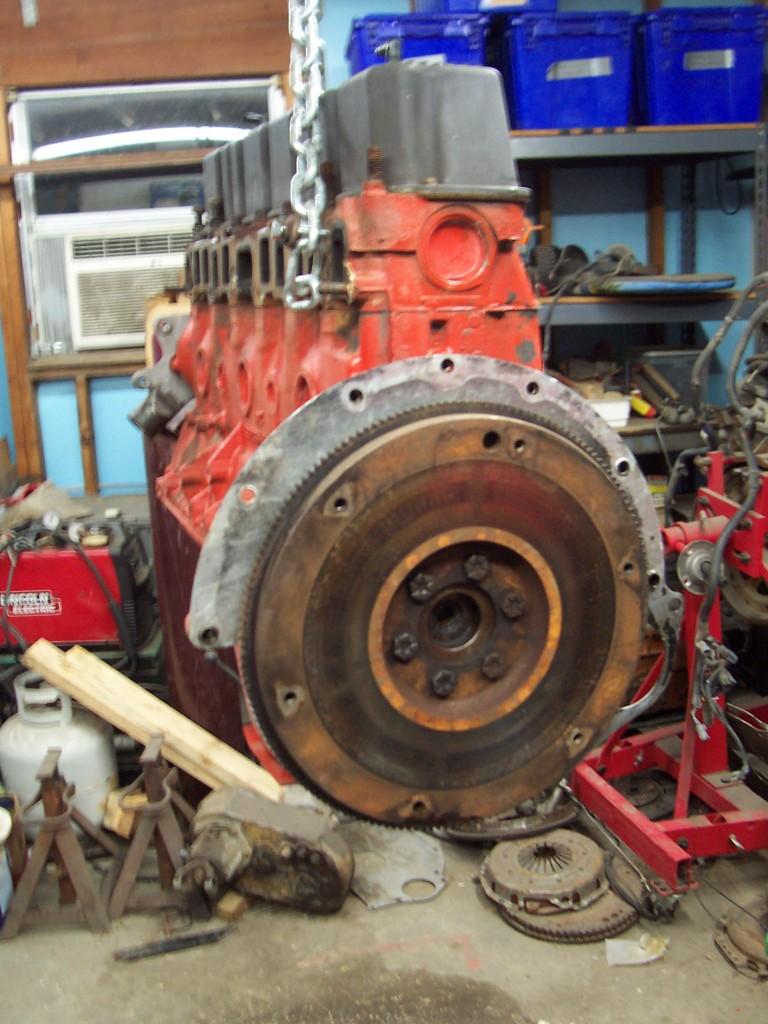
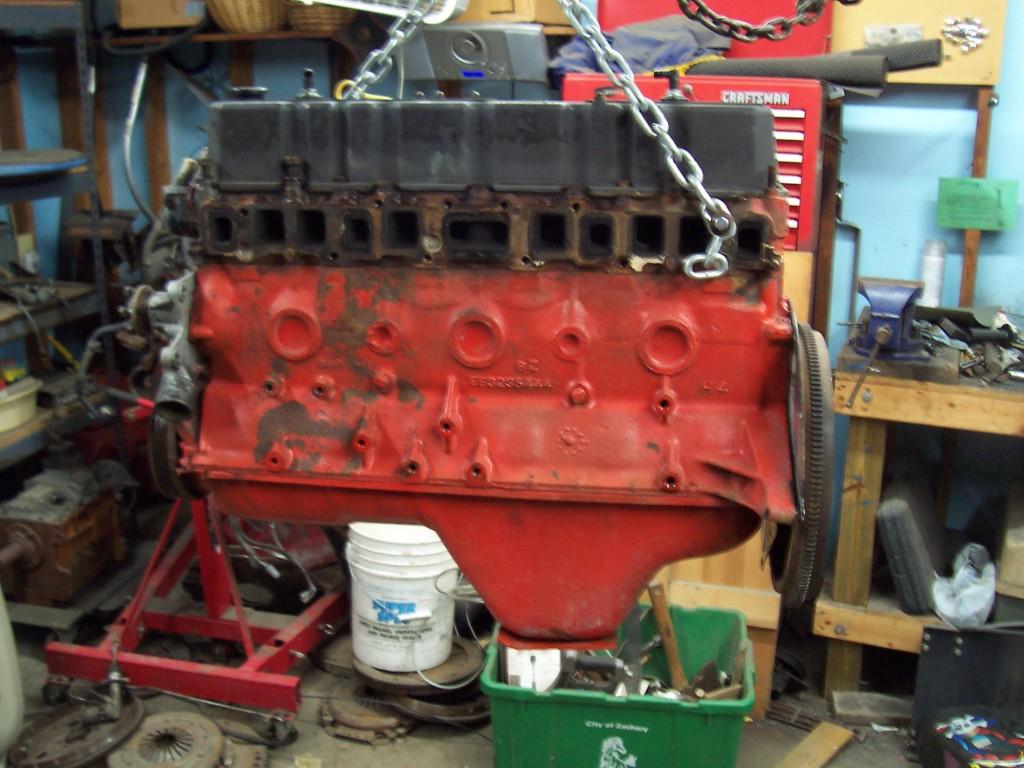
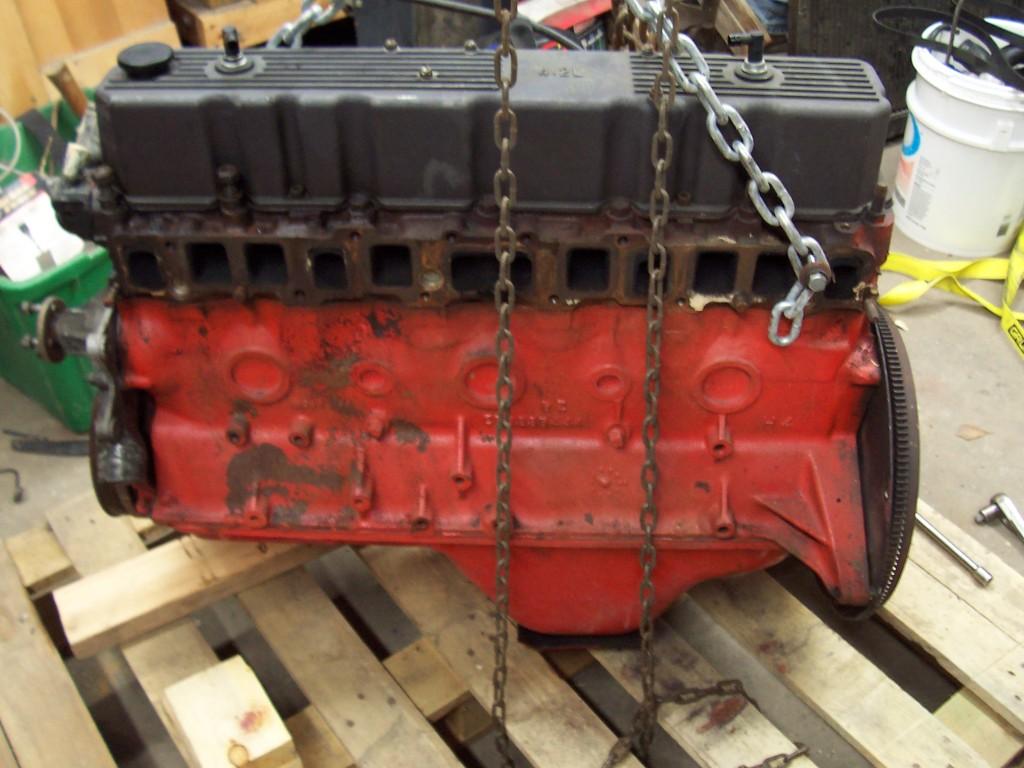
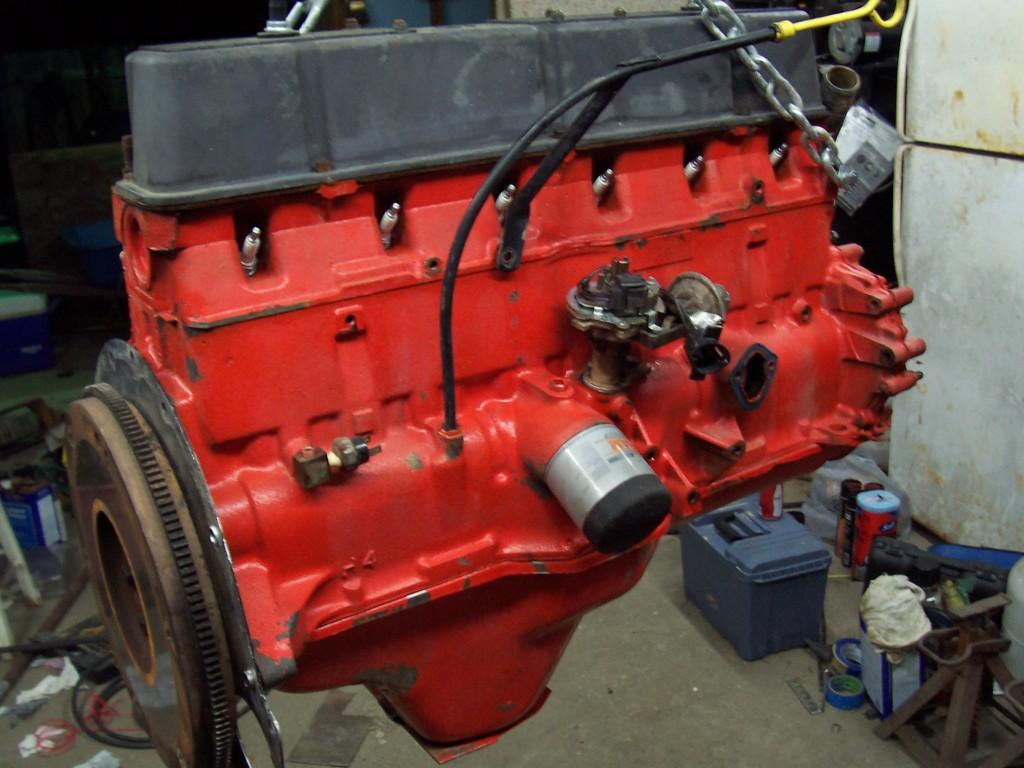
I have been working on "Project Yard Scrambler" this week. Started messing around with the engine. Tommy found a complete, running 258 for a good price a few months ago, so I went with him and helped him load it up. It has been sitting in one of my buddies garage/shop for the past few months, so it is about time I do something with it.

I only plan on repainting it, red/orange just doesn't look "correct" for a 258. Also, I am not going to use the Weber carb/intake that is on this engine. I plan on using the intake/carb that came on my red Scrambler, they work perfectly.

Pictures of what I am starting with.

01611-1.jpg


01512-1.jpg


01212-1.jpg


00918-1.jpg


00721-1.jpg


00523-1.jpg


00227-1.jpg


It is a complete, running engine. It was pulled due to the previous owner swapping in a 350. I was going to swap out the serpentine belt stuff, but, since I have all the parts and they look to be in good shape, I think I will reuse this accessory drive system.
 
After a couple of hours with some hand tools, I had the engine stripped.


01412-1.jpg


01312-1.jpg


01113-1.jpg


01018-1.jpg


00820-1.jpg


00622-1.jpg


00425-1.jpg


00328-1.jpg


Most of the current red/orange paint is falling off the motor fairly easy. I was hoping that this paint was stuck down good so I could just paint over it. But of course, this is not the case. I plan on spending a couple of hours with a drill mounted wire wheel and my dremel tool to remove most of this paint. I will then prime/paint the engine black.

I got my buddy to sand blast all the little line clips, so I plan on painting those this weekend, too. I also need to prep/prime/ paint the front drive shaft and a few engine brackets.

If I get time, I MIGHT start reassembling the chassis.

That's it for now.
 
Back
Top