• Notice for iPhone users: DO NOT use the image size reduction option when uploading photos to the forum. This causes portrait images to post as landscape. We have added a warning to the image insert pop-up as well.

New World Cabs?

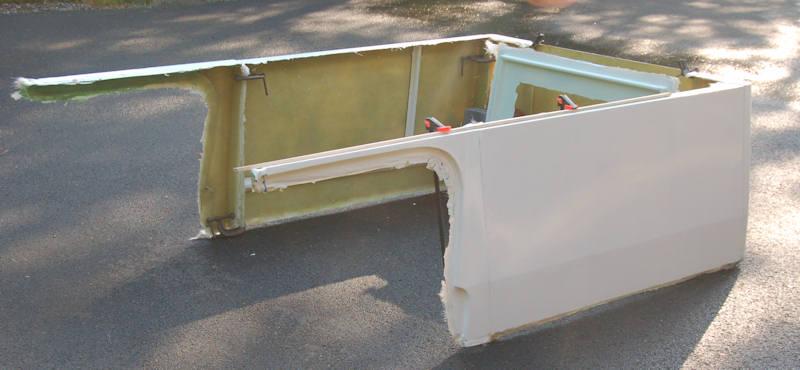
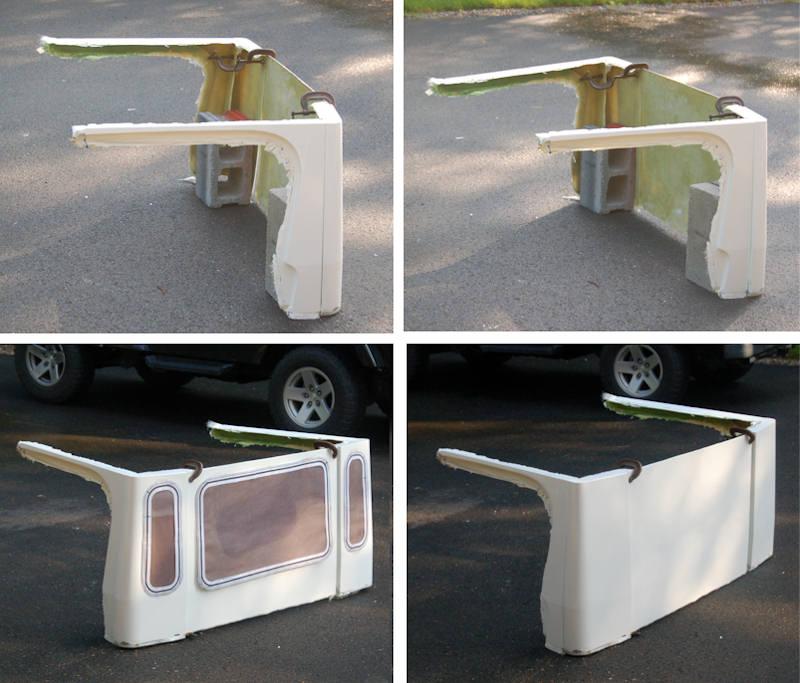
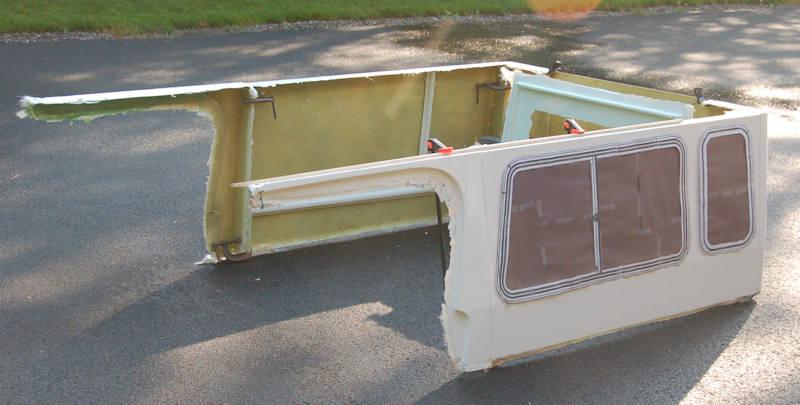
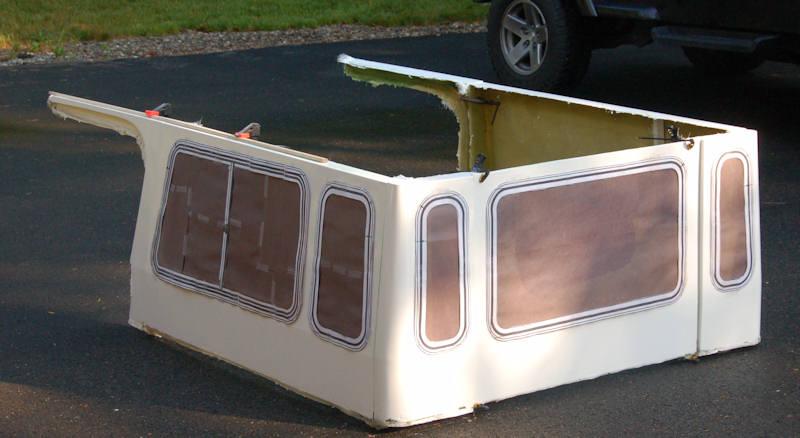
All of the parts for an LJ Safari Cab except the roof are now molded. None of these parts have been trimmed yet, they're just roughly clamped together. And the finished rear door will fit flush with the rear wall instead of recessed as it is now clamped.
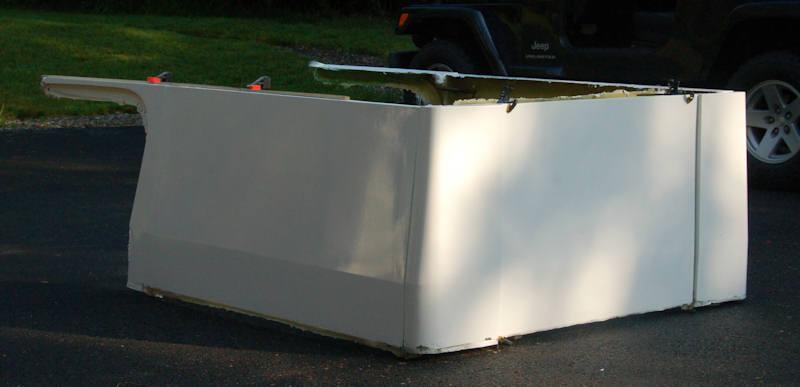
AllWalls13-1.jpg


AllWalls12-1.jpg


AllWalls11-1.jpg


AllWalls10-1.jpg
 
Here's the Scrambler-sized half cab. It's really hard to get these rough parts clamped and standing up nicely, so the angles, gaps, etc. look a little off in these photos. Not sure if I'd do the three windows across the back or one single Scrambler-style window...

HalfCab11-1.jpg
 
Last edited:
Sigh....Me want CJ version!

Its like watching the Scrambler Scale model from scratch build...only lifesize! Looking great. And I'm down for the kit!:thumbsup:
 
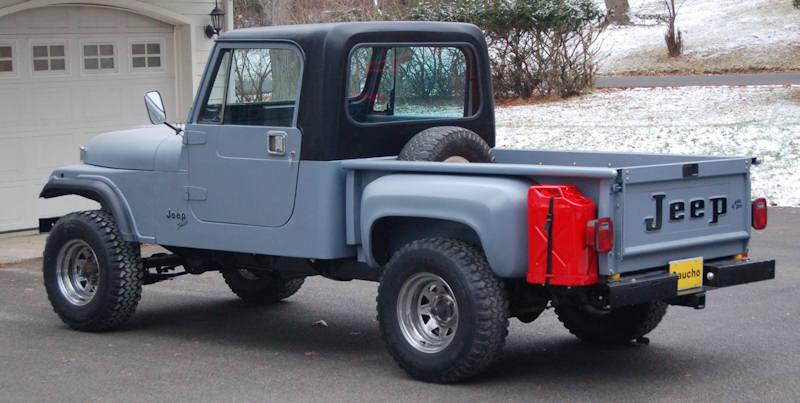
My son got his driver's license last month and now is putting pressure on me to finish the Gaucho. I'm thinking about doing that as soon as I finish the Safari Cab project, so it's time for input from you guys.

GauchoF2-1.jpg


If you want to help me make the decisions about how to finish this project, please visit this thread to see what type of input I'm looking for and to make your suggestions: https://www.cj-8.com/forum/showthread.php?p=191041#post191041

Thanks,
Jeff
 
The roof popped out of the mold this morning very easily, and it's the best part I've molded so far - a perfect gel coat finish. Here it is still wet from washing off the mold release:

RoofPopped1-1.jpg


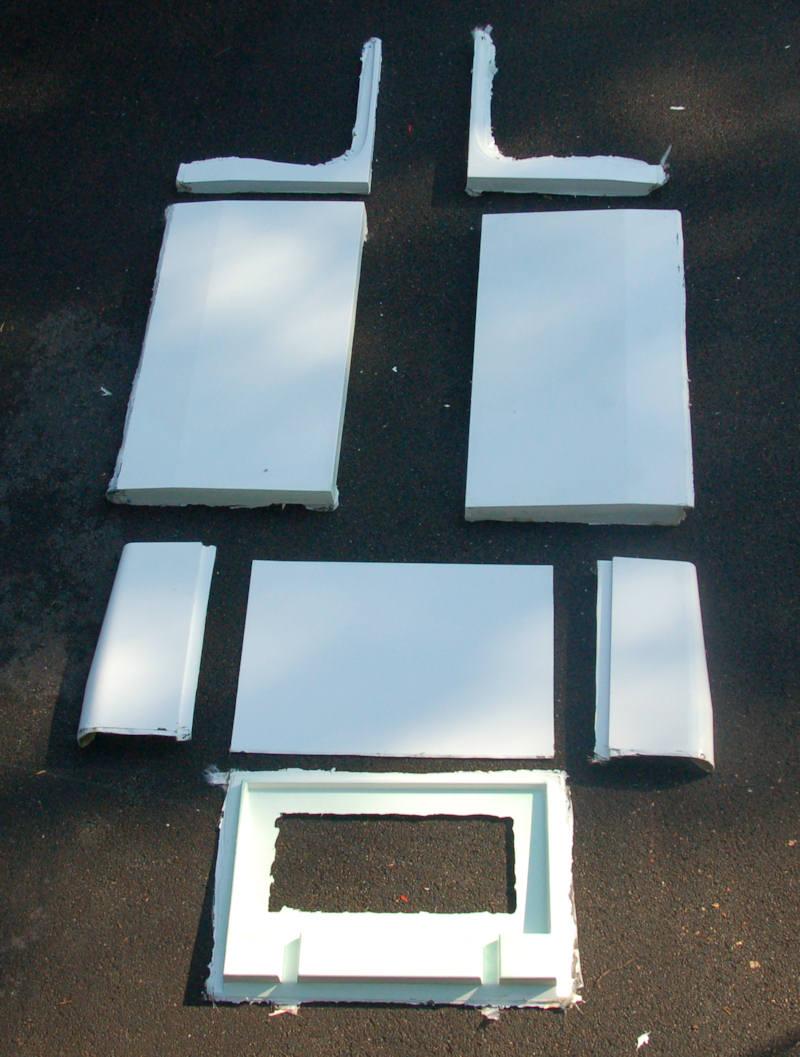
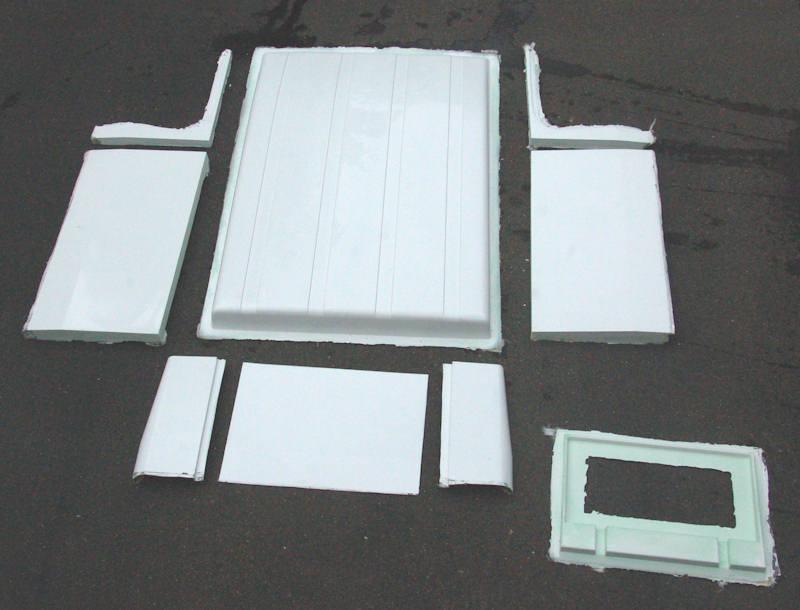
And here's the "complete kit" of Safari Cab parts, ready to begin trimming, fitting and assembly...

AllKit1-1.jpg


More photos to come.

---------------------

Here's the link to the survey again for those who haven't taken it yet: Safari Cab market survey.

---------------------
Questions about the Safari Cab? Try here first: Safari Cab FAQ
 
Very nice....

very nice !!!.... looks like it was still predawn before you even took the pictures...

couldn't wait could to get that roof out of the mold huh? like a kid on christmas morning I'll bet..

:D
 
The Fantasy question...

Going on the guess that these may or may not ever see the light of day as a production unit..
Is the Idea that they will be pre-trimmed and ready to assemble or is that up to the pretend person that buys it?
 
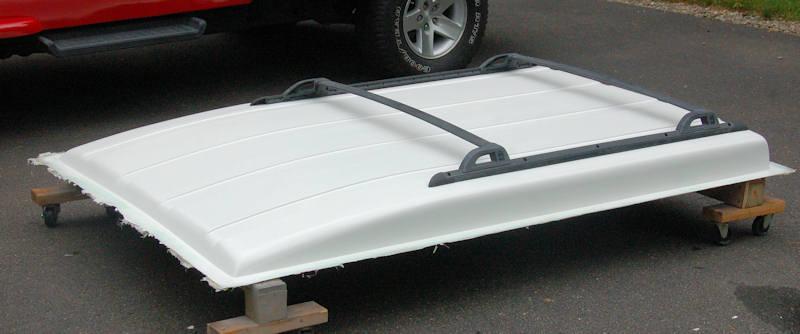
Here's another shot of the roof panel, this time with the rack:

RoofPopped2-1.jpg


And a shot next to the Retro to compare the rooflines...

RoofRetroCompare-1.jpg
 
very nice !!!.... looks like it was still predawn before you even took the pictures...

couldn't wait could to get that roof out of the mold huh? like a kid on christmas morning I'll bet..

:D

It feels really good to be through the fiberglass stage of this project, couldn't wait for that feeling! :)
 
Going on the guess that these may or may not ever see the light of day as a production unit..
Is the Idea that they will be pre-trimmed and ready to assemble or is that up to the pretend person that buys it?

First you have to pretend that someone is willing to do the fiberglass work to mold more of these... :)
 
ive said it once, (well more than once) and i'll say it yet again.... you do amazing work man, you have wicked talent!!! I cant wait to see the final assembled product.
 
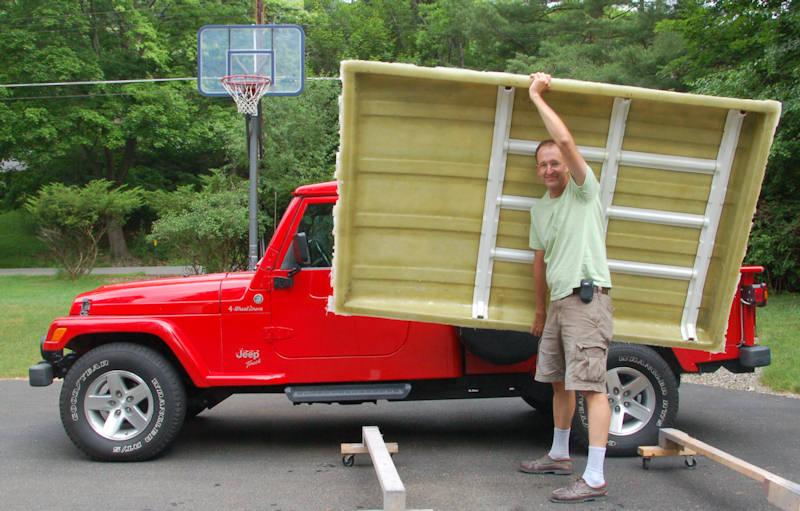
The size of the roof panel makes it a little awkward, but the weight is fine for one-man installation and removal.

And in spite of the light weight, the roof is very sturdy - the internal rib structure is really doing a good job at strengthening the panel. It should easily hold 200 pounds or so on the roof rack without any additional reinforcement.

RoofOneMan-1.jpg


---------------------

Here's the link to the survey again for those who haven't taken it yet: Safari Cab market survey.

---------------------
Questions about the Safari Cab? Try here first: Safari Cab FAQ
 
Last edited:
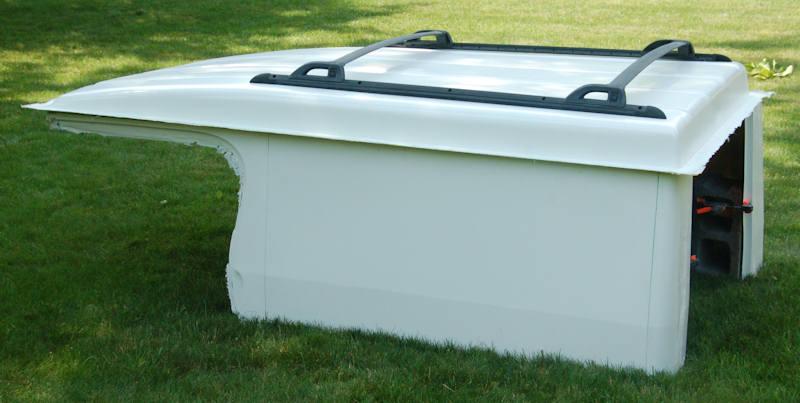
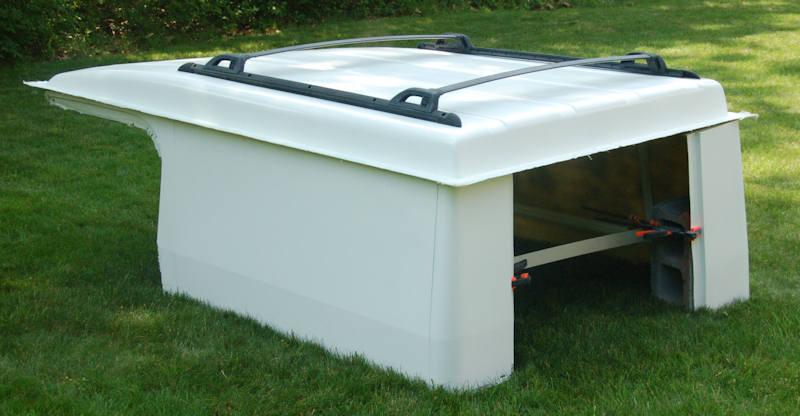
I trimmed the bolting flanges on all the side modules and bolted them together, and was able to clamp the sides to some cinder blocks so they would stand up and support the roof, so here's first photos of the actual parts assembled into a full hardtop... the molding flange on the roof hasn't been trimmed, nothing is really fitted, and the lawn isn't perfectly flat so things are precariously perched and out of square, but I think it's close enough for you to get the feel of what everything looks like assembled:

FirstAssy1-1.jpg


FirstAssy2-1.jpg


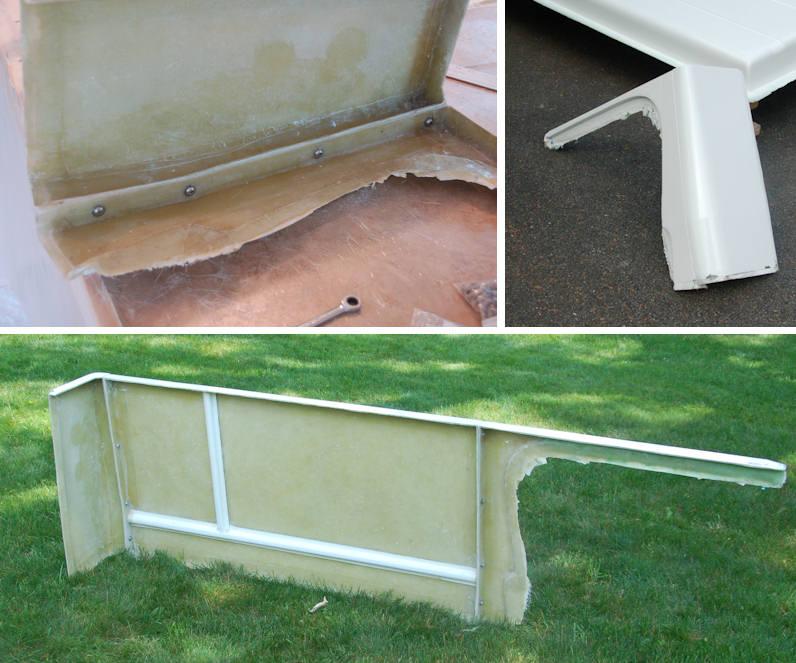
Some detail of the bolting flange (a door surround and a rear corner bolted together into a pickup cab configuration), along with the pickup cab corner, and a full side bolted together.

Trimming2-1.jpg


And here's the first shot of the interior...

FirstInterior-1.jpg
 
Back
Top