• Notice for iPhone users: DO NOT use the image size reduction option when uploading photos to the forum. This causes portrait images to post as landscape. We have added a warning to the image insert pop-up as well.

OT: CJ7 Build (Clays')

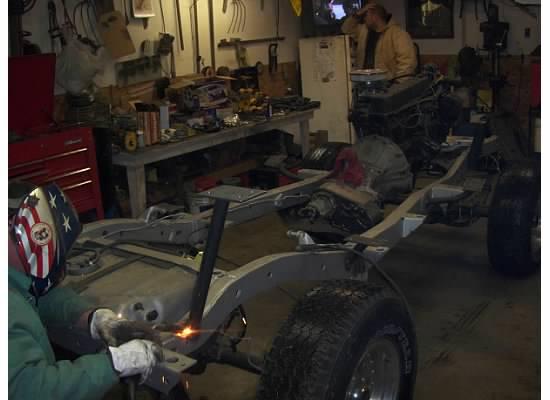
you boys should just go into the frame business and get it over with. I don't know who is doing your metal work but with your drafting ability and whomever cutting out those pieces , I'd think you guys could build a perfect frame with much stronger material and be able to market them pretty well.


X2!!!!! :thumbsup:
 
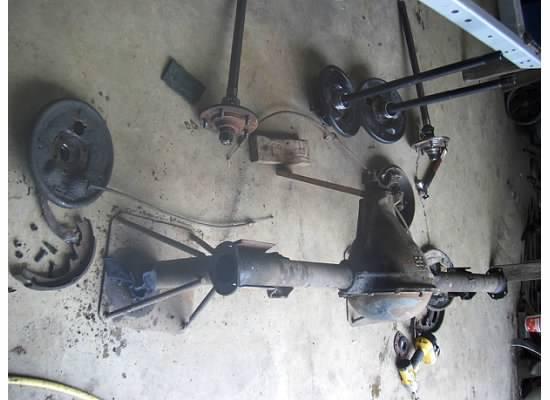
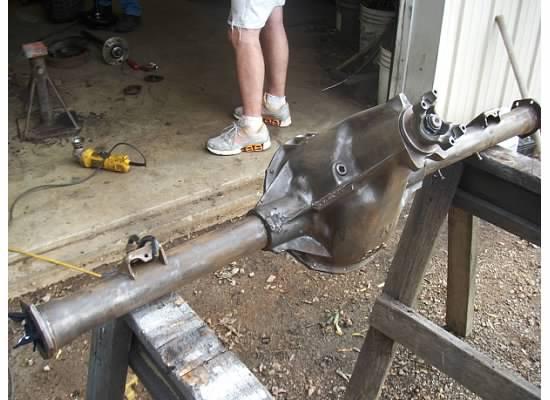
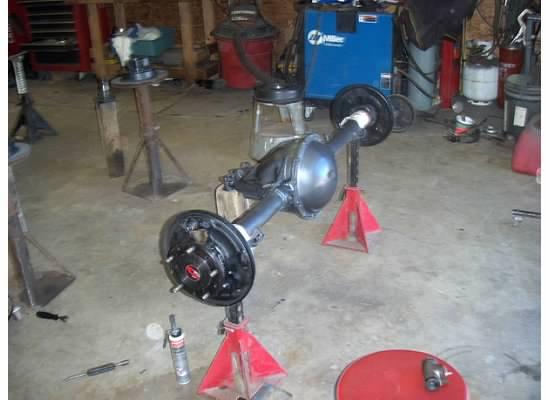
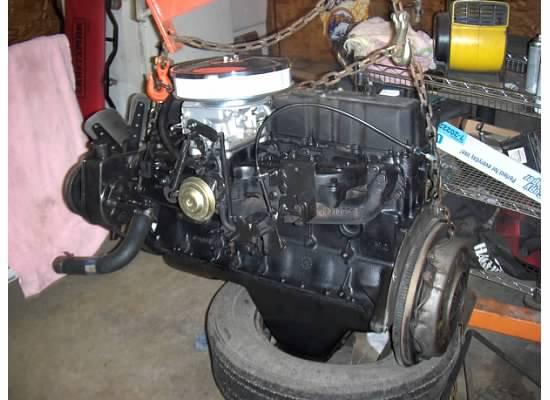
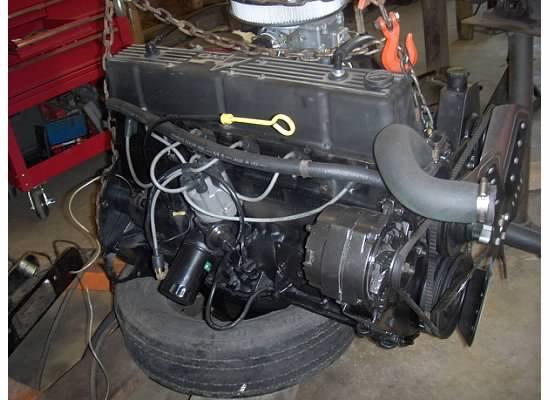
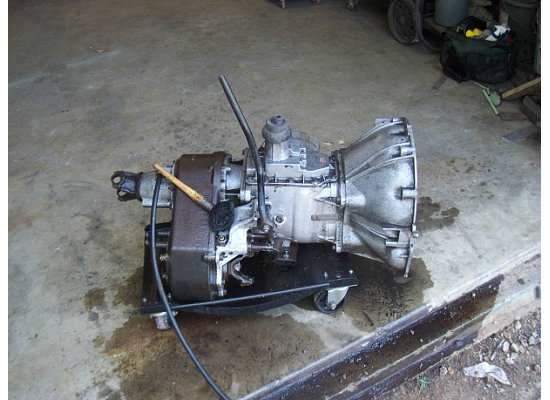
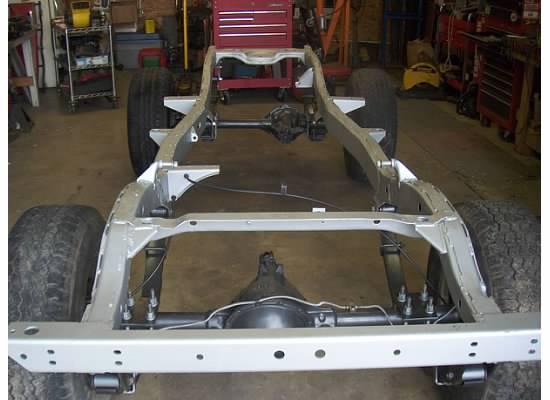
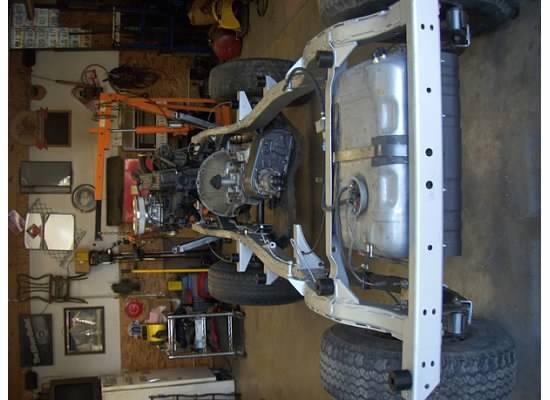
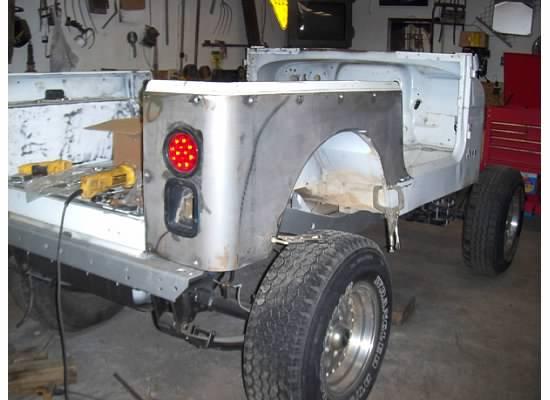
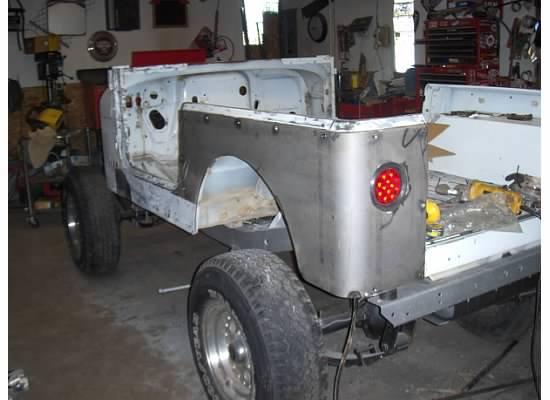
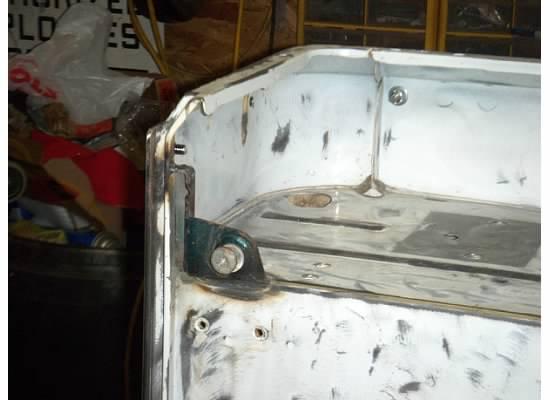
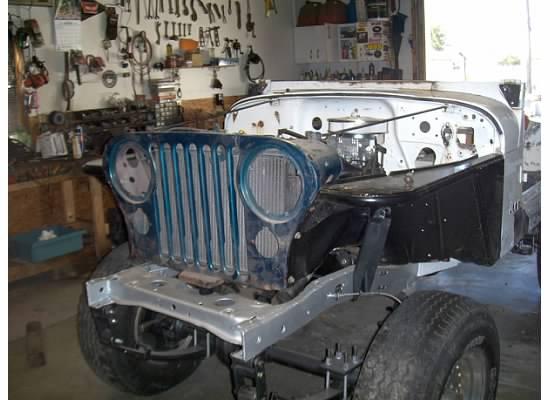
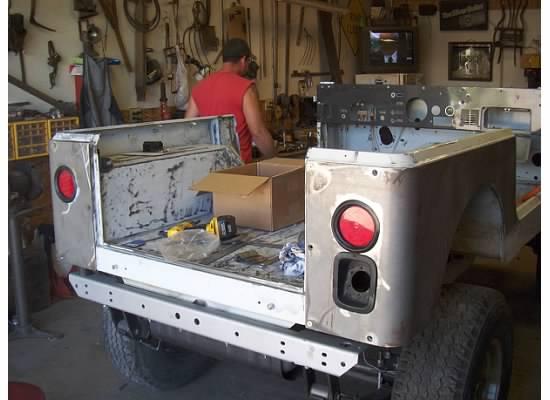
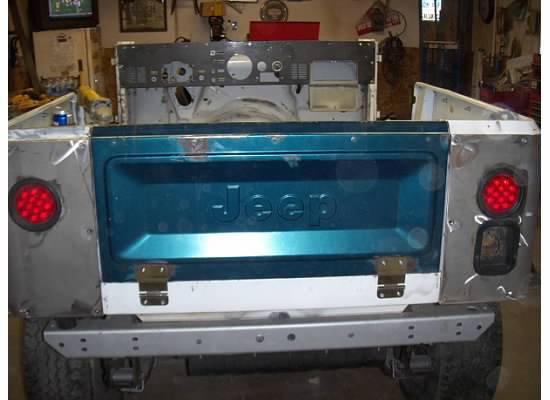
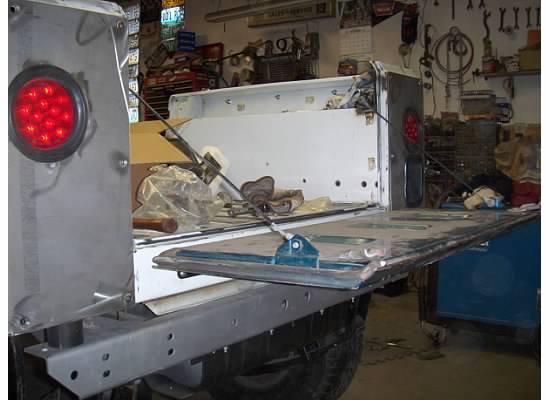
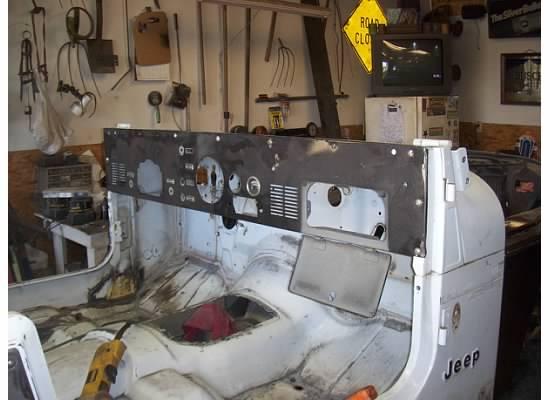
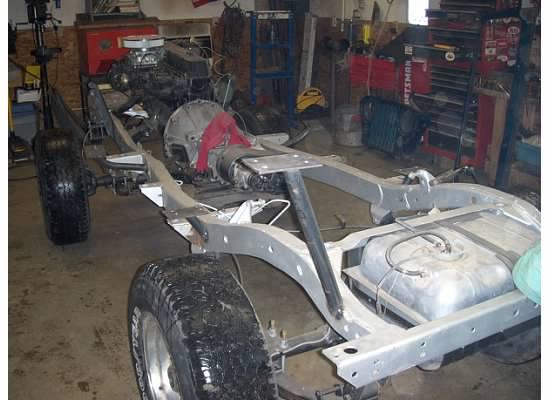
more cleaning and painting
ry3D400-9.jpg


ry3D400-10.jpg


ry3D400-11.jpg


ry3D400-12.jpg


ry3D400-13.jpg


ry3D400-14.jpg


ry3D400-15.jpg
 
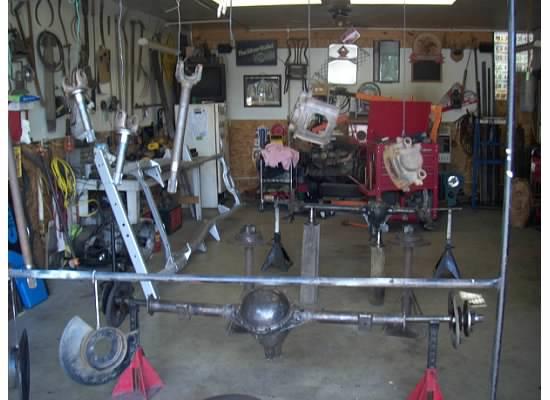
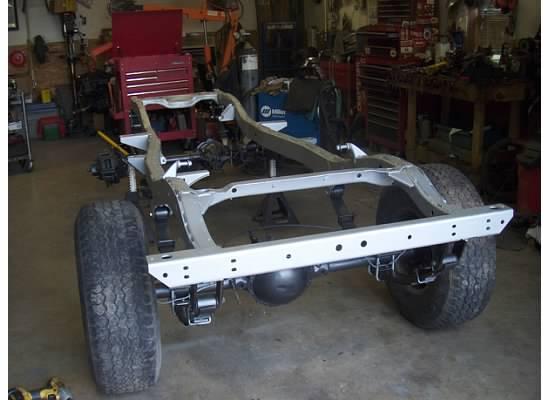
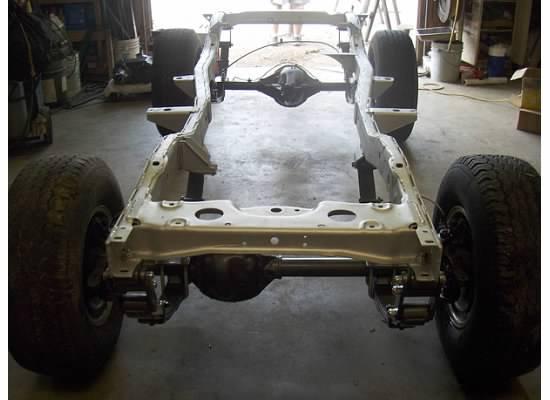
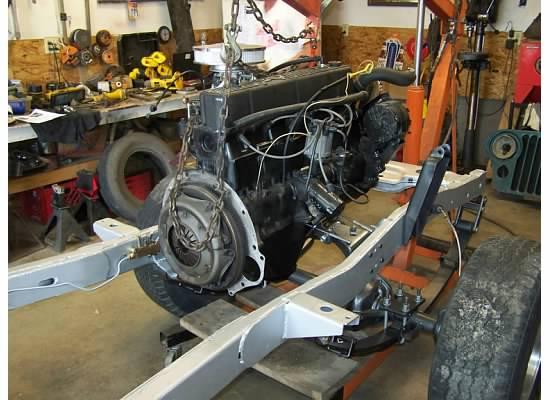
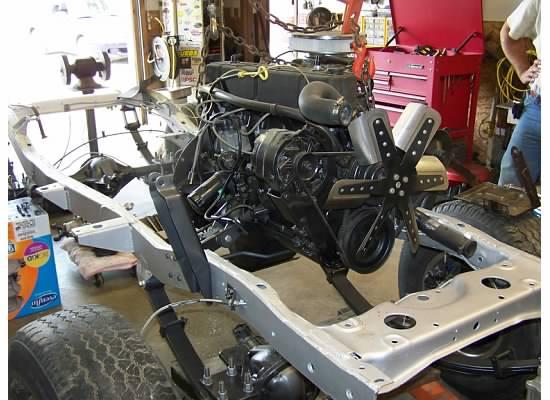
more cleaning
ry3D400-46.jpg


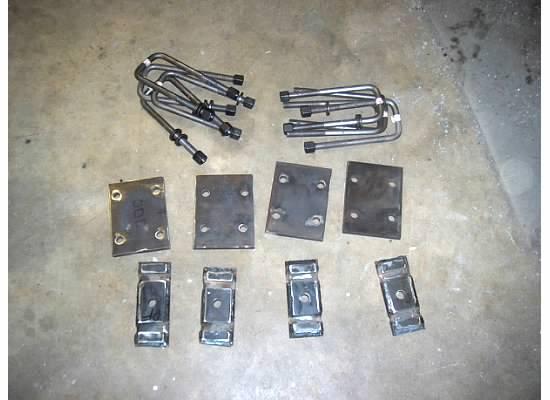
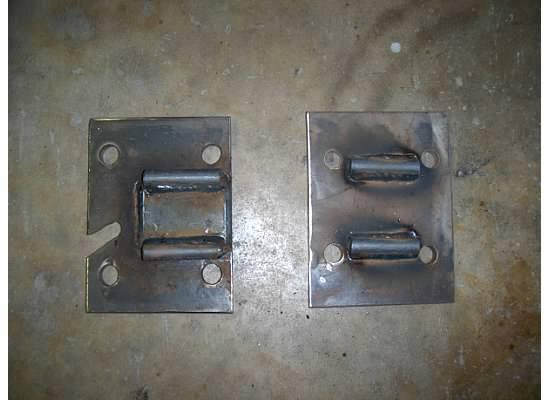
fabbed u-bolt flip plates
ry3D400-47.jpg


ry3D400-48.jpg


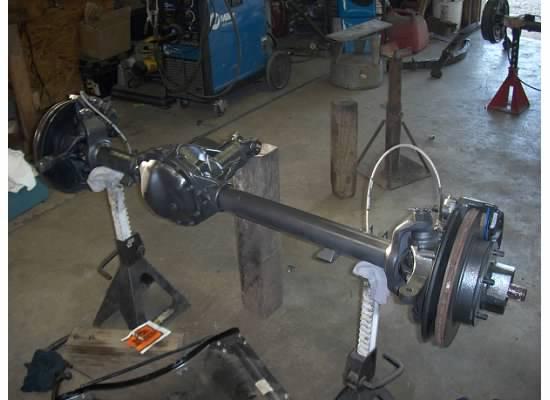
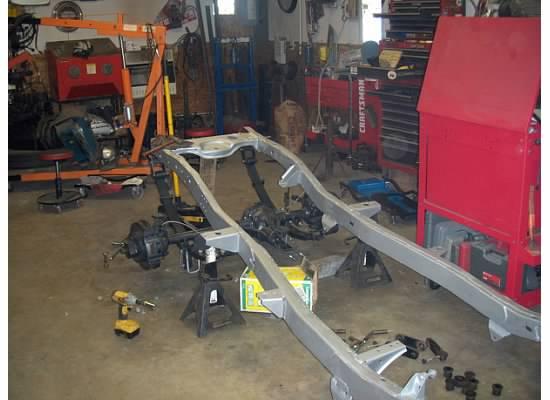
front axle
ry3D400-49.jpg
 
Been awhile, still some progress!
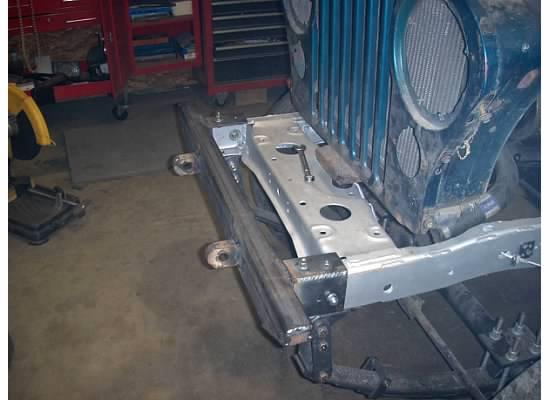
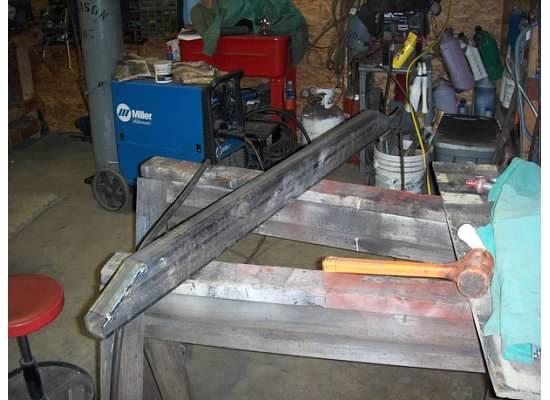
Bumpers front and rear
ry3D400-4.jpg


ry3D400-22.jpg


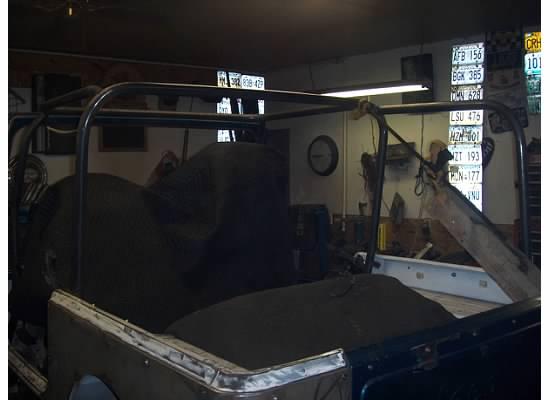
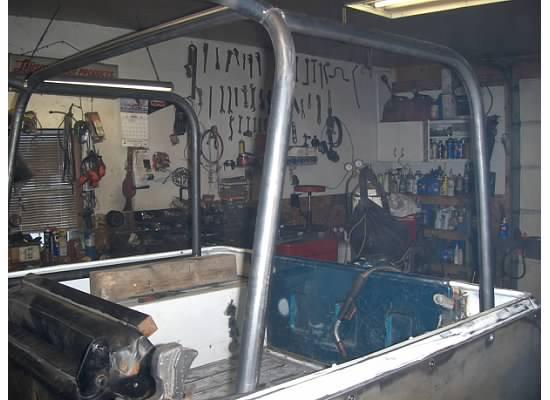
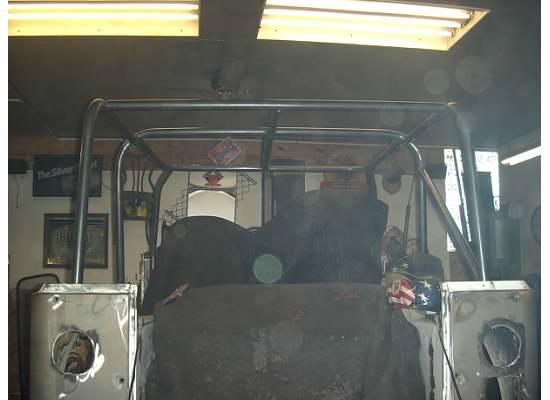
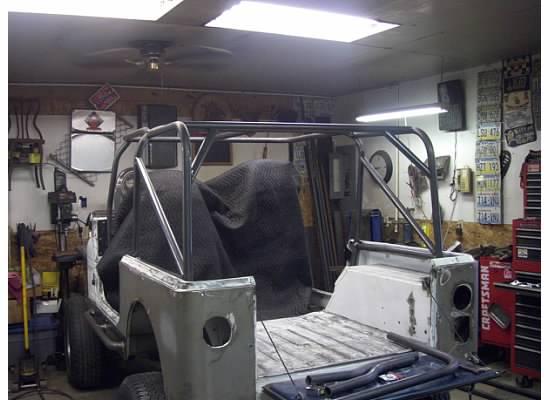
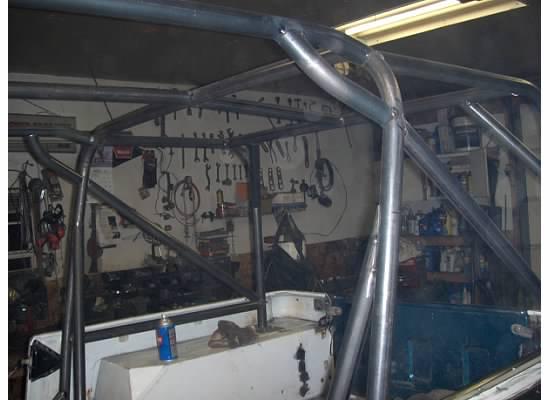
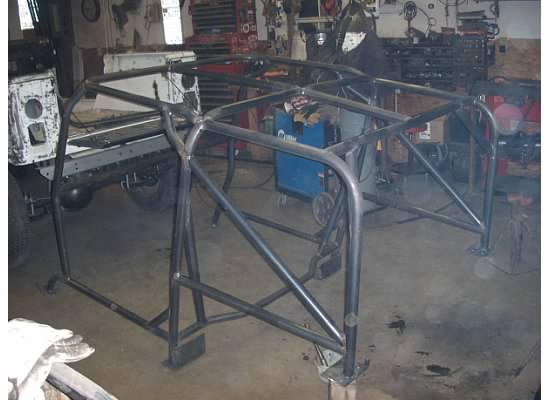
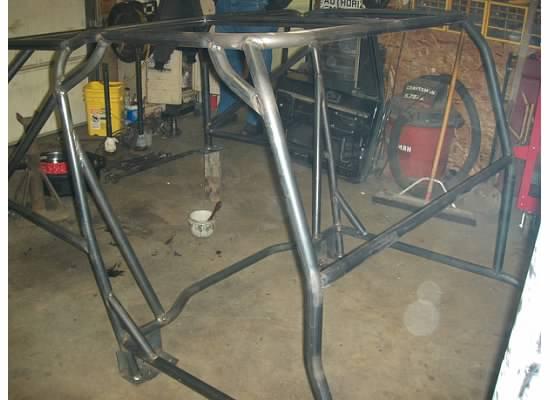
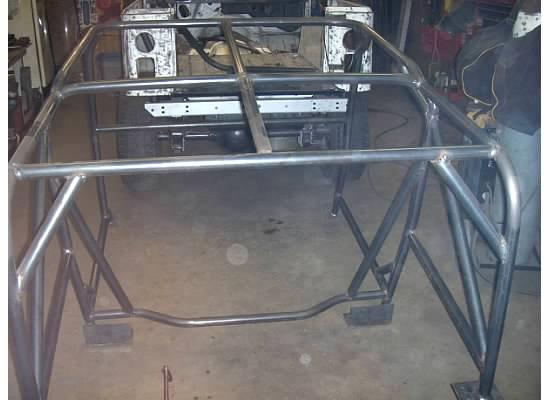
Cage time
ry3D400-23.jpg


ry3D400-24.jpg


ry3D400-25.jpg


ry3D400-26.jpg


ry3D400-27.jpg


ry3D400-28.jpg


ry3D400-29.jpg


ry3D400-30.jpg
 
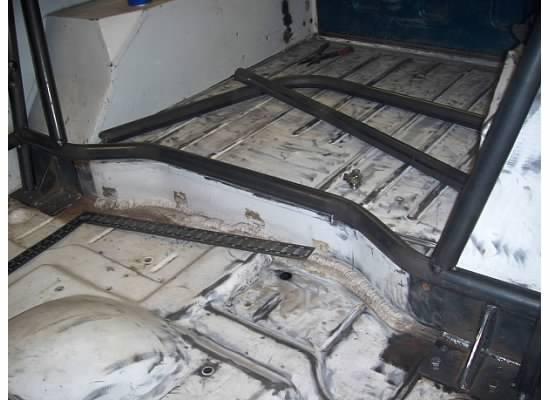
Love the way the lower B pillar support/crosstube is done to follow the tub edge... very cool!

How many times did you bust out the plasma on that thing? :D
 
Love the way the lower B pillar support/crosstube is done to follow the tub edge... very cool!

I was just going to post that about the crosstube as well! I haven't seen one done like that yet, very nice! :thumbsup: If you get bored after this cage build let me know, I need to have a cage fabbed for my '84 CJ7 :D; or else I need to just buy a tubing bender and get to work!
 
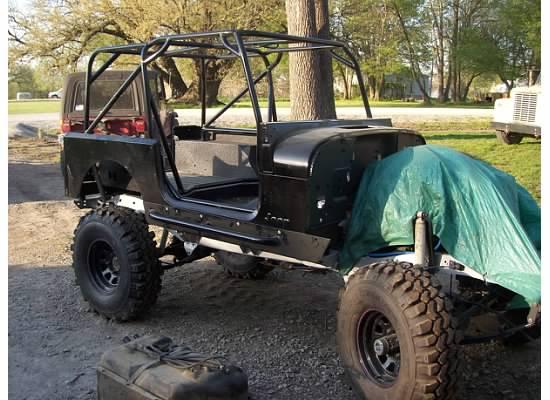
We finally finished the cage just in time to catch the half price powder coating special!

ry3D400-4.jpg


ry3D400-5.jpg


ry3D400-6.jpg


ry3D400-7.jpg


ry3D400-8.jpg


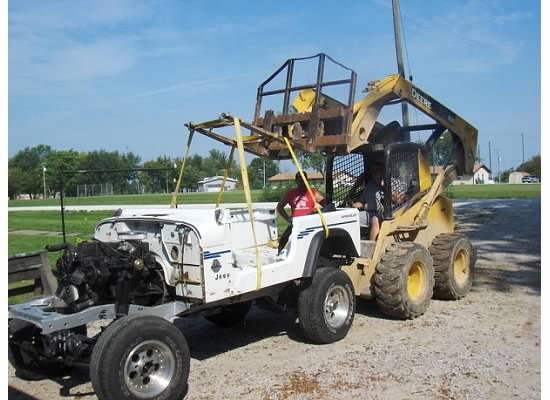
Tub and body parts are supposed to head to Clay's uncles shop this week for beadliner and paint!

We now need to get all the small parts cleaned and painted so they will be ready upon the body's return.
 
Looks great!
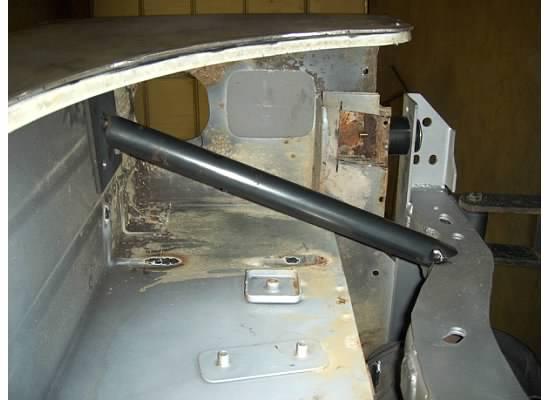
Kudos for tying the cage to the frame, but I see two problems:
1) the floor plates need to have the corners radiused with about 1/2" radius, and the edges on the floor need to be chamfered 45*.
This will help prevent the body from tearing thru at those points if it rolls. Torn metal has no strength, but if you stretch it, it absorbs alot of energy, and that’s what you want.

2) You need to rubber mount the cage to the frame or use solid body mounts at the factory locations.
Sounds strange I know, but the way you have it welded to the frame and thru bolted at the floor plates your forcing the body to flex at every solid mount on the cage where it bolts thru the floor because of the rubber body mounts you have at the factory mounting points.
If you leave it like you have it, you will get stress cracks in the floor not to mention that your ride will be much harsher than what it was.

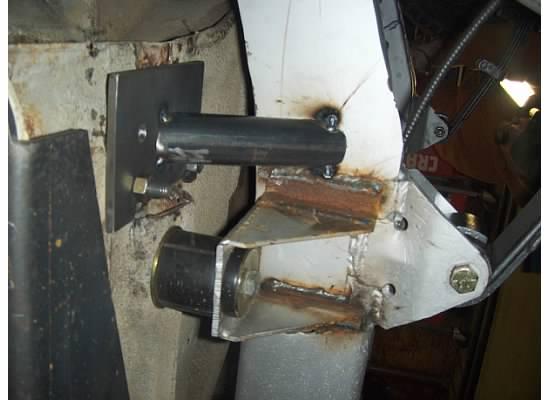
The best way I have found to make a strong, rubber mounted cage is to use leaf spring bushings inside a tube welded to the underbody bolted plate. Then run your stanchion from the frame with a fork on the end so you can run a bolt thru the bushing, just like a shackle on a leaf spring.
I unfortunately don’t have pictures of it, but if you have questions, I'll gladly try and help you.

One question: are you going to place the seats on the floor or build a sub frame tied to the cage to mount them on?

Nice work though. :thumbsup:
 
I only see one problem with it....


It's not long enough. :rotfl:
 
Back
Top