• Notice for iPhone users: DO NOT use the image size reduction option when uploading photos to the forum. This causes portrait images to post as landscape. We have added a warning to the image insert pop-up as well.

Project Panel Replacement

certifiablejeep

Definitley Certifiable
Lifetime Member
City
Bedford
State
NH
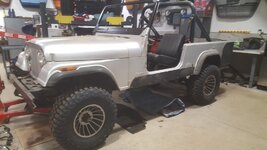
I need another project like a hole in the head, but I picked up a 1983 the other day and the tub is shot.
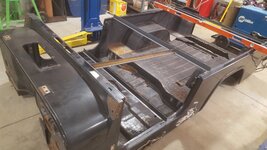
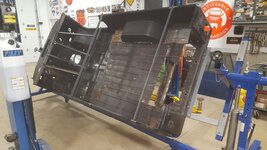
I got another tub that needs rear floors/wheelhouses... so I am going to get the tub parts swapped out, then take the old tub off and put the new one on and get it running and driving.
20211201_175144_resized.jpg

20211201_175122_resized.jpg

20211201_175117_resized.jpg

20211201_175111_resized.jpg

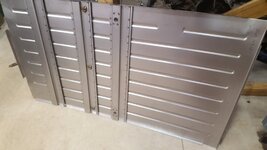
The classic enterprise delivery has shown up... and then I picked up the tub, and last night was bracing it up and ran out of angle iron... will get more today and then get it back on the rotisserie and then we can get moving.

cb
 
Love the look of the silver and the turbine rims!
 
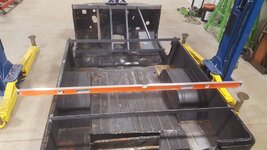
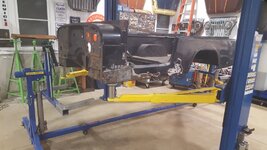
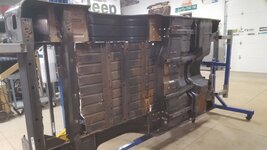
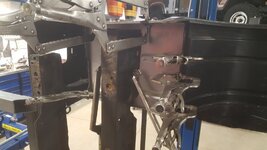
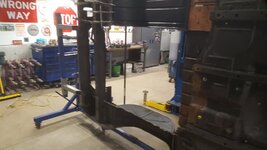
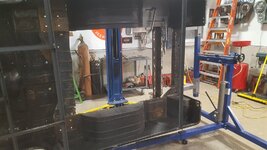
Got some more angle last night and finished the bracing and got it balance on the rotisserie. I have to say this went A LOT faster than the last time I did this... 2 post lift is truly a back (and time) saver. I did it all by myself and didn't have to call any buddies... AND... I had beer left over as it didn't mysteriously disappear when the help left :)

All kidding aside, I am very fortunate to have this lift now... been a long time coming, but finally starting to reap the benefits.

And somehow it all turned out level... go figure...

20211202_174149_resized.jpg


20211202_174210_resized.jpg


20211202_175006_resized.jpg

20211202_180540_resized.jpg

20211202_180550_resized.jpg

20211202_180935_resized.jpg

20211202_180948_resized.jpg

20211202_181106_resized.jpg

1638532105316.jpeg

There are a couple spots, but for the most part, this thing is in pretty nice overall shape.

cb
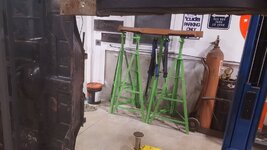
 
Rotisserie’s is where it’s at. Game changers for this kind of work.
 
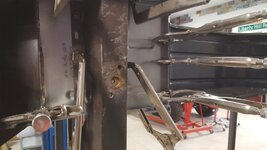
It was an afternoon of putting up the tree and cutting out the floor and trying to get the old small rear panel out and try to mock up a new one in there. Previous attempt in putting it in looked to use some weld, possibly glue, but the fitment wasn't right... and then when it wasn't attached to the floor and the tub was moved around, the panel deformed and "banana-ed" out of shape.

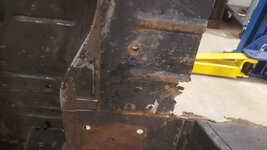
I cleaned up a lot of the spot welds that weren't ground down, I also removed a few more... the sides where the new metal meets the old was ground down as well and made a lot more smooth... fitment is key on these and you really need to take time to make sure it all fits up close and snug... I had that little panel on/off probably 10 times and I still haven't drilled the holes yet for the rollbar foot mount.

20211205_150030_resized_1.jpg20211205_150034_resized_1.jpg20211205_153635_resized_1.jpg20211205_153650_resized_1.jpg20211205_154441_resized_1.jpg20211205_154454_resized_1.jpg20211205_155032_resized_1.jpg20211205_155038_resized_1.jpg20211205_155052_resized_1.jpg20211205_160114_resized_1.jpg

Hopefully tonight is more drilling spot welds and getting the rest of the floor out so I can try to fit the new floor... a lot of work for sure, but I miss it... been a very long time since I did "construction" instead of "destruction"... my hands and lower back feel it this morning :)

cb
 
What I wouldn't give to drop my Jeep off to you for a cowl and right side panel replacement. It'll take me months once I start.... you'd whack it out in a week. I'm humbled.
 
What I wouldn't give to drop my Jeep off to you for a cowl and right side panel replacement. It'll take me months once I start.... you'd whack it out in a week. I'm humbled.
Thank you for the kind words... this has been a long time of preparing... but once all the starts aligned, it makes the project go a lot smoother.

cb
 
So last night is something that isn't glamorous or fun... panel prep.
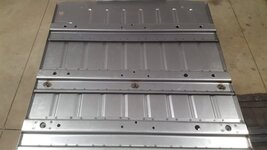
The stuff from classic is great... but it is missing a few things and you have to do a few things yourself.

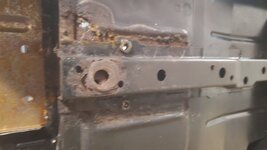
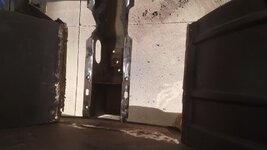
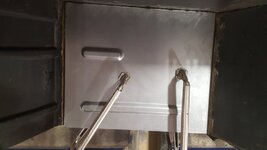
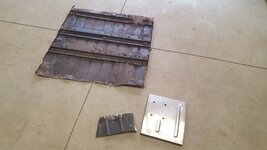
The bottom of the existing floor... notice all the drain holes, also the captured nuts for the seats... well the rear at least, more on the front captured ones later.

20211206_164128_resized.jpg
20211206_164139_resized.jpg

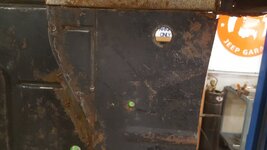
If you look close, there are like 25 or so holes. This is probably for drainage, but you can see that originally they used the same 3 braces, but some had captured added, some had body mounts inserted, etc.

So, I wanted to add these... and open up the 3 holes for the rear seat mounting of a fixed seat. I don't know if I will run a seat, but it is good to have the option and it is easier now in "mock up mode" vs. after painted.

So I measured and drilled... then cut more out of the original tub.

20211206_164153_resized.jpg

20211206_164157_resized.jpg

20211206_164210_resized.jpg
20211206_164223_resized.jpg

There are 3 holes on top as well that usually have body plugs in them... 1" big, need those as well... measure and drill.
20211206_173316_resized.jpg

20211206_173321_resized.jpg

Bigger hole now... need to drill spot welds after finishing up the floor prep.

20211206_173334_resized.jpg

cb
 

Attachments

  • 20211206_175340_resized.jpg
    20211206_175340_resized.jpg
    68.2 KB · Views: 6
Have to ask if you sealed your concrete floor, always looks clean and not stained. I know it's fairly new and all but.......looks good!
 
Have to ask if you sealed your concrete floor, always looks clean and not stained. I know it's fairly new and all but.......looks good!
Nothing yet, but coming... I heard so many conflicting reports of when to do it, that I just decided to wait a bit... but I keep it very clean and try not to leave anything on it too long and clean it up quickly if it happens.

cb
 
Nothing yet, but coming... I heard so many conflicting reports of when to do it, that I just decided to wait a bit... but I keep it very clean and try not to leave anything on it too long and clean it up quickly if it happens.

cb
Starter fluid works great to soak up/out oil/grease stains out of concrete :thumbsup:

Spray directly on stain. immediately wipe up with a rag. The starting fluid draws the oil/stain making substance up/out of the concrete temporarily.

Make sure you have adequate ventilation, or you will definitely "feel it" LOL :crazy:
 
Starter fluid works great to soak up/out oil/grease stains out of concrete :thumbsup:

Spray directly on stain. immediately wipe up with a rag. The starting fluid draws the oil/stain making substance up/out of the concrete temporarily.

Make sure you have adequate ventilation, or you will definitely "feel it" LOL :crazy:

I use starter fluid to clean out ATV crankcases when I rebuild engines. The wife gets all kinds of upset with me when I come in smelling like starter fluid.
 
My buddy who works at a dealership gives my the same fluid they use to remove grease/dirt from the engines after repairs and it works great, reminds me of pure alcohol and dries with no staining.
 
Nothing yet, but coming... I heard so many conflicting reports of when to do it, that I just decided to wait a bit... but I keep it very clean and try not to leave anything on it too long and clean it up quickly if it happens.

cb
Sealer can be effective but oil and cleaner hard on sealers. I have decided to wait… I use brake cleaner on oil spills, can’t use that on a sealer… see photo… if I ever seal will acid wash first…DCFBD098-8A8E-4355-B150-850080357B0B.jpeg
 
Back
Top