• Notice for iPhone users: DO NOT use the image size reduction option when uploading photos to the forum. This causes portrait images to post as landscape. We have added a warning to the image insert pop-up as well.

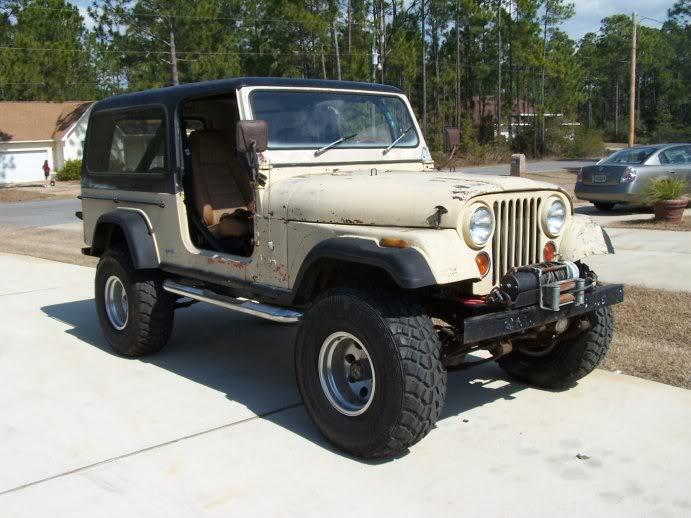
Retitled: 83 Scrambler resto-mod finally gaining momentum

here's to the working man..

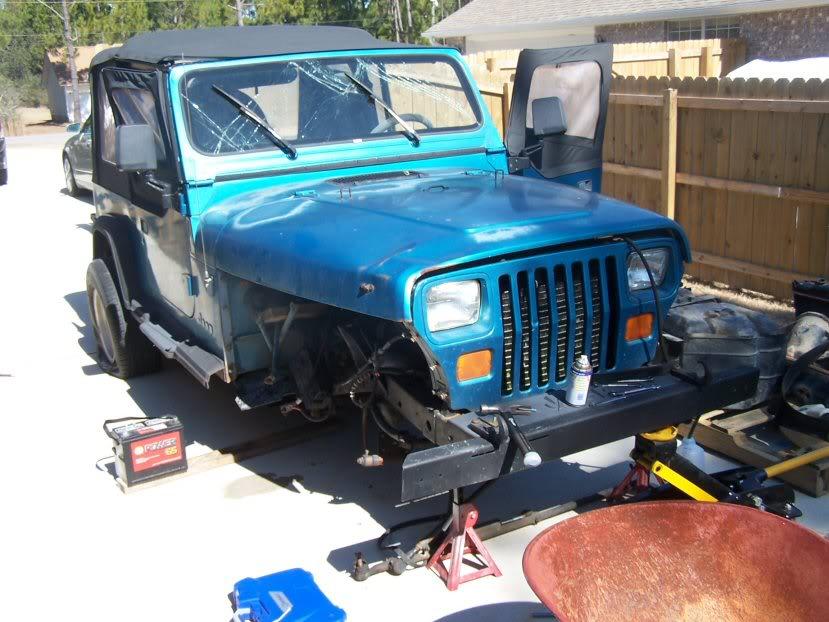
seriously.. I put about 19 or so hours into disassembling the YJ this weekend, and my body is now paying for it. I get alot more satisfaction out of this kind of work, and it's certainly more fun that reading doctrine or developing lesson plans but.. I'm ready for a day "off" back to my day job ;)

the results for this labor: I listed a YJ parts list on my local CL last night and my email/phone was ringing off the hook today... I have sold, or have down payments on future sales, approx 1150 dollars in parts in the last 24 hours.. another hundred and I'll have the YJ and the two truck delivery 100% covered.. a few more parts sales and I'll be making money on a free engine.

I confirmed that the underdash A/C unit worked (hooked the battery back up, started motor and ran compressor/blower).. I've got a local bidder on that unit but I have to see what I can xfer to my CJ first (I already have a complete CJ unit in parts in my garage.. not sure what crosses over and what I can sell)..

pulled the rear axle/suspension (selling in a package with the front axle to a guy doing a SAS on a Chevy S-series pickup (??)

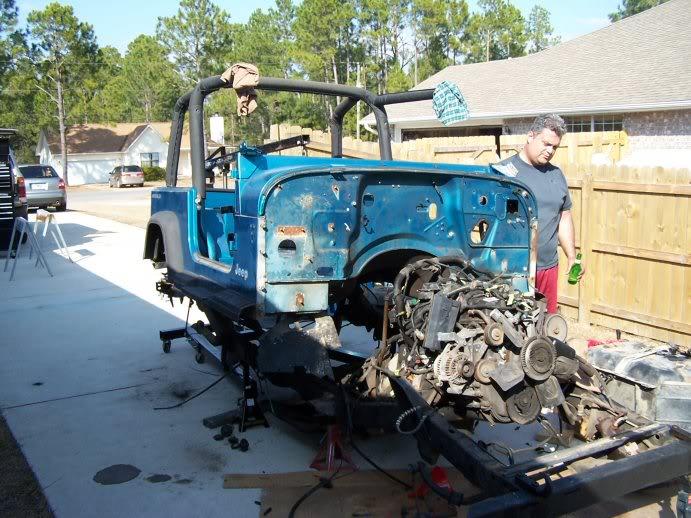
also pulled the soft top, top hardware, doors, dash/guages, hood, hood hinges, hood hardware, all the lights, and a host of smaller bits and pieces.. major items remaining are trans,steering wheel, fuel tank, brake booster/ master, and the engine

I'm really at the point where I need to start disconnecting the engine/harness so I can pull it.. going to keep searching my local CL for a stand and hoist, or break down and go the harbor freight route this week, as I have a 4 day weekend next Federal holiday and, with no wife/child at home, time to keep cracking..
 
:cheers:

Sounds like you're getting into this at just the right time.... 4 day weekend, man, memories from working for the Navy :banghead:
 
busy as a...

not killing myself but using my days off to make progress.. it's just that most of my progress is on the "dis"assembly side which makes more and more work on the assembly side..

I've taken tons of pics as I take the YJ apart (haven't touched the 8 in about three weeks) but most of them are for technical records (where somethign connects) and not much for visual excitement on the board here.

I'm now down to finalizing all the disconnects so that I can free up the tub (which is sold, but not separated yet), and then I'll pull the motor/trans, together or separate, we shall see..

in the meantime, picked up a few tools/toys this week:
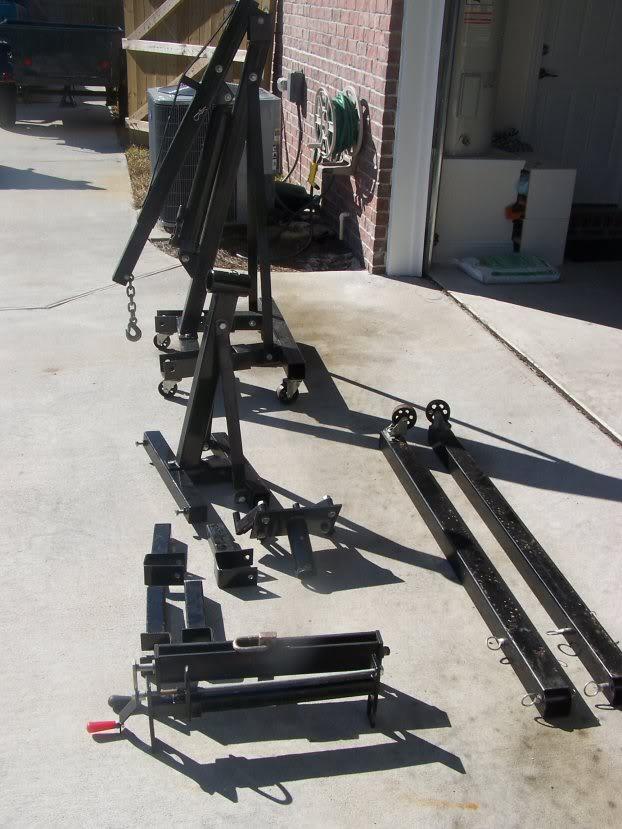
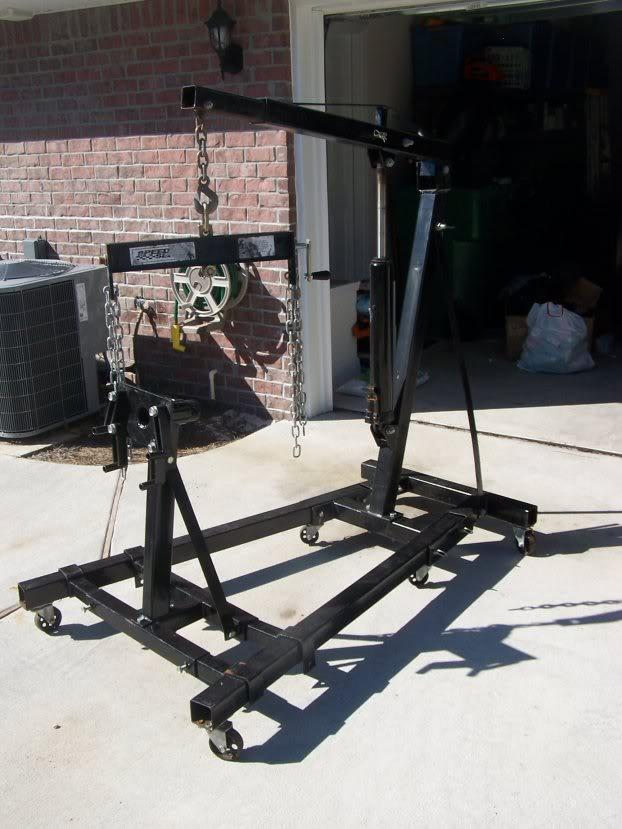
just in time.. I was about to go to Harbor Freight and buy a NEW engine stand and cherry picker, since none were showing on CL and I had no connections to borrow one, and a guy up in Alabama was selling this.. he drove and met me half way, and it's an all-in-one picker/stand.. pretty neat, simple design.. drawback is that it can only be used for one function at a time..
20110218enginehoist1-1.jpg

and assembled:
20110218enginehoist2-1.jpg


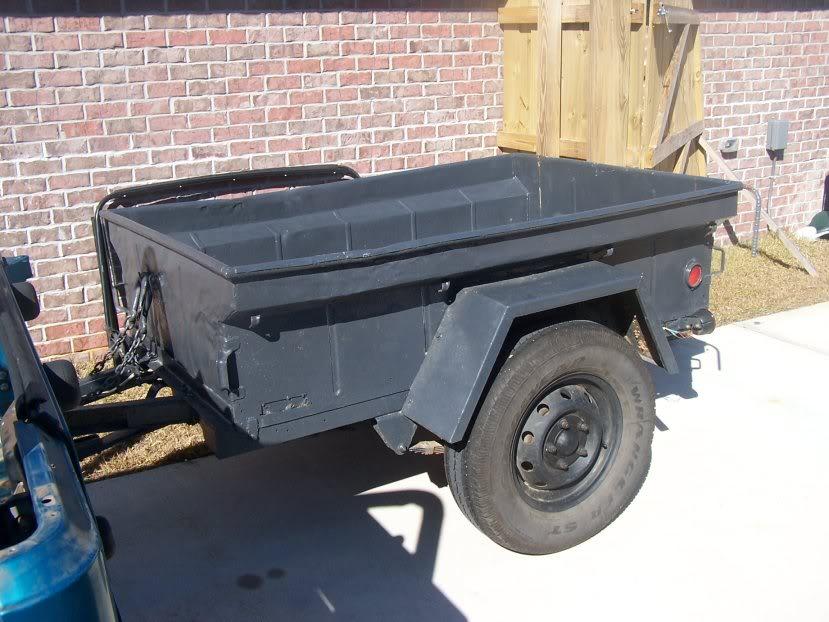
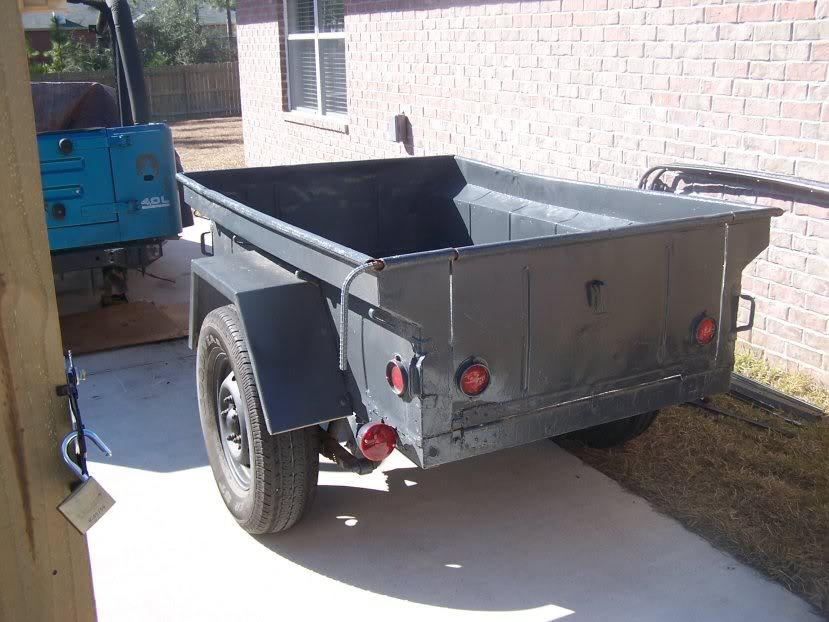
and jumped on this in a local CL ad.. something I've been searching for for awhile.. may have made a mistake by buying another "project" (it has some rust repair, but not very GOOD rust repair, in the end this may be the thing that I learn to weld on).. I thought it was cool and figured (worst case) that I could re-sell for the same price if I had to
20110214newtoytrailer2-1.jpg

20110214newtoytrailer-1.jpg
 
Last edited:
plan of action for today.. labeling (with painter's masking tape) and disconnecting just about everythign in the YJ and then start undoing body mounts..

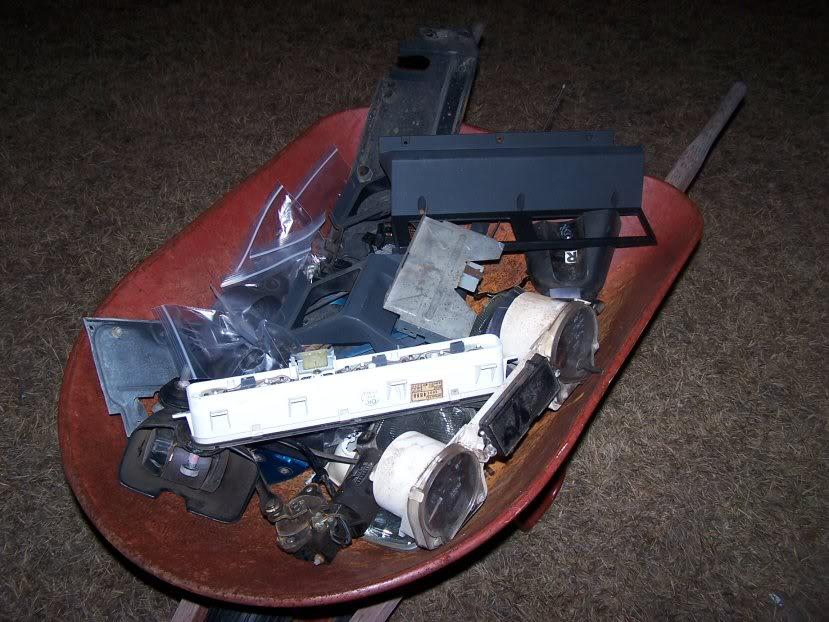
in the meantime, I continue to fill up the 'barrow with more and more of this:

20110214barrowofparts3-1.jpg


I'll take some more pics today
 
today was a big "win" day..

started working on my YJ tub at about 0900 with a goal of separating all that touches the firewall and MAYBE breaking the body mounts in preparation for removal of the tub.. sometime this weekend. My neighbor Sean came over.. big guy (literally) and big-brained guy (figuratively.. very engineer/tech savvy dude) and, just for fun, decided to spend about 6-7 hours helping me out..

let me tell you, the power of 2 guys is far greater than doubling the man-hours.. you get through MANY things much faster.. Sean pulled all the remaining HVAC and heating units in the tub for me, the gas tank, drained my R134, and many other odds/ends while I worked on pulling/labeling everything on the wiring harness... I have about 100 pictures of connectors with hand-labeled masking tape on them, describing what I THINK they are..

my new cherry picker came in handy!!

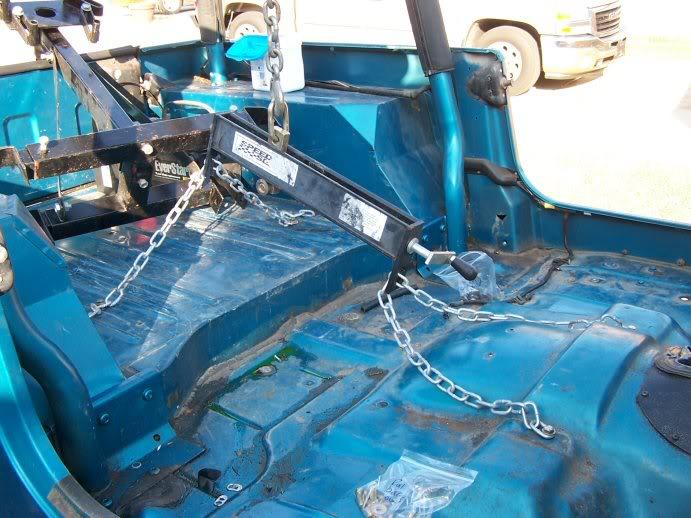
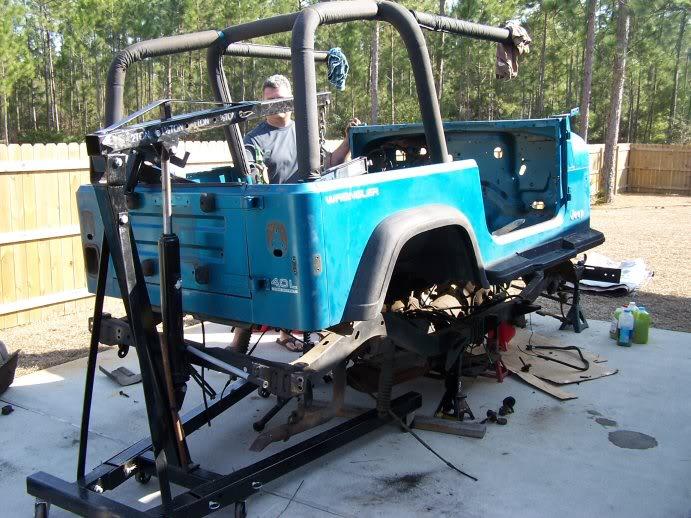
ready for lift off:
20110219Readyforliftoff-1.jpg


we have ignition:
20110219liftedoff-1.jpg
 
more pics of tub removal:

not under tension, but these were the mounting points I used for the engine hoist.. had to ballast the rear of the tub with some dead weight to keep it from being to forward-heavy
20110219anchorpoints-1.jpg


ready to back it off.. as you can see, my unfortunate placement of the wrecked YJ forced me to have to pull things out/off backwards.. should start getting easier now that the tub if gone
20110219liftoff-1.jpg


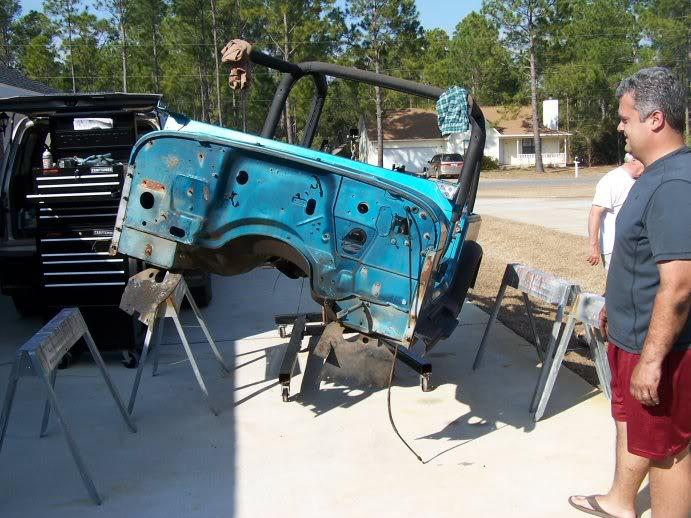
we walked it back on the casters to my front drive (buyer is coming to pick it up tonight) to set it on some saw horses (temporary)
20110219walkingitback-1.jpg


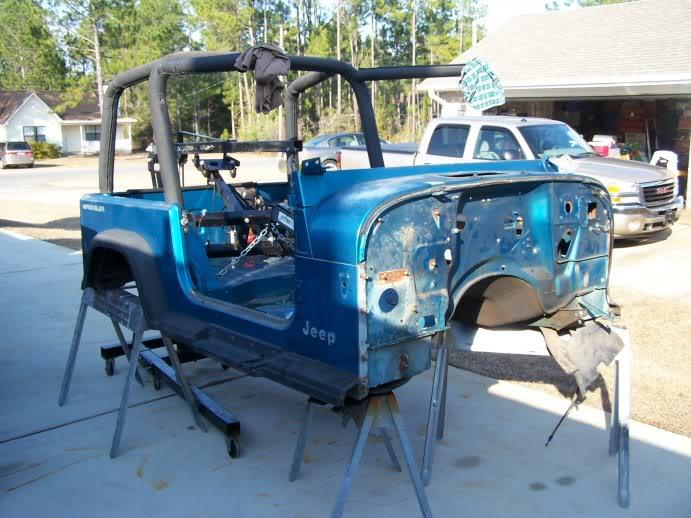
and set it down for now:
20110219readyforbuyer-1.jpg
 
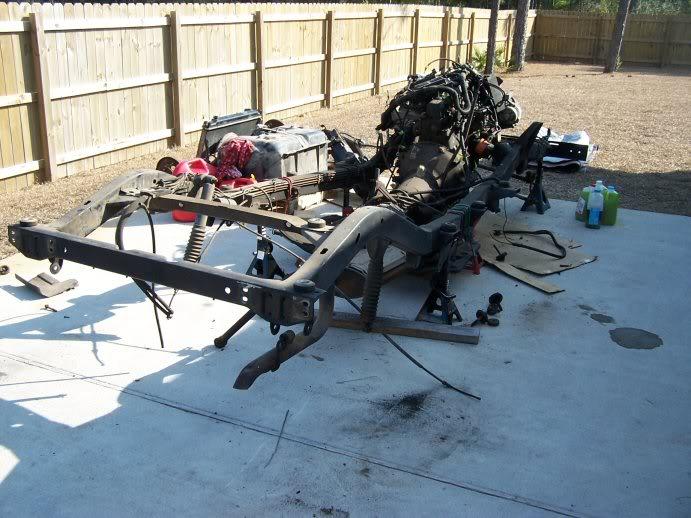
going to list this for sale (the frame) shortly... going to hang on to the TF999 trans until I'm 100% sure I've got the exisitng T5 in my CJ to work with this motor..
20110219frameanddrivetrain-1.jpg


had a YJ parts customer come by today to pick up some sun visors.. check out the rig he arrived in.. this thing was actually in really good shape.. I think under the homebrew paint job the original garnet red was probably in decent shape.. the stickers were still on (!) under the tan paint.. AMC360 converted, duals, huge Geolanders, roll cage, home-made rear bumper.. and that hard top is 2 CJ7 tops grafted together !

20110219customerCJ8-1.jpg


gotta tell you.. the sound of that 360 and the headers when he rolled into my driveway... drool
 
Last edited:
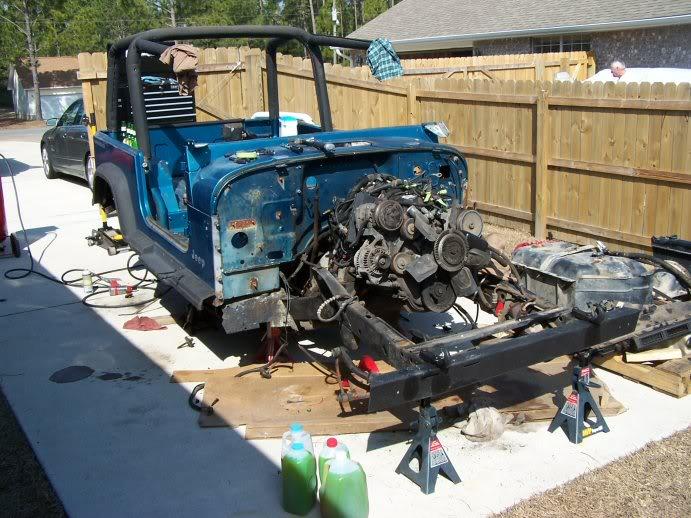
pretty stoked... went from THIS:
20110209Yjdelivered2-1.jpg

to THIS
20110219frameanddrivetrain-1.jpg

in two weekends.. and managed to sell amost everthing but the motor in between..

have a few things I need to put up on CL: frame, gast tank, trans, all the dash components, steering column (auto).. see if I can't generate a little more Scrambler-cash out of it
 
what should I do while I've got 4.0 on engine stand???

I'm planning to get my new (to me) motor onto my engine stand tomorrow.

I plan on pulling most of the accessories and brackets to at least clean/paint what's there. I have to swap (at least) the front damper with a kit with CPS, so that'll be new..

don't know alot about popular or easy 4.0 mods (remember seeing somewhere that Ford injectors were an upgrade???)
what else should I do for basic maintenance/insurance before I take the time to install it? I was thinking oil pan and valve cover gaskets, water pump/thermostat gaskets, new stat, new plugs, wires, serpentine belt, and any distributor parts... injectors? Not looking to spend a ton on stuff that I can get to easily after it's installed, just the big stuff to prevent headaches later..

my factory header is toast so, I'll need to replace that.. seen plenty of arguing online on problems with it, have seen replacements in the high 100s on Qtec and 4WD..

what about doing head gasket while it's out?:shrug:
 
Last edited:
Wow! Great work and it is always fun when you have good firends/neighbors that want to lend a hand!

As for the 4.0, I don't know too many upgrades that are needed, it is a pretty good/dependable set up just the way it is. As for the header, I went through two of the Banks headers on my TJ before I just went with a cheap one from Ebay. The Ebay one was holding up just as well as the Banks when I traded it for the Scrambler.
 
Sunday progress

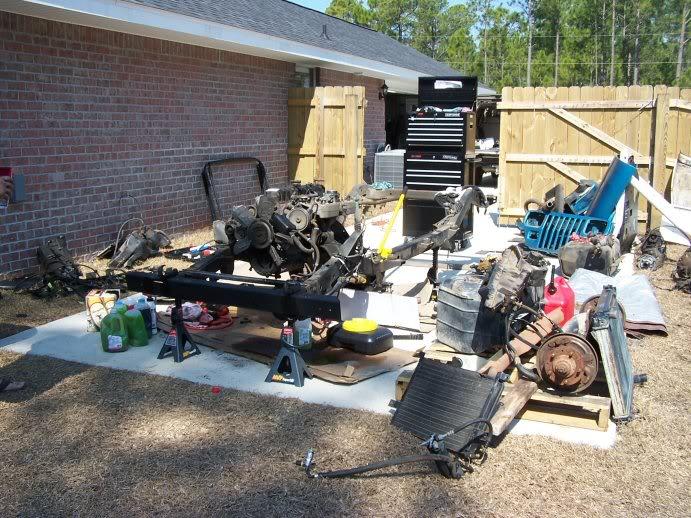
made more good progress today.. started with drivetrain still in the frame and lots of parts scattered around..
20110219partseverywhere-1.jpg


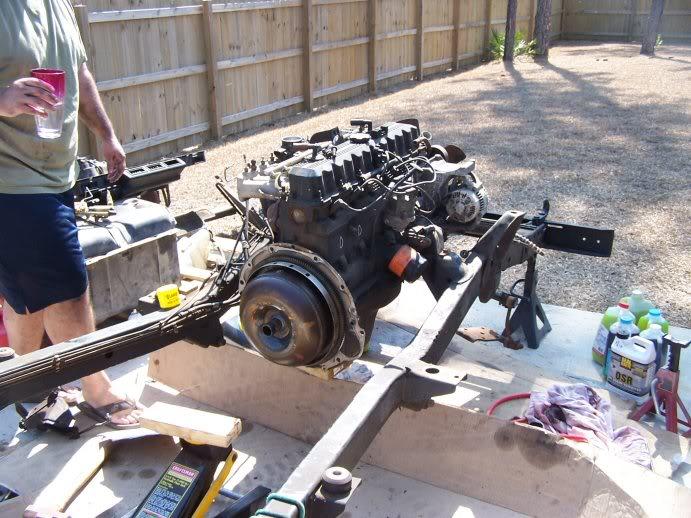
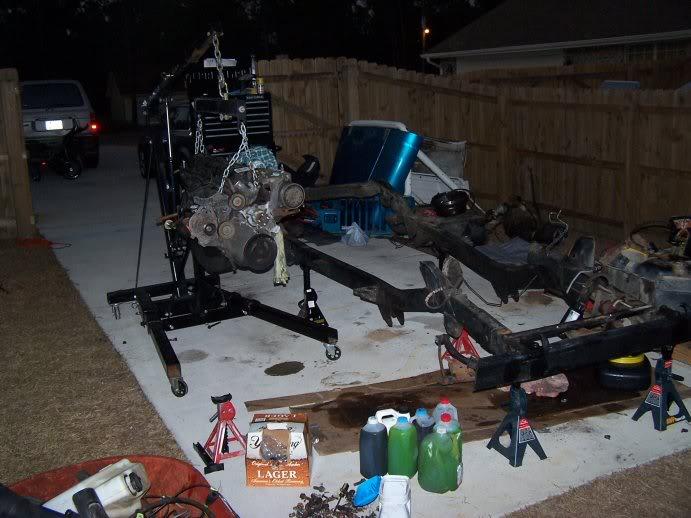
ended with drivetrain split, separated and motor on engine stand ready for next phase.. and lots of parts still scattered around..

20110219transoff-1.jpg

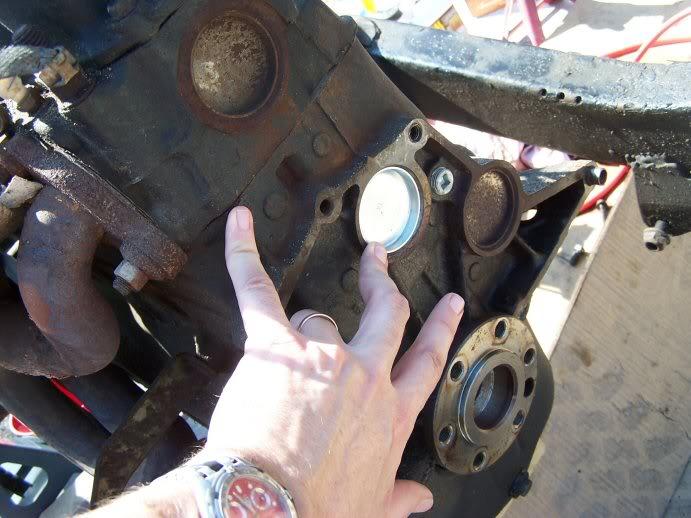
had a question on this freeze plug over in the engine forum
20110219cleanfreezeplug-1.jpg


here's where we called it quits:
20110219engineout-1.jpg


thinking tomorrow might be "clean up day"!
 
closing out February

I had big goals for February, but I never anticipated the whole YJ purchase, disassembly, and part out. That said, I'm happy so far that I did it.. that project tied up about three weekends for me, and took me away from the Scram during that time, but yielded me a motor, some random parts, and a little bit of cash back..

after I finished the final split of the drivetrain from the frame last weekend, I spent the weeknights this week getting back on the CJ8, and pulled the body wiring harness, the dash, the steering column, and all the heater/blower units.. basically the only thing between the tub and the frame now are body mounts. I'm researching a local guy that does soda-blasting, and trying to get him to come by my place and give me a rough estimate on blasting my collection of body parts.. I've done paint prep before and I can tell you my allowance for this will be generous, 'cause I dont feel like sanding this thing for 8 days..

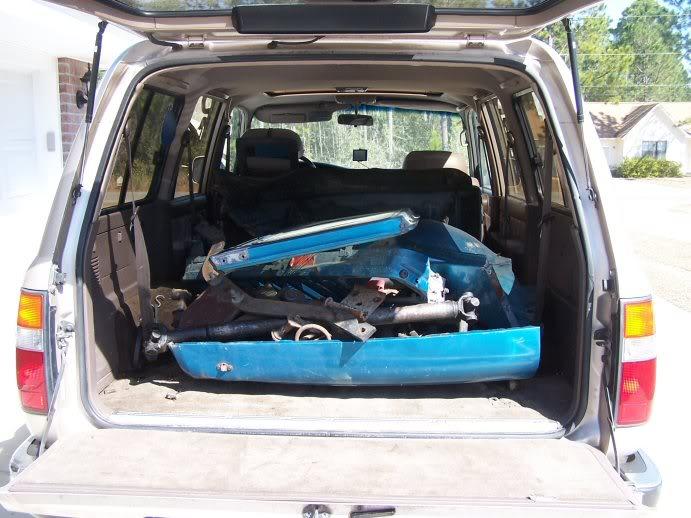
as my wife/son come home this week, goal was to "tidy up" a bit.. so will sales on YJ parts staring to slow to a standstill, I took a load of scrap parts and stuff I figure was more trash than treasure to the scrap yard:
20110226scrapmetal-1.jpg

steel doesn't get what it used to.. that's 350 pounds of parts.. got me 28 bucks.. enough for a few 12-packs of Yeungling to fuel future nights/weekends..

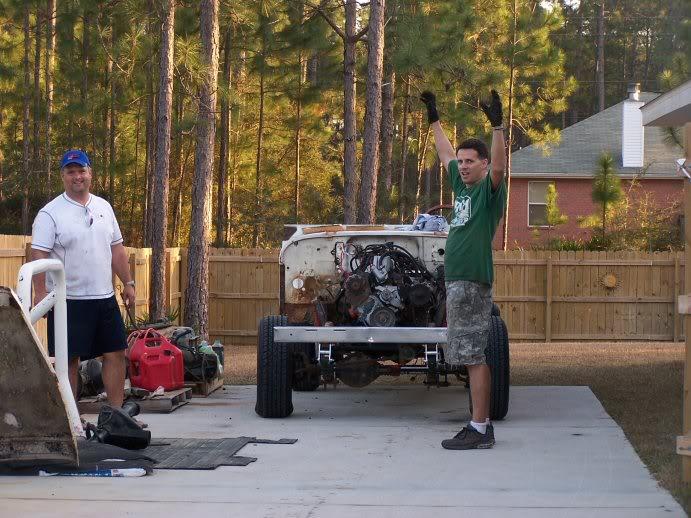
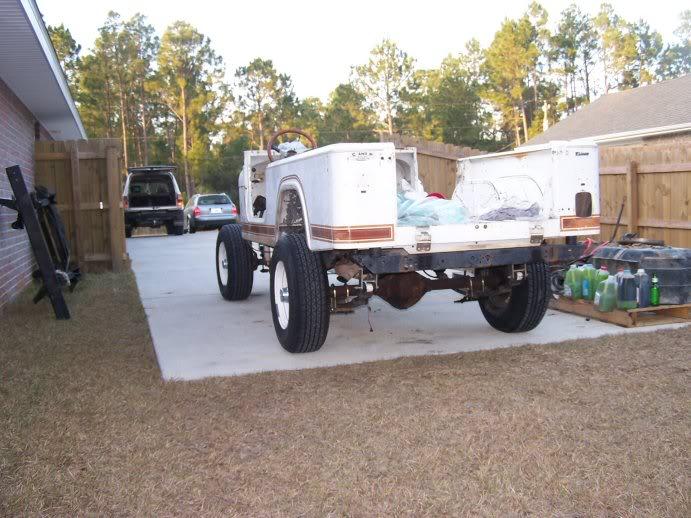
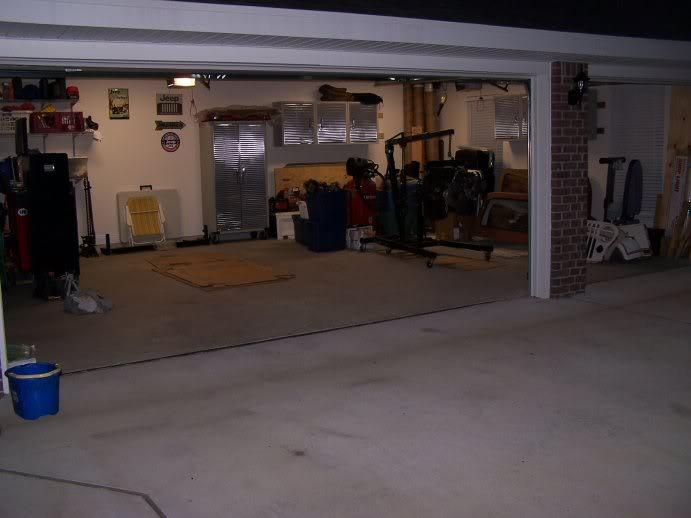
resourced a local guy to do a "master rebuild kit" on my new (to me) D44 rear end.. picked it up FRI after work and hung it under the frame today.. goal was to make my chassis a "rolling" chassis so I could get it out of the garage and put it where the YJ was for more work..
ably assisted by neighbor Sean again today, made (much) easier and fun-er work out of it.. his wife captured the moment of "victory" on today's mission:
20110226victory1-1.jpg

there was a whole YJ sitting here two weeks ago ;)
20110226victory2-1.jpg
 
the other victory...

wife's parking spot is open again, just two nights before she gets home ;)

20110226vicotry3-1.jpg


while Feburary was a productive month.. most of the "product" was working backwards (taking things apart).. now the hard part! To put it in perspective, I'm ALMOST where Raymond (Spankrjs) was a year ago, and (depsite his torrid pace) he's still putting his together..

I've been amazed (so far.. knock on wood) at how good the condition of the frame and tub on this truck are.. amazed because nearly EVERY other aspect of the truck required a near total re-fit... I've already done brakes, suspension, transmission, wiring harness, valve cover and rear main seals, rear axle assembly, flywheel, clutch, etc etc... nearly everything was neglected, but the tub is mererly "worn" looking, with some surface rust where the seam sealer has baked/dried off and reveal no paint.. there are a few small rusty spots, but no "through" rust..

My goal at this point is to attempt a frame off a-la Raymond, but nowhere NEAR the quality he's acheiving.. going to keep, clean, paint, and reinstall what I can... and replace what must be.. with the goal of having it back on the road ASAP, while not breaking the bank. The paint job is mostly to preserve it for future use (by me or another owner one day) and prevent it from starting to rot.. not to make it a show winner.
 
Last edited:
Looks great!

I can't let my wife ever see this thread...she hasn't seen the inside of the garage for almost 10 years. Did I mention it snows here?
 
progress

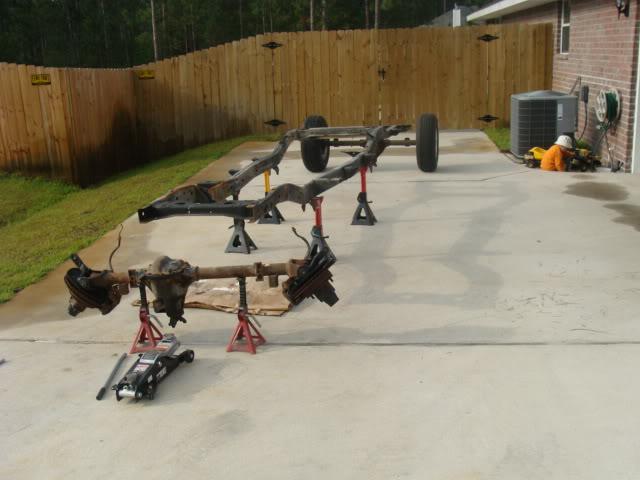
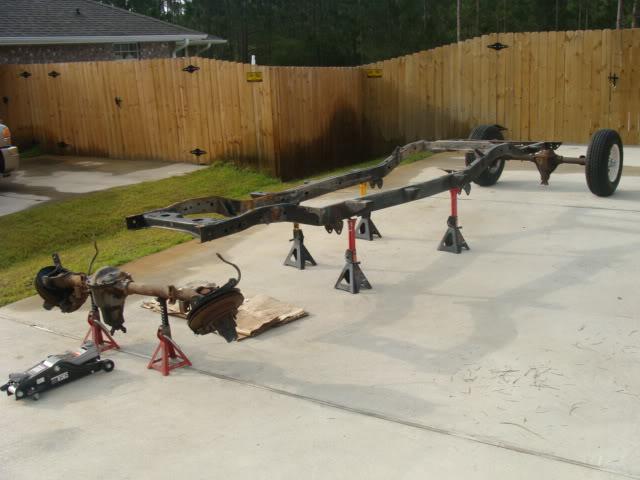
first work I've done on the Scram in two months... been busy lately.. rolled out my rolling chassis and took off the axles (again) for movement to a local sandblaster
20110520apart1-1.jpg

20110520apart2-1.jpg

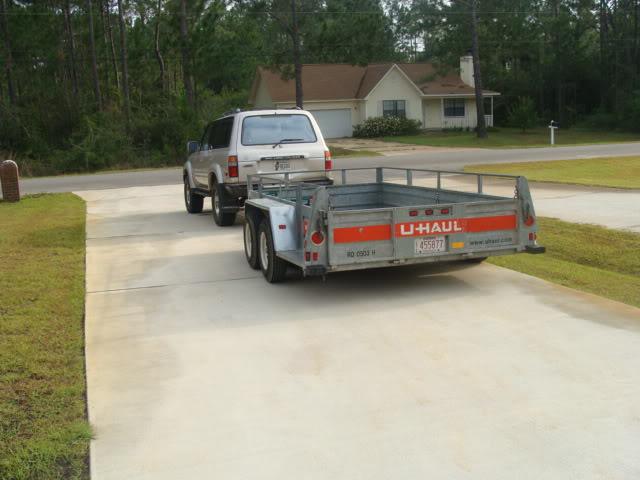
tow rig:
20110519Trailer-1.jpg
 
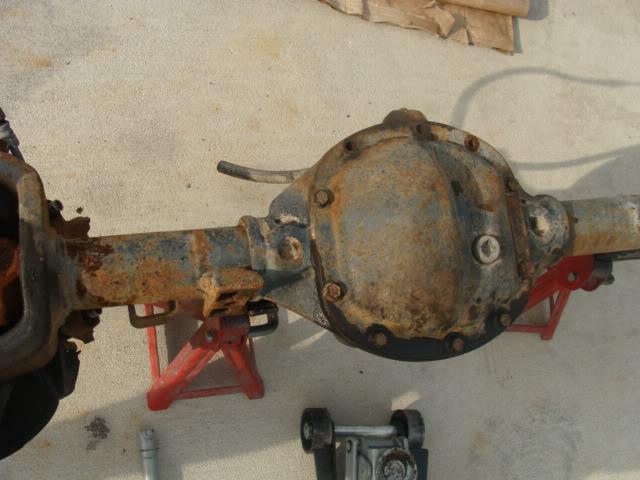
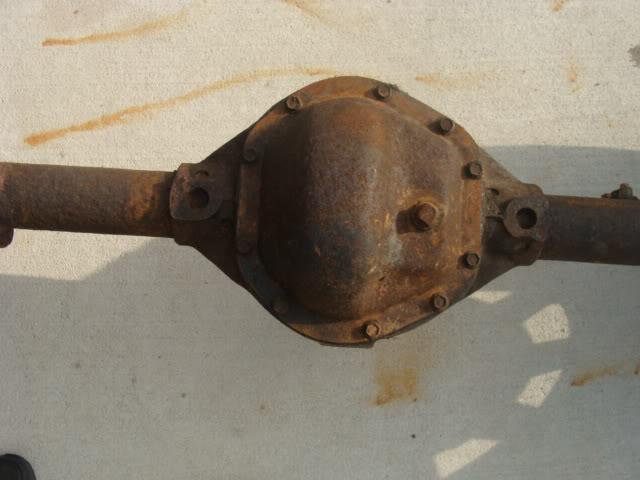
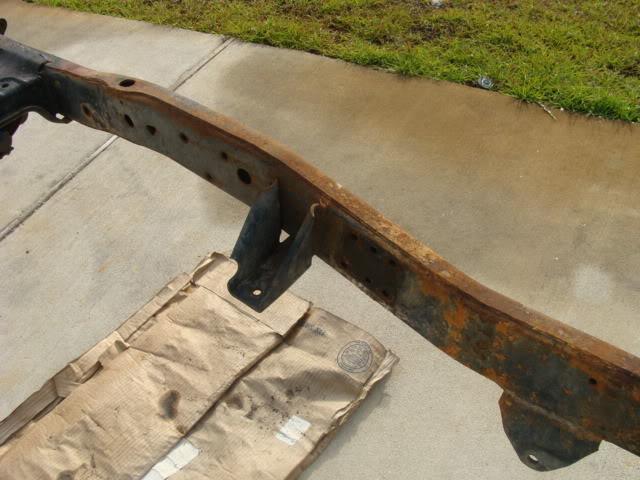
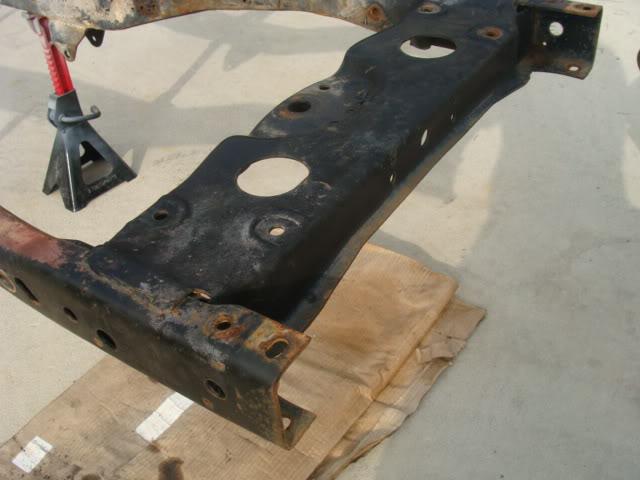
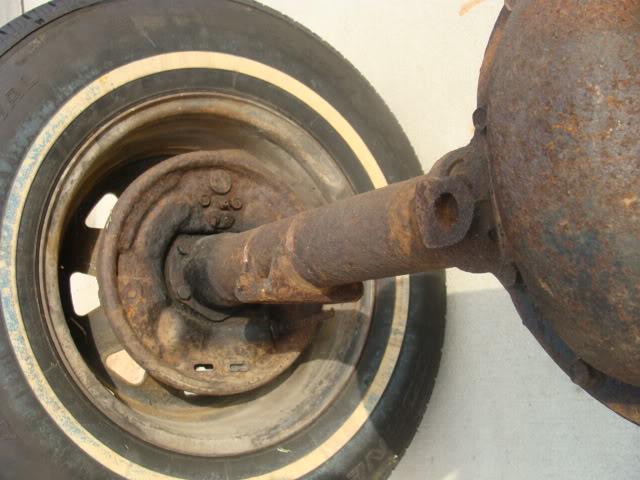
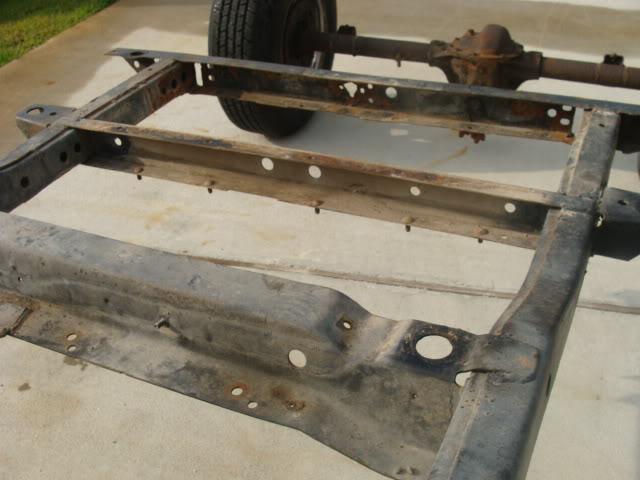
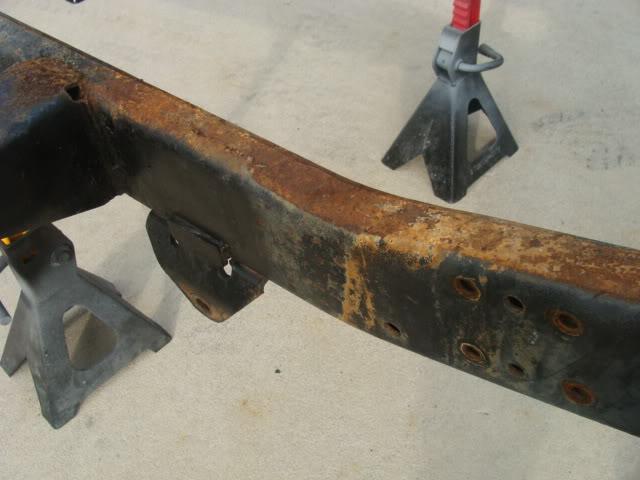
some before shot close-ups on the frame.. bottom line: lots of surface rust and crud, nothing I probably couldn't wire-wheel off and steam clean but, the machine shop quoted me 250 bucks for the frame and both axles (for sandblasting).. considering it would take me DAYs of labor to replicate that.. steal!
axles:
20110520frtaxlerust-1.jpg

20110520rearaxlerust-1.jpg

20110520rearaxlerust3-1.jpg

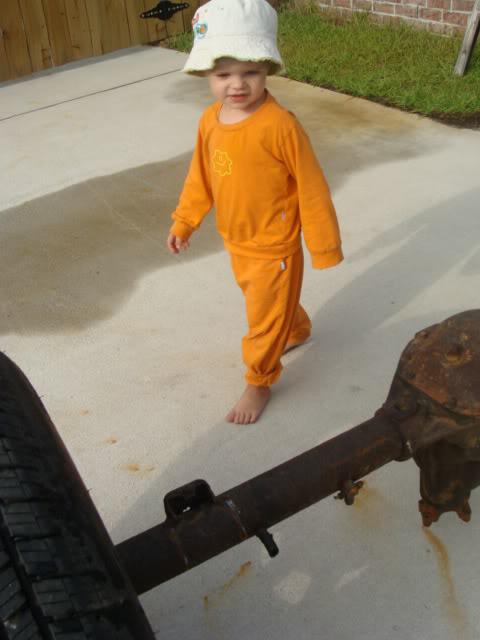
the CSM inspects my work:
20110520nathaninspects-1.jpg
 
I've been blessed with a crusty but not rusty project.. the tub has only one small rust through and frame is solid.. most of the rust you see above is where the factory paint was scorched off the frame rail in an engine fire.. I haven't found any cracks or rust through..

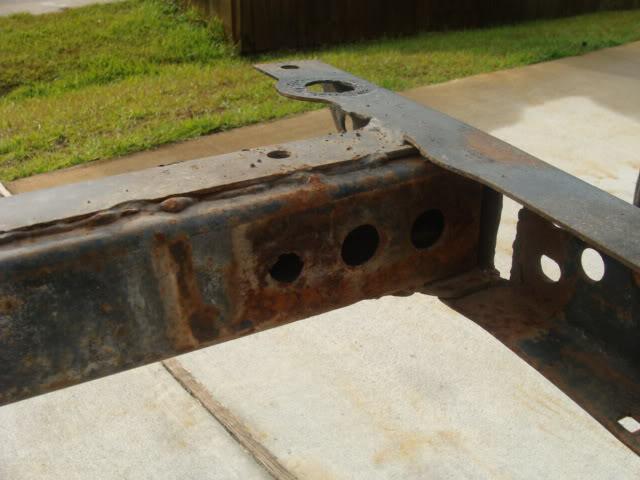
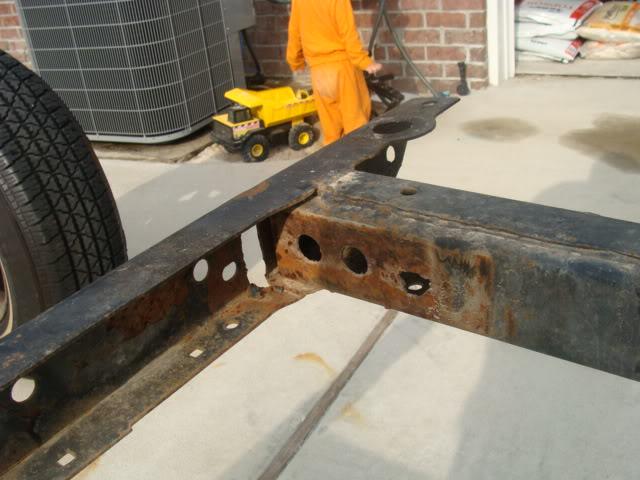
the one "funky" area on my frame is the rear cross member.. someone hacked it up to put that huge boat-anchor bumper on it that I used to have.. I had planned on replacing it, but I bought a used "Runck" bumper and it requires the same x-member pass-throughs to bolt into the frame rails..
20110520surfacerust5-1.jpg

20110520surfacerust6-1.jpg
 
Back
Top