• Notice for iPhone users: DO NOT use the image size reduction option when uploading photos to the forum. This causes portrait images to post as landscape. We have added a warning to the image insert pop-up as well.

RispoNY's Scrambler Build Thread - The 'Kit' Scrambler w/ Postal Top (PIC HEAVY)

40 grit is too course. 80 or 100 is what should be used. I am surprised there is any metal left with 40 grit. This is why a lot of people soda blast their parts now.

 
I had my tub, body parts and frame acid dipped because of that. Also the acid get's the just inside the frame and body joints. I know acid can have it's own set of problems.
 
I had my tub, body parts and frame acid dipped because of that. Also the acid get's the just inside the frame and body joints. I know acid can have it's own set of problems.

Got any pictures? :thumbup:

Sent from my SPH-L900
 
I've got a ton of them. I need to start a restor tread. I did the frame,body first then did the tear down of the cj8 (what I'm in now). Hopefully this week I'll start one with where I'm at now and then go back to the beginning with the frame.
 
I'm not going to say the paint guy is wrong but to say the parts are not useable is incorrect. The main concern when sandblasting with incorrect media or more importantly incorrect technique, is heating and warping of the panels. If the sand blaster used too course a media it is simply a case of have the panels re-blasted to correct the issue or use a rust converter like Ospho to chemically change the composition of the metal. The other issue to consider by using too course a media is the metal may be abraded away to the point where it may be too thin to work again. Similar to grinding away at a surface too long. Use of a rust converter, if done properly, what rust is remaining is converted and then ready for paint.

The proper method would be to have the panels worked again and then paint them.
 
Last edited:
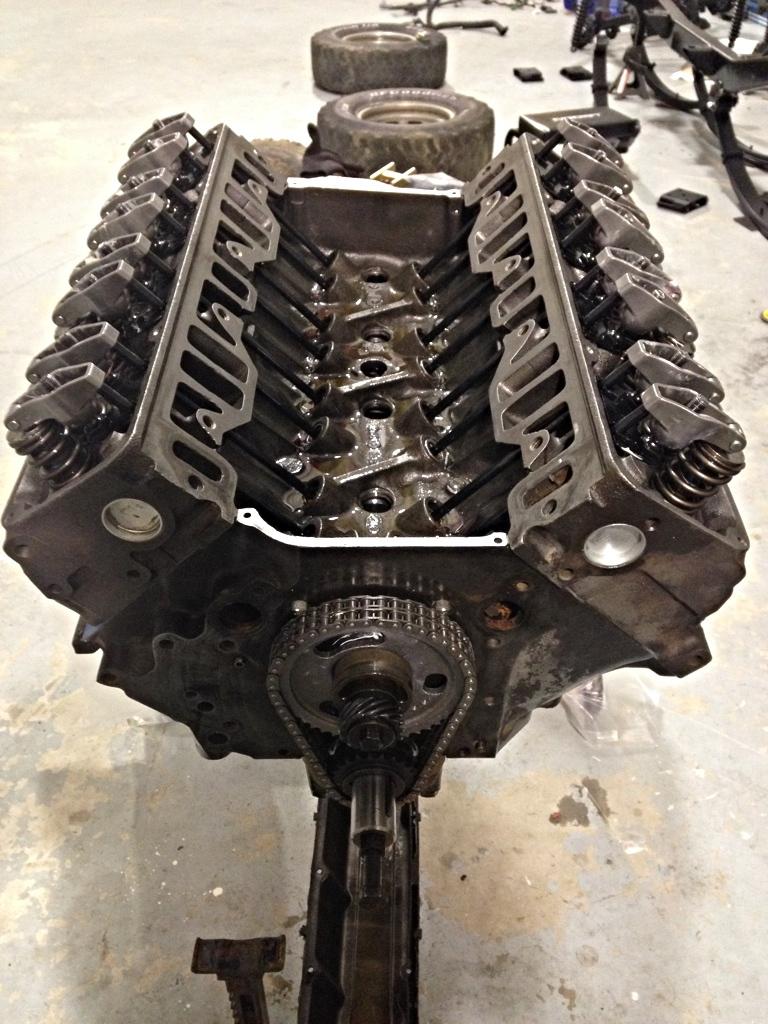
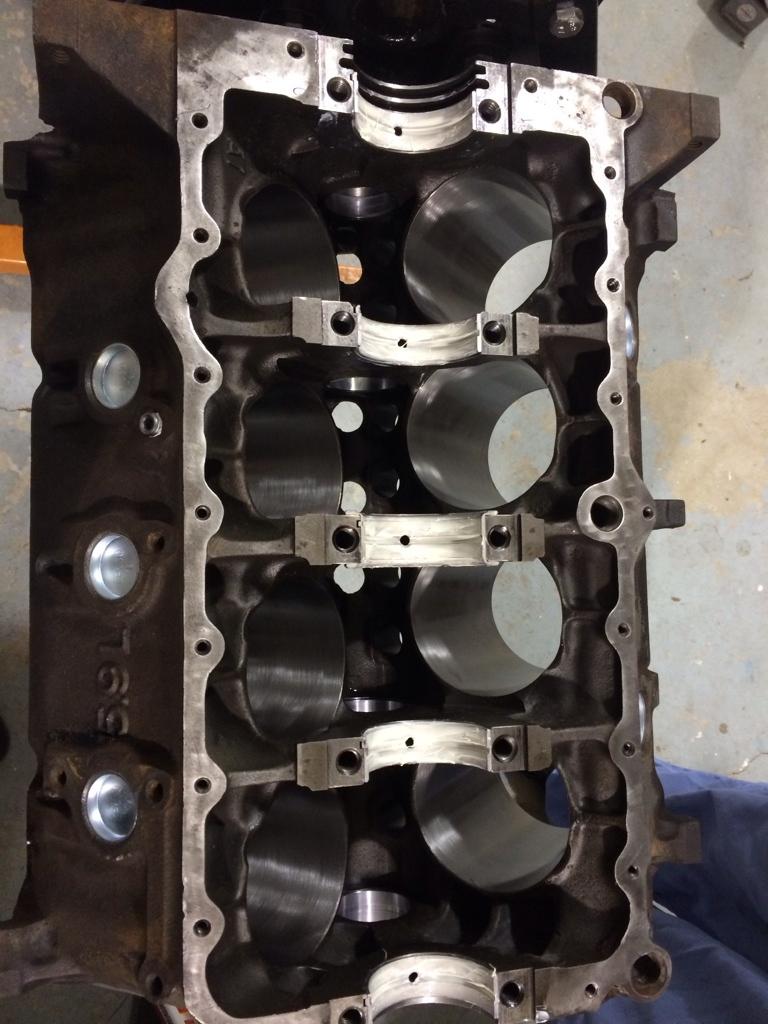
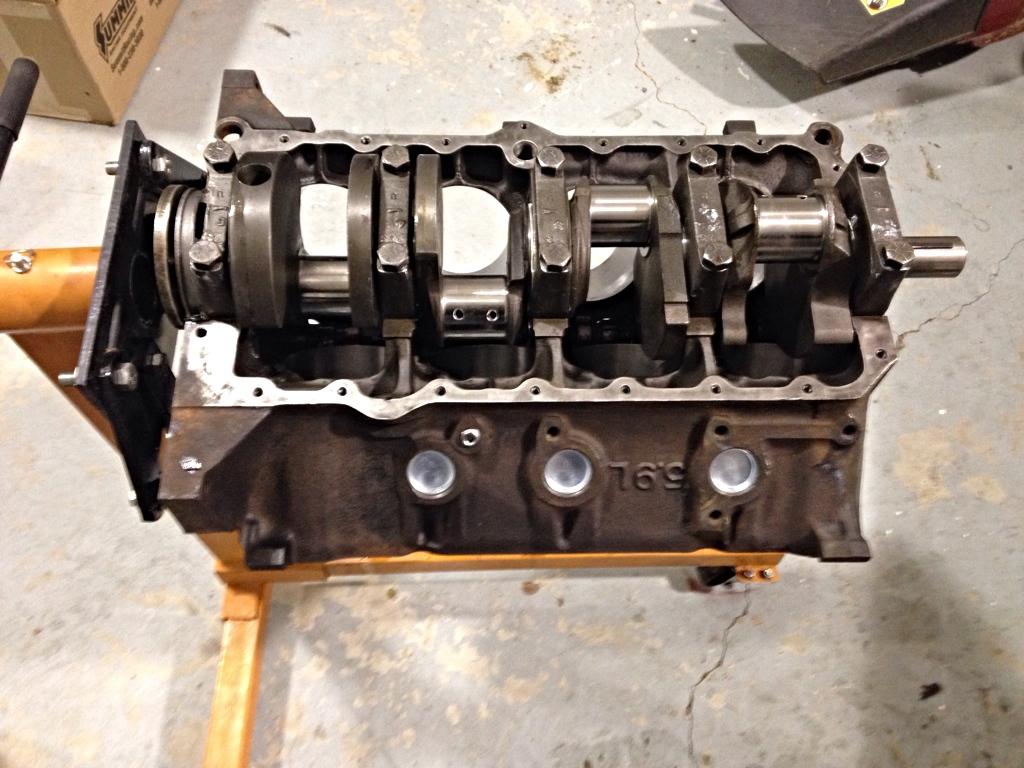
Finally got around to working on the engine!! Man this "new" Powerwagon has me so tied up...Cam and crank in, pistons tomorrow!

e9ydy6e2-1.jpg
pubuve4y-1.jpg
 
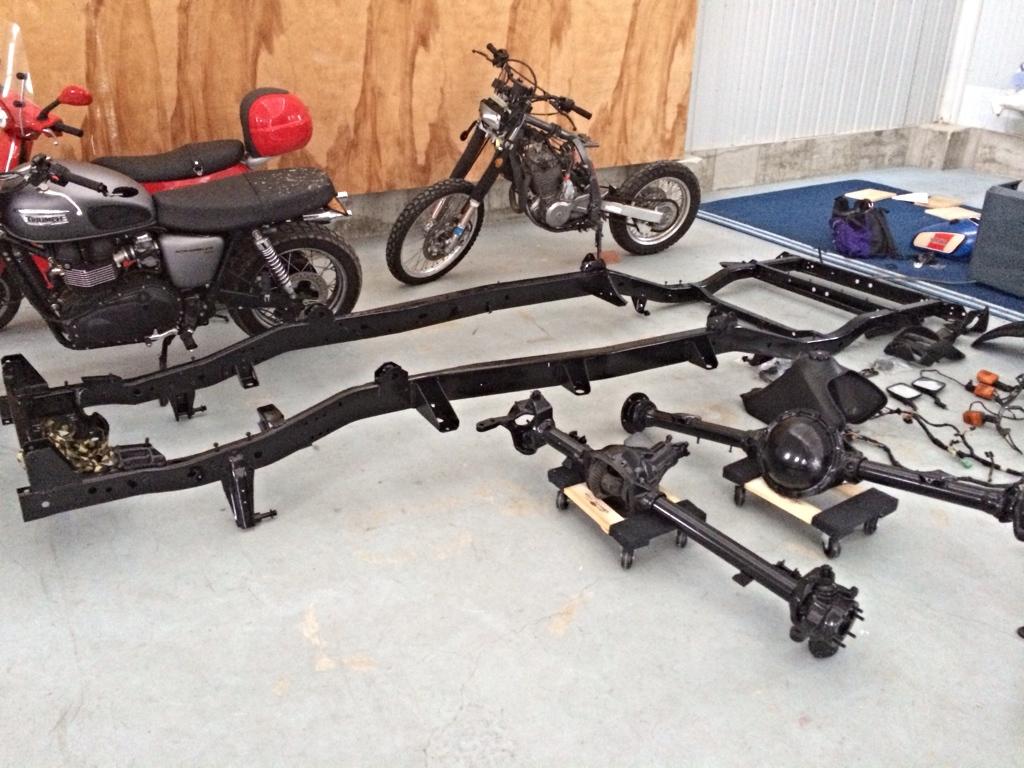
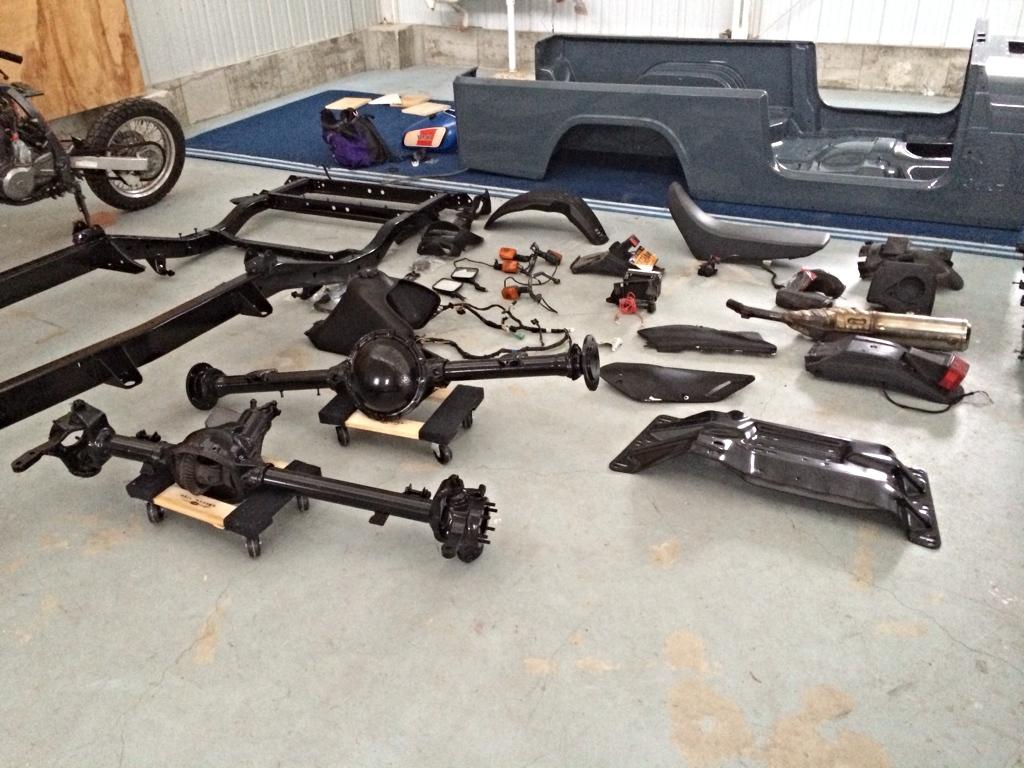
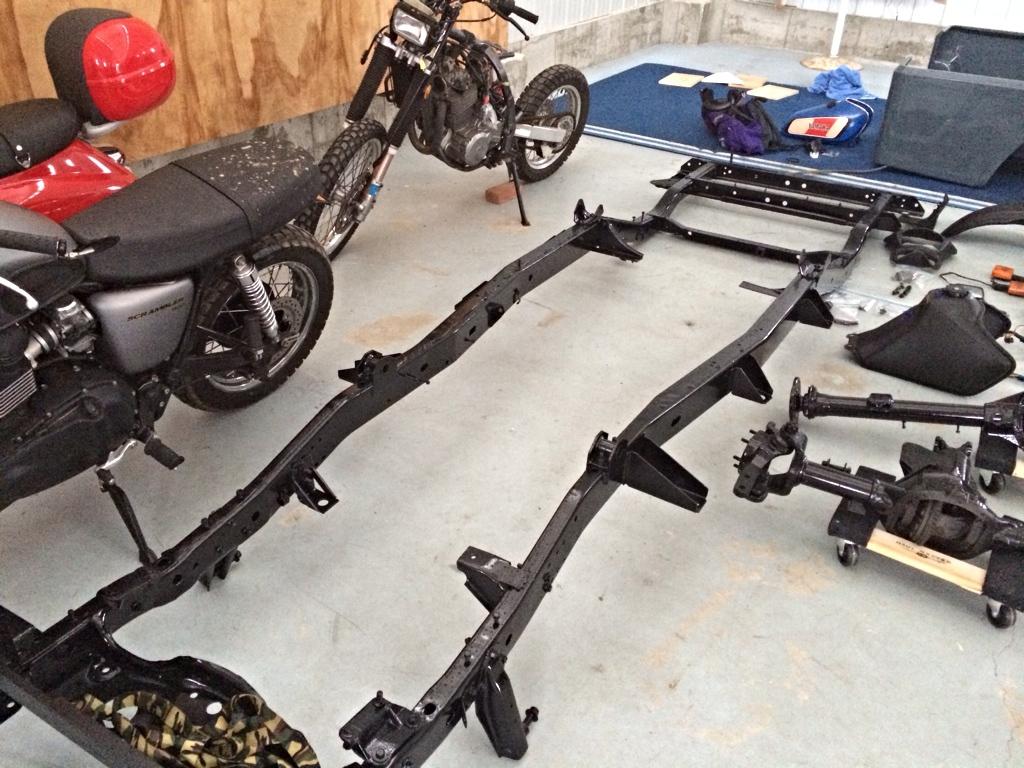
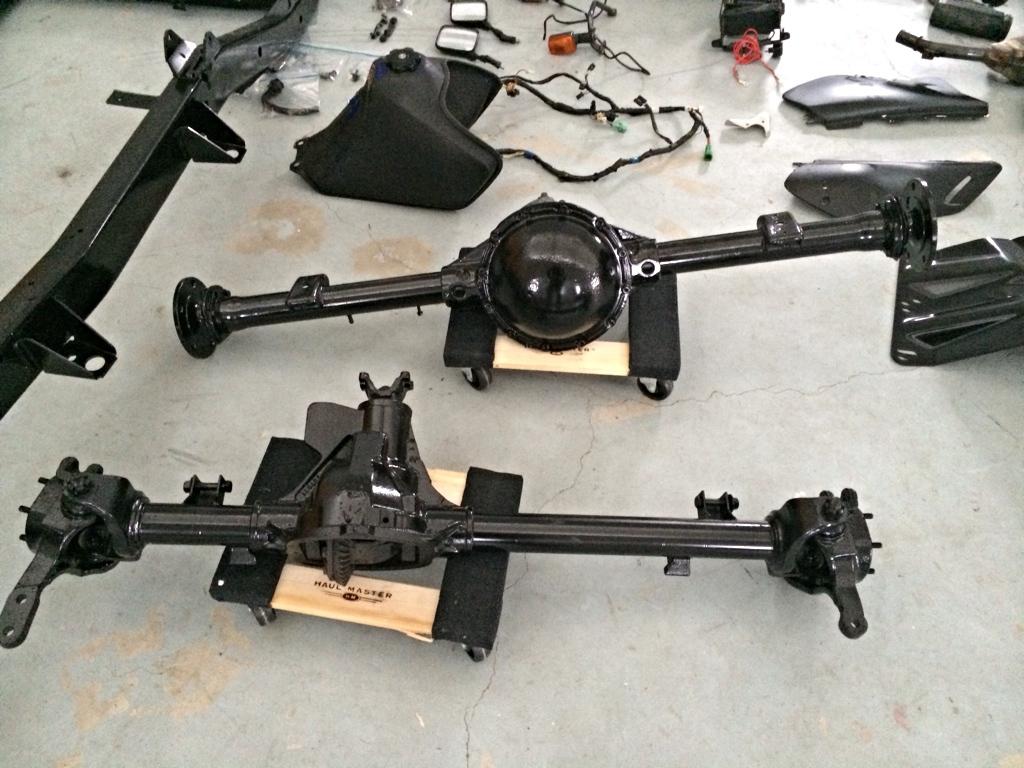
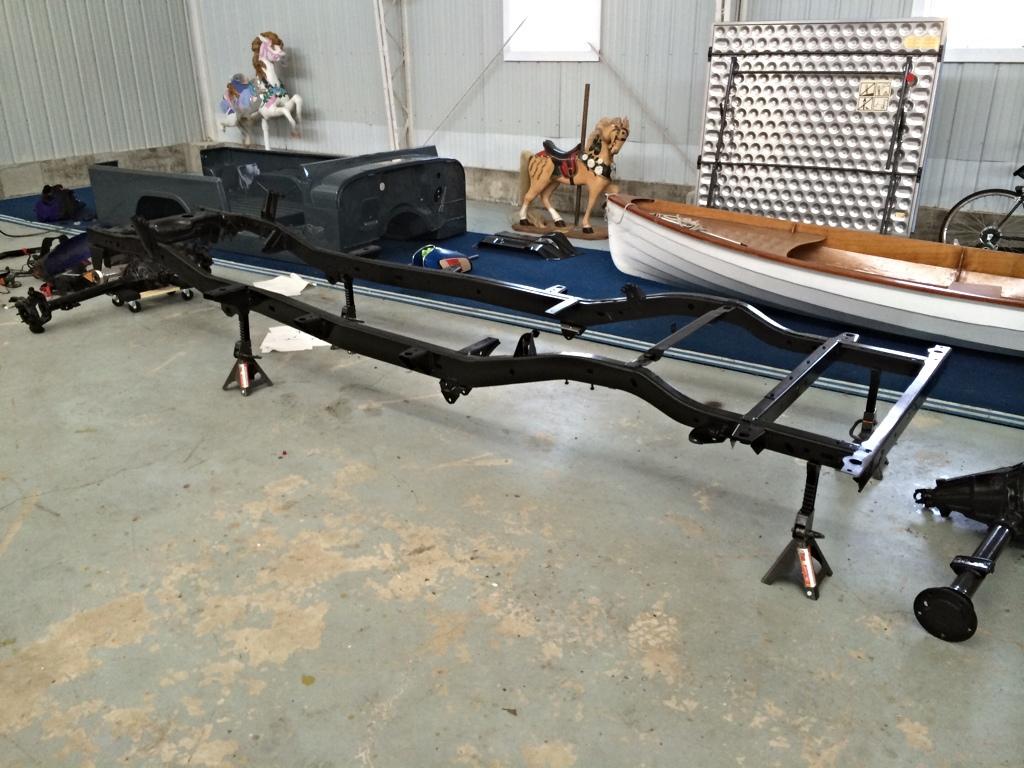
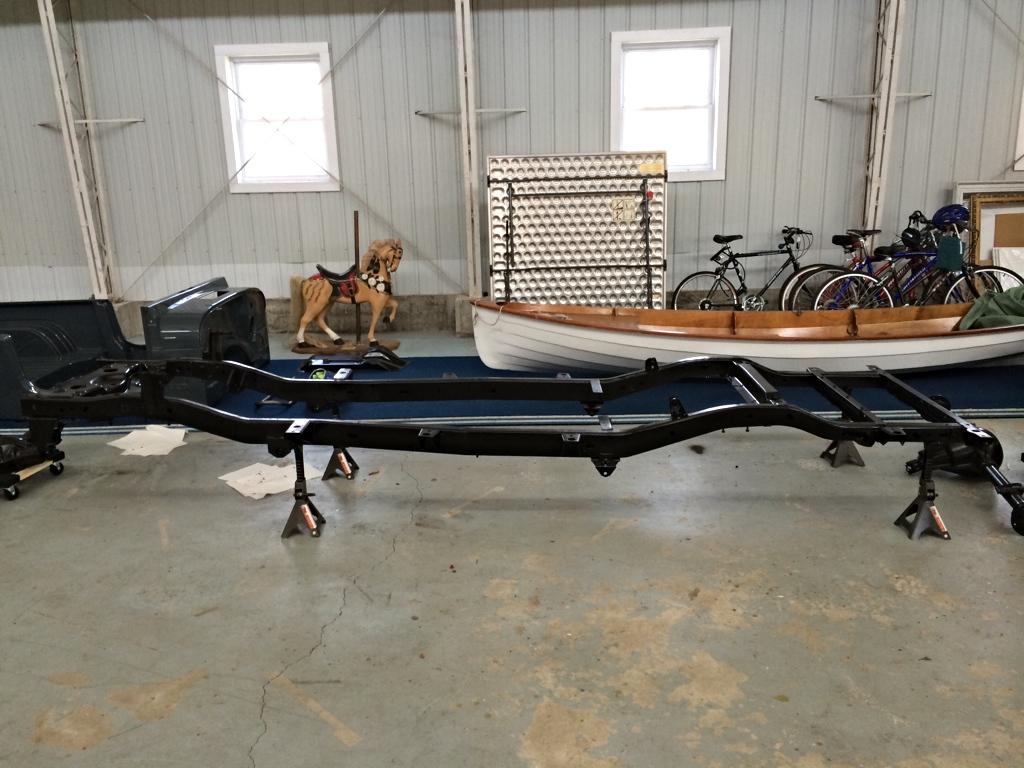
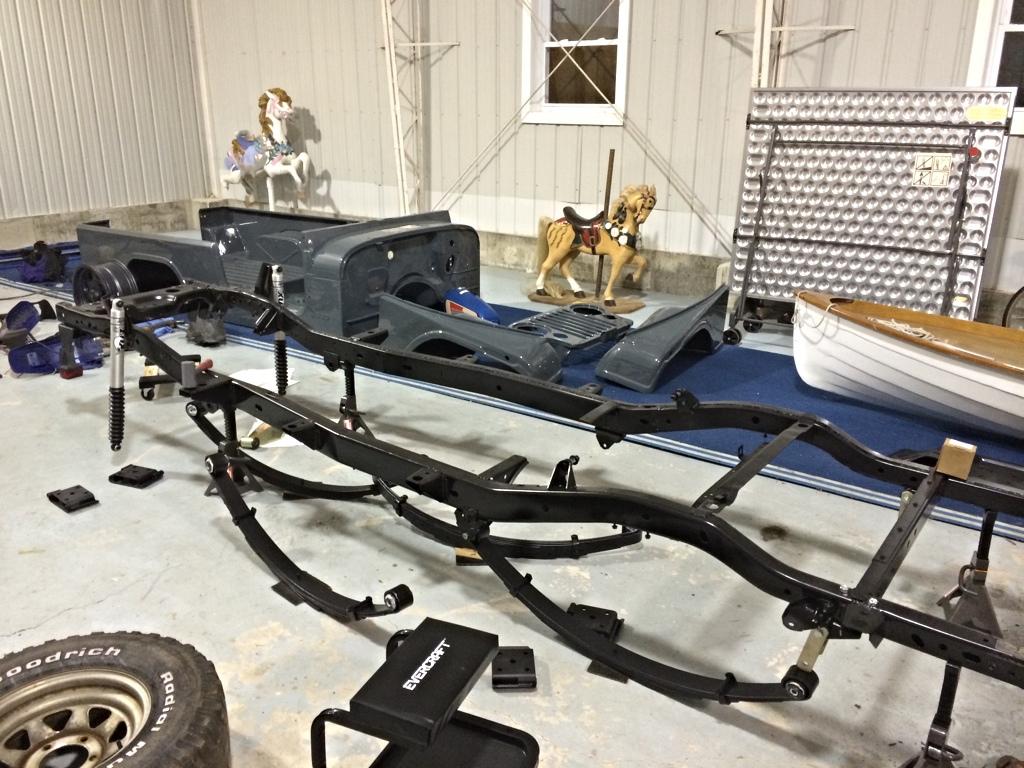
Little update. Had my frame, axles, and skid pan blasted and then epoxy primed them. I used Roland's (surfjeeps) advice and went with SPI epoxy primer and after doing some research and from first hand experience I found out they really are the best. Everything got 3 coats on it and after it dried it's still super high gloss black! I was thinking matte or satin, but the gloss looks killer!!!! Might just leave it like that instead of doing another top coat of regular paint...

rypubu7u-1.jpg
uzezyme8-1.jpg
uhejeraq-1.jpg
e6enuryj-1.jpg
sabu2y9y-1.jpg


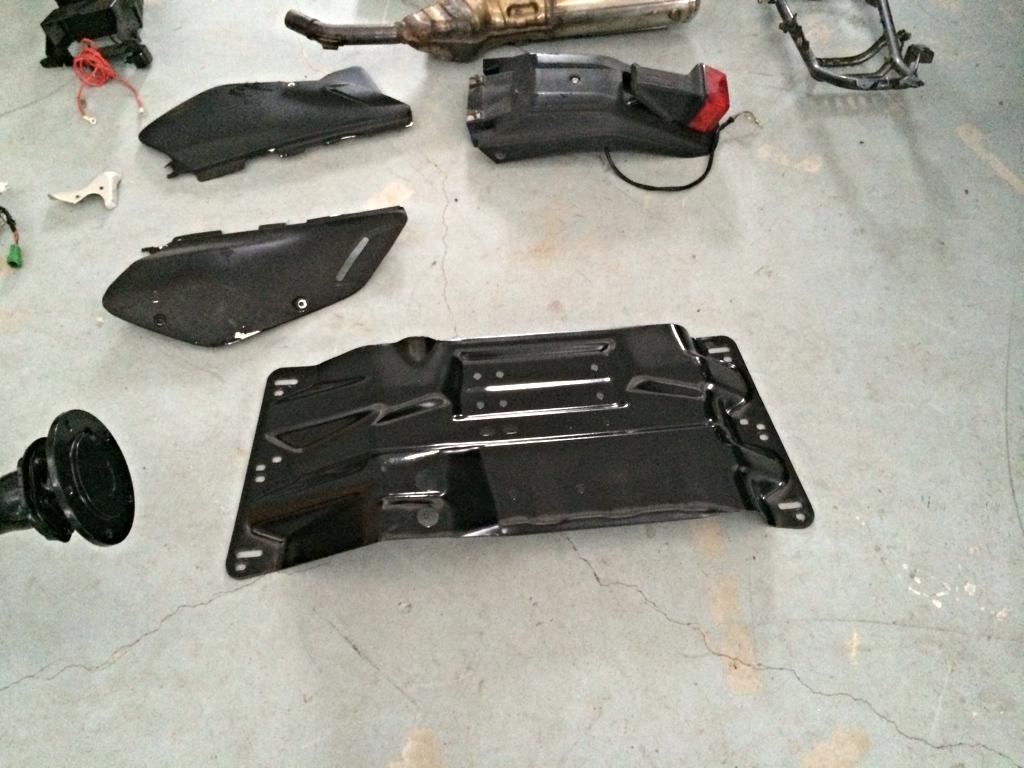
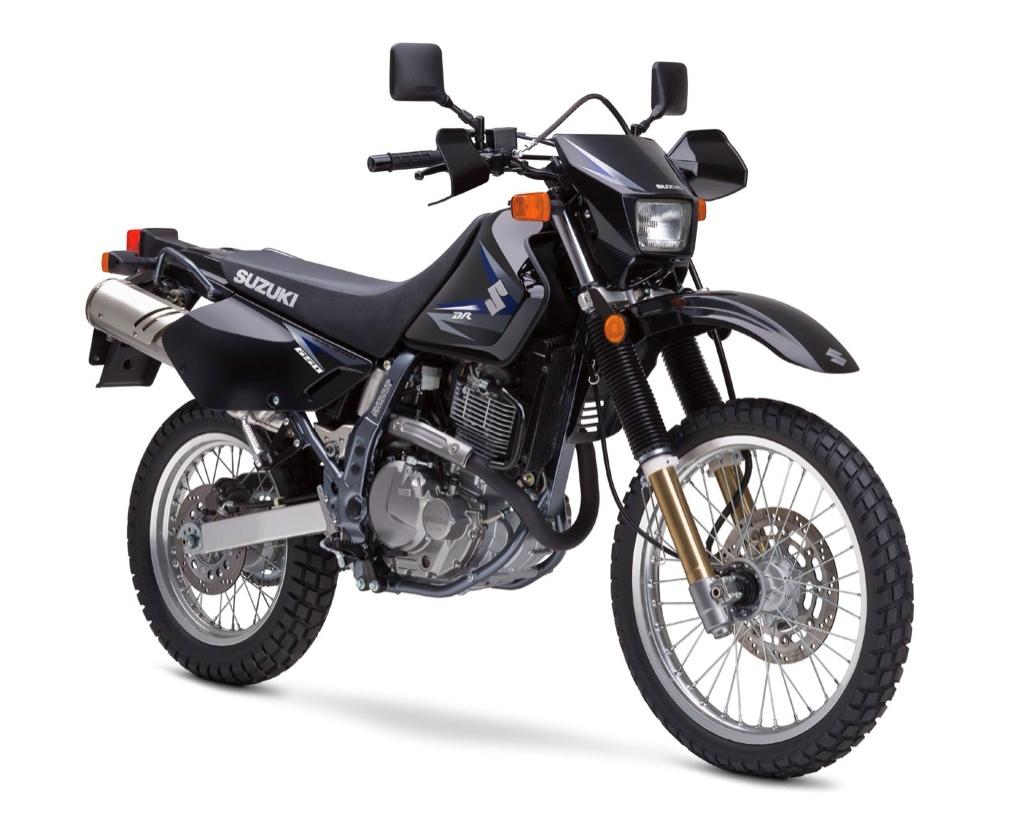
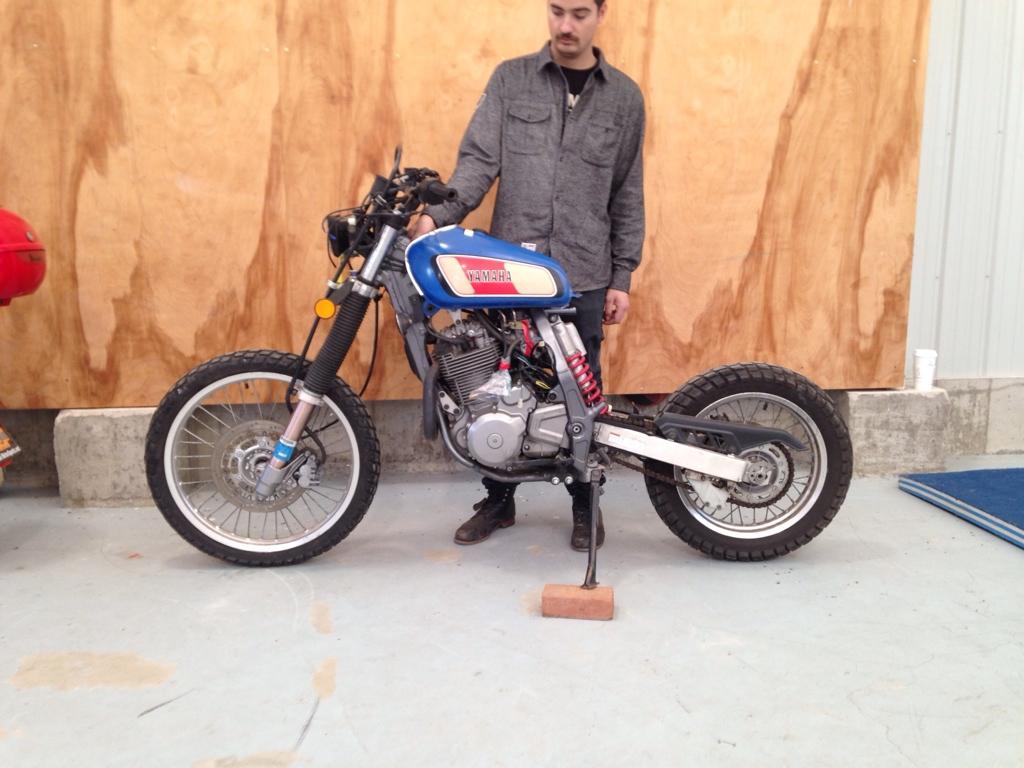
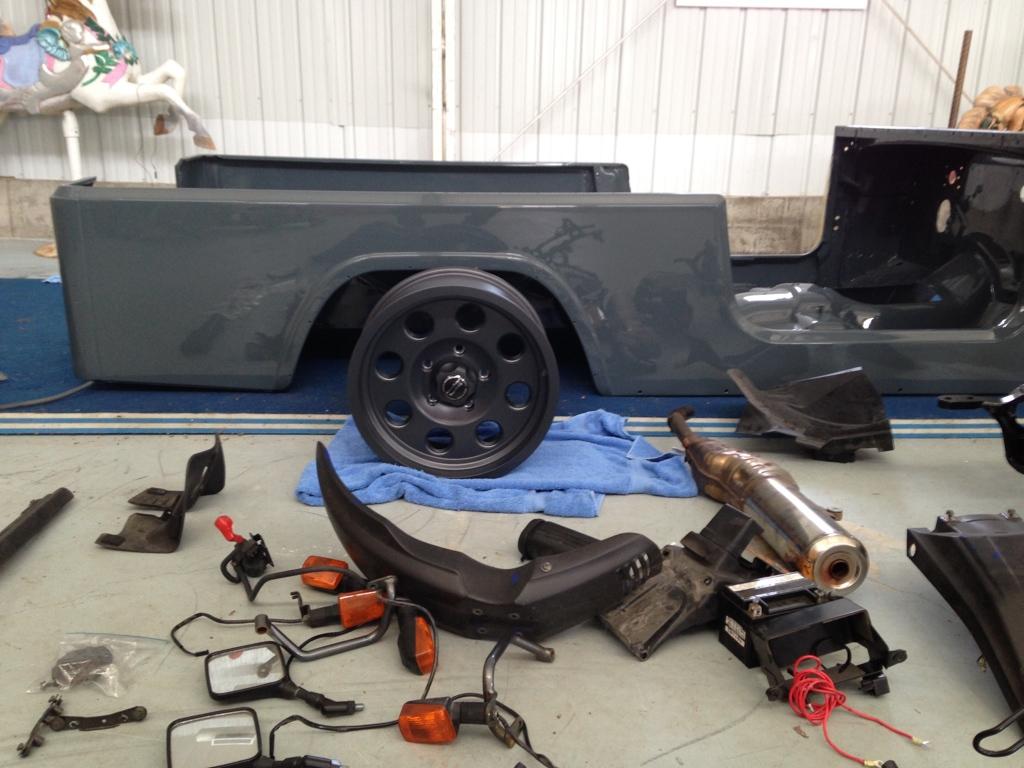
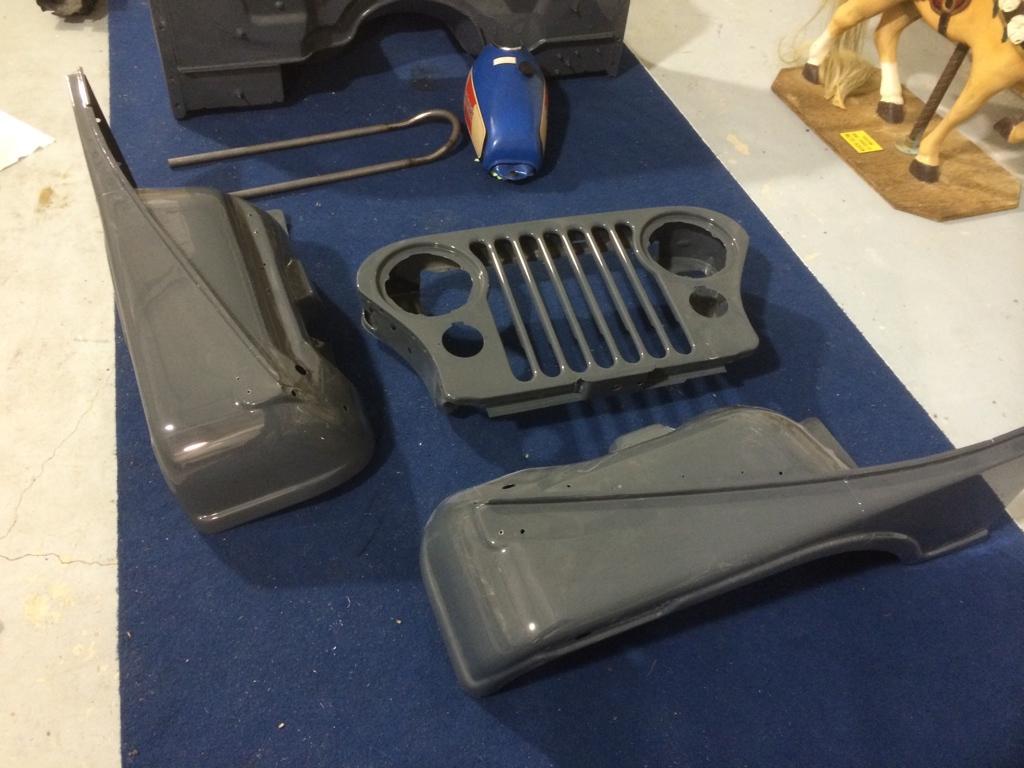
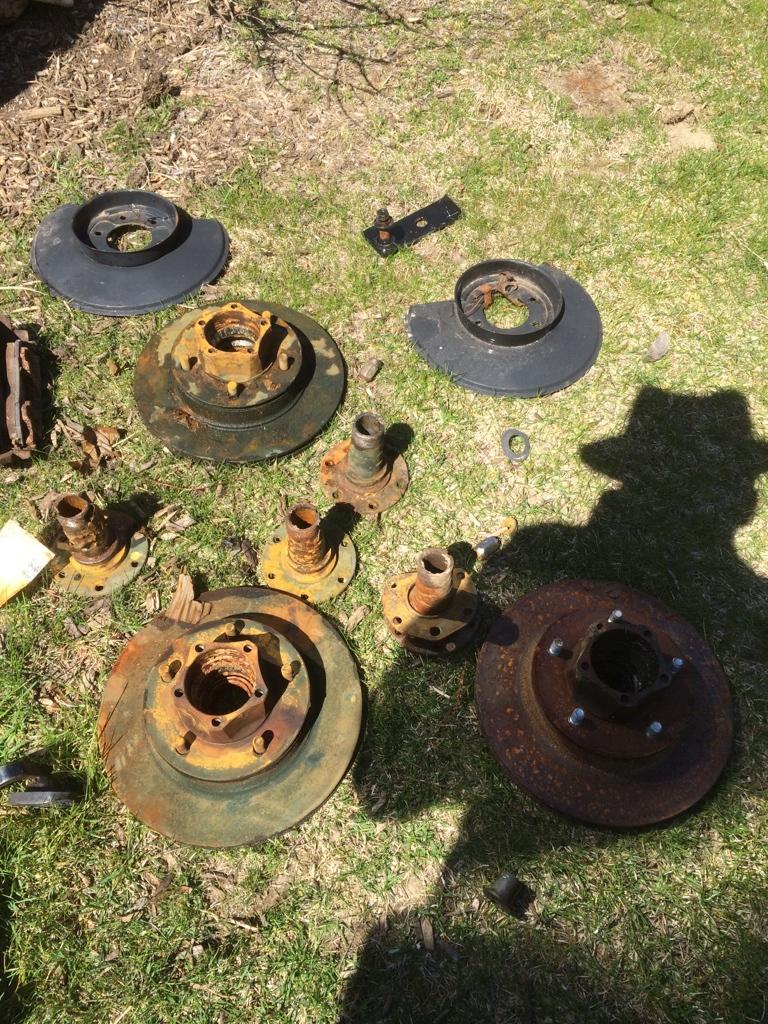
Bonus pic for any motorcycle guys here...all the motorcycle parts are from my buddies Suzuki dr650 dirt bike that we tore down and cut the subframe off of to turn it in a cafe racer eventually..,

jabapysa-1.jpg


From that to this:
uze9esu6-1.jpg
 
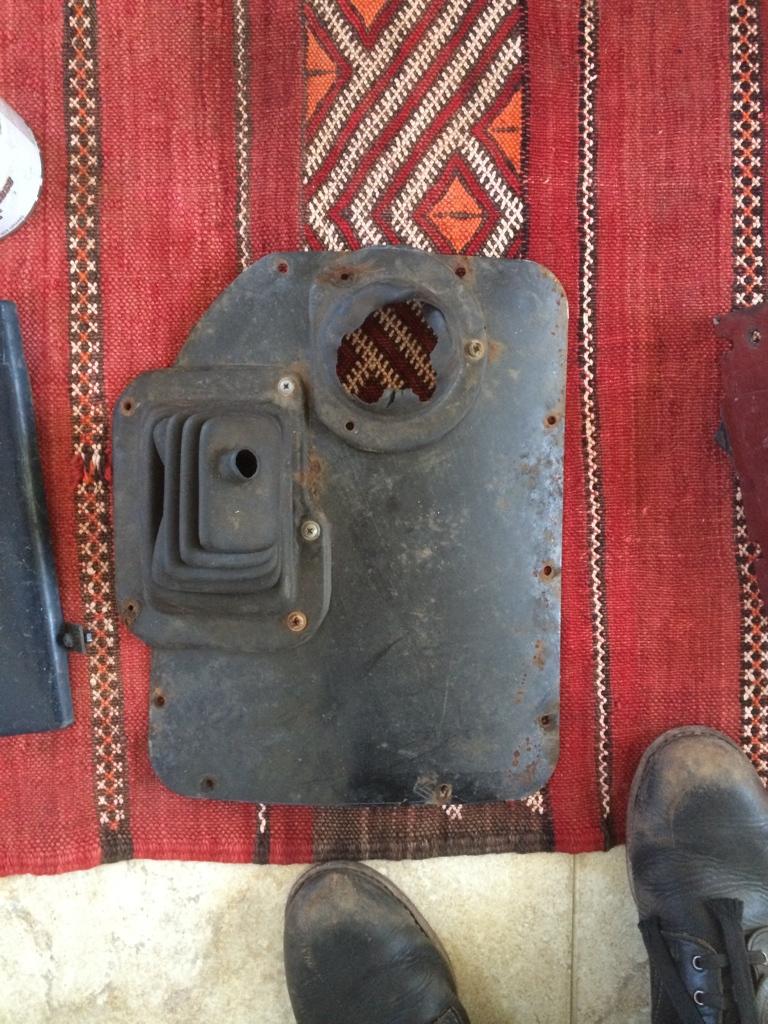
Anyone know for sure which one of these covers is for a t176 - Dana 300?
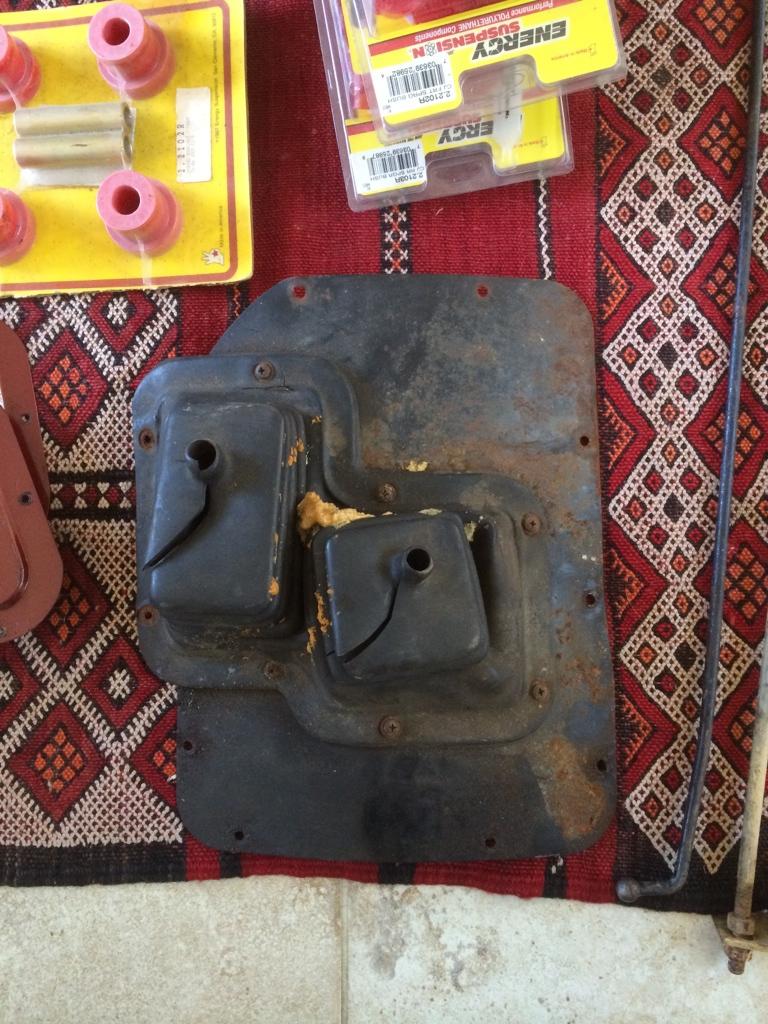
bepuvyry-1.jpg


uza3a4yb-1.jpg
 
Update!

This project has been a real roller coaster ride. Everytime things are going good, immediately something takes a turn for the worse. I think that's the fun of the whole thing, but boy has it taken a toll on my emotions! Lucky, I have brown Santa to keep my spirits high. Here are some pictures of my progress so far, and later on I'll do a full write up.

Frame about to be a rolling chassis
sa3ybu6a-1.jpg


a3uguga9-1.jpg


Long Block Assembled
adaju7e6-1.jpg


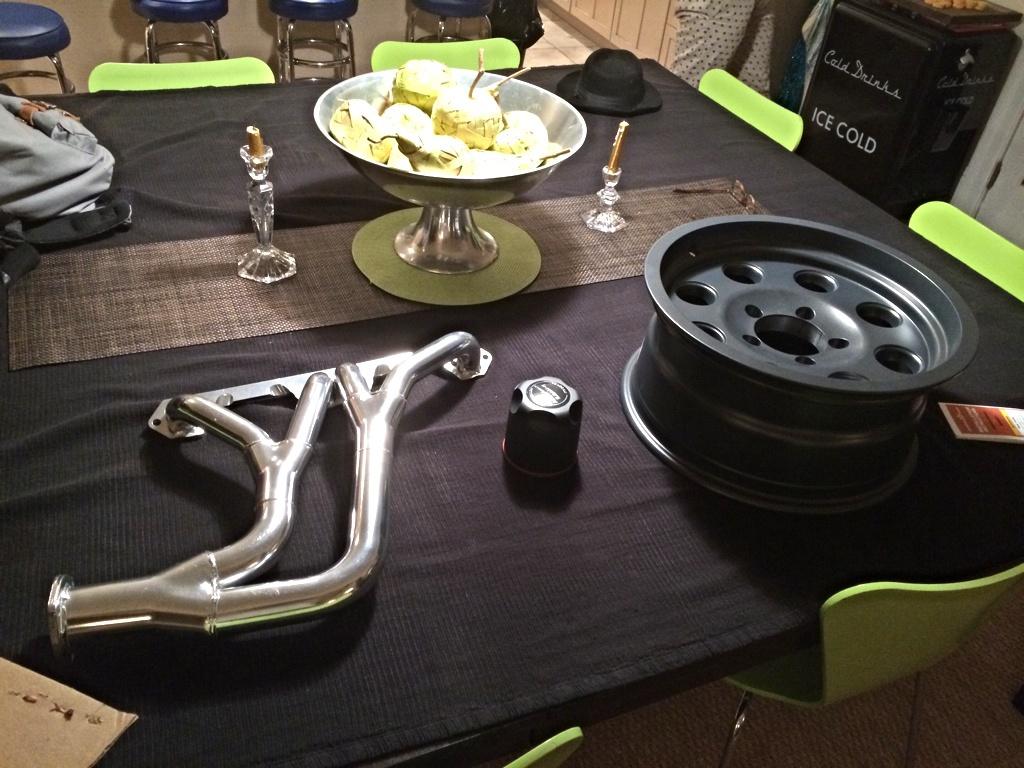
Rim comparison to see the colors together
a9a2ary3-1.jpg


Some fresh painted parts coming home
evymaqam-1.jpg


a8etytym-1.jpg


5e4ugehy-1.jpg


Almost got a rolling chassis!
a9u6u4a3-1.jpg


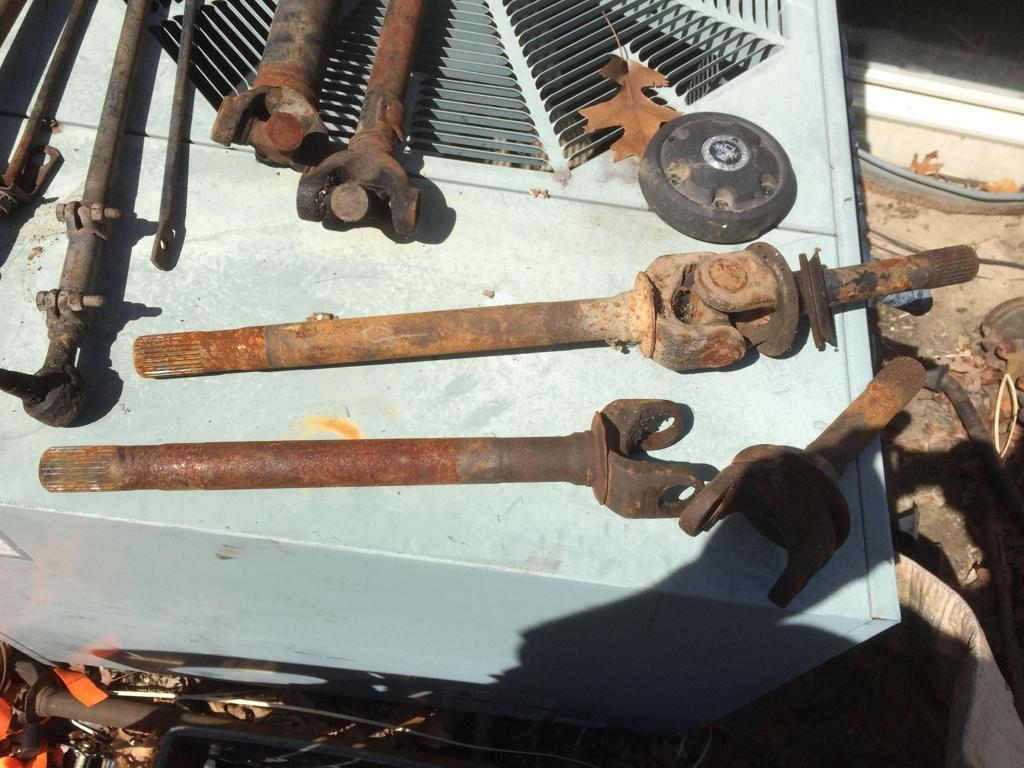
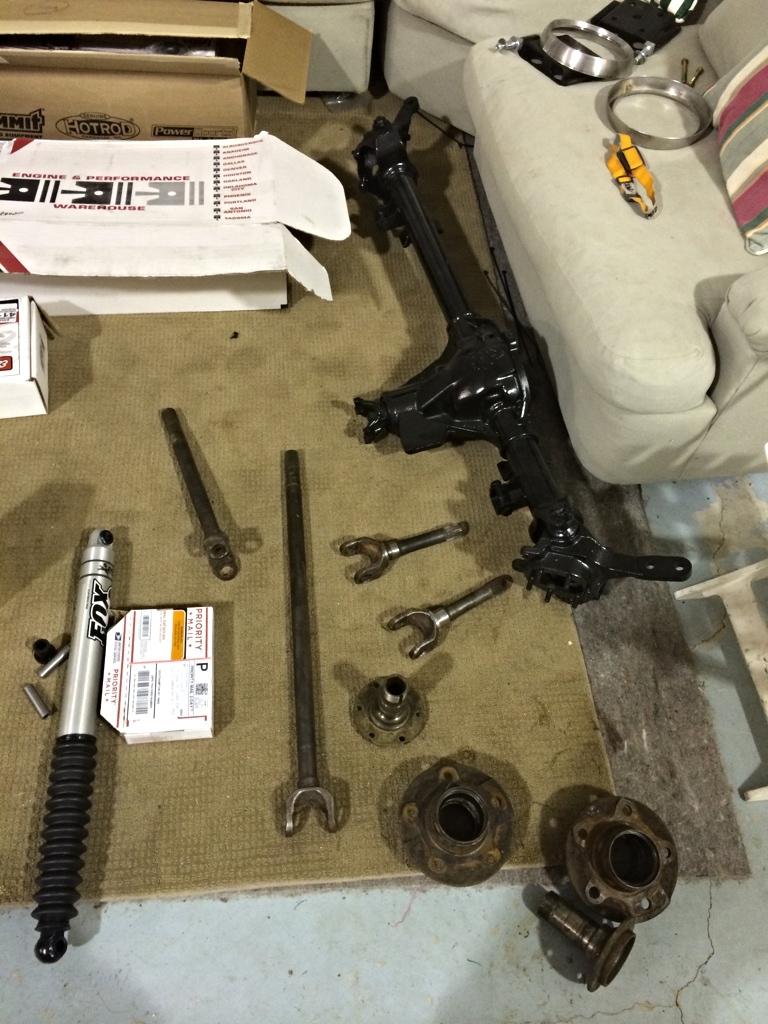
Axle parts
6y4yma9u-1.jpg


bu8yva3u-1.jpg
 
Cleaned
6a7ugyvu-1.jpg


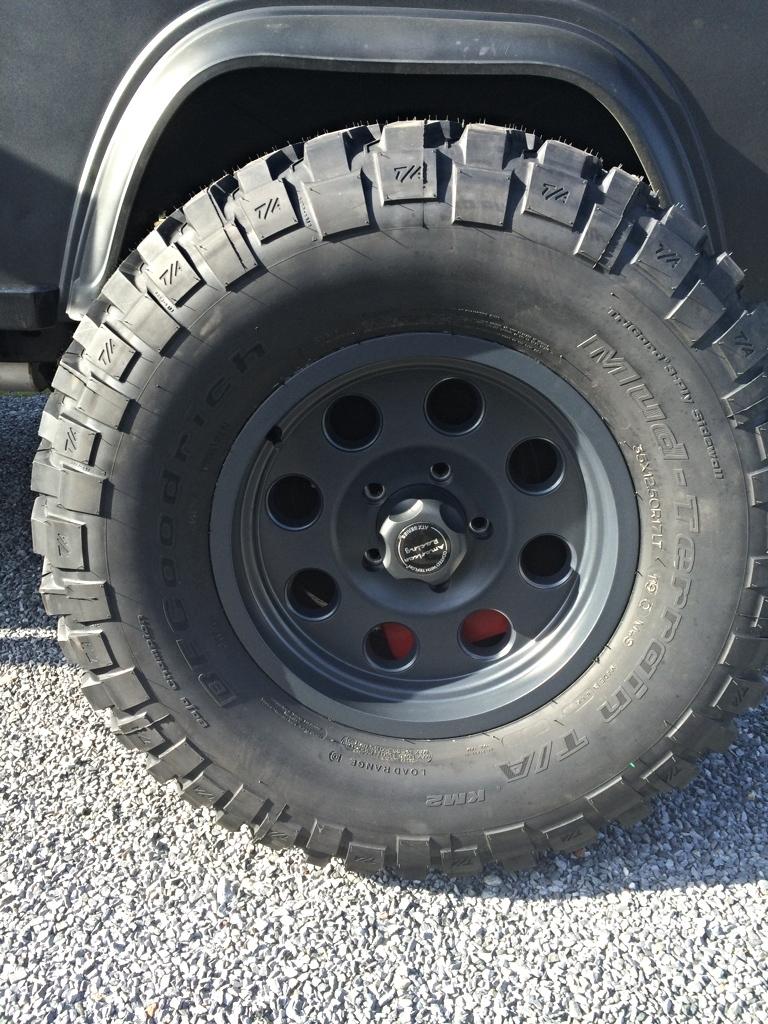
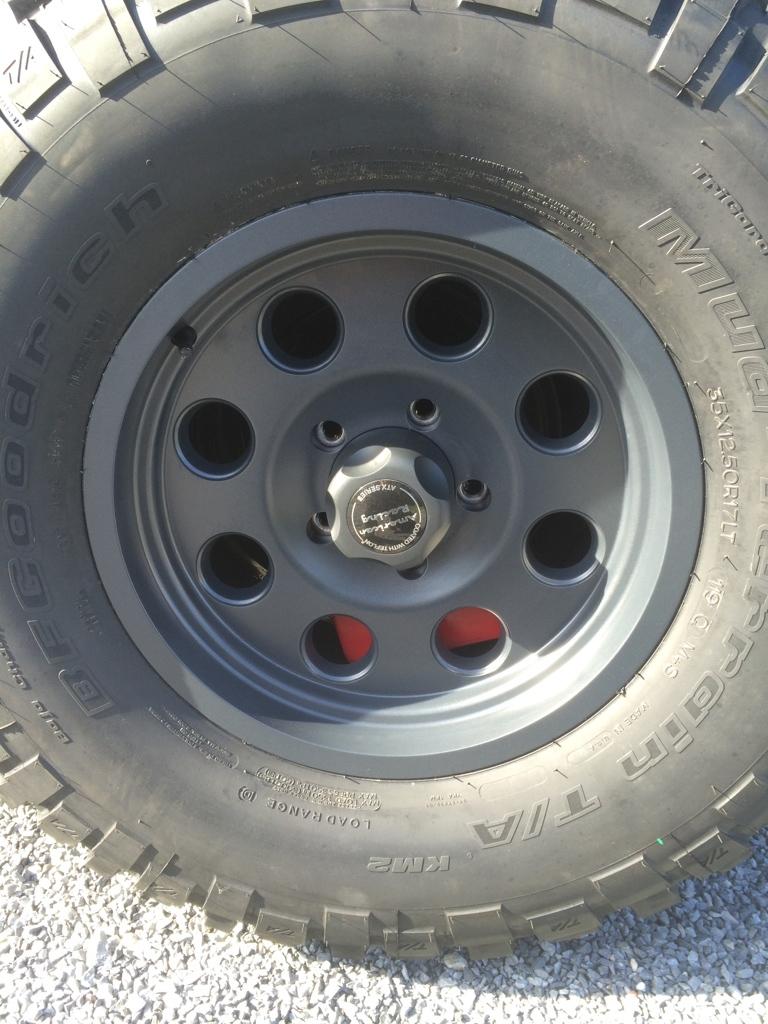
One rim and tire mounted. 35x12.50x17 km2's on ATX mojave's in Teflon. (I put a red first aid kit behind it to see how the red SSBC calipers will look.)
edymeqyv-1.jpg


e8edutam-1.jpg
 
^^^^ Love the whole look of this sucker...are you aiming for an ICON type build ? This may be my favorite build thus far...I like it more than my own...keep the pics coming.
 
Thanks scramble. I've followed your build so that means a lot coming from you. If it's any consolation, I think we have the same taste! I was going to go with a tan color similar to yours but then fell in love with the anvil. I'm also going with the j.w. Speaker lights you used (in the black ofcourse) as well as a couple other things. As for the ICON look, I know where you're coming from. The wheels I stole from one of their FJ's that I saw in town before I knew what ICON was. After I did my research, I realized why they're the best. As for that cj7, I have no comment...
 
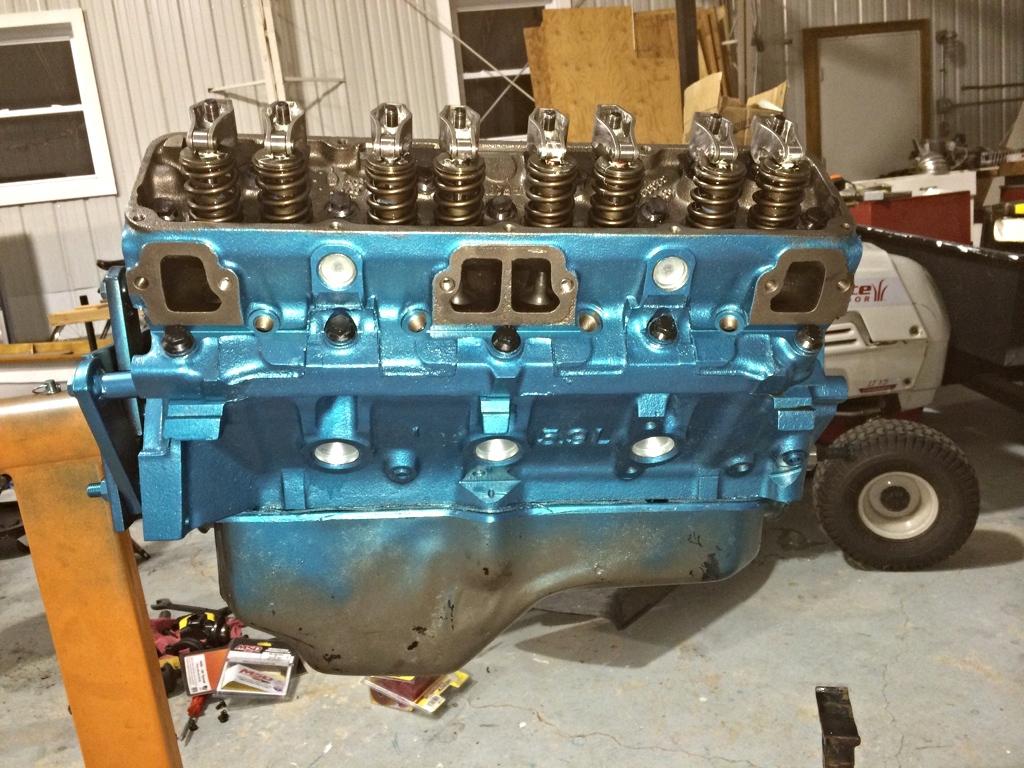
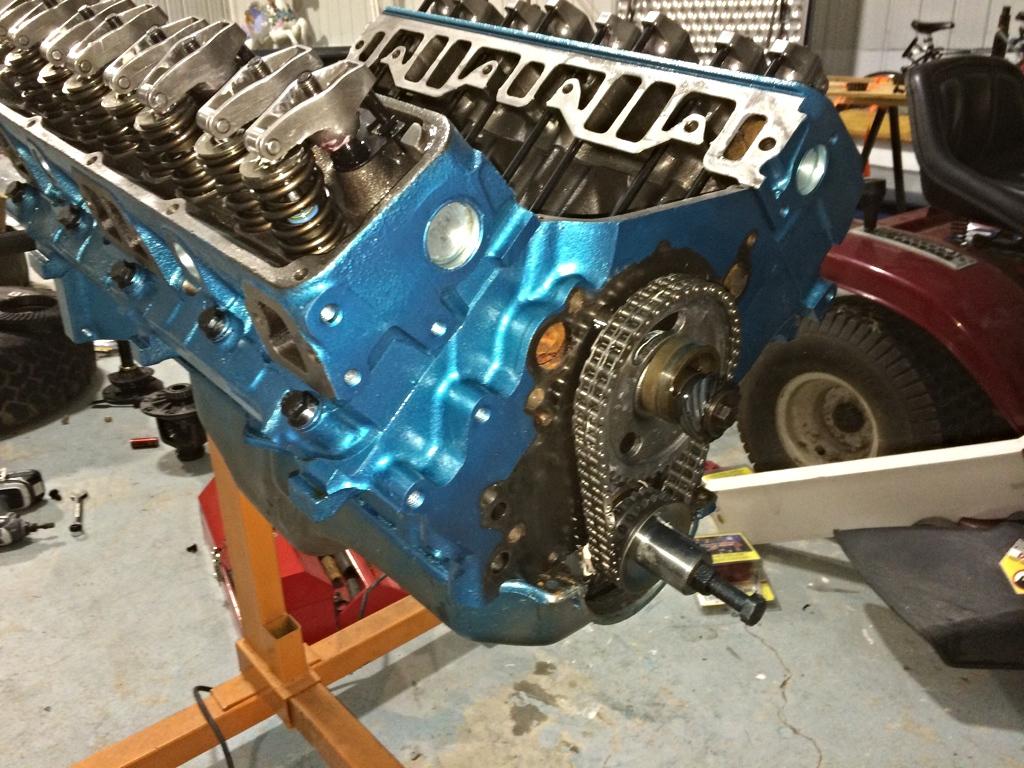
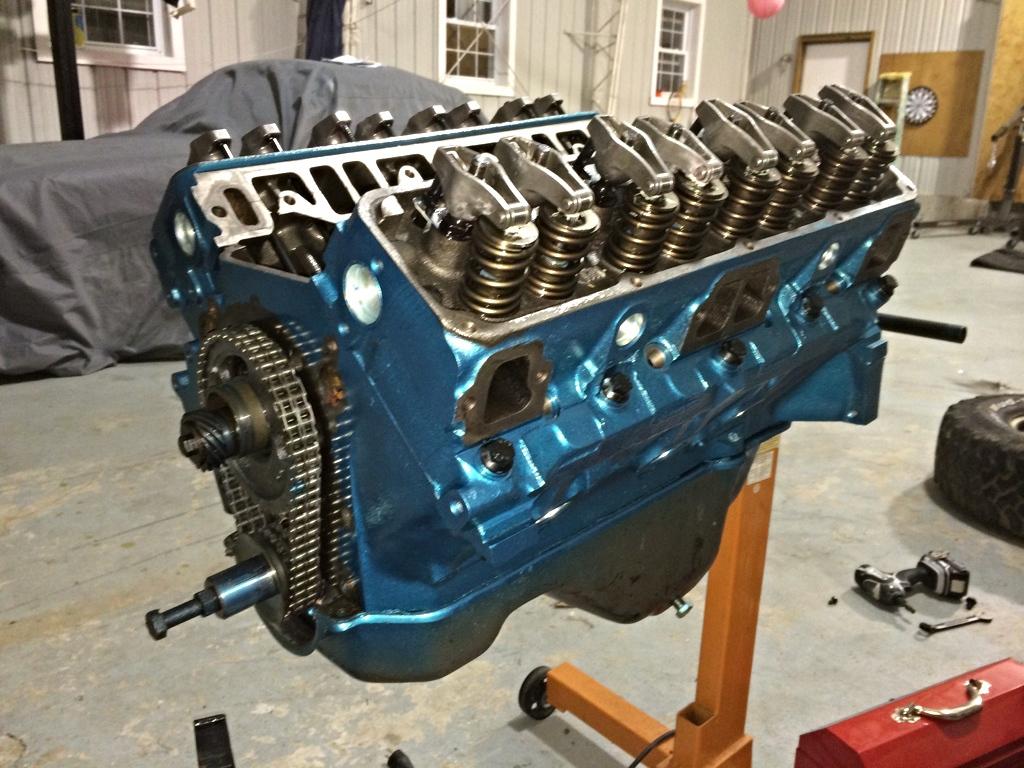
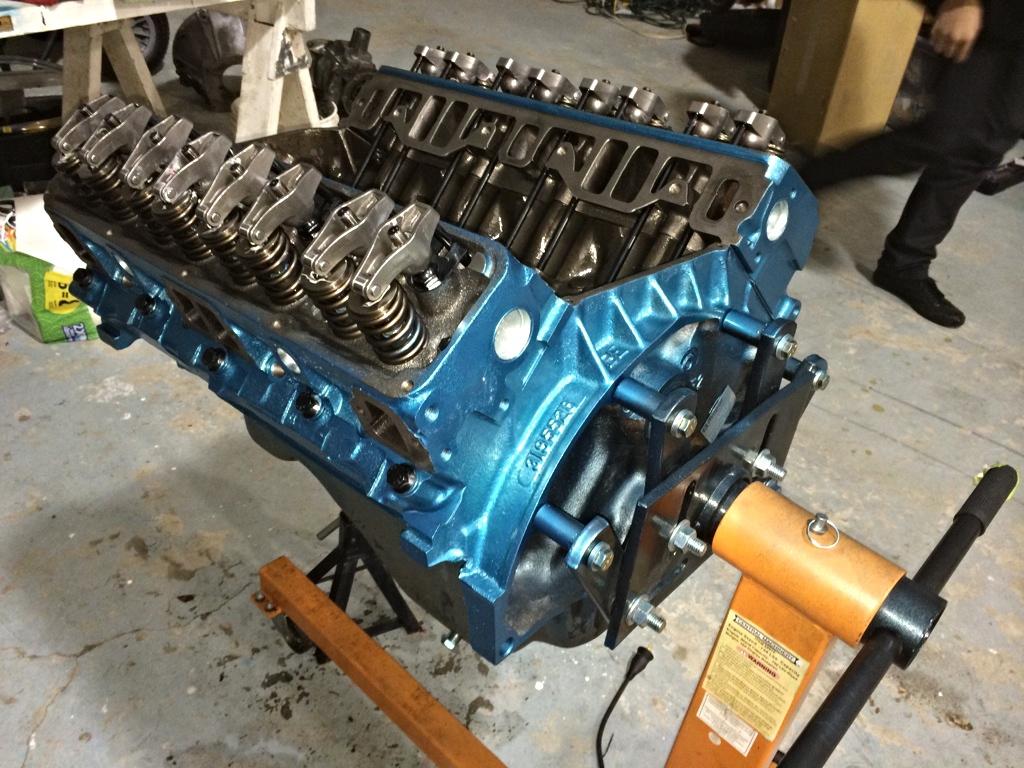
Look what I got done today! Was pretty straightforward, I just taped the intake valley and the exhaust ports. For the rest, I used the old rusted valve covers, timing cover and oil pan. I wanted to keep that built look so I smeared some Vaseline on all the freeze plugs and exposed head bolts. I learned that trick from someone somewhere and it wiped off perfectly after!

use9unu7-1.jpg
ysemubyt-1.jpg
gu3a6eva-1.jpg
gugasyne-1.jpg
 
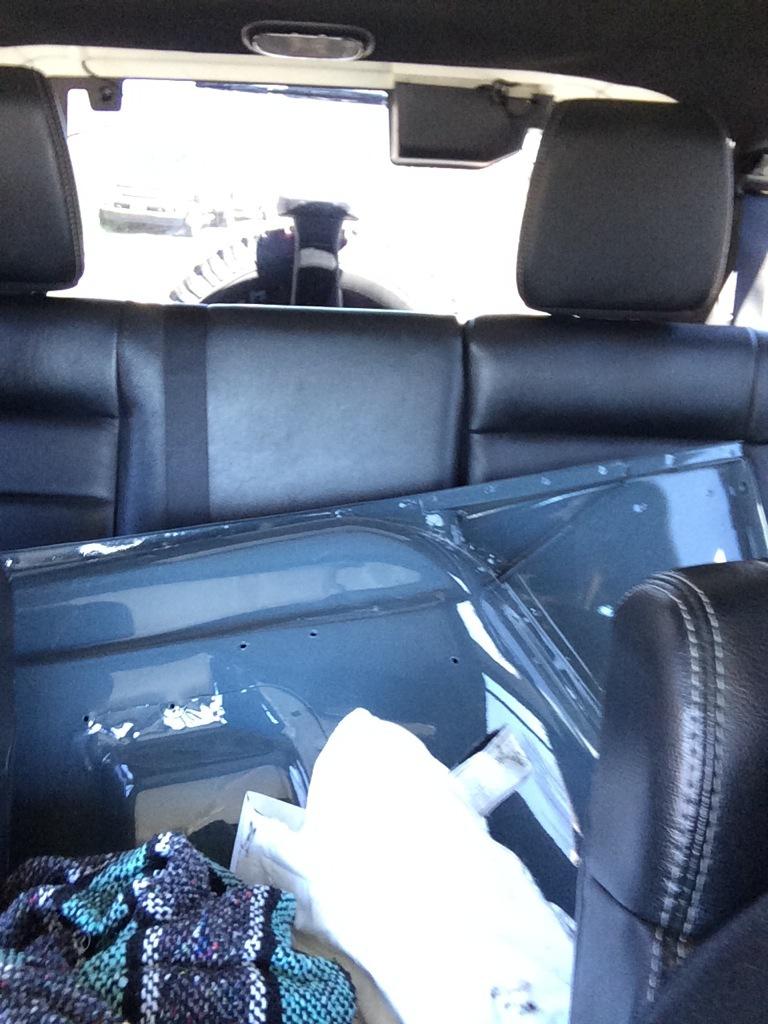
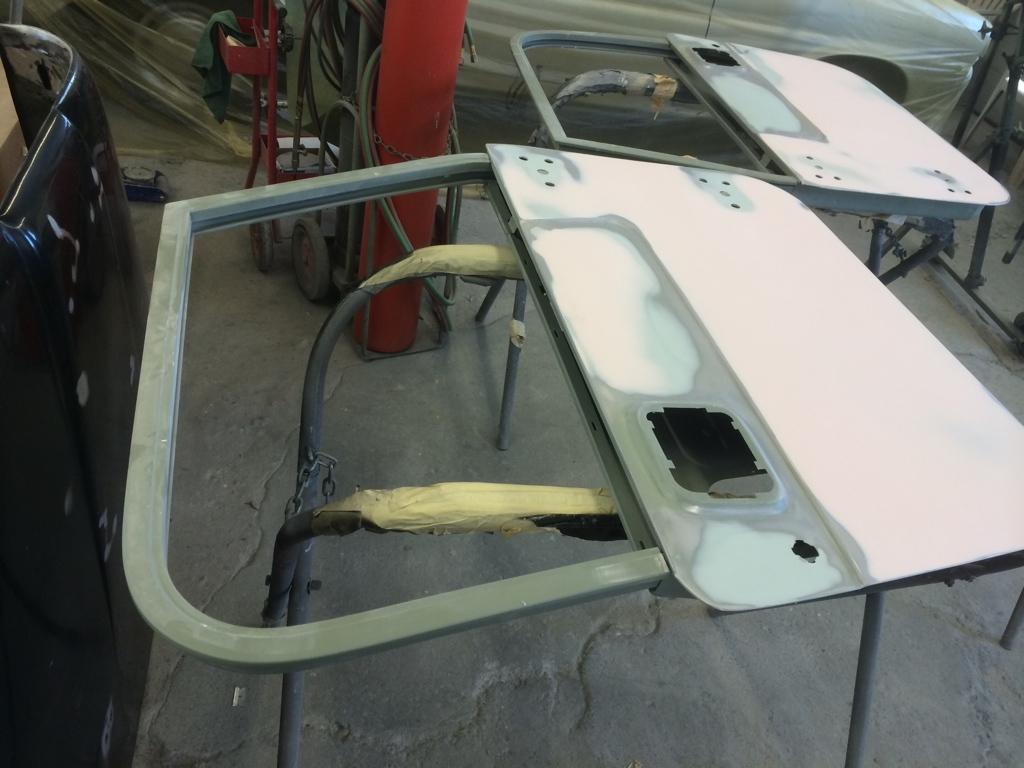
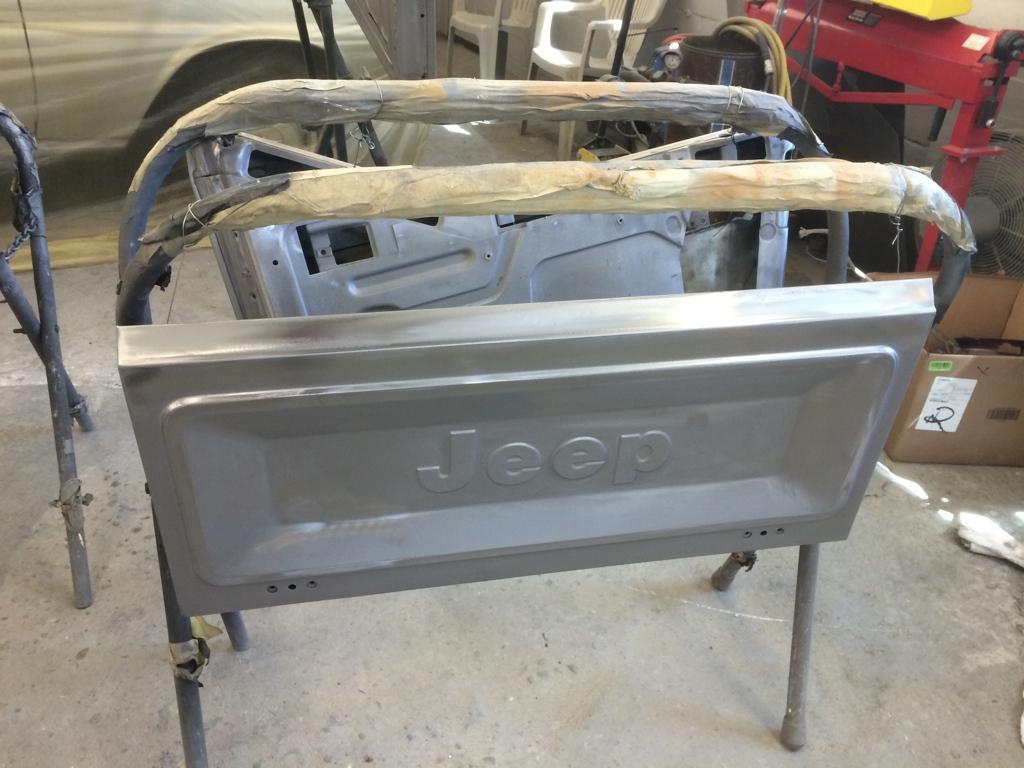
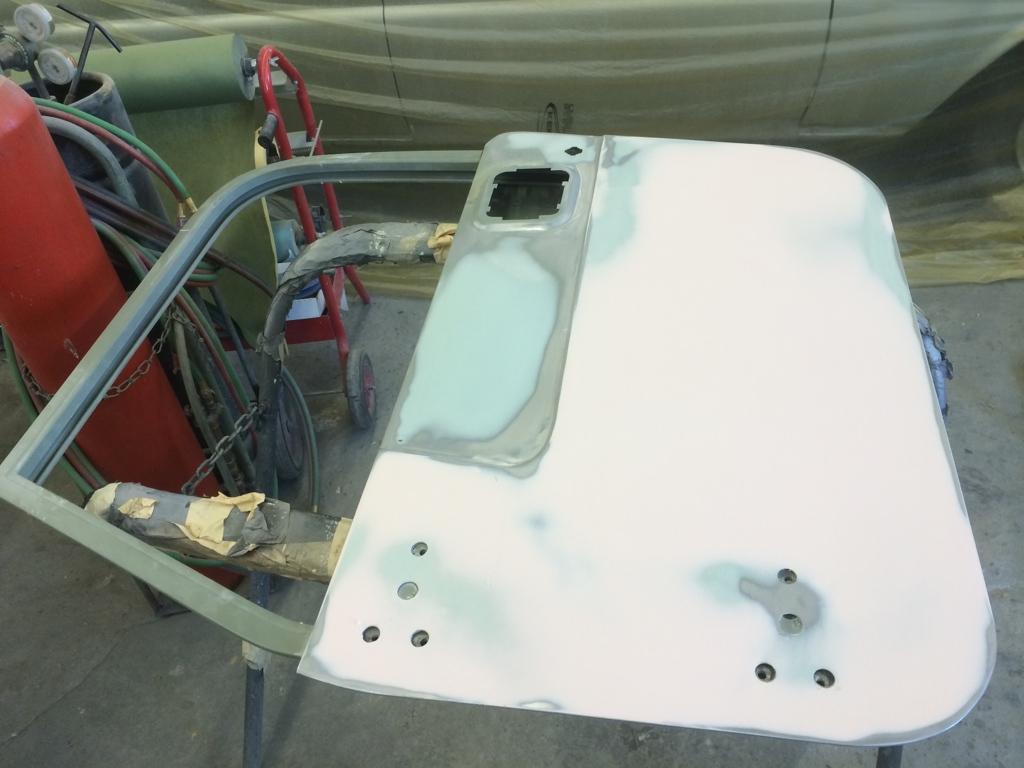
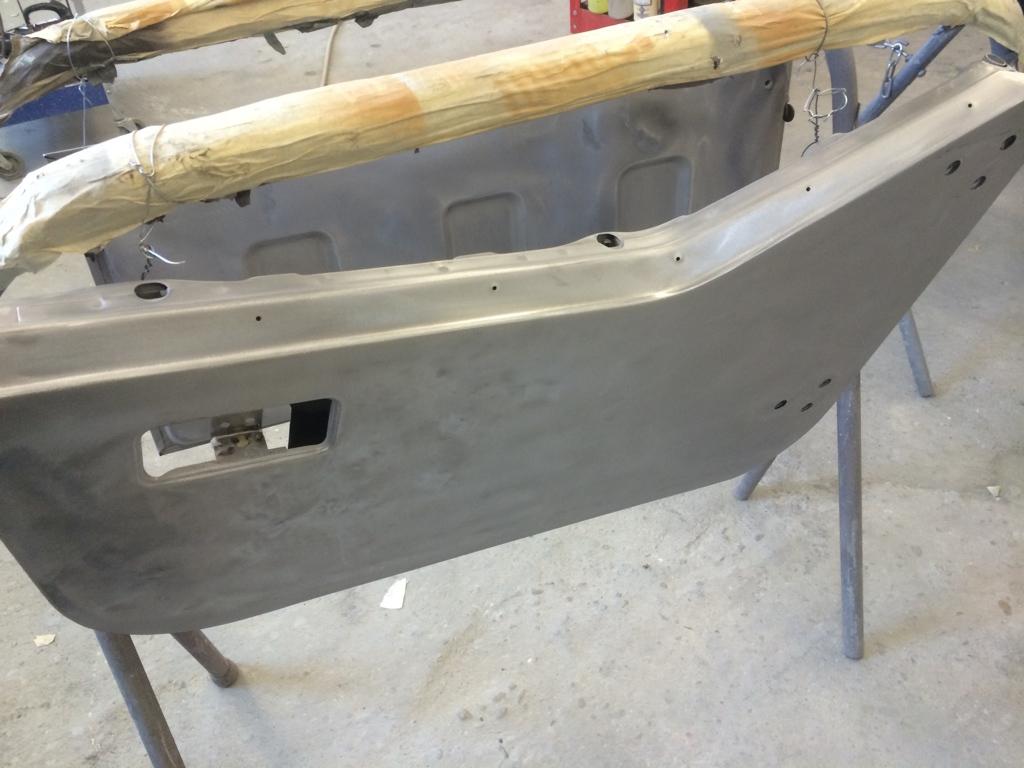
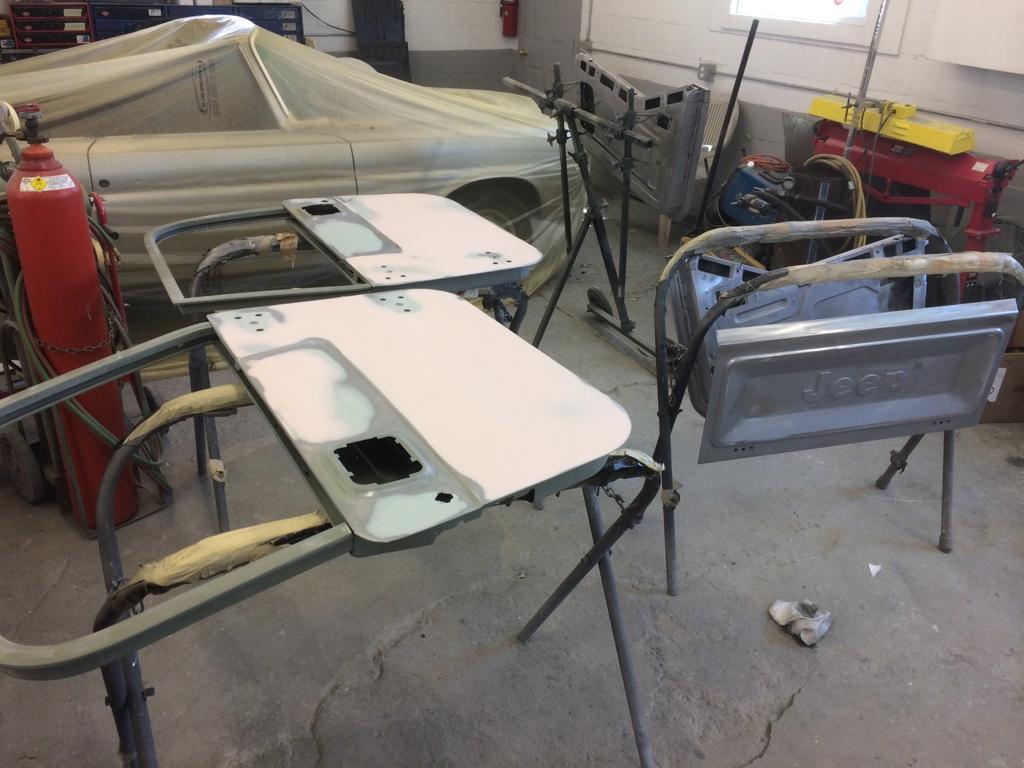
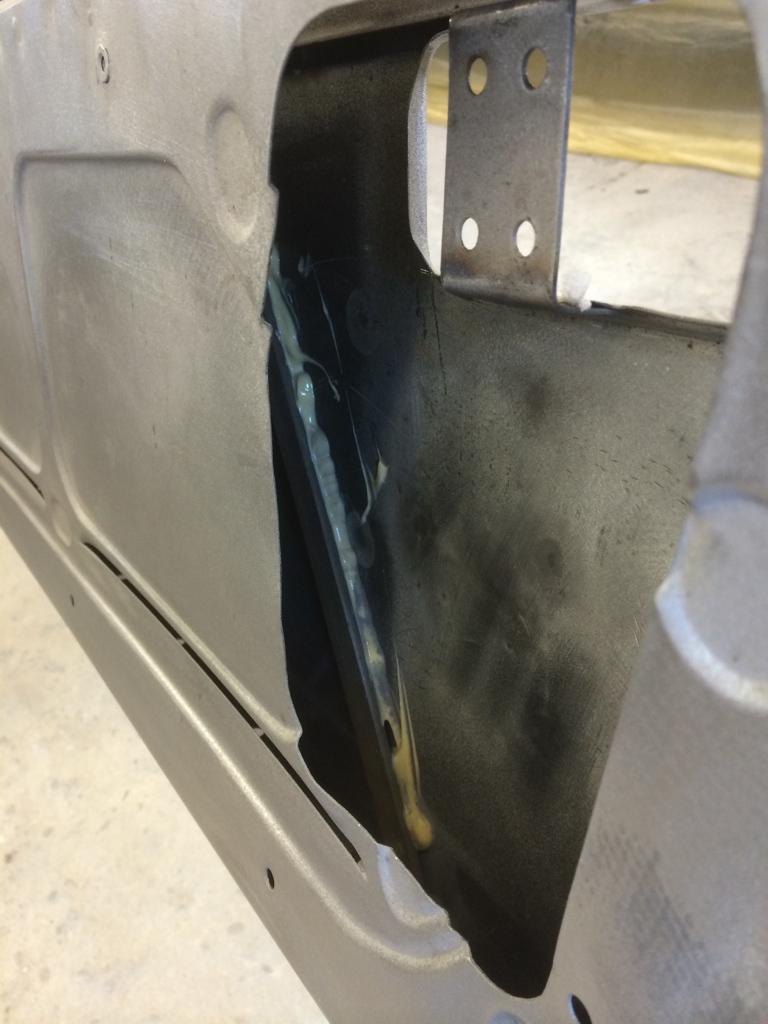
I also stopped by my painter to see some of the parts still left to paint. They really do an incredible job there and are perfectionist. One example, on my half doors, they welded in and then secured a cross beam from top to bottom of the inside of the doors. This was done to reinforce the doors and you can tell what a huge difference it made from pressing or knocking on the outside sheet metal now. The also welded up the cracks on my full doors! However, the doors were still in pretty banged up shape so they did have to use a light skim coat to get it uniform. The painter said it was super light and it will make all the world of difference. Anyways, here are some pictures of that too:

e2esysy6-1.jpg
guna6y6a-1.jpg
u8erazyv-1.jpg
3yta5ubu-1.jpg

hapa7y6a-1.jpg


Here's that brace I mentioned
qedateqa-1.jpg


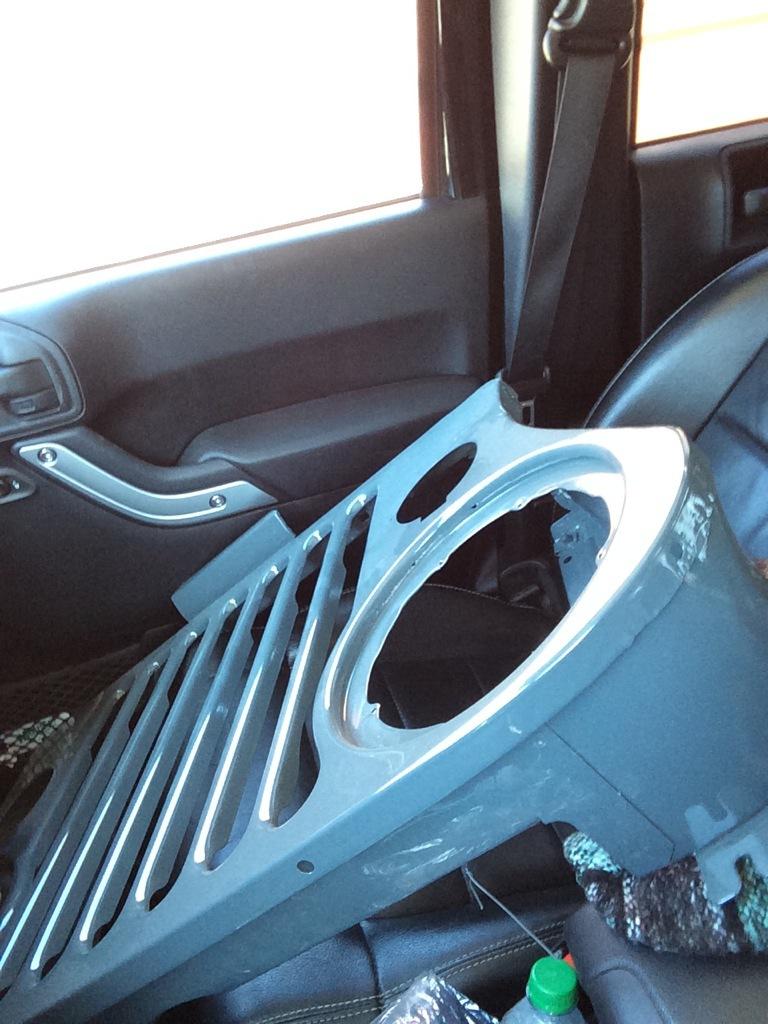
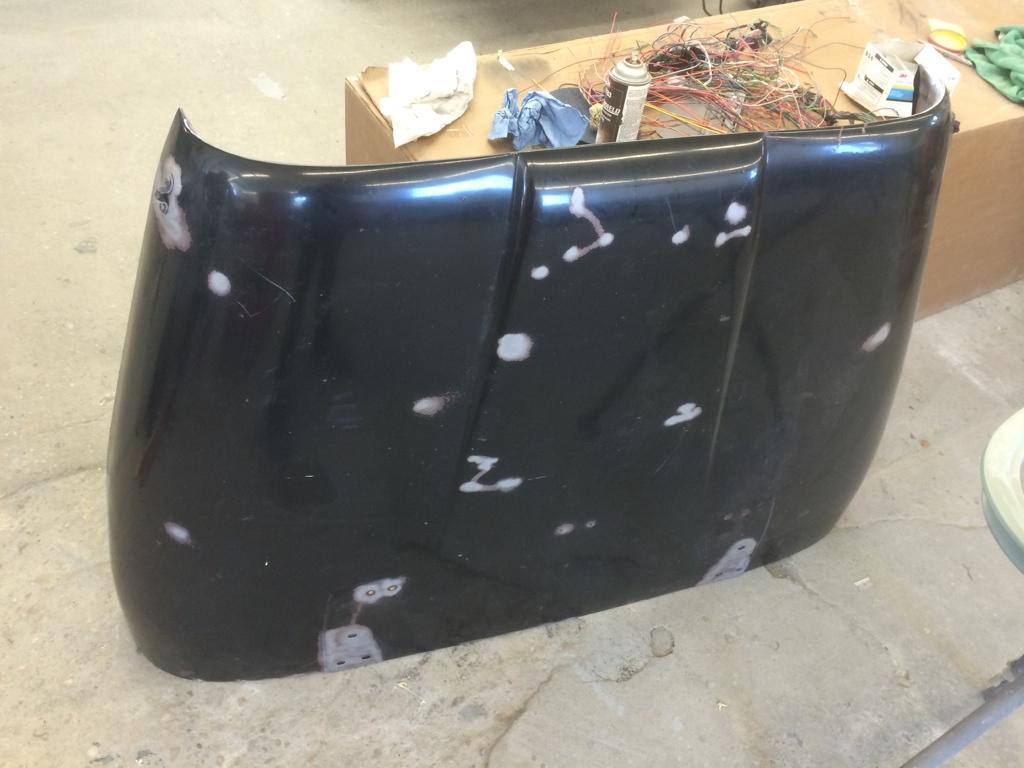
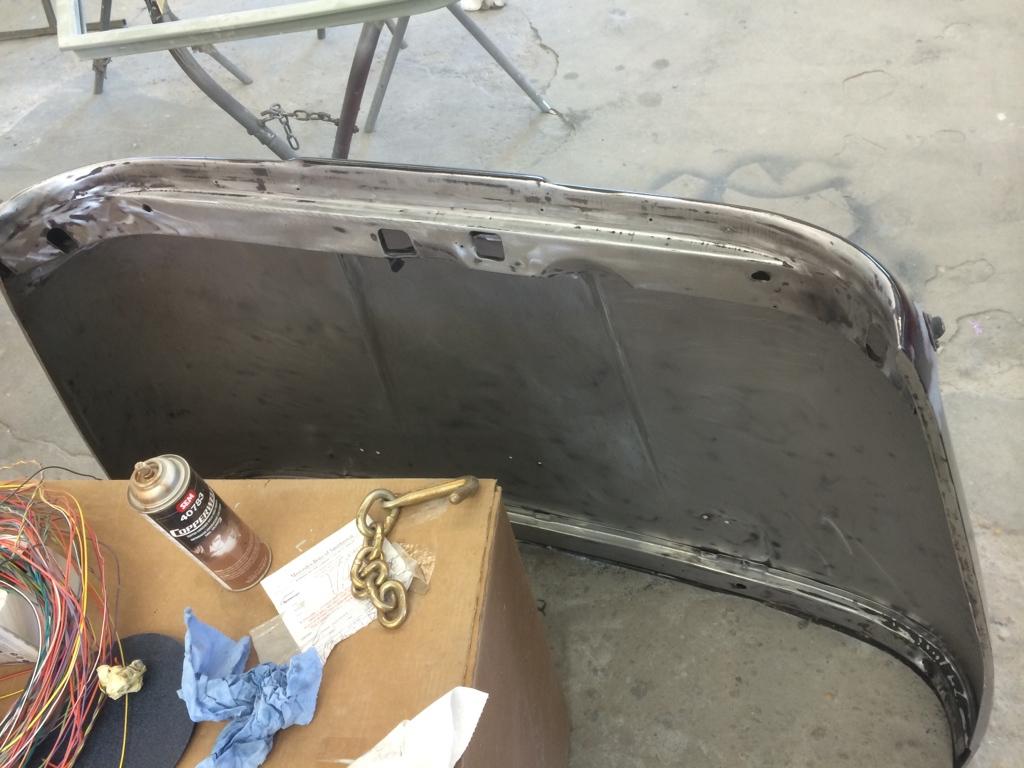
This is a perfect hood found from Jim at cj5.com in NJ getting worked on already.
apamusur-1.jpg


ja5eqytu-1.jpg
 
Last edited:
Back
Top