• Notice for iPhone users: DO NOT use the image size reduction option when uploading photos to the forum. This causes portrait images to post as landscape. We have added a warning to the image insert pop-up as well.

Shop addition 30' x 40' - Adams Family Scrambler World HQ

CHIEFWAHO

Former SOA VP
Lifetime Member
SOA Member
SOA Board Member
City
Thayer
State
KS
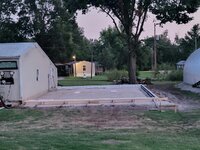
After talking about this shop addition for many of years, we have finally broke ground.
The addition will be onto the west end of our current 30' x 50' - 10' sidewalls (15' enclosed lean too on back side) work shop.
Building addition will be 30' x 40' with 14' stick built sidewalls with open scissor trusses (chicken house trusses).

I've been accumulating various building supplies over the last few years, whenever I thought I was finding a deal on things.

When I put up "The Q" (Quonset building) a couple years back the lumber I had to purchase to use as temporary supports I made sure the majority of it could then be used for framing the addition.

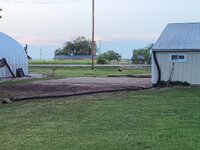
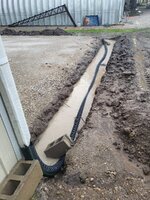
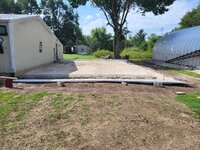
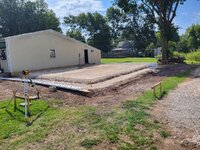
Prepping the site.
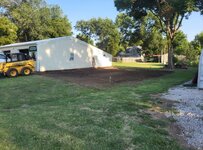
9e03f4e7-4781-4f55-825b-c2cc1499e20d.jpg

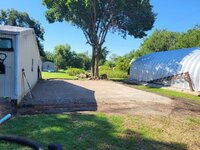
More excavation and then rain, not all bad helped it pack a bit.
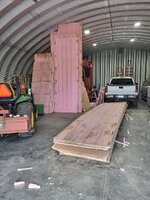
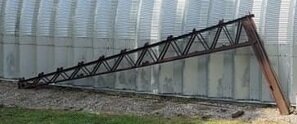
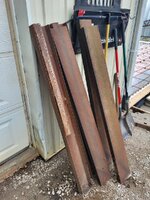
Note one set of the chicken house trusses leaning up against The Q.
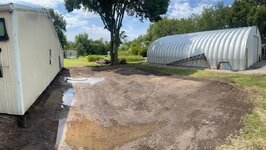
b975df5a-c5ad-4c8b-b0c9-2e70e6f78e13.jpg

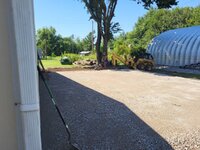
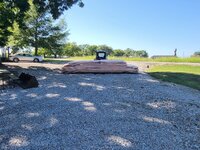
Tamped in 5"-6" of AB1 rock with fines.
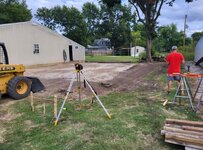
0fadd49d-75bc-46e2-b062-aa9f07df2ae5.jpg
20240814_200243.jpg

Marked for the footers
20240816_102508.jpg
20240816_113713 - Copy.jpg
20240818_195733.jpg
 
Footers dug just in time for another rain.
20240816_183118.jpg

That rain shut us down for a few days so we knocked out some other things that needed done for the addition.
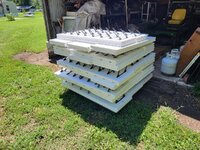
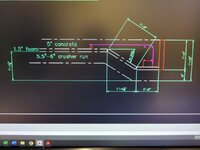
Plan to put radiant floor heat in the concrete. I ran across some foam on FB market place awhile back and have it stored.
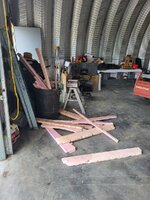
It is used (off chicken houses) so it has a few holes and most ends were not square. I spent about half a day squaring ends to get it ready for the thermal break between the ground and the radiant heat.
20240817_162841.jpg
20240818_141502.jpg
20240818_141509.jpg
 
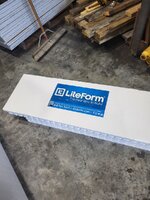
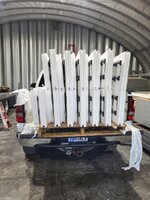
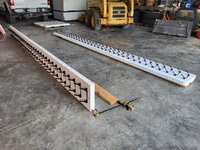
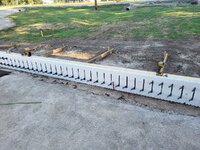
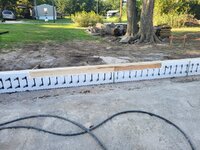
Next up was modifying the ICF blocks that will be used as our footer/slab forms plus serve as the exterior wall thermal barrier.
20240816_095108.jpg


20240815_191218.jpg

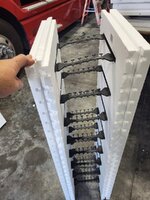
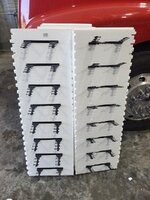
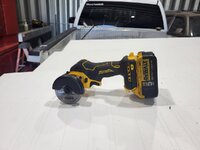
First was to cut the block in half at the plastic ties. My new Dewalt saw made quick work of that.
20240816_095116 - Copy.jpg
20240816_095202 - Copy.jpg
20240816_095121.jpg

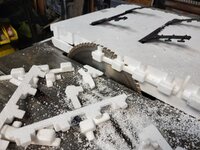
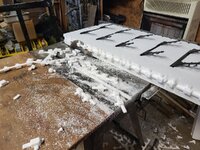
Next was to trim the locking tabs off the top edge as they are not needed for my application.
Did this with the table saw, what a mess!
20240817_141121 - Copy.jpg

20240817_141117.jpg
20240817_142206.jpg
 
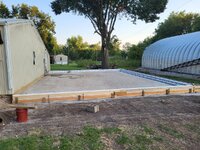
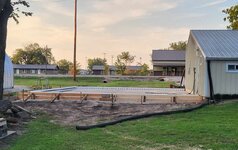
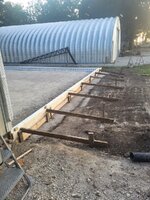
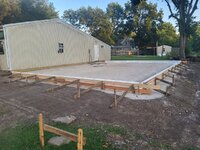
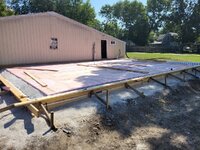
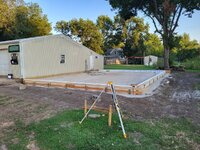
This last weekend was spent putting the ICF half blocks together as our forms and getting it all braced up.
This plastic ties are imbedded in the foam block and have a strip that allows for screwing the 2x6 to them for stiffening.
20240824_110234.jpg20240824_110158.jpg20240824_110213.jpg20240824_191747.jpg20240824_191730.jpg
200a5a17-2cb2-4cf2-af6e-49672991ddf1.jpg20240825_192300.jpg20240825_192322.jpg
 
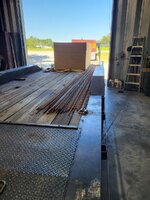
Scored a deal on a full bundle of 7/16" OSB, also picked up rebar and a roll of plastic for vapor barrier.
20240802_132345.jpg

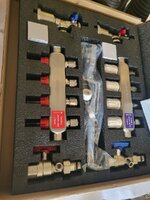
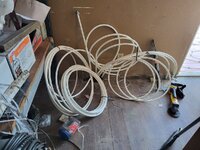
Went ahead and ordered a PEX tubing and manifold. Once tubing is run we can pressure test it.
Will have (4) loops at approximately 300' each.
20240825_171600.jpg
 
Still plugging away. Lot's of things accomplished butt not much that shows up in pictures.

Notched the foam ICF forms on both sides where the garage doors will be.

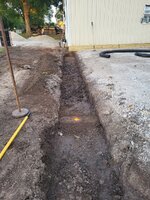
Also dug trenches and buried a couple of runs of PVC electric conduit.

Next up plastic vapor barrier and the foam insulation before PEX tubing & rebar.

20240830_085056.jpg20240830_085107.jpg

Dug out where the pink rectangles are located.
This is where the 2 post lift will be. Wanted the concrete a little deeper in this area.
e8acd183-3528-48ba-8f2e-9c9cb5acd006.jpg


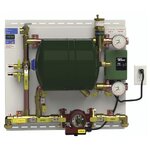
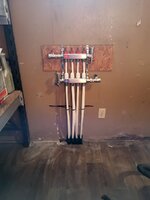
Picked up another puzzle piece for the radiant floor heat.
This goes between the water heat source and the PEX tubing manifold.
Was going to piecemeal my own but ran across this complete panel on clearance at Menards.

1-Zone High Temp Integrator Panel​

HSPS150HT-HTP_300_CMYK.jpg
 
Dug out where the pink rectangles are located.
This is where the 2 post lift will be. Wanted the concrete a little deeper in this area.
I dug mine at about 4x4 or 5x5 squares just to give me some slop if it didn't mount exactly were I wanted it. Turned out I was glad I did as I ended up locating it a little differently once building was up.
 
Last edited:
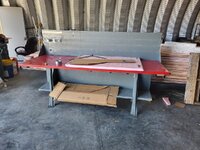
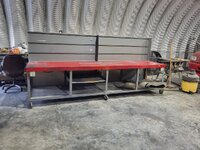
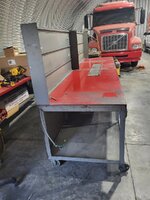
Scored this large work bench for free. Has 3' x 8' thin metal top.
Possibility I may get 2 more, fingers crossed.
20240830_102915.jpg

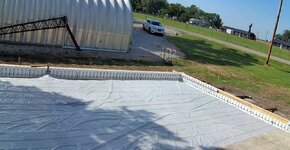
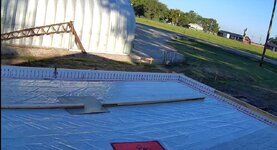
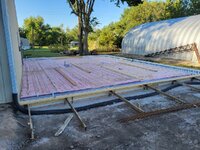
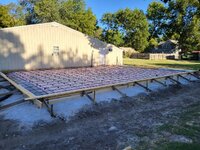
6 mil vapor barrier down
20240903-160647.jpg20240904-082813.jpg

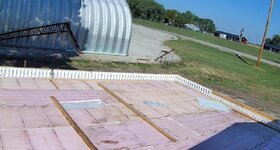
1.5" thick foam board thermal barrier in place.
Next up, laying out the PEX tubing then rebar.
20240905-105027.jpg
 
Nice workbench. Adam Sandler voice "for freeee" went thru my head when I read that. :P
 
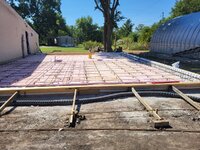
Good progress over the weekend.
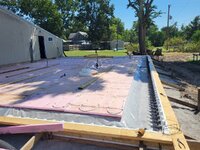
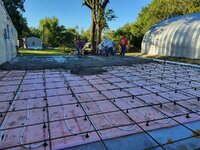
PEX tubing installed followed up by the rebar.
20240906_123216.jpg
20240906_142019.jpg
Note if using a Malco brand PEX tubing stapler, only use Malco brand staples!
I went with Stapex brand (made in USA) told by Supply House that they were good for the Malco.
They did work but plan on wasting about half or so as they jamb about every 3rd staple.
Plus their packaging is crap, staples held together by masking tape and basically fall to individual pieces upon touching them to load.
20240907_083841.jpg

20240907_084038.jpg

Did not have the correct pipe fitting on hand to pressure test.
Picking up fitting today and hope to air pressure test this evening.
20240908_180242.jpg20240907_113426.jpg20240907_175954.jpg
 
Last edited:
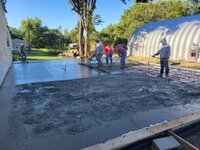
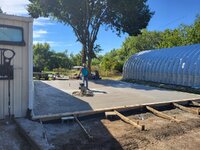
Still waiting on concrete guys.
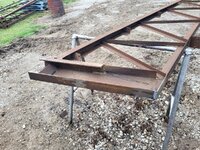
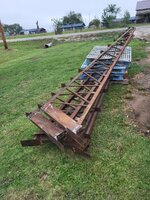
Decided to start modifying the chicken house trusses.
full truss.jpg
First up was to remove the 5' legs
20240922_164024.jpg

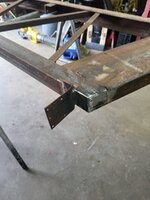
Also removed purlin bracket and attachment plate.
20240922_164018.jpg

Purlin bracket relocated.
20240921_115907.jpg

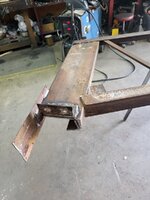
Attachment plate relocated and added a bolting angle.
20240921_115857.jpg

Half done, ready to clean and paint.
20240922_164031.jpg
 
Looks like this might have been a Perka building, our sister company.
 
Back
Top