• Notice for iPhone users: DO NOT use the image size reduction option when uploading photos to the forum. This causes portrait images to post as landscape. We have added a warning to the image insert pop-up as well.

SJScrambler - Getting Started

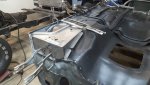
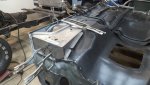
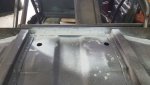
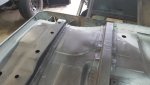
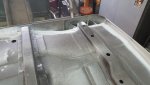
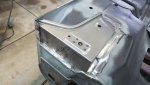
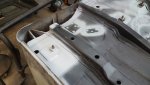
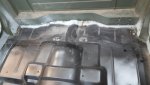
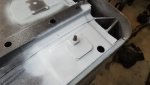
If you look really closely, there are screws in between the clamps to really get it to stick and hold... those will become welds at some point...

Need more clamps! or cowbell!

cb
 
I see you have the same collection of vise grips as me. My kid asked me one time how many I could possibly need to do a floor. My answer.......simple....all of them and could use a few more. ?
 
That's how it was on my 46 2a as well. You wouldn't think you needed that many.
 
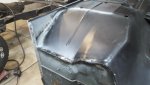
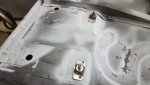
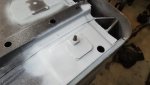
Did some spot welding where the holes for the screws were... some of the glue burned off... will fill the holes with weld, but all in all a very solid connection... moving along slowly and getting there, hope to do a bit more this weekend... work has me busy the rest of the week.

cb

20191112_175631_resized.jpg

20191112_180228_resized.jpg
 
Looking great as usual...you are going to have the most solid CJ-10a cab in the area thats for sure! cant wait to see it !
 
Spotwelders really make life a lot easier...

20191116_155119_resized.jpg

Got the rear situated as well, so that is nice and tight.

20191117_152213_resized.jpg

20191117_152216_resized.jpg

20191117_152219_resized.jpg

Once side is done up front as well and the other just needed to dry a bit and weld in.

This one needs some clean up as well.

20191117_152224_resized.jpg

20191117_154427_resized.jpg

20191117_154434_resized.jpg

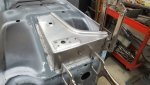
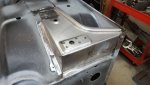
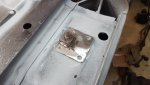
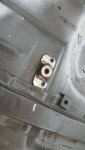
I didn't get a picture, but next up is the seat belt retainers for both the 3 point lower and the female ends near the tunnel... these need to be cleaned up and drilled, etc. and ready to put in place... hopefully that is tonight.

Once that is done, flip it, address the b pillar lowers and get that situated and finally get to the cage.

It is moving right along when I get some time :)

cb
 
Buttoning up the last of it... had to get the seat belt parts/pieces in place under the cab... hopefully wrap it up tonight and flip it over for the b pillars.
There was a lot of measuring and head scratching last night as nothing is "equal" under here.

20191118_173701_resized.jpg

20191118_173710_resized.jpg

20191118_181201_resized.jpg

20191118_181206_resized.jpg

20191118_181210_resized.jpg

20191118_182452_resized.jpg

I got 3 of the 4 done and in place... last one will be cleaned and done tonight.

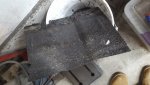
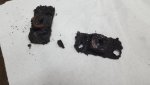
There was a ton of undercoating and oil/grease to contend with on that original panel, but after this is done, it should be the last of it for the underside. I have to finish the inside and then get it on the frame and get the mounts situated.

cb
 
Looks great :bow:

That is a ton of hard work you have completed :cheers: :thumbsup: :wave:

Like everything else, if you do it a few times, you tend to learn and keep a few things from that experience.
This one is a lot more solid with the spot welder (will have to do the same on the Scrambler body)... also use of auto adhesive in places... and finally starting with a much better body and using the full floor.

It might have cost a bit more up front, but it will last a lot longer and I know it is solid... no rust worms from the get go.

cb
 
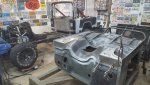
Not much accomplished... lots of measuring, cleaning, prepping... but getting to almost flip the tub.

20191119_182935_resized.jpg

20191119_182939_resized.jpg

20191119_182947_resized.jpg

cb
 
Wow, how do you know what goes where? Where do you measure from? Are you working from another tub or a blueprint? Beautiful metal work. My father and father in law built liberty ships in Baltimore during the war but I’m sure it’s easier to build new than to rebuild and have so many connections and holes that have to be in exactly the right place for everything to bolt up right.
 
Wow, how do you know what goes where? Where do you measure from? Are you working from another tub or a blueprint? Beautiful metal work. My father and father in law built liberty ships in Baltimore during the war but I’m sure it’s easier to build new than to rebuild and have so many connections and holes that have to be in exactly the right place for everything to bolt up right.

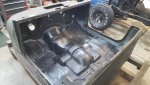
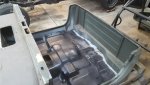
I have another tub to reference off of and I kept the originals that I cut out so I am pretty close to where they should be... I just want to get all this "underside stuff" done so I don't have to drill holes and weld upwards once I get this flipped over. Trying to account for it all now before I get going on the inside of the tub to wrap that up and do the fitting on the frame and cage install inside the cab.

cb
 
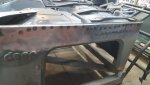
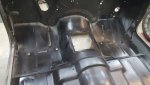
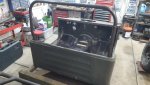
All done on the underside and the thing is pretty solid now... all welded and glued up... flipped it over and started playing with the top and the back part of the cage... it is way off (it is a CJ8 sport cage) due to the tops being so different.

This is the cage I had in mock up in the other tub... I snapped 2 bolts taking it apart sadly.

Also, the floor for not being original is solid and will do the job. I will mock in the seat risers and all the rest to make sure it all works (transmission tunnel as well).

The only thing so far noted is that the holes they drilled for the drains must have been a "metric equivalent" because I had to enlarge all of them to fit the body plugs... also add 2 more drains for the b pillars.

Seat belt hold down bolts come out and go back in with ease now.

Pretty excited so far on the progress.
I ahve to do a lot of test fitting next and then get it on the frame for measuring for the frame mounts to the new tub.

cb

20191120_172016_resized.jpg

20191120_172021_resized.jpg

20191120_172028_resized.jpg

20191120_172034_resized.jpg

20191120_173419_resized.jpg

20191120_185426_resized.jpg

20191120_185435_resized.jpg

20191120_185446_resized.jpg
 
Well done! Where do you locate the drains for the b-pillar, inside or along side?
 
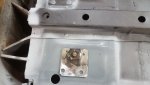
It is next to the seat belt hold down 3 pt retainer... in this picture... you don't see it from the top side, only the bottom side.
This is on both sides.

cb

20191119_182947_resized.jpg
 
Back
Top