• Notice for iPhone users: DO NOT use the image size reduction option when uploading photos to the forum. This causes portrait images to post as landscape. We have added a warning to the image insert pop-up as well.

Spankrjs' 1984 Long Term Project

spankrjs

Scrambler Junkie
Lifetime Member
SOA Member
City
Biloxi
State
MS
so I can say I have a "cop car motor" !!!!!!!!!!!!!!!!!

Yea the one that chased down O.J. too!

Well, it did come from CA, so..............................:shrug:

Future ebay selling point:

"This extra rare stock Scrambler came equipped with an OJ Simpson police interceptor engine...................":rolleyes::D
 

Bad Karma

Captain Sarcasm
BENEFACTOR
Lifetime Member
Member
City
Cobourg, Ontario, Cana
State
da
Yes, you only use the deflectors when you are adjusting the valves. Once the valves are adjusted, you remove them.

They have a "pointed" end that kind of plugs the hole in the rocker. So, instead of oil spraying out, it just kind runs out.

Ah ok that makes sense. Ive never had an engine that needed the valve adjusted while the engine is running.
 

spankrjs

Scrambler Junkie
Lifetime Member
SOA Member
City
Biloxi
State
MS
Ah ok that makes sense. Ive never had an engine that needed the valve adjusted while the engine is running.

Technically, if you have the engine torn down, you can set the valve adjustment and be done with it, i.e. no adjustment while it is running.

When I took this one apart, I marked the nuts/counted the turns, and when I did the "twist the pushrods till they stop/add 3/4 turn", they were all almost exactly where they were before.

I just decided to adjust them this way, too, just in case any of the adjustments were way out of whack from a previous owner.

But, since all I have messed with are 258's, adjusting valves is new to me:):thumbsup:
 

spankrjs

Scrambler Junkie
Lifetime Member
SOA Member
City
Biloxi
State
MS
It's not that hard to adjust valves...

I am glad you chimed in:thumbsup:

Seeing the things you/your shop does, I am in:bow::bow:

What is your preferred method for valve adjustment, and do you think I did anything wrong:shrug:

:wave:
 

mysunnshine

Legacy Registered User
City
Phoenix
State
AZ
I'd do it on the vehicle NOT running all day long. It's too messy doing it running.......The biggest deal is to make sure you are at the lowest spot on the base circle of the cam and then I usually go down 3/4 to 1 turn from 0 clearance. If it's a non-performance, I'll choose 1 turn to keep from having lifter noise on start up. There's a lot of info/videos on the net on how to do it.
 

spankrjs

Scrambler Junkie
Lifetime Member
SOA Member
City
Biloxi
State
MS
I'd do it on the vehicle NOT running all day long. It's too messy doing it running.......The biggest deal is to make sure you are at the lowest spot on the base circle of the cam and then I usually go down 3/4 to 1 turn from 0 clearance. If it's a non-performance, I'll choose 1 turn to keep from having lifter noise on start up. There's a lot of info/videos on the net on how to do it.

I read that the "preferred" way to do it was as you described, the way I did it is a little "cruder".

And you are correct, about a million different ways to do it on the 'net:thumbsup:

That is interesting about "the one full turn to prevent lifter noise upon start up". I guess that effectively removes a bit more clearance, so in case it takes a bit for the lifter to "pump up/prime" the slack is not noticeable?

I will have to see if mine makes any noise at start up. Before I messed with the seals, I had a bit of valve train noise sometimes upon initial start up. But, is it true that it is better to be a hair loose then a hair too tight, on a non-performance engine like this?
 

mysunnshine

Legacy Registered User
City
Phoenix
State
AZ
But, is it true that it is better to be a hair loose then a hair too tight, on a non-performance engine like this?

I'd sacrifice 5hp to have a quiet top end after a cold start-up in a daily driver. You could gain more than you lost by just getting the correct fuel loads and especially the correct timing into the motor.
 

spankrjs

Scrambler Junkie
Lifetime Member
SOA Member
City
Biloxi
State
MS
I finally got around to installing my new fuel lines, which of course turned into Strike 2:banghead:

There is a bunch of stuff that has to be removed before you can access the fuel lines: drain radiator, remove upper radiator hose, move the heater hose, move wires, ect.

IMAG2740_zps7eec5634-1.jpg


Picture if the return line installed and tightened up.

IMAG2744_zps808278f9-1.jpg


Picture of the feed line installed, but something is not right. The line is threaded fully into the brass piece, no problem there. The feed line has a few more threads showing, which is how all of the other stock TBI units I have seen are, too.

IMAG2742_zpsf90acf9b-1.jpg


Started the engine, gas is spraying out everywhere.

Yep, stripped the threads off the brass piece!!!

IMAG2745_zpsbfc3c47c-1.jpg


I almost stripped the new fuel line while trying to start it in the brass piece. So, in my infinite wisdom, I removed the brass piece, and started the fuel line. Well, I must have cross threaded the brass piece, which isn't too hard, dealing with brass into pot metal/aluminum.

I can find a new brass piece easy enough. I hope the throttle body only has a few damaged threads that I can retap. If not, I will have to find a new throttle body base.

That's it for now.
 

BRKLYNZ28

Scrambler Junkie
Lifetime Member
City
BROOKLYN
State
NY
On my 2 " lt1 " v8s the way i adjustment on the full roller rockers I found its easier to have them running and twist the pushrods till u can spin them then 3/4 turn. Of course this is when the hydraulic lifters have been pumped with oil already. You do get some oil splash but on my engines it was minimal. I never had a problem doing this method but if its a new install then its another story..

Sent from my SPH-L900
 

mysunnshine

Legacy Registered User
City
Phoenix
State
AZ
On my 2 " lt1 " v8s the way i adjustment on the full roller rockers I found its easier to have them running and twist the pushrods till u can spin them then 3/4 turn. Of course this is when the hydraulic lifters have been pumped with oil already. You do get some oil splash but on my engines it was minimal. I never had a problem doing this method but if its a new install then its another story..

There are WAY easier(and cleaner) way to adjust valves than that.
 

Jeepin

Legacy Registered User
City
Dexter
State
MI
There are WAY easier(and cleaner) way to adjust valves than that.

x2, hate making more work for myself. Pull number 1 to TDC on compression stroke and adjust all the valves on the base, then pull number 6 to TDC on compression stroke and adjust all the rest.

On a stock cam and lifter set up, I usually do 3/4 to a full turn. On something a little hotter I usually run as little as 1/8 - 1/4 turn. I played with it on the dyno one day and really did not see all that much difference (this was a snappy hyd roller). On a solid set up, slight lash adjustments can make big gains, or losses (or bent pushrods and crunched lifers lol)
 

spankrjs

Scrambler Junkie
Lifetime Member
SOA Member
City
Biloxi
State
MS
Pulled the top of the throttle body off to confirm my suspicions:(

The assemble TB:

IMAG2746_zps27cb0b23-1.jpg


After removing three screws, the injector pod comes off. I still need to remove 8 screws to pull the top of the injector pod off:

IMAG2753_zps571dc9db-1.jpg


Yep, stripped threads:

IMAG2752_zps8e855ec9-1.jpg


I ordered a replacement injector pod on Wednesday. Paid for two day shipping, so it would arrive on Friday. Well, that was a waste of money, wont get here until Monday. I guess I will hit the junk yard on Saturday.

That's it for now:shrug:
 

certifiablejeep

Definitley Certifiable
Lifetime Member
City
Bedford
State
NH
Actually, I wasn't sure, I knew USPS was... so I looked further.

FedEx and UPS recognize, but don't observe it... however, they said that they accept packages and are open in the centers.
Not sure if that means delivery/pickup or not.

cb
 

spankrjs

Scrambler Junkie
Lifetime Member
SOA Member
City
Biloxi
State
MS
$hit, you are right:banghead::banghead::(

Oh well, off to the junk yard:cheers:

Actually, I wasn't sure, I knew USPS was... so I looked further.

FedEx and UPS recognize, but don't observe it... however, they said that they accept packages and are open in the centers.
Not sure if that means delivery/pickup or not.

cb

It's ok, a guy that lives down the street from me is going to give me a complete/used throttle body for free, so :woohoo::headbang::bacon::D
 

mysunnshine

Legacy Registered User
City
Phoenix
State
AZ
Check the throttle shaft busings. The TBI's are really bad about whacking out those bushings and allowing air thru them...
 

spankrjs

Scrambler Junkie
Lifetime Member
SOA Member
City
Biloxi
State
MS
Check the throttle shaft busings. The TBI's are really bad about whacking out those bushings and allowing air thru them...

10-4:thumbsup:

I am going to use the TB that is currently on my engine, it is a new unit. I am just going to use the used "injector pod housing" on my TB:thumbsup:

But, I will check the bushings on my TB, just like the Carter carbs, thanks for the tip:cheers:
 

spankrjs

Scrambler Junkie
Lifetime Member
SOA Member
City
Biloxi
State
MS
Picked up a used throttle body this weekend from my buddy Steven, thanks again:

IMAG2755_zps50a67c52-1.jpg


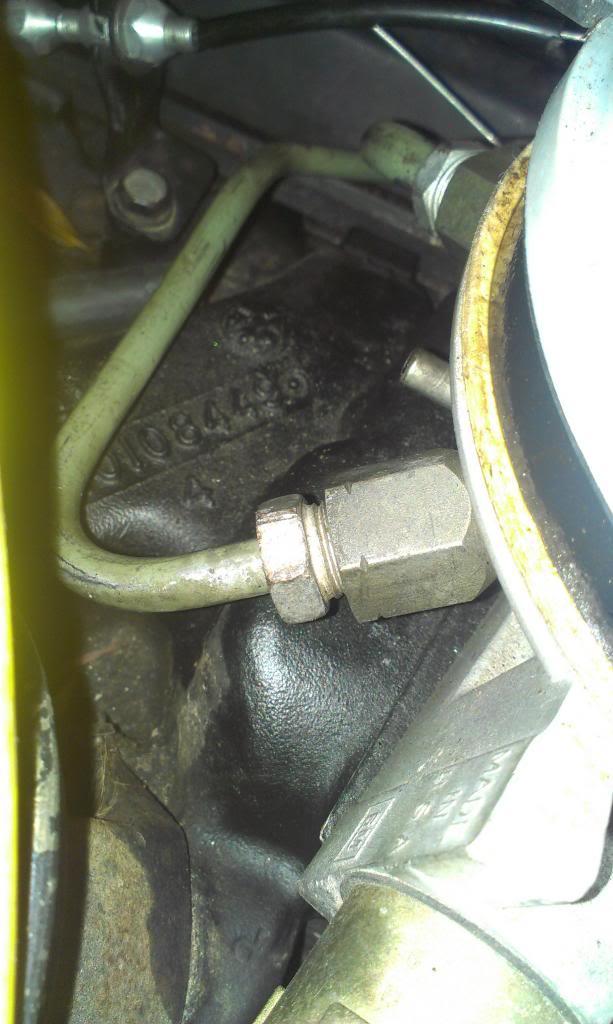
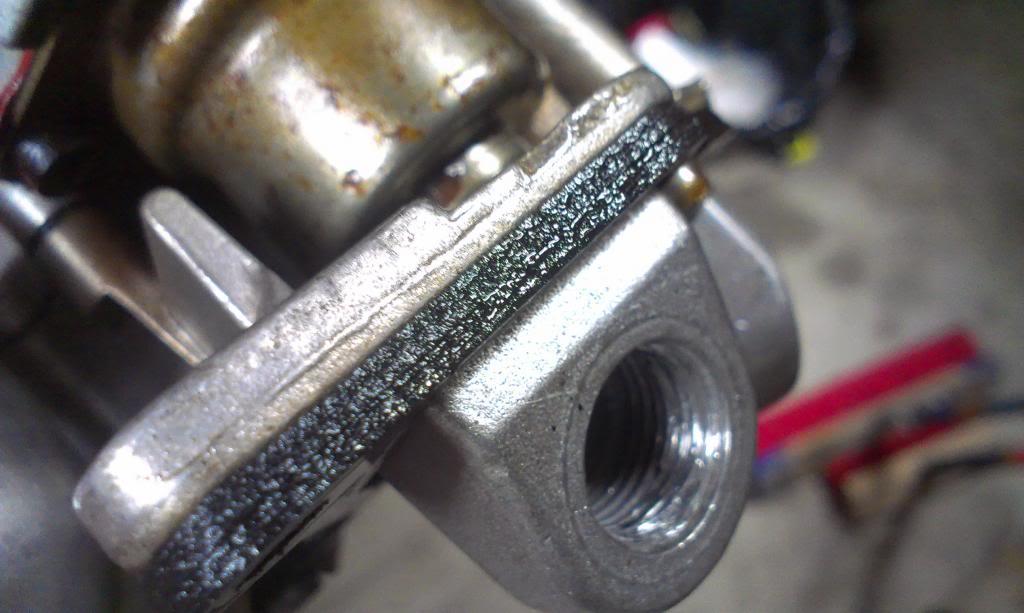
On this used one, the threads on the return line were a bit munched, but I was able to save it. These parts are really crappy:

IMAG2759_zps3ddfc7d6-1.jpg


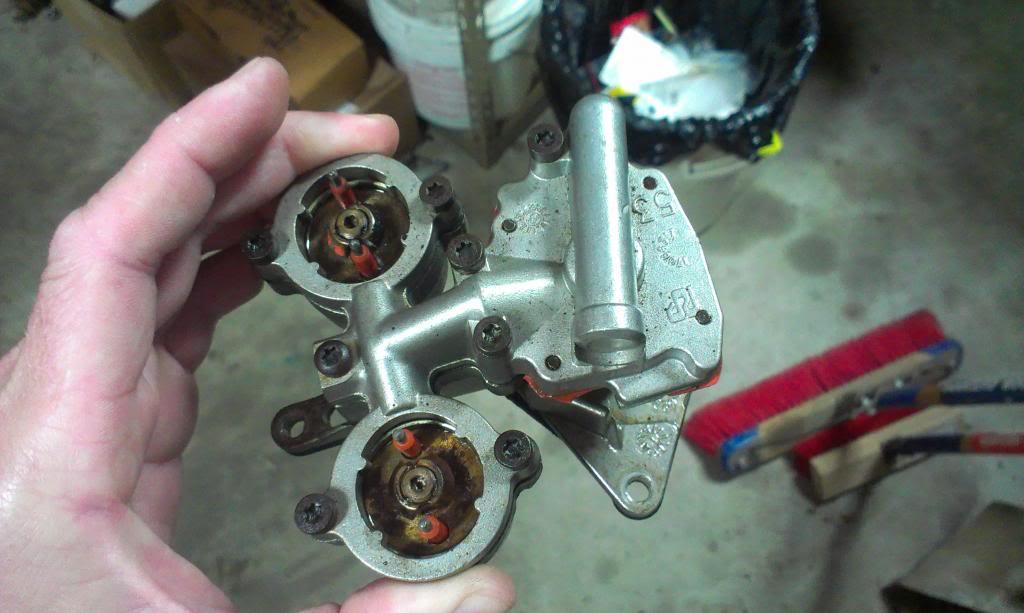
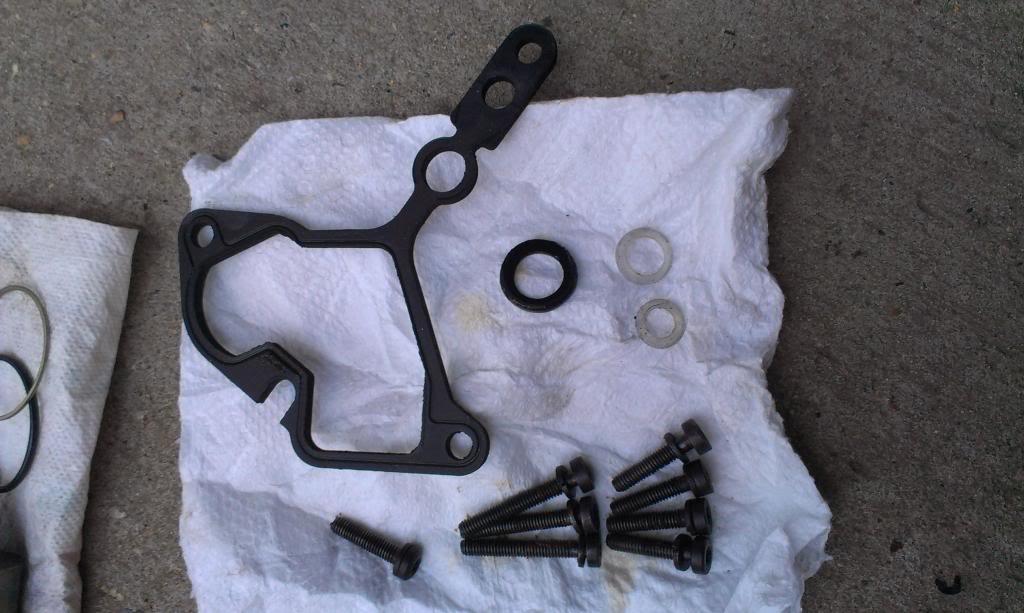
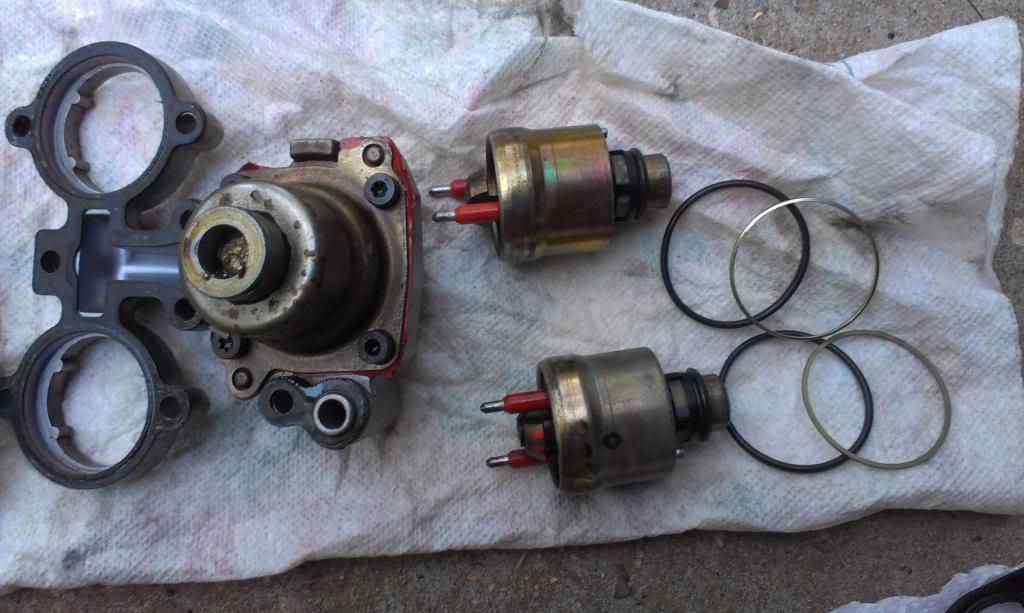
I am not going to do a step by step, but it is pretty easy to take the throttle body apart. You remove these screws/gaskets/seals, and the upper injector pod separates from the main injector pod:

IMAG2764_zpsa7687661-1.jpg


Quick picture of the injectors, and their associated spacers/seals. Basically, I transferred all of my good parts to the used injector pod housing. Since all my parts are new, I was able to reuse all of the original gaskets. But, if you are messing with an older unit, I would advise buying a rebuild kit which will include all new seals/gaskets, just like a carb kit.

IMAG2765_zpsd91ed1d0-1.jpg


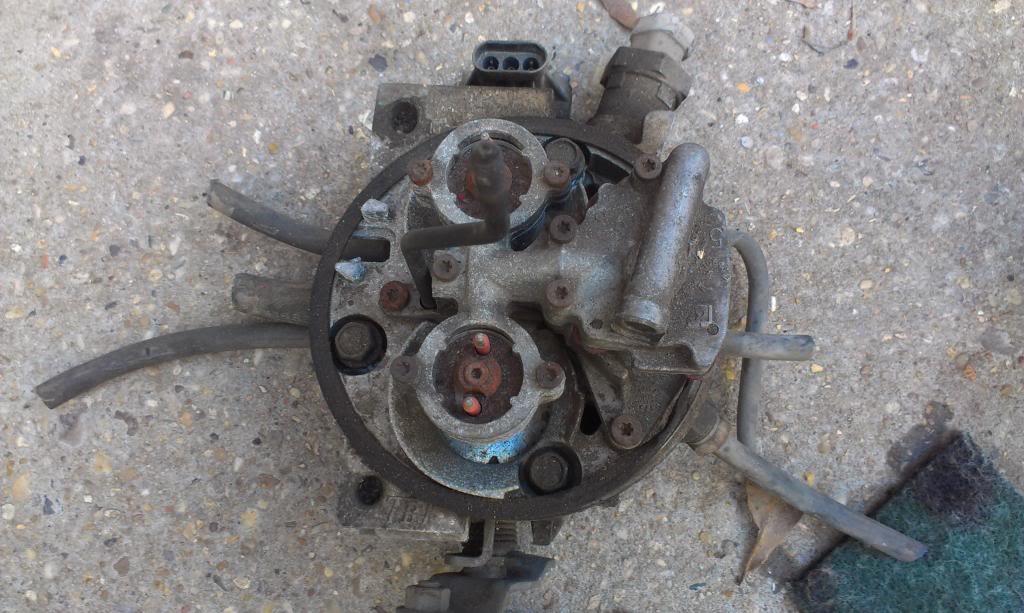
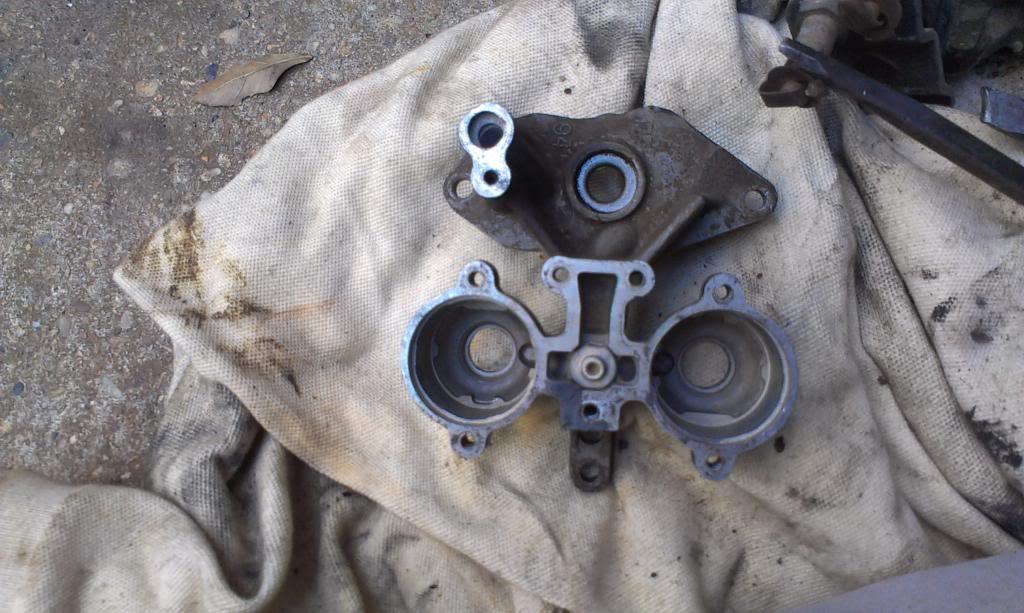
Quick pictures of the new to me dirty part, before cleaning:

IMAG2756_zps4c73dbb7-1.jpg


IMAG2760_zps24549370-1.jpg


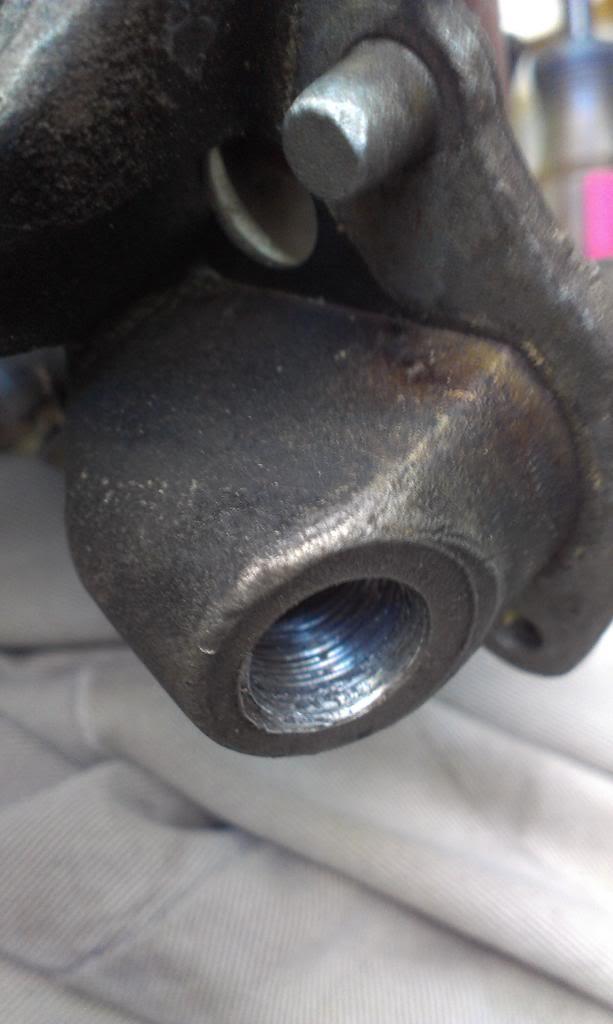
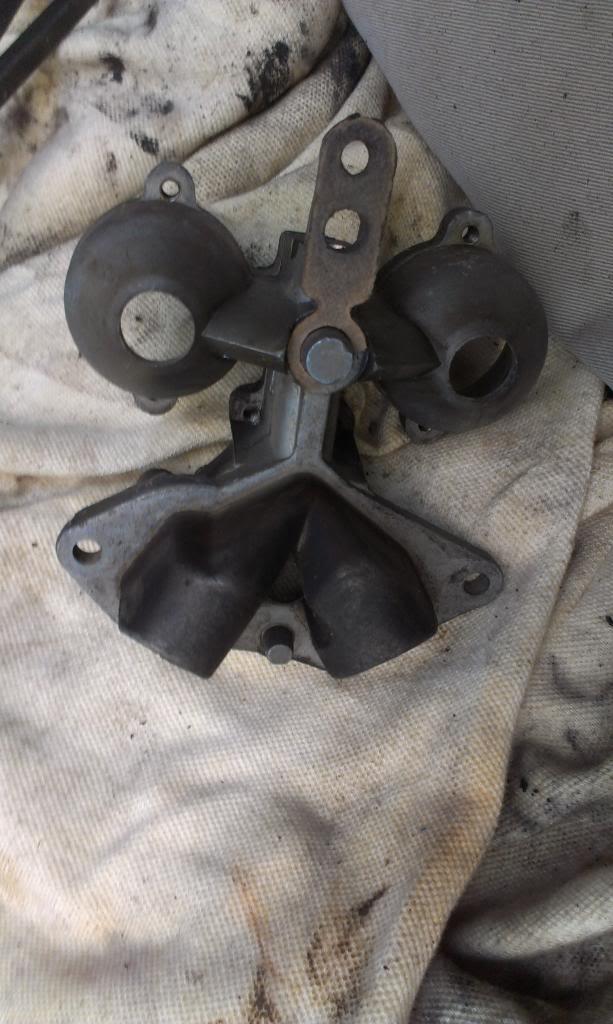
And after a soak in the gallon of carb cleaner, good as new:

IMAG2767_zps386f0ed6-1.jpg


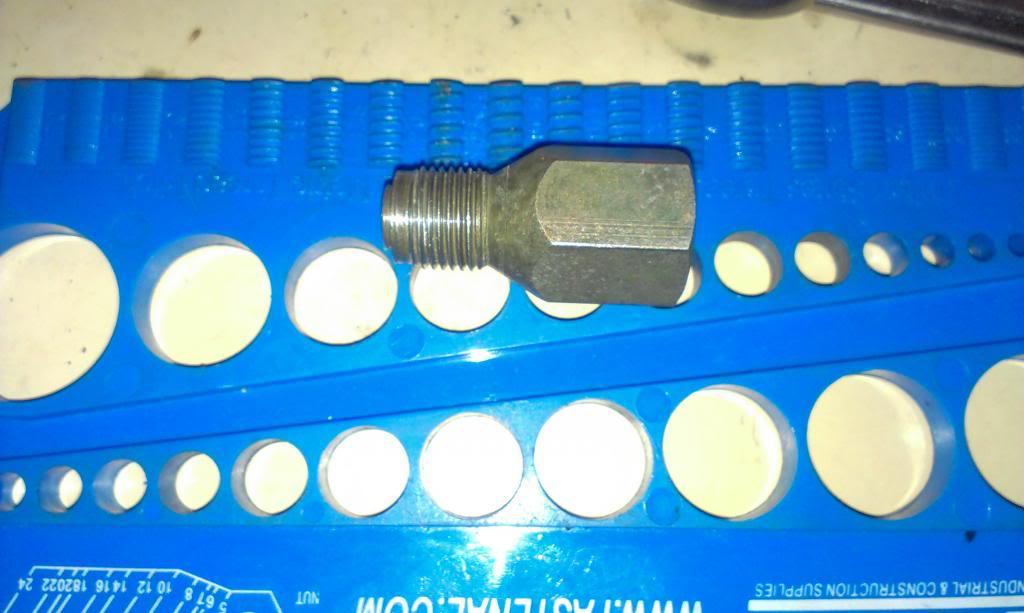
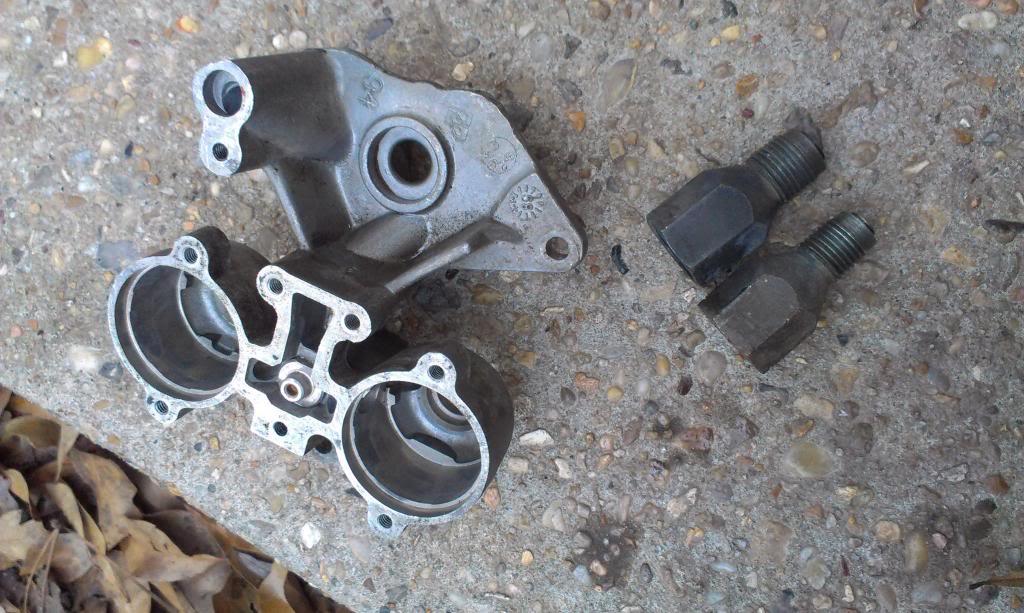
I also was able to use the used brass parts off of the junk throttle body. The threads on these two parts were perfect. Please note - each one of these brass parts has a seal that goes inside the injector pod BEFORE you thread them in. If you leave the seals out, the lines will leak.

Quick picture of the stripped out threads in my leaking part:

IMAG2766_zps0e8ab391-1.jpg


And back together, running great, no leaks!!!!

IMAG2768_zps2ce53615-1.jpg


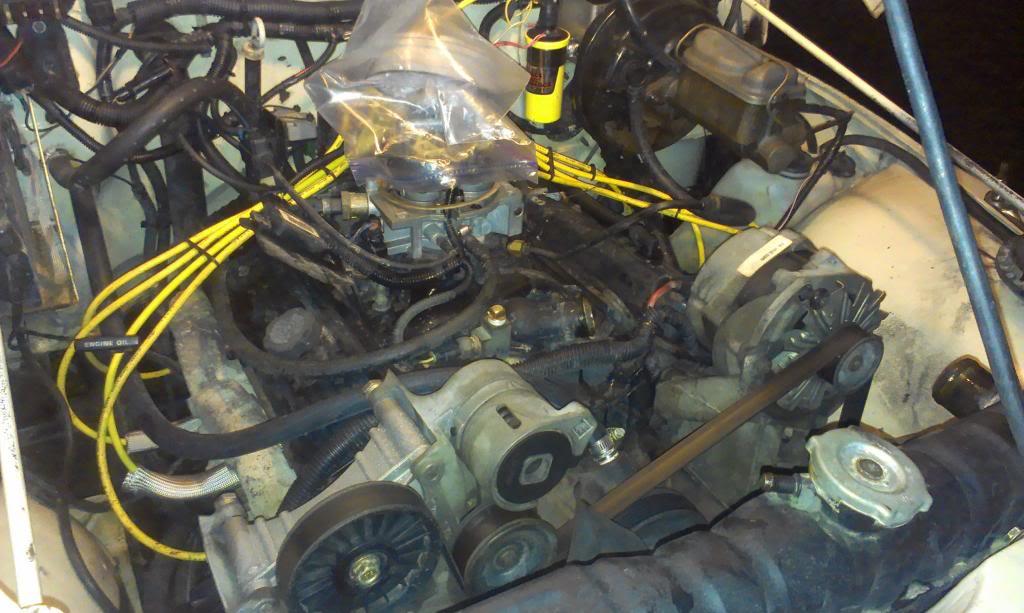
Well, that was a bunch of work. In my opinion, if you ever have to remove/mess with these original GM TB fuel lines, use the utmost care. The combination of brass/aluminum threaded parts is a disaster waiting to happen. This fact, coupled with the issue of using the stock metal fuel lines, which are a pain to get lined up correctly, well be careful!!!

But, all the drama was worth it. No more smoke out the tail pipe, so the valve stem seal replacement was not for naught.

The last big "repair" that I need to make is to my duct taped up floor shifter plate, hope that is easier then this!!!!

That's it for now.
 
Top