• Notice for iPhone users: DO NOT use the image size reduction option when uploading photos to the forum. This causes portrait images to post as landscape. We have added a warning to the image insert pop-up as well.

spankrjs's Biloxi, MS '83 Scrambler

That really turned out nice! Looks like you’ve definitely got it “figured out” now. Btw, I was dying laughing at the “Harbor Freight Trailer Paint Booth”. Bwahahaha! I had one of those trailers and the 3,000 plus bolts it took to put it together. I thought I’d bought it from IKEA!
 
Anything is possible. I don't have a Howell set up here to mess with. The last Howell equipped CJ-7 I messed with was a power brake model, but it had an aftermarket open air filter on it.

IIRC, the OD of the throttle body is fairly large, not sure if you could neck down enough to adapt? Also, the TBI throttle body is fairly tall, so you might run into vertical clearance issues with the hood?

It might be easier to adapt a closed GM air cleaner assembly to the Howell, even if you had to reweld/rework the opening in the base to offset the cleaner over away from the master cylinder?
I like the look of yours. I don't know if I could get it to work on the Howell. What is the O.D. of the air cleaner on yours that you attach the throttle body? Is it 2.5"?

I would need to see if I could make a step up adapter to fit the Howell.

Thanks
 
That really turned out nice! Looks like you’ve definitely got it “figured out” now. Btw, I was dying laughing at the “Harbor Freight Trailer Paint Booth”. Bwahahaha! I had one of those trailers and the 3,000 plus bolts it took to put it together. I thought I’d bought it from IKEA!

My Harbor Freight trailer is like Frank's Hot Sauce, "I use that $hit for everything" :rotfl::rotfl:
 
I like the look of yours. I don't know if I could get it to work on the Howell. What is the O.D. of the air cleaner on yours that you attach the throttle body? Is it 2.5"?

I would need to see if I could make a step up adapter to fit the Howell.

Thanks

I don't have the Howell equipped Jeep anymore.

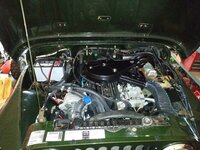
On my green Scrambler:

The OD of the throttle body is 2.5"
The OD of the air cleaner neck is 3"

On the tan Scrambler I sold, which had a 350 V8 with OEM throttle body, I used the OEM GM air cleaner assembly. It might be easier to convert a GM air cleaner to the Howell, vs converting the AMC air cleaner assembly to the Howell :shrug:

Or, like you mentioned, machine an aluminum adapter piece to tie the Howell TB neck to the OEM air cleaner assembly :thumbsup:
 
Very nice..I used a 97 wrangler air assembly on my 5. It goes over to the passenger side and mounted very nicely on the fender close to the grill.. Turned the snorkel from the filter box up, catches air just under the hood.

That's what I am planning to do, too :thumbsup:
 
When I was dealing with reworking the jacked up fuel tank/filler setup in Mater years ago, the only new hose in the right size I could find local to couple the various metal tubes was radiator hose.

Not fuel safe either, but when I replaced most of the hacked up and cracked filler tube a couple weeks ago, I pulled the one piece of heater hose I still needed so I could check it and it was perfectly fine.

I wouldn’t be worried at all for what you have.
 
Finished up the air cleaner project this weekend.

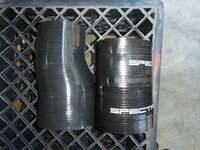
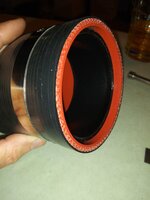
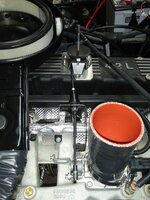
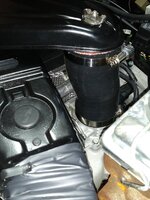
The new, replacement intake hose with the offset, versus my multipiece contraption:

20210926_113410.jpg

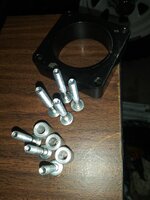
Removing the throttle body spacer, lost 100hp doing this !!!!!

20210926_113727.jpg

20210926_115128.jpg

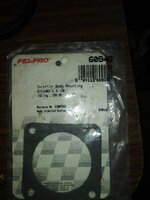
New gasket on hand:

20210926_115135.jpg

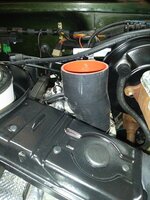
The hose was advertised as 6", it was actually 5-3/4", so only a 1/4" too tall. So, before cutting, I installed it to see what it would look like:

20210926_134038.jpg

A little too far off level for me. Being level really doesn't matter, not even sure how level the OEM setup is, but it bugged me:

20210926_134329.jpg

I slid the old 3" plastic spacer inside the new hose, clamped it in place 1/4" down from the top. This made it super easy to cut the hose nice and straight, with a new Exacto blade.

20210926_140841.jpg

Much better now:

20210926_151146.jpg

If I wanted, I could pick up the base of the air cleaner a hair, and it would be perfectly level. I am going to leave it as is.
 
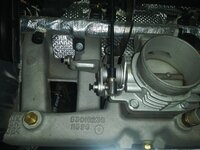
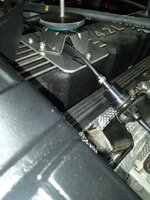
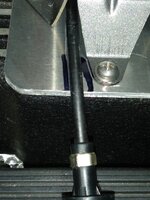
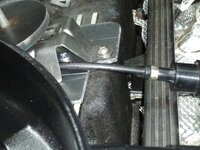
When I removed the throttle body spacer, which dropped the TB and the throttle cable bracket, the throttle cable was kind of put into an awkward angle, due to my air cleaner base adapter plate:

20210926_151604.jpg

I was going to just cut a "slit" out of it:

20210926_151618.jpg

In the end, I just cut the whole corner off. There was no need in leaving the corner on. Much better:

20210926_153157.jpg


20210926_153209.jpg
 
And finished. I did NOT use the other lower pulse air port on the bottom of the air cleaner. It will fit, BUT the hose/rubber adapter will be snug against the aluminum valve cover. So for now, I left the PCV breather hose connected to the OEM style plastic breather housing inside the air cleaner.

Only two clamps now, one piece hose, looks better IMO:

20210926_154039.jpg

And an overall shot, I am pretty happy with this little adventure:

20210926_154235.jpg

Just need to change out the heater hoses to one piece hoses, paint the rusty master cylinder..............................................................


For now, I am calling this project complete. The weather is nice outside, time to drive this thing around instead of wrenching on it!!!!!!!

No performance change when I went from the open air filter to the OEM filter.
No performance change when I removed the throttle body spacer.

That's it for now :wave:
 
I started this little project around the same time I started the air cleaner project. I decided to finish one update before starting another.

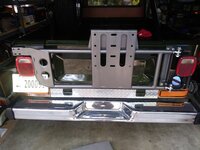
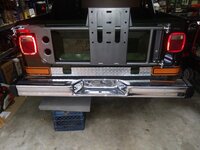
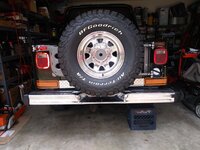
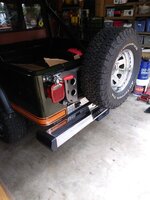
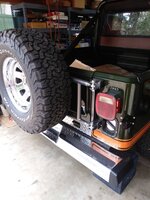
I purchased and installed a TNT Customs spare tire carrier on the back of this Scrambler. I had been using a NOS/OEM roll bar spare tire mount which is fine, but it does cause a big blind spot, and I prefer the look of the spare tire on the back.

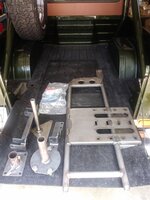
What is comes with:
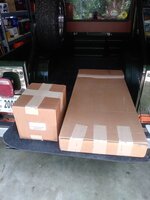
20210905_132147_HDR.jpg

20210905_132528.jpg

I would have painted this stuff black, but someone around town(s) bought up all the VHT Chassis black paint. So, I used this instead:
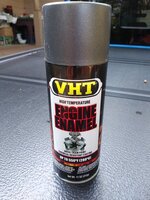
20210905_165349.jpg

20210905_145212.jpg

The above Grey color vs the gloss black color:
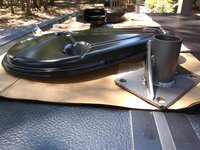
20210911_122852.jpg

I kind of like the Grey. If I get I tired of the color, I can easily repaint the parts.

Parts painted, and the "included" hardware:
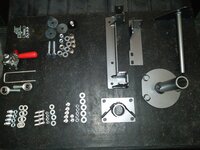
20210911_123455.jpg

20210911_123511.jpg

I had two problems with my order from TNT Customs:

I was missing most of the hardware that was supposed to be included:
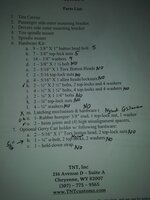
20210911_170759.jpg

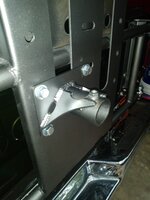
Less important, the mounting holes on this piece are far from round, maybe they aren't supposed to be, i don't know. The piece installed fine, and the washers/bolts cover the ugly shaped holes, but still:
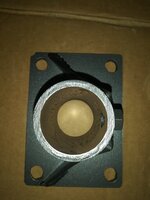
20210911_170852.jpg

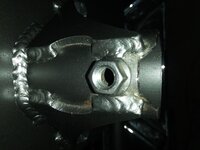
The bigger issue, on the same part pictured above: The instructions mention having two "jamb nut" locations on this part, mine only has one. Not the end of the world, but still:
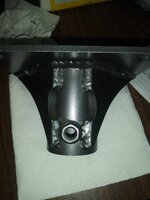
20210912_113034.jpg

I have called TNT, and sent emails, with pictures, I have not heard back from them?!?

 
I will kind of breeze through the rest of the install, let the pictures do the talking.

Blue tape on the body to more easily mark where two additional holes need to be drilled (OEM spare tire carrier hardware removed):

20210912_115452.jpg

Mocking up the two body mounted brackets (making sure they are straight and level):

20210912_121619.jpg

20210912_121635.jpg

20210912_121645.jpg

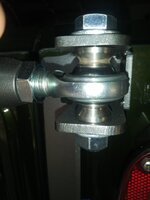
Installing the rod ends/bushings into the swing away portion of the carrier, temporarily installing it:

20210912_123335.jpg

20210912_123340.jpg

Two problems;

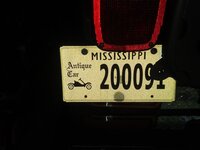
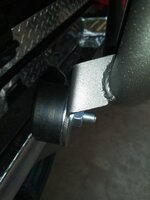
1) The swing away rubber bumper will hit the OEM license tag location:

20210912_123349.jpg

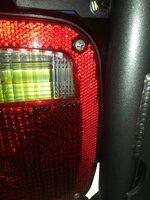
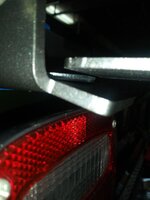
2) When I installed the two rod ends into the swing away portion per the instructions, the swing away portion hit the driver side tail light:

20210912_123456.jpg
 
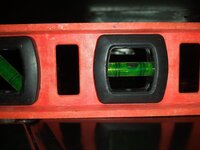
Out of curiosity, checked how level everything was.

Scrambler pretty level:

20210912_123641.jpg

Top of carrier pretty level:

20210912_123651.jpg

The two problems listed above, I solve the tag problem at the end. Where the swing away portion was hitting the light, easy fix, I just threaded the rod ends a few more turns, no more contact with the light.

20210912_134341.jpg

With everything half way installed, the swing away portion is sitting a little too far down, easily fixed:

20210912_134359.jpg

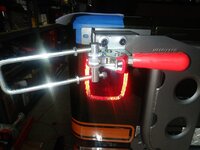
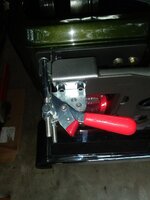
Installing the latch temporarily, instructions are not clear about this, but pretty easy to figure out:

20210912_140249.jpg

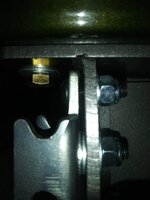
I shimmed out this small latch plate with washers due to interference with the big inside corner weld bead:

20210912_141407.jpg

Installed one washer behind the rubber snubber, per the instructions:

20210913_172205.jpg

Adjusting the clearance between the swing away portion and the bracket it rests on. IIRC, the instructions want the swing away 1/8" higher then the body mounted bracket. Two washers stacked up gave me the dimension I need, adjust the rod ends to get the swing away portion sitting correctly:

20210913_175728.jpg

20210913_175750.jpg

OK, everything has been test fitted/mocked up/adjusted, time to mark the body where two additional holes need to be drilled:

20210913_180611.jpg
 
And the other hole:

20210913_180623.jpg

Nothing like drilling holes in pretty paint:

20210913_182242.jpg

And the other hole, bolt has already been installed:

20210914_171843.jpg

I removed the brackets to drill these holes. IIRC, the bolts are 3/8", I drilled the holes TIGHT, like 25/64". The OEM carrier mounting holes are oversized, so by drilling these new holes tight, they act as keyways, to ensure the brackets are exactly where I want them.

Adjusting the latch. I ended up removing the washer from behind the rubber snubber on my Scrambler:

20210914_171856.jpg

Messing around with the latch/clearances some more:

20210914_171911.jpg

20210914_171937.jpg

20210914_171955.jpg

20210914_172003.jpg

20210914_172012.jpg


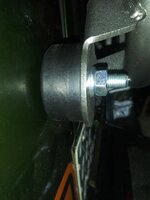
The instructions are not the best when it comes to installing/adjusting the tension of this latch. I adjusted this latch to where it pulls up good and snug. BE WARNED, this latch has the potential to put a lot of force on everything. You want it to adjust tight, BUT not rip the bracket off the body!!!! The cantilever action of this latch has the potential to put a bunch of force on things. That is also why it is critical that you install the third bolt on this body bracket - if not, this latch can/will bend the bracket away from the sheet metal. Just use common sense, you will be fine.

And installed, to this point:

20210914_173348.jpg
 
Blue tape has centerline of tailgate:

20210914_173406.jpg

To center the spare, I used the left holes. Since I only have a 31" tall spare, I was also able to utilize the lower mounting holes:

20210914_175748.jpg

In the picture above, I installed the mount "upside down", so I flipped it like so:

20210915_174904.jpg

20210915_174912.jpg

My reasoning: The other pipe slides into this hole. Gravity/weight will keep it on the bottom of this tube. Makes more sense to pin this inner pipe downward, instead of upward. Just how I did it.

I am running a 31x10.50 of OEM 7" wide 15" wheel. I had problems with the next part. If you run a wider spare tire/wheel, you probably won't have any issues.

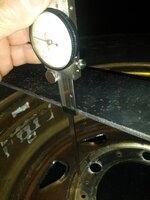
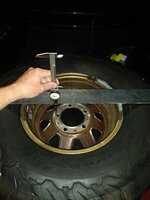
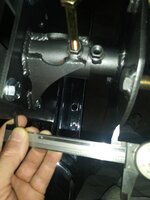
Measuring the distance from the rubber to the wheel flange:

20210915_175229.jpg

20210915_175235.jpg

IIRC, you subtract a 1/4" from this measurement to set the tire mount distance. They want you to do this so that the tires rubber presses firmly into the steel tubing.

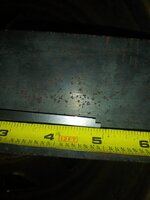
I was right at 4-7/8", so I need to set the mounting distance to 4-5/8":

20210915_175408.jpg

The problem: with a 10.5" wide tire on an OEM 7" wide wheel, you can not get close enough:

20210915_180315.jpg

20210915_180322.jpg

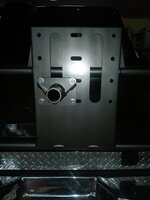
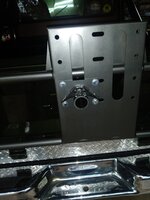
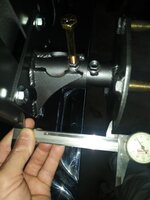
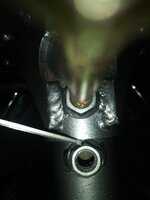
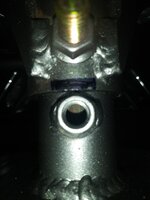
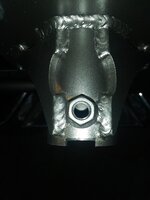
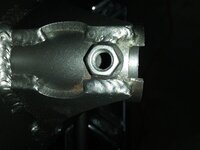
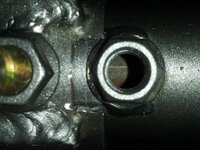
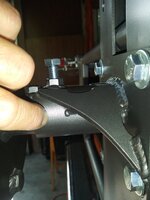
The problem: this welded on nut will not allow to collapse the assembly enough to get the required distance:

20210915_180409.jpg
 
So, I decided to notch the plate so the weld nut could slide inward some more:

20210915_181128.jpg

20210915_182330.jpg

Now I have the required distance:

20210915_182447.jpg

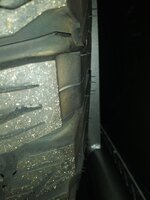
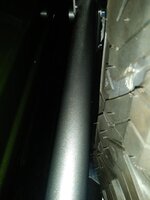
Tire is hitting the carrier like it is supposed to:

20210915_184151.jpg

20210915_184203.jpg

But not everywhere?
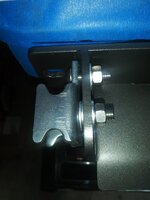
20210915_184218.jpg
 
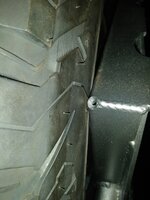
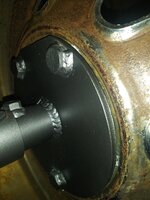
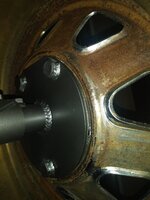
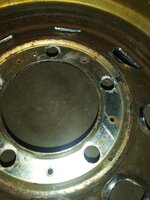
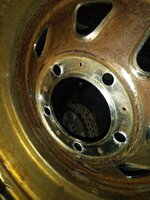
The other problem with the OEM wheels: they have an inner flange (around the middle hub hole) that keeps the flange (immediately around the lug holes) from sitting flat against the carrier. The carriers round mounting flange is not wide enough to make contact with the outer "bead" around the lug mounting holes on an OEM wheel.

Note the gap:

20210915_184234.jpg

20210915_184242.jpg

Note how only the OEM wheels center flange only contacts the carriers mounting plate:

20210915_184535.jpg

The OEM wheels center flange:

20210915_184627.jpg

20210915_190239.jpg
 
So, I need to move the mounting plate a little bit further inward to get the rubber of the tire up squarely/firmly against the carrier.

Can't notch any deeper:

20210917_152749.jpg

That's OK. I can slide backs some more If I cut some "angles" on each side of my notch:

20210917_152947.jpg

Like so:

20210917_153653.jpg

I also cleaned up this one weld just a hair:

20210917_160359.jpg

Reinstalled, I have good contact all the way around, mission accomplished:

20210917_160749.jpg

20210917_160758.jpg

20210917_160809.jpg

20210917_160819.jpg
 
Marking the inner tube with a bolt:

20210917_161455.jpg

20210917_162250.jpg

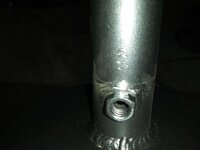
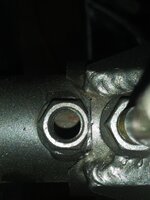
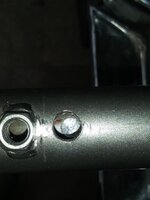
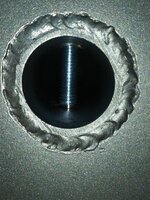
I chose to drill through the top of the inner tube completely, and only dimple the bottom of the inner tube:

20210917_165307.jpg

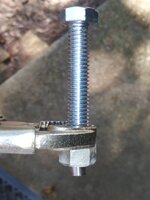
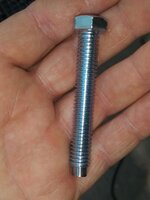
Again, I drilled this hole TIGHT, like 25/64's for a 3/8" bolt. The problem with that - the dimple at the bottom is not wide enough for the 3/8" bolt shaft to sit square, it wants to push the inner tube outward.

The solution, Dremel time: (I could not find a "body bolt" long enough that is already shaped this way)

20210918_103658.jpg

20210918_103808.jpg

This one bolt pins the two tubes together tightly:

20210918_103925.jpg

If one was so inclined, a secondary "peg bolt" could be installed in the side (kind of like how the Borgeson steering shafts attach to the steering box/column). I chose not too at this time.

20210918_103942.jpg
 
Back
Top