• Notice for iPhone users: DO NOT use the image size reduction option when uploading photos to the forum. This causes portrait images to post as landscape. We have added a warning to the image insert pop-up as well.

Another Scrambler Purchase/Road Trip - UPDATE- BODY ON FRAME AGAIN

Glad you figured that out. I don't know how they can get away seling some of these aftermarket parts. That "piece" wouldn't have worked for anyone!

x1,000,000:thumbsup:

"piece" is the correct terminology for that part:cheers:

I might try to send the "piece" back to see if i can my $$$ back. Probably not, though, I bought it last year and I "modified" it:(

Might feel better to smash that "piece" to bits with a hammer anyway:D:evil::rotfl:
 
After defeating the transmission issue, more forward progress.

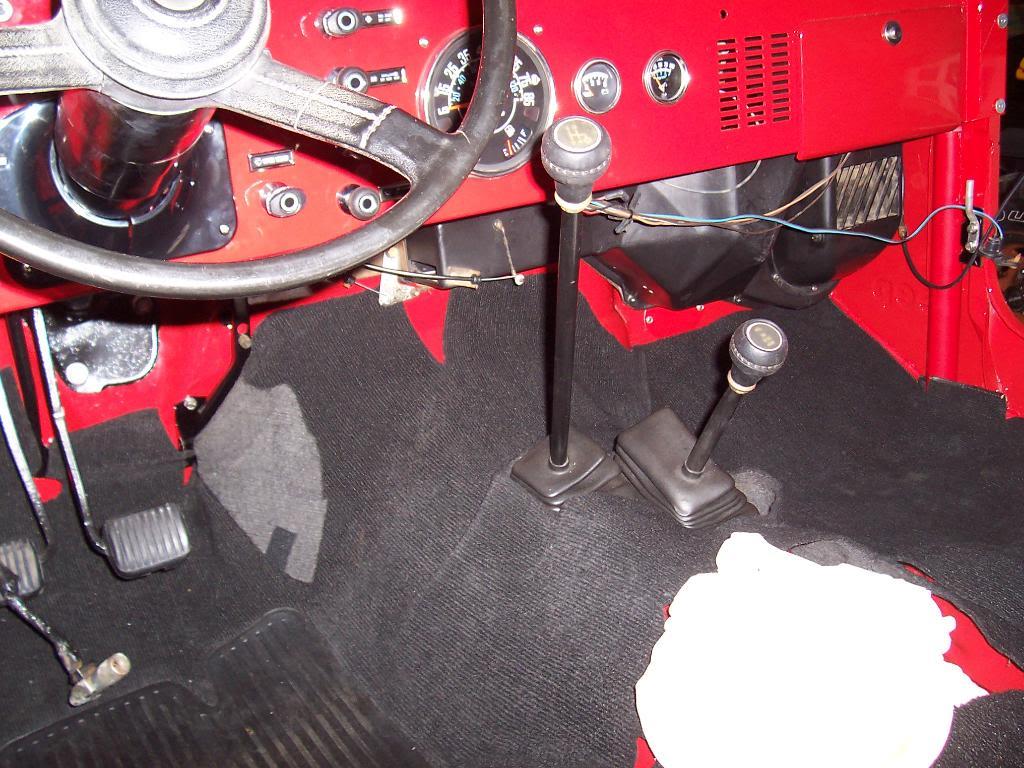
Reassembled the transmission and t-case floor plate, boot, shifters, and dropped the carpet back in.

100_5728-1.jpg


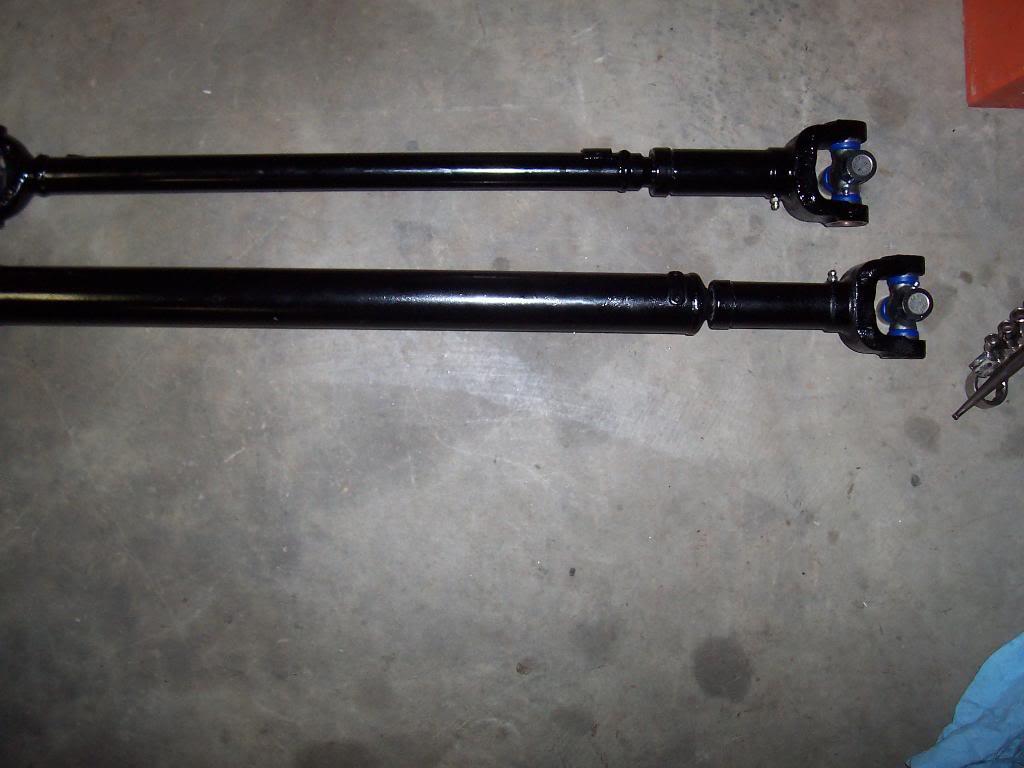
Installed 4 new Spicer greasable U-Joints into my drive shafts.

100_5727-1.jpg


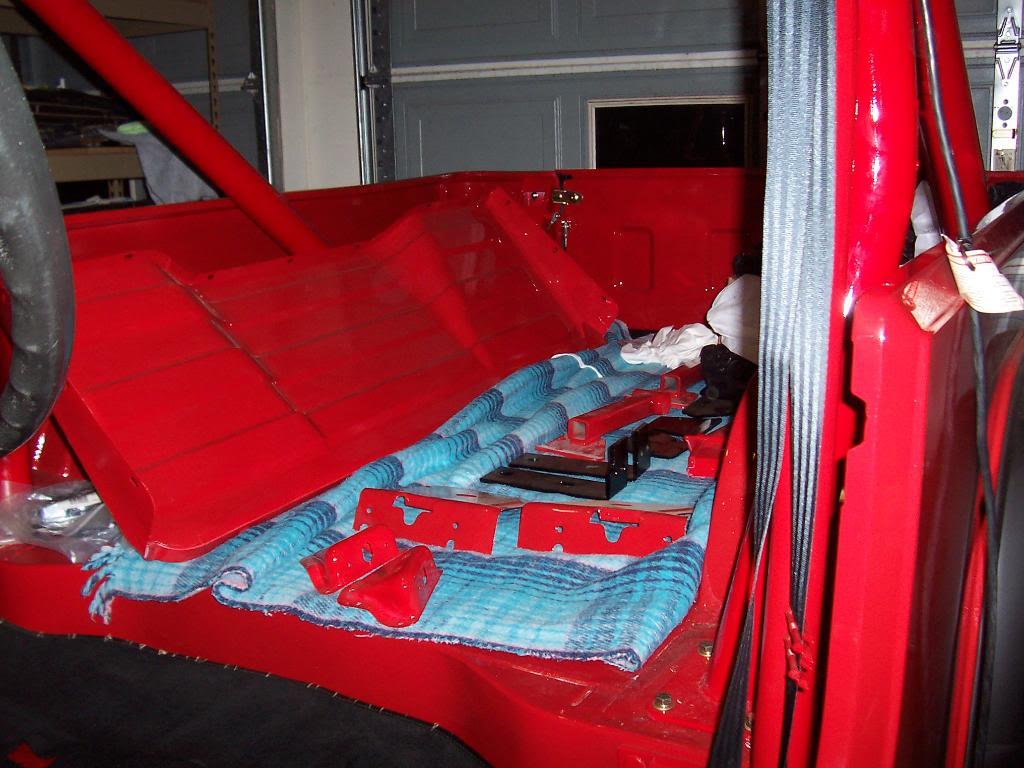
Running out of parts in the bed. Besides the bulkhead, ashtray, and two roll cage frame tie in pieces, the rest of the parts are for the steel doors. I should get all my door weatherstripping pieces in this week, so i should be able to install most of these parts soon. Still looking for a suitable bulkhead bottom seal. I don't want to use the "foam" weatherstrip, looking for a piece of flat rubber weatherstripping, maybe 7/8" wide by 1/8" thick.

100_5729-1.jpg


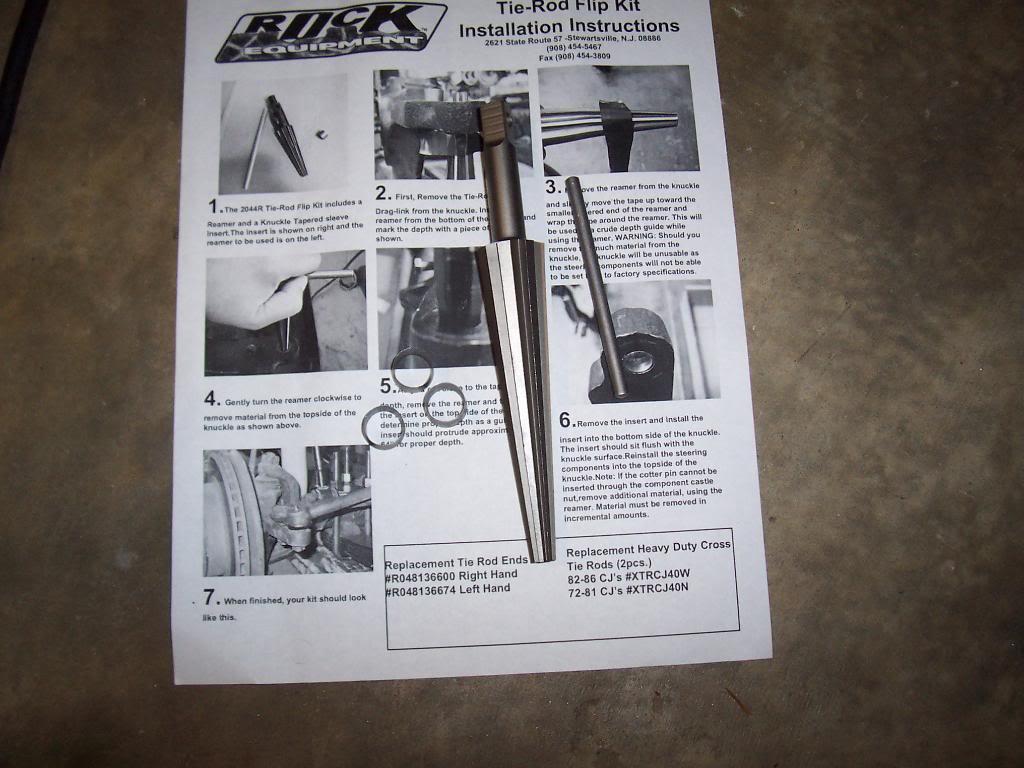
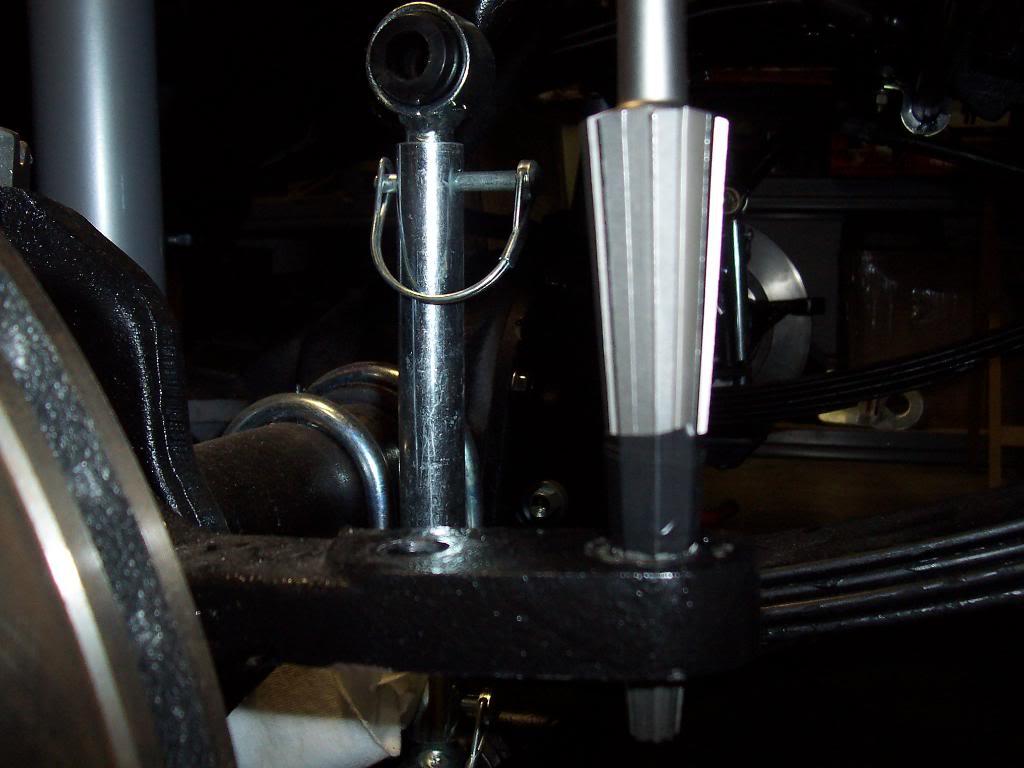
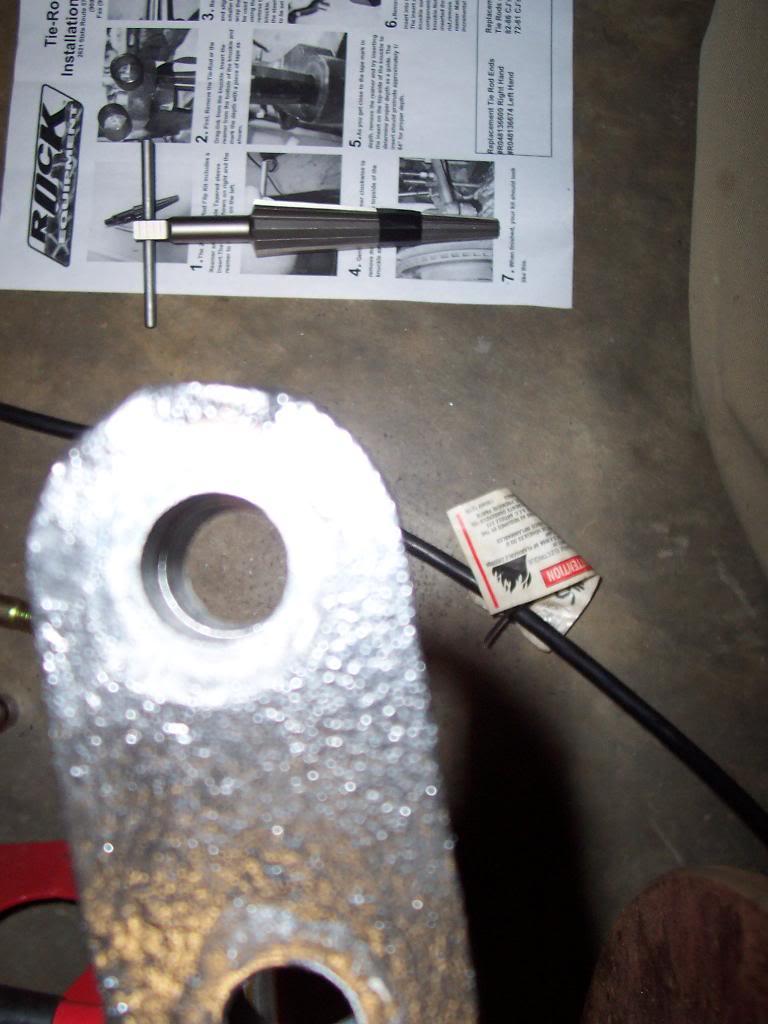
Installed the tapered inserts into my knuckles for the Rock Equipment Tie Rod Flip Kit. Pretty simple install, just make sure you take your time and don't ream the holes out too much. Picture of the reamer and the inserts.

100_5730-1.jpg


Reaming the knuckle out from the top side. The black stuff is tape that I used for a depth guide.

100_5731-1.jpg


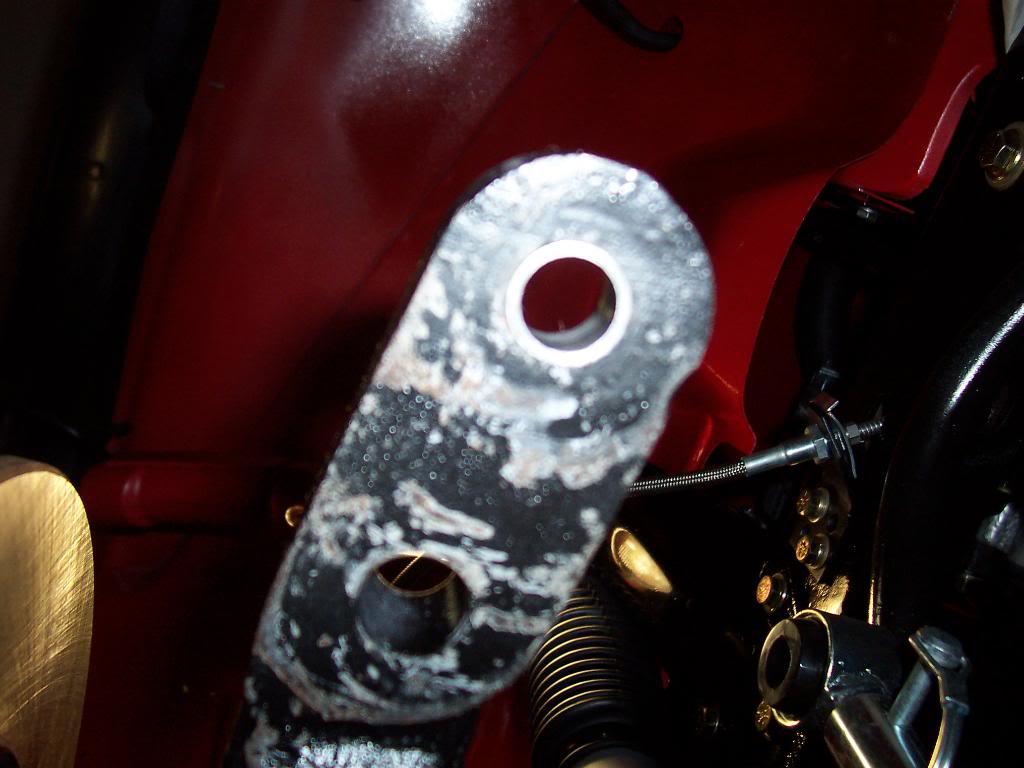
Picture from the bottom looking up of an installed insert. I reamed out the hole to where the insert would slip in from the bottom almost all the way flush with hand pressure. I then gently tapped it the rest of the way in with a hammer. Front hole has insert, back hole does not. Don't know how the bottom of this knuckle got its paint all chewed up?

100_5732-1.jpg


Picture from the top, looking down. You can see what looks like a slight ridge, that is the thin end of the insert. These inserts reverse the taper of the holes, allowing you to use a tapered tie rod end. Some people just drill a straight hole through the knuckle and bolt on spherical rod ends. I personally like the regular tie rod ends for a dual purpose rig. The rod ends are stronger, but I would rather break a regular tie rod end versus breaking a steering knuckle.

100_5733-1.jpg


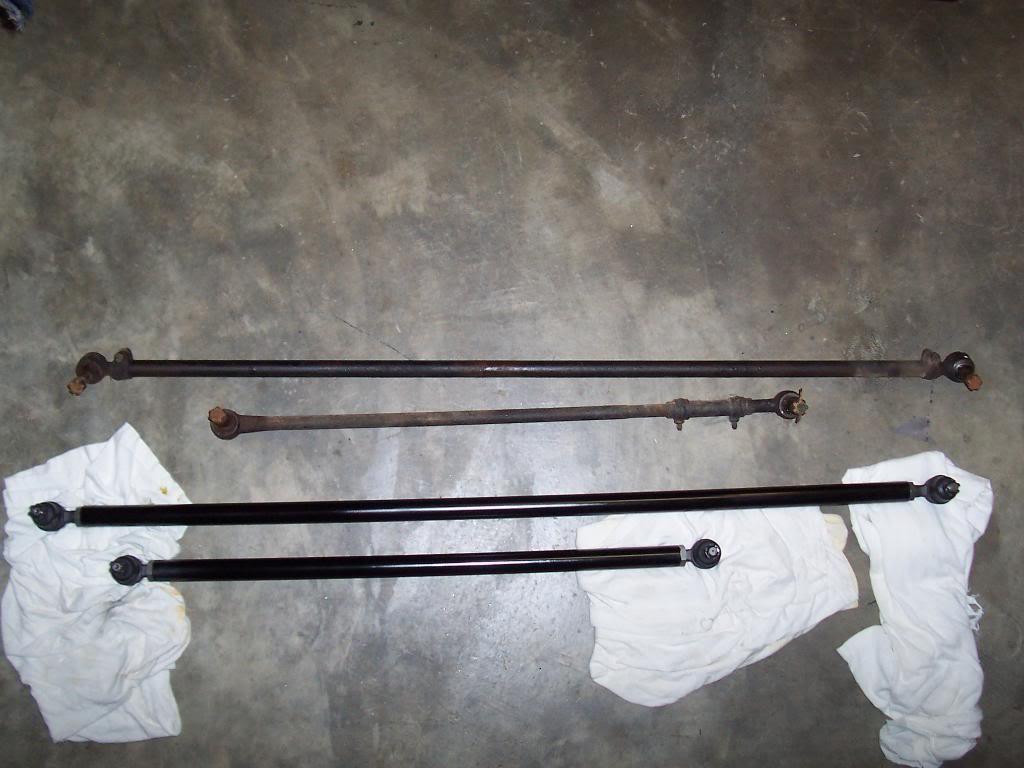
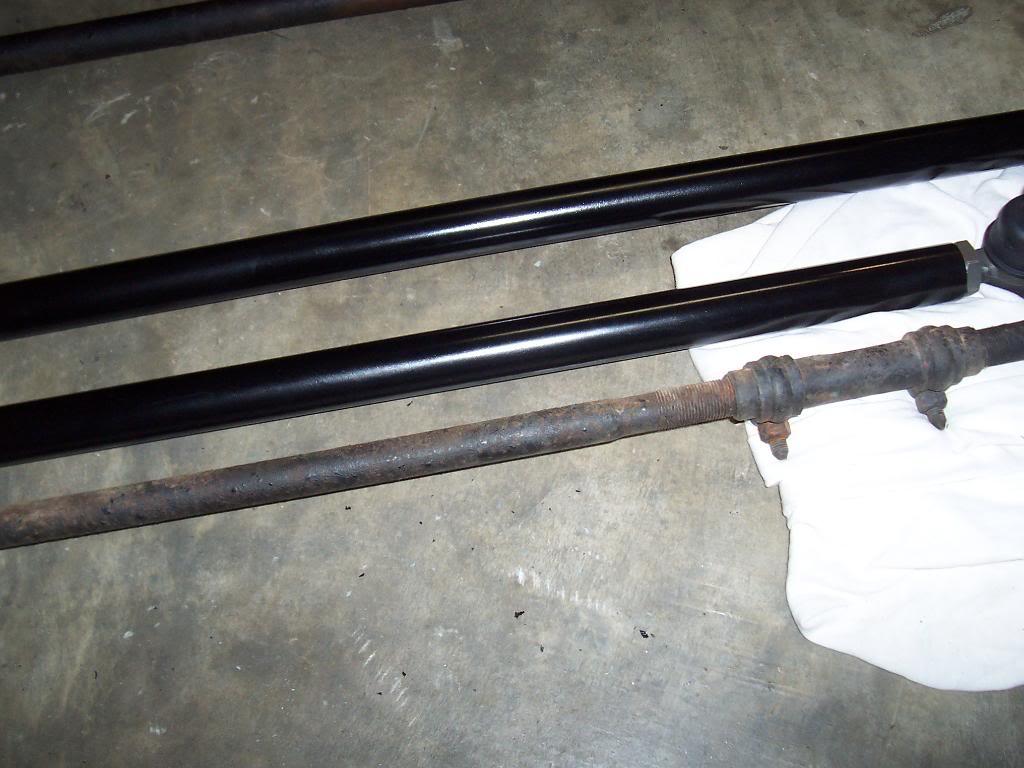
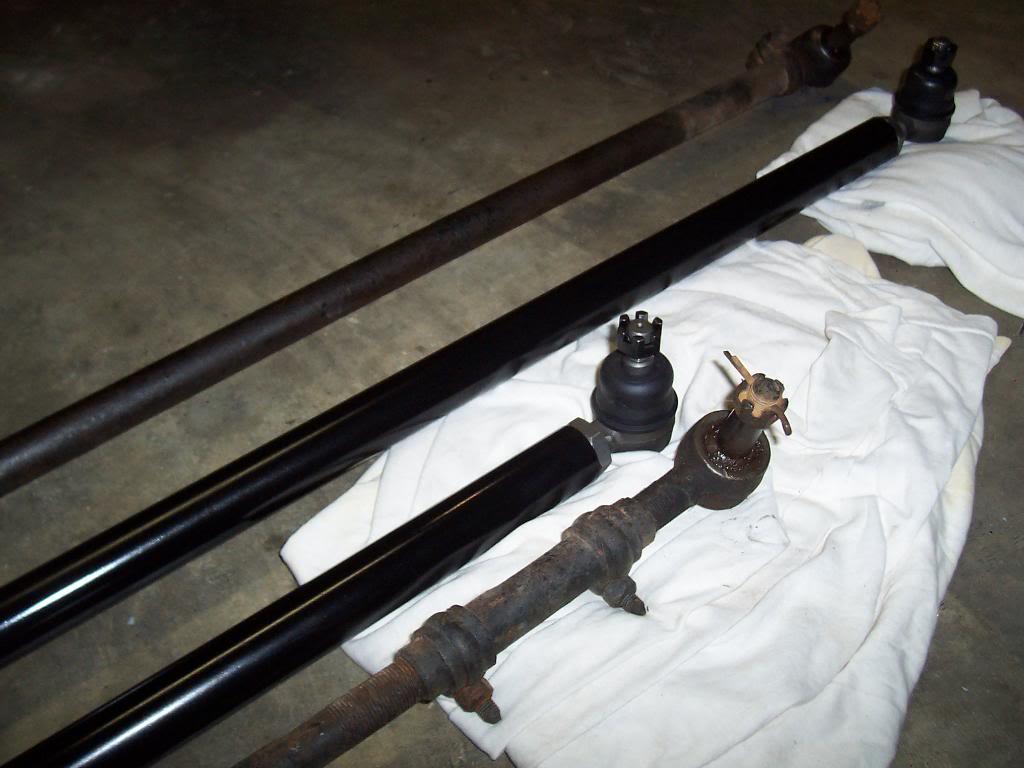
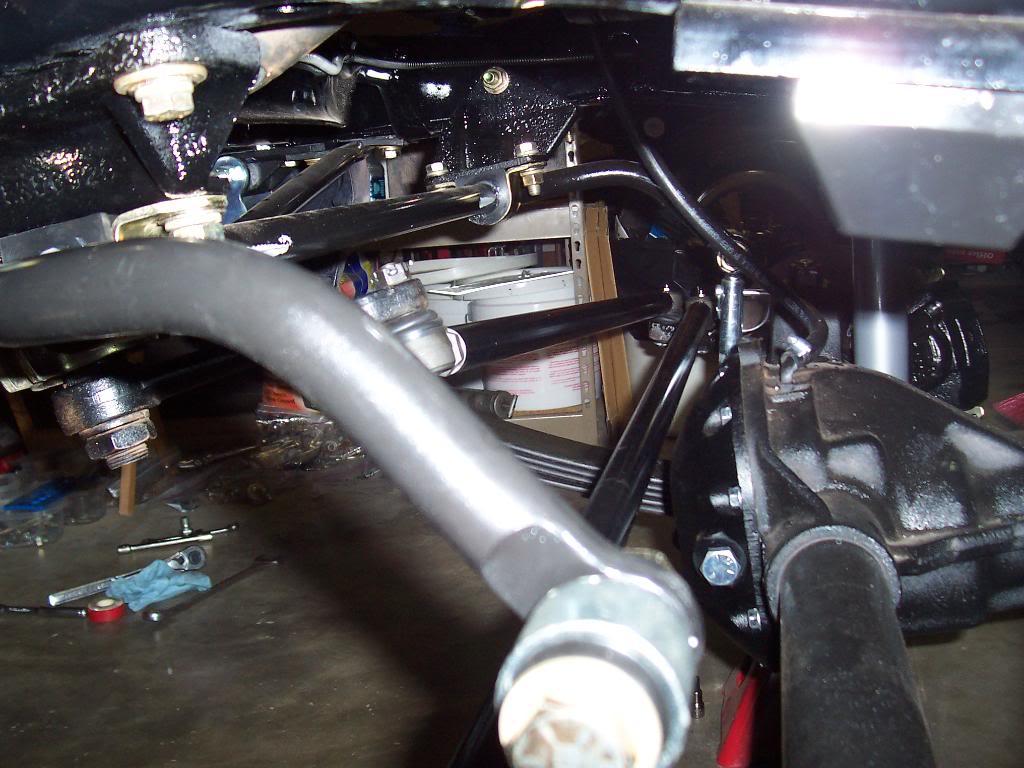
Pictures of the stock tie rod and drag link and the heavier duty ones.

100_5735-1.jpg


100_5736-1.jpg


100_5738-1.jpg


That's it for now.
 
I helped a buddy work on his jeep this weekend, so just a little bit of progress on mine.

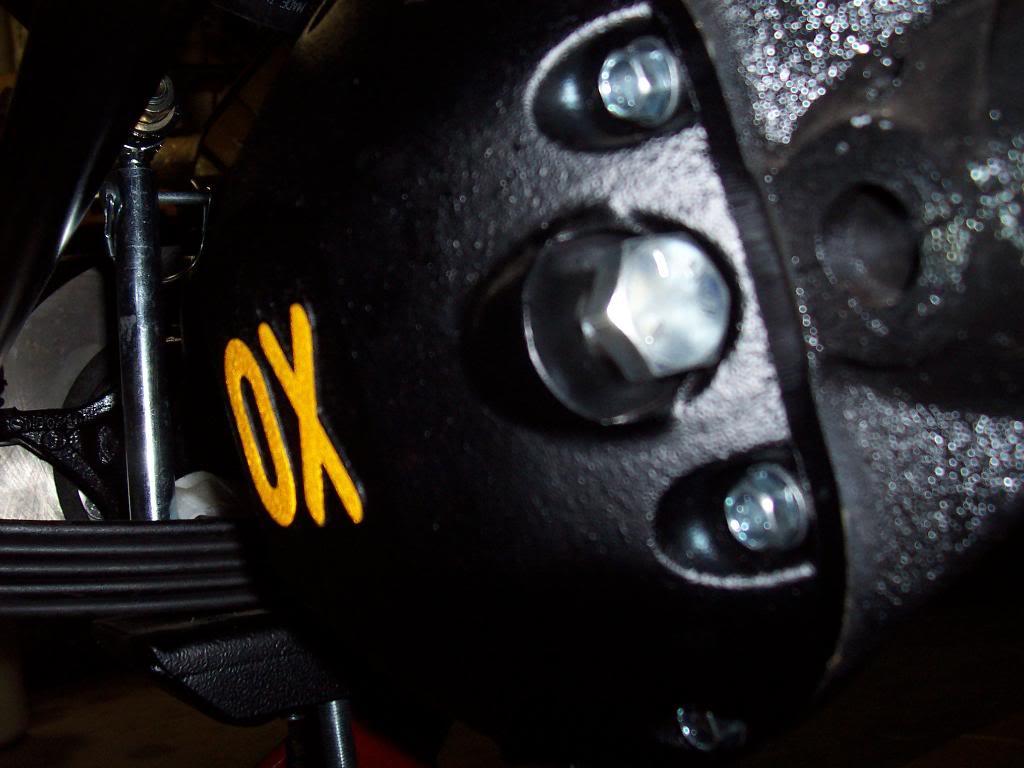
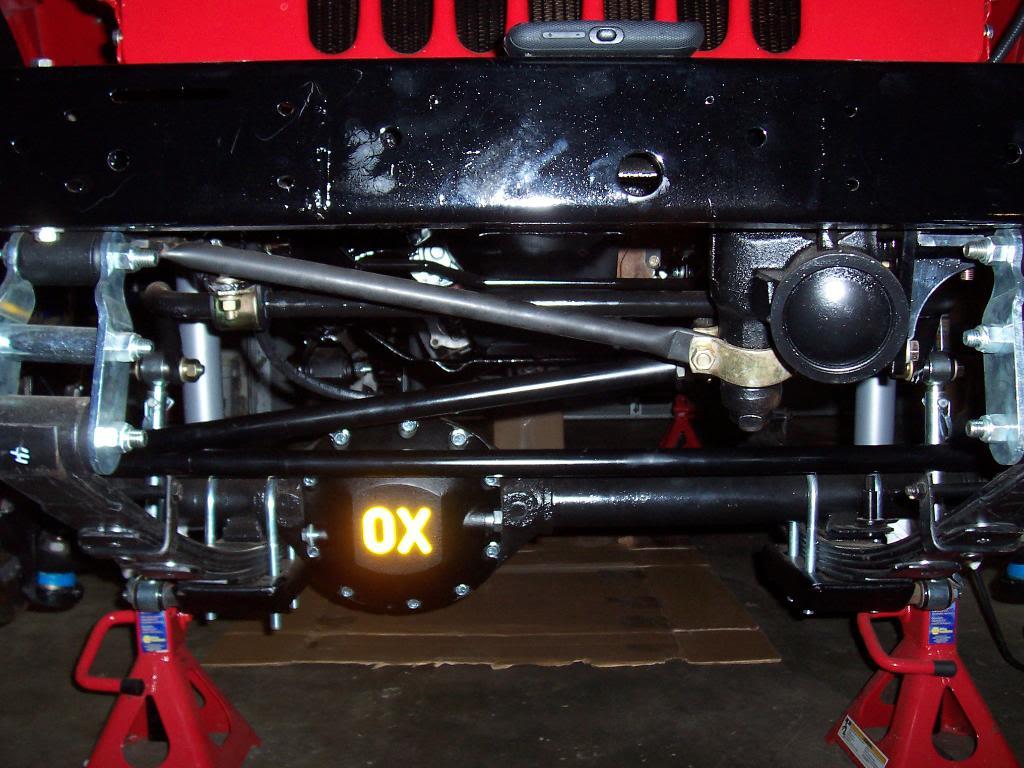
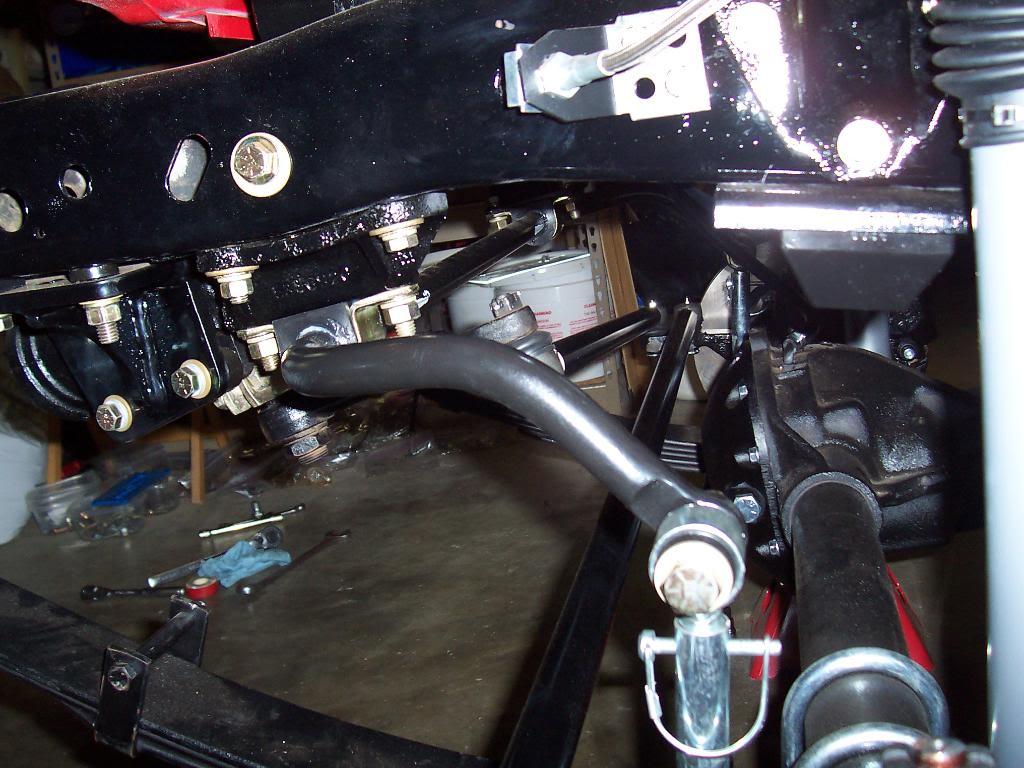
Installed tie rod and drag link. I was worried about possible clearance issues between the thick tie rod and the OX diff cover, but they fit fine. Even with the tie rod and drag link flipped on top of the knuckle, I might still have to use a drop pitman arm.

0011-1.jpg


0021-1.jpg


0031-1.jpg


I also installed the drive shafts, but no pictures. Inserted some bolts into the cable openings in the diff covers since I haven't ordered the shift cables yet. I am waiting to get my interior installed before i measure for shift cables. Filled up the diffs with gear oil and greased everything, too. Ready to roll.

0041-2.jpg


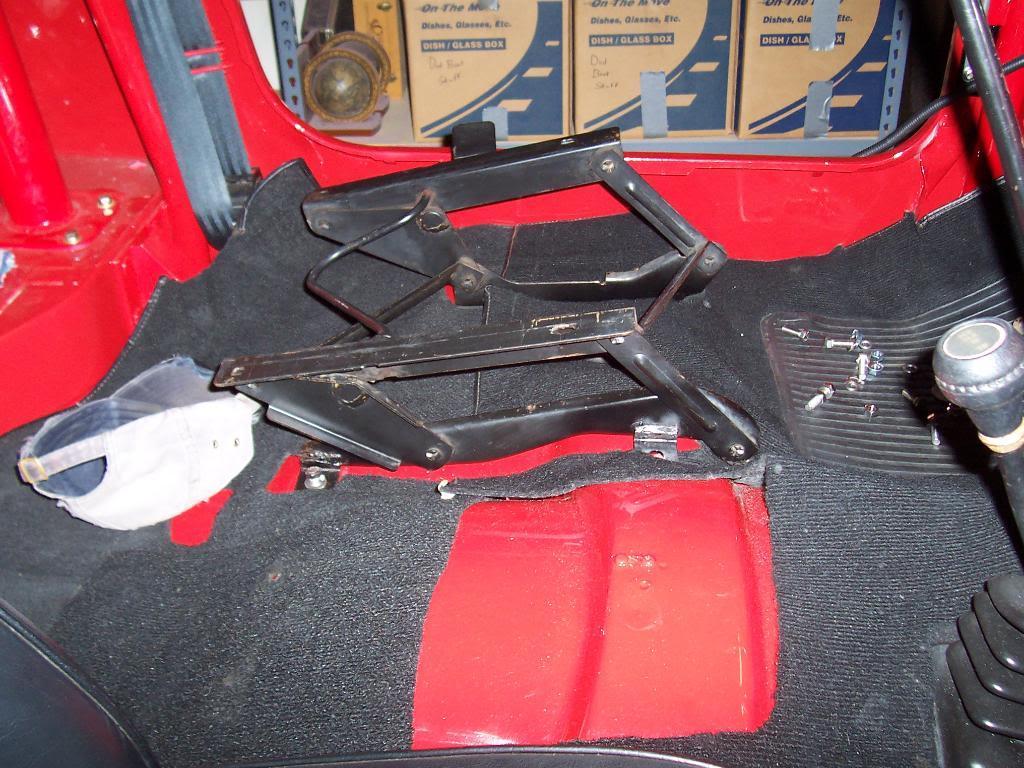
Since I had to replace my front floorboards, I had to re drill the holes for the seat frames. Came in very handy having another jeep in the yard to pull measurements from. Took me a few hours to drill the holes, the whole measure 20 times drill once thing. Still need to finish bolting the drivers frame in, waiting for the painter to finish the passenger side frame.

0051-2.jpg


Ordering tires today, should pick up my rims from the painter tomorrow. Short list of whats left until its a driver:

bleed brakes
bolt on tires and rims
bolt in seats and lower seat belt parts
install ground straps from battery to body and block back to frame

That's it for now.
 
I would definitely not run a drop pitman, you should be all set with that right there. :thumbsup:
 
I would definitely not run a drop pitman, you should be all set with that right there. :thumbsup:


AGREED!!! 1 bagillion %...

I ran a drop pitman arm on my Scrambler (4" lift) and ended up taking it off and putting the stock one back on. the drop pitman arm actually shortens the effective length of the pitman arm which results in a much larger turning radius. The drop pitman is fine driving exclusivly on the highway, but as soon as you enter a parking lot for some hardcore mall crawling, you'll see what i'm taking about.
you dont want to lose any steering with a Jeep as long as a Scrambler.

your drag link angle is more than fine. mine has a little more angle and i dont have any noticable bump steer.
 
I really think the angle will be OK, too. Springs have not settled in at all yet, so the angle will get better in time. Looks like the same angle I had on my '7 with 2.5" springs and no drop piman arm, very little bump steer:cheers:

x1,000,000 on the "mall Crawlin":rotfl::rotfl:
 
(x5) 35x12.50x15 BFG KM2's are on the way. Should be here tomorrow. Rims should be finished late today. Might be rolling by Wednesday:fingerscrossed:
 
Painter dropped the ball, just now sending out the rims for sand blasting:angry::banghead: Be next week at the earliest now:fingerscrossed:
 
which decals did you order and from where?
 
which decals did you order and from where?

Ordered the factory 1983 repro decals from Phoenic Graphics. Used the yellow/orange/Tera cotta colored ones. Also, got the "Jeep" on the side decals in white, and the door insert decals in nutmeg. Will post some pics once I get them:cheers:

I am probably going to chicken out and let my painter apply the decals, I can foresee me royally screwing up that task:D
 
I am probably going to chicken out and let my painter apply the decals, I can foresee me royally screwing up that task:D

Ummmmmmmm :rolleyes: yeah...you're definitely a screwup when it comes to details! :p

But I agree...let the paintshop do paint and decals and pretty stuff they've done tons of times. You shine on the mechanicals and preps and adaptations just below the skin.

It's warm enough here in VA to be thinking about pulling the top. Time for you to be on the road!:cheers:
 
Ummmmmmmm :rolleyes: yeah...you're definitely a screwup when it comes to details! :p

But I agree...let the paintshop do paint and decals and pretty stuff they've done tons of times. You shine on the mechanicals and preps and adaptations just below the skin.

It's warm enough here in VA to be thinking about pulling the top. Time for you to be on the road!:cheers:

Appreciate it:thumbsup:

Might do the decals myself, but I think i will leave it to people who do it everyday:rolleyes:

It is already getting in the 70's here, perfect topless jeep weather, its killing me:eek:
 
Ordered the factory 1983 repro decals from Phoenic Graphics. Used the yellow/orange/Tera cotta colored ones. Also, got the "Jeep" on the side decals in white, and the door insert decals in nutmeg. Will post some pics once I get them:cheers:

I am probably going to chicken out and let my painter apply the decals, I can foresee me royally screwing up that task:D

Do they look like this???

attachment.php


Holly big picture, my bad, I should have resized this.
 
Last edited:
Small update.

Still lots of "little" jobs to do.

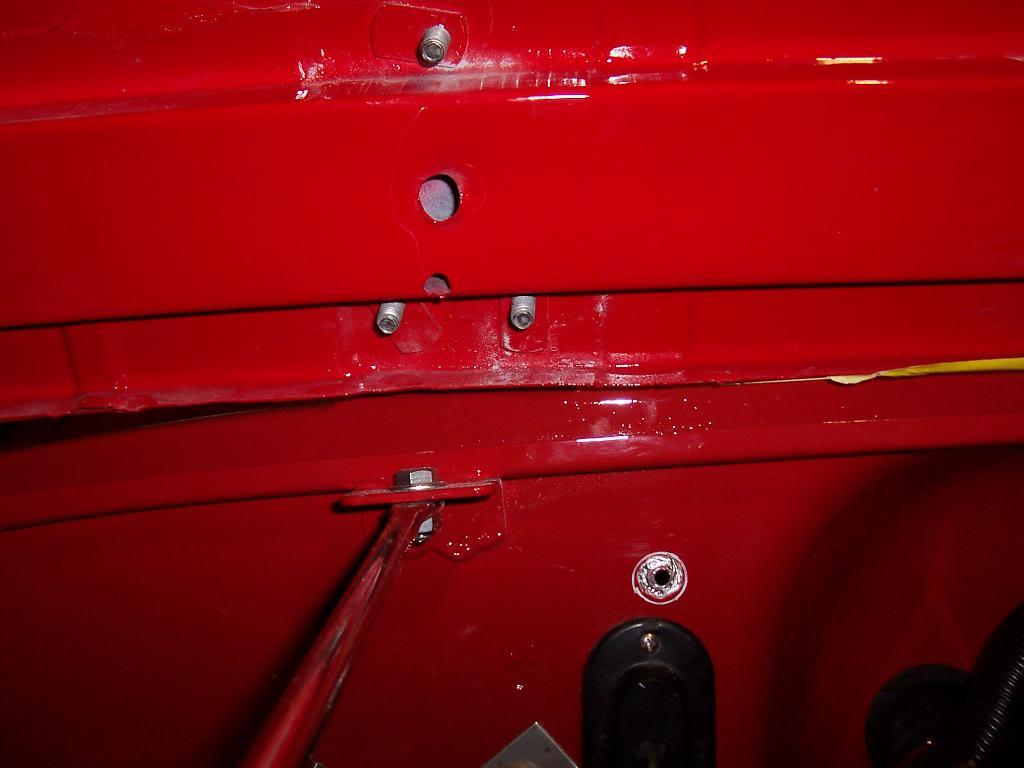
Noticed a humming sound coming from the distributor when the key was on and either the reverse lights or the wipers were on. Realized I forgot to install a ground strap from the battery to the body.

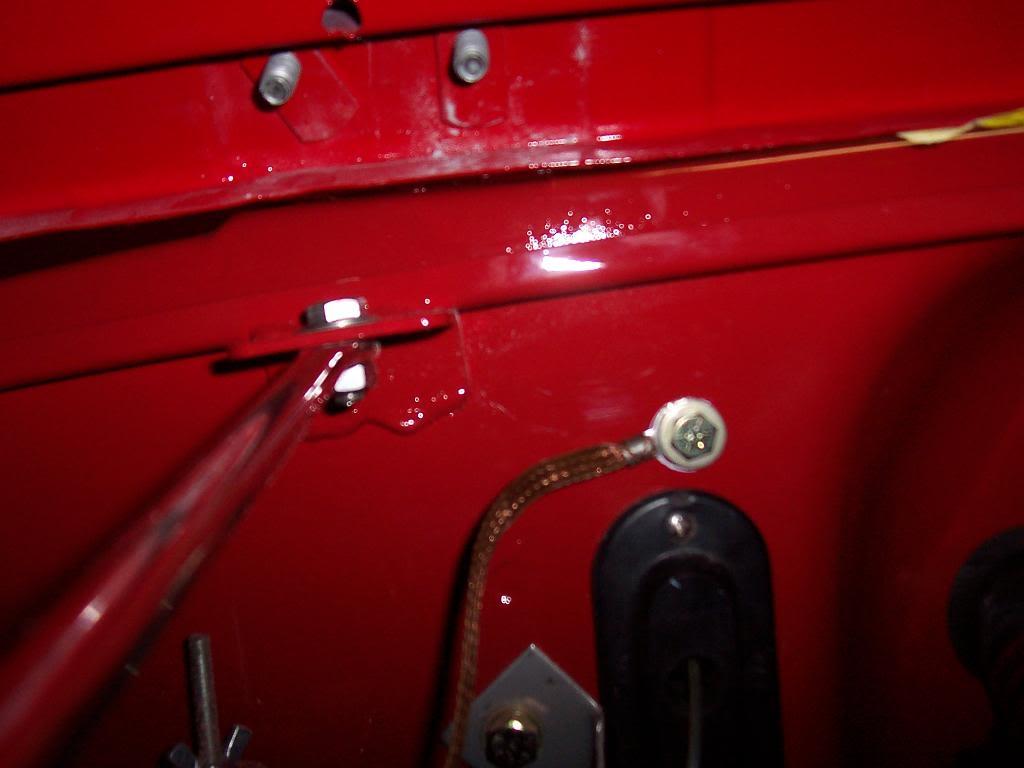
Nothing like grinding off brand new shiny paint. Used an existing hole in the firewall for the ground bolt. Killed two birds with one stone: ground strap and plugged an unused hole.

0012-1.jpg


Installed.

0022-1.jpg


I will probably reverse this bolt and put the nut on the engine side. It is very hard to reach up behind the heater box to access this bolt. I am also going to run a few "future electrical upgrade" individual ground wires from this bolt under the dash, for radio, cb, etc. I always have had better luck grounding straight to the battery, this is the next best thing.


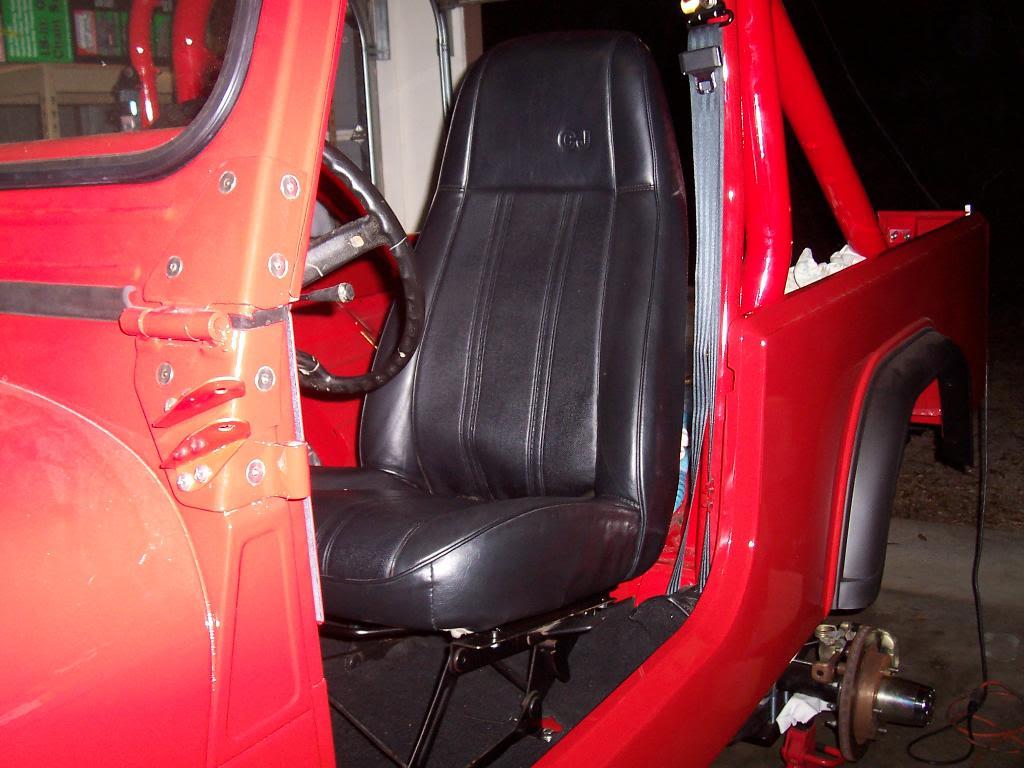
Installed drivers seat. First time I have got to actually sit behind the wheel in a long time, felt great. My painter has the passenger side seat frame, but I might go ahead and install a spare one i have at the house so i can keep moving forward.


0032-1.jpg


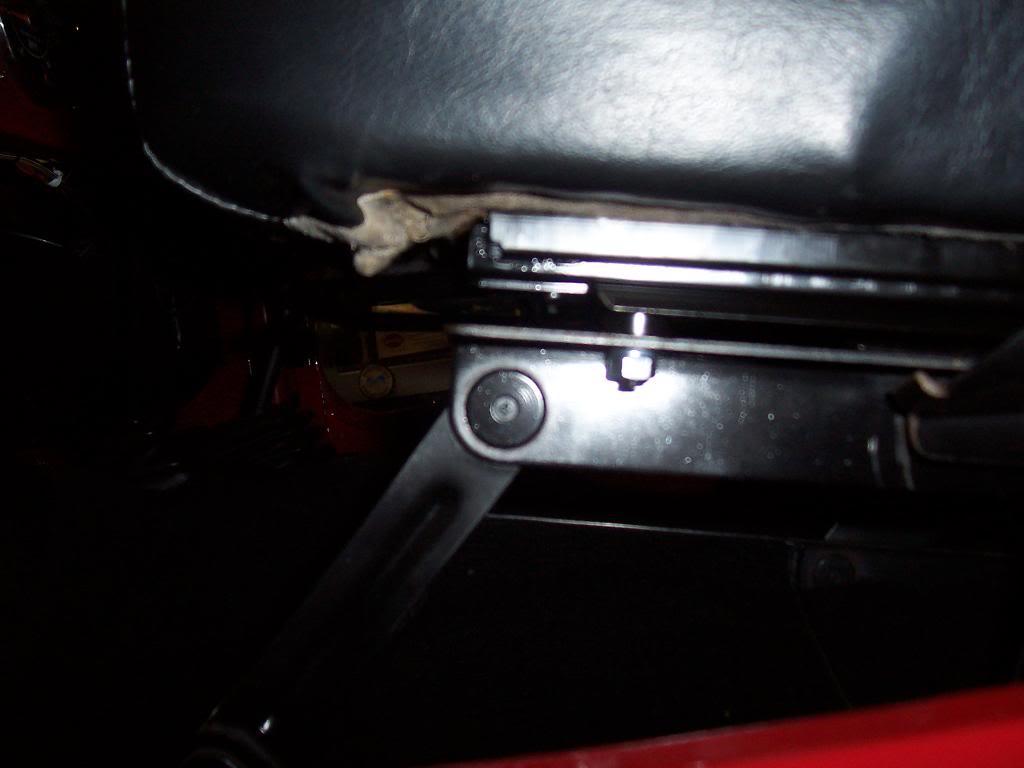
The only issue with the aftermarket seat sliders is that they come with a built in "riser" that raises the seat up about 1/2" - 3/4" higher then stock. You can see the spacer directly above the shiny silver nut.

0042-1.jpg


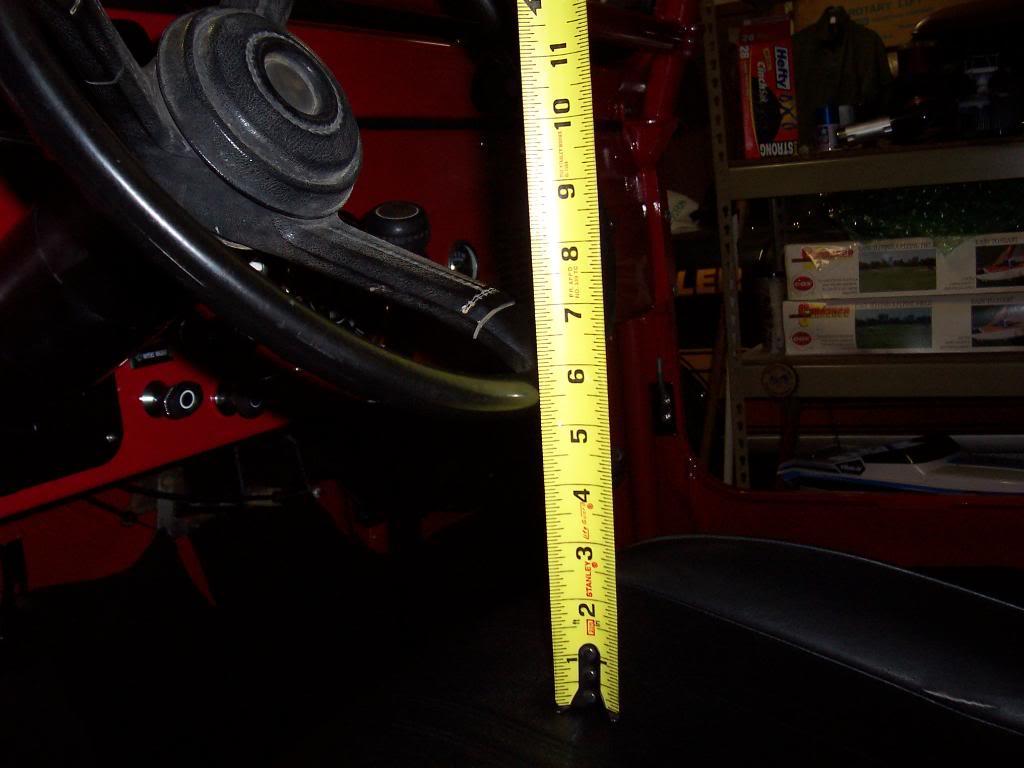
Clearance from top of seat to bottom of steering wheel, factory non-tilt column. I still had plenty of room, but if it bugs me I can always go back and cut the spacer tack welds off with a Dremel and drop the seat down a 1/2'-3/4". I will wait and see.

0052-1.jpg


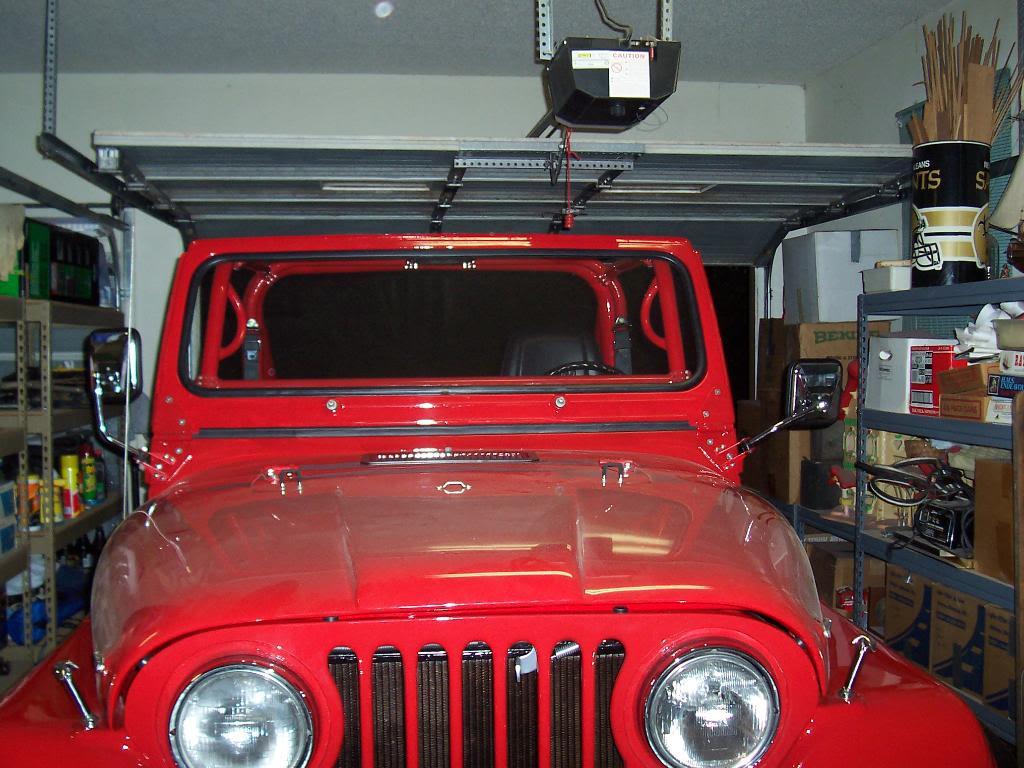
Got a great deal on some rear view mirrors (FREE) so i bolted them up. I prefer black, but couldn't beat the price, so for now I will run these Stainless mirrors.

006-1.jpg


That's it for now.
 
Back
Top