• Notice for iPhone users: DO NOT use the image size reduction option when uploading photos to the forum. This causes portrait images to post as landscape. We have added a warning to the image insert pop-up as well.

Top Shelf Scrambler

Last edited:
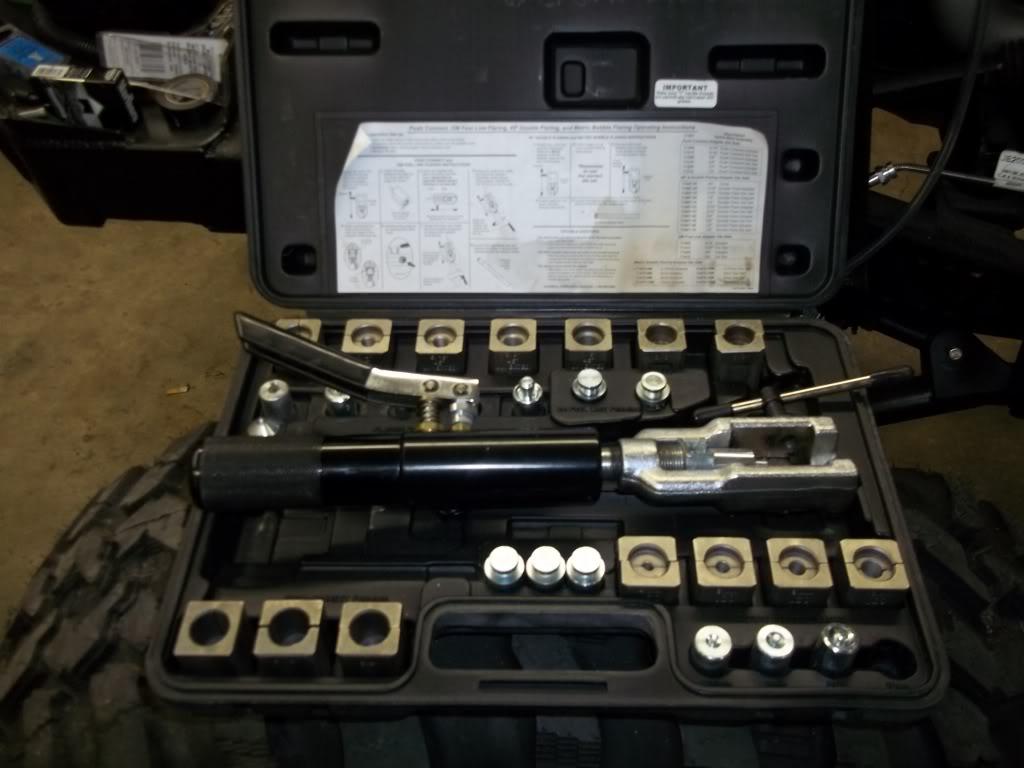
Tubing tubing flares flares and more flares . . . I hate plumbing a vehicle!

100_0843-1.jpg

My favorite tool for making flaring tubing a lil less nerve wracking.

I've been thinking of a flaring kit like this.
What brand and model # you have?

Never done any stainless, does it do pretty good?
 
Thought about the TJ style fuel filler mod as well but kinda like the old school location for character.
Post some pics of your armor mods man would like to see them!

The flaring tool is a Mastercraft 71475 hydro kit.
Heres a demo video of it.
http://www.youtube.com/watch?v=fJJKA_Gm9Ks

Off to the painter to get some measurements and info then off to the engine builder for the Bronco build.
I need a secretary!!!!!!! LOL

Later
Sean
 
You had me at CNC laser table!:drool:
Thanks for the link man!
Cant believe I havnt seen it before!
I will be watching!:popcorn:

Later
Sean
 
Body work progressing well but slower than I would like. Going to the paint shop in the morning to test fit everything one last time before color goes on.:bacon:

Went cross eyed getting EVERYTHING else ordered for the build.

Its amazing what you forget about when your doing a Jeep from nothing. Vents,cable pulls,switches,dash lights,wiper arms,doors straps,footman loops,and things i cant even find a name for and just go rummage through a parst Jeep!:banghead:

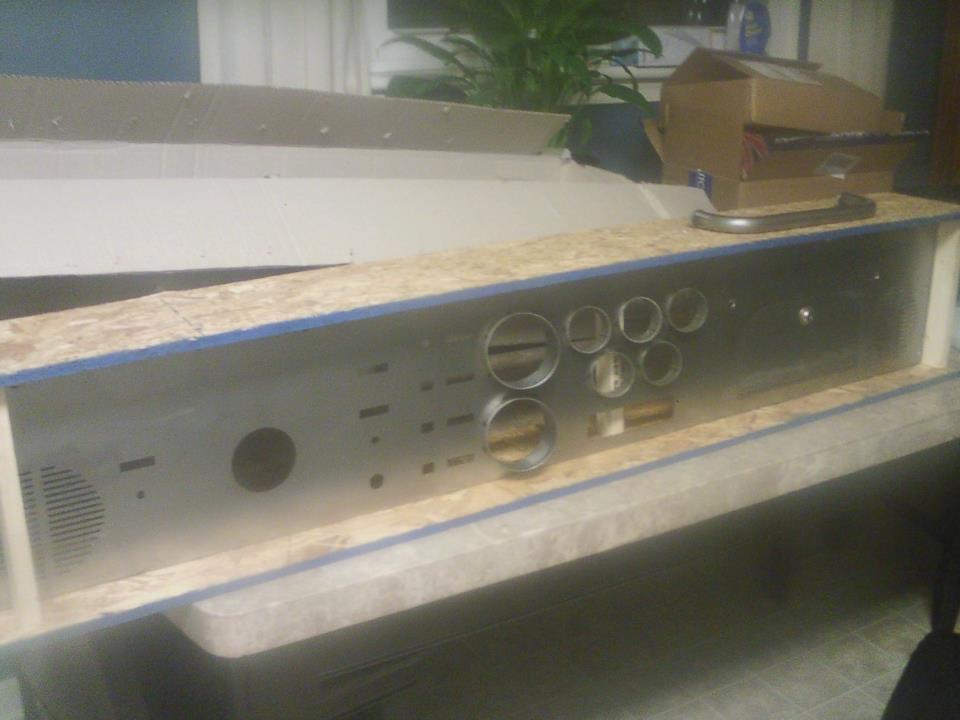
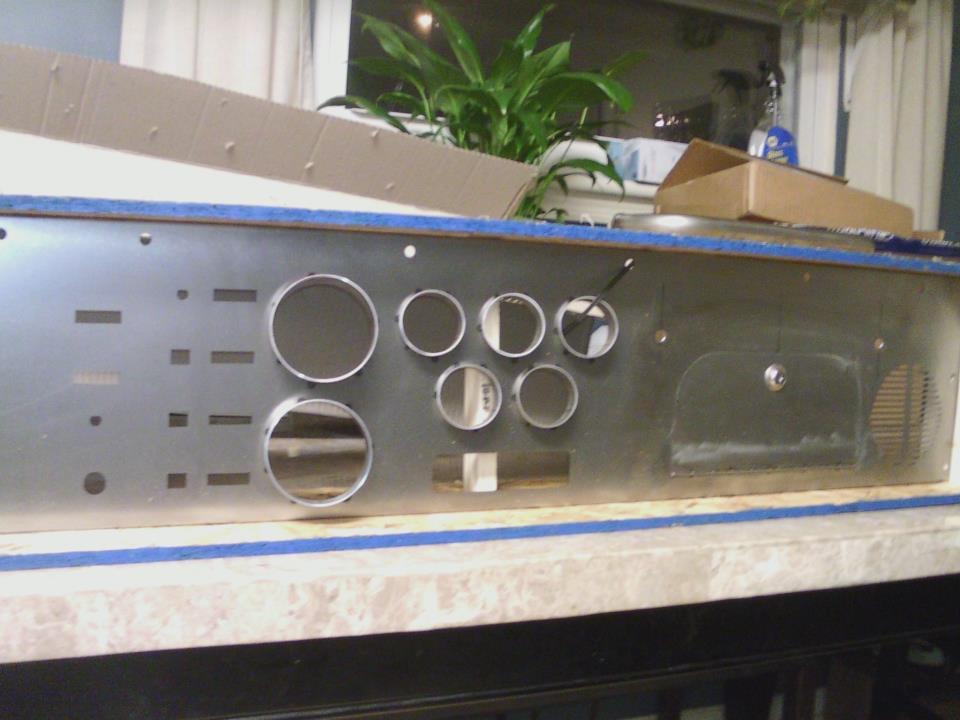
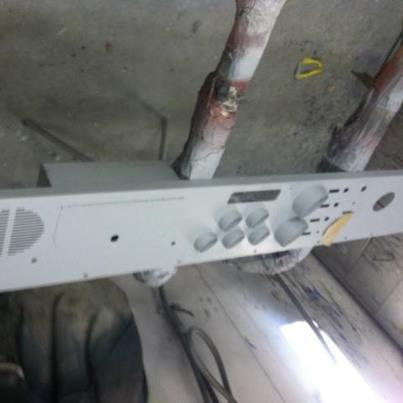
Custom dash got here today from Dan at Double D Fab.:drool:
Dash1-1.jpg

dash2-1.jpg


This thing NICE! Ive been in the market for a CNC plasma table of my own but these laser tables just make an amazing clean cut!

Started looking it all over and going over my notes everything is exact.
Then I realized theres a hole that I forgot to order a custom check engine light for. . . again!:banghead:

So as soon as I apologize to Walkerhound . . . again:o I will get one on the way.

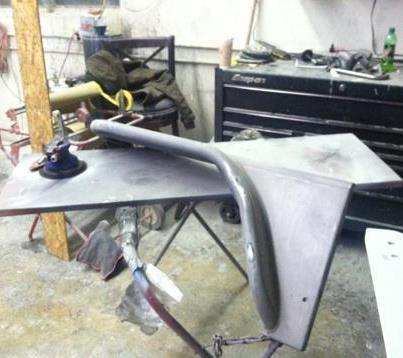
Picking up the steel for the cage mods as well as the filler plate armor Friday.

Im getting there!
Sean

 
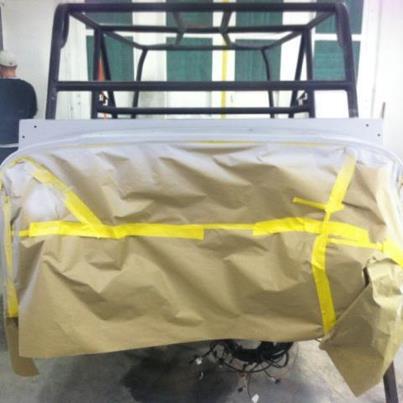
Well we had body work thrash day with a small army of guys.

bodywork11-1.jpg

bodywork8-1.jpg

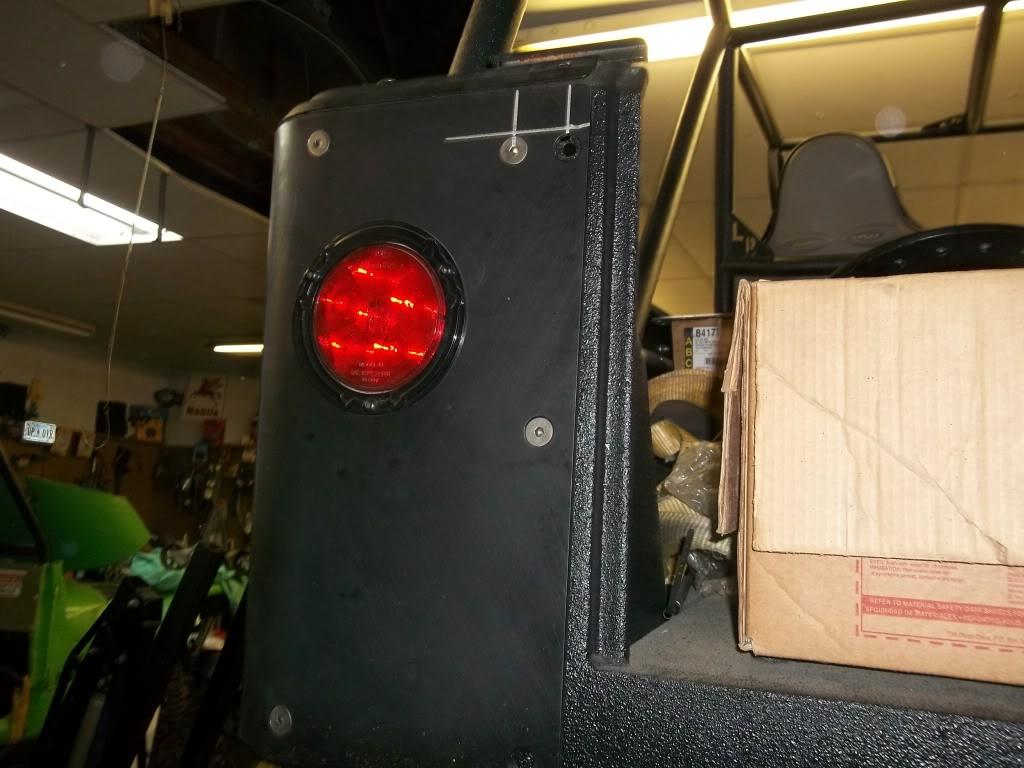
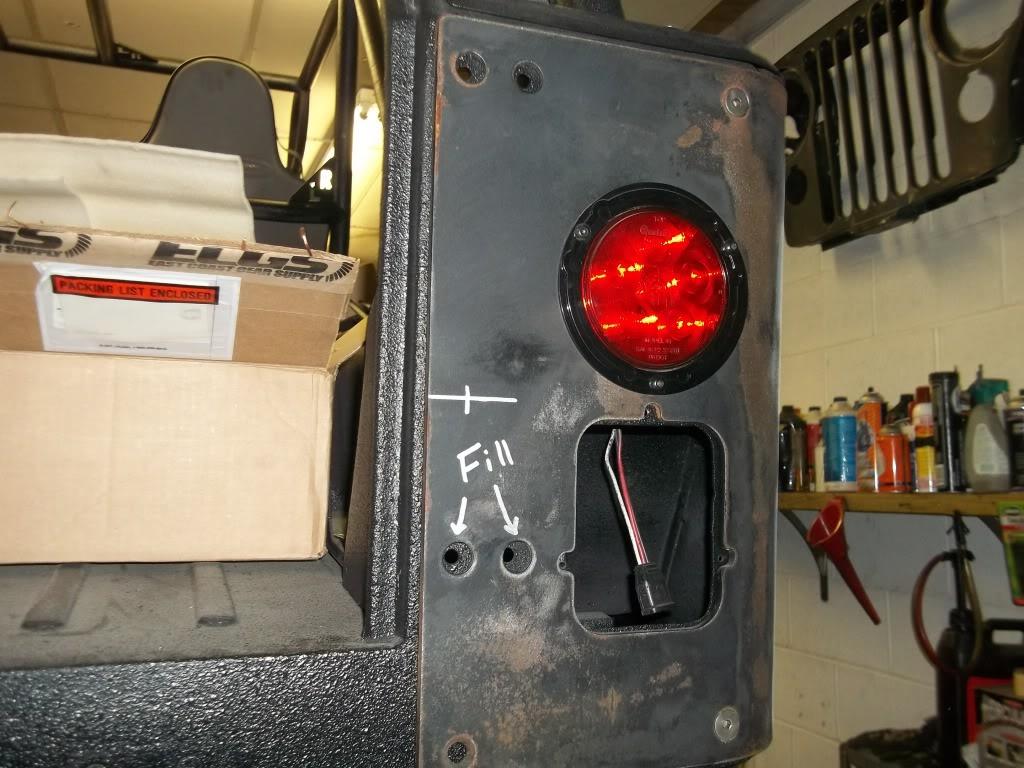
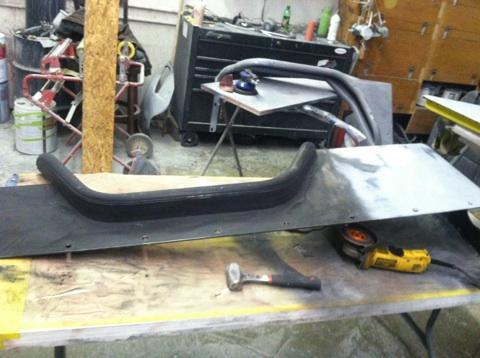
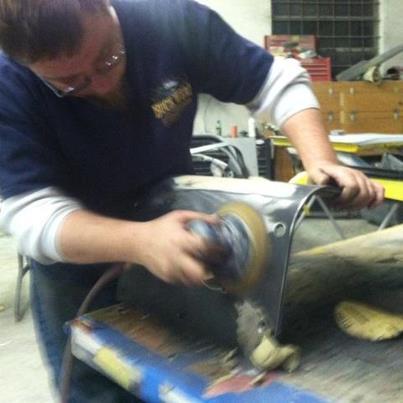
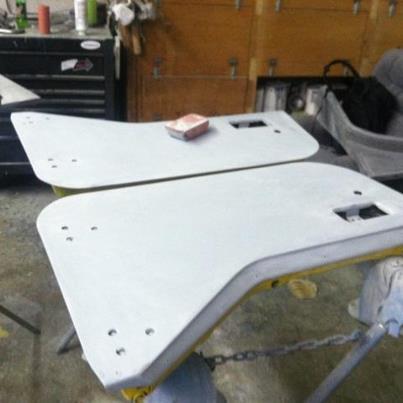
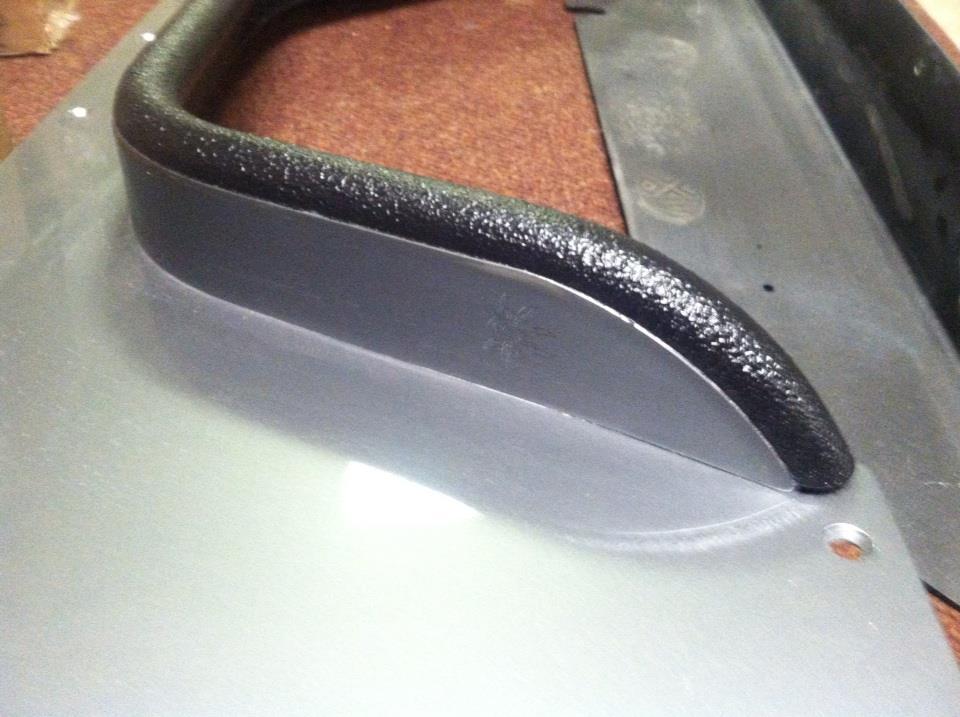
The PSC armor is cut out on a flat plane then bent for the rear tub radius. This always leaves a few abnormalities around the edges of the tail light and fuel filler opneings.
I just knocked the most of it down with a flap wheel then using a guide coat to guide me through rounding the corner till it was right.
Fill welded the holes, drilled,and countesunk the new ones as planned.

bodywork5-1.jpg

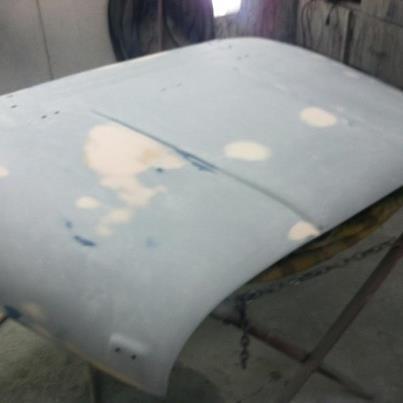
New hood didnt fit worth a darn so we found a used one and smoothed out the character
it gained over the years.


bodywork6-1.jpg

http://i274.photobucket.com/albums/jj266/Scrambled1983/bodywork7.jpg[/IMG
[IMG]http://i274.photobucket.com/albums/jj266/Scrambled1983/bodywork7.jpg
bodywork4-1.jpg

bodywork2-1.jpg

bodywork3-1.jpg


Getting the armor and rock rails lined up was a PITA but after alot of massaging it looks pretty darn good!

Was a VERY long day but thanks to alot of help its all in final prime and color goes on tomorrow!:bacon::D

Later
Sean
 
Last edited:
paint1-1.jpg


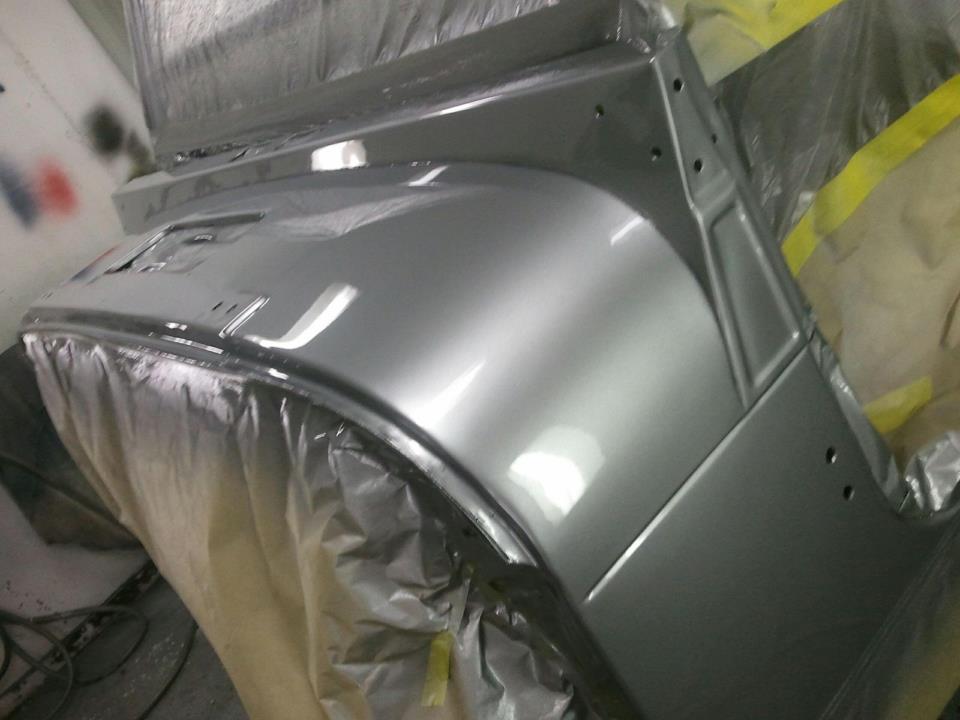
Teaser pic the painter sent me yesterday.:smokin:

Picking it up from paint today will get more pics up later.:bacon:

Sean
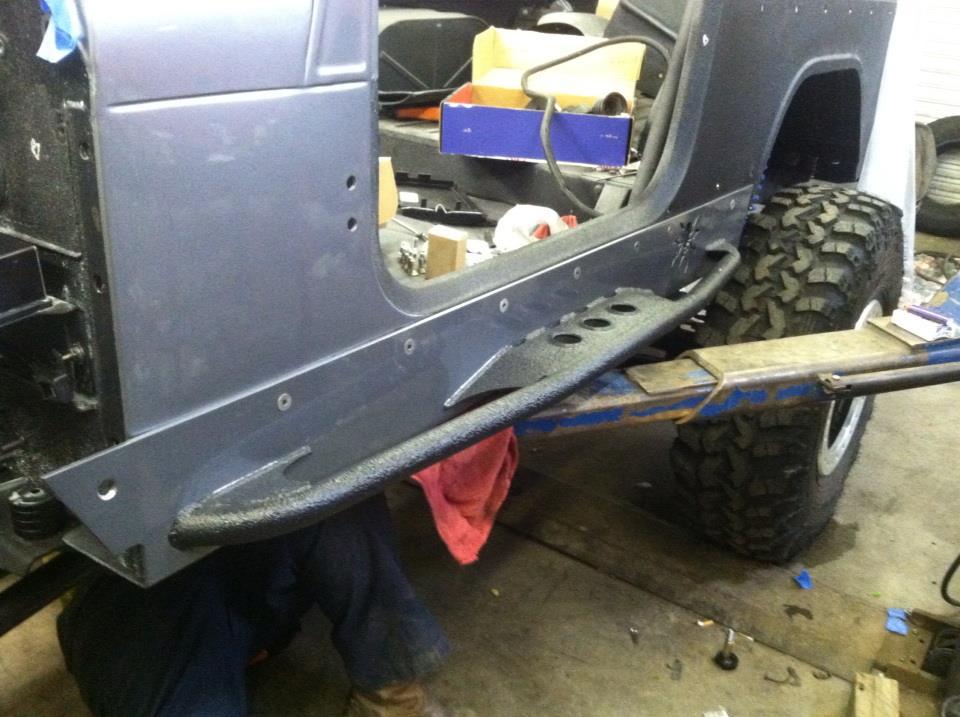
 
gunmetel gray???? thats the color i want... looks good what color u going with the corner guards & sliders?
 
Thanks guys! Im pretty stoked about the way the paint is turning out!:bacon:

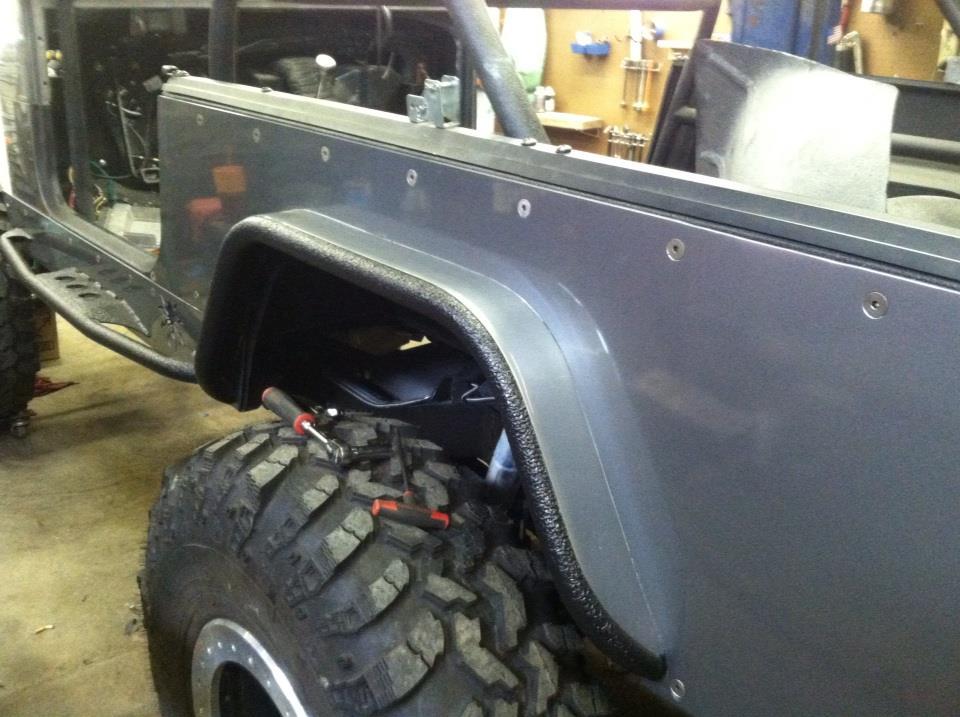
We are doing the windshield,hood,tailgate,cowl and plate sections of the armor and fenders in the gun metal body color.
The tube portions of the rear flares, front tube fenders, and rock rails will be done in bedliner for contrast and ease of touch up if /when a rock decides to give it kiss.

The entire tub aside from the painted cowl area is done in bedliner in and out.
The bottom of the tub has been shot in lizard skin sound/heat barrier.

The back side of the tub armor has been painted as well to eliminate rust over time.

Ive spent alot of time trying to think of everything I could to do this 100% right the first go around and make it easy to own over time.:banghead:
But I am human so if anybody sees something I may have missed please say so.:cheers:

Later
Sean
 
Last edited:
Nice job. Now the fun starts in "Final" assembly. :thumbsup: :wave:
 
:rotfl::rotfl::rotfl:
That "finally" leads me to believe you've done this before huh?

Picking up the rest of the panels from the painter tomorrow . . . finally.:banghead:

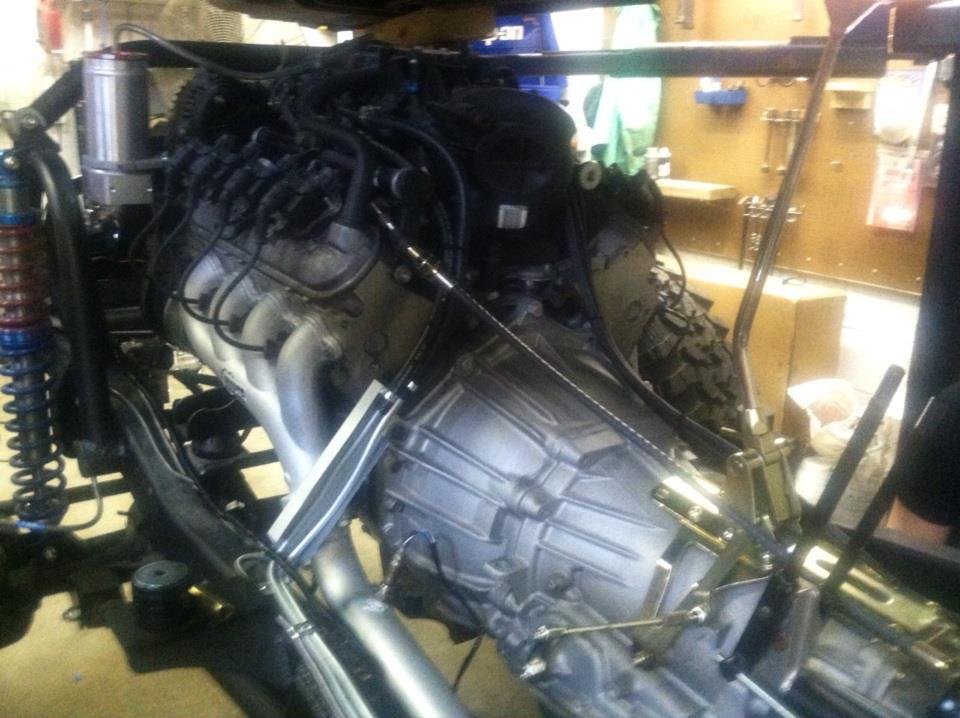
Excited about seeing it in one piece again and dying to hear the LS come to life!

Later
Sean
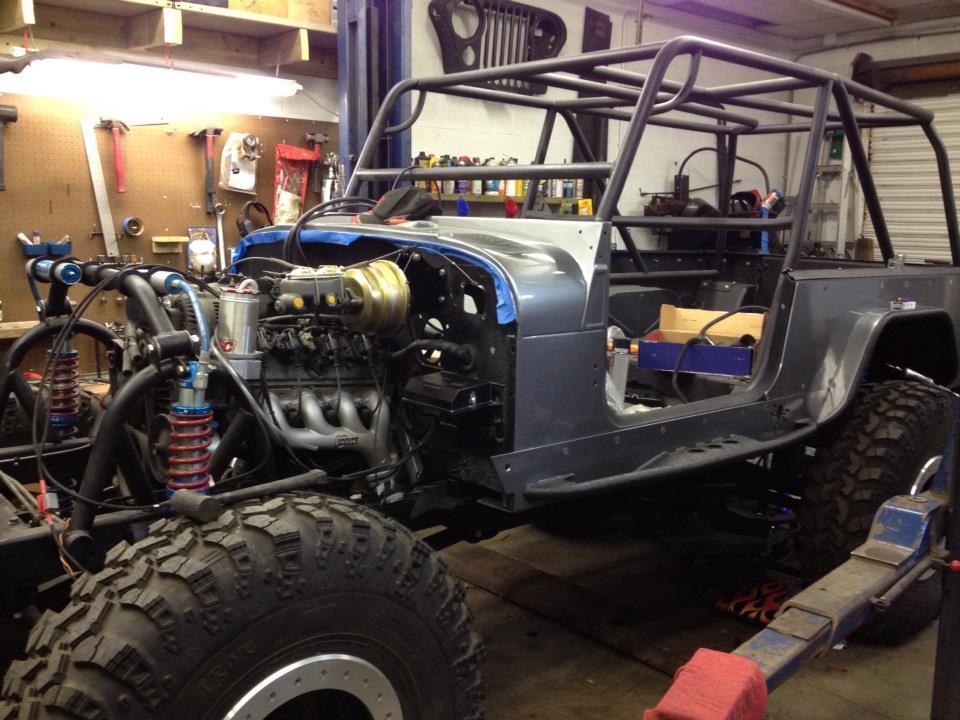
 
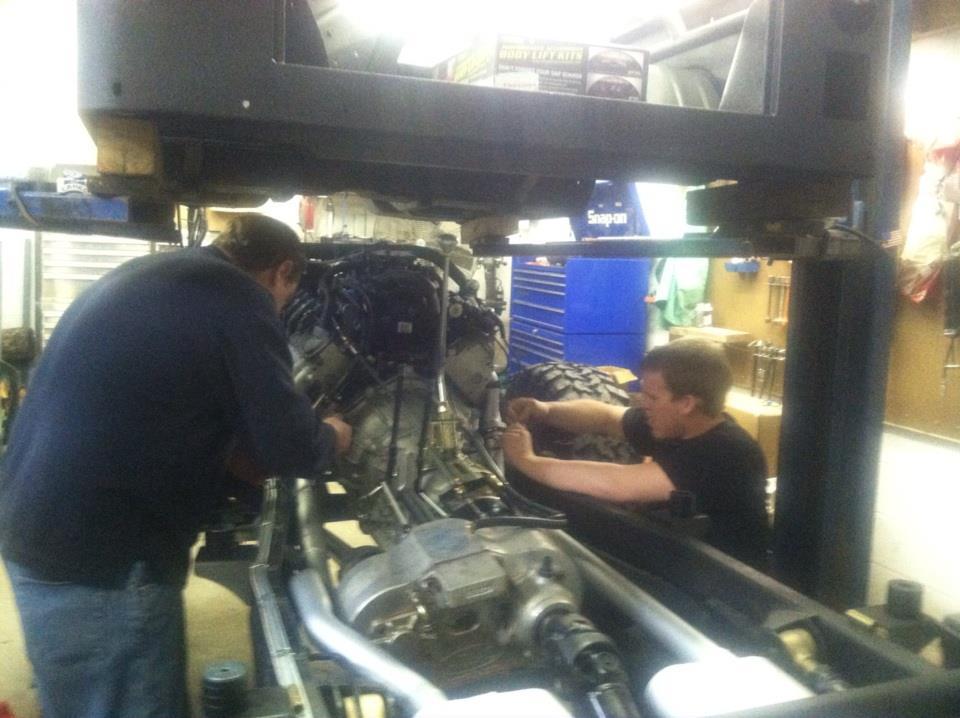
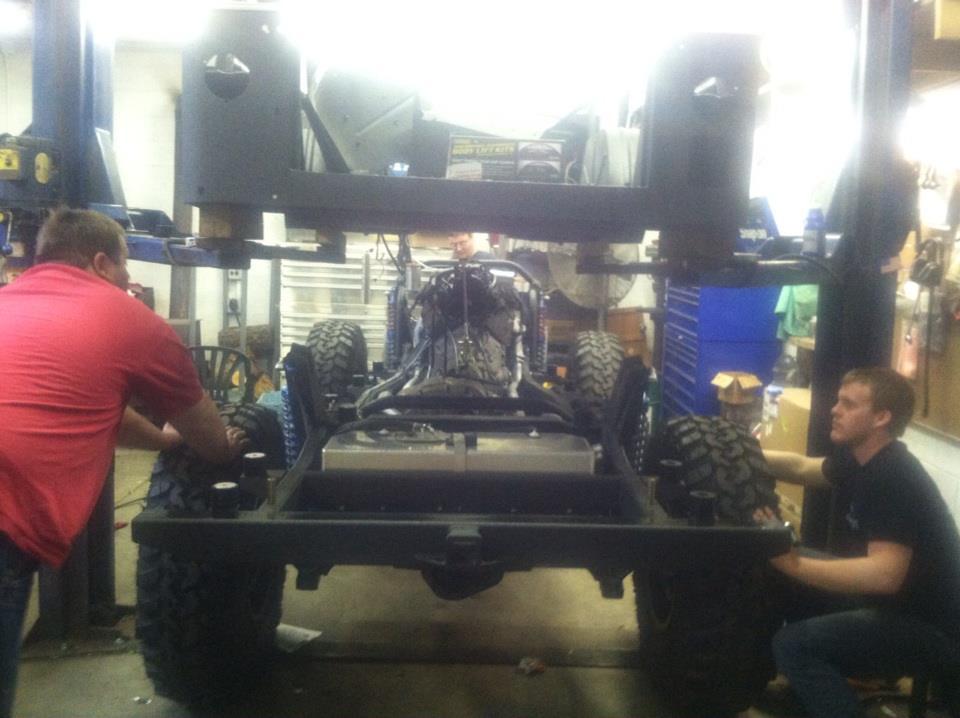
Been hard at it and facing the usual last minute snafu issues but its getting there!

assem7_zps159efc3c-1.jpg

assem5_zps0301d6ce-1.jpg

assem6_zpsb4e9bf92-1.jpg

assem8_zps3a63d6e1-1.jpg


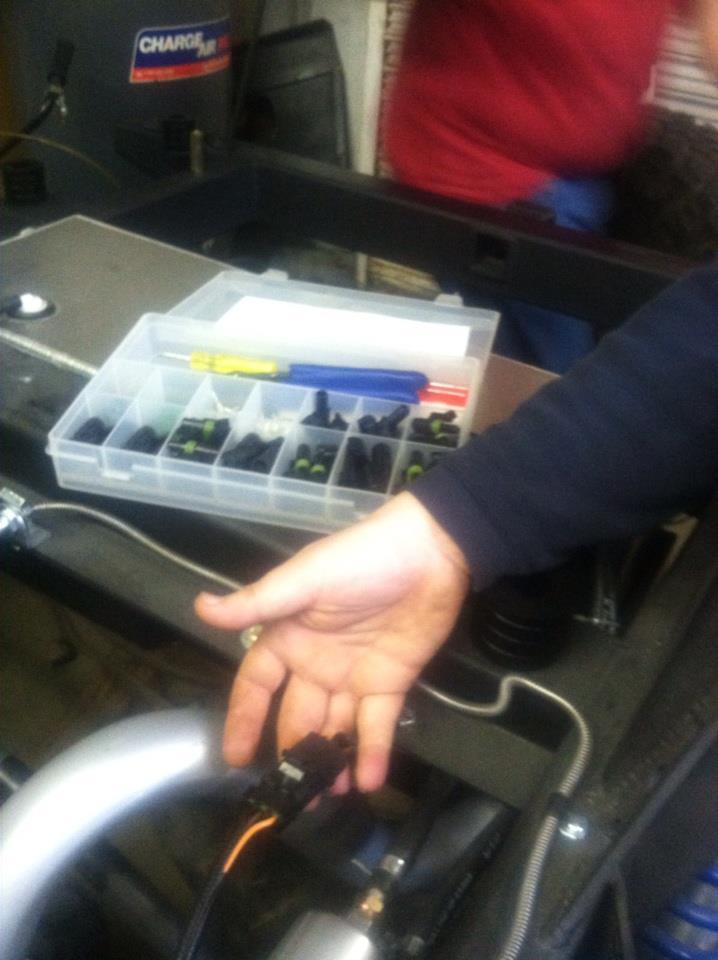
Finished the line mounts and fuel line heat shield. Wired fuel pump with weather pack connectors.
Body going on for the last go round.
assem10_zpsc31b2edd-1.jpg


The wife even came out to help with the "Pretty" Jeep as she calls it. LOL

assem9_zps02114832-1.jpg

The contrast of the paint and the liner I really like!

assem4_zpsf2efe8c9-1.jpg

assem3_zpsf024d3fd-1.jpg

Assem1_zpsd242326d-1.jpg


Atlas shifters wont clear the trans shifter when adjusted properly but I was kinda expecting that. A triple stick cable set up is on the way from NWFab.
Biggest snafu was the previous shop didnt provide the harness builder with the right info so what I have wont work with the mid run 4L60E trans.:banghead: Pulled it all and sent it to Jim at Hotwire auto to be redone.
 
Last edited:
Keep the pic's rolling. I just stopped by the ER to have them drop and IV line in me from all the :drool::drool::drool:
7jeeps7kings
 
keep the pic's rolling. I just stopped by the er to have them drop and iv line in me from all the :drool::drool::drool:
7jeeps7kings


lmao!:rotfl::rotfl::rotfl:

Thanks for the kind words man! This has been all consuming for about 3 months now.:crazy:
Watching it go together finally is leaving me with this stupid grin on my face I cant seem to get rid of!:D

Talked with Jim at Hotwire Auto today harness will be done tomorrow and on the way back to VA.
Turns out it had the wrong style O2 sensors plugs as well so Im glad we had to send it back in the long run.
Geat guy by the way, alot of help and fun to BS with.:thumbsup:

Graphics guy came by today as well as the painter getting all the last minute things done and touch up work.

Realized I dont have tub braces for the rear so I have nothing to mount the tailgate cables to.:banghead:
Will order a set if I can find them or just go raid the junk yard tomorrow.

Got a good amount done today but nothing really pic worthy.

Later
Sean
 
Back
Top