• Notice for iPhone users: DO NOT use the image size reduction option when uploading photos to the forum. This causes portrait images to post as landscape. We have added a warning to the image insert pop-up as well.

1984 SL Restoration

Plugging away, hit some easy tasks today.

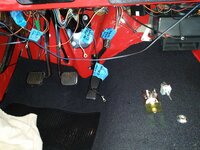
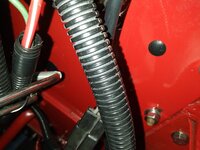
I had a few things to finish up under the dash. Since I pulled off the driver side door the other day to make brake bleeding easier, it was relatively easy to finish this stuff up.

20210321_093336.jpg

Four ground wires, blower motor switch, and a new head light switch.

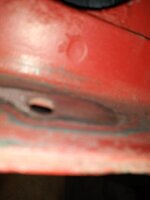
Put the four ground wires on a single bolt/nut through the bottom of the dash board, sanded dash down to bare metal for a good ground:

20210321_095846.jpg

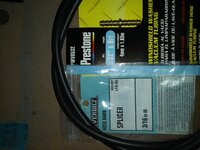
Hooked up the WS squirters, too. Spliced a piece of new hose from the under hood tank to a piece of the original hose under the dash.

20210321_103706.jpg

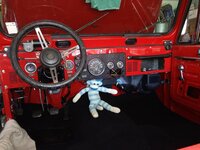
Finished with the dash board and wiring, I am out of parts, JeepAddict will have to finish it up, i.e. glove box door, lighter, etc.

20210321_110811.jpg

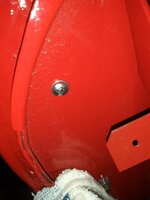
Plugged up a unused holes in the firewall. Plastic plugs of various sizes for the larger holes, stainless steel screws for the small holes.

20210321_114432.jpg

20210321_121035.jpg

Need to turn the crank a hair to get it to TDC before I pull distributor and prime oil pump.

20210321_135642.jpg

Will try to prime the oil system closer to start up time.

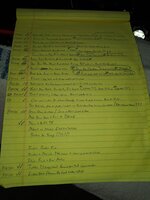
Working through the to do list:

20210321_155207.jpg
 
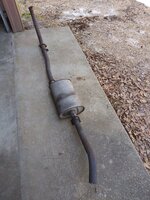
The exhaust system I inherited, at least it was clamped together.

20210321_134926.jpg

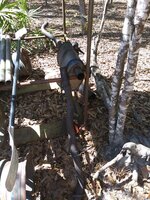
I was going to reuse the head/front pipe, and I was able to separate it from the muffler, Redneck Ray exhaust shop LOL:

20210321_143856.jpg

Unfortunately, the front pipe is rusted through in some spots, and looks like crap. I ordered a new Walker head pipe, I have a new tail pipe in the garage, so just need to mock up the two ends, then fill in the middle with a new muffler/short section of pipe. I will clamp it together, like I did my green Scrambler.

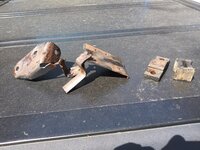
Salvaging a few pieces of the exhaust system. The steel hanger plates will be reused, the rubber hangers will be replaced.

20210321_134955.jpg

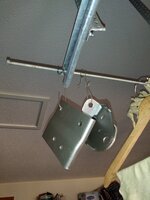
Major milestone, the last two pieces of rusty metal that I had to clean and paint!!!!!!!!

20210321_162503.jpg

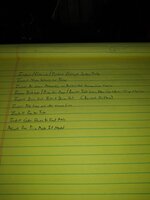
A new, shorter to do list!!!!!

20210321_155823.jpg

The above list will grow and change as I run across things I forgot to do/list, i.e. adjust parking brake cable and run choke wire. But, it is getting down to the nitty gritty, finally, after a year!!!!!

That's it for now :wave:
 
Forgot to post this picture:

20210321_110705.jpg

After I finished the dash wiring, I hooked up the battery for the first time. About 85% of all electrical is working. Just a few turn signal ground issues and no courtesy lights. And, it didn't burn down!!!!
 
Knocked out the last big item on the "to do list", I obtained/fabricated/installed a new exhaust system on the Scrambler. I had a few rusty parts dropped off with this carcass last year, I was going to try to reuse some of it, decided not to, more trouble then what it was worth.

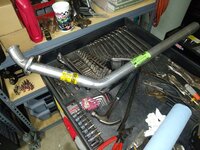
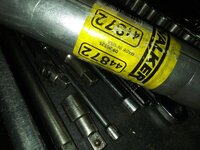
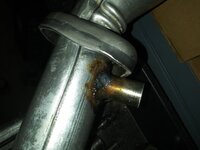
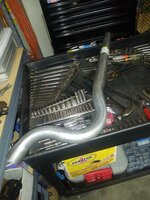
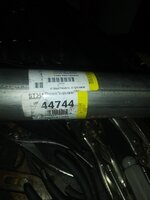
I purchased this front pipe:

20210326_181538.jpg


20210326_181547.jpg

This front pipe has the fitting for the upstream pulse air tube on it. I don't need this on this Jeep. I could not find a new front pipe without this feature. No big deal.

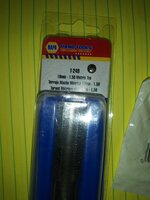
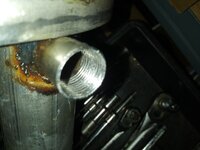
Drilled and tapped it for a plug. The ID was so close to a standard O2 sensor thread it wasn't funny.

20210326_181554.jpg

20210326_181619.jpg

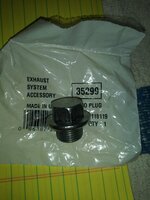
And the plug I used:

20210326_181633.jpg

And threaded:

20210326_181700.jpg

You can weld in a plug, cut the tube off, smash it flat back on it self, lots of options. I felt this was the least destructive, and this port could be used in the future IF someone wanted to reinstall the computer controlled carb and pulse air system.

I bought this tail pipe off of eBay:

20210327_091751.jpg

20210327_091801.jpg

I had my doubts about this tail pipe, but it ended up working perfectly.
 
So, I have the front and the back, time to fill in the middle.

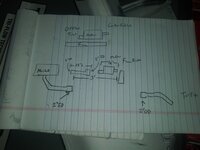
My initial plan/sketch/idea:

20210327_102859.jpg

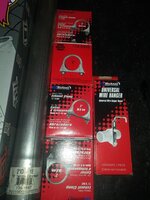
Some clamps, the center hanger I used, one of the two 18" pipe sections I used, off the shelf muffler.

20210327_102911.jpg

20210327_102918.jpg

The muffler I used. A hair small, but it was on the shelf. I think I have this same muffler on my green Scrambler.

20210327_102931.jpg

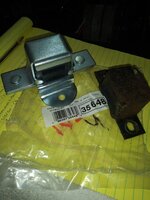
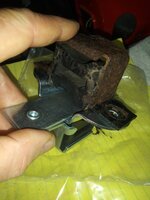
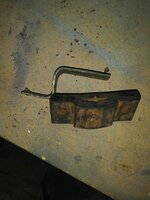
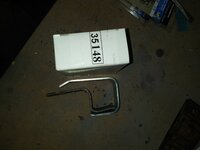
The original rusty center hanger, and the replacement I bought and used:

20210327_115352.jpg

The new center hanger turns the center bushing the wrong direction. It could be cut apart and modified, but it ended up working perfectly with the off the shelf hanger I used in the middle:

20210327_115443.jpg

20210327_115659.jpg
 
  • Like
Reactions: SKT
So, to recap, this is what I ended up using, front to back, and built a complete off the shelf bolt together exhaust system for a 258 powered Scrambler:

Walker front pipe
22" long section of straight 2" pipe (NO flared end)
Turbo Thrush muffler
The pictured hanger and bracket
The 18" section of 2" pipe from NAPA (one flared end)
The pictured above tail pipe

I need to order a new tail pipe hanger for the rear. More on this later. And, I can leave the tail pipe where it is, or add an 18" extension piece to it and kick it completely out from under the Scrambler. More on this later.

Hard to picture an exhaust system, but here it is, back to front:

20210328_095657.jpg

20210328_095712.jpg

20210328_095726.jpg

20210328_095745.jpg

No idea what it sounds like, I have not started the engine up yet. Cost around $200-$250. I'll post some pictures of the tail pipe exiting the rear once I install the new rear most mount, or temporarily reinstall the old mount.

A pretty "exhausting day!!!!!!
 
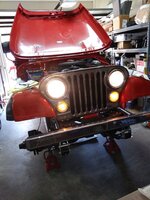
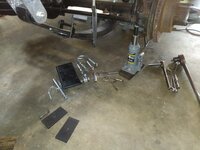
Went ahead and took the front suspension/axle apart and added 4 degree steel shims. Past experience has dictated that every CJ I have lifted has needed some more caster added to the front, might as well do it now.

20210328_112915.jpg

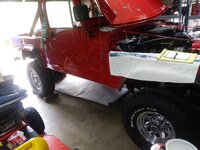
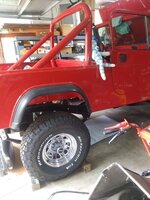
Put the front suspension back together, torqued the front and rear u-bolts. Time to pull the frame off jack stands and put the Scrambler back on its own feet, finally!!!!!!!!

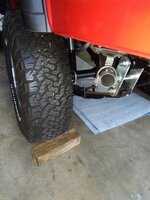
33x10.50 BFG AT's on 15x7 OEM chrome wheels, looks pretty sweet if I do say so myself!!!

20210328_134340.jpg

20210328_134356.jpg

20210328_134416.jpg

My "pay the bills real job" has been kicking my butt lately, hope to squeeze in a couple hours here and there this coming week when I get home at night on this project. If so, I "might" try to fire this thing up next weekend.

There is not much left to do to get it running/drivable, so the lack of free time is very frustrating!!!!

That's it for now :wave:
 
So, I have the front and the back, time to fill in the middle.

My initial plan/sketch/idea:

View attachment 92665

Some clamps, the center hanger I used, one of the two 18" pipe sections I used, off the shelf muffler.

View attachment 92666

View attachment 92667

The muffler I used. A hair small, but it was on the shelf. I think I have this same muffler on my green Scrambler.

View attachment 92668

The original rusty center hanger, and the replacement I bought and used:

View attachment 92669

The new center hanger turns the center bushing the wrong direction. It could be cut apart and modified, but it ended up working perfectly with the off the shelf hanger I used in the middle:

View attachment 92670

View attachment 92671

That all clamp together or are you welding the seams?
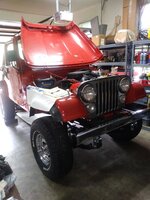
 
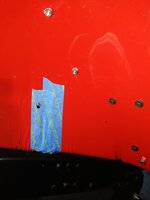
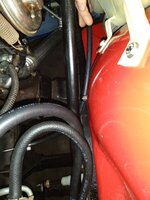
Measuring, marking, drilling, and installing a clamp on the driver side inner fender to secure the fuel return line, mimicking OEM install. The aftermarket fender did not have this hole:

20210329_172318.jpg

20210329_174130.jpg

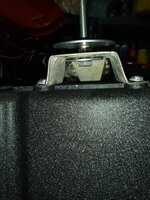
Temporarily installing the rear OEM tail pipe hanger. The rubber part should have a metal shield around it, it was rusted to nothing. Surprisingly the OEM hanger clamp was still usable:

20210329_175827.jpg

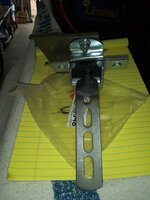
I bought this replacement hanger strap, but it is a bit too much of a drop:

20210329_175855.jpg

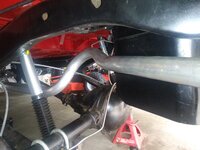
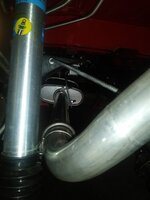
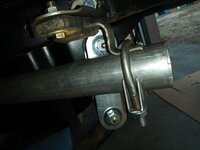
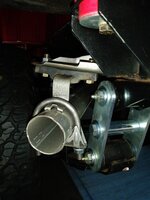
This is how I installed it. Pictures are not the clearest, but it all clears the shackle/shackle movement:

20210329_180738.jpg

20210329_180803.jpg

20210329_180813.jpg

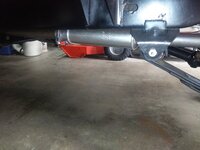
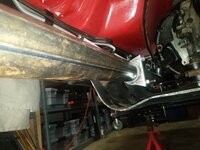
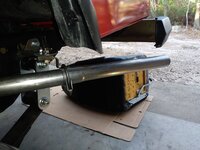
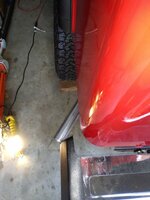
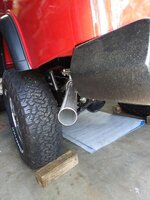
Without an extension, the tail pipe will stop short of being 100% clear of the body. An added 18" extension can be used to clear the body, if desired. It could be trimmed for visual appeal as desired:

20210329_180926.jpg

20210329_180934.jpg

20210329_180944.jpg


I will let JeepAddict tell me what he wants to do here. I also have a new rubber rear mount/metal shield ordered to replace the missing/damaged/temporarily installed tail pipe hanger. Will update this later.
 
  • Like
Reactions: SKT
More boring stuff that needs to be completed.

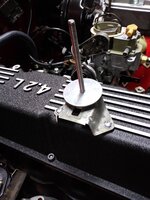
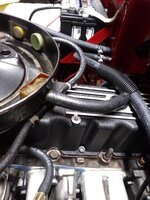
Installing a new valve cover mounted air cleaner stud. Basically, a long threaded bolt with a nylock nut and some washers, adjusted the height/distance as needed.

20210329_185558.jpg

20210329_185607.jpg

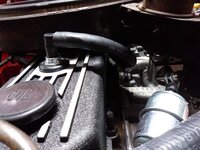
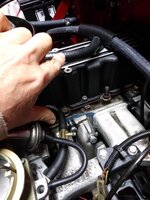
And PCV front and rear hoses.

20210329_193312.jpg

20210329_193331.jpg

Going to work on the rest of the under hood vacuum and vapor lines, not too many left to install since I am not using the feedback carburetor and timing system.

That's it for now :wave:
 
I just clamped it together, it can be welded.

I will say this - once the clamps go on, it will NOT pull apart.
Good to know. I really, really suck at welding. I've played around a bit, but never been able to do much with any success. Cheap HF mig with no gas/ flux core isn't exactly the right machine to be learning with, but maybe some day....

On my old Accord I drive to work, I've been able to replace sections of the exhaust (resonator, and muffler). My Jeep exhausts are all welded over the years, so I figured I'd have to go that route if I wanted to replace. This is some great info! I have a couple of Dynomax stainless mufflers around here somewhere still in the box that I got way back in the day. This might get me moving on getting them installed.
 
Not to bomb this thread...but Adult Ed in your area might have an evening welding course. Ours typically shows the basics and then if the individual has a metal project they learn as they go on that.
 
Not to bomb this thread...but Adult Ed in your area might have an evening welding course. Ours typically shows the basics and then if the individual has a metal project they learn as they go on that.
I would love to do just that, but just don't have the free time right now. Welding is one of those skills I really need to obtain.
 
I would love to do just that, but just don't have the free time right now. Welding is one of those skills I really need to obtain.

With the YouTube resource, anybody can learn to weld. How good is another matter.

Best thing is to grab a welder and start burning metal.

Over time you will get better and better (assuming you watch the videos and follow instructions).
 
I just clamped it together, it can be welded.

I will say this - once the clamps go on, it will NOT pull apart.
You must use different clamps than I do (or are just better at assembly).

My exhaust was all bolt on, and on more than one occasion I had to pick up the rear section after it was yanked off by either a big rock or a mesquite tree. But then again, if it had been welded on, I might have had a gash torn in the muffler.
 
More boring work that needs to be completed.

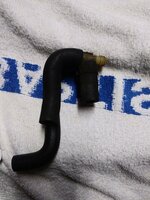
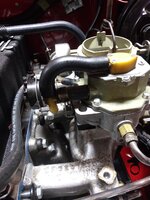
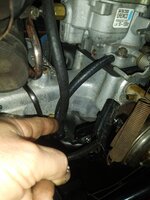
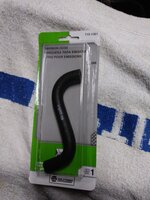
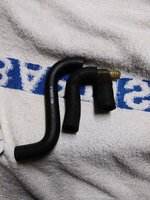
Building a new carburetor bowl vent hose assembly from the pictured part. With the OEM air cleaner installed, this area is pretty tight for the bowl vent lines. This part, careful cutting, worked perfect.

20210330_182755.jpg

20210330_182820.jpg

20210330_182827.jpg

20210330_182840.jpg

20210330_183629.jpg

I need to paint an old fuel vapor canister bracket, then I can finish all the fuel vapor line install. I will probably leave the purge line disconnected until I get the engine running and tuned to rule out a tore purge diaphragm.

I am going to install the EGR lines, too. Again, I will leave the ported vacuum port on the carburetor plugged for now, until I get the engine running and tuned. This will eliminate EGR issues, TVS issues, and CTS issues for now.

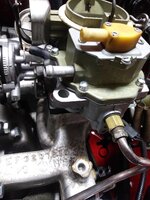
I am using this ported vacuum port for vacuum for the EGR system. Vacuum flows to the CTS, which will not allow vacuum through until the engine is warmed up. This is step one of this vacuum signal delay.

20210330_191636.jpg

Once the engine warms up, vacuum flows through the CTS but must pass through the TVS switch on the back of the air cleaner. This is step 2 of the delay. If the air inside the air cleaner is too cold, no EGR function. So, vacuum from carburetor, through CTS, then TVS, and finally back to the EGR.

20210330_191645.jpg

I ran out of vacuum line, so the line from the TVS to the EGR is still missing.

I also still need to run vacuum to the distributor for the vacuum advance. I will probably run manifold vacuum to get the engine running and tuned. I might mess around with the ported vacuum as the advance source but I have had better luck/performance using manifold vacuum on 258's with stock ignition systems.

The only other vacuum lines I will run are for the air cleaner trap doors. These are fairly simple lines to run.

A little bit at a time, slowly getting there, just not much free time this week.

That's it for now :wave:
 
You must use different clamps than I do (or are just better at assembly).

My exhaust was all bolt on, and on more than one occasion I had to pick up the rear section after it was yanked off by either a big rock or a mesquite tree. But then again, if it had been welded on, I might have had a gash torn in the muffler.
Or, crack the exhaust manifold.
 
Back
Top