• Notice for iPhone users: DO NOT use the image size reduction option when uploading photos to the forum. This causes portrait images to post as landscape. We have added a warning to the image insert pop-up as well.

1984 SL Restoration

Not to bomb this thread...but Adult Ed in your area might have an evening welding course. Ours typically shows the basics and then if the individual has a metal project they learn as they go on that.
Funny that you mention that, as my wife works at a local community college and thus I can take classes free there. The only problem is, I have to work at the only times they offer welding classes.....

I even asked the instructor if he would give me a few "pointer classes" after hours for which I would expect to reimburse him for his time and his reply was "You can see anything you need to know to get started on YouTube"

It doesn't LOOK hard, but when I try to actually do it, the results are never what they should be. LOL
 
Getting close now.

Driver seat installed, probably the worst seat JeepAddict had!!!!

20210409_172957.jpg

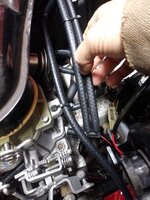
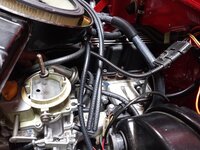
Hooking up the TAC stuff. Two lines from manifold vacuum.

20210410_102723.jpg

One line goes to the thermal switch in the air cleaner, then back out to the outer vacuum door.

20210410_102743.jpg

I still need to plug the unused Pulse Air ports in the bottom of the air cleaner, see above.

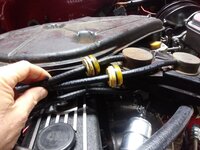
The other manifold vacuum line goes straight to the inner trap door. The inner trap door you want to open as soon as the engine starts up. The outer door will let air in from the end of the snorkel/grill when warm. If it is cold, it will pull air from the lower metal hose that pulls air from near the exhaust manifold. Both vacuum lines have the delay valves on them. Some years have a check valve on the a vacuum line, too, I did not use one here.

20210410_102759.jpg

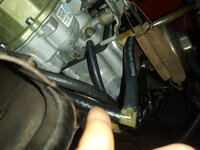
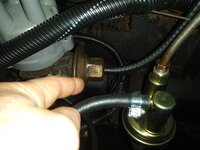
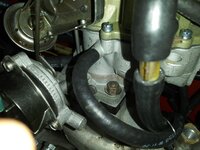
Ran the distributor vacuum advance line directly from the intake manifold vacuum port thing straight to the distributor.

20210410_102849.jpg

20210410_102901.jpg
 
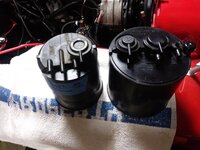
The last vacuum/emissions thing I am going to hook up is a fuel evap canister. I have a bunch of used CJ OEM canisters, hard to test them until the engine is running. I have one odd new canister, believe it is a Standard CP1004/17064627. It is for a GM application, would probably work fine in a CJ with a carburetor. The only problem with it is it is much bigger OD then the CJ canister. You could make it fit.

20210410_102925.jpg

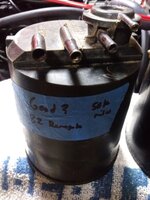
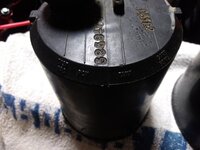
I am going to try out this OEM used CJ canister, probably my "best" used one. I pulled it out of a 50k mile 1982 CJ7 that had Howell TBI on it. Pulled this canister off that Jeep and installed a new TBI canister on that Jeep.

20210410_102932.jpg

If I sniff really hard around this canister, I can barely catch a very faint whiff of super old/stale fuel. Not super strong, but it is there. I will probably leave the PCV and purge lines off this canister until I get the engine running/dialed in. Once that happens, I will hook up this old canister and see how it does. Plan on putting a clear plastic fuel filter on the PCV suction line to see if charcoal gets sucked out.

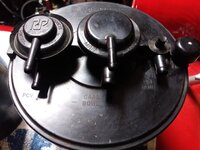
Pretty easy to hook up, four lines:

20210410_102942.jpg

I am a little hesitant about just plugging in the new/larger GM canister without some more research. It has two purge ports. I could "Y" them together, but not sure if this canister/application has some sort of more advanced duel stage purge function?? People on the internet say they use this canister on a CJ with no problems, but I would rather see how GM plumbed this canister up.

20210410_102952.jpg

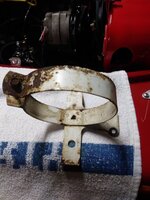
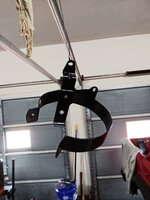
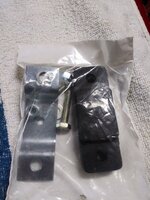
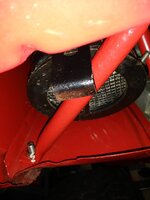
Of course, I do not have a spare CJ vapor canister mounting bracket laying around. But, I have a 4 cylinder YJ bracket. I can bolt it to the firewall with the upper screw/bolt, that's it. Better then nothing. JeepAddict can swap it out later.

20210410_103020.jpg

Even though it is temporary, cleaned it up, primed it, and painted it.

20210410_112116.jpg

20210410_121439.jpg
 
Of course, I should have installed the vapor canister/bracket before a bunch of other stuff. It won't fit from the top without pulling the wiper squirter bottle and pushing the brake lines over:

20210410_103057.jpg

It will be easier to just pull out the lower fender tube brace and feed it up from the bottom. No big deal.

20210410_103032.jpg

Installed a new tail pipe hanger bushing assembly. Bolted right in, no problems. I was missing the rubbers steel plate, the original rusted away to nothing.

20210410_112819.jpg

20210410_112825.jpg

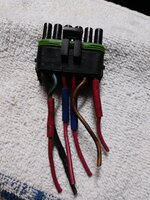
Still need to wire up the electric choke. This Jeep's OEM harness is still in great shape. So, the original 6 Pin plug on the harness is good. One of these pins, "A", feeds 12 volts to the choke.

The chassis side wiring on the 6 pin is good. The out end is kind of meh. No big deal, I only need the "A" pin out, since this Jeep is "nuttered".

20210410_115813.jpg

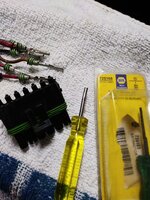
Using my handy dandy Weather Pack tool, I removed all the pin outs. I will reinstall the best pin into slot "A", that will finish the choke wiring.

20210410_115958.jpg

I did all this stuff Friday night/Saturday morning. Spent the rest of Saturday doing my "good deed yard work at Tiffany's grandma's house since Tiffany's dad and uncle are worthless and don't do anything to help out their 93 year old mother". Not mad or bitter, just needed to vent.

Anyway, plan on hooking up the evap canister and choke in the morning, dump some fuel in the gas tank, prime the oil system, then try to fire this mother up tomorrow afternoon :fingerscrossed:

That's it for now :thumbsup:
 
Finishing up the last few odds and ends.

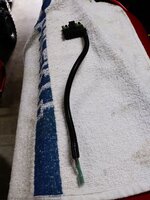
Choke wire harness thing I built/stripped down.

20210411_093051.jpg

And installed.

20210411_094248.jpg

Purge signal vacuum connection/hose on the valve cover side of the carburetor.

20210411_094304.jpg

I ran it down to the canister next to/attached to the larger carburetor vent hose.

20210411_094317.jpg

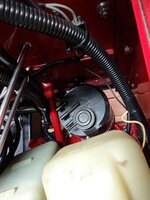
Installed the used CJ vapor canister and YJ bracket. I ended up pulling the wiper squirter bottle out of the way and installed these parts from the top. They would not fit from the bottom, even with the fender brace removed. I have one 1/4" bolt securing the bracket to the fire wall, it is not going anywhere.

20210411_105036.jpg

The canister bottom rests on the fender cross tube brace. The canister is also secured to the YJ bracket just like the CJ bracket, it wraps around the canister and clamps it into place.

20210411_105056.jpg

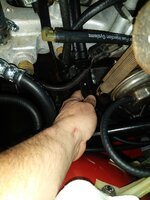
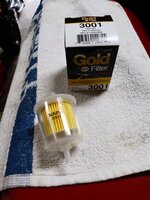
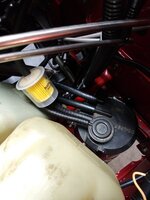
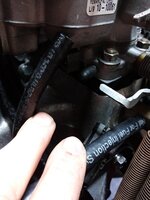
I added this cheap plastic see through filter on the PCV line that runs from the canister to the bottom of the carburetor. Once I hook the canister up, I will be able to see if the carburetor is sucking out charcoal.

20210411_105938.jpg

20210411_110650.jpg

I pulled the EGR line from the carburetor and plugged it for now. In this way, I take the EGR system completely out of the loop during initial start up and adjustments. I also pulled and plugged the vapor canister purge line from the carburetor for the same reason.

20210411_111309.jpg
 
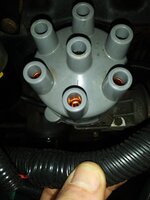
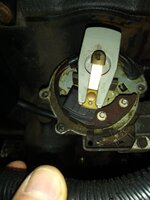
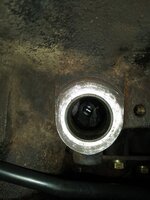
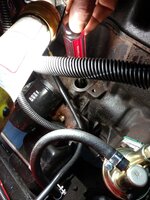
Finally, pulled the distributor and primed the oil pump. This engine has not been started up/ran in over 10 years, better safe then sorry.

#1 on the cap:

20210411_111516.jpg

Rotor pointing at #1:

20210411_111540.jpg

How the oil pump slot is aligned when the distributor/engine are at TDC:

20210411_114203.jpg

I was going to destroy a screw driver by cutting off the handle so I could stick it in a drill motor to spin the oil pump. I ended up spinning the screw driver by hand for a few minutes instead. After just a few turns, I could hear the oil pump burbling inside the oil pan. I kept turning for a few minutes, pulled the oil fill cap off the valve cover, stuck my finger down in there, oil on top of the rocker/push rod, done.

20210411_114838.jpg

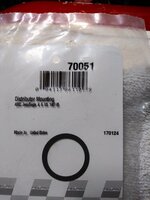
Installed a new seal on the bottom of the distributor/engine block, the old one was rock hard and evidence of leaking.

20210411_115055.jpg

Reinstalled the distributor just like it came out. Before installing the plugs/wires or adding fuel, I spun the engine over with the starter for about 2 minutes. This spins the oil pump, and is easy on the starter since there is no compression to fight against.

20210411_122704.jpg

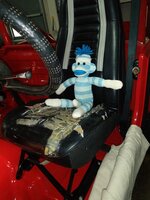
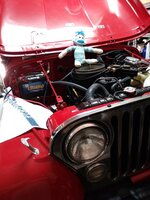
Left Parts Monkey on guard while I went to the gas station for some magic juice.

20210411_135131.jpg
 
Installed plugs and wires, connected up the ignition coil, dumped 10 gallons of gas in the tank.

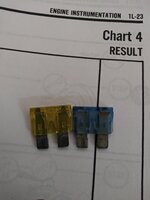
Quickly diagnosed and repaired my non-op gauges, simple blown fuse. Oil pressure gauge working.

20210411_151841.jpg

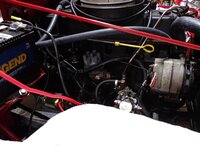
Hard to take a picture, but it fired right up. Dumped a bit of fuel down the carb throat, hit the starter, fired up and died. Did this about 4-5 times until the fuel pump picked up prime and filled the carburetor. After this, the eBay rebuilt over 10 years ago carburetor ran like a boss!!!

Lowered the hood, checked the brakes:

20210411_151903.jpg

Backed it out the garage into the fresh spring air. For the first time in over 10 years this is no longer just a pile of parts, but an actual living/breathing/running Scrambler!!!

20210411_153551_HDR.jpg

Turned it off and on a few times. Added more PS fluid. Took off a heater hose to purge some trapped air. Adjusted the idle speed and choke speed. Starts right up, runs great. Drove it around the yard, all systems go. Drove it around the neighborhood a few times, maybe 10 miles, runs and drives and steers and stops great.

Parked it back in the garage, called it a day. Will see if any leaks develop over night.

20210411_172337.jpg

Will adjust the air/fuel mixture tomorrow, smells a hair rich. Not bad, just a hair. All I did to this carburetor was pull it out the box and bolted it on. Sometimes it is better to be lucky then good!!!

I can hear a rubbing from the back brake area at low speeds in the driveway. Might just be the pads bedding in, will investigate. Could be the damn pins are too long and rubbing the drums. The axle ends, pinion area, and diff cover felt fine, nothing hot. More diagnosis needed. I ran it with the rear end up in the air, no noise or vibrations, hoping it is just something with the brakes.

All in all, pretty happy with it so far.

That's it for now :thumbsup:
 
Finally, pulled the distributor and primed the oil pump. This engine has not been started up/ran in over 10 years, better safe then sorry.

#1 on the cap:

View attachment 93059

Rotor pointing at #1:

View attachment 93060

How the oil pump slot is aligned when the distributor/engine are at TDC:

View attachment 93061

I was going to destroy a screw driver by cutting off the handle so I could stick it in a drill motor to spin the oil pump. I ended up spinning the screw driver by hand for a few minutes instead. After just a few turns, I could hear the oil pump burbling inside the oil pan. I kept turning for a few minutes, pulled the oil fill cap off the valve cover, stuck my finger down in there, oil on top of the rocker/push rod, done.

View attachment 93062

Installed a new seal on the bottom of the distributor/engine block, the old one was rock hard and evidence of leaking.

View attachment 93063

Reinstalled the distributor just like it came out. Before installing the plugs/wires or adding fuel, I spun the engine over with the starter for about 2 minutes. This spins the oil pump, and is easy on the starter since there is no compression to fight against.

View attachment 93064

Left Parts Monkey on guard while I went to the gas station for some magic juice.

View attachment 93065
Great idea on the fuel filter in line with the canister! Did you know a socket will fit over the handle of that screwdriver? Just chuck up your cordless drill with a socket adapter, socket and screwdriver. Pulling a trigger beats twisting the wrist!
 
I did a little more stuff to this one last weekend, before we got like 12" of rain this week.

Just one drop spot under the oil pan, not too concerned.

20210412_170821.jpg

I have only drove this thing maybe 15 miles/one hour, oil is getting dirty quick.

20210412_171019.jpg

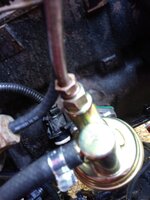
One fuel leak from the old metal line at the top of the fuel pump. I loosened it up while running, so it flushed out with gasoline, tightened it back up, no leak.

20210412_173027.jpg

Oil is getting more dirty, I guess cleaning out all the old deposits.

20210416_163741.jpg

I am going to add a quart of flush to the engine and then drain the crank/change the filter out. The flush should speed up the cleaning process. When the valve cover was off, no sludge present, but it was still pretty dirty.

I was not exaggerating about the rain. Just driving around the drive way and neighborhood has got this thing filthy!!

20210416_182725.jpg

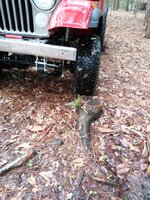
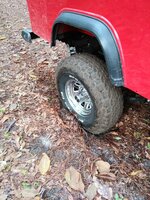
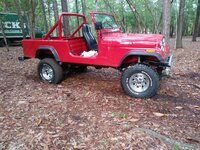
So, I did a "Redneck Ray", locked in the hubs, decided to test out the four wheel drive on one of my trails in the yard. Well, open diffs, 10.50 All Terrains were no match against the stump of doom!!!

20210416_183111.jpg

20210416_183044.jpg

20210416_183053.jpg

I was able to bump it over and continue down the trail. Need to remember to go easy with the OEM two piece axles LOL. Washed all the mud off, will clean it up better once the rain stops.

Still a few more odds and ends and adjustments to make.

That's it for now!!!
 
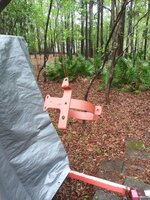
Just out of curiosity, why the Becks beer truck in your yard?
It's a 1991 Ford F700 Turbo Diesel, to be exact, beer truck 😆.

I let my mom park it in my yard back in 2008. My mom/aunt/grandma/great aunt owned a beer distribution company. My grandma/great aunt started the company back in the 1950's. Anyway, they sold the business in 2008. They sold all the other trucks, and two warehouse/offices. There was certain tax/pension paperwork my mom had to keep for legal reasons, I think for like 10 years after the corporation was dissolved. So, instead of renting a storage building, they loaded all the paperwork in the truck, locked it up, had one of the drivers park it in my yard.

And there it has sat for almost 13 years. A few weeks ago I dug out about two trailer loads of boxes. My mom shredded all the paperwork. So, the truck is no longer needed. I have tried to give it away, finally had someone from work come by that wants it.

Put a battery in it, drained the little bit of fuel that was left in the tank out, bled the injector pump, primed it, damn thing fired right up!!! Clutch was not even rust froze to the flywheel, brakes broke free after a quick rock back and forth. He was going to drive it home, but the rain soaked ground has the tires sunk about 6" in the mud. Going to let the ground dry out, winch it forward, then it will be gone, finally!!!

The truck really hasn't bugged me until recently. The more land/brush/trees I clear out, the more obvious it becomes. The good thing, it is green, and you can't really see it from the road, so no neighborhood complaints. But, time to say goodbye to the old beer truck. I painted over the old company logo's on the doors the other day, unloaded the paper work, and found the title.

Once the ground dries out, it will be gone.

If your curious, IIRC, it has the Ford/New Holland Turbo Diesel, 6.6 liters, I think the engine tag says 160 BHP. Two speed rear end, pretty sure Clark 5 speed, so a 10 speed with the high/low. I used to drive this same chassis, with a dump bed, at work for awhile. Not fast at all, but never could load it down so bad with busted up concrete/dirt where it wouldn't go!!! Compared to a more modern truck, they are dinosaurs. But, there are no electronics/wires under the hood. They are dead nut simple/reliable trucks. No idea what the new owners plans are for it. He mentioned maybe using the box on the back for a storage shed and putting a dump bed on it to haul gravel.

I have a battery still in it, damn thing fires right up every time like it is new. It's like the beer truck doesn't want to leave the yard now!!!!

But, I have enough projects, don't need a beer truck, too 😆

 
Beer trucks are only worthy of land space if they are full (of Beer).
 
Back
Top