• Notice for iPhone users: DO NOT use the image size reduction option when uploading photos to the forum. This causes portrait images to post as landscape. We have added a warning to the image insert pop-up as well.

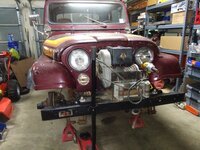
1982 "Vintage Red" CJ-7 Renegade

Like all of my "projects", this little rear axle bearing install has spiraled out of control :crazy:

Need to change rear axle bearings, so:

Might as well install new wheel cylinders/shoes/hardware, AND if-
Might as well change front calipers because you know the bleeders will either strip or leak, AND if-
Might as well install new pads in the front calipers, AND if-
Might as well change the three rubber brake hoses due to age, AND if-
Might as well flush out brakes, AND if-
Might as well install a new master cylinder, AND if-
New lube/LSD additive and diff cover gasket for the rear end.

Story of my life......................

Oh well, at least this thing will be in great shape when it finally leaves here :shrug::twocents::thumbsup::wave:

The MAW will get you every time

Might As Well
 
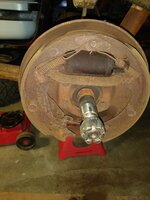
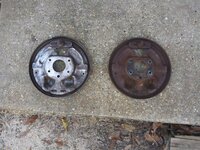
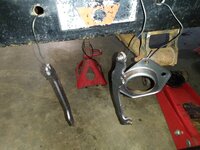
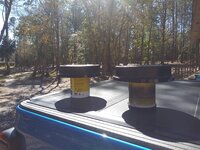
Both rear brake drums have two pretty significant "ditches" running around the circumference of the braking surface, so add a pair of rear drums to the parts order:

20220202_190718.jpg

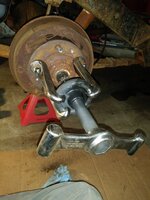
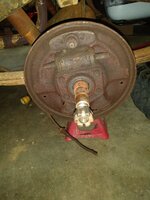
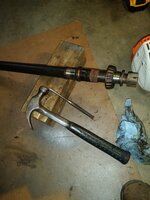
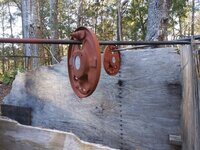
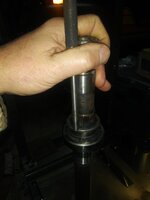
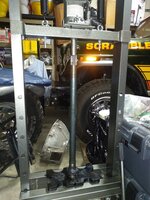
Setting up the handy dandy hub puller, this thing has already paid for itself!!!

20220202_180214.jpg

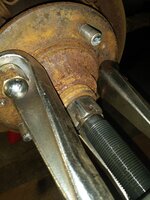
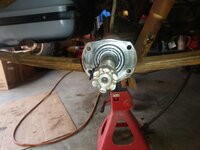
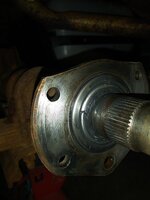
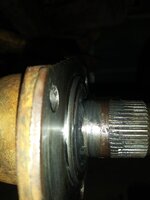
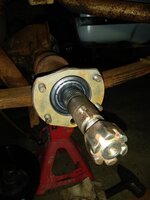
A few whacks with the 2 pound hammer, a few turns with the impact, both hubs broke free with no real drama:

20220202_180621.jpg

I always leave the big nut on the end of the axle shaft; if not, the entire wheel hub/puller can violently fly off the shaft when the it "pops free". If it does, and hits you or the wall, expect damage!!!

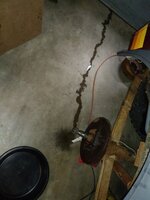
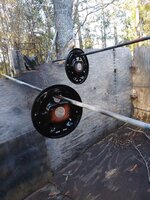
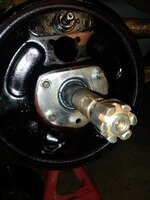
So much easier to disassemble/reassemble the rear brakes with the wheel hub out of the way!!!

20220202_181338.jpg

20220202_190707.jpg

That's it for now :wave:
 
Good thing I decided to rebuild the brakes, this wheel cylinder gave up the ghost overnight!!

20220204_152136.jpg

Familiar pose:

20220204_151843.jpg

Thankful to have a garage, its cold outside!!!

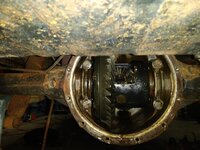
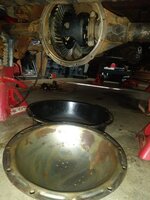
Drained the rear differential. Gears look good, bearings feel fine, TracLock, need to count the teeth, assume it is a 3.31:

20220204_190614.jpg

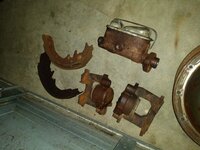
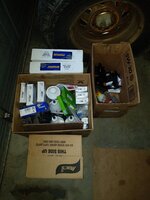
I have a bunch of new parts to pick up at NAPA in the morning, this is the core pile:

20220204_190625.jpg

Got both rubber front lines off, no drama:

20220204_190702.jpg

The rear flex line was a PIA, BUT it came loose up on the cross member no drama. On the bottom, I can not get either hard line out of the junction block. I cut the line to drain it:

20220204_190644.jpg

I put a torch on it, but all the PB Blaster/brake fluid/brake parts cleaner caught on fire!!! So, will pull this whole assembly off the axle, clamp it to the trailer, torch it outside where I don't have to worry about a fire LOL!!!!!!

Pulled both brake backing plates off, too. Need to pull the axle shafts out, pop out the inner seals, start cleaning some things, then ready for reassembly.

Will be cold in the morning, good time to head to NAPA!!!

While the brakes were disconnected, I flushed out the lines with 1/2 a quart of new brake fluid. I simply filled the master cylinder with fluid, gravity took care of the rest. Lines flushed out good, so ready for reassembly.

That's it for now :wave:
 
Flushing the brake line is something Mercedes recommends at 8-10 years. It's a $250 bill from the "stealership". Rock on and stack up them coins cowboy!
 
Raymond, this one is begging for a heavy fluid film undercarriage treatment after you get it buttoned up:

 
Just found out yesterday that most Napa's give a 10% discount for military personal and also 10% for AAA members. Wish I new that years ago.
 
Raymond, this one is begging for a heavy fluid film undercarriage treatment after you get it buttoned up:


Maybe. I don't like undercarriage "patina", I consider it stage 1 cancer!!!!

If this one was mine, I would pull body, remove all the surface rust and repaint, like I did with "Yard Scrambler" awhile back. This one is super solid, and could last quite a few years in its current state. Just my own personal OCD LOL!!!
 
NAPA Clause came by Saturday morning!!

20220205_100315.jpg

Pulled out the axles. The old grease looks/feels pretty bad. Fairly certain the front is the same, so I will be replacing front wheel bearings, too.

20220205_101901.jpg

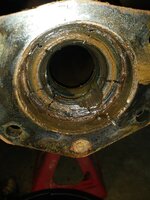
Pulled out the inner seals with a slide hammer, cleaned out the axle housing ends/tubes:

20220205_104503.jpg

Installed the new inner axle oil seals:

20220205_120105.jpg

The bearings are a light press fit on the shaft. I used a hammer and punch to remove the old bearings off the axle shafts.

20220205_120112.jpg

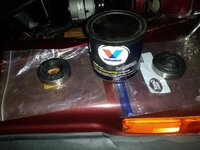
Packed the new bearings with my favorite wheel bearing grease:

20220205_130302.jpg

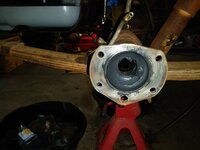
Filled the axle tube ends with grease:

20220205_130310.jpg

I am not restoring this Jeep, but my OCD got the better of me!!!!

20220205_145519.jpg

Cleaned up and painted some of the original brake hardware I will be reusing.

20220205_155303.jpg

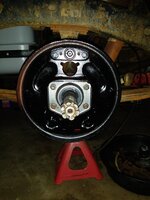
Primed the brake backing plates:

20220205_155318.jpg
 
Was low on paint, but still got pretty good coverage:

20220205_160346.jpg

I taped off the front and back of the plates where they seal to the axle tube/outer axle seal.

Cleaned the rear differential housing and cover. IIRC, 43 teeth on the ring, 13 on the pinion, 3.31 ratio, TracLok.

20220206_102427.jpg

I keep forgetting my press is not tall enough to press on AMC 20 axle bearings. These bearings do NOT necessarily require a press, but I prefer using one. This time, I used my press tools, and drove the bearing on. I went around with a punch and hammer to ensure the bearings bottomed out.

20220206_104836.jpg

You can "feel" when they bottom, hear it, and see it.

20220206_104911.jpg

Went ahead and installed both axle shafts into the axle housing for safe keeping.

20220206_120920.jpg

Took the rear axle brake lines outside, used the torch, was able to remove both rear axle metal brake lines from the soft center drop line.

20220206_133748.jpg

And, since it was nice weather, painted the new brake drums.

20220206_130618.jpg

Took the rest of the weekend off and did yard work. I can continue on with setting up the rear axle bearing play and installing the brake parts at night when I get home from work.

That's it for now :wave:
 
Last edited:
I’ve got one of the bigger Harbor Freight presses. It’s not tall enough for some of the axle bearings- but setting it up on a couple of cinder blocks does the trick.
 
I’ve got one of the bigger Harbor Freight presses. It’s not tall enough for some of the axle bearings- but setting it up on a couple of cinder blocks does the trick.

I "might" be able to do that, BUT it would require some modifications.

The press has a center bar that ties the two sides together at the bottom, dead center. I would need to remove it, and add a side support or two somewhere else on the the legs, close to the bottom, to keep the sides from wanting to spread. A piece of 1/4", 1.5"x1.5" angle could work, bolt them to the sides temporarily using an unused pair of press table holes, grade 8 bolts. That would be beefier then the wimpy Chinese steel that currently holds the two sides together at the bottom.

Or, my cheap ass should have just bought the taller press to begin with :banghead::D

I would have to measure, I might be able to get the press to work on the short side axle (stock wide track width), but not the longer side shaft.

Or, they both might fit IF put the press table on the bottom, bearing press ring on table, then slide axle in upside down, pressing the spline end of the shaft down into the bearing. But, not sure if the press beam is thick enough, the outer end of the shaft might foul the cross brace/floor.
 
Worked on this one a little bit last night.

Installed the "dumb" side first, passenger. No shims here. Seal the brake backing plate to the axle end, seal the seal to the brake backing plate, bolt it together, 35 foot pounds on the four bolts. When I painted these backing plates, I was running low on paint, so you can see some red primer showing in places. It is on the inside, so no big deal.

20220207_175658.jpg

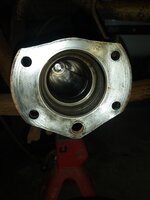
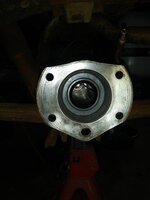
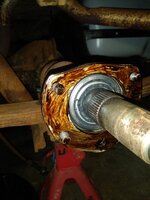
Once that side its bolted down, it will push the bearing/race on that side flush to the brake backing plate. Move over to the driver side, tap race/bearing inward. Tap axle shaft hard over to the passenger side. The thrust block in the center of the differential will bottom everything out. And, you are left with the bearing sticking out past the end of the axle tube.

20220207_180143.jpg

20220207_180151.jpg

My Spring Special did not stick out this far!!!! I thought the original shim stack was excessive, but apparently not. The original shim stack was 80 thousandths:

20220207_180541.jpg

When I placed the original shim stack on the axle end, it did NOT protrude past the race. So, I added a shim:

20220207_181404.jpg

And temporarily installed the brake backing plate.

20220207_191437.jpg

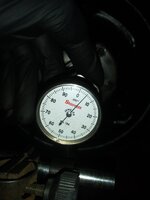
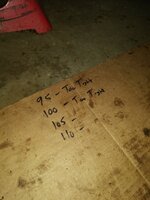
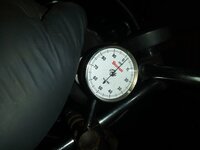
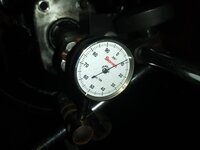
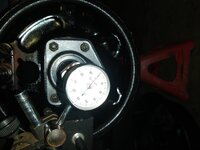
I use regular nuts at this time, because you will be redoing this a few times. Bolt it down, hit the passenger shaft hard over to driver side to seat driver side bearing race against the brake backing plate. Then, drive driver side axle back to the passenger side. Set up dial indicator, see how much you can pull the driver side axle outward, Shooting for 4 thousandths.

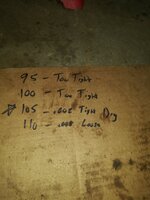
Some notes:

20220207_191442.jpg

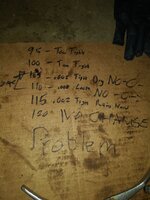
I am hoping the 105 gets it. Another issue, the only shims I have are some 10's, 30's, and one 5. Hopefully I can get it where it needs to be with the shims I have on hand.

I did not compare the new SKF bearings to the original Timken. I wish I would have. You would think that IF the original shim stack was correct, it would be pretty close with new bearings. But, I am going to add 25 thousandths to the original stack to get where I need to be, seems excessive??

99% sure the bearings are pressed on shafts all the way, but I will pull this shaft back out, get it on the press to verify. The bearings look/feel bottomed to me. Might just be a tolerance issue from the Timken to SKF bearing.

That's it for now :wave:
 
Piddled last night, no progress, frustrated, going to punt for a day or two and start over fresh.

Installed the .005 shim, still a hair tight at .002 end play.

20220208_171349.jpg


Pulled the .005 shim, installed a .010, too loose:

20220208_172028.jpg

All the above were "dry" fits without sealant.

20220208_172405.jpg

So, took a gamble that the "105" would be OK once sealant was added. I used a thin layer of Aviation Sealant between all five shims, brake backing plate, and axle tube, figuring this would gain me a little bit.

20220208_173233.jpg

Installed the outer seal, retainer plate, torqued the nuts to 35 foot pound, no bueno, no end play:

20220208_175831.jpg


Tried a few more times, not even making sense anymore:

20220208_190921.jpg

So, need to clear my head and start over. Something beyond my end play shim adjustment is changing. I am going to guess the bearings are not pressed on all the way, not sure what else it could be. IF the bearings are not pressed on all the way, when I tighten the backing plate, it is shoving the bearing/axle back, pushing both bearings closer to being bottomed, IF the bearing are not on all the way. 99% sure they are, but easy enough to pull the shafts and check.

I compared a new SKF bearing to one of the old Timken bearings, they are identical. So, when I reinstalled the original shim stack, it should have been close. I am adding 40 to the shim stack and still too tight, something is going on.

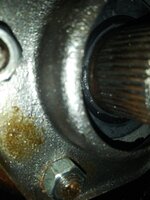
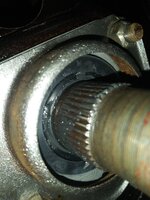
Appearance wise, the bearings seem to be pressed on all the way, still have "dead space" between the outer side of outer axle seal and the back side of the wheel hub, both sides.

Driver side:

20220208_190933.jpg

Passenger side:

20220208_191032.jpg

BUT, something is not right, not making sense, so time to punt and start over again with a clear head and reverify any "assumptions".

That's it for now:shrug:
 
I compared a new SKF bearing to one of the old Timken bearings, they are identical. So, when I reinstalled the original shim stack, it should have been close. I am adding 40 to the shim stack and still too tight, something is going on.
We're feeling your frustration.
Don't have anything to add except, do you know what the end play was with the original bearings and shim packs and was everything installed properly then? :shrug:
 
Outer race not able to bottom out on the passenger side....love a mechanical mystery. Frustrating with rewards along the way. I put mine in a$$ backwards first time around.
 
We're feeling your frustration.
Don't have anything to add except, do you know what the end play was with the original bearings and shim packs and was everything installed properly then? :shrug:

End play was 20 thousandths with an 80 thousandth shim stack. You could here the bearings roar. If anything, you would think, reduce the original stack down 16 thousandths to 64, end up with 4 thousandths end play.

I am increasing shim stack and still have no end play.

Pretty sure it was not "correct" as it was, BUT, that grease was old. The hubs were tight on the shafts, BUT the nuts were not super tight, impact broke them free fairly easy. Cotter pins looked newer, so who knows :shrug:

I'll figure it out, OR push it down the hill into the river :evil:

Just need to start over with no assumptions and work through it :thumbsup:
 
Outer race not able to bottom out on the passenger side....love a mechanical mystery. Frustrating with rewards along the way. I put mine in a$$ backwards first time around.

Yeah, I have pressed on rear axle bearings backwards before, and been known to put the wrong backing plate on an axle shaft and then pressing on the bearing :rotfl::banghead:

Passenger side bearing race is flush to the outside of the tube like it is supposed to be. When I slide in the driver axle, it contacts and pushes the center block into the passenger axle. And, as a result, the driver bearing/race protrudes past the axle housing like it is supposed to.

BUT, if the bearings are not truly 100% bottomed out on the shafts, that could throw everything out of whack, resulting in excessive bearing stick out on the driver side.

I have ran into all kinds of issues over the years with the AMC 20 shafts:

1) Installed Moser shafts in a 1982 Jamboree, pulled out center block, bearings still stuck out of tubes too far, had to machine down both internal spacer rings a large amount

2) Twice I have ran into excessive axle shaft end/center block wear, causing excessive inward end play, but not outward end play

3) Now, IMO, excessive outward shim stack to get end play

Gotta love that AMC quality control, and 40 years of wear and tear, and prior owner abuse/poor repairs :twocents:

Just gotta figure it out and fix it :fingerscrossed:
 
Pulled out the driver side axle shaft, it is the shorter of the two. It fit with an inch to spare!!!

20220210_170716.jpg

The press did no good, the bearing was already pressed down all the way, which is what I figured.

I am still going to pull the passenger side and verify, but 99% sure that bearing is pressed all the way down, too.

Reinstalled the driver side axle, tapped race into the housing with a steel punch as far as it would go. The bearing/race is protruding past the axle housing 105 thousandths.

20220210_172046.jpg

So, I plan on starting with a shim stack of 110 thousandths, that should get me .005 end play.

I also need to look inside the differential, make sure nothing is stuck to the centering block.

That's it for now :thumbsup:
 
Think I finally figured this out.

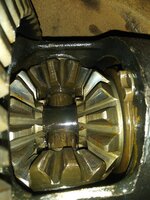
Looking at the centering block in the differential, notice how the gap between the hole in the centering block/centering block is offset: driver side axle needs to come in some more, passenger shaft needs to slide outward.
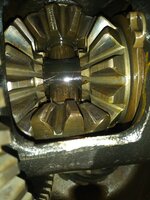
20220211_150606.jpg

The only way this can happen: if the passenger side bearing is not pressed all the way on.

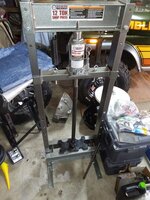
Don't try this at home:
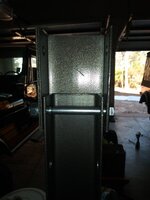
20220211_152217.jpg


It fit, I think it pressed on a hair more.
20220211_152228.jpg

Passenger side axle reinstalled, completely bolted together. Slid in driver side axle, tapped outer race in as far as it would go. Centering block appears to be centered now:
20220211_161507.jpg

Messed around with shimming, finally got it.

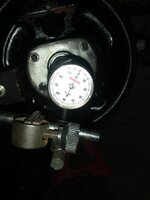
Pushed in all the way, dial centered:
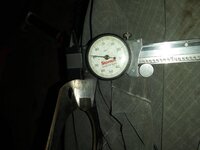
20220211_172753.jpg

Pulled out as hard/far as I could:

20220211_172843.jpg

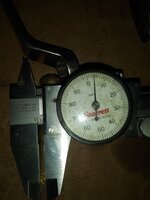
.004 to.008 OK, .004 preferred, I'm at .005. As good as I can get it with the shims I have, and to be honest, not sure I would try to chase down .001 in this application.

This is where it gets interesting. The above readings were taken with the shims/backing plate dry, and more importantly, without the outer seal bolted into place on the driver side.

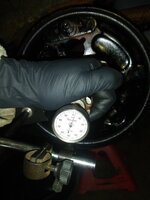
With the driver side seal bolted/torqued down, note the change:
20220211_180939.jpg

I'm now at .003!!! What happened? As best as I can explain:

Outer race is held in place against the brake backing plate. Inner race/bearing is pressed on to axle shaft. The outer seal fits through the brake backing plate, and part of the rubber on the seal wipes the face of the bearing. When the seal was not in place, the bearing could move .002 more outward. With the seal in place, it can not.

Now, am I worried about being .001 too tight? NO. New bearing, new seal, new grease, cold outside means rubber a hair stiffer then it would be under operating conditions.

I'm done with the bearing set up, finally!!!!
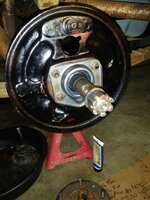
20220211_181551.jpg

The shafts turn fine, bearings turn fine, no binding or rough spots. End play can hardly be felt by hand, but it is present.

That's it for now :wave:
 
Back
Top