• Notice for iPhone users: DO NOT use the image size reduction option when uploading photos to the forum. This causes portrait images to post as landscape. We have added a warning to the image insert pop-up as well.

1983 frame off refresh - finally

mhinchliffe

CJ-8 Member
City
W-S
State
NC
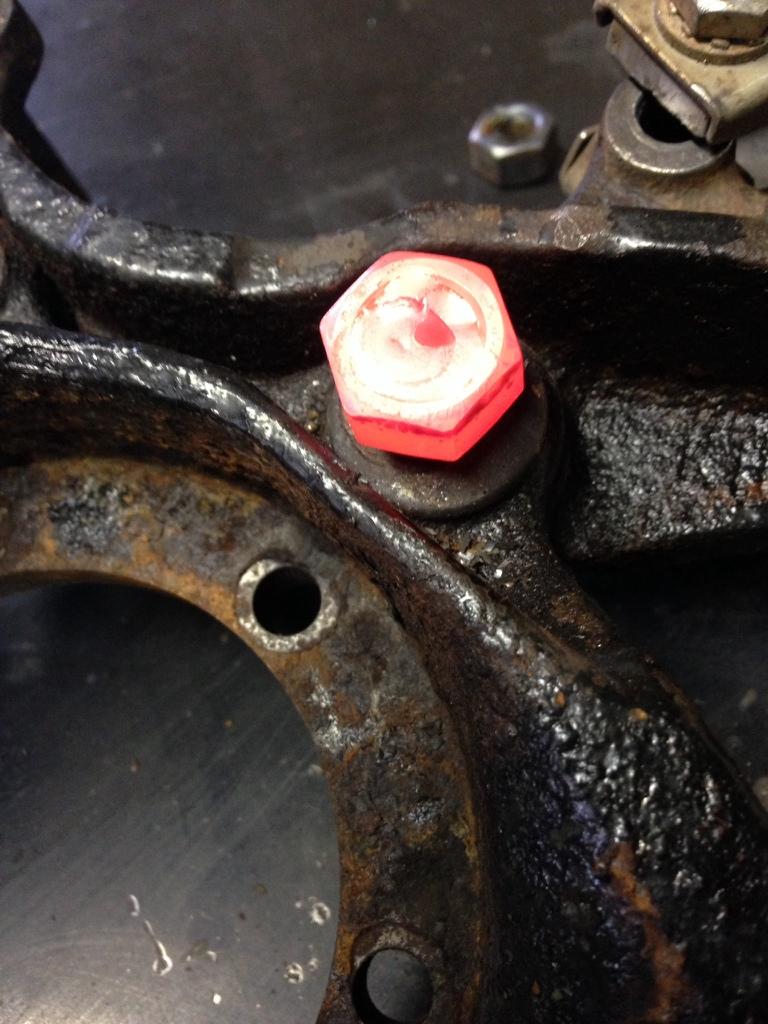
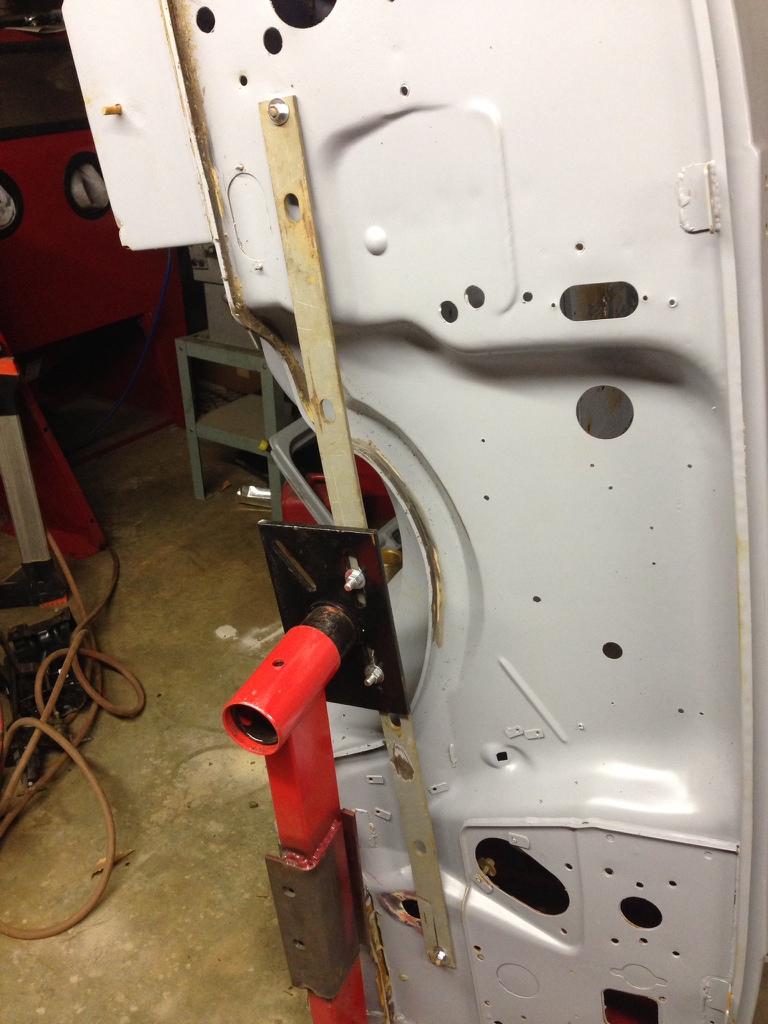
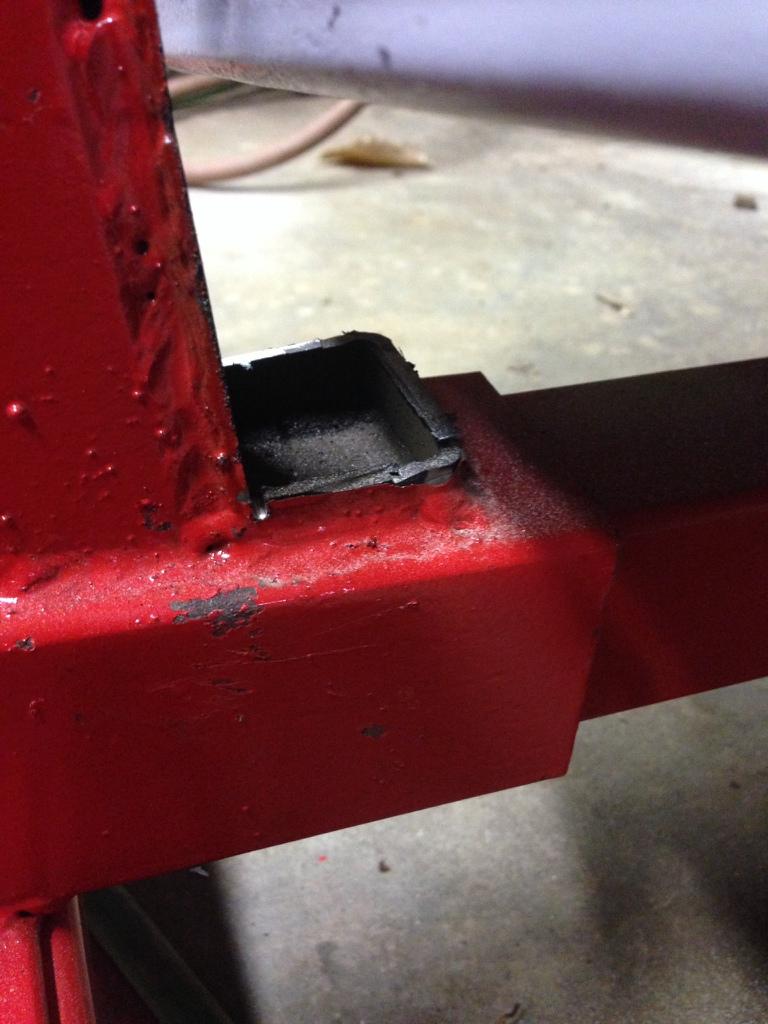
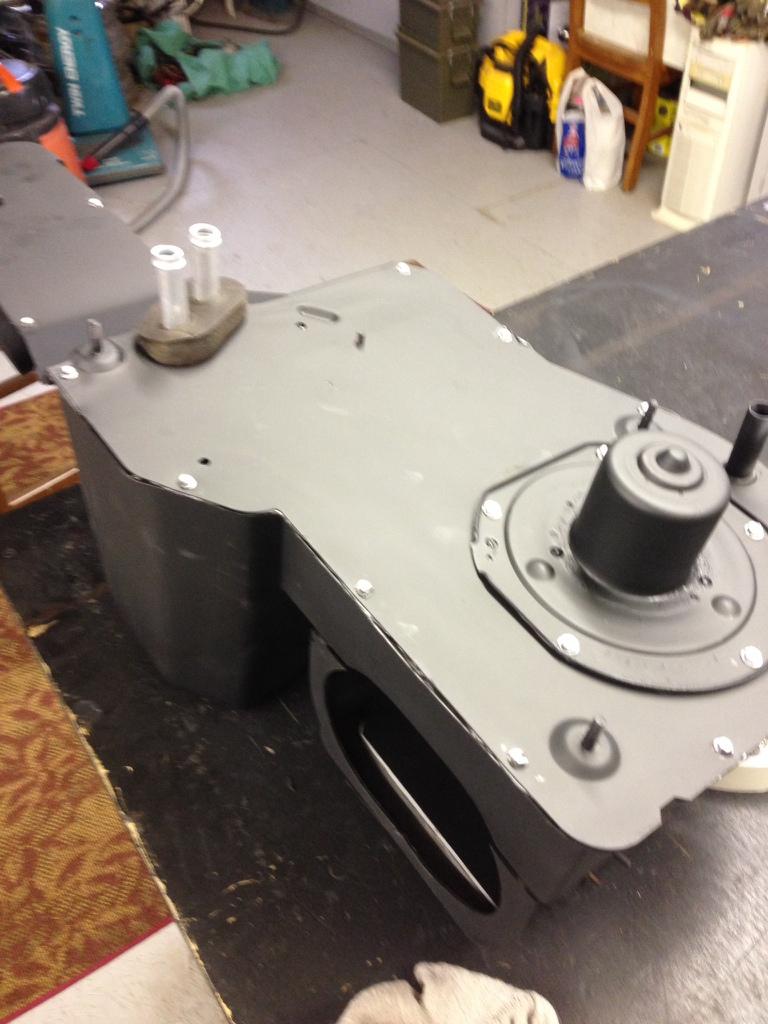
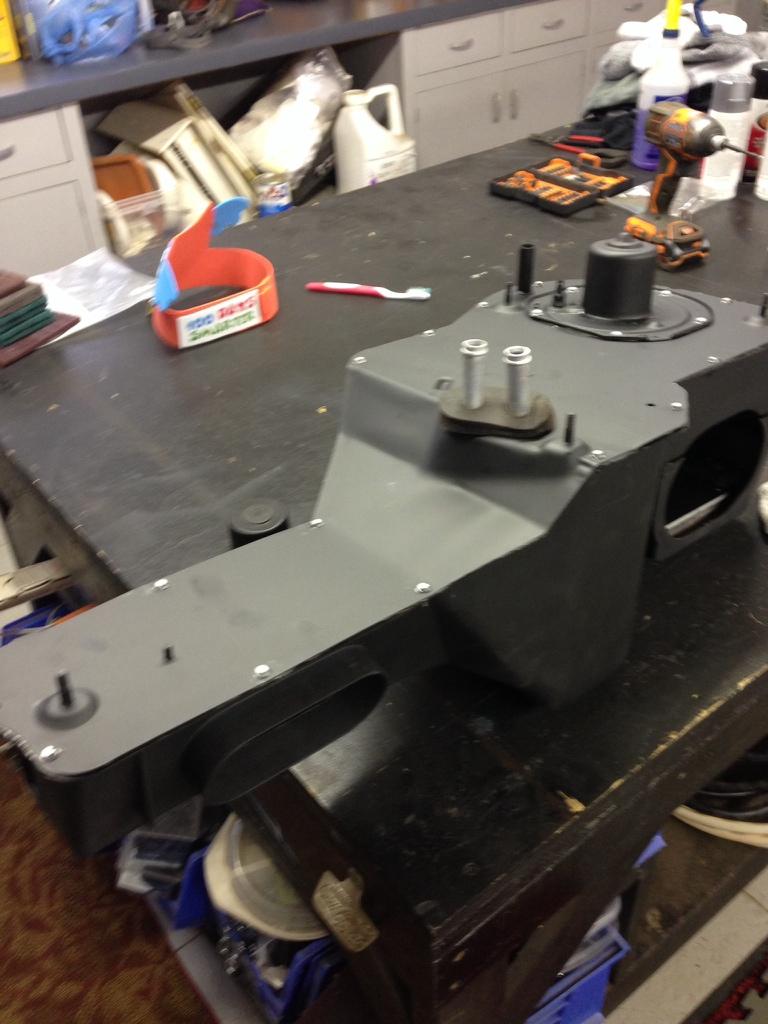
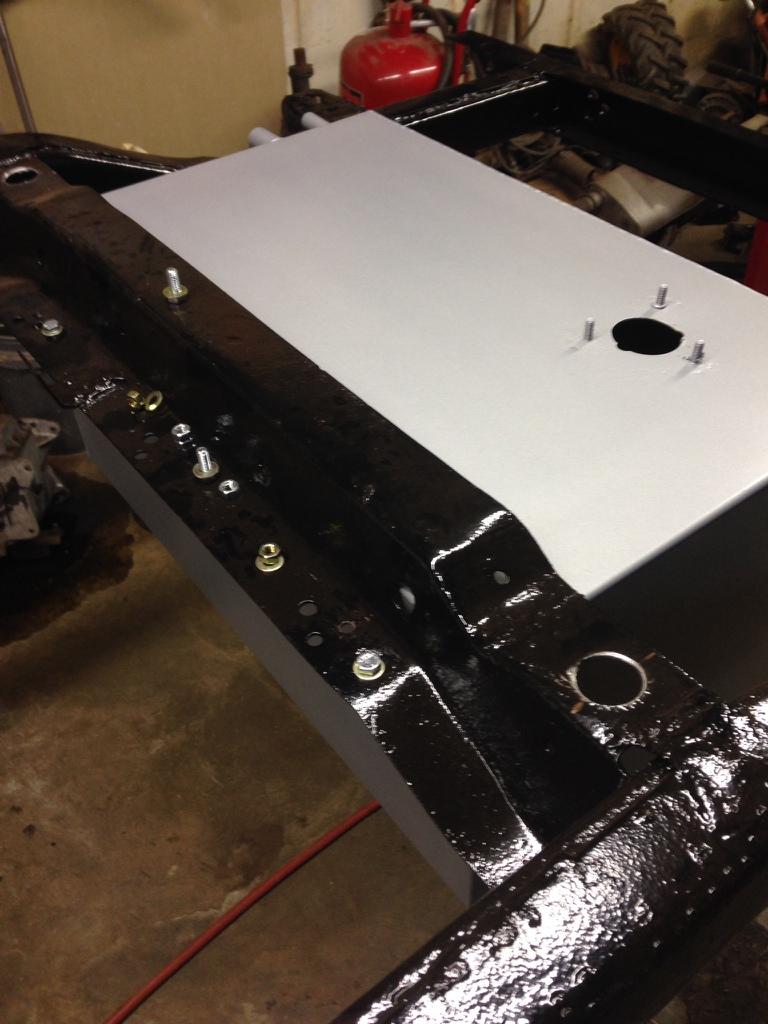
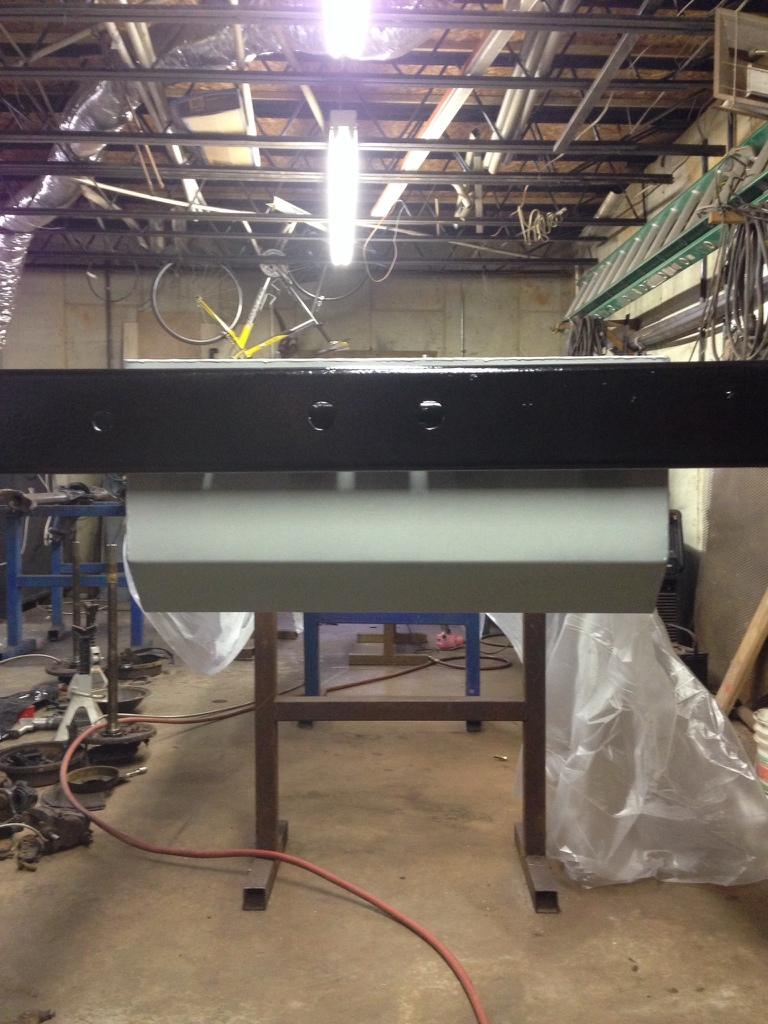
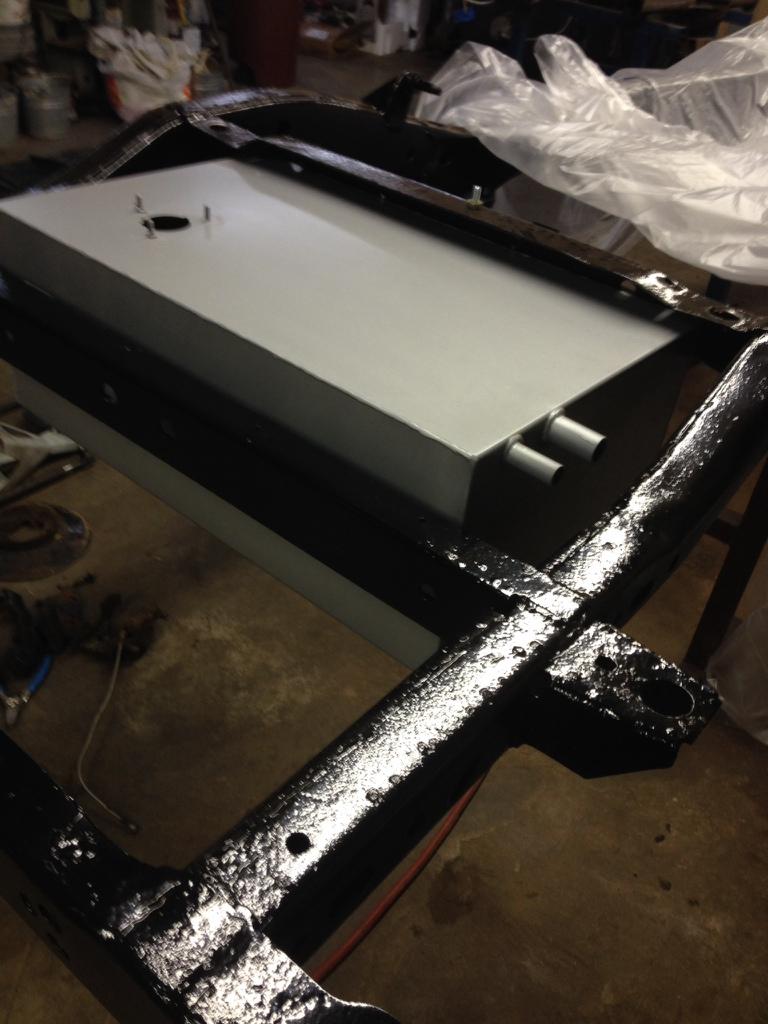
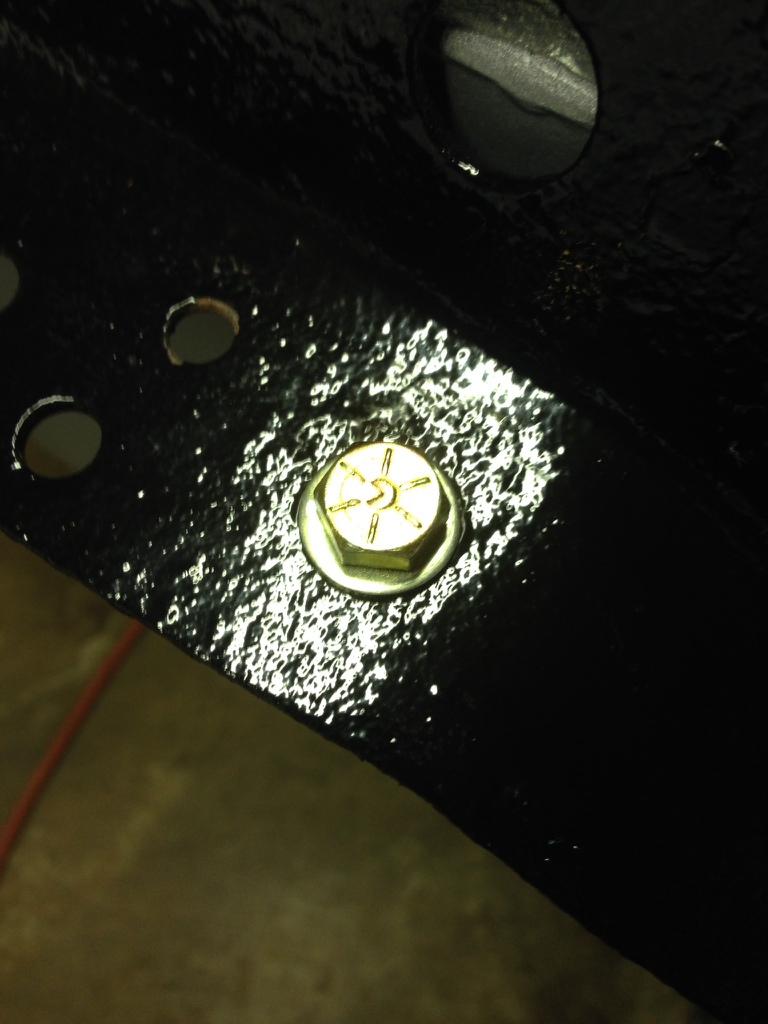
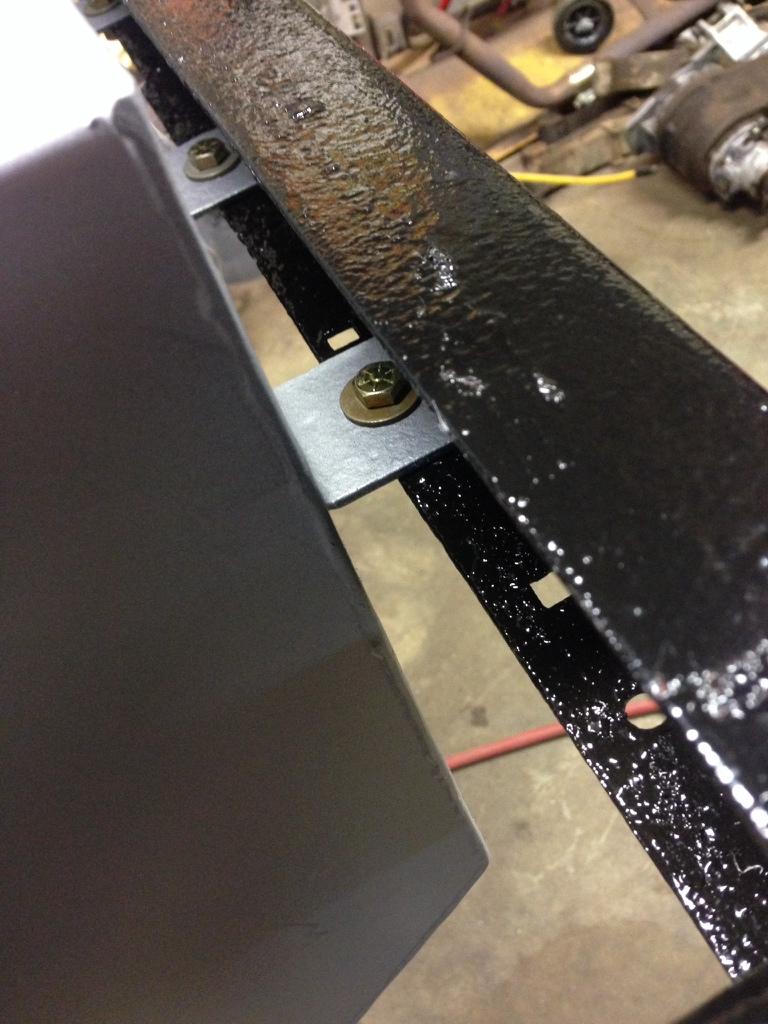
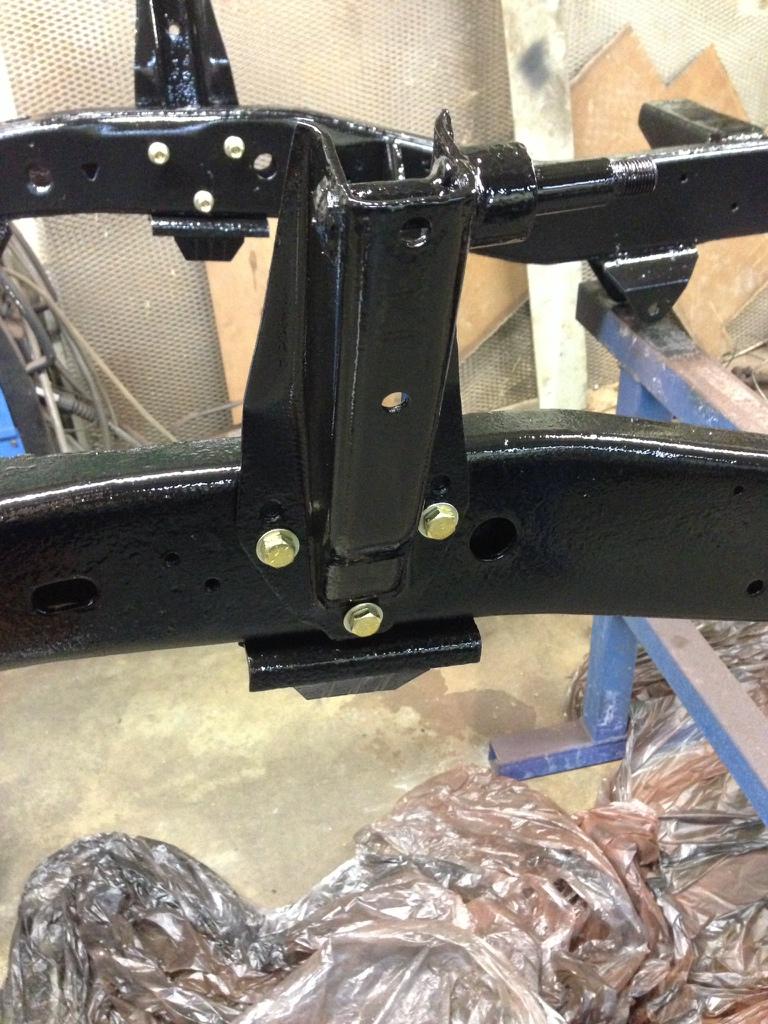
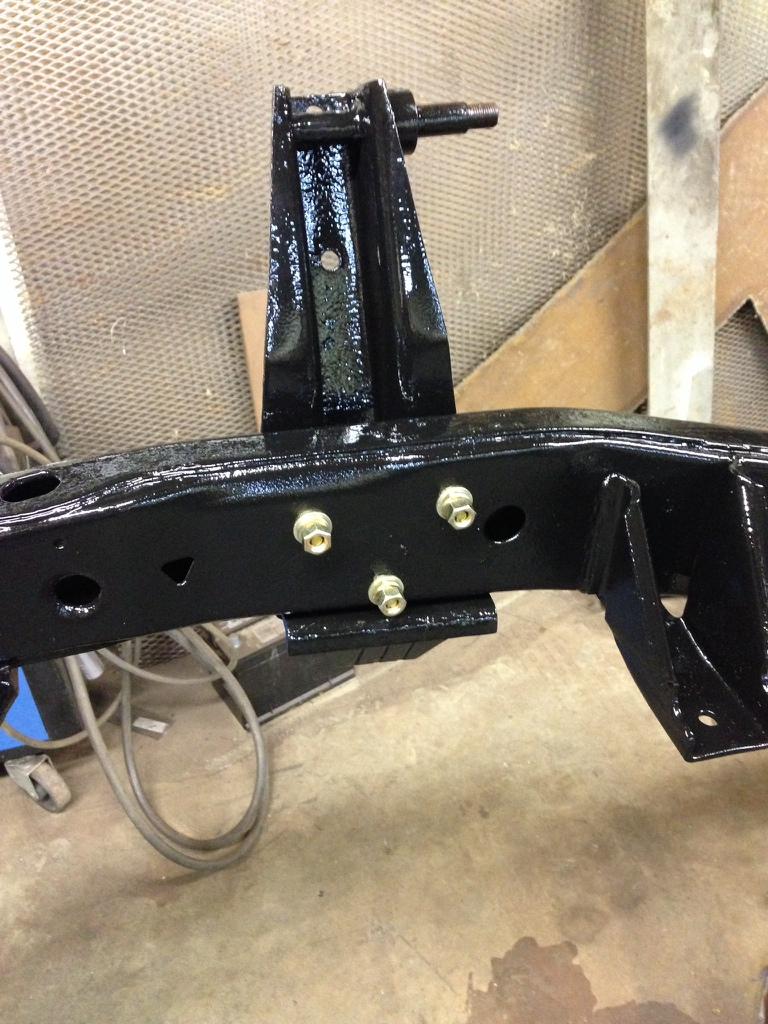
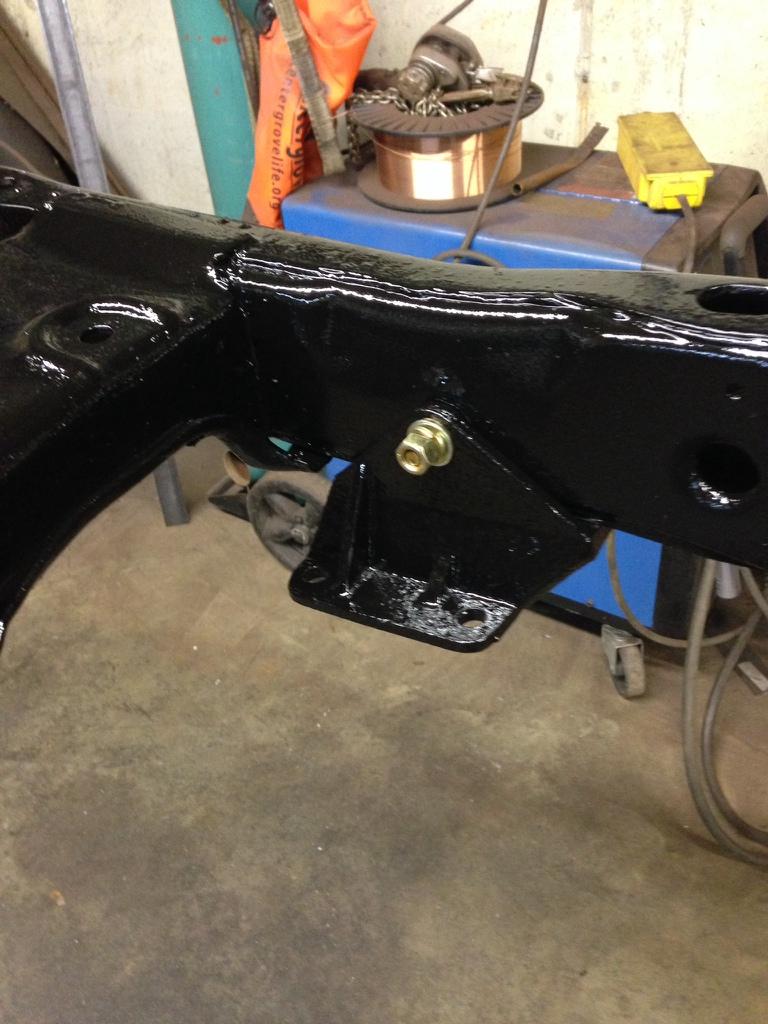
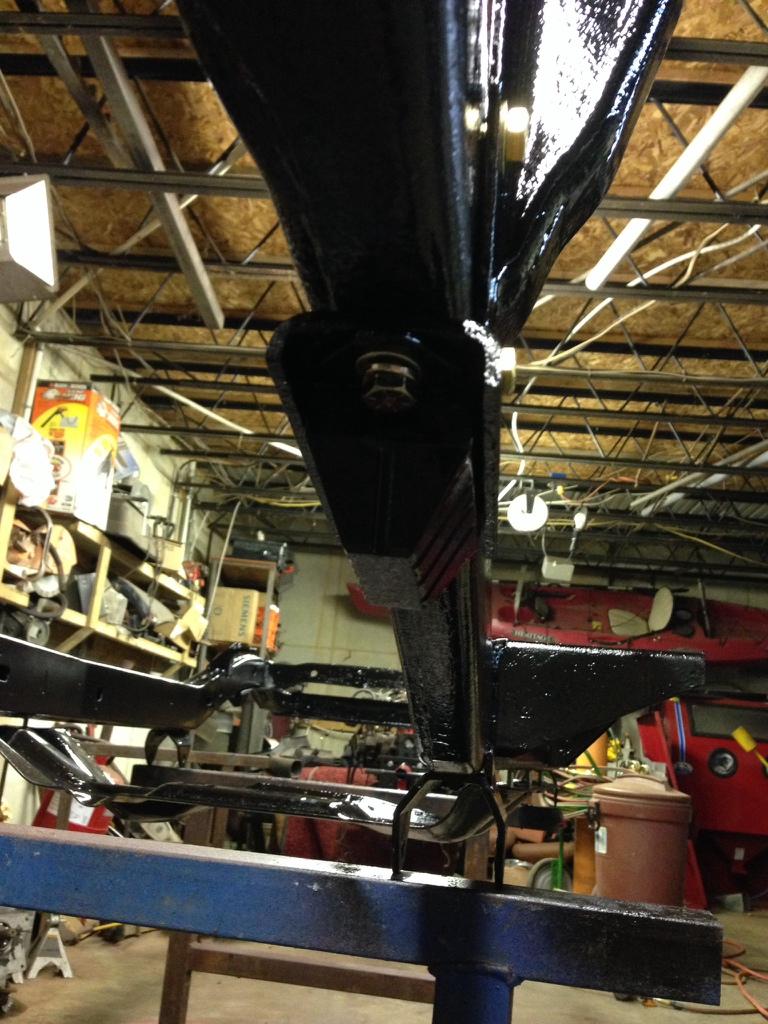
Here's what it's going to look like with the Gr8 fasteners on the gloss black frame.

be81c9a42f16c3005fdb9fe6003718af-1.jpg


86b581281deceffbc50cad66b139bf49-1.jpg


a01033789075299c16442b1a23992487-1.jpg


80388568ee27a8d8a578d7e93ae03c18-1.jpg


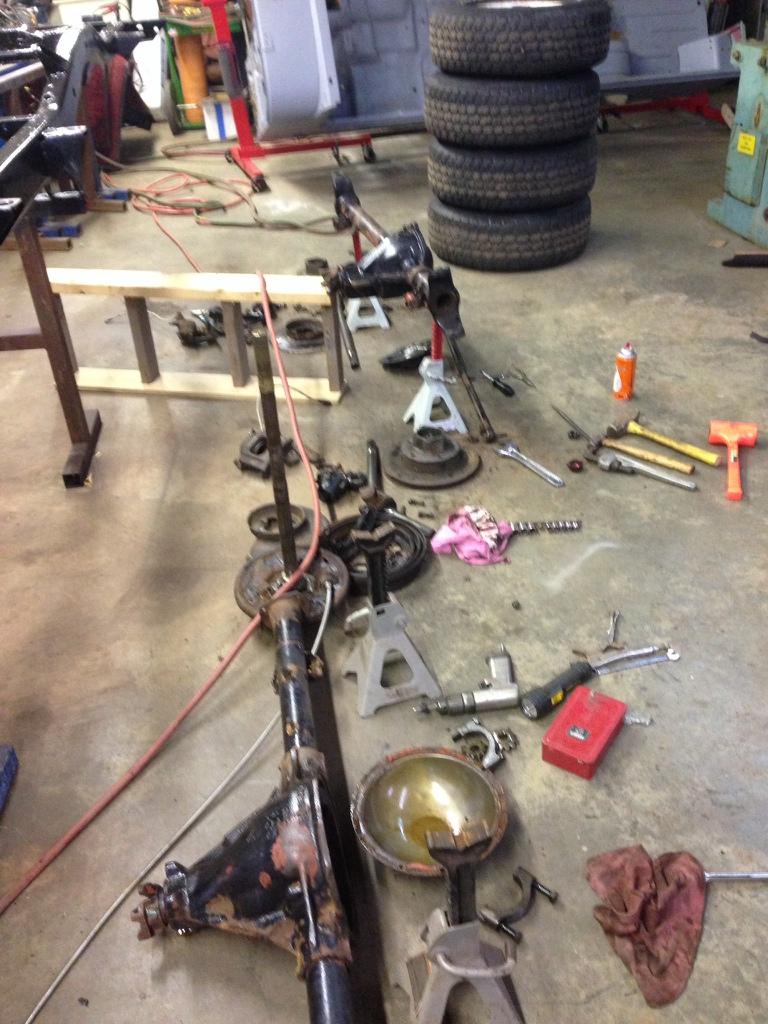
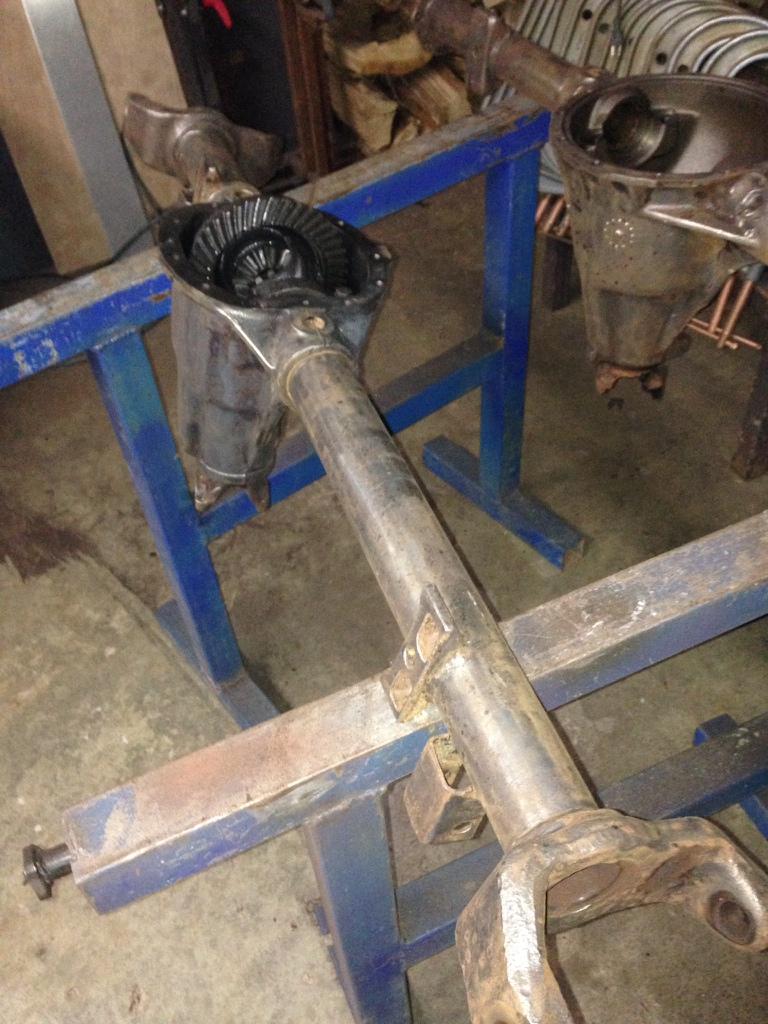
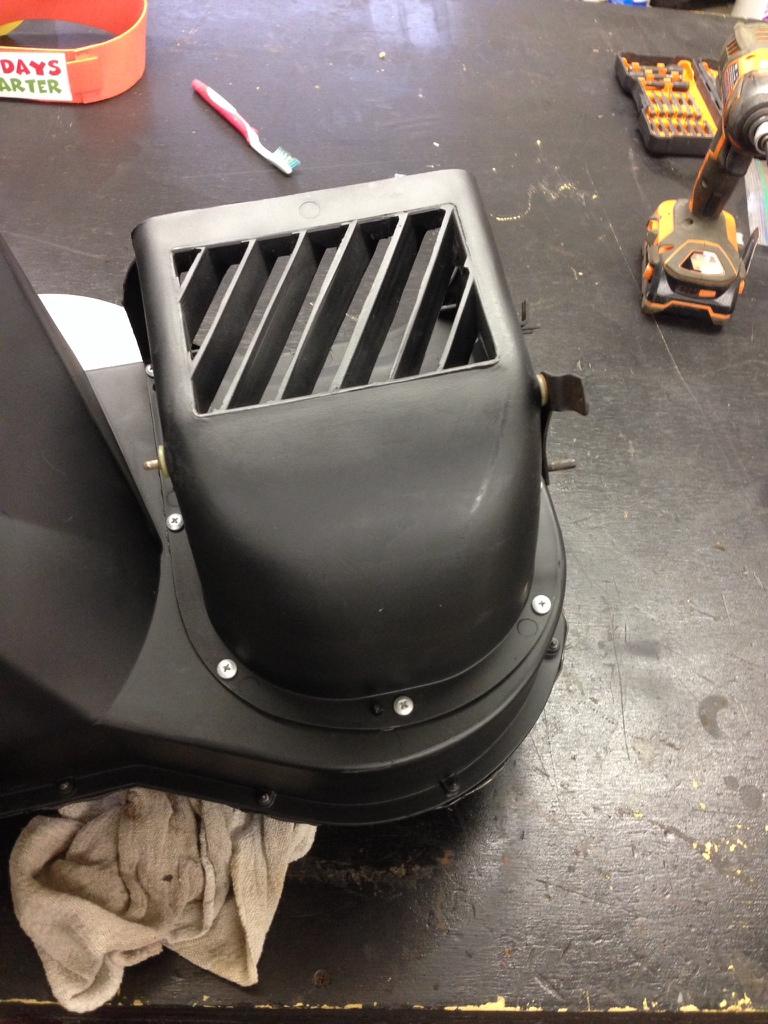
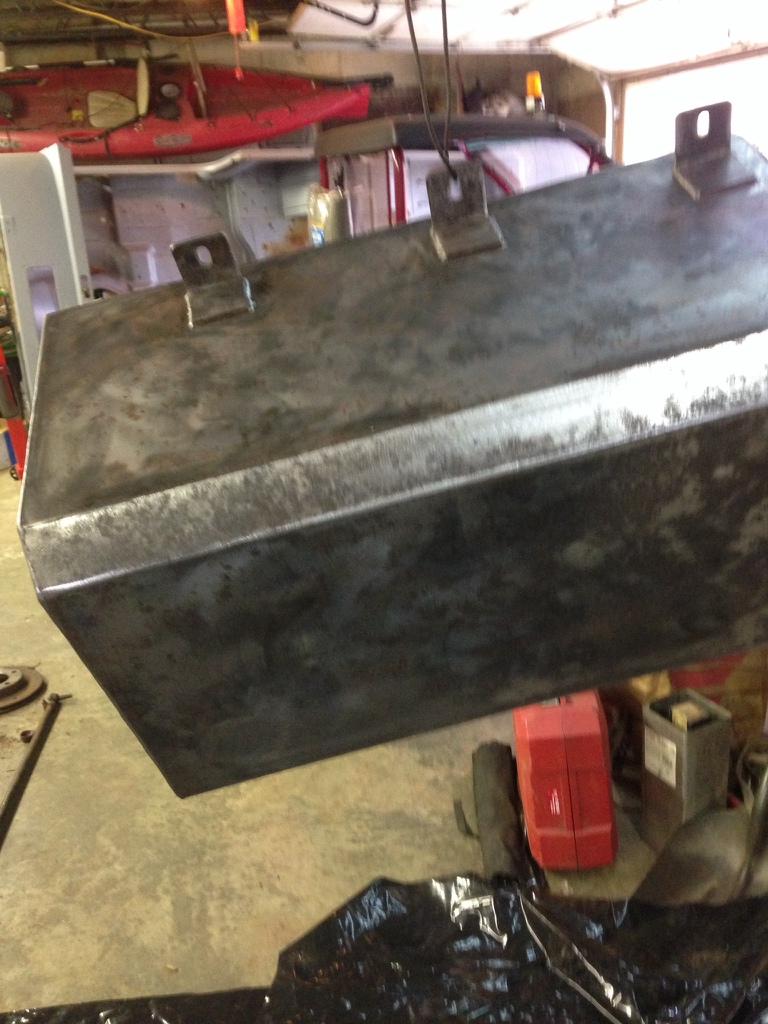
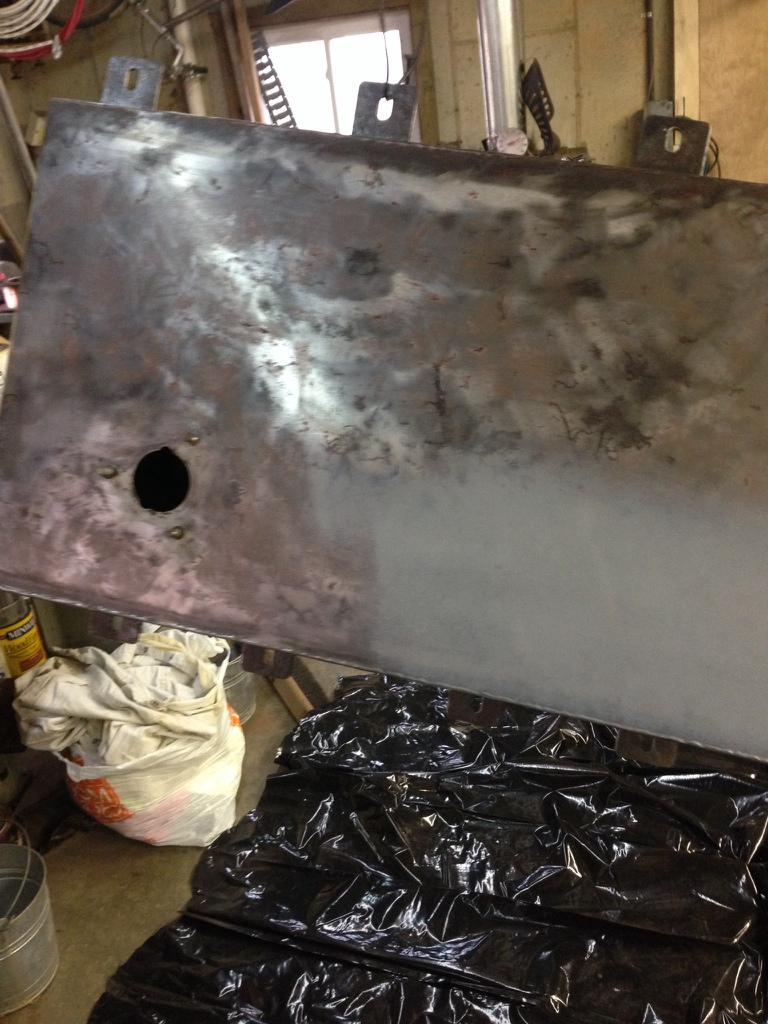
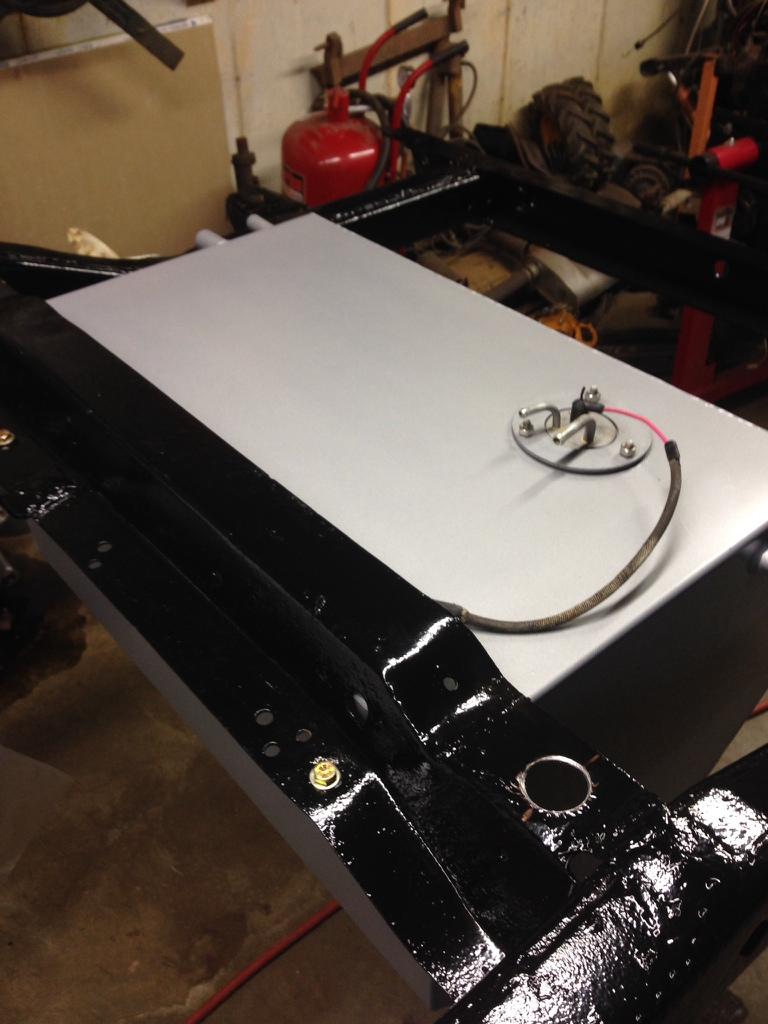
Next on the list is the gas tank prime and paint, hard lines and axles
 

mhinchliffe

CJ-8 Member
City
W-S
State
NC
It's been a while. I got the rotisserie fab bed up out of 2 harbor cheap 750 lb capacity engine stands. I added 7" to their height to allow for clearance. I used some scrap flat bar to attach to the vertical plate. I've got $60 and 2 hours of my time wrapped up in it and it is sweet.

870def61afd1c3282b66e9c607b82959-1.jpg


2014305d9a663a02ca654cd7b74ec437-1.jpg


I made a video of it in motion but can't upload??????

So then I moved on to the rear axle. I'm still stoked that I've got 1 piece axles! Took the wheels off, brakes, diff cover then had some real problems with the roll pin on the carrier.

dec91ca3ff0e7f0ca31d26dd911ae5ac-1.jpg


I then made a tool to remove the old seal and the spacer I'll reuse. Nothing more than a piece of 1/2" black pipe. Look closely and you will see that that one of the captured nuts I removed.

8c1d9b3f149e541d00e9827e963a98d0-1.jpg


27ee3dc55f7075f4d73bece0ac1b2779-1.jpg


Then it was off to the front axle. I removed the tie rod and didn't even have to use a wrench!, I just chiseled the nuts and they split they were so corroded

36a80acf6bf7bf122b71af0267f171dc-1.jpg


Here's the splits

38d5ae66b421e511d7ab964e90363f2a-1.jpg


b64e8f8369e028427fd889dd52704678-1.jpg
 

mhinchliffe

CJ-8 Member
City
W-S
State
NC
Next I took the hubs off with no issues, then the hub/rotors to expose the spindles and apparently there had been some repair work done.

Here's what it looks like

e87418dad3ab06a6cdbdfe472d7c2b42-1.jpg


And what it's supposed to look like

22f04b626fa578ddead7cfb03386167a-1.jpg


Side by side

0fe4f970ce61bc91c60743cc8d7f99d4-1.jpg


Anyone have one laying around please let me know

Here's a pic showing how the Silikroil crept into where the spindle goes into the knuckle.

3acbe1fa49e1f57afcb9ad44e1ab5c17-1.jpg


I had to weld a nut on one of the E torx fastening the caliper on. I have plenty of 1/2" nuts from work that are in coated and we use them for welding.

e7cda7a858bffd85ab1eb26c8bf2b677-1.jpg


I then removed the knuckles. Having an oxy/acetylene rig does come in handy when you need some real heat!

Here's a shot at the end of the shift. Not too bad of a day in the shop. Now I've got more to blast, prime and paint! Can't wait to start assembling these and getting a rolling jeep. I sure am glad I decided to tear it down and rebuild it so I know when it's on the road it's safe and reliable.

821d009c580bb69c855109dbdcbce568-1.jpg
 

dmock

Jeep junkie...CJ8, JK
Lifetime Member
City
Gun Barrel City
State
TX
Looks great! I used the HF rotisserie system too. It makes working on the tub much easier.
 

wm69

Scrambler Junkie
Silver Member
Lifetime Member
City
God's Country
State
AR
Any more pics of that HF roteisserie? Must have missed that one.

What am I looking at with the spindles?
 

mhinchliffe

CJ-8 Member
City
W-S
State
NC
All I did was add some angle to box it in after I cut it. Here are a few pictures.

7b4d5fa2290536e962406c0b311eda6e-1.jpg


cd7ccb83f52662223df60abc69e87358-1.jpg


e97202d7e36f0edf98c212d61cf1d987-1.jpg


94b38e14ded12a4c4225e6391700513d-1.jpg


I notched their gusset out for clearance. I figured with both stands carrying the load I was no where near the 750# rating

485ec5bd175a1948efe8282446d0be26-1.jpg


So after work and before Girl Scouts tonight I wire wheeled the axles. They cleaned up rather easily and considerably faster than I thought they would.

11cb8653a224e52dde873438c0506bbd-1.jpg


d4c77db31e266112e2bced47059b8e0d-1.jpg


Check out the "B" stamp. This indicates 3.31 axle ratio. I confirmed this by counting the ring (43) and pinion (13). I think this ratio will suffice for my purposes.

c685c3537ef0e729578fea77cfb14c08-1.jpg


That's all I got.
 

mhinchliffe

CJ-8 Member
City
W-S
State
NC
Any more pics of that HF roteisserie? Must have missed that one.

What am I looking at with the spindles?

That is correct. It is the left side spindle. I'll post up a better picture or two. It gas been welded and ground down to what the repair technician thought was true.
 

mhinchliffe

CJ-8 Member
City
W-S
State
NC
Piddled just a bit doing the headlights. They're Hella H4's with the "city light". That's kinda like a daytime running light but in Europe some cities forbid the use of headlights at night so these act as dim headlights to identify the front of the vehicle. I'm going to wire them to a switch and maybe put an amber bulb in it.

2bdaa28b98fe085e2b84f1c27c0e5d98-1.jpg


9c82132833ab997c901bfe6f120174c8-1.jpg


f666a60cfa0538c063a3fec4e146840f-1.jpg


Also took the time to install a new heater core and button up the heater unit

26b33c0a6deccd4eb41bafb934e75883-1.jpg


103935fe571c39f78856aa67f2fc8be7-1.jpg


400d931ca3cd8a4eb77b9b7b91000579-1.jpg


98ad8f70917b68079345d4d33cc0a5bc-1.jpg


ed1698071aa2ea96d553e276c43492a0-1.jpg


63ef6e6117d9d6d7ead6bcf32d6cd2d2-1.jpg


Took the family to monster jam Saturday night and I think we all really enjoyed it! With a 7 and a 4 year old it was fun to watch them amazed by the machines. Very cool dad day!
 

mhinchliffe

CJ-8 Member
City
W-S
State
NC
I was able to knock out the gas tank. I wire wheeled and flapper disc'd it, wiped it down and shot it with etching primer and then hi temp aluminum. It came out pretty good I think.
I need to find an o ring for the sending unit and I'll complete that loose end.
Here are a few pics.

bae796277ef8d38688bc9503b46312f2-1.jpg


7e0388adb097556873735b7ba47c6dcb-1.jpg


fd2c223a09dc8c63c89e8df881a5057c-1.jpg


64cfc251aea8551c35783d91b3abc713-1.jpg


628fc1446466e7a805fa59499b8558c3-1.jpg


376ab999006c5e523e23da588e743062-1.jpg


424914a9961ddc10a2508b57cc706a0f-1.jpg


54848085e9bfe3feaaf8835fab56dc6b-1.jpg


eaf2f6a63186e17ae6de7e1d432066cd-1.jpg
 

mhinchliffe

CJ-8 Member
City
W-S
State
NC
Here are a few pictures of the wiring harness that I refreshed. It did have the duct tape on the splices but was in really good shape otherwise.

2fd8d0b51b7c79e9015712210d5c02b3-1.jpg


Here's a crimp connection

f9e4700e874585d9e73a7b6cd51eeeed-1.jpg


And wrapped with 3M tape

501e8454380b07f01059e270291f6dc3-1.jpg


A few overalls of the harness. I'm going to leave the computer control wiring in tact behind the dash. It won't be in the way or unsightly, under the hood is another thing.

07365ff2241c673e89c88e0fd0930da6-1.jpg


882a0fec5daea1eab55df6783be0cf8e-1.jpg


a48bdafbdf023b6310ac7be9c17653e2-1.jpg


19d1670d045b8983ba10873535fa9a66-1.jpg


8cd834b33130abc00ea64ada04038e34-1.jpg


More to follow
 

timothy

Scrambler Junkie
Lifetime Member
SOA Member
City
baltimore
State
oh
If I may make a suggestion. I've been doing some electrical connections on my 8 recently. I've been using Tyco brand solder/heat shrink butt connectors. No taping needed & the connection is more secure along with at least more water resistant if not waterproof. U will need to get a heat gun if u don't already have 1. I absolutely love them. Like I stated a suggestion/my 2 cents from my experience. Good luck

Tim
 

jammer1

Scrambler Junkie
Lifetime Member
City
Maple Hts.
State
Oh
I use heat shrink tubing. Can cut to size and when I solder the connection I don't shrink the end. After I do the solder I slide the shrink tube on and use a lighter to heat. I like having more shrink tubing on to get a better seal. I also like you're fuel tank. I have one for the cj8 I'm building and so far haven't found one for the cj7.
 

firefighter736

Basic User
Member
City
Floyd
State
VA
Hey mhinchliffe - digging the build. I think I'm going to steal your rotisserie idea. Do you mind fielding some questions about it?

1) I see you didn't extend the legs that are perpendicular to the body outwards. Do you ever worry about it tipping over?

2) I'm looking at the exact same engine stands, do you mind measuring the square tube on those legs? I think it's either 2 or 2.5"
 

mhinchliffe

CJ-8 Member
City
W-S
State
NC
Here's a shot of the outside of the box with HF item number on it

b5aa01fcdb392c384c111599ec28e3ed-1.jpg


Being all things mass produced these days come from china it's a metric tube, 80mm x 40mm and not much more than a 16ga wall

ea0f1a673248590b72335e5b71bfce63-1.jpg


07f0f1ea4ae1eab1af2e622aa7501b68-1.jpg


I haven't had any worries about tipping. I've tied both together across the bottom with a length of tubing. Anything else I can do just shout.
 
Top