
You are using an out of date browser. It may not display this or other websites correctly.
You should upgrade or use an alternative browser.
You should upgrade or use an alternative browser.
1983 Scrambler resto
- Thread starter Craner8
- Start date
Craner8
CJ-8 Member
- City
- Orlando
- State
- FL
Haven't done much last 10 days--out of town for family emergency but back home now. Grabbed the door panels and dash to paint using SEM products. Painting panels and dash 'camel' color and 'Jeep' several shades lighter. Should contrast well with the body color.
Washed all thoroughly with simple green and then SEM soap and dried.
Door panels are now much brighter and look cleaner.

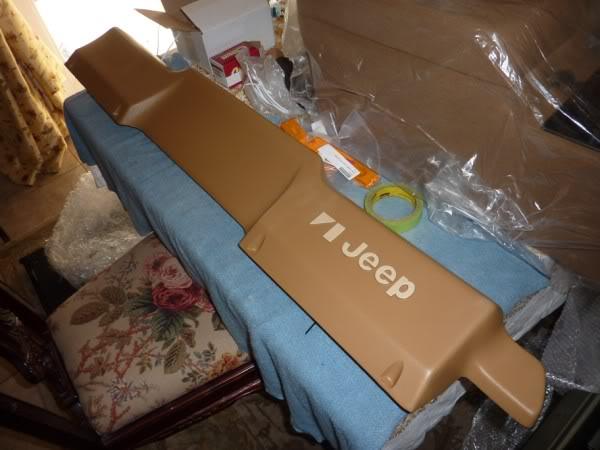
Here is my helper showing the SEM paint.

Tested the paint on the back of the dash first and to make sure all edges are covered in case they show thru the windshield, etc.

Here's what I started with--paintable grey dash.

Final paint on the dash. Let it sit for couple hours.

Not sure its done properly because it's a typical Jeep dash, spongy, and when I pressed on a corner, the paint wasn't real flexible and it came off so I repainted it. Wondering if SEM makes a different paint for this type of application. They told me at the paint store this would work tho. Will see. May re-do later if its not right.
Brought inside to cool off and hand-painted the 'Jeep'.


And the final on the dash and door panels.


Washed all thoroughly with simple green and then SEM soap and dried.
Door panels are now much brighter and look cleaner.
Here is my helper showing the SEM paint.
Tested the paint on the back of the dash first and to make sure all edges are covered in case they show thru the windshield, etc.
Here's what I started with--paintable grey dash.
Final paint on the dash. Let it sit for couple hours.
Not sure its done properly because it's a typical Jeep dash, spongy, and when I pressed on a corner, the paint wasn't real flexible and it came off so I repainted it. Wondering if SEM makes a different paint for this type of application. They told me at the paint store this would work tho. Will see. May re-do later if its not right.
Brought inside to cool off and hand-painted the 'Jeep'.
And the final on the dash and door panels.
I think that paint has to super dry to stick to that dash. I think that is the same paint I used on mine and it has not come off. My repairs under the paint are not great, but the paint has not come off.
That is dedication to take the parts to the beach to work on them. Way to to, wish we were there.
That is dedication to take the parts to the beach to work on them. Way to to, wish we were there.
Craner8
CJ-8 Member
- City
- Orlando
- State
- FL
Contacted the SEM today and was told that you CANNOT use Adhesion Promoter on the dash before painting it with the SEM paint. Need to get some Vinyl Prep and clean it and paint without the promoter per SEM. Guess the dash needs to be redone; will buy the prep and repaint this weekend.
Got the doors assembled tonight; internals, etc. Need new door locks with keys. Painted the inside door pulls satin black and installed the door handles on the outside and the rubber around the door. Once the locks are in, will install the door panels for the final time.
Installed the battery box last night and laid the Painless harness on the engine and started hooking it up. Ran the harness across the front with rosebud clips and secured.
Need Spice Denim seats for the interior; not spice vinyl. Who makes buckets and benches in Spice Denim?
Pics to come.
Craner8
CJ-8 Member
- City
- Orlando
- State
- FL
Looked over the dash again and determined that the paint is not sticking. Per SEM, it needs to be stripped and cleaned with Vinyl prep before painting. And they advised no "Adhesion Promoter" prior to painting, so I stripped the dash back to gray this am and cleaned and prepped so its ready for paint this p.m. Will do again. Will add pics too along with the other work done.
Ordered seats yesterday, 2 buckets, 2 benches for rear. Spice denim. Matching spice denim console too. Misc other parts on way also. Ordered 2 new door locks with keys (can't find my keys) and when installed, will installed door panels.
Ordered seats yesterday, 2 buckets, 2 benches for rear. Spice denim. Matching spice denim console too. Misc other parts on way also. Ordered 2 new door locks with keys (can't find my keys) and when installed, will installed door panels.
Craner8
CJ-8 Member
- City
- Orlando
- State
- FL
Ordered parts from Morris 4x4 yesterday and they arrived today. Quick turnaround. Got a console, headlight rings, misc Kentrol black powdercoated parts for interior and on hood, pedals covers for brake and clutch and radio delete panel.
Installed the pedal covers and new headlight switch bezel on dash and new headlight switch on dash. Much cleaner. Installed the chrome headlight rings, and attempted to install the radio delete panel and promptly broke the tab on the back. So, used JB Weld and welded two screws to back to thread nuts onto the screws to hold. Will see if it works.
Repainted the dash tonight and letting it dry now. Will see if the new paint job works.
This is a pic of the back with first coat on it.

This is a pic of the front with the first coat. Got dark; no pics of the front done but its done now. Will see if it's done right. Came out good so far...

More tomorrow.
Installed the pedal covers and new headlight switch bezel on dash and new headlight switch on dash. Much cleaner. Installed the chrome headlight rings, and attempted to install the radio delete panel and promptly broke the tab on the back. So, used JB Weld and welded two screws to back to thread nuts onto the screws to hold. Will see if it works.
Repainted the dash tonight and letting it dry now. Will see if the new paint job works.
This is a pic of the back with first coat on it.
This is a pic of the front with the first coat. Got dark; no pics of the front done but its done now. Will see if it's done right. Came out good so far...
More tomorrow.
Craner8
CJ-8 Member
- City
- Orlando
- State
- FL
Got a little done tonight before we left for the weekend. Got everything I ordered on Wed. Came on Thurs and Fri.
JB Weld worked good on the radio delete panel except it was too thick to seat properly, so I snapped off one of the screws. Will grind down the JB Weld and re-glue the screw and it will work fine.

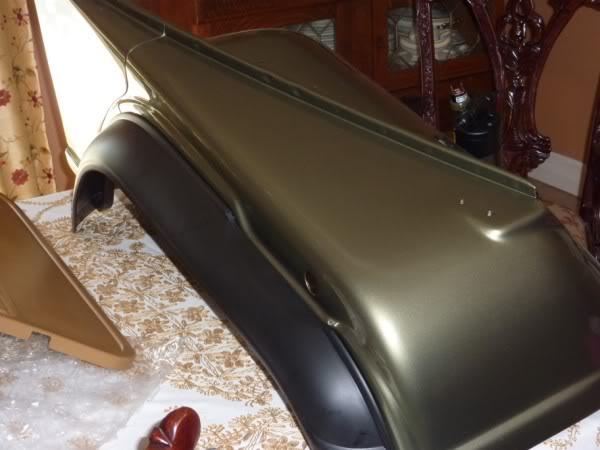
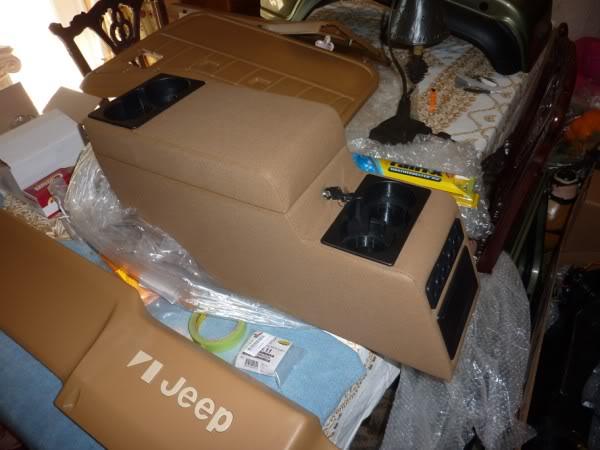
Pic of the front fender--installed the flair. Also, a pic of the console I bought. It will be installed at the end. It's all on the dining room table....no complaints from the wife.....yet.
Got the seats today too. Set them in the Jeep, and actually sat in the driver's seat. Spice denim. Perfect color match to the top. Dash will look nice too. Will get them in right place and install the 2 rear seats now, fronts later after A/C is installed and all is done under the dash.
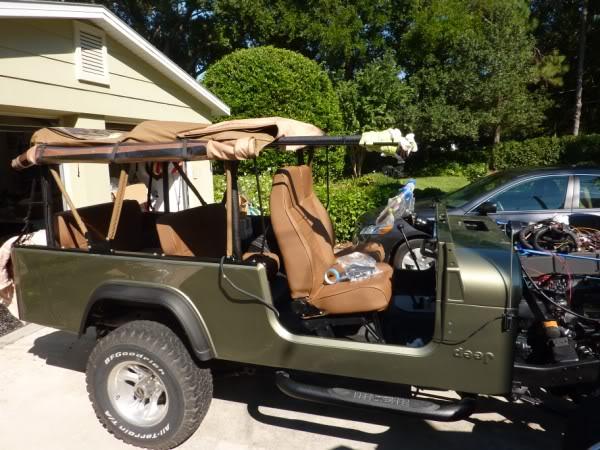
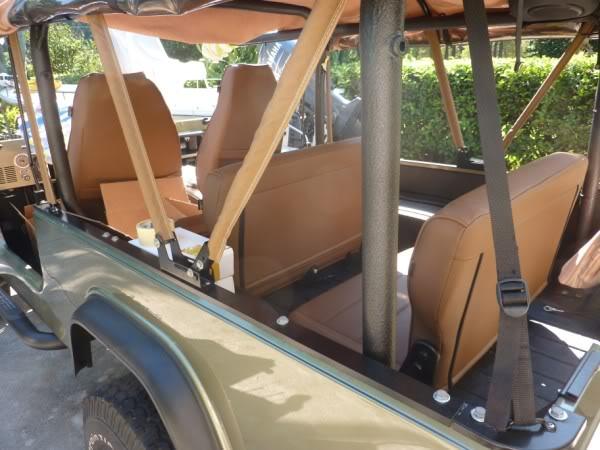
Got all seatbelts too. 4 shoulder belts for front buckets and back rear seat, and lap belts for the middle seat. Will mount them after the seats are installed before the console goes in.
Here's the final on the dash: dried fine. Hand-painted the 'JEEP' logo. Will be fine. May mount Sunday..
More to come.
JB Weld worked good on the radio delete panel except it was too thick to seat properly, so I snapped off one of the screws. Will grind down the JB Weld and re-glue the screw and it will work fine.
Pic of the front fender--installed the flair. Also, a pic of the console I bought. It will be installed at the end. It's all on the dining room table....no complaints from the wife.....yet.
Got the seats today too. Set them in the Jeep, and actually sat in the driver's seat. Spice denim. Perfect color match to the top. Dash will look nice too. Will get them in right place and install the 2 rear seats now, fronts later after A/C is installed and all is done under the dash.
Got all seatbelts too. 4 shoulder belts for front buckets and back rear seat, and lap belts for the middle seat. Will mount them after the seats are installed before the console goes in.
Here's the final on the dash: dried fine. Hand-painted the 'JEEP' logo. Will be fine. May mount Sunday..
More to come.
- City
- Columbia
- State
- MO
Craner, what did you use to strip the old paint off your dash pad when you had to redo it? I have a Slate Blue dash pad in perfect condition but the previous owner spray painted it black. I would like to try to remove the black paint without damaging the pad. Any suggestions?
Last edited:
bobbysjeep
Legacy Registered User
- City
- Charlotte
- State
- NC
Looking good.. All those parts are starting to look like a Jeep.
Craner8
CJ-8 Member
- City
- Orlando
- State
- FL
Typed a response but didn't see it. Hope this isn't a dupilcate...
bobbysjeep, yes its coming together. More to do today.
Polarfire, see the SEM webiste for application of their paint. They may advise to leave the black and paint over it. I used 2" masking tape to remove mine and it came off in sheets because I used adhesion promoter first. Don't use adhesion promoter first. I used vinyl prep then rinsed and painted.


- City
- Biloxi
- State
- MS
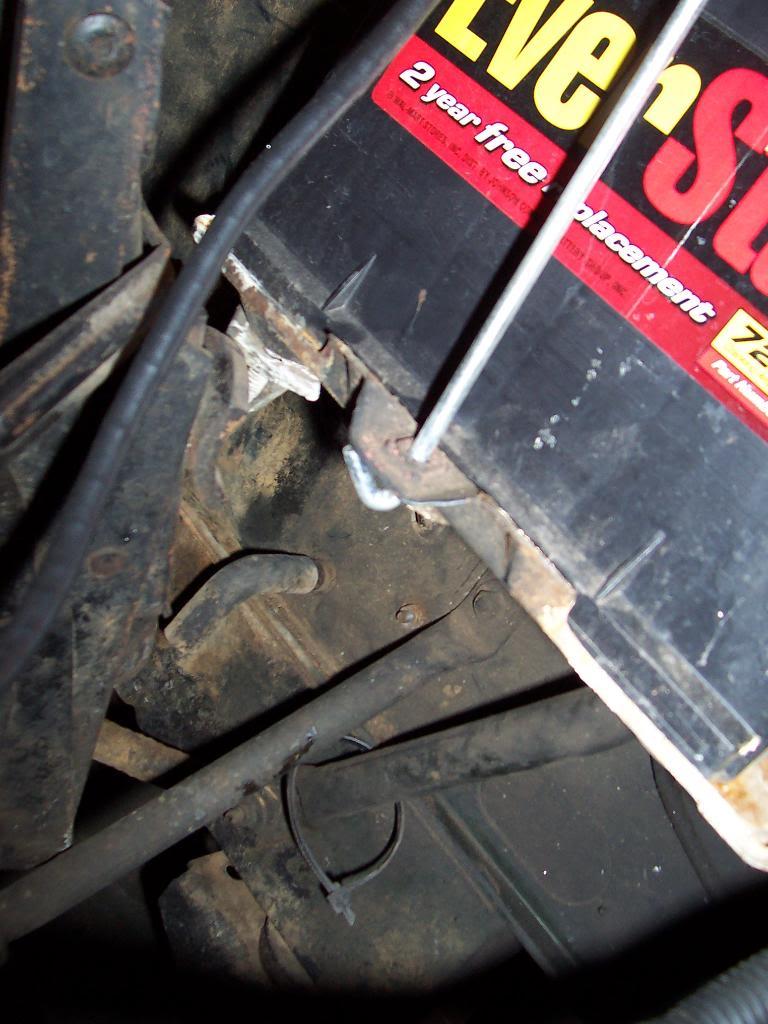
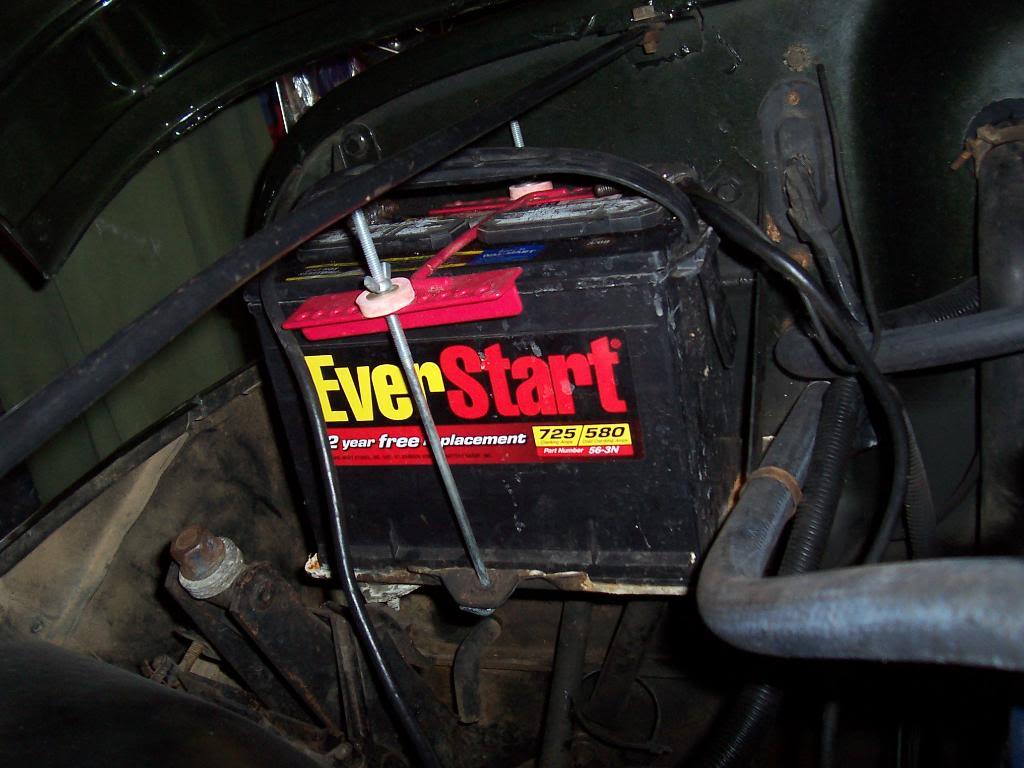
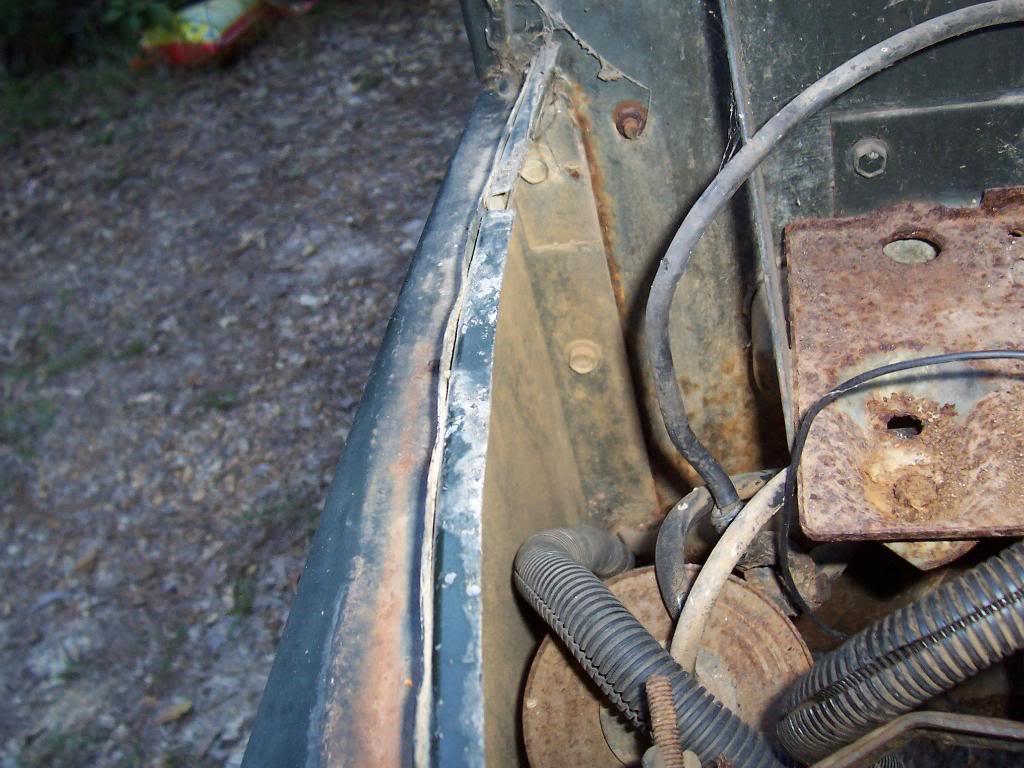
Here are some pics that I took of the fender/body tub braces. Hope these help you out.
These first pics are off my green Scrambler. It is kinda dirty, but all these braces are painted the body color. Pics aren't the clearest because it is hard to take pics of these areas with all the factory mounted stuff in the way.
Passenger side, 4 braces total. Two hold up the battery tray, two go from body tub to fender.
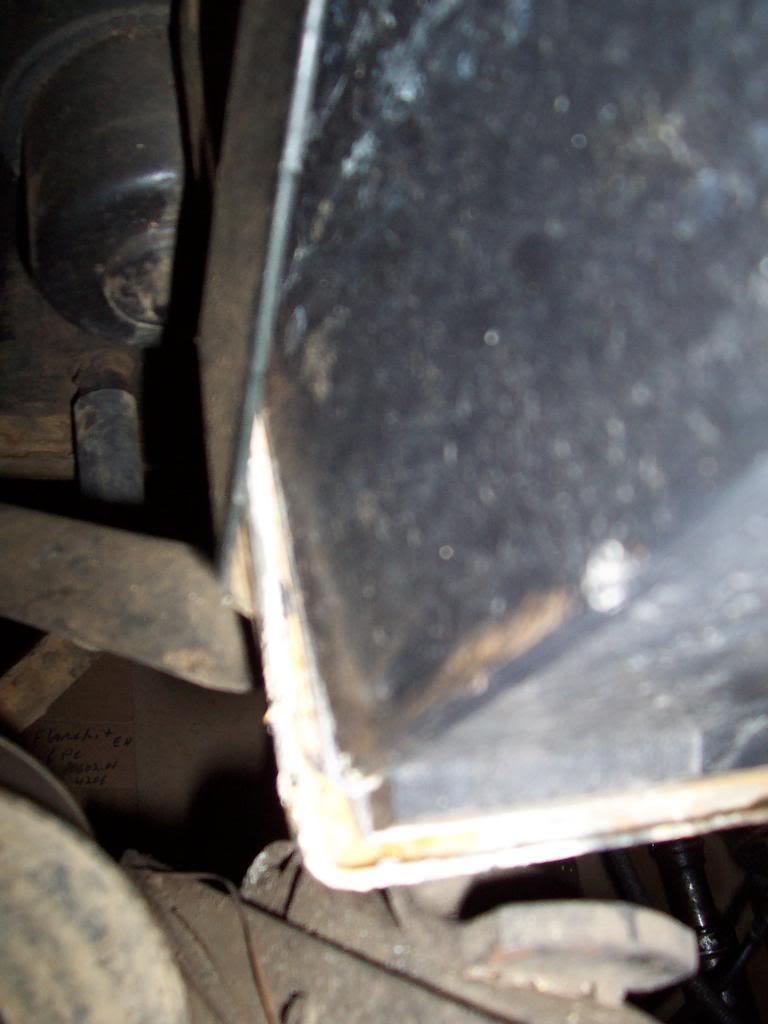
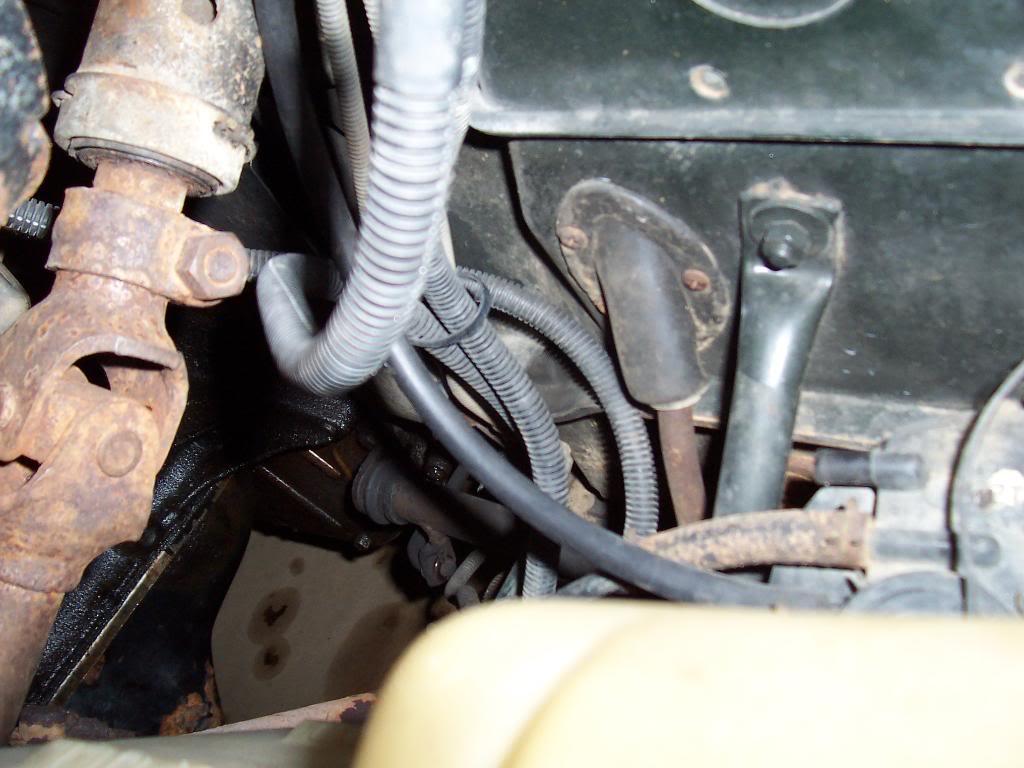
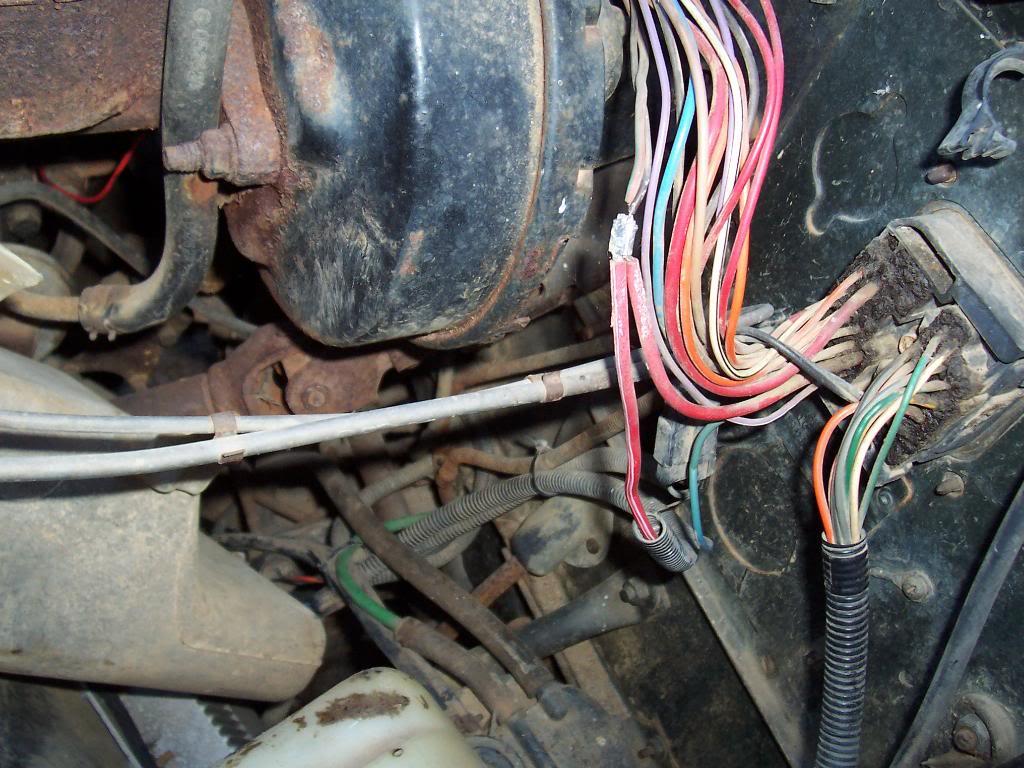
Drivers side. All I found was 1 brace, but I think there is another one on this side, maybe I am wrong?
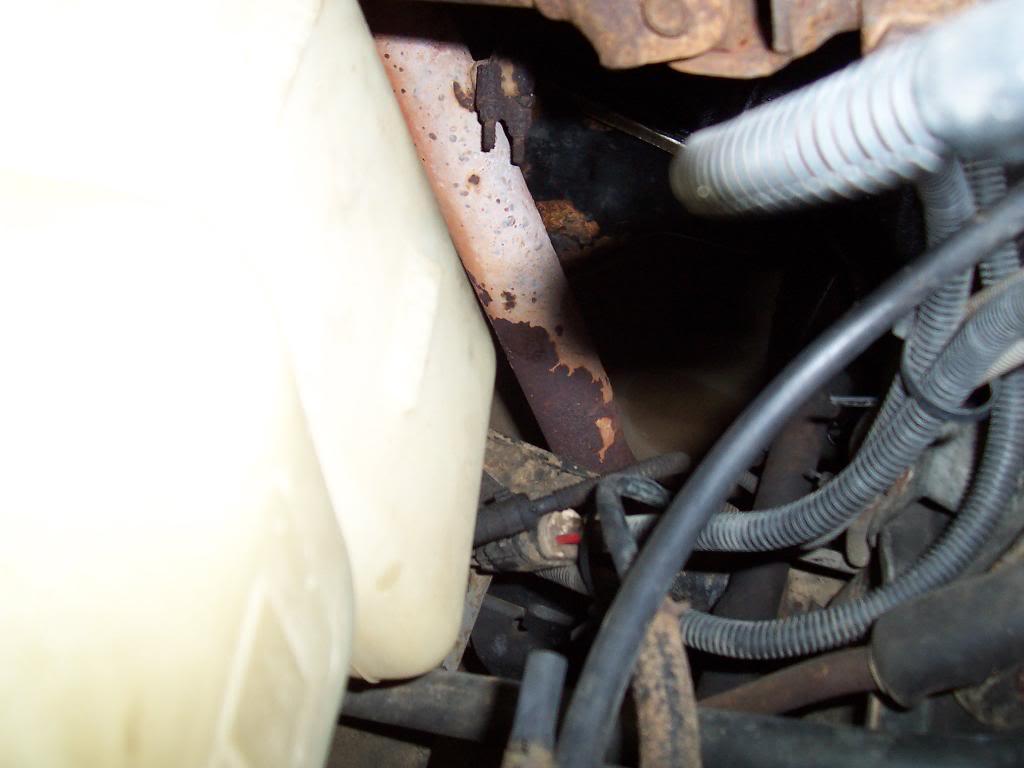
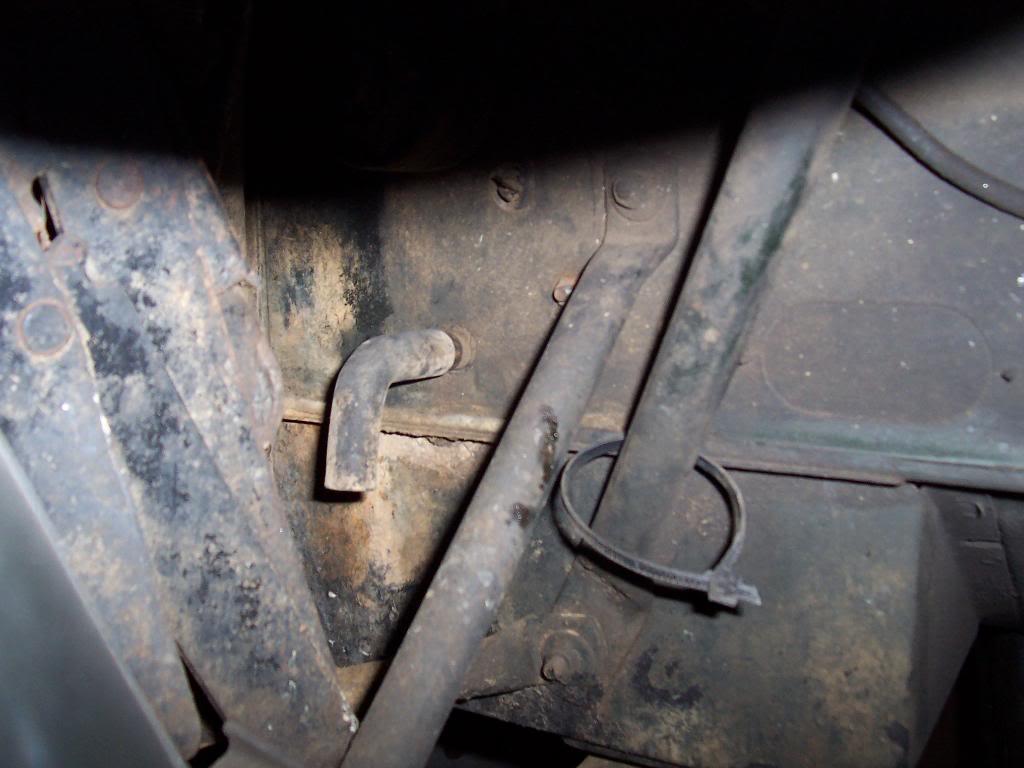
Some pics from another Scrambler, maybe they are clearer?
Passenger side.
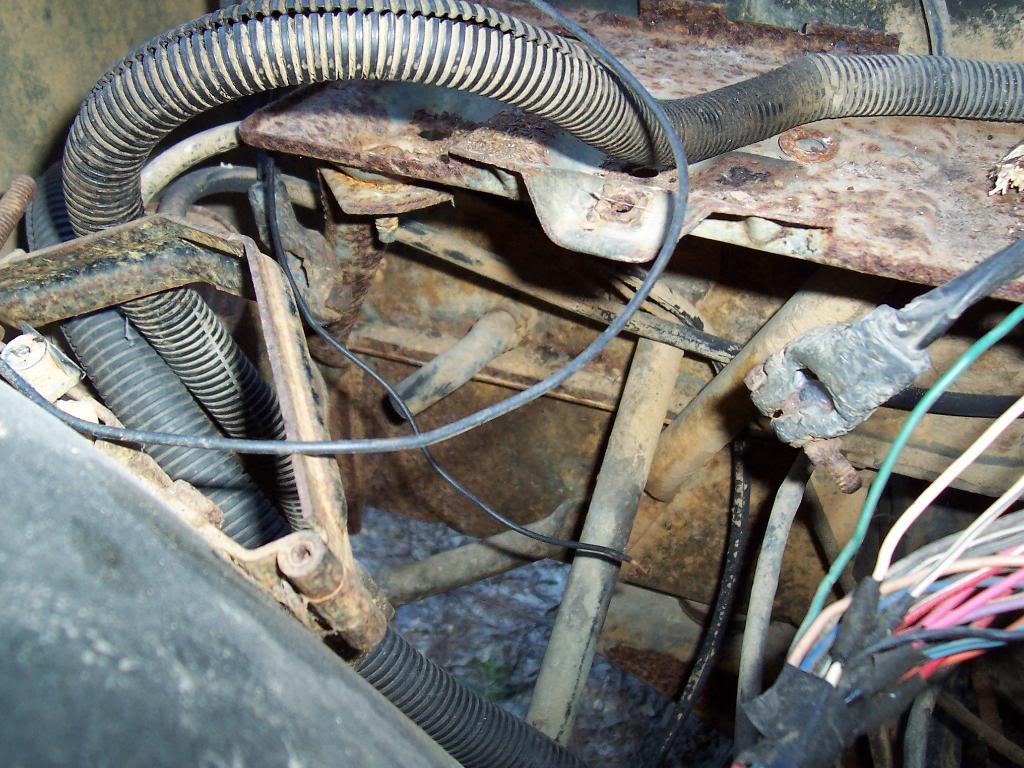
Drivers side.
These first pics are off my green Scrambler. It is kinda dirty, but all these braces are painted the body color. Pics aren't the clearest because it is hard to take pics of these areas with all the factory mounted stuff in the way.
Passenger side, 4 braces total. Two hold up the battery tray, two go from body tub to fender.
Drivers side. All I found was 1 brace, but I think there is another one on this side, maybe I am wrong?
Some pics from another Scrambler, maybe they are clearer?
Passenger side.
Drivers side.
Last edited:
Craner8
CJ-8 Member
- City
- Orlando
- State
- FL
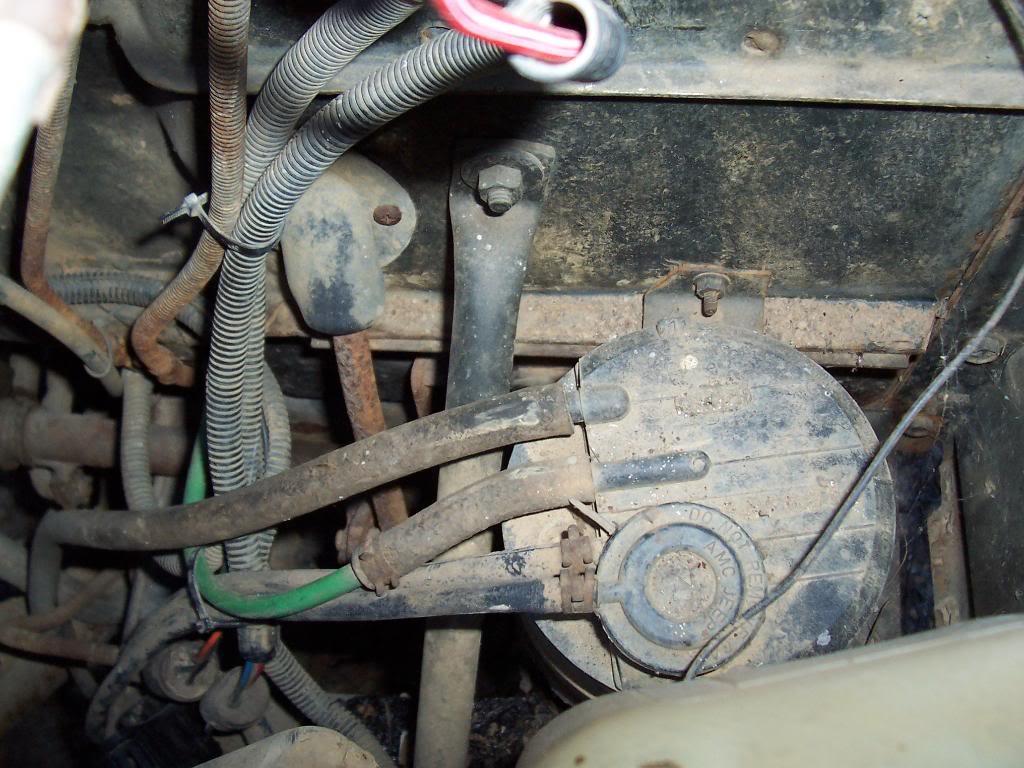
I see where they go now based on these pics. 2 under battery box in addition to the battery box support, and corresponding brace from tab/bottom on inside front fender to the firewall on the driver's side behind the charcoal canister. Thanks spankris and thanks for the comments manicman. Did you ask about the paint last week? If you did, I stopped at Lexus yesterday and the paint had an RU3 on the bottle. 'desert sage metallic'.
Got the charcoal canister in last night along with the fuel injection computer above the canister. Worked on the radiator and condenser and will set in place this evening.
Got the charcoal canister in last night along with the fuel injection computer above the canister. Worked on the radiator and condenser and will set in place this evening.