• Notice for iPhone users: DO NOT use the image size reduction option when uploading photos to the forum. This causes portrait images to post as landscape. We have added a warning to the image insert pop-up as well.

Another Scrambler Purchase/Road Trip - UPDATE- BODY ON FRAME AGAIN

Sounds like you have been down this road before as well, bigwalton, definitely is not fun:angry::banghead:

Yes and yes. I didn't have the luck you have had with the bolt down through the frame not spinning. I always ended up with a longer bolt than needed and had to hold the end of the threads with a vice grip, which meant cutting off the nut to disassemble.
 
Got a little done yesterday (saturday) BUT had to come to work today (sunday) so I will do a quick update:

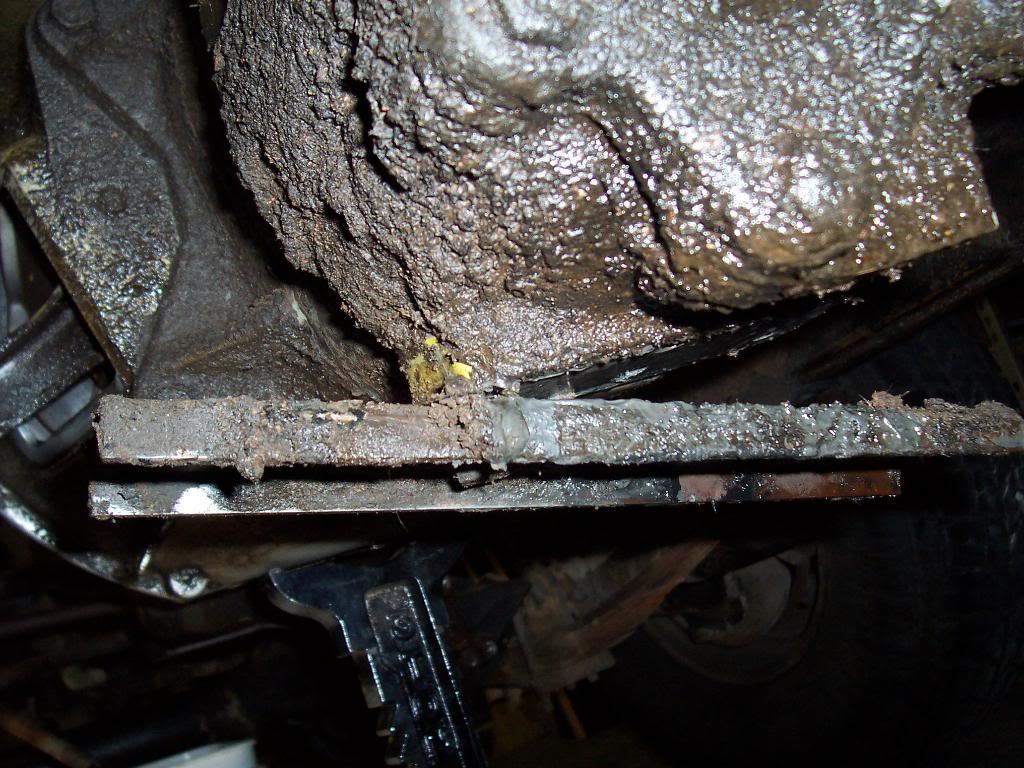
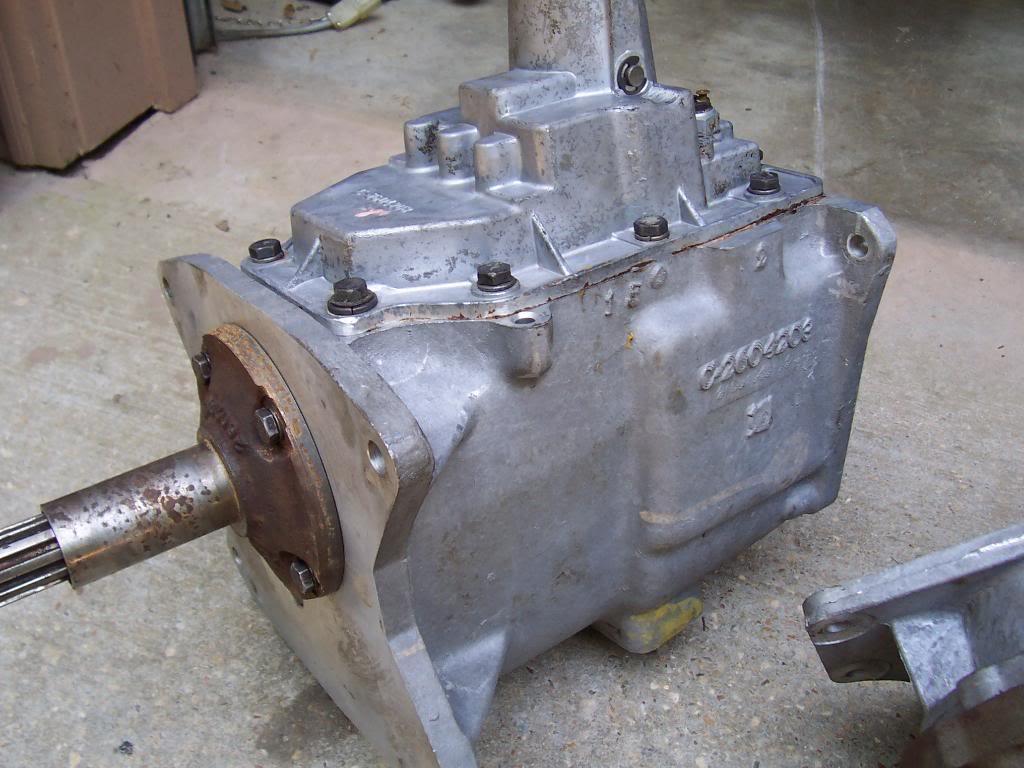
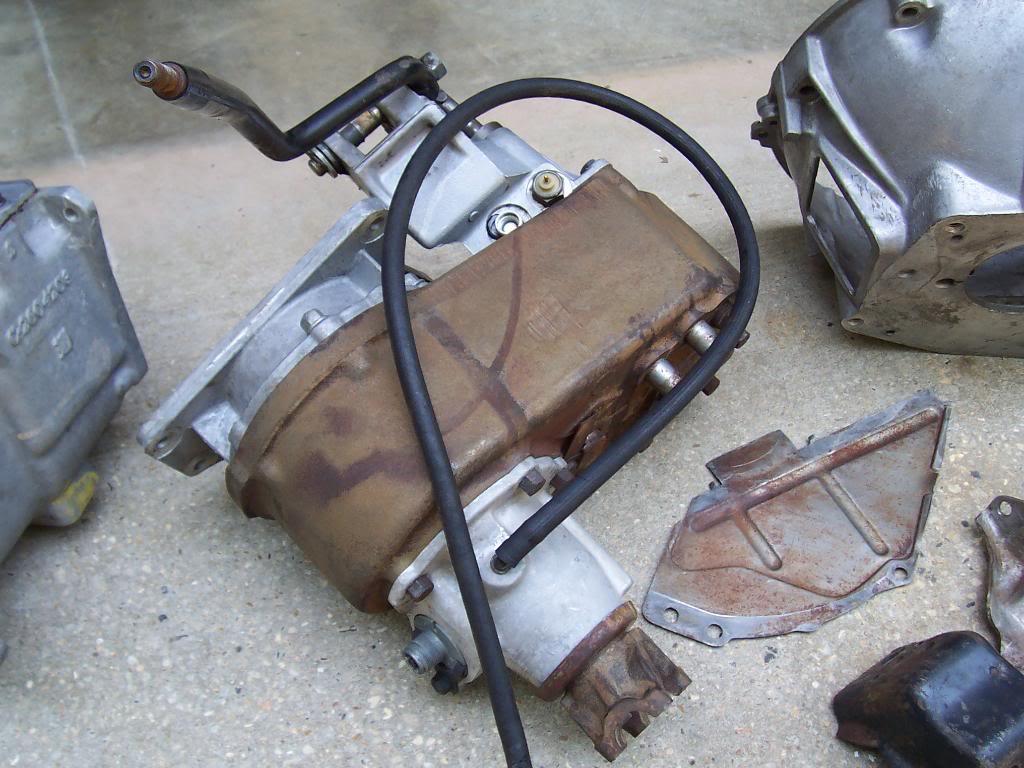
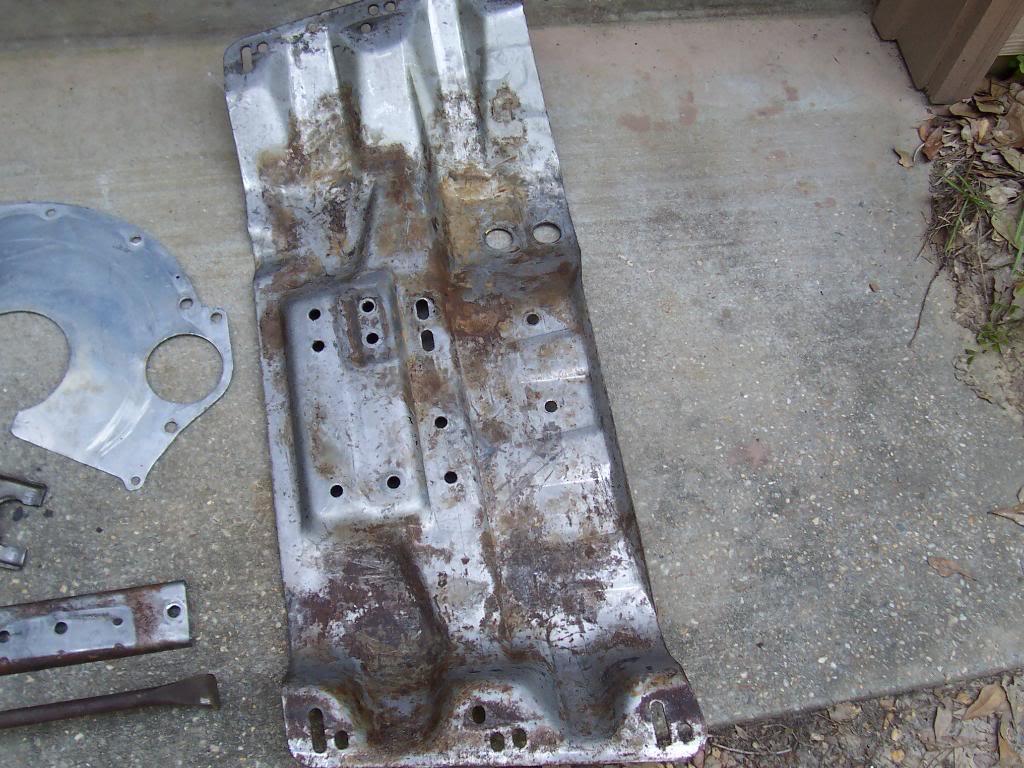
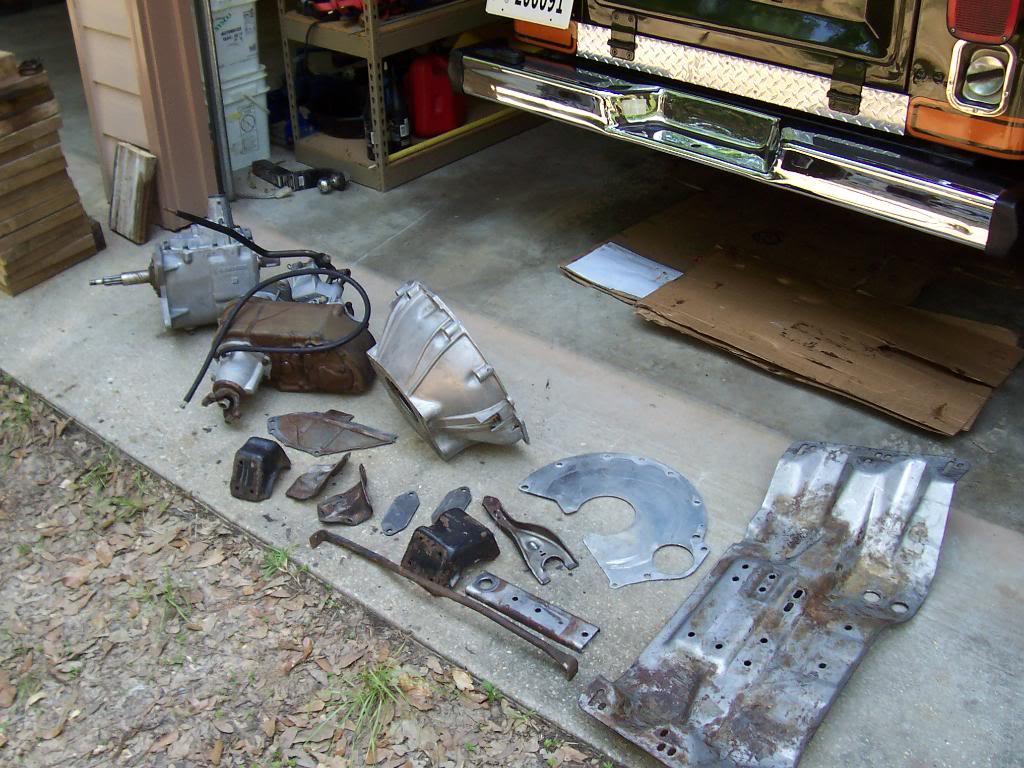
Brought bellhousing, tranny, t-case, skid plate and other nasty stuff to our mecahnics shop and used the steam cleaner on the crusty stuff. Steam cleaners are amazing:

BEFORE
100_4474-1.jpg

100_4476-1.jpg

100_4476-1.jpg


AFTER
100_4515-1.jpg

100_4516-1.jpg

100_4517-1.jpg


I plan on steam cleaning my bare axles and motor, too. The only bad thing about the steam cleaner is that IT REMOVES PAINT. Since I am goint to repaint everything, I dont mind, but a word of warning. Now that I used the steam cleaner I wish I would have used it to strip the bedliner off my body components. I tried it on the transmission inspection cover plate and it literally would cut right through the stuff, actually it would melt it then peel it off.

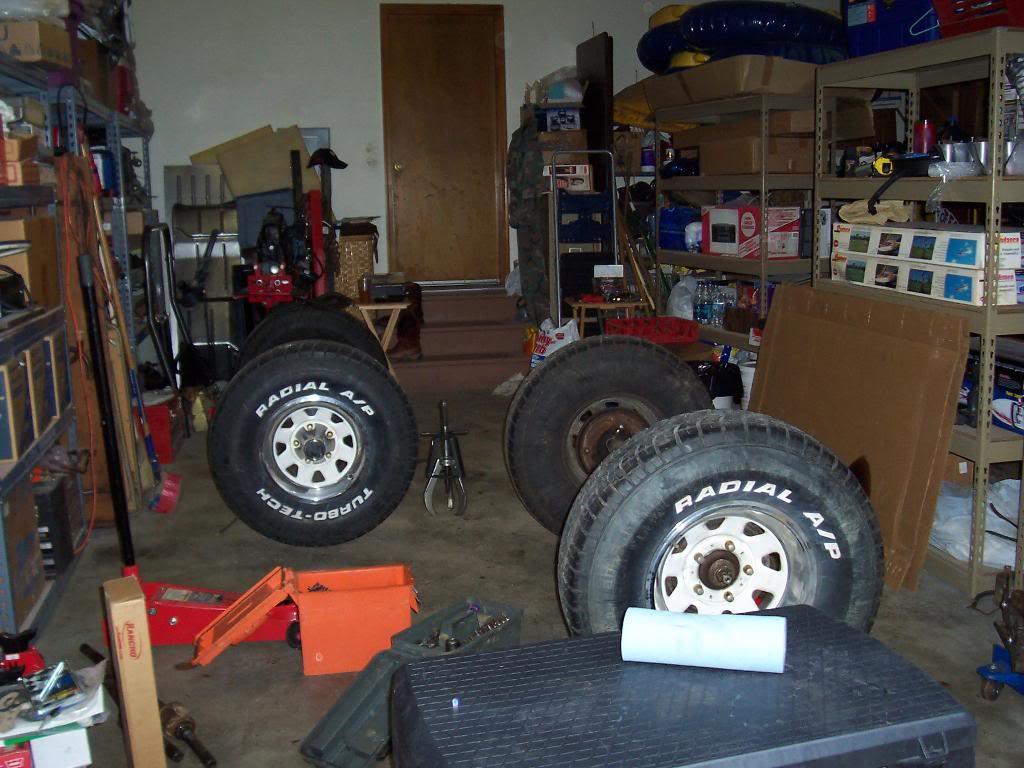
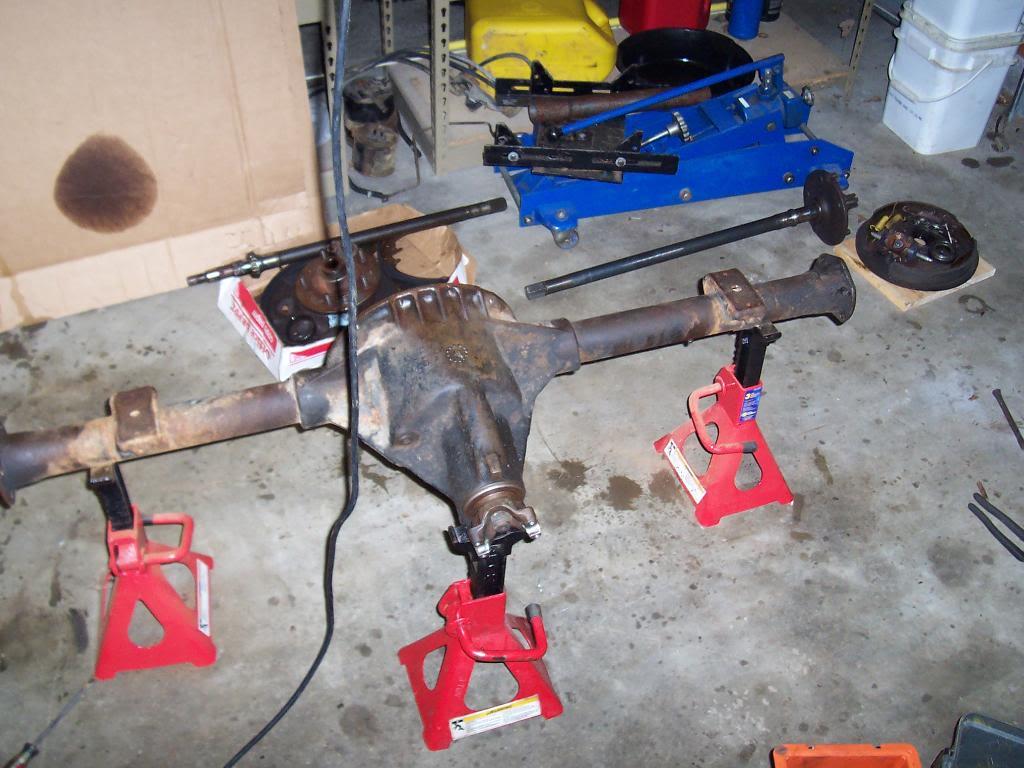
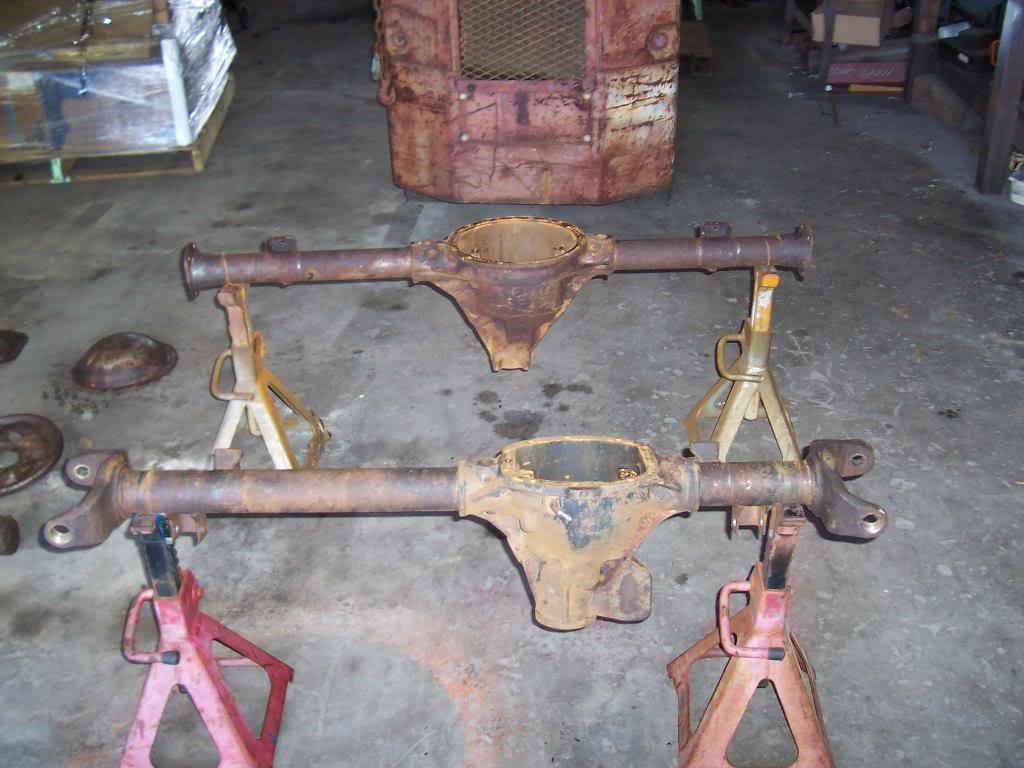
Had to clean the garage up, which took about 5 hours. Got all the spare parts to the Jeep I am selling ready to load up. Got the axles out in the open where I can work on them.

100_4518-1.jpg

100_4519-1.jpg


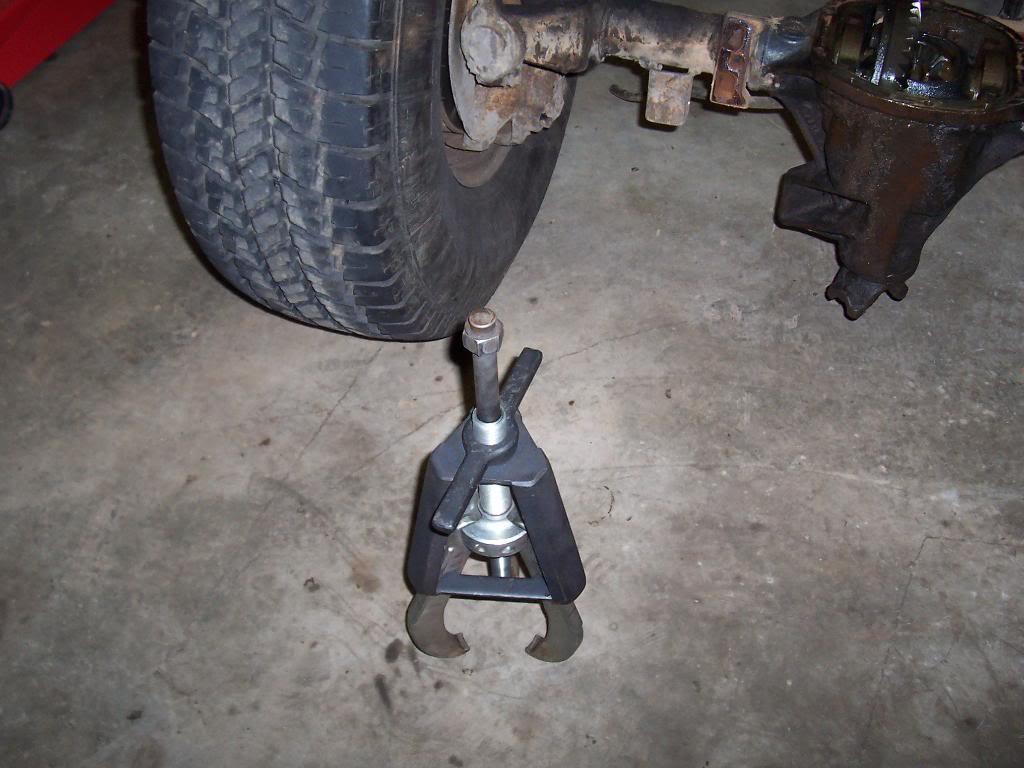
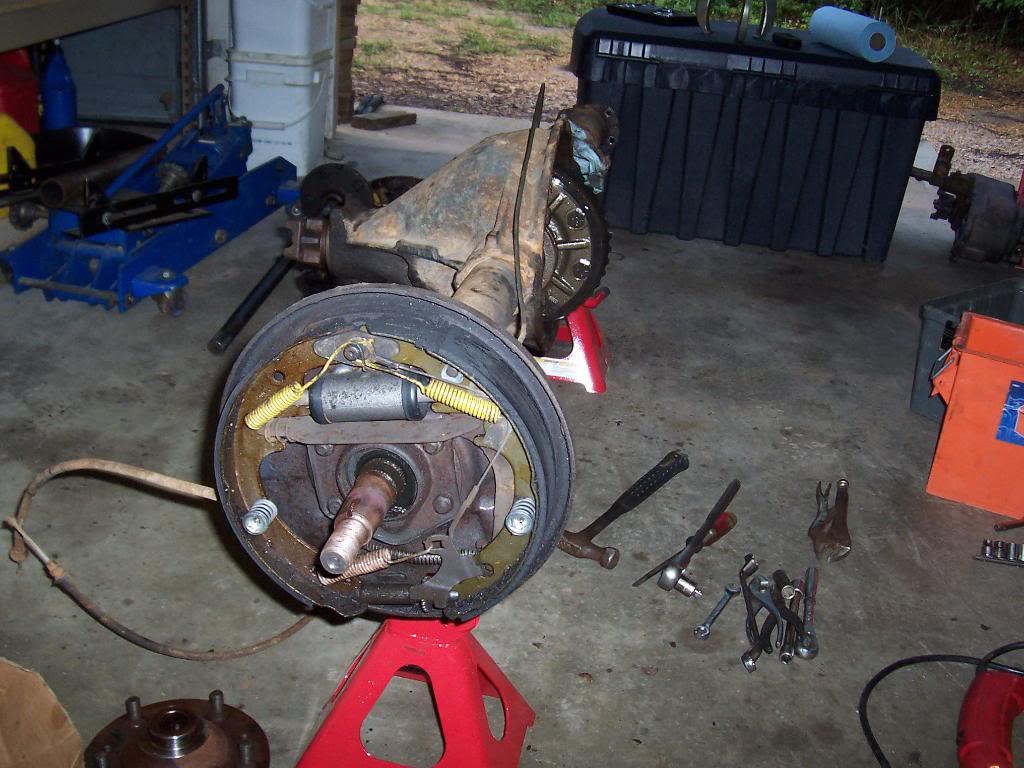
Stripped the rear end Saturday night. A pic of the puller I used to remove the axle hubs. I borrowed it from our mechanic. One hub was stuck on real good, the other hub came off as soon as I put the puller on and started to tighten it by hand.

100_4520-1.jpg

100_4521-1.jpg
 
Last edited:
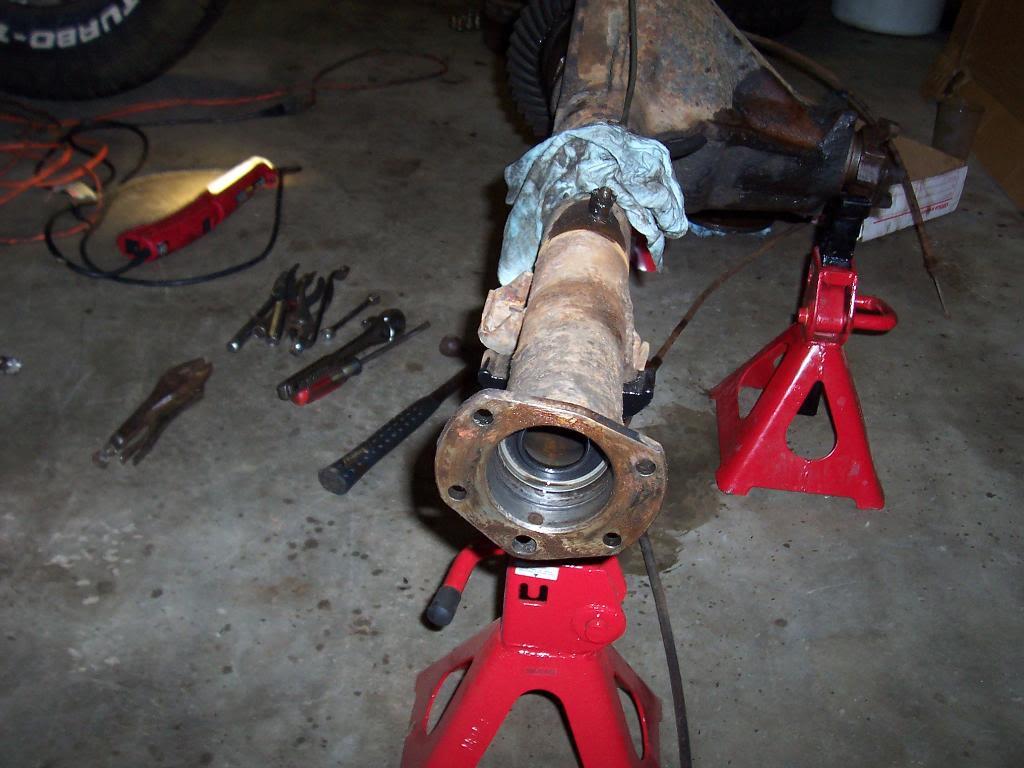
Pics of tearing axle down

100_4522-1.jpg

100_4523-1.jpg

100_4524-1.jpg


I thought that the leafspring center pins were welded to the spring perches. Turns out that they werent, so after some beating, heating, pulling, and smacking, they came out.

100_4526-1.jpg


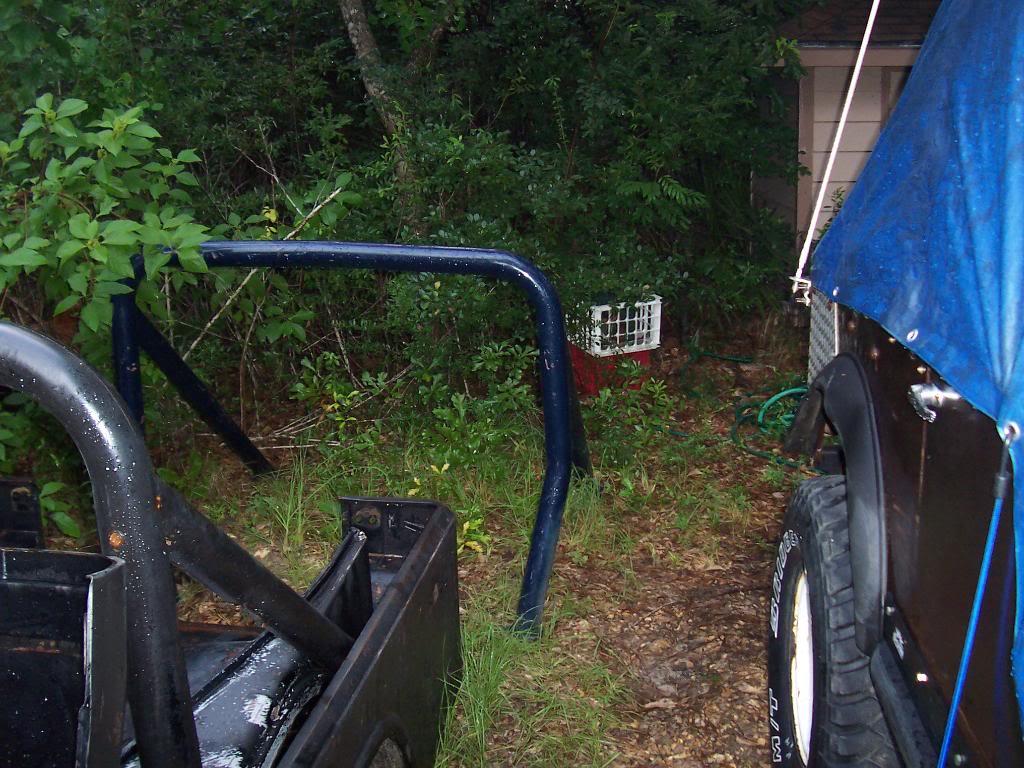
And a quick pic of jallans roll bar, thanks again jallan, gscram, homerscj8, and Chris F

100_4525-1.jpg
 
Last edited:
Mid week update:

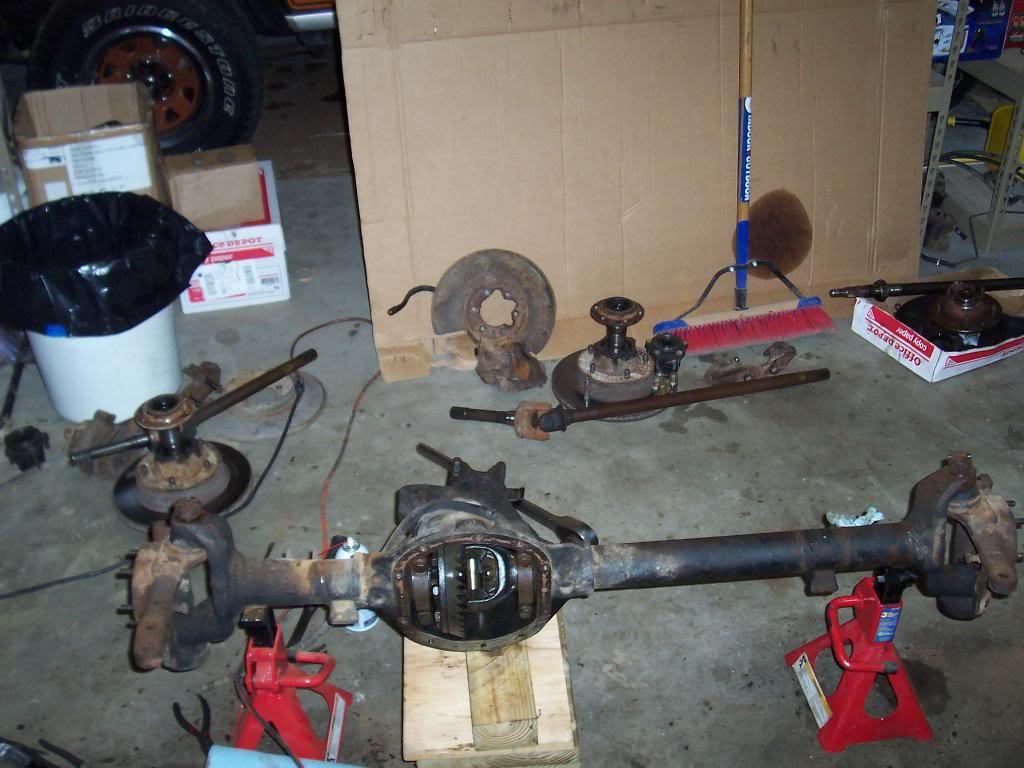
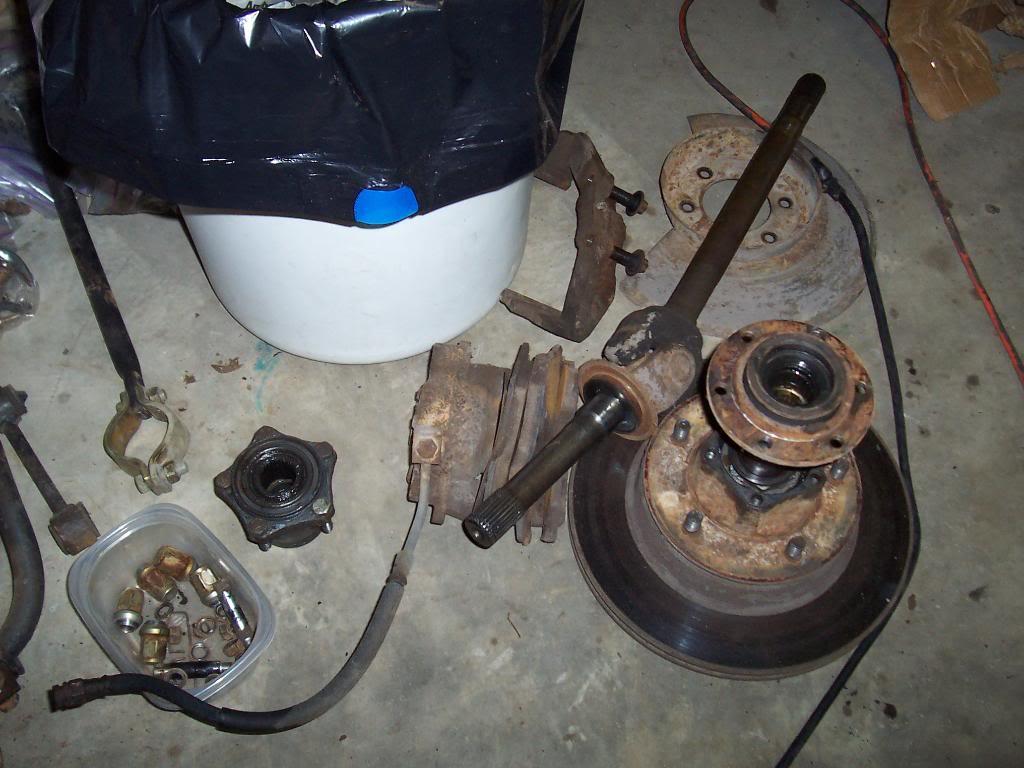
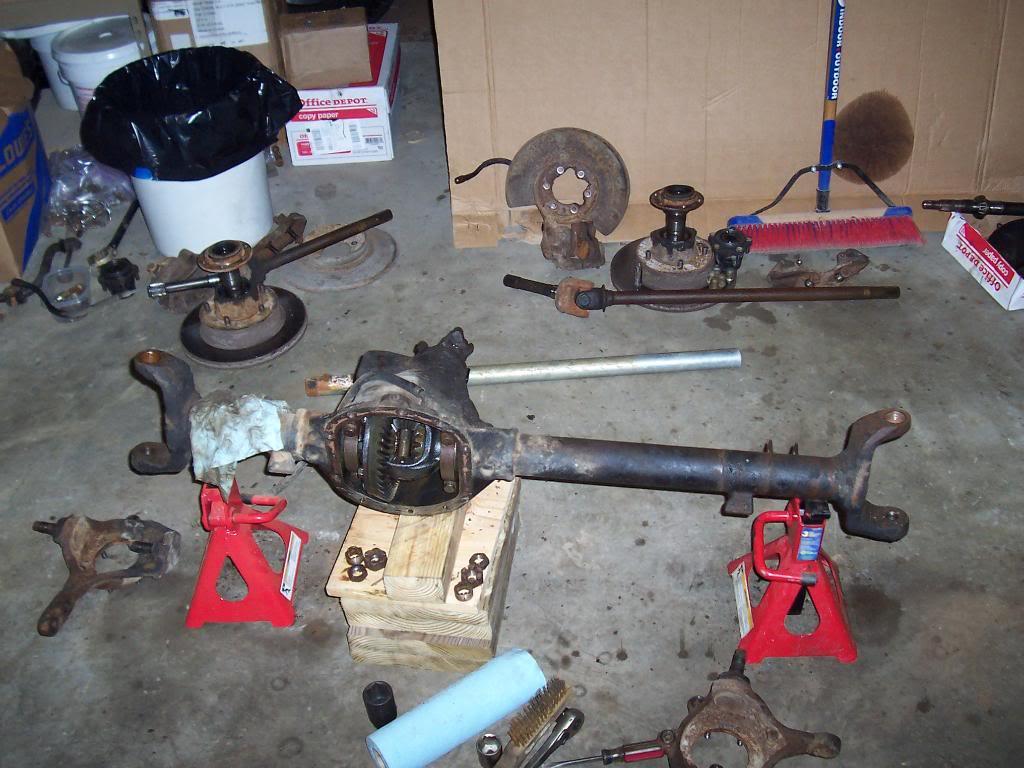
Monday night I disassembled the front axle:

100_4527-1.jpg

100_4528-1.jpg


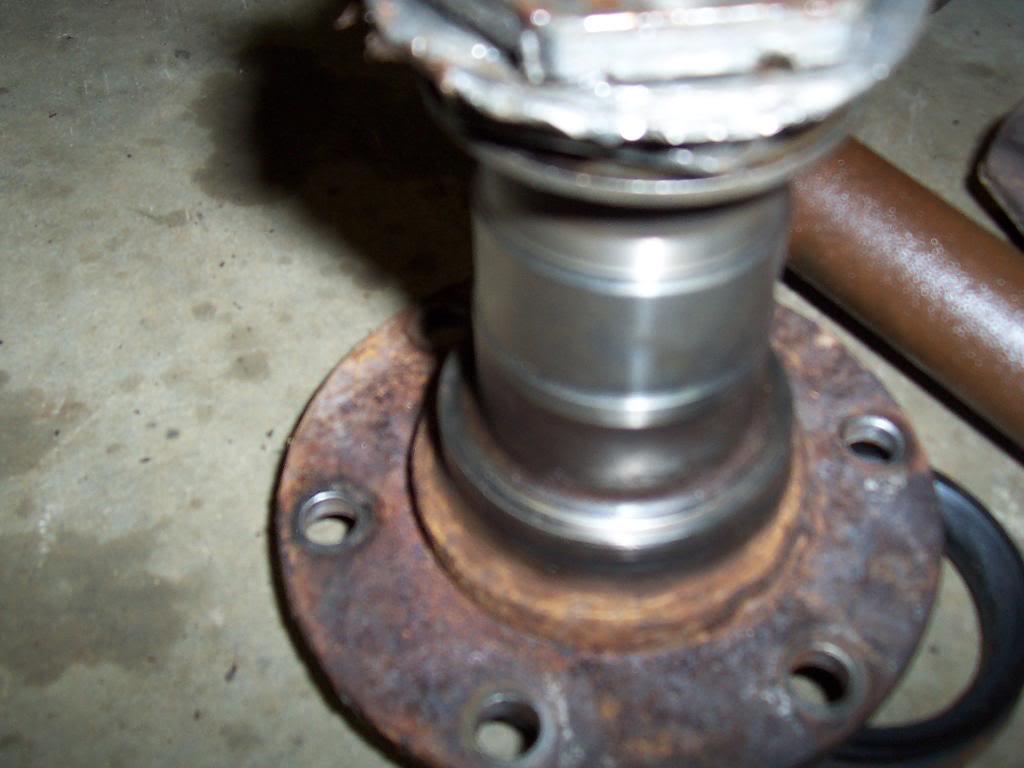
Only damage is to one of the spindles. One of the splash shields was severely rusted, its rust transferred to the splindle. The area of the spindle that has the damage I am concerned about is the part where the hub seal rides, so I cant really properly repair it.

100_4529-1.jpg


Tuesday night I took the knucles off. No real drama here. Removing the ball joints from the knuckles will be a pain in the butt, as always, though.

100_4532-1.jpg

100_4533-1.jpg


Yall can keep your Fords, Dodges, and Chevrolets, I will keep my AMC tow rig LOL

100_4535-1.jpg


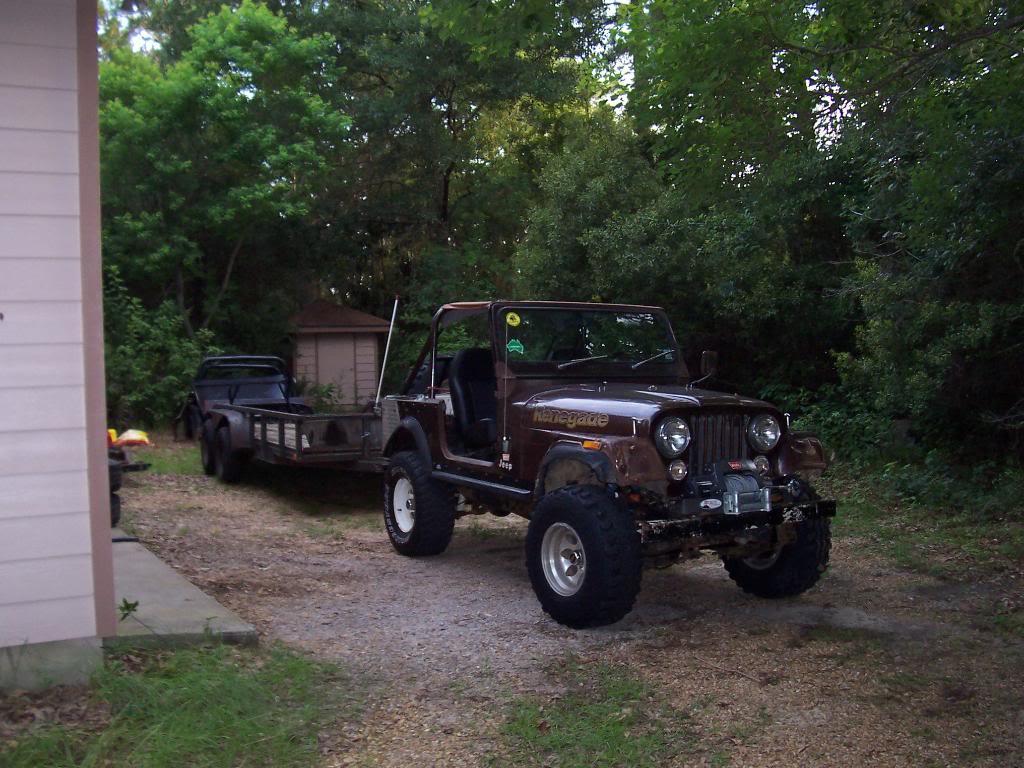
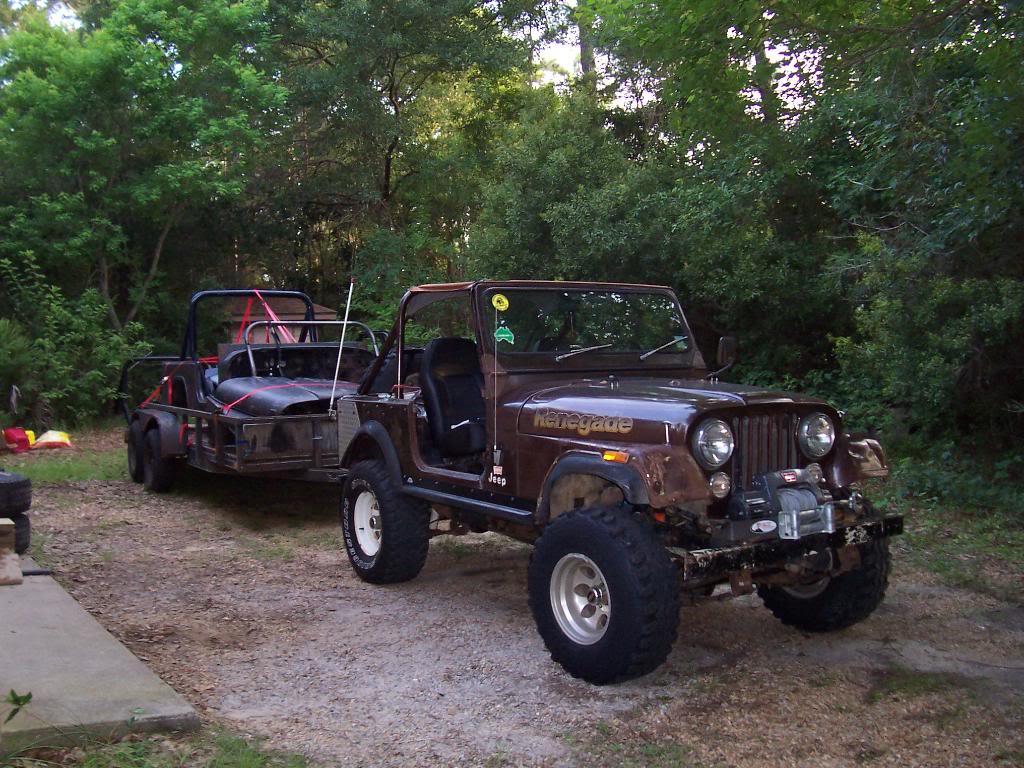
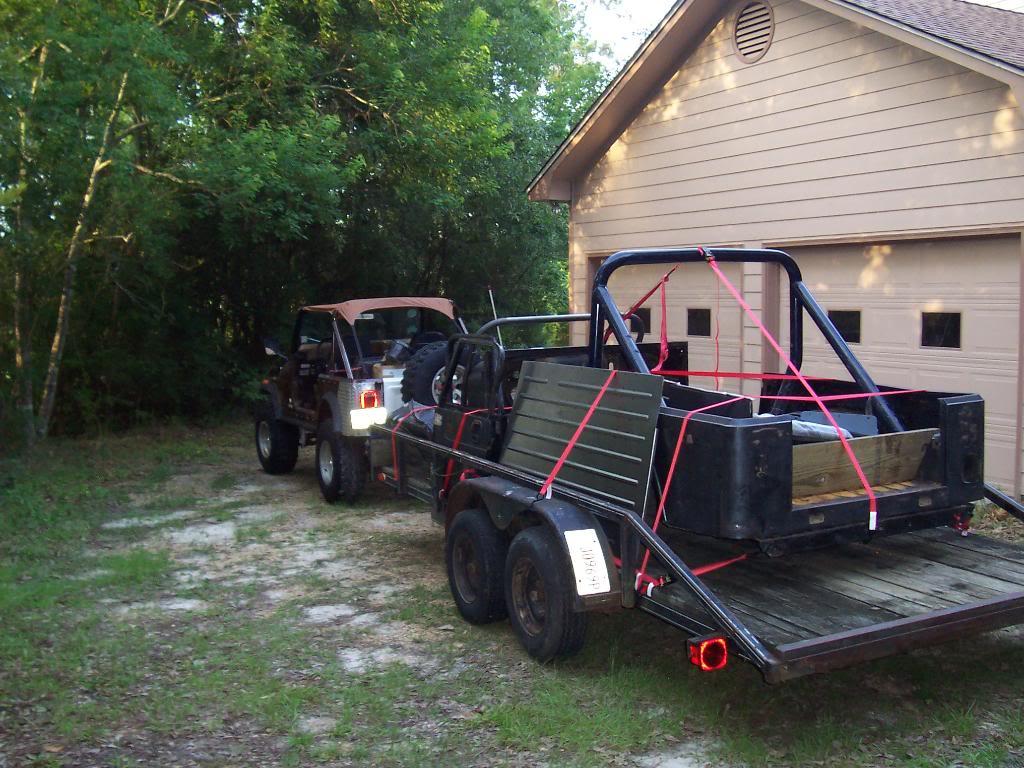
Picked up a borrowed 16' double axle car hauler trailer last night. The CJ7 easily pulled it up to about 45 mph. Around 50mph, the whole rig would start feeling a little loose. Considering the CJ has an old school Detroit Locker in the back coupled with mismatched rear tires, I was amazed how well it handled the trailer. Going to load up the scrambler frame and body parts on it tonight and take them to the painter/blaster/welder tomorrow morning.
 
Working with nice clean parts is the only way to go:thumbsup: It makes it so much more enjoyable working on stuff when you dont get crud all over everything. I will be cleaning my axles with the steam cleaner as well:thumbsup:
 
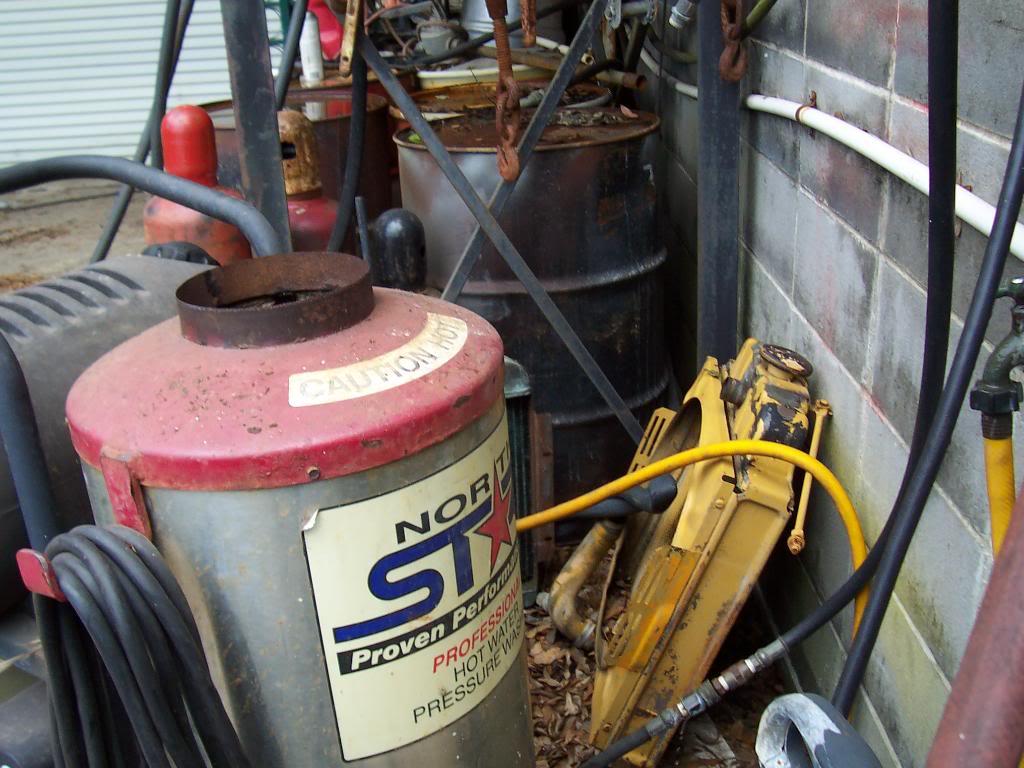
Post pics of the STEAM CLEANER!!!!!

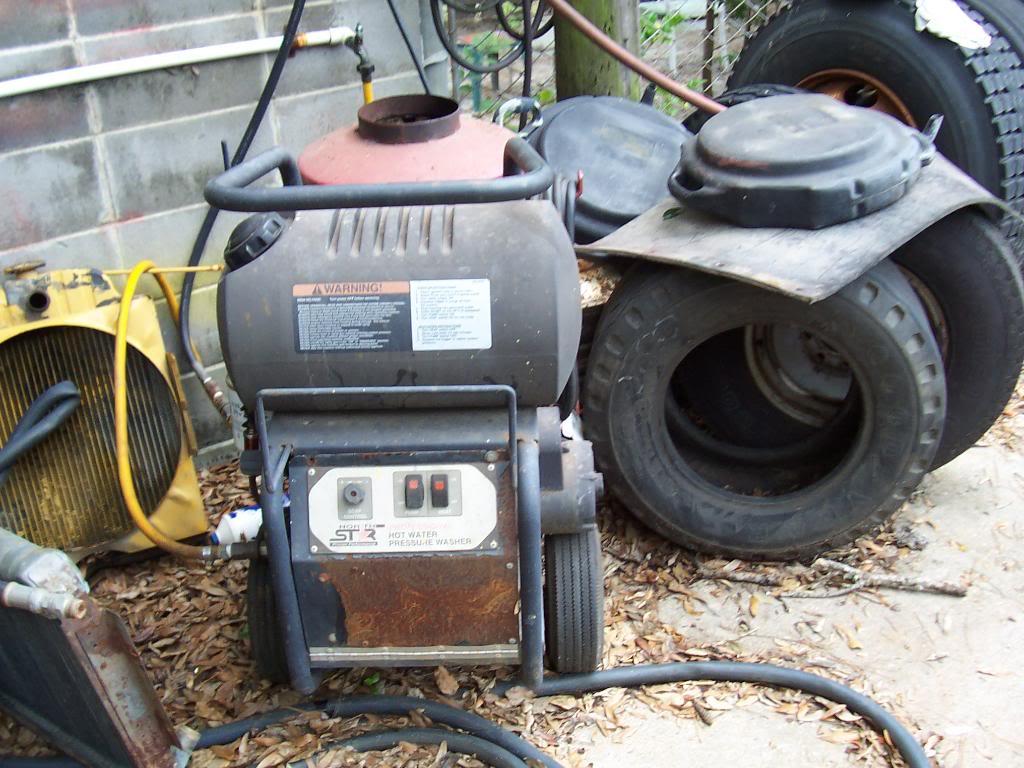
I will take some pics of it this weekend and post them up, as well as the manufacturer, model # etc. All it is, basically, is a pressure washer with a diesel powered burner on it. Water circulates through coils in the burner and then the water goes out to the pressure washer wand thingy. You can change the temp, but I just leave it on maximum heat:thumbsup:
 
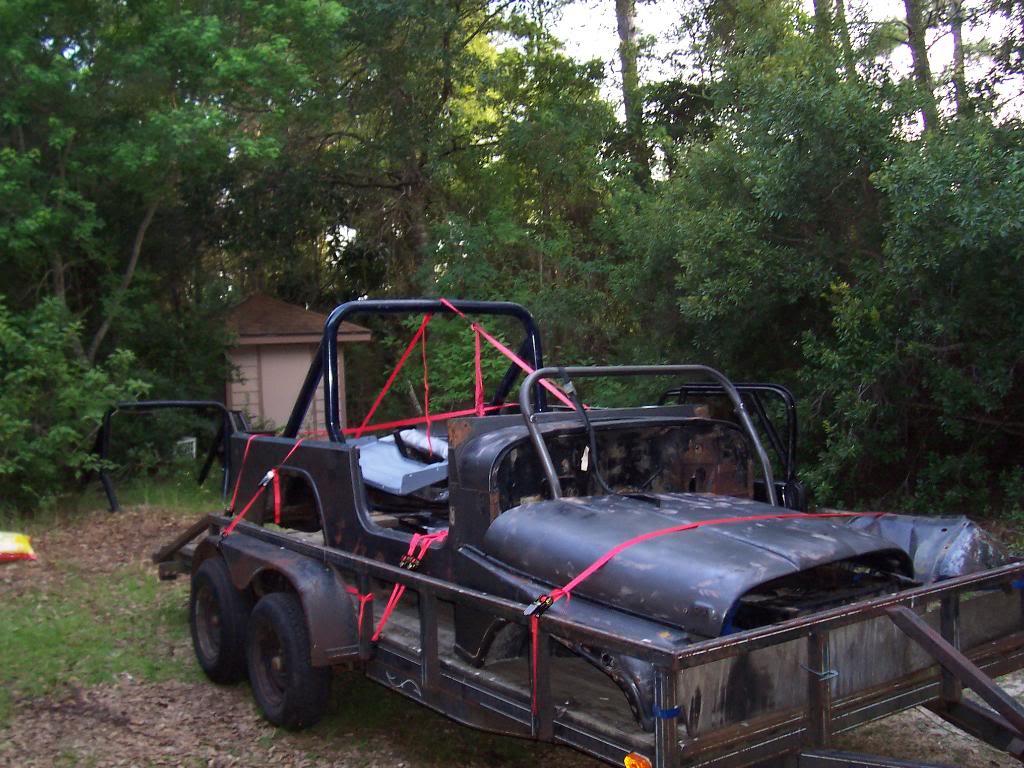
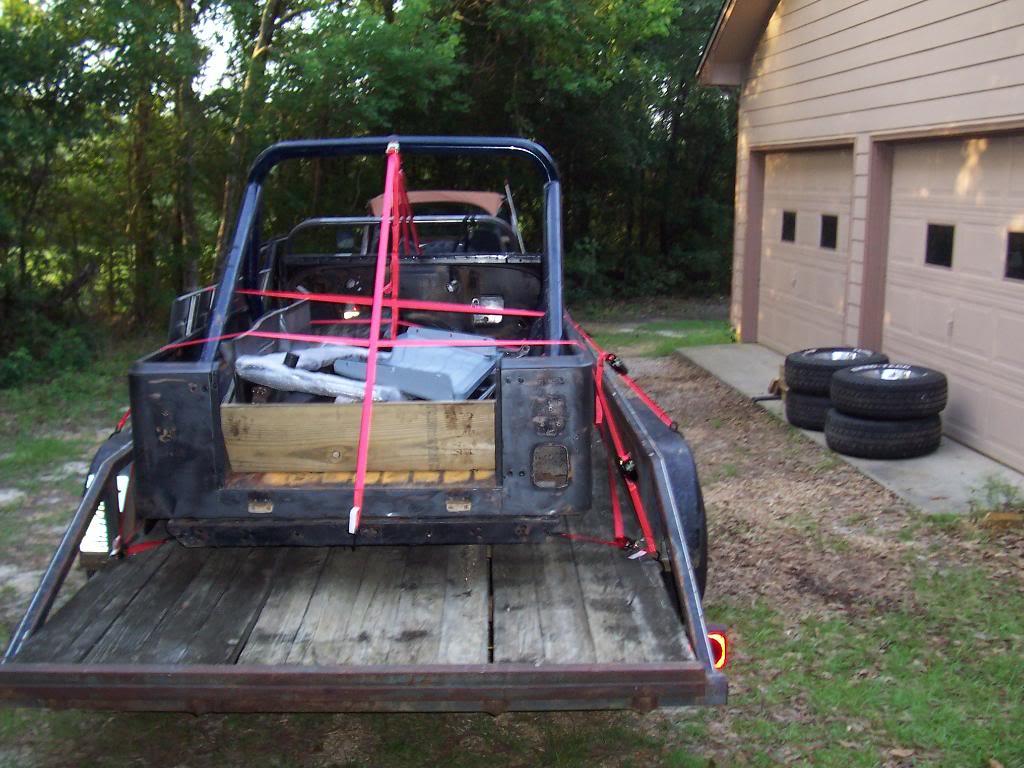
Got it all loaded up and dropped off at the painters first thing this morning. Hopefully I will know tomorrow when the media blaster guy can start on it, that is the first step that will dictate when the other guys can do there things, i.e welding in new floor boards and painting. Hopefully I will get the frame back in 2 weeks, the body and the rest of the stuff maybe 4 weeks later. By the end of August, at the latest, I should have the body back on the frame in the garage.

Pics of the loaded up trailer.

100_4536-1.jpg

100_4537-1.jpg

100_4538-1.jpg

100_4539-1.jpg


Now I get to start to rebuild the axles, transmission and transfer case. Hopefully I can have these components ready to bolt back to the frame when the painters finish with it.
 
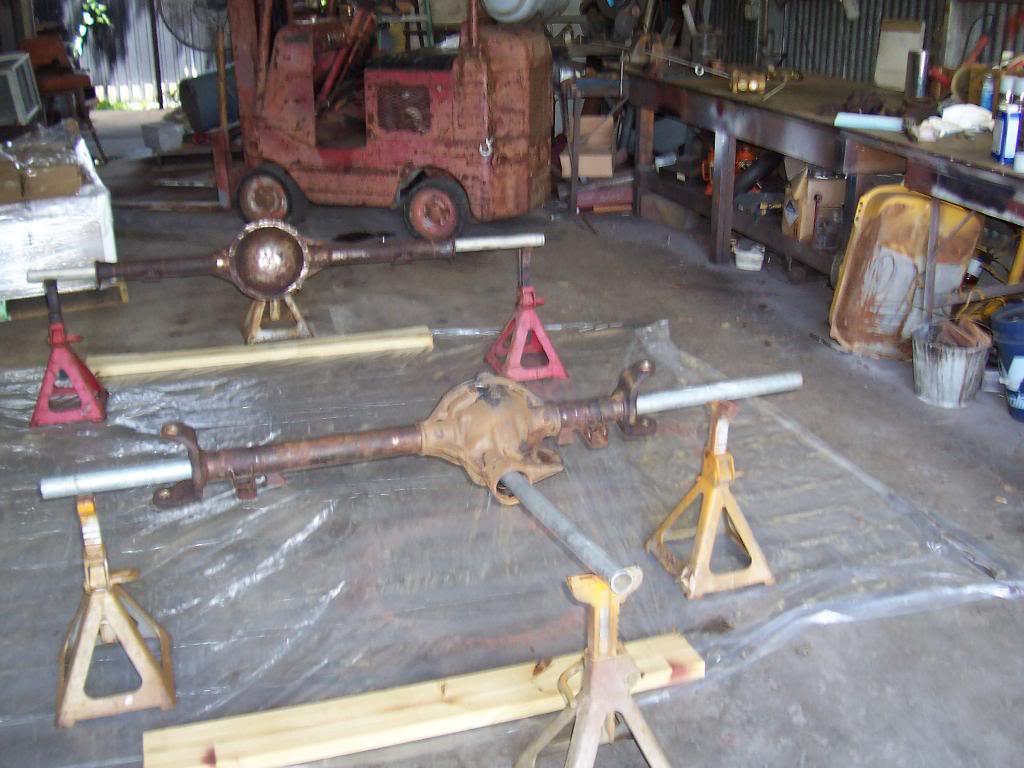
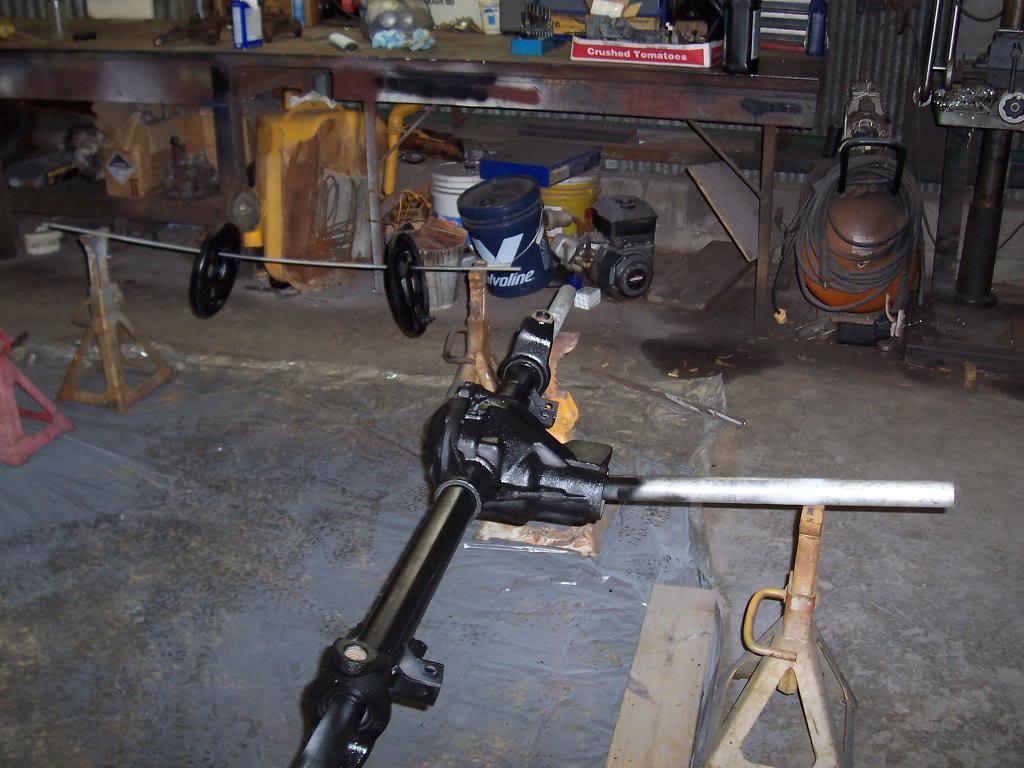
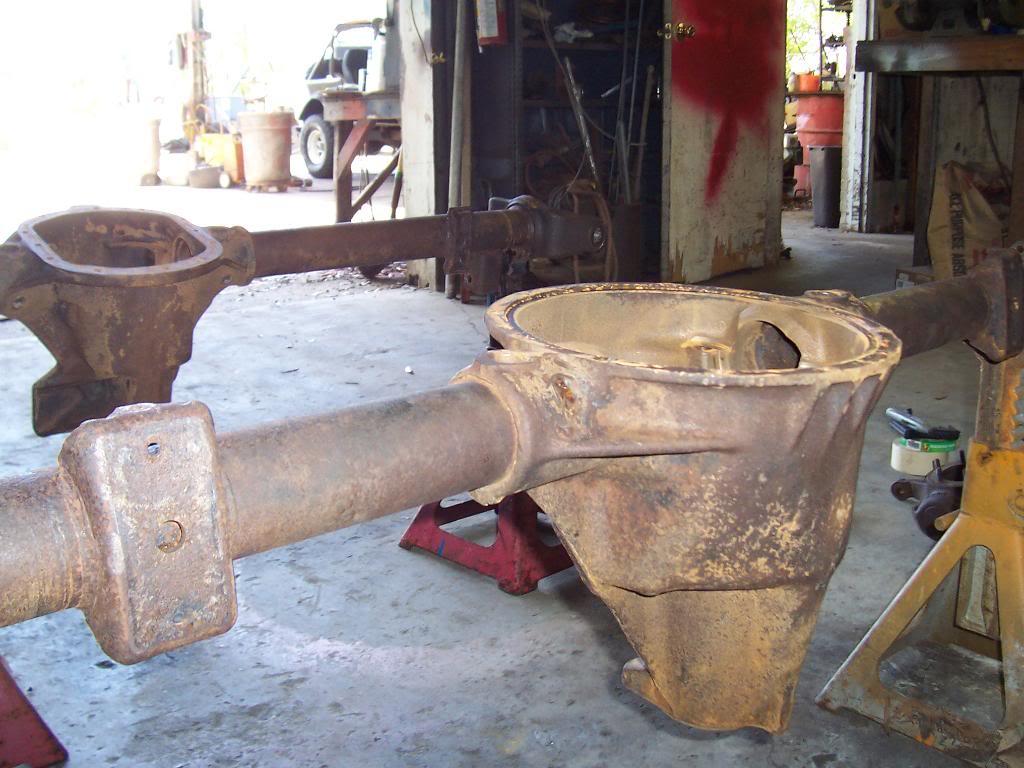
Steam Cleaned and painted the axles this weekend.

BEFORE

100_4545-1.jpg


AFTER CLEANING - The axles "flash rusted" after cleaning. I let them dry a couple hours before priming them. I wiped off the "flash rust" with denatured alcohol,

100_4548-1.jpg

100_4550-1.jpg


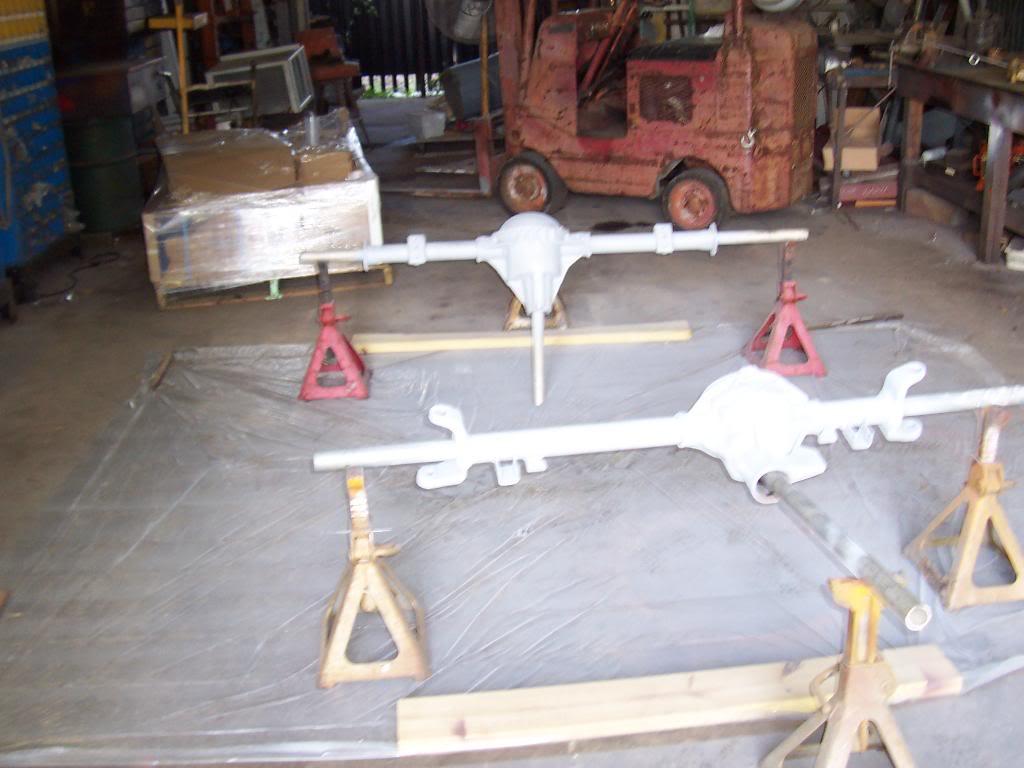
On my paint stands. I inserted an aluminum tube through the axles so that I could rotate them for painting.

100_4552-1.jpg


PRIMED

100_4553-1.jpg

100_4554-1.jpg


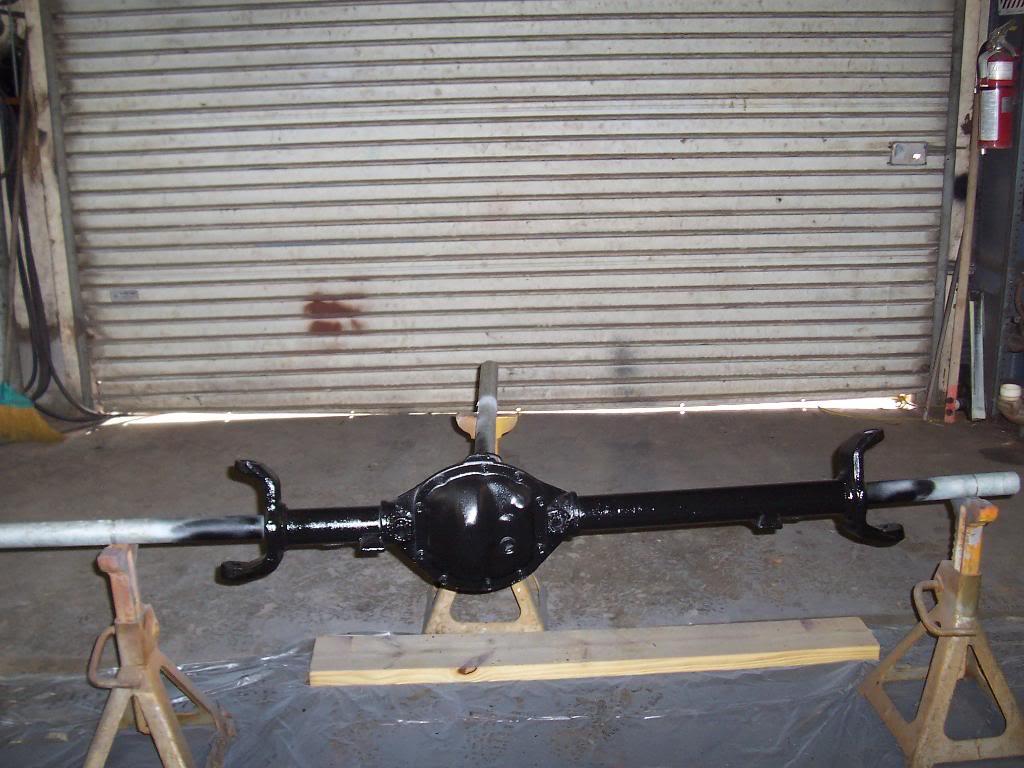
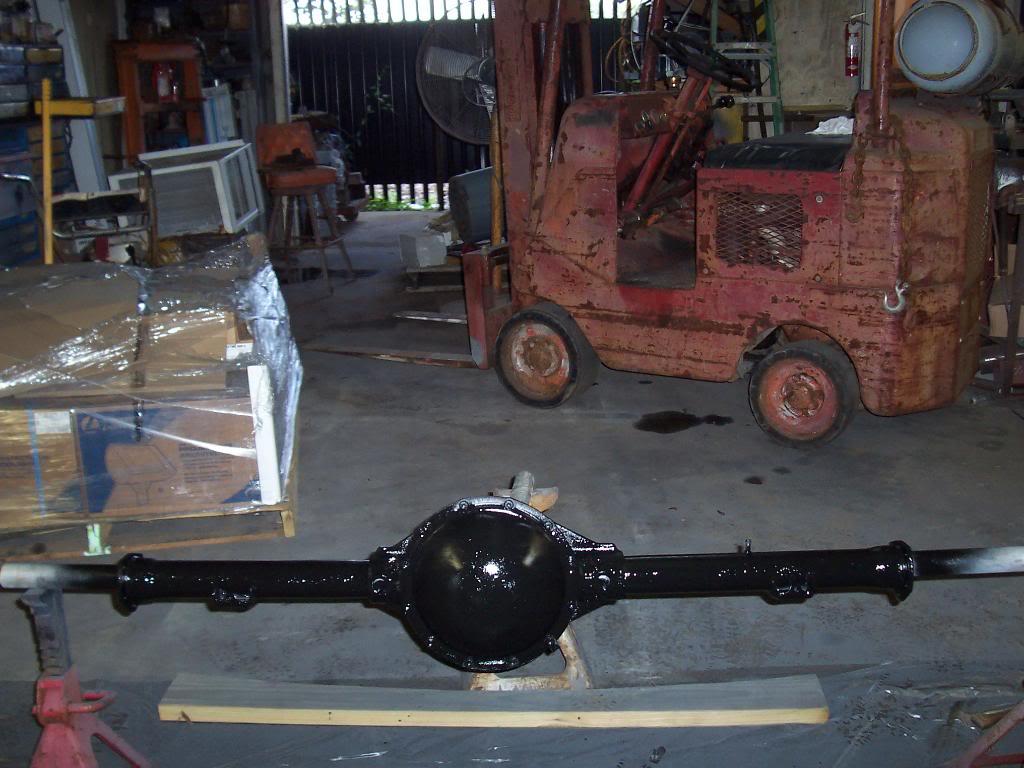
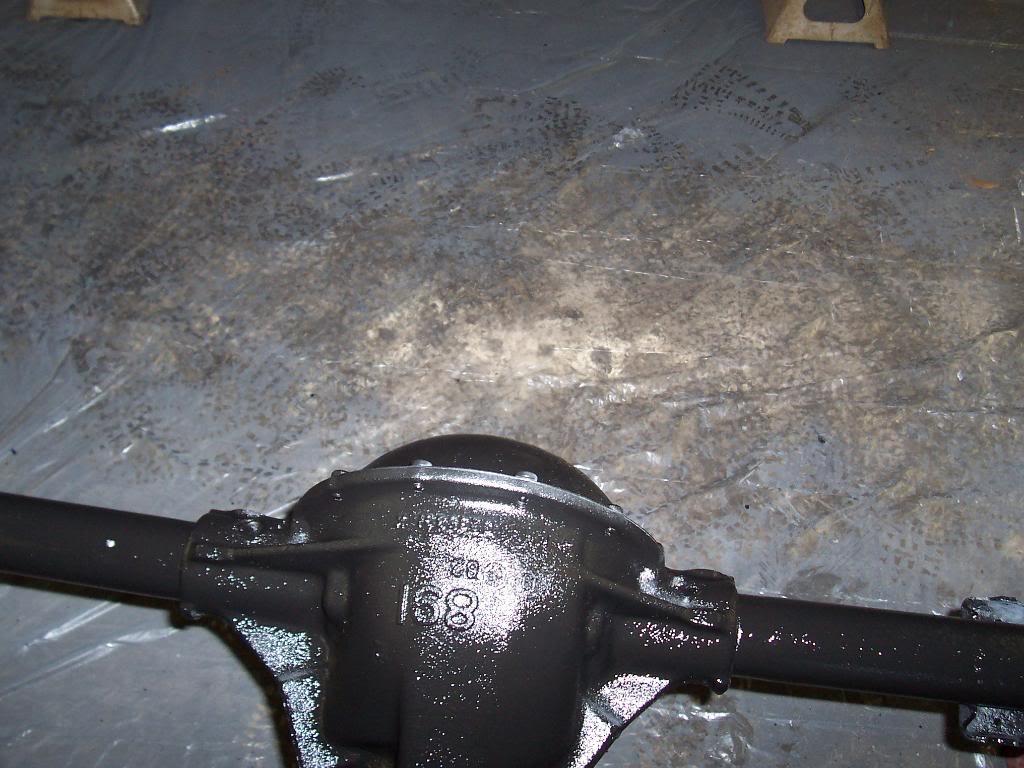
PAINTED

100_4555-1.jpg

100_4556-1.jpg

100_4557-1.jpg

100_4558-1.jpg


They look a little too glossy right now. I havent looked at them since Saturday, they might have "dulled" some. If not, the first few hundred miles should tone them down a bit. I primed them with Rust Oleum Grey Auotomotive Primer (enamel) and painted them with Rust Oleum Automotive Black Paint, also enamel. I primed them first, let them sit about 20 minutes, then started painting them. I put on about 7 light coats, letting them sit for about 20 minutes between coats. I think I used 5 cans of paint. If it was going to be a show jeep I would have let the professional painter paint them, but since it will be a driver and trail rig I painted them. Should be easy to touch up, too. I think they came out pretty good, no runs or splatters.
 
Last edited:
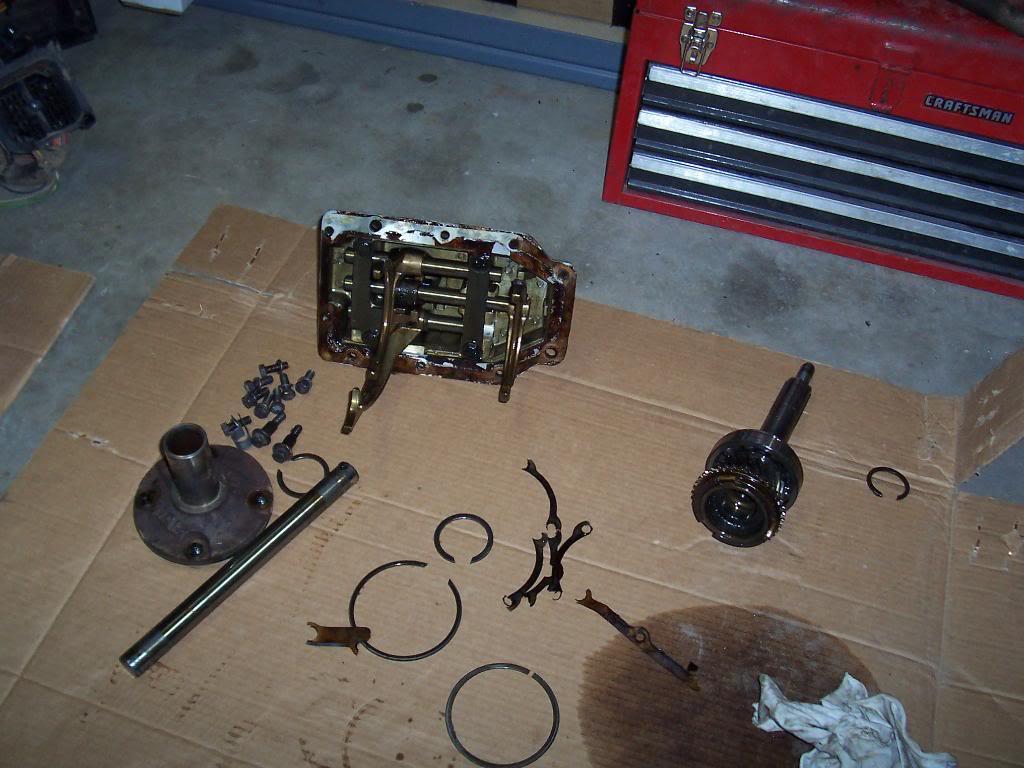
I started to take the transmission apart last night. Didnt get too much done because I started late.

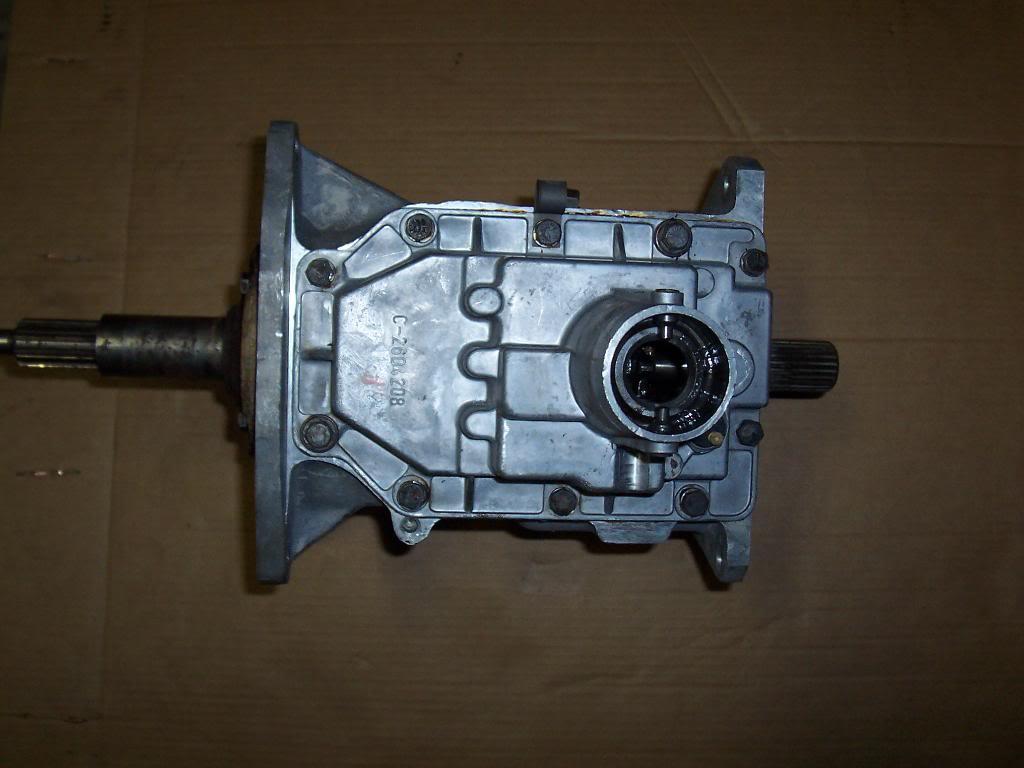
TOP VIEW

100_4565-1.jpg


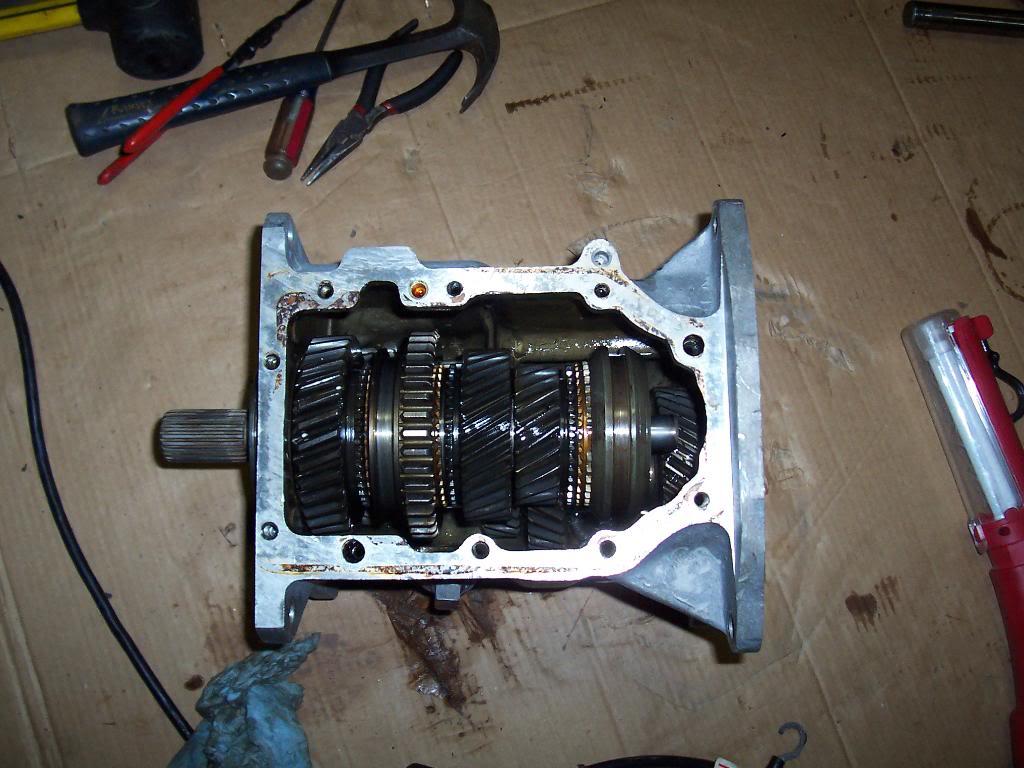
INSIDE VIEW with shift cover removed

100_4574-1.jpg


A pic of some parts I removed so far

100_4575-1.jpg


Those snap rings that ride on each end of the mainshaft are not too fun to remove, my snap ring spreader tool needs about another 1/4" of opening spread to make it easier. The countershaft at the bottom of the tranny came out no problem. The front input shaft came out fairly easy, I just gently tapped on it with a sand filled rubber mallet while pulling outward on it and it worked itself out. Didnt have to use any kind of bearing puiller on it. I will have to take this part to the shop, though, to press the old bearing off.

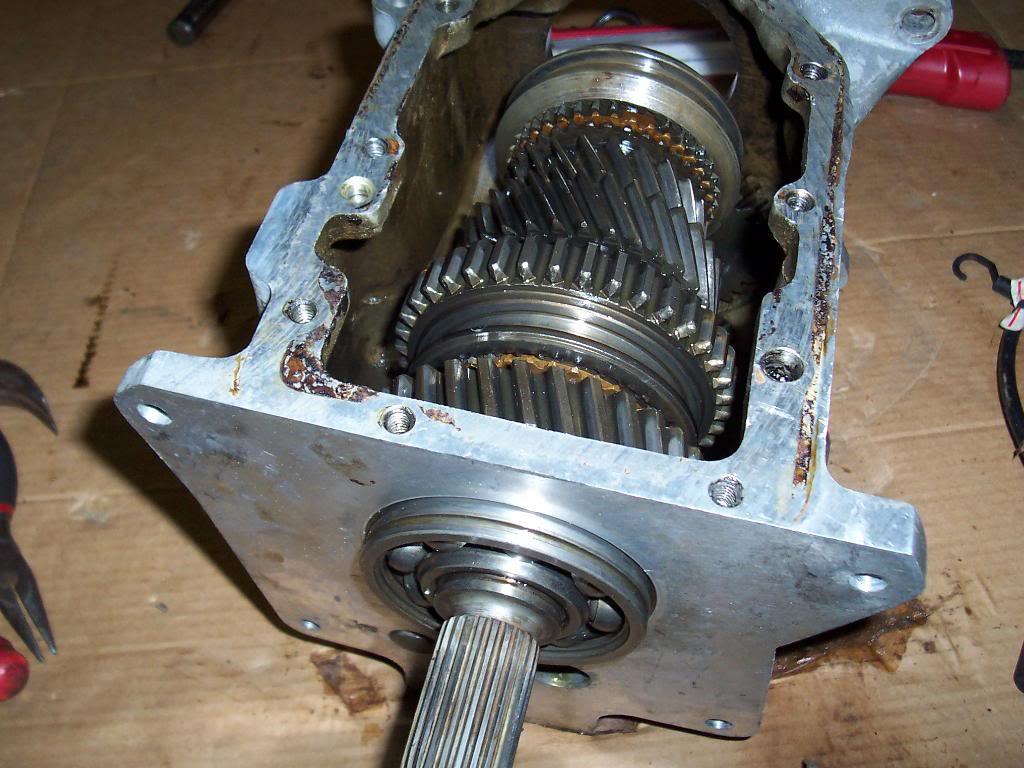
Pic of where I am currently "stuck" at:

100_4576-1.jpg


I need to remove the rear bearing from the case. The book shows a special bearing puller, which I dont have, so i need to think of some other way to remove the bearing from the case/shaft. My gear pullers wont grab the recess of the bearing to pull it out. I might take the bearing puller thing that we use with the press home, clamp it around this bearing, then while holding the front of the mainshaft up to protect the gears (the countershaft already dropped when i removed its shaft) try to drive the mainshaft forward and out of the bearing. Once the mainshaft is out I can drive this bearing out the back of the case. Anybody think this could work? If it wont, I will take the whole tranny to the shop and press the mainshaft out. The bearing only fits tight around the shaft, doesnt fit tight in the housing. You can spin it around and pull it out by hand to where it is sitiing now. I think my plan will work, any comments or sugggestions?
 
I got the rear bearing off last night with no problems. I went to buy some 5/8 fine thread all thread, or long bolts (since the bearing collar is threaded for this size hardware) and of course no body has fine thread hardware for sale, well, at least at all the places that were open when I left work, i.e. Lowes, Home Depot, Auto Zone, etc. But, I went home, clamped the collar to the bearing and gently pried up on the bearing collar with two long screwdrivers inserted between the collar and tranny case, and voila the bearing came right off. I then finished reading the factory service manual on how to reassemble the tranny and it kept mentioning "gently drive bearing into bore with rubber mallot" and then came to the conclusion that none of the stuff in this particular tranny is a true "press fit". Basically, I was worried about nothing.

The rest of the tranny came apart with no problems. The only damaged/wore out parts I found were:

1) One of the snap rings on the mainshaft was broke. I found a piece of it in the bottom of the tranny. It was really fun removing the broke snap ring since the distance between the two ends was approximately 1", couldnt use my snap ring pliers.

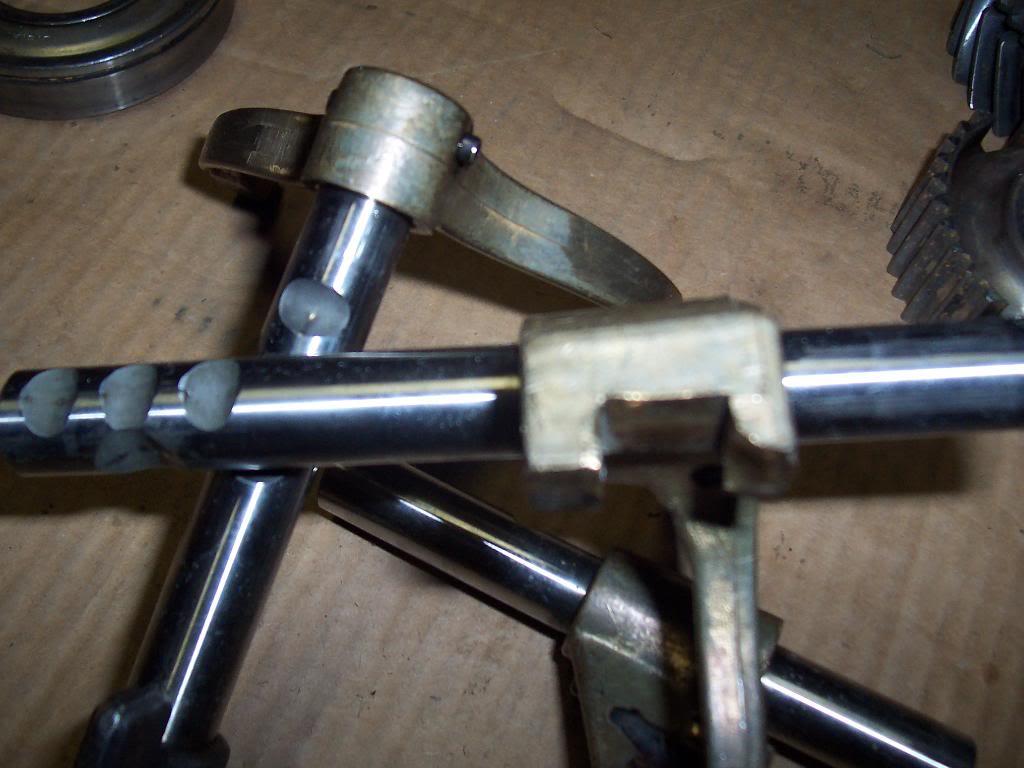
2) The 1st-2nd shift fork is wore out. The forks are fine, the squared off part at the top were the shifter stick goes is wore out of square. I think this is damaged due to the whole stik shifter being loose for awhile, i.e it was having to push on this part at a funny angle and wore it out of square.

All in all I am very happy to see that all the tranny pieces are in such good shape. The broke snap ring came with the rebuild kit and a new shift fork is only around $50 new, so I came out good.

I will take some pics and post them up tomorrow, forgot camera at work.

 
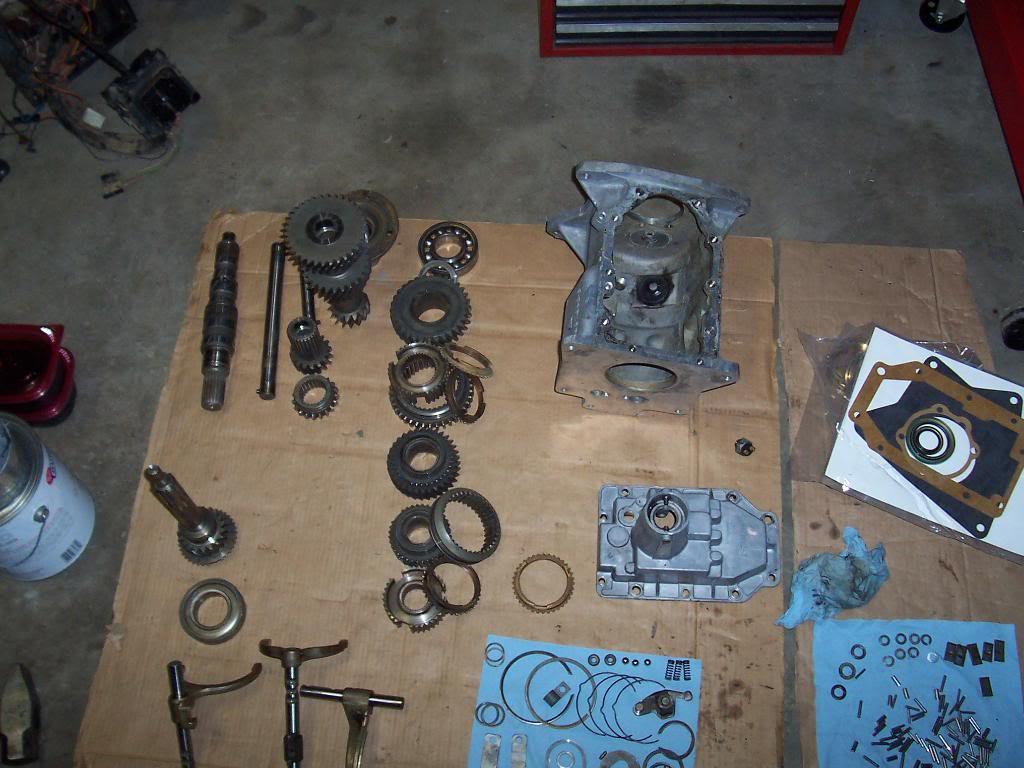
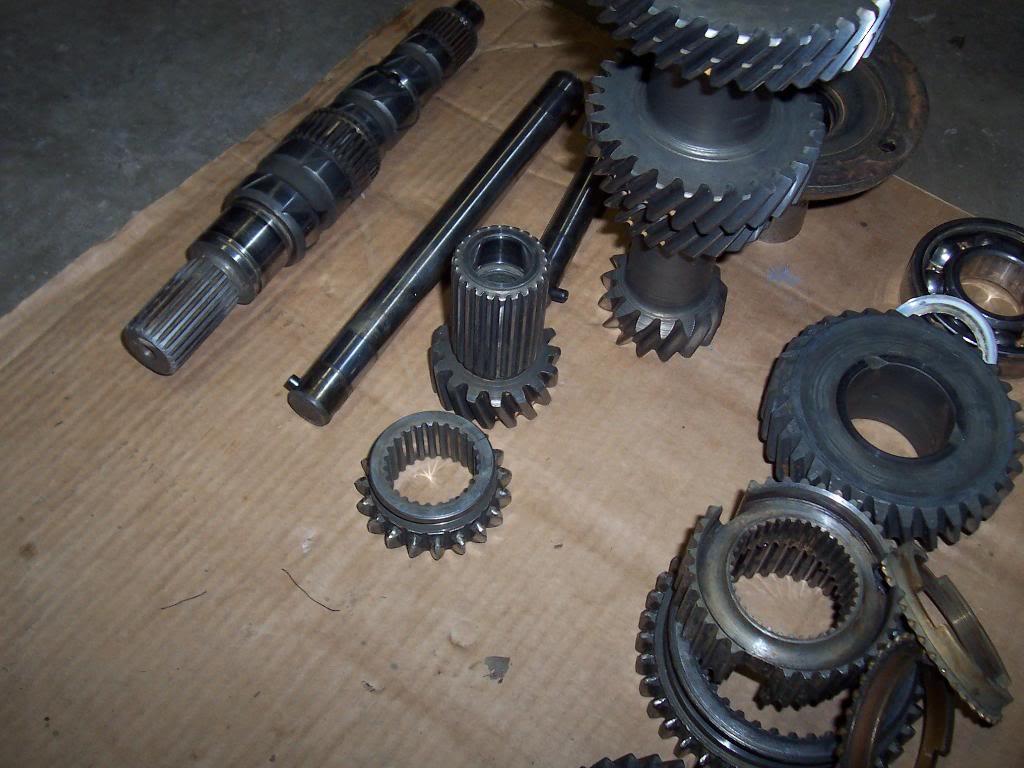
Pics of all the transmission pieces. Cleaned them with "Purple Power" followed up by brake parts cleaner.

100_4588-1.jpg


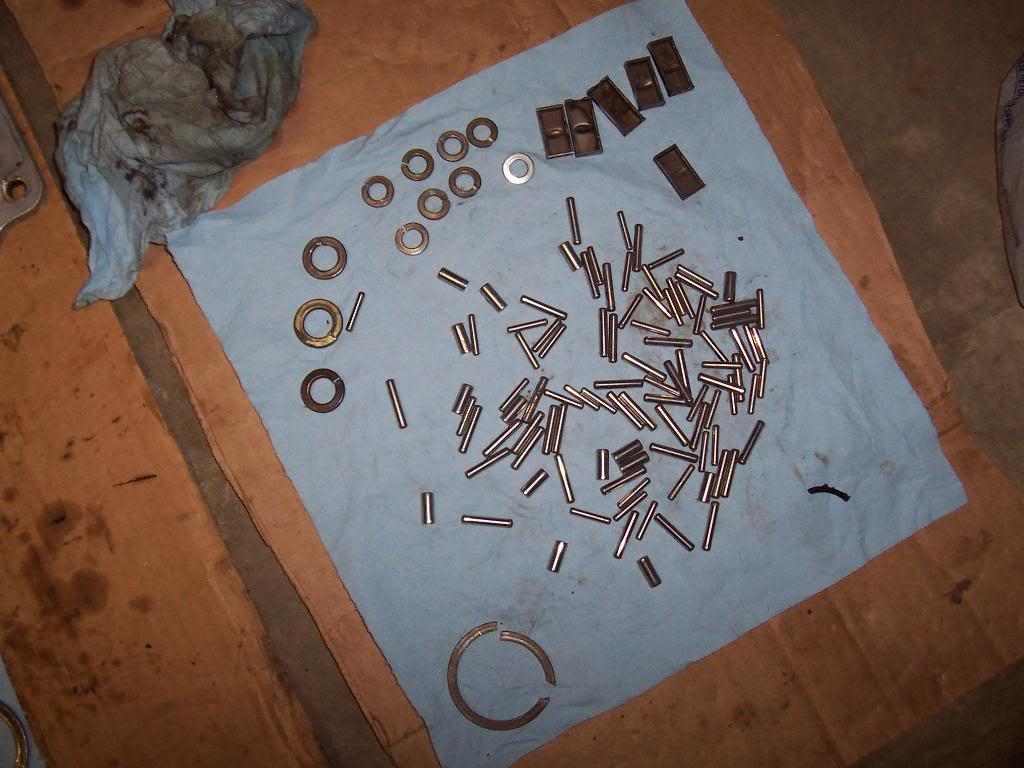
Bunches of small parts

100_4591-1.jpg

100_4592-1.jpg


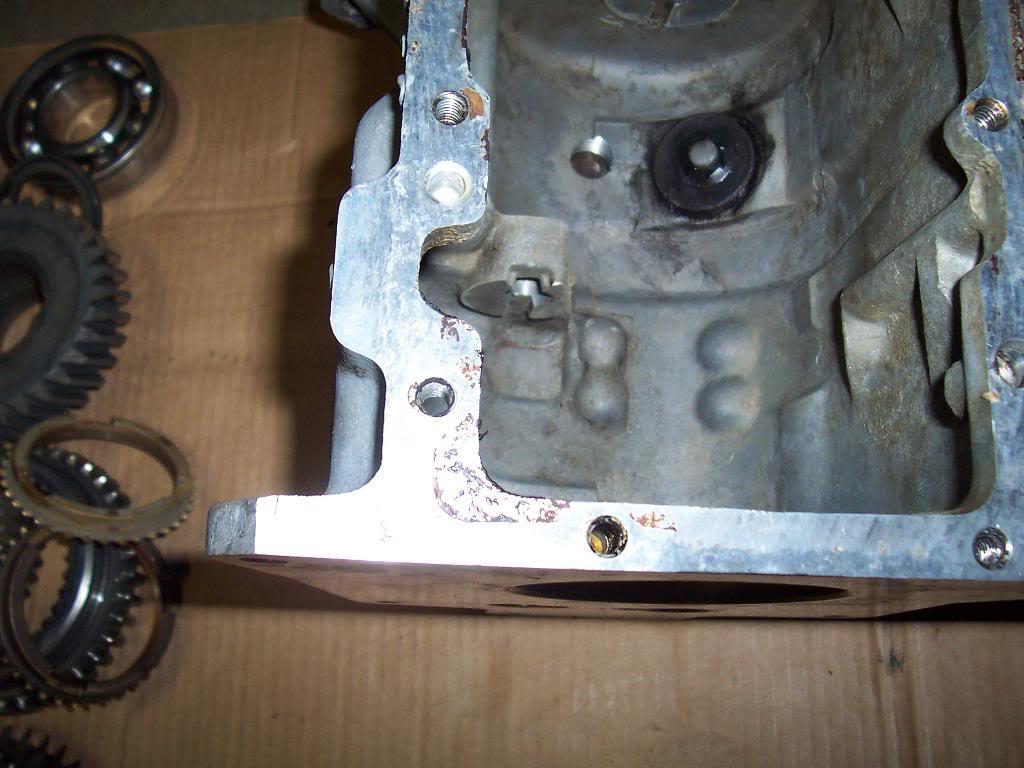
Inside of the case is very clean

100_4595-1.jpg


Pics of all the "expensive" parts

100_4593-1.jpg

100_4594-1.jpg


Broke snap ring

100_4590-1.jpg


Wore out 1st-2nd gear shift rod. See how the brass part on the right is out of square vs the brass square thing on the left.

100_4589-1.jpg


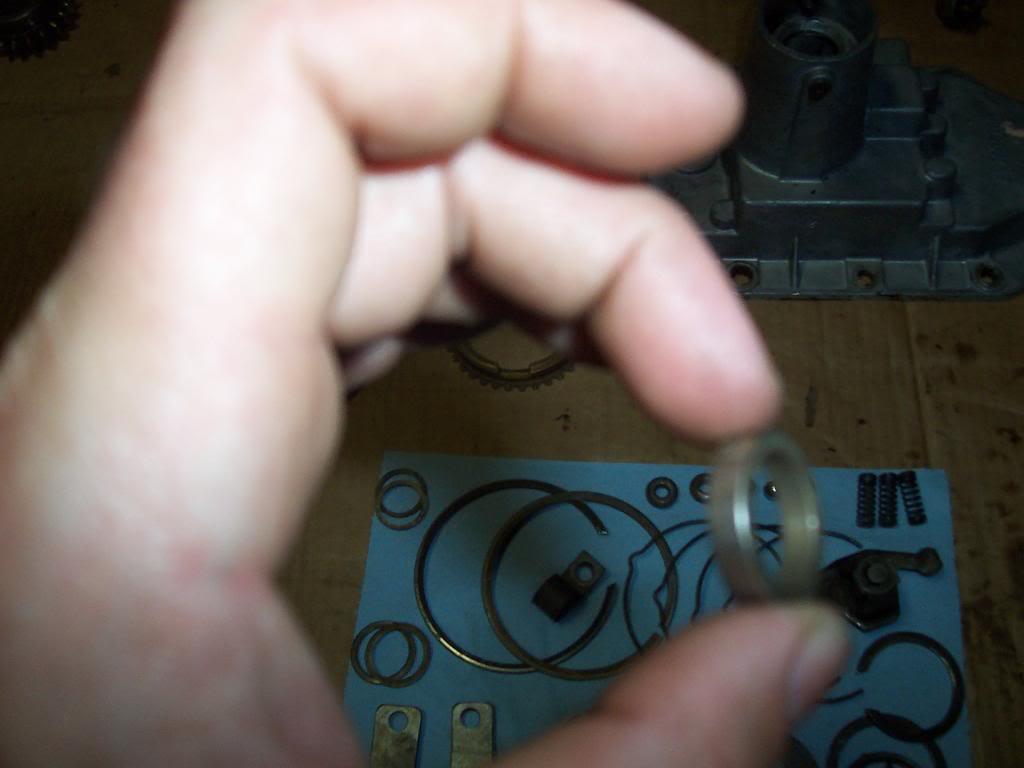
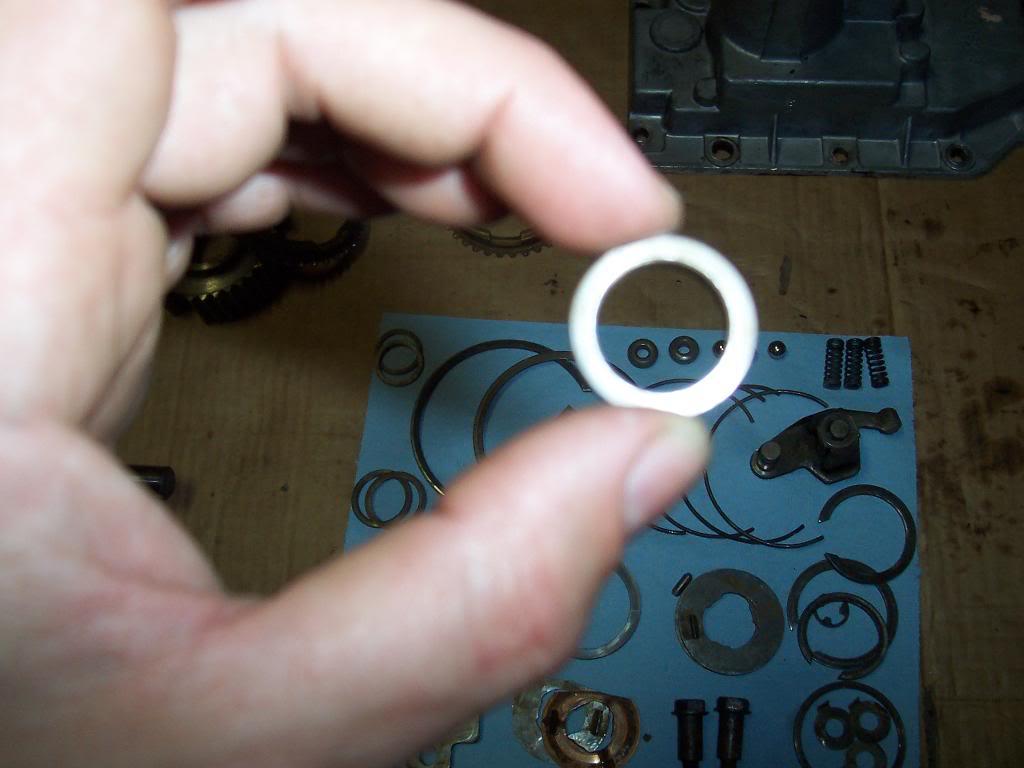
This piece came out of the shift tower. It slides onto one of the shift rails, but I didnt see which one it slid off of. The FSM, parts catalogs, or any of my other reference material doesnt show ths part. It is some sort of spacer. I guess I will just have to experiment with its placement once I reassemble the tranny.

100_4596-1.jpg

100_4597-1.jpg
 
Keep up the good work. Looking great. :thumbsup:
:wave:
 
Keep up the good work. Looking great. :thumbsup:
:wave:

Appreciate it Toby:thumbsup: I still have a long wy to go, though:popcorn:

I slacked off this weekend and didnt work on the Scrambler:ZZZ: I did find out where the mystery spacer in the tranny goes;)
 
Spank

If you don't mind me asking how much is it going to cost for the body work i.e. welding in replacement panels?

Thanks
 
Spank

If you don't mind me asking how much is it going to cost for the body work i.e. welding in replacement panels?

Thanks

Total cost for everything (media blasting, body work, painting) will be around $3,000. Roughly broke out at around $1,000 for each of the 3 steps.

You can obviously get it done cheaper (or do it yourself) but I dont have the time, space, skill, or equipment to do this kind of work to the quality that I want. I would rather pay somebody that does this for a living, knows exactly what they are doing, has a long history of satisfied customers, etc to do this kind of work:thumbsup: The guys that are doing my work mainly do newer car insurance repair work to pay the bills and do this work kinda on the side. They have done alot of custom work to classic cars, tucks, and jeeps:thumbsup:

Body work is not cheap, and when you factor in that I already spent close to $1000 for floor panels etc, a repro body tub almost makes financial sense, except that it wouldnt be "original" any more, and that kind of matters to me:crazy::shrug::)
 
well I guess everyone is crazy in their own way. I am going to search for a tub if I can't find one Im going to rebuild mine with a little help from anyone who lives close by and likes cold beer and pulled pork.
if that falls through i guess Ill just wait 3 or 4 years untill I can afford a repro tub.
 
Back
Top