• Notice for iPhone users: DO NOT use the image size reduction option when uploading photos to the forum. This causes portrait images to post as landscape. We have added a warning to the image insert pop-up as well.

Another Scrambler Purchase/Road Trip - UPDATE- BODY ON FRAME AGAIN

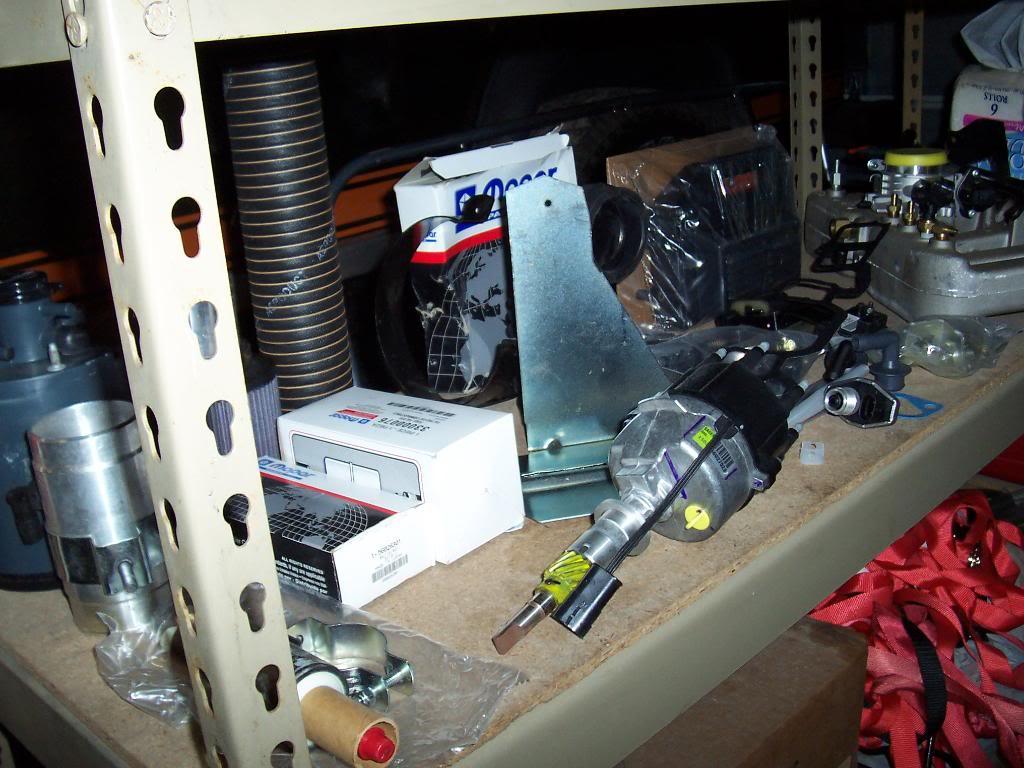
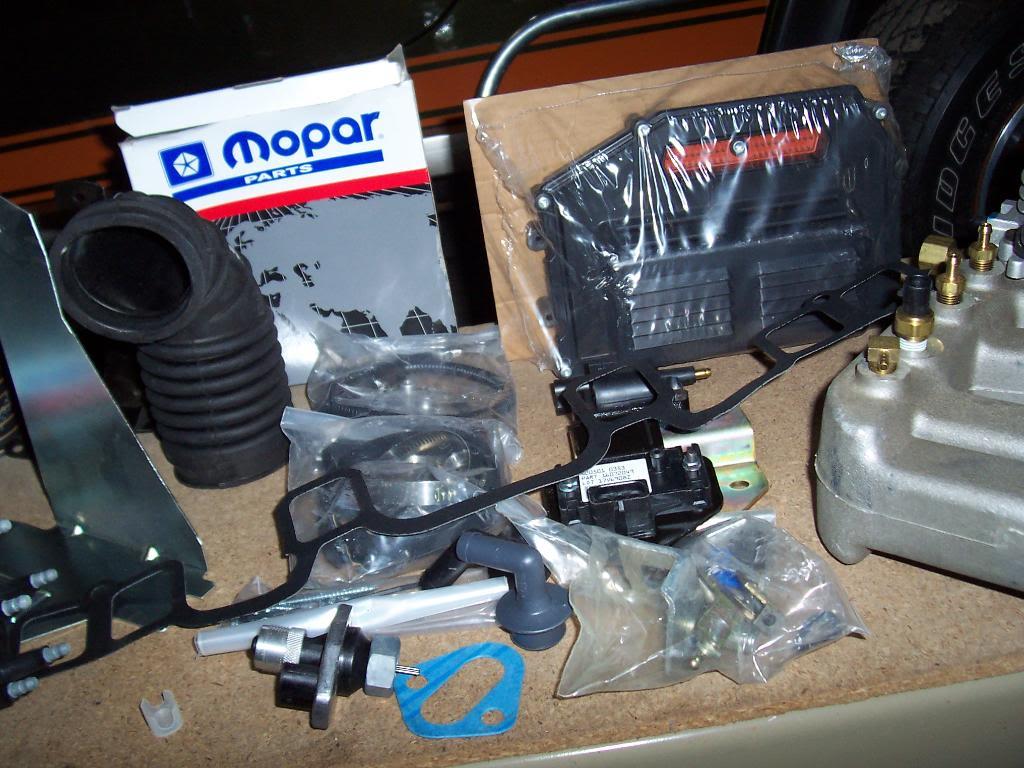
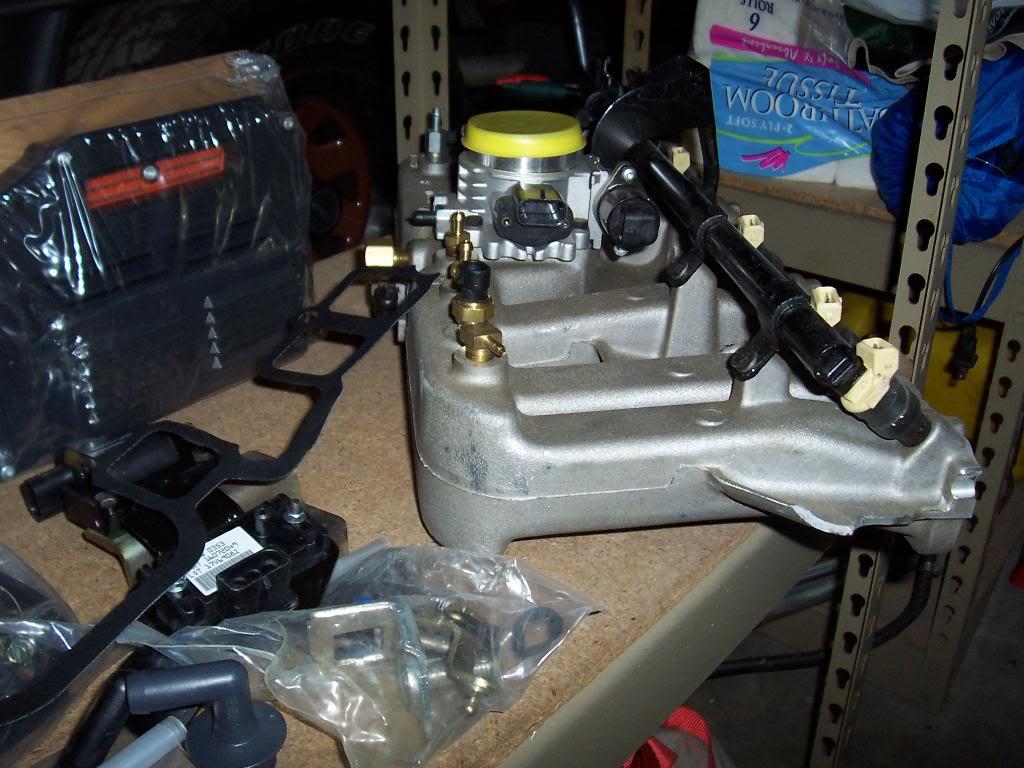
Temporarily halted work on my speedometer issue. Decided to get rid of one more big box of parts I have by installing them: Mopar MPI.

Some pictures of all the parts.

00122-1.jpg


00224-1.jpg


00319-1.jpg


00420-1.jpg


Picture of the included fuel lines, PVC lines, accelerator cable, and other assorted tubes and pipes.

00518-1.jpg


Picture of the wiring. This is all of the under hood wiring. It comes preassembled, labeled and wrapped up. This will save a bunch of time.

00613-1.jpg


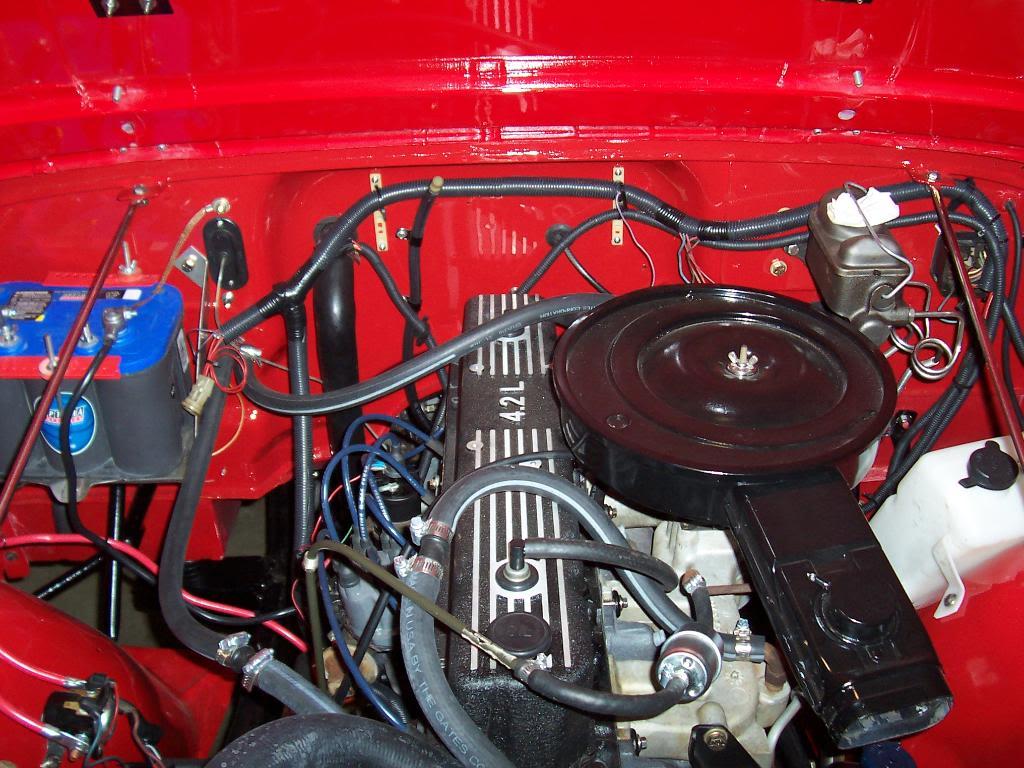
One last picture of the stock carb/ignition system.

00811-1.jpg


I have been dragging my feet on doing this installation for a few reasons.

#1) The jeep runs perfect with this carb and ignition system. Good power, no stalling or missing, starts super easy, etc. It runs perfect. It has no misses at all. Runs as smooth as a sewing machine. But, I know the MPI will improve upon this, plus add power.

#2) The weather has been really nice down here lately, so I have been driving this jeep a lot. Hard to temporarily disable a perfectly good convertible when the weather is this nice.

#3) I just got this drivable after a long rebuild, so it makes it that much harder to make it undrivable again.


Well, no since delaying this installation. Last night I started removing the factory parts to get ready for this install.

Parts I removed last night:

drained radiator
removed fuel pump and fuel line from pump to carb
removed accelerator cable plus PVC lines and vacuum advance line
removed power steering pump from the intake manifold plus both drive belts
removed factory carb and intake and air cleaner
removed factory coil, distributor, spark plugs, and plug wires.

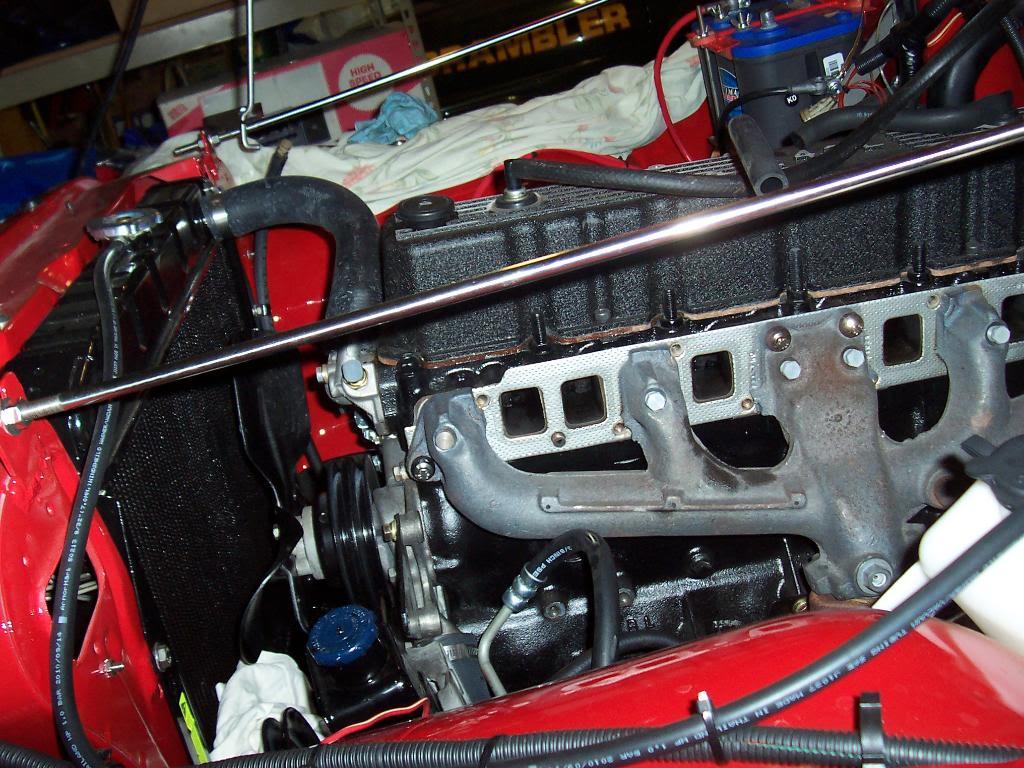
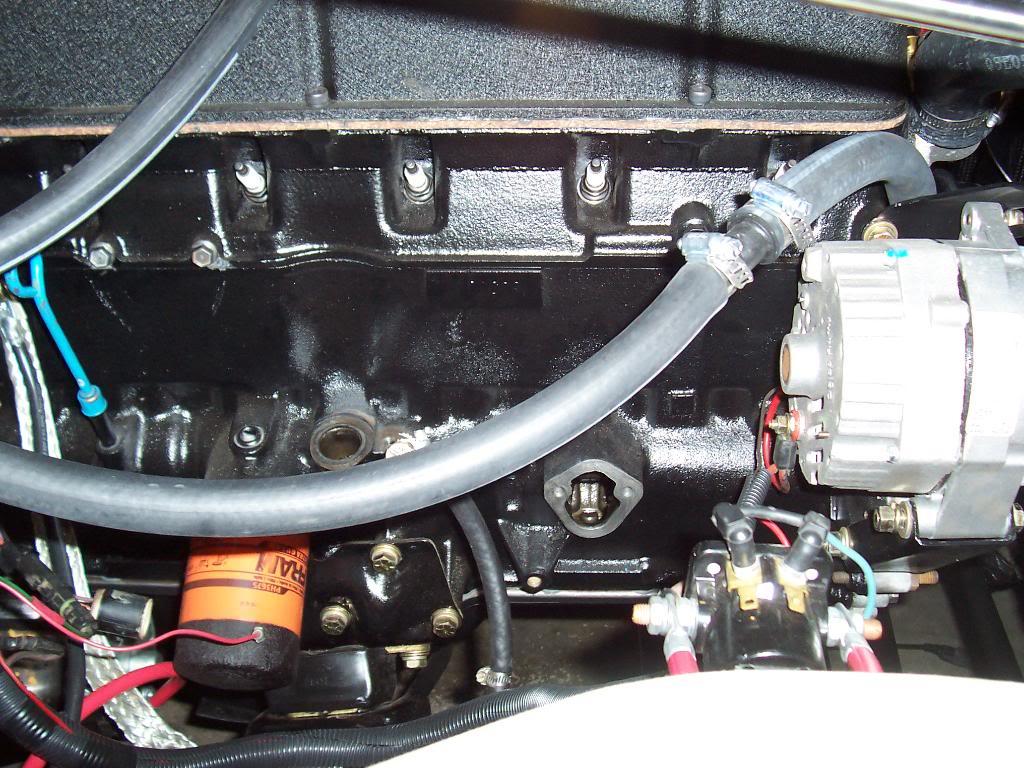
Pictures of the stripped down engine.


00910-1.jpg


0108-1.jpg


0117-1.jpg


That is as far as I got. This particular jeep already had all of the factory emissions/computer controlled carb pieces/vacuum line mess/pulse air system parts removed by a previous owner. That saved some time since all these parts were already removed.

This is where I stopped at. I need to make sure that I am at TDC on #1 (compression stroke) before I go any further. Before I pulled the factory distributor, I pulled the plugs and turned the motor over until the rotor was pointing at the #1 plug wire. But, since I don't think my harmonic balancer has a TDC mark on it (the previously installed Mopar harmonic balancer that must be used with this kit), I am not 100% sure If I am at TDC compression or 180 degrees out.

I will probably drop the factory distributor back in, place my thumb over the #1 spark plug hole, and then turn the motor over to feel the air blowing out. This should guarantee that I am at TDC compression. I don't want to pull the valve cover off to see what the valve springs look like since it is not leaking. Any other suggestions for ensuring that I am at TDC compression??
 
Last edited:
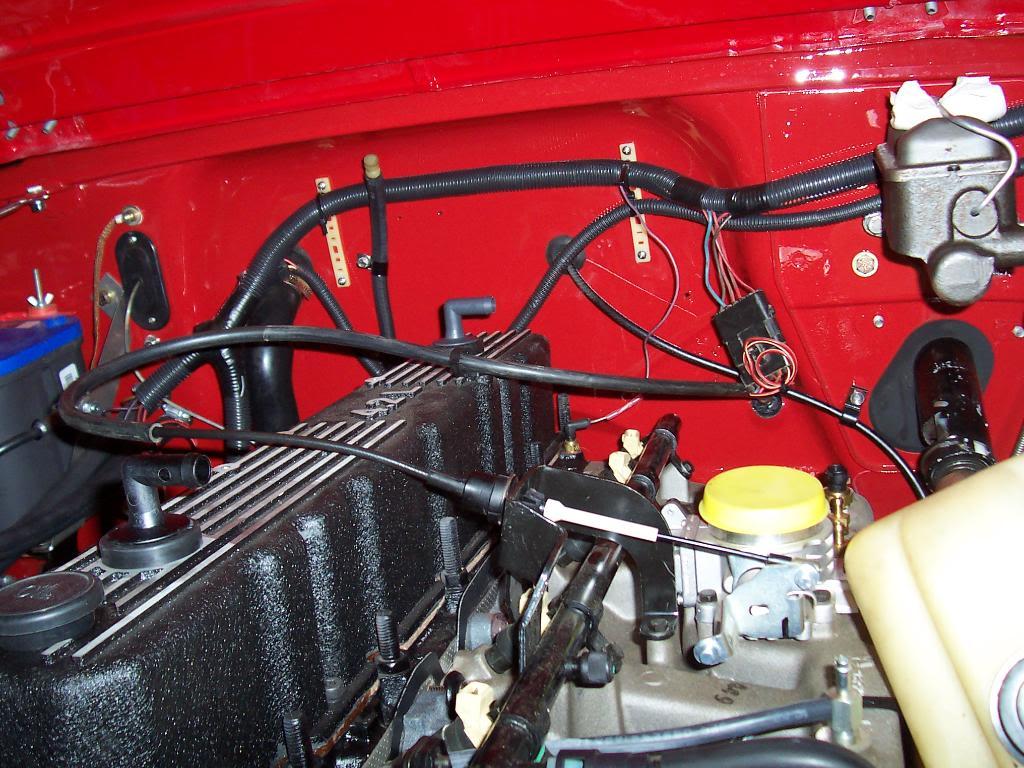
I look under the hood of your rig and it looks so orderly. I look at mine and see miles of unneeded wire and vacuum hoses. I am getting rid of some stuff wit the MS2100 carb. install.

Did you use a Painless harness?
 
I look under the hood of your rig and it looks so orderly. I look at mine and see miles of unneeded wire and vacuum hoses. I am getting rid of some stuff wit the MS2100 carb. install.

Did you use a Painless harness?

Appreciate it:cheers:

All of my under hood wiring is the original harness. I just cleaned it up and re bundled it up in new plastic tubing stuff. One of the previous owners had already cut out a huge part of the harness when they removed the computer controlled carburetor and all the other emissions parts. Once I get the fuel injection hooked up and running I plan on going back through the under hood harness and removing all of the unneeded wires left over from the factory ignition systems.
 
Is the system from hesco? If yes they are very helpful. Ask for Bennie. I have the same and will take any pics you need and post. It runs great. You'll like it.
 
Is the system from hesco? If yes they are very helpful. Ask for Bennie. I have the same and will take any pics you need and post. It runs great. You'll like it.

Yep, it is the Mopar/Hesco MPI conversion kit:thumbsup:

I am hoping I don't run into any problems, but I have heard from others, too, that they have great customer service:fingerscrossed:

If you don't mind, post up some pics of how you ran your fuel supply line under the hood:cheers:
 
Did some more work last night.

Did the old "thumb over the #1 spark plug hole" to make sure I was at TDC compression on #1. Removed the old distributor for the last time. Scraped off the old fuel pump gasket, too.

00123-1.jpg


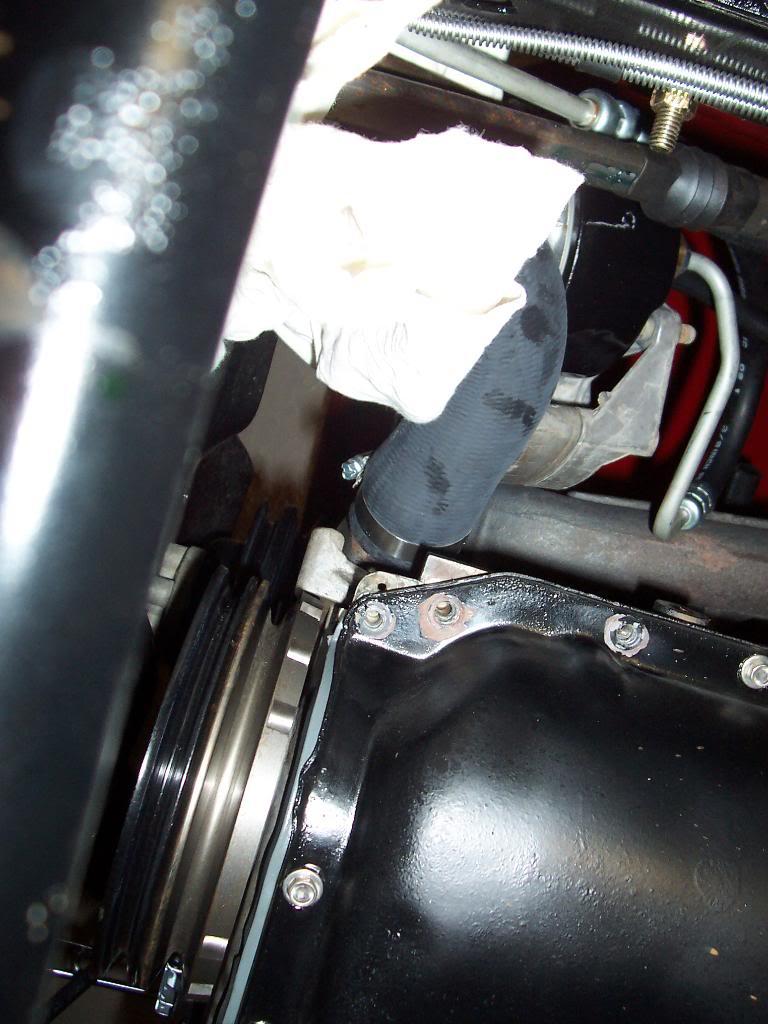
Last part of the dis-assembly instructions, removed the 3 front bolts on the driver side of the oil pan.

00320-1.jpg


Quick picture of the parts I removed: carb/intake, distributor, fuel pump, coil, plug wires, fuel lines, air cleaner, etc. All of these parts are in great shape and I plan to reuse them on another "project".

00225-1.jpg


Time to start putting this thing back together.

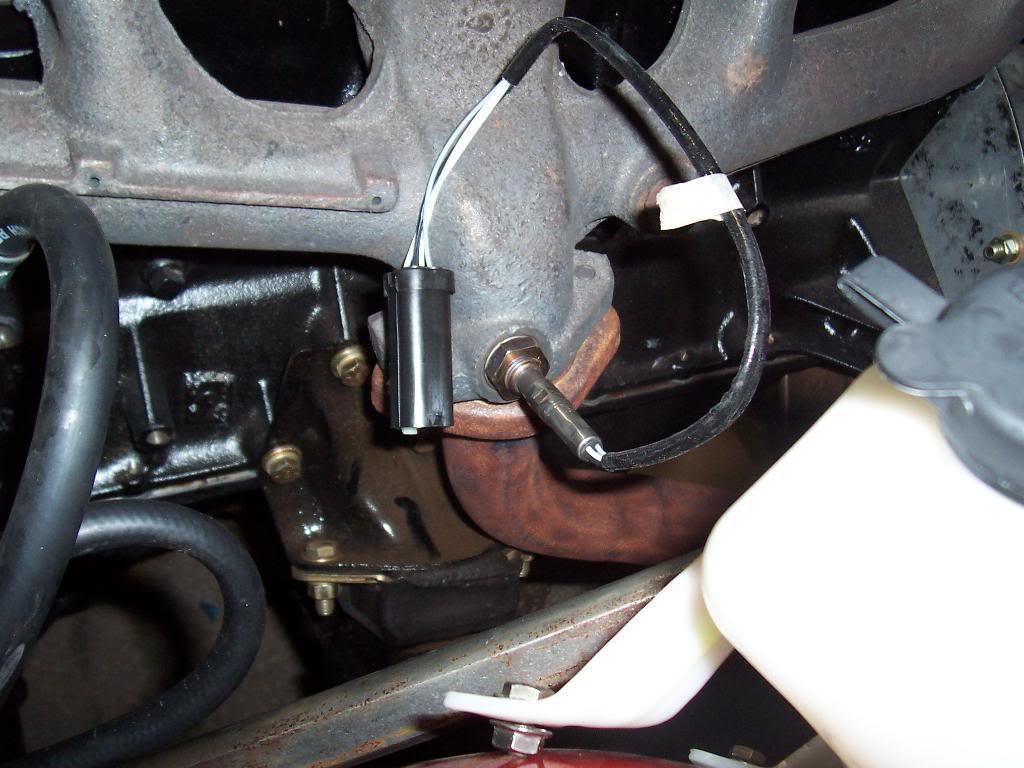
Installed the new oxygen sensor in the exhaust manifold.

00421-1.jpg


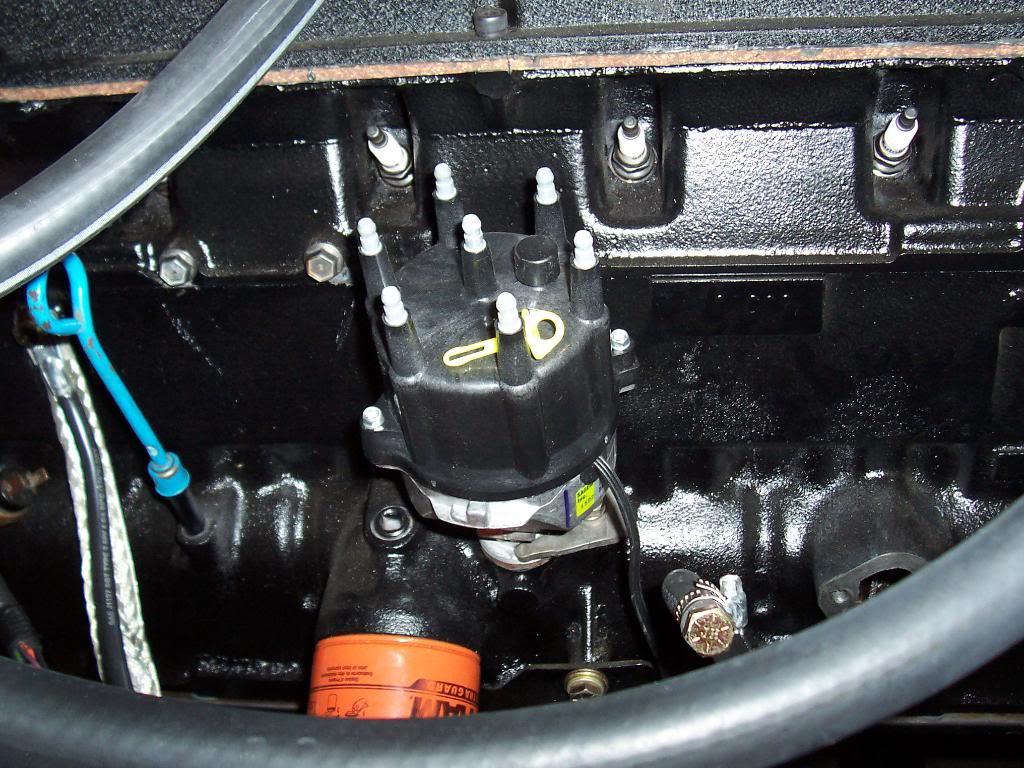
Installed the new distributor. It is very important that you are at TDC on #1. You also have to turn your oil pump slot with a long screwdriver to the 11 o'clock position. The instructions are very clear about this. After turning the oil pump, the distributor dropped right in. I then clamped it down with the original clamp. After it is installed and clamped down, you then pull out a yellow plastic pin. This pin is installed to keep anything from moving while you put the distributor in. It is pictured on top of the cap. Make sure you install the new distributor base gasket before you drop in the distributor!!!!!

00519-1.jpg


Installed the combination ignition coil/fuel pump block off plate. The kit even came with a new gasket.

00614-1.jpg


Installed the crank position sensor. It bolts on where the previous 3 oil pan bolts were removed.

00713-1.jpg


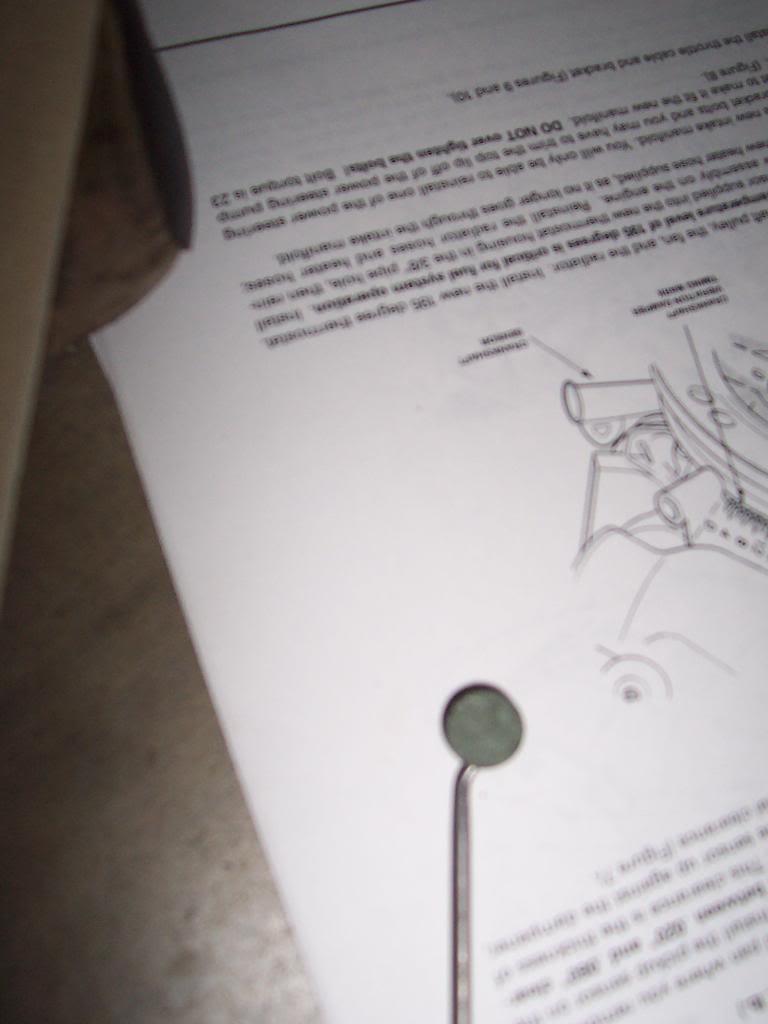
Set the gap between the sensor and the harmonic balancer with the included piece of paper. It is pictured on the end of the pic.

00812-1.jpg


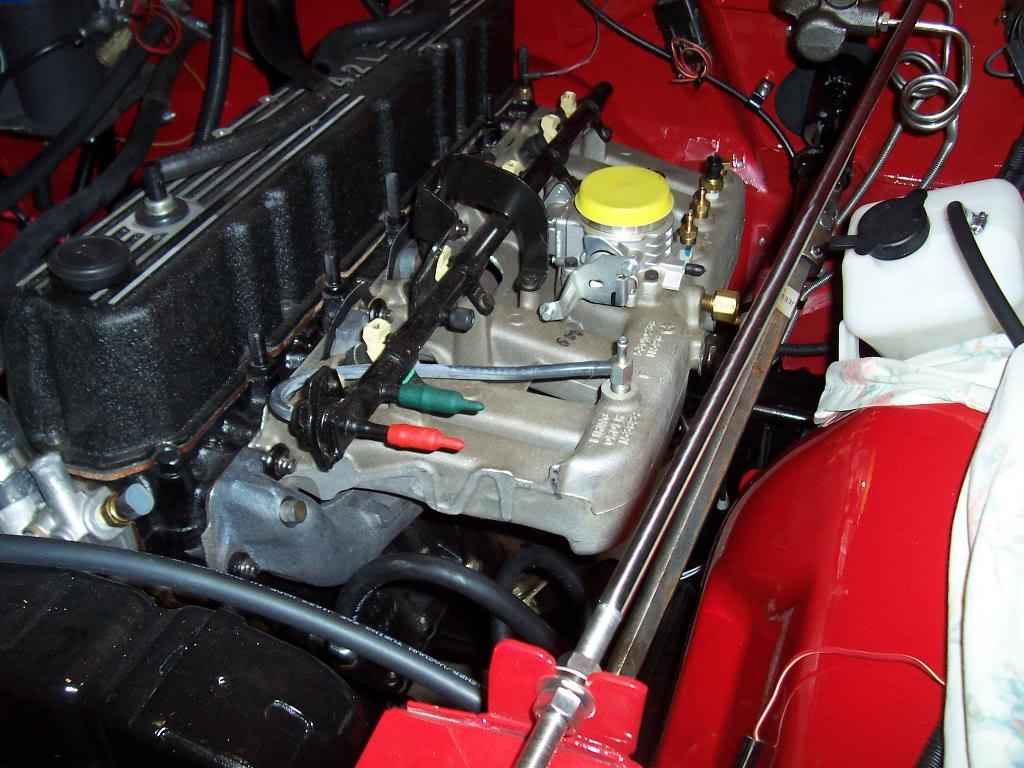
Installed the new intake manifold next. I still need to torque it down. Everything that is installed on the intake came that way from Mopar/Hesco.

00911-1.jpg


That's all I got done last night. Quick picture of the remaining parts.

0109-1.jpg


That's it for now.
 
Last edited:
If you don't mind, post up some pics of how you ran your fuel supply line under the hood:cheers:

I didnt like how people run the return around the front of the engine. I ran a completely new return line down the drivers side frame rail.
 
I didnt like how people run the return around the front of the engine. I ran a completely new return line down the drivers side frame rail.

I plan on keeping my return line on the drivers side, since the return line back to the gas tank is already on that side (runs next to the vapor line and the rear brake line on my particular Scrambler) and the return line on the fuel rail is on this side. I figured most people ran theirs this way:shrug:

My fuel feed line runs down the passenger side frame rail. I plan on running this line over the engine on the firewall over to the passenger side. This makes more sense then running it all the way to the front of the jeep, then crossing over to the passenger side, which is what the instructions say to do, which sound kind crappy:shrug:

I will figure it out when I do the plumbing and will post up pics of what I end up doing. Feel free to post up pics or suggestions:cheers:
 
Bad Karma is a mind reader. I ran mine inside the frame rail on the driver's side and out at or near the brake proportioning valve and up beside the steering shaft to the line supplied by Hesco. So, the pics wont show much cause its hidden in the frame. But I'll take some and post if it helps.

When I took it apart the line was on the passenger's side with a large fuel filter in the flexible line on the frame where the old fuel pump was, the routed from there around the front below the radiator. Probably ok forever, but I was concenred that it could get pinched or cut or jammed and leak and create a fire hazard. Just a thought.
 
take the time and mount a fuel feed line on the drivers side frame rail. Thats what I did, I posted that i did it with my return line, but i got it mixed up. I wouldnt run the fuel line on the firewall. Not a huge fan of running fuel with the electrical. sparks and fuel i hear are bad together.

besides, you did such and awesome job making that Jeep look factory original, why ruin it with ghetto fuel feed line routing.

next thing... running fuel line INSIDE the frame is a HUGE NO NO!!!
there is no way to secure the line inside the frame. Jeeps tend to vibrate just a little. the constant rubbing of the fuel line and the frame will eventually cause the fuel line to leak, possibly causing a fire.
 
Ouch. Maybe I should call you Good Karma. I'll rethink that move. Maybe re-route it. Great point I never thought of. Spankrs don't do it my way. Any problems with the converter and heat Badkarma?
 
A little more progress, but not much.

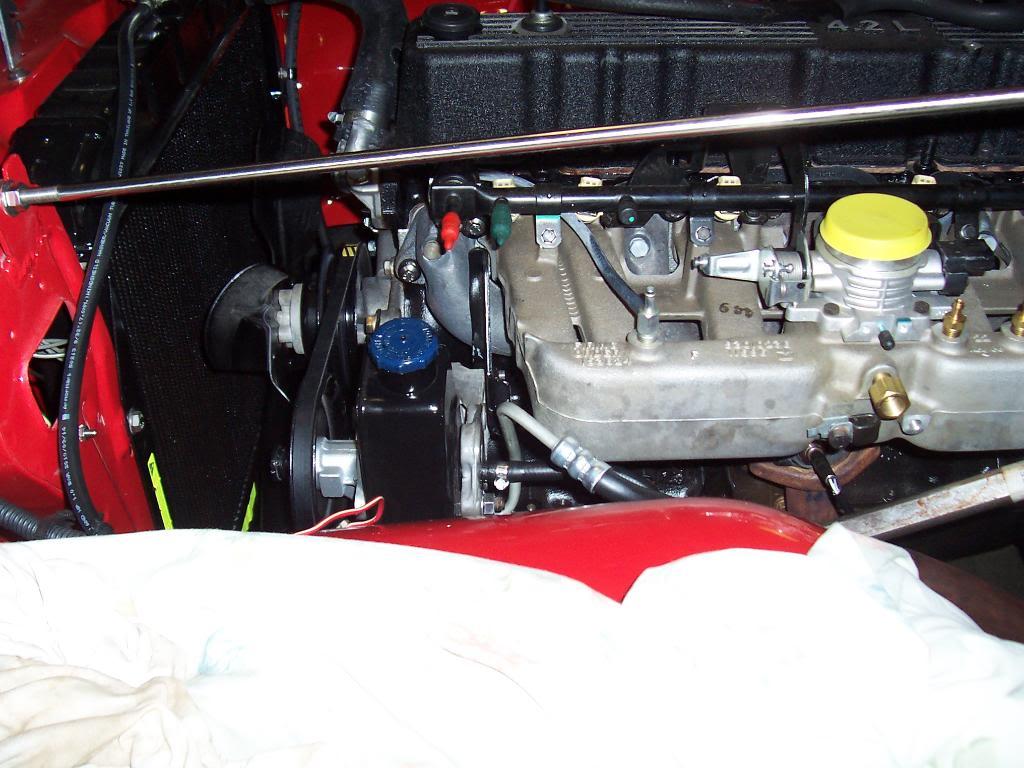
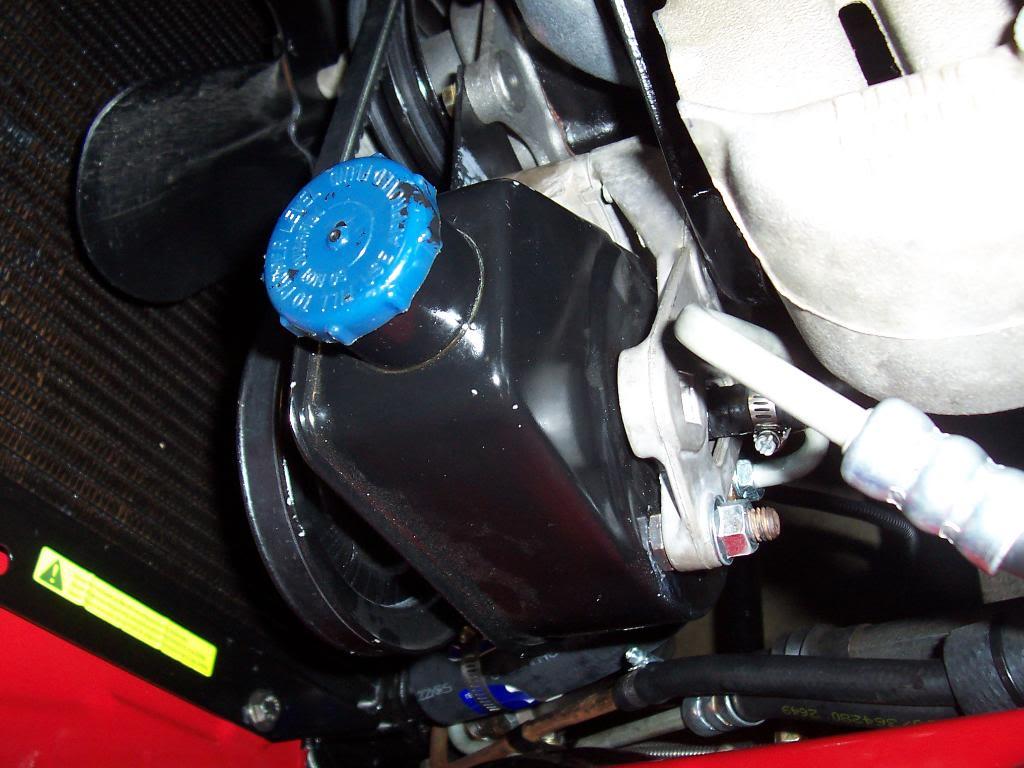
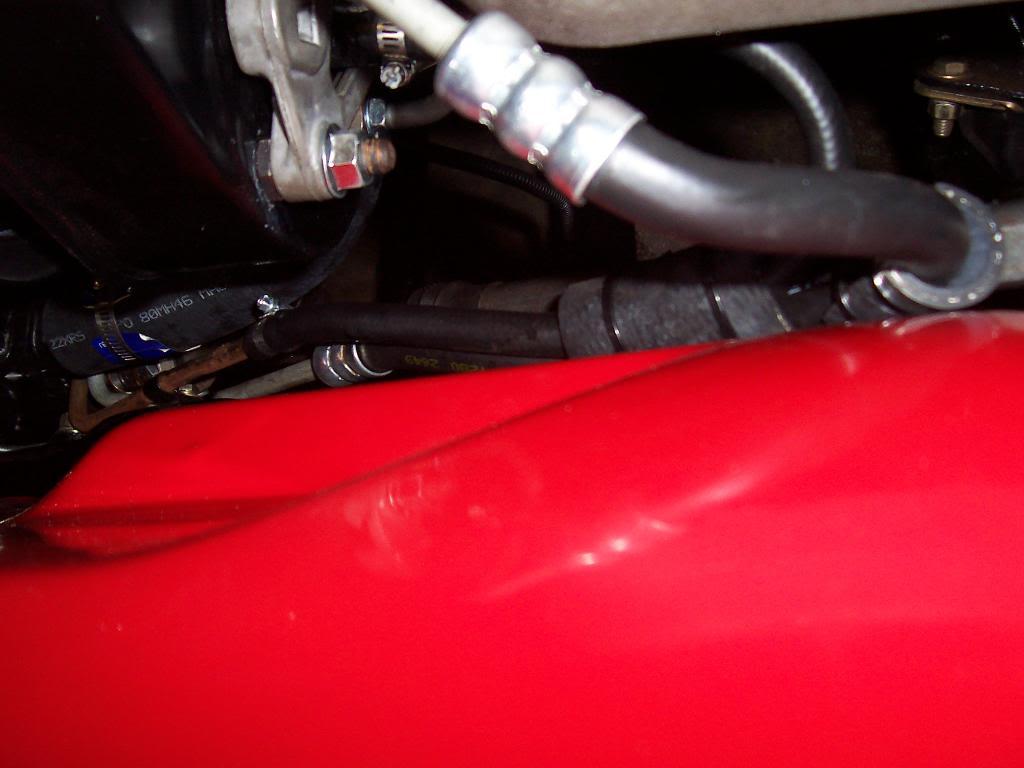
Got the intake manifold torqued down and reinstalled the power steering pump. I was able to reuse my existing pressure and return lines. I did, however, have to disconnect the pressure line, remount the pump assembly, then reattach the pressure line in order to get everything to fit. Made a nice mess on the floor. The new intake does not have the threaded holes in the front of it for the rear pump bracket to attach to, like the carb intake does. The instructions say you could cut the upper portion of this bracket off, but I did not.

00124-1.jpg


Picture showing the pressure line clearing the new intake manifold.

00226-1.jpg


I did wrap my pressure and return lines with another piece of rubber hose where they touch the inner fender to prevent them from getting holes wore through them. These two lines touched the sheet metal with the old old intake manifold routing, too.

00321-1.jpg


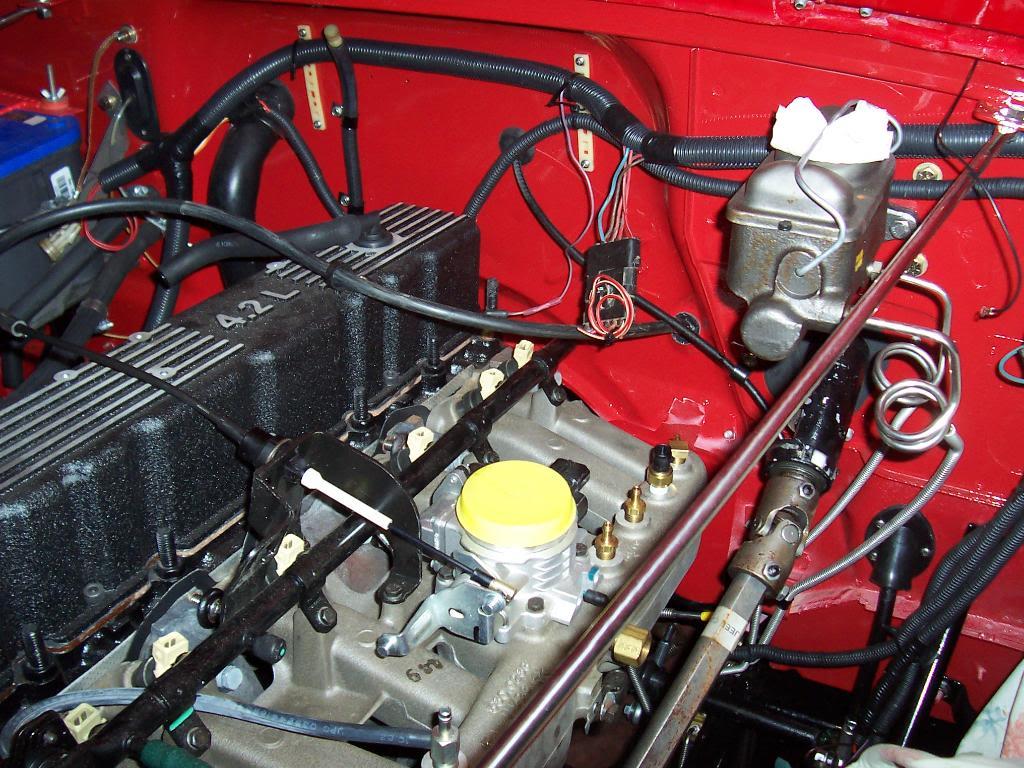
I also installed the new accelerator cable. It is very long and you have to be creative in your routing to avoid kinking it.

00422-1.jpg


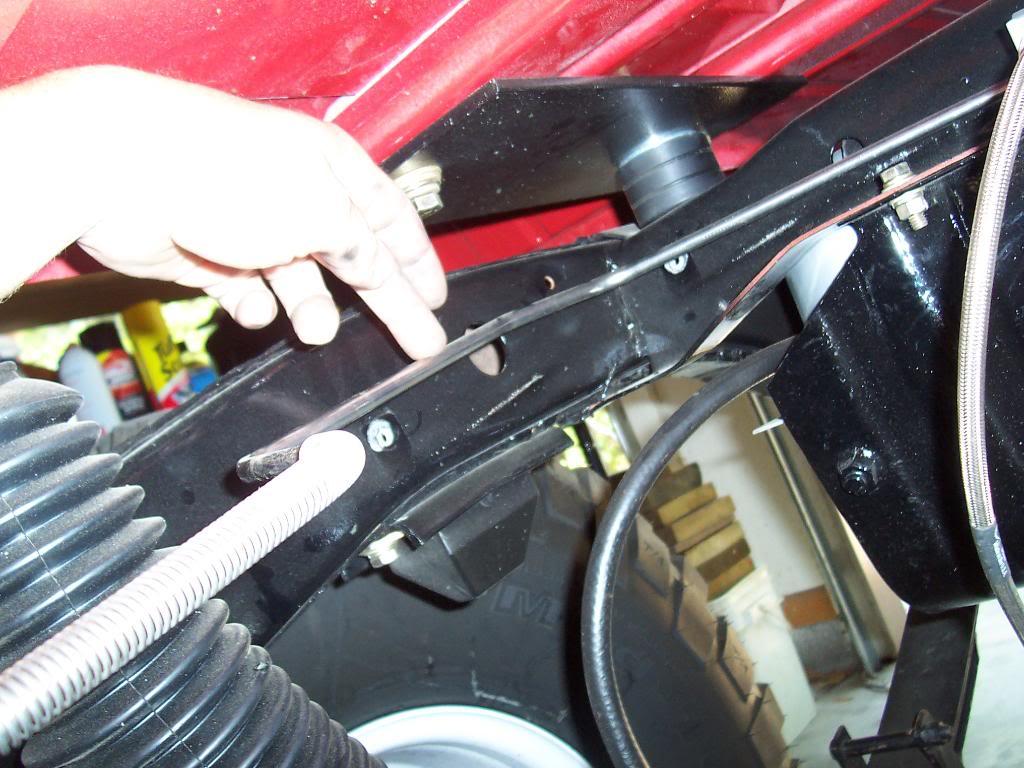
Next steps, according to the instructions, are mounting up the fuel pump/fuel filter assembly and hooking up a fuel feed line. I am going to mount the fuel filter/pump assembly on the rear crossmember, in front of the fuel tank, per the instructions. For my fuel feed line, I decided to remove my factory mounted fuel feed line from the passenger sides and rework it to fit the driver side frame rail. This makes the most sense to me, seeing how the fuel feed hook up is on the intake manifold, which is on the driver side. After looking at the alternatives, to me this is the best way to route this line.
Picture of where I cut the factory fuel feed line. I cut the line between the 90 degree bend coming from the rear cross member and in front of the bend it makes to go around the rear shock. The part that is still on the rear cross member will be turned 9o degrees, so that it is pointing at the driver side frame rail. From there, I will mount a short piece of rubber line, fuel filter, short piece of rubber line, fuel pump, then another short piece of rubbber line to connect the pump to the newly mounted driver side fuel rail. Picture of where I cut the factory line.

00520-1.jpg


This is where I stopped. I got the line cut, but I am unable to reflare the ends. I wasted about 6 hours trying to reflare these ends, used 3 different flaring tools, and I still could not get the tube to flare at the end. These SS lines are too hard to flare with a regular flaring tool. A buddy of mine is going to take them to a hot rod shop that has the technology to reflare this hard tube.

Thats it for now.
 
Last edited:
You'll have the CJ up and moving in no time. How much tork do you think that new set up will produce?
 
You'll have the CJ up and moving in no time. How much tork do you think that new set up will produce?

I hope I get it up and running soon, I am missing some great jeeping weather:thumbsup::cheers:

Not sure how much this modification will increase torque output, the only increase in power I ever see listed is the bump from 130HP to around 180HP:shrug::fingerscrossed:
 
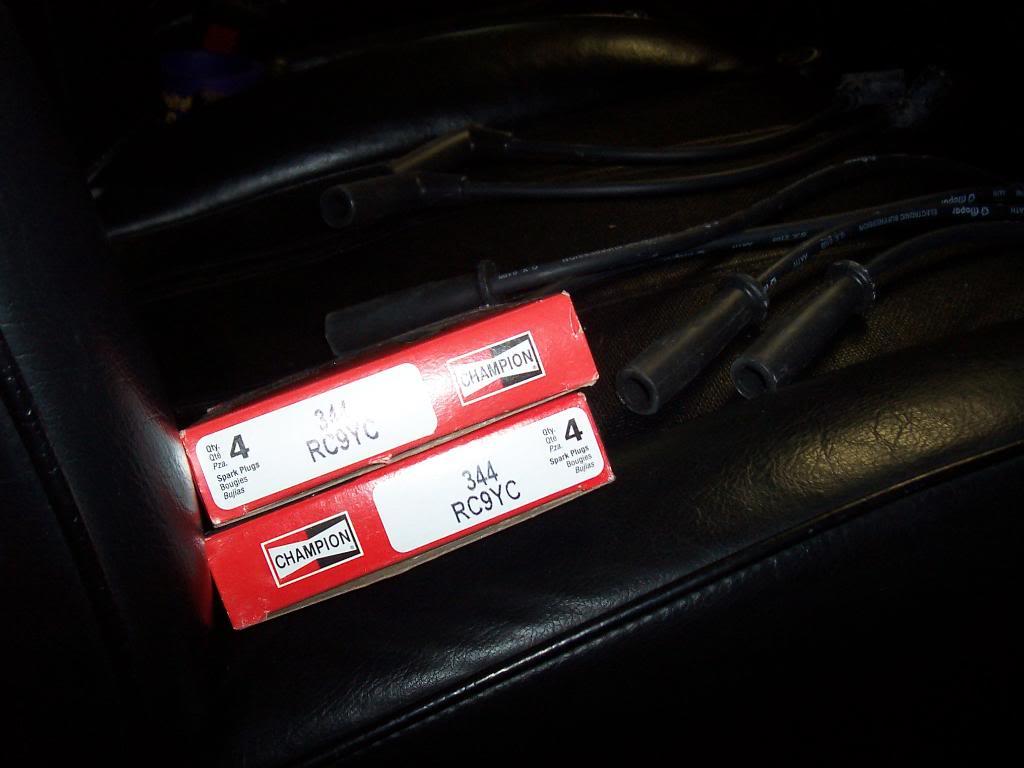
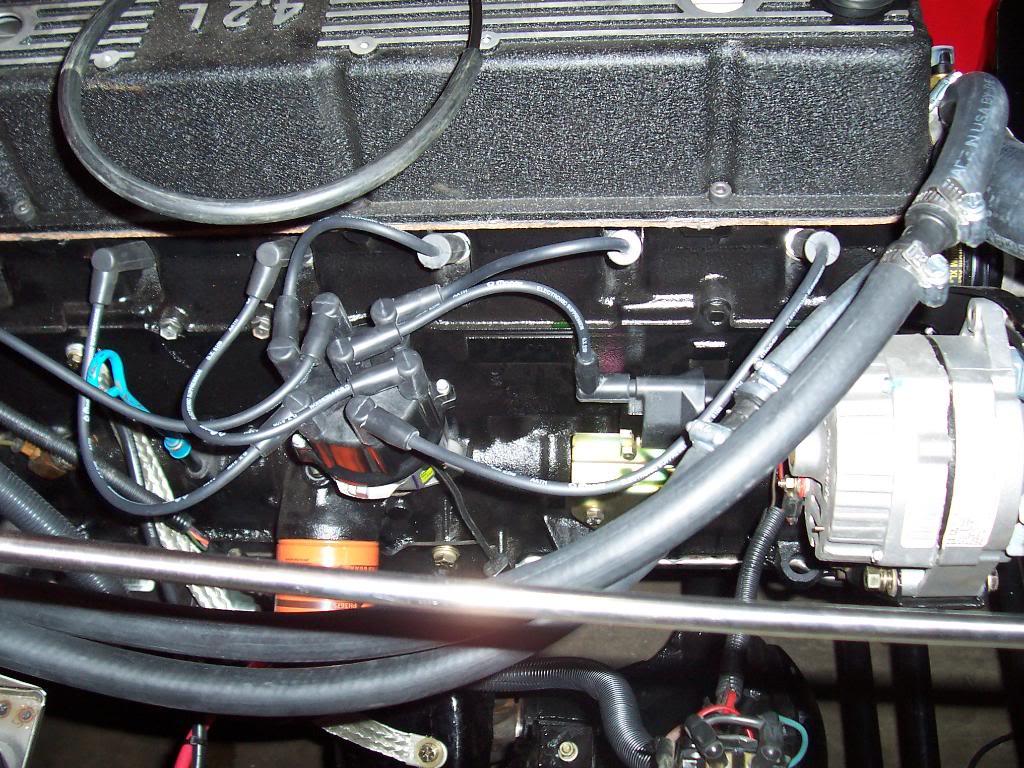
More fuel injection conversion work. Did some "easy" work. According to the Hesco site, I changed out my spark plugs to the recommended Champion RC9YC , gapped to .037. I also installed the Mopar plug wire set that came with the kit. These wires really fit great on the cap and plugs.

00125-1.jpg


00322-1.jpg


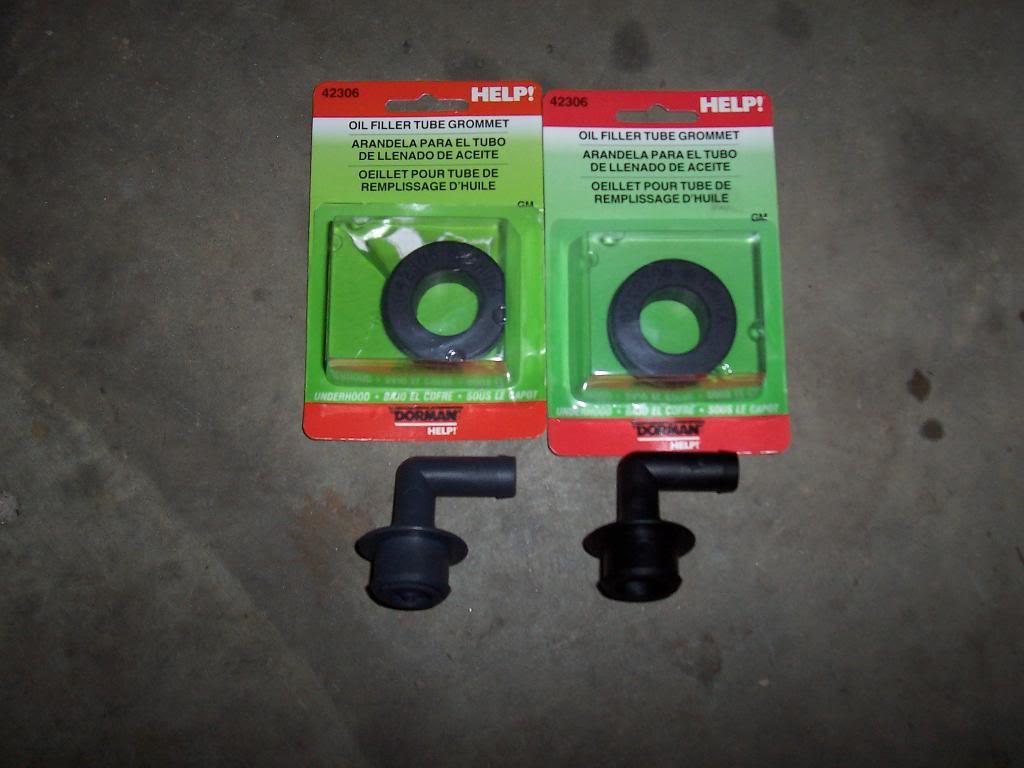
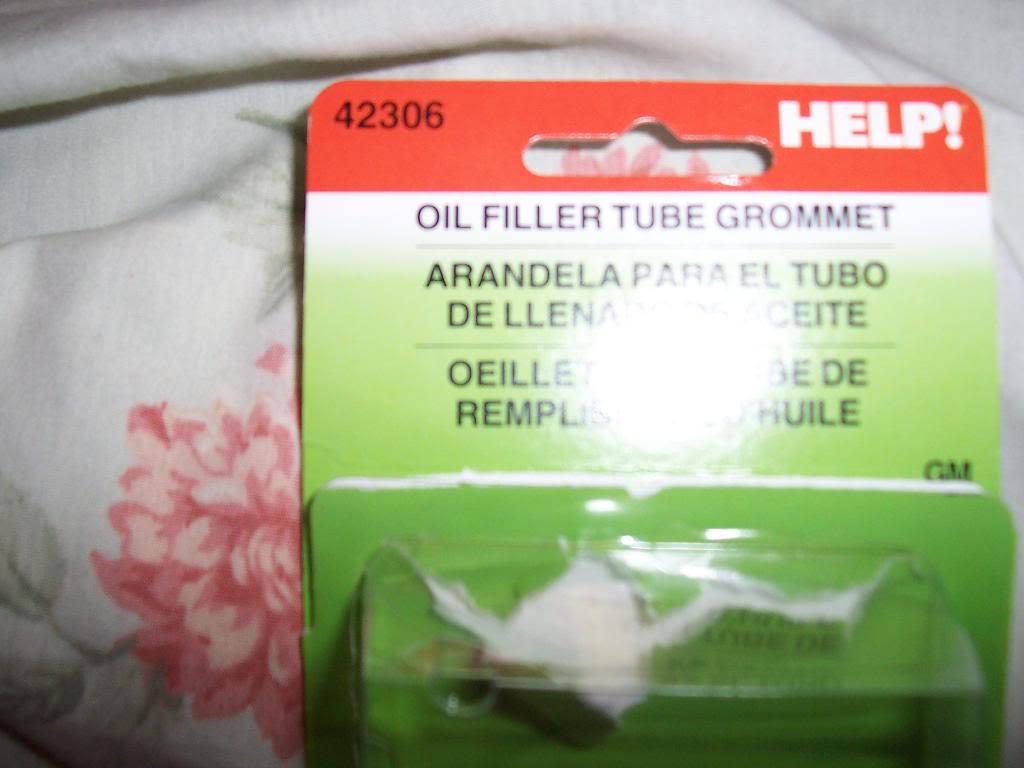
I also installed the crank case breather fittings. The kit came with the fittings but it did not come with grommets that fit into the valve cover. I guess they figure there are so many different valve covers out there it would be impossible/costly to supply every conceivable grommet with the kit. I ended up spending a couple of hours trying to find some off the shelf grommets that work. The grommets I used have an OD of 1 3/16" (to fit the holes in my valve cover) and a 1" ID (to fit the fittings). They fit tight with the valve cover and the grommets. The grey fitting (which has some kind of built in orifice valve) goes to the rear, the black elbow goes in the front hole.

00423-1.jpg


00521-1.jpg


00615-1.jpg


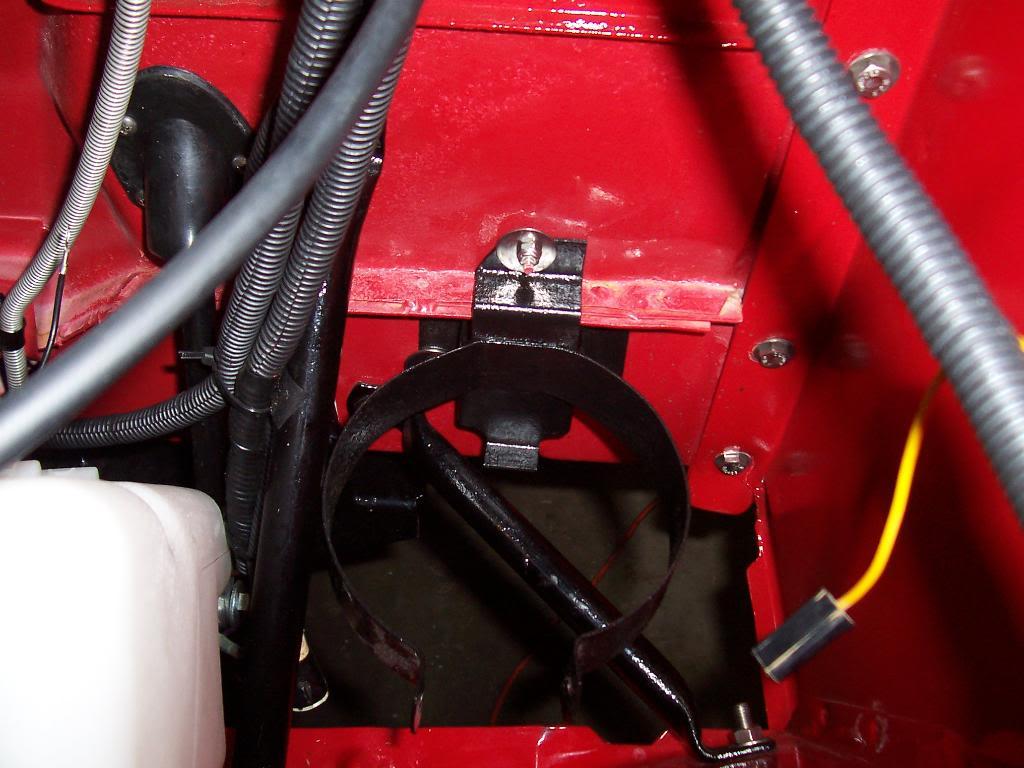
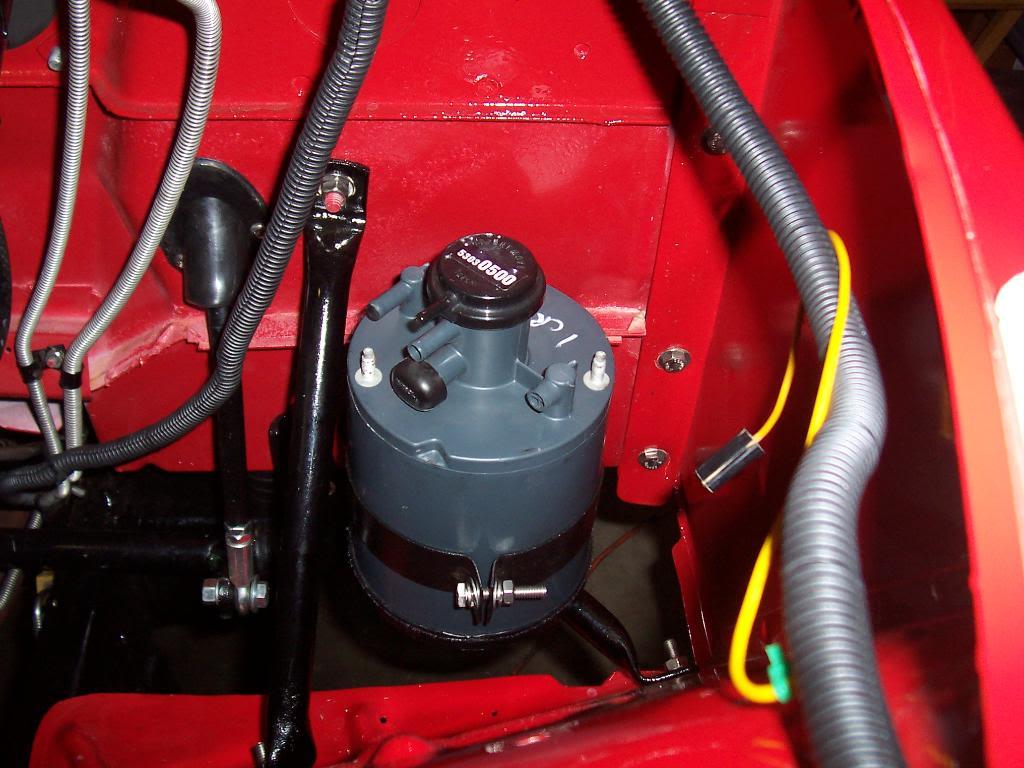
I installed the new vapor canister and bracket next. The kit comes with a new canister and a new bracket. I reused my old bracket, it fits both the existing mounting points under the hood and the new canister.

Old and new side by side. New is on left, old is on right.

00714-1.jpg


Mounted up in the factory location.

00813-1.jpg


00912-1.jpg


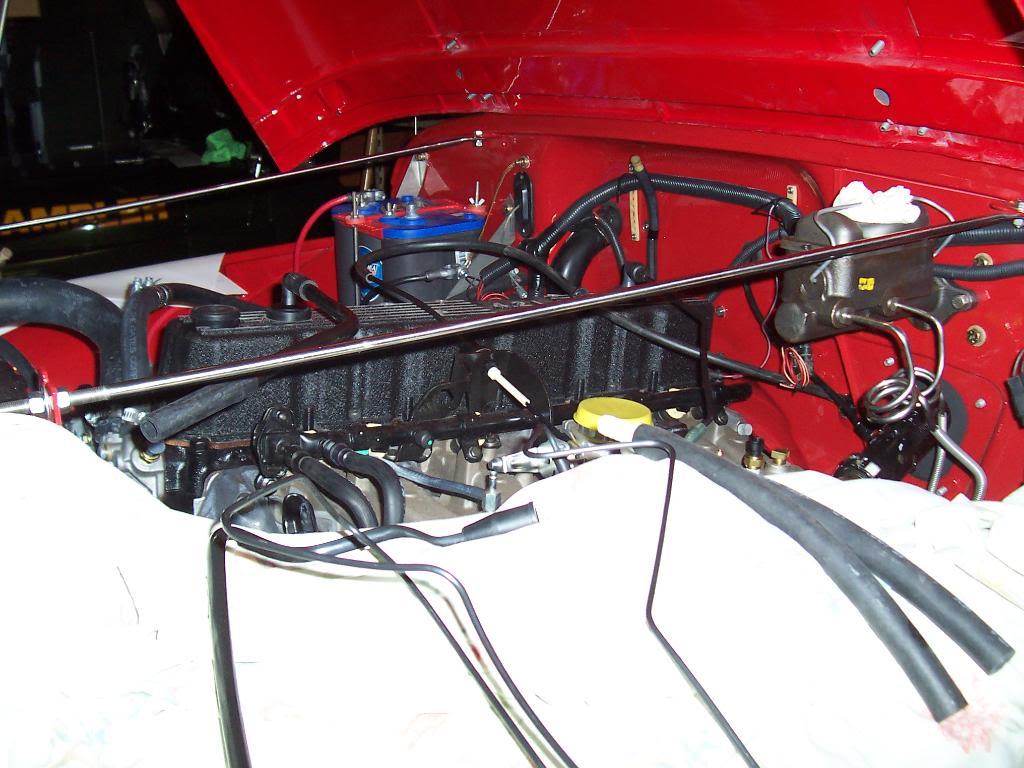
I installed some of the new vacuum lines, mainly just the ones that I could figure out. Once I get the rest of the sensors mounted up it should be easy to figure out where the other lines go.

01010-1.jpg
 
Last edited:
Back
Top