• Notice for iPhone users: DO NOT use the image size reduction option when uploading photos to the forum. This causes portrait images to post as landscape. We have added a warning to the image insert pop-up as well.

Another Scrambler Purchase/Road Trip - UPDATE- BODY ON FRAME AGAIN

Good talking to you last night!
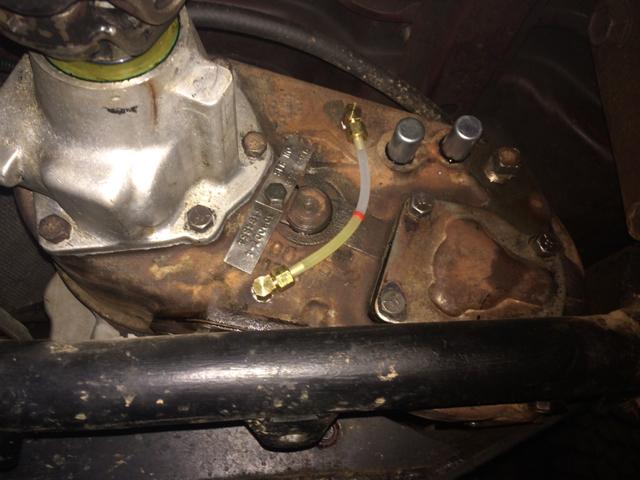
Heres my sight tube.
:)

epypuju8-1.jpg

Appreciate the info, good talking to you, too:thumbsup:

Glad there wasn't a melt down while you were on duty:rotfl:

BK's "site glass" is another great way to ensure proper lubricant level:twocents:
 
My D300 is clocked about like yours is now. I did it at the same time as the 4:1 kit. The instructions, web site or in a dream ( don't really remember now), but I use 2 qts of lube in the D300....just like the stock spec amount. It's been ok for years like this.

I did hack off the inboard part of the tc shifter mount and run a twin stick.
 
My D300 is clocked about like yours is now. I did it at the same time as the 4:1 kit. The instructions, web site or in a dream ( don't really remember now), but I use 2 qts of lube in the D300....just like the stock spec amount. It's been ok for years like this.

I did hack off the inboard part of the tc shifter mount and run a twin stick.

That I great news about the lube not leaking:thumbsup::cheers::headbang:

As for the twin sticks, I'm still holding out, keeping the single stick, for now:thumbsup:

:wave:
 
Started to work on fabricating/installing a transmission mount last night.

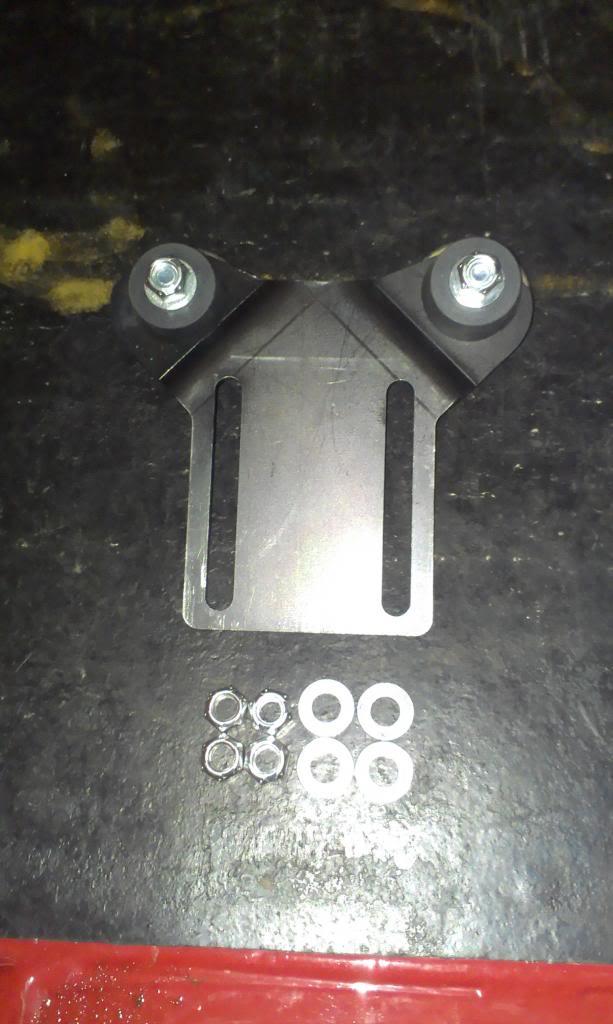
When I bought the transmission/adapter from Novak, I also bought their handy dandy mounting kit.

IMAG3108_zps78ae9280-1.jpg


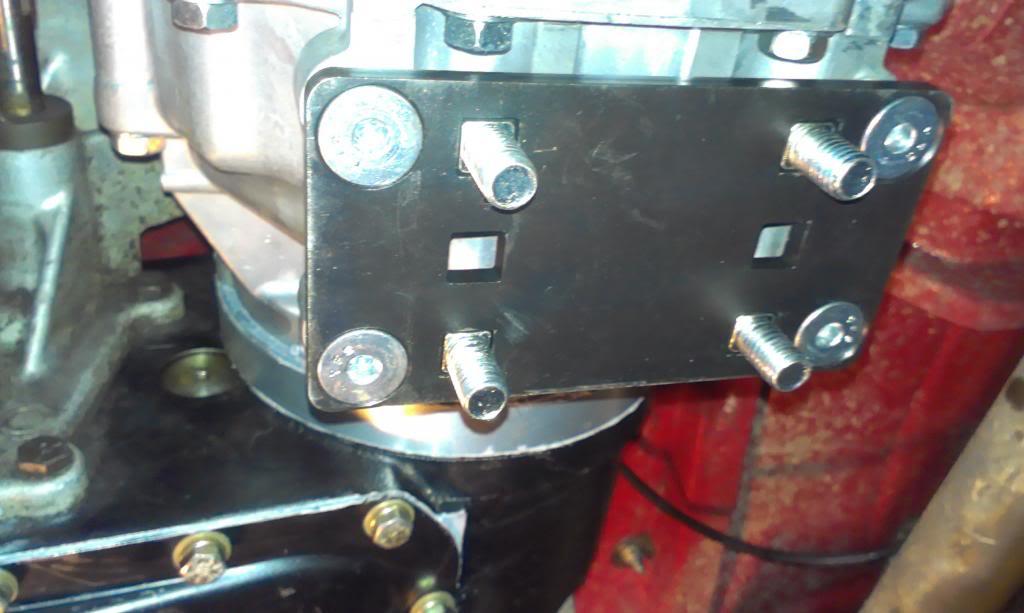
This above pictured piece bolts to another plate, which they already bolted to the bottom of the transmission.

IMAG3109_zpsa73b5277-1.jpg


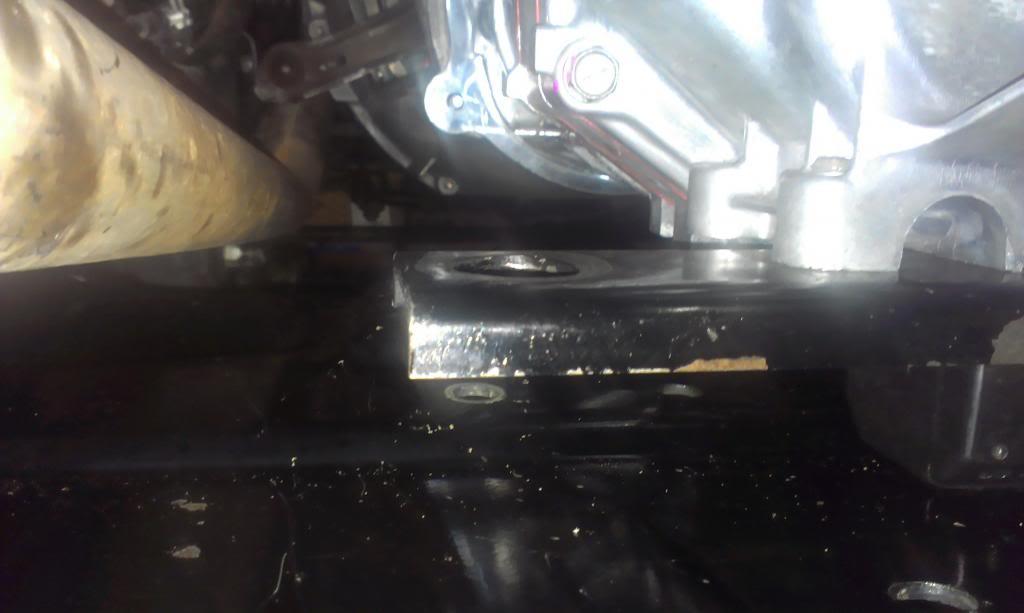
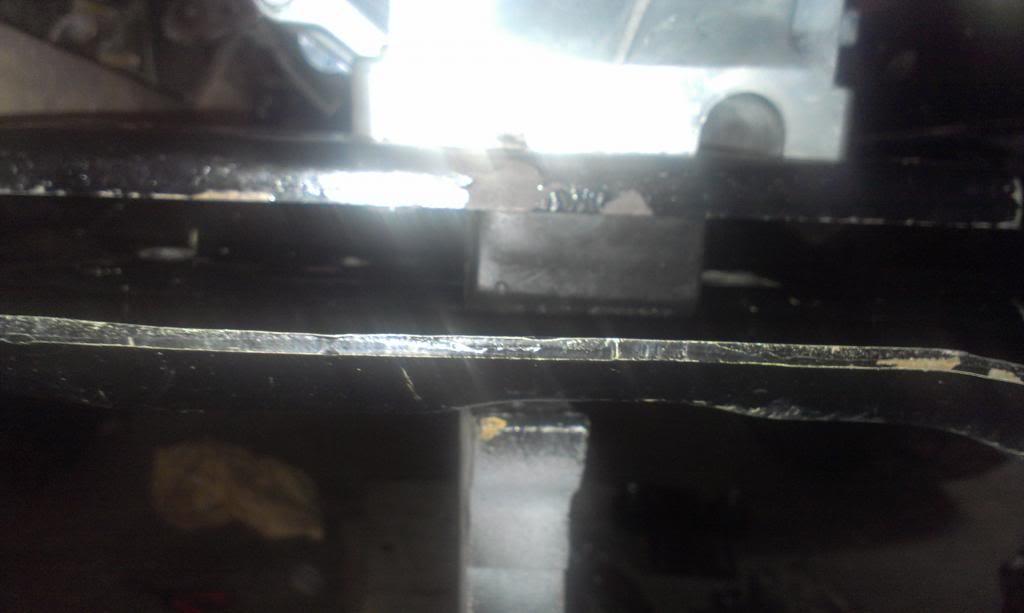
While it is a nice mounting system, I could not get it to work, using the stock Dana 300 skid plate, and keeping my driveline angles in check. This piece will work, though, with a flat skid plate. The stock skid plate has the "dip" on the passenger side for the Dana 300, and one of the mounts would be hanging in space here. If I flip the mount with the rubber mounts forward, they would end up on the "raised steps", where the factory mount bolts, kicking the transmission/transfer case up into the body. I tried to use this mount, with the skid plate in both the T5 and T176 frame holes, no dice.
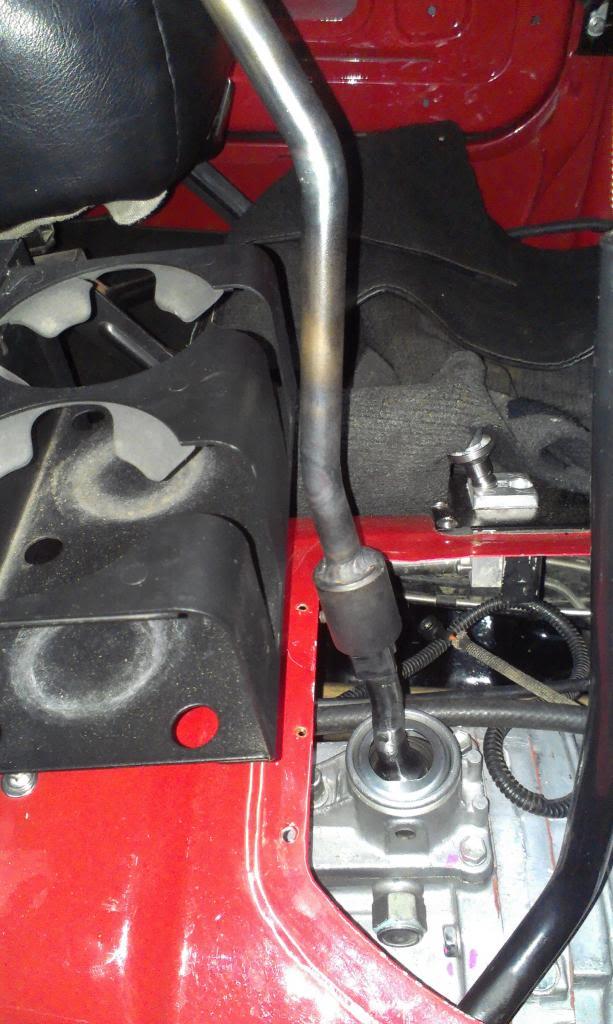
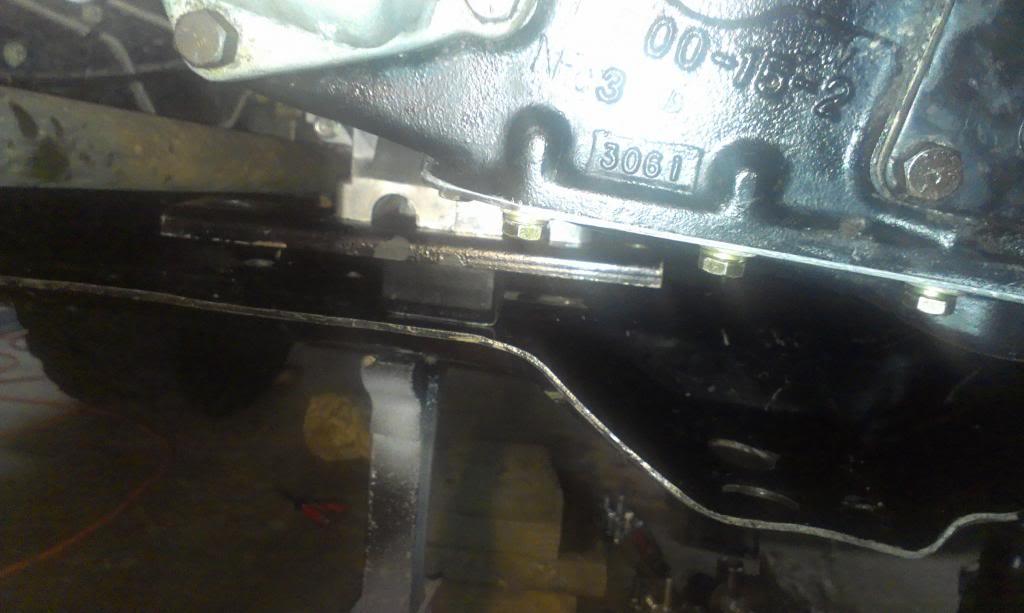
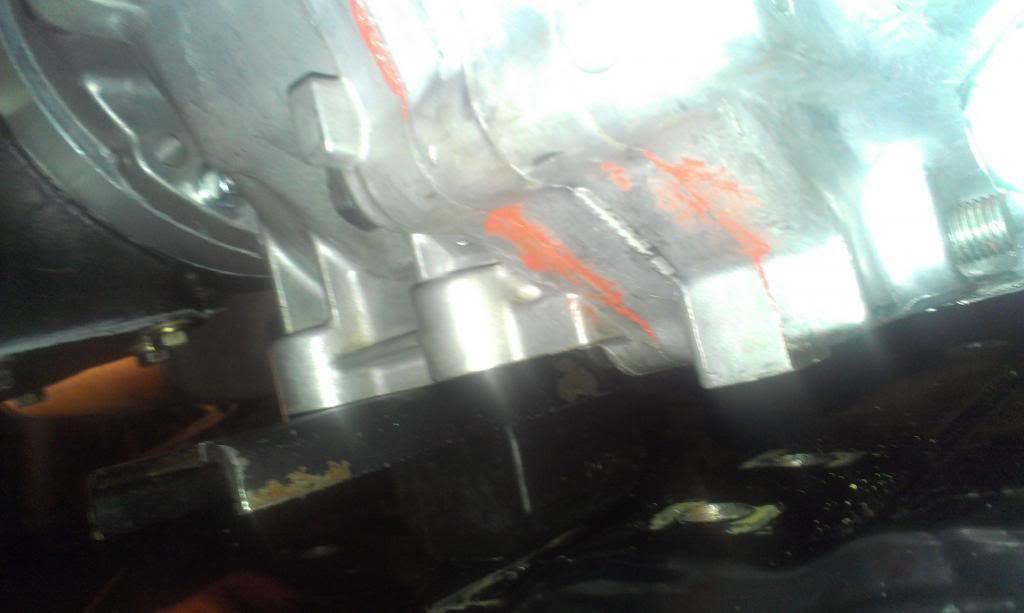
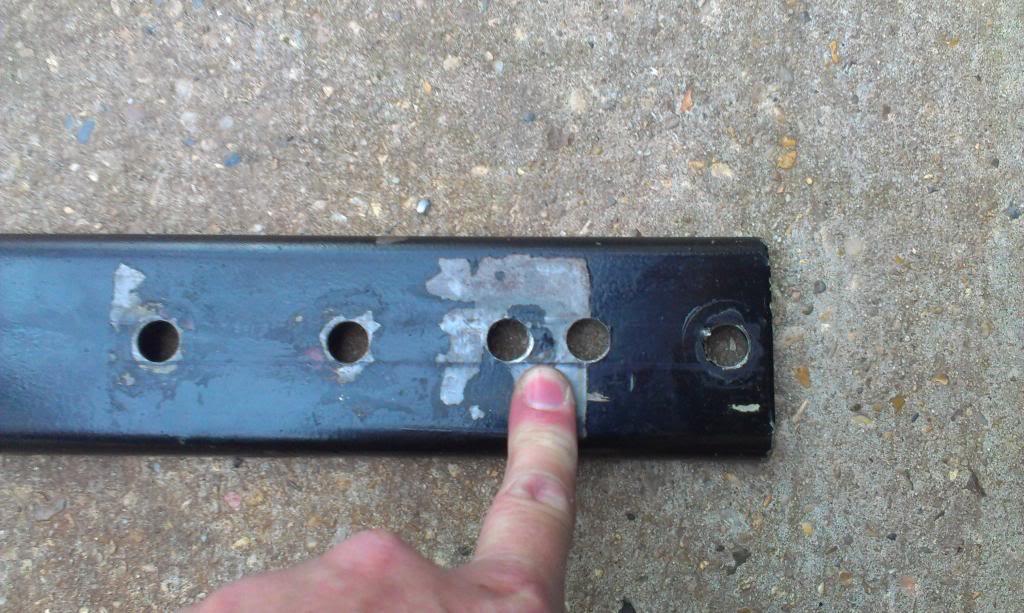
After scratching my head for a bit, I realized I can use the stock mounting bar, transmission mount, and torque mount, with minor mods. I will only have to drill one hole in the factory transmission mount bracket, and three holes in the skid plate. Nice, simple, and clean. Plus, I can keep my driveshaft angles in check.
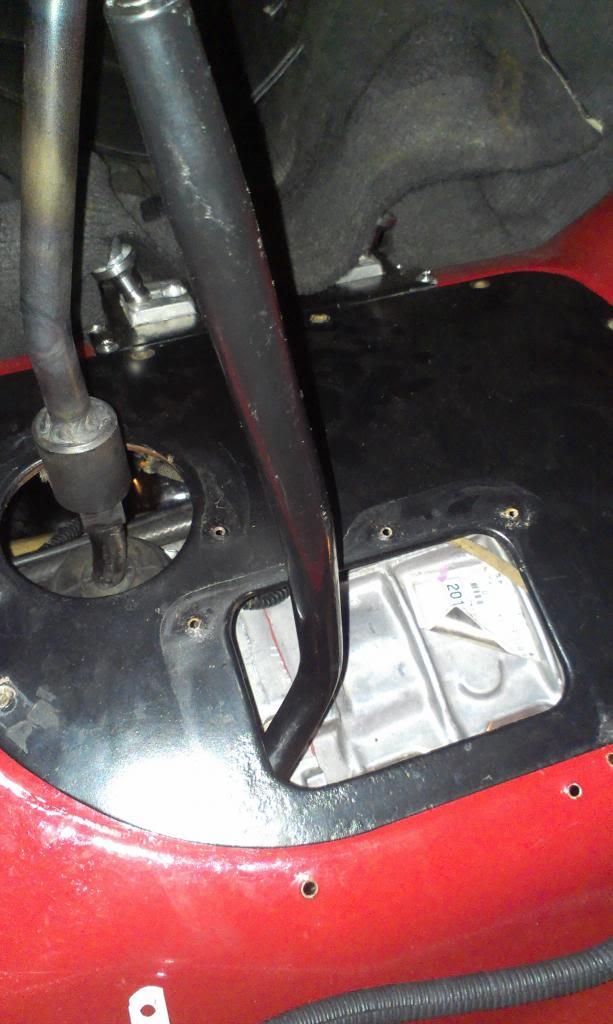
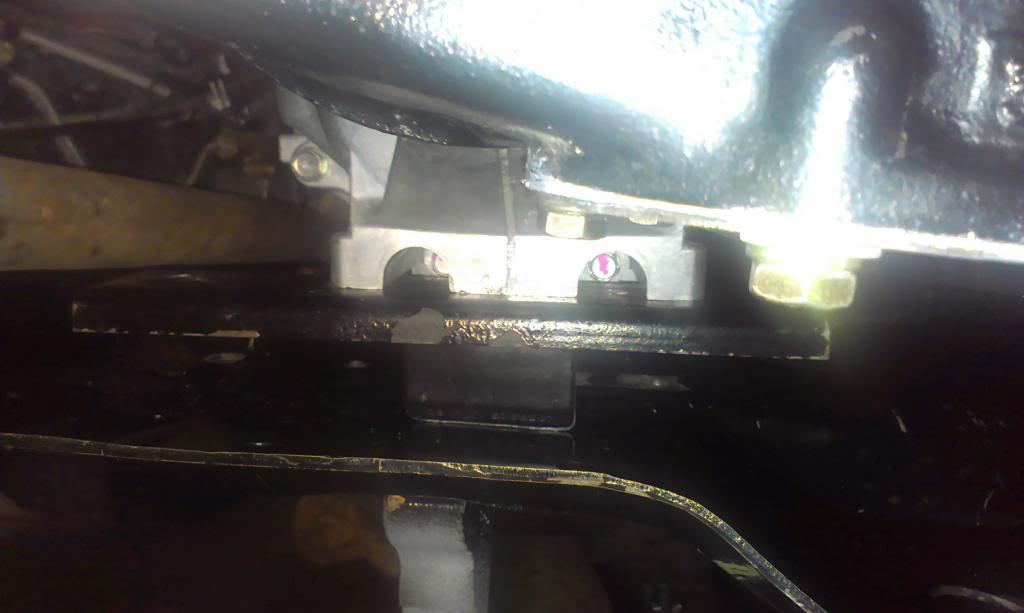
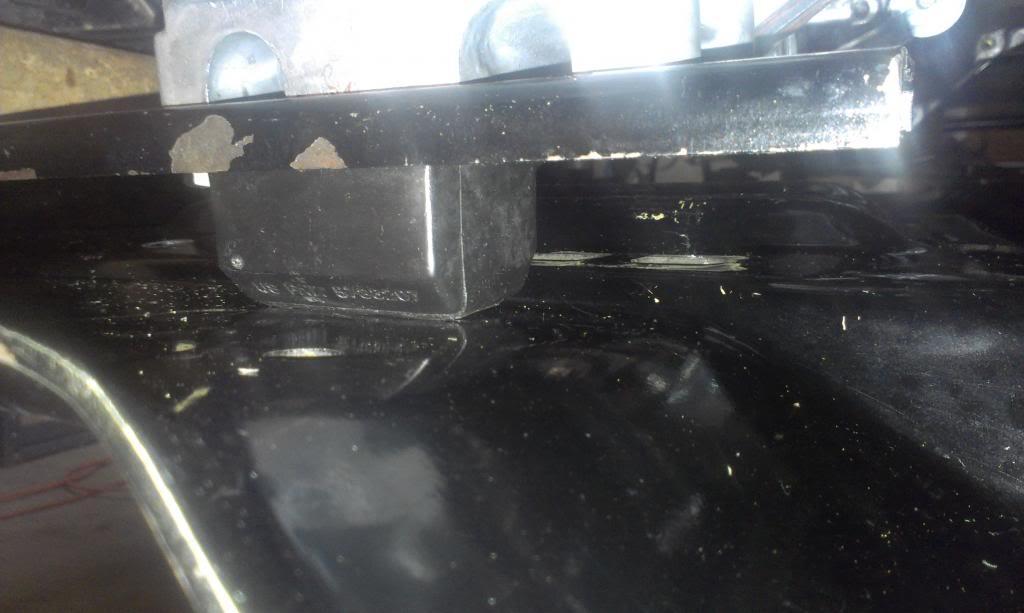
I will detail my mount modifications in a future post, but for now, here are some pictures with it all loosely in place, should work perfectly:fingerscrossed:

IMAG3110_zps93dd921f-1.jpg


IMAG3112_zpsb42465c6-1.jpg


IMAG3113_zpsb432ca86-1.jpg


IMAG3115_zpsd7b5c763-1.jpg


IMAG3117_zps5c093bdb-1.jpg


IMAG3118_zps7fc62d0a-1.jpg


Using this mount, I maintain a good, downward angle on the power train. I do not have an angle finder, need to get one, but I compared the red Scrambler's engine angle with my stock green Scrambler by pulling a measurement from the rear most port on the stock exhaust manifold to the upper lip of the cowl "gutter". This is what I got:
Green Stock Scrambler = 11.5"
Red Scrambler = 13"

But, the red Scrambler has a 1" body lift, so when you subtract 1", I am at 12", within 1/2" of stock.

Also, before the swap, the centerline of the rear output shaft was 23-3/4" above the concrete. Now, I am at 23-1/4", so 1/2" lower. I should be good to go, and I can wiggle it up the 1/2", if needed, and not change the drive shaft lengths.

I ordered my new drive shafts this morning, hope to get them before the weekend.

Still need to:

1) Finish transmission mount
2) Install wires/vent line
3) Install/bend shifters, floor plate, boots
4) Fill transmission/transfer case with fluid
5) Install new drive shafts
6) Go drive!!!!!!!!!!!!!!

That's it for now.
 
More AX15 swap information.

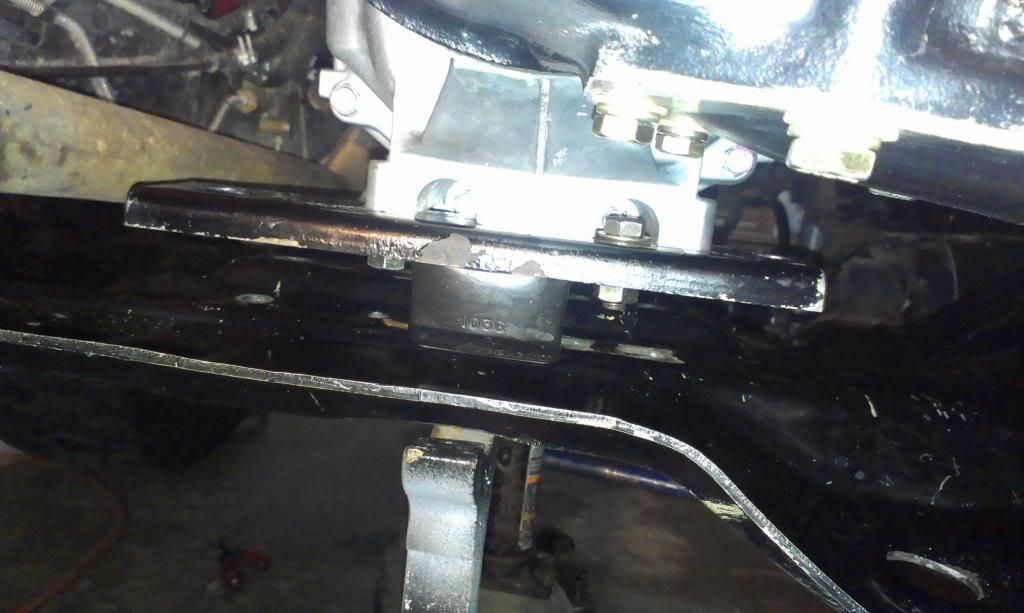
Since the Novak mount would not work with the stock skid plate, I decided to adapt the factory mounting system to the AX15, which was really easy.

I drilled one extra hole in this piece:

IMAG3124_zps0a6bc6cd-1.jpg


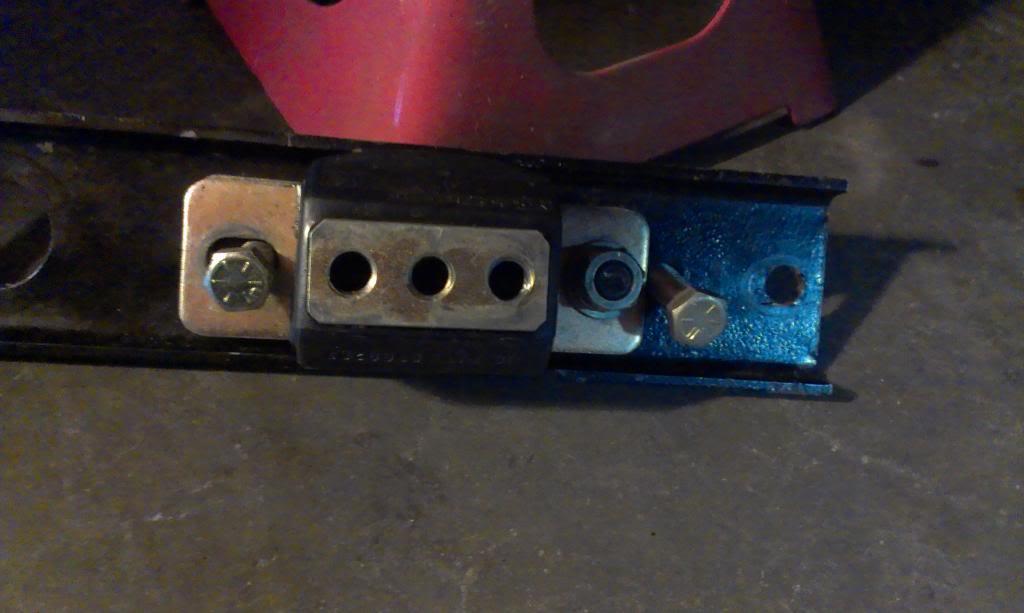
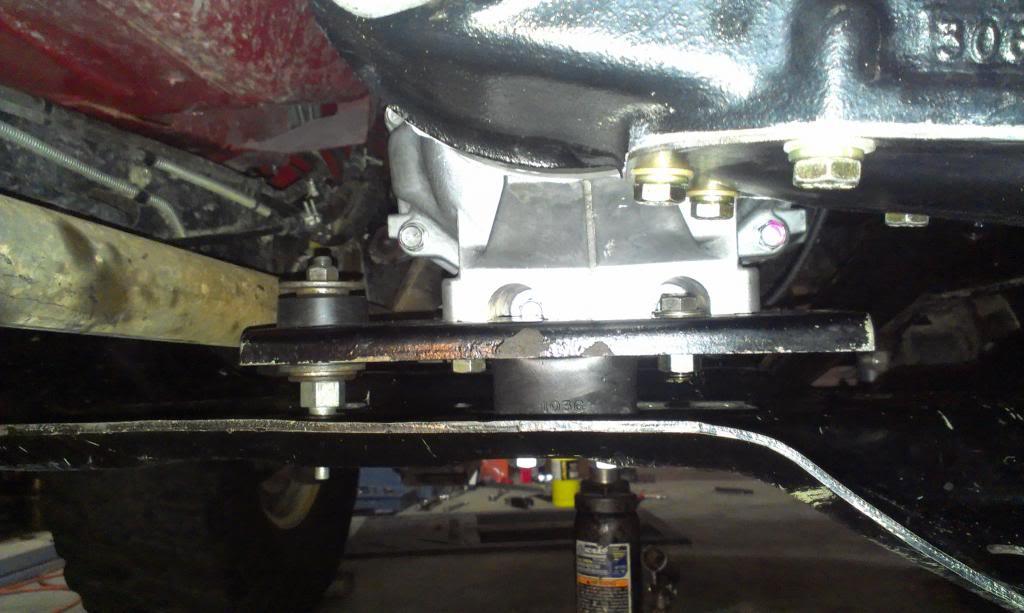
Which allowed me to bolt up the factory transmission mount like so:

IMAG3128_zpseffe83a2-1.jpg


In the above picture, the hole to the very left with the bolt in it, holds the transmission mount to the bracket, and the bracket to the transmission. The hole to the very right with the bolt in it holds the bracket to the transmission only. The other bolt on the right holds the transmission mount to the bracket only.


And the bracket installed on the transmission.

IMAG3129_zps6c317b0f-1.jpg


IMAG3131_zps9d5726b2-1.jpg


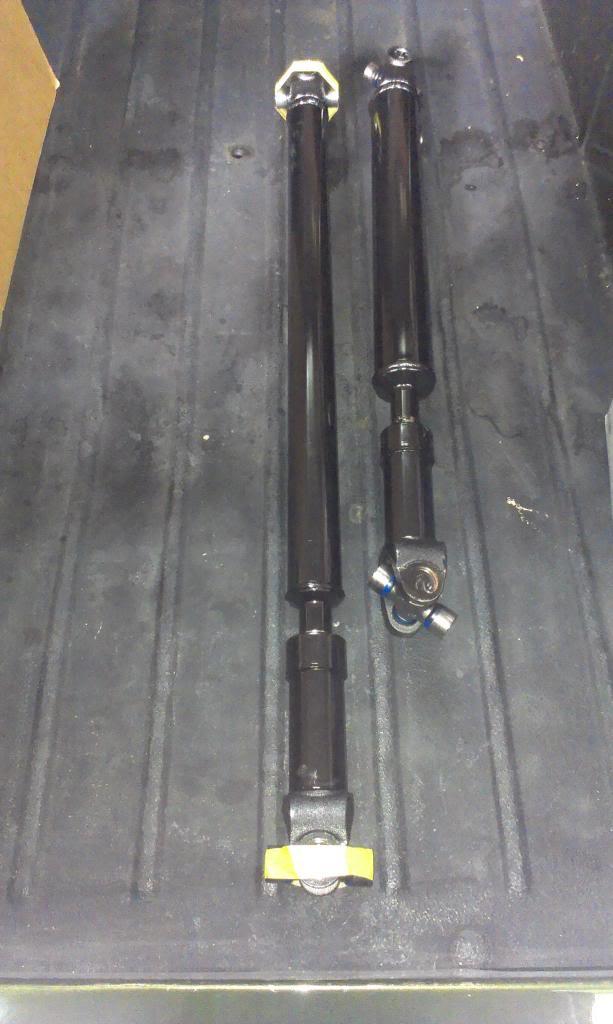
Before I started modifying the skid plate, I decided to bolt the front driveshaft on. Quick picture of my two new drive shafts:

IMAG3132_zpsbeda5d71-1.jpg


My front driveshaft is the longer of the two, close to 37". Since it is so long, I decided to get it made out of 2" tubing, instead of the regular sized CJ front tubing. This will work on this swap, since I have a 4.5" lift. I do not think a 2" OD front shaft will work on a stock height CJ, due to the starter/bell housing clearance.

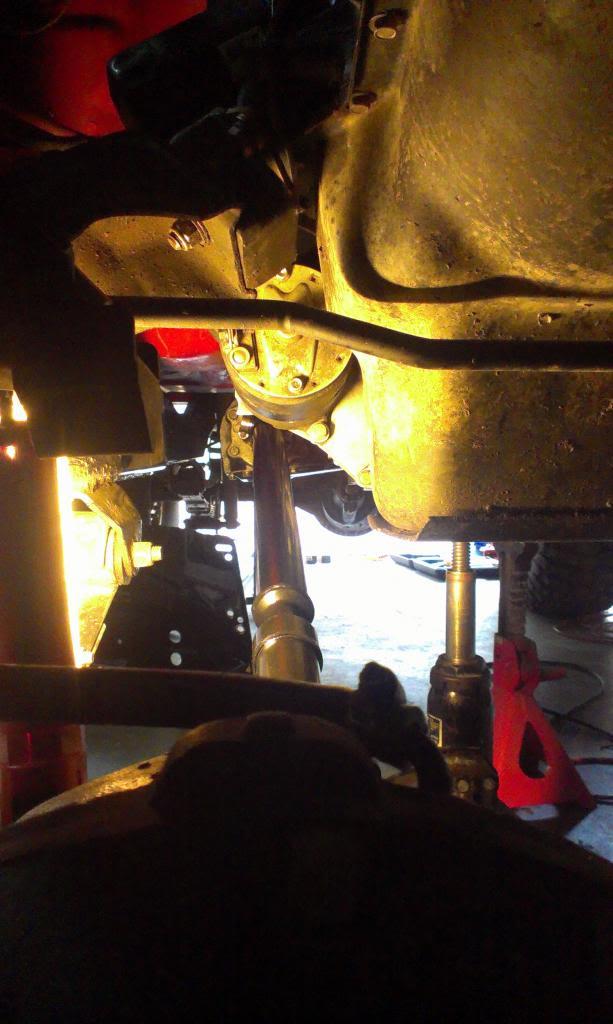
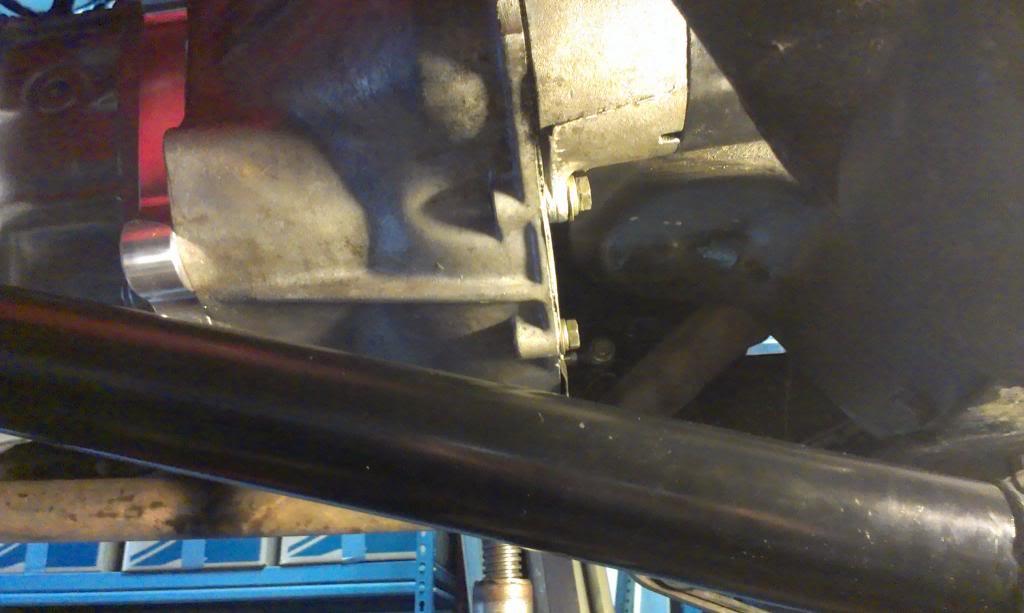
Two pictures showing my front drive shaft clearance:

IMAG3140_zps32253fac-1.jpg


IMAG3141_zps073307e2-1.jpg


The second picture makes it look closer then it is. On my front axle, I have 7" of travel, before the axle hits the bump stop. At the bell housing/front driveshaft interface, I have 4-3/4" clearance. It should work out, but I will test it out on a ramp to be sure. If I have to, I will lower the bump stop on this side, but I don't think I will have to.

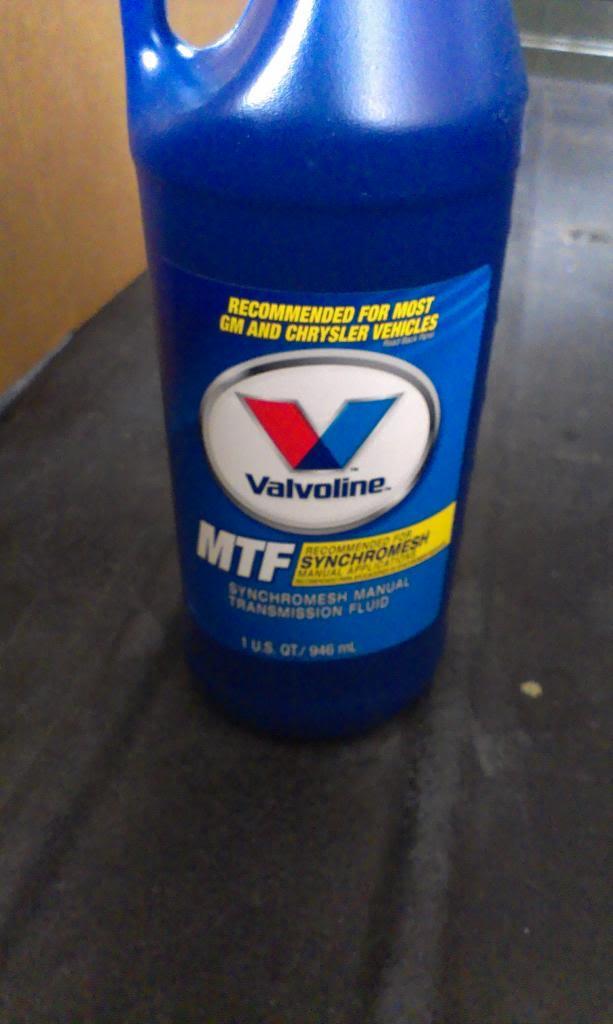
I also filled up the transmission with fluid before I installed the skid plate. The fill hole on the AX15 is on the driver side, which in my application, is next to the exhaust. It was easier to fill it now, with the skid plate out of the picture.

Novak recommended either Pennzoil Syncromesh or Amsoil. Both of these are thinner then regular gear oil, closer to the 10w-30 that Mopar/Jeep now advises. I used this product from Valvoline, which matches the Pennzoil products specifications. In fact, this stuff looks just like what spilled out of this transmission when I tilted it on its rear:

IMAG3134_zps152fccb0-1.jpg


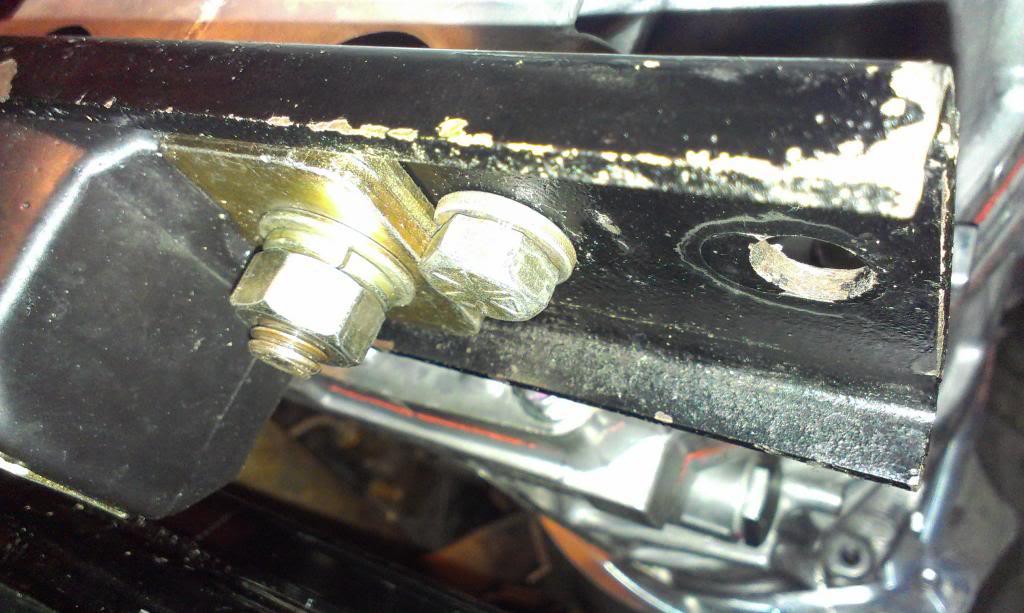
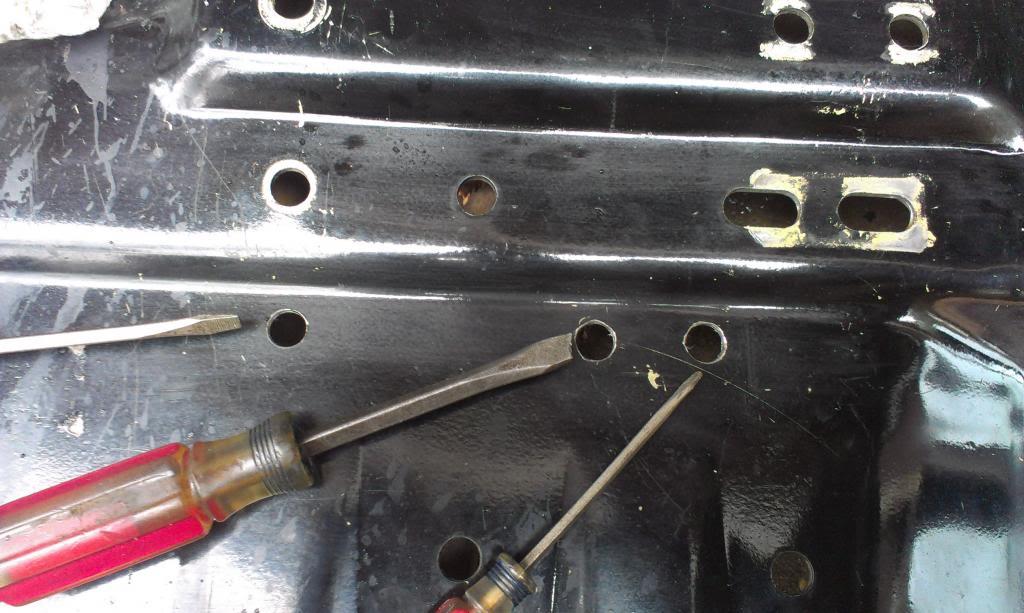
With that out of the way, I turned my attention to the skid plate. I simply drilled three new holes in the skid plate:

IMAG3137_zps70592e49-1.jpg
 
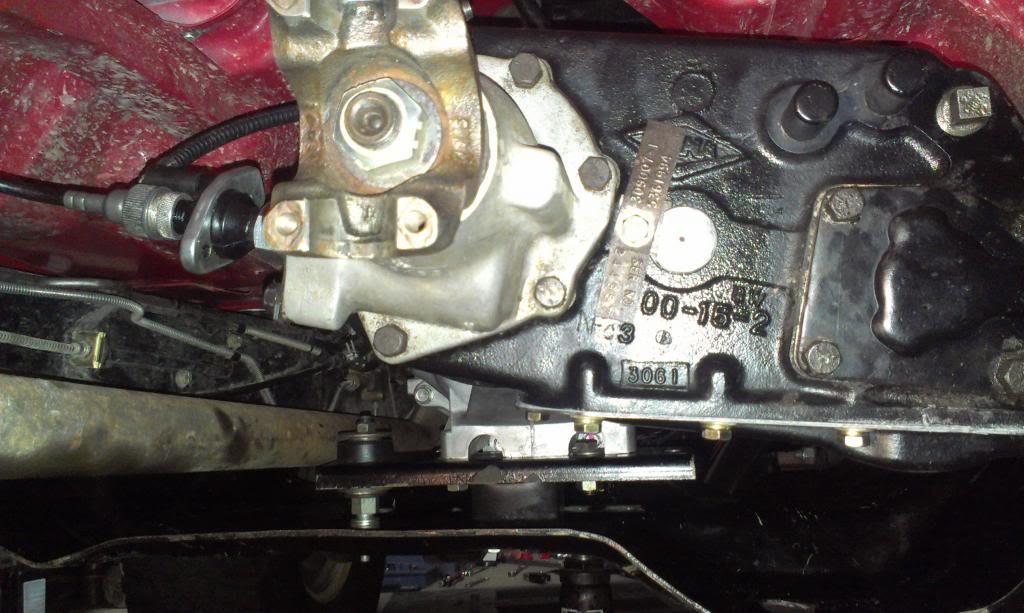
And the skid plate bolted right up. Pretty simple/clean install, IMO.

IMAG3142_zpsa3cf343d-1.jpg


IMAG3144_zps845a87bb-1.jpg


To be picky, I wish the mount was centered under the transmission. I think I can do this, I might revisit this. In the near future, I want to modify/replace this skid plate, to get rid of the low hanging part. If I do this, this part of the skid will become flat, and I can install the TJ style transmission mount. For now, I think what I have will work out just fine.

After the skid plate was installed, I hooked up the rear drive shaft, speedometer cable, and vehicle speed sensor. I still need to lengthen my Dana 300 vent hose, 4wd indicator light wire, and hook up the reverse lights.

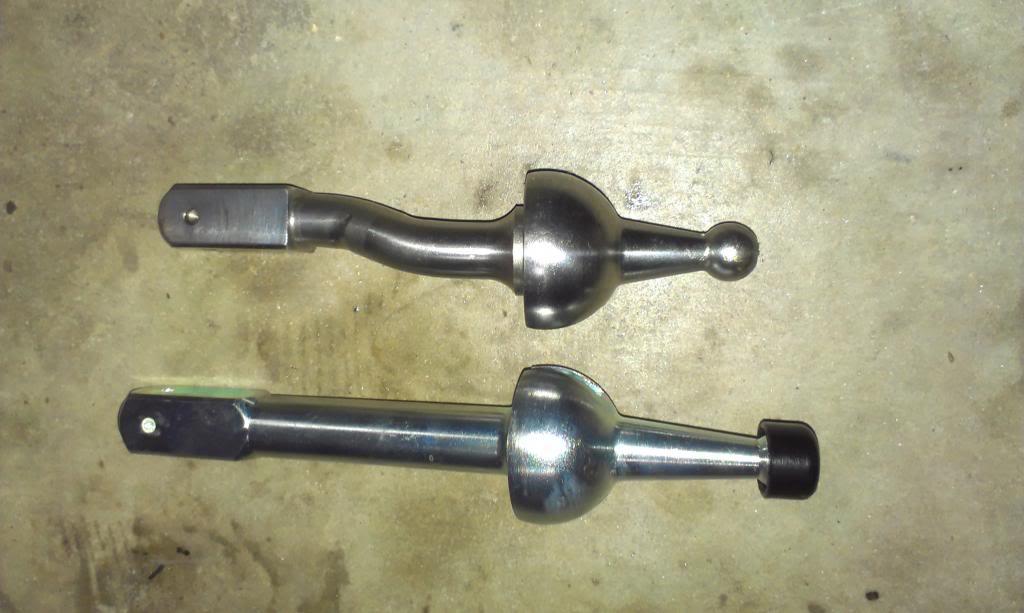
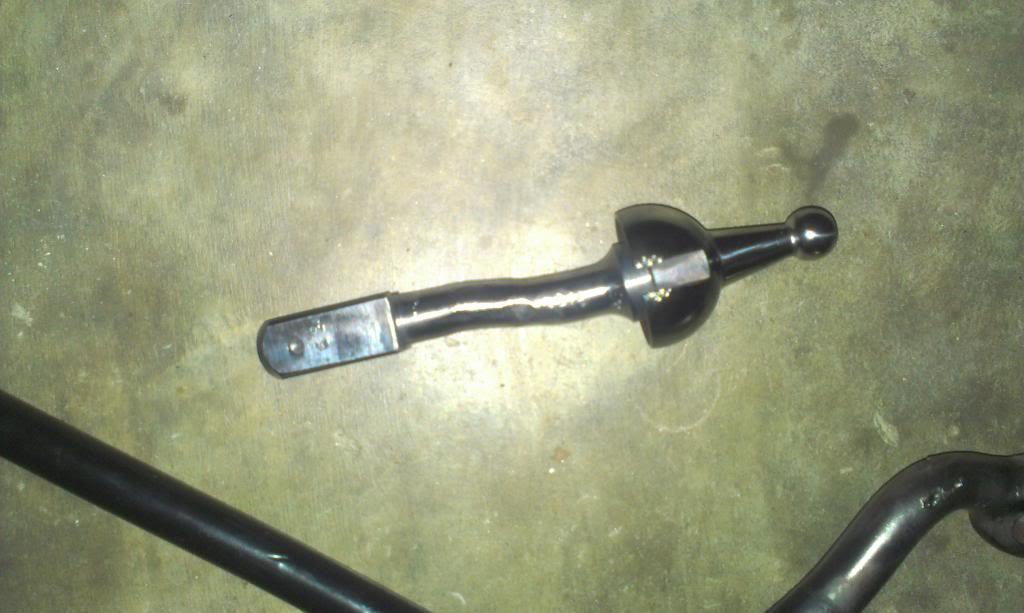
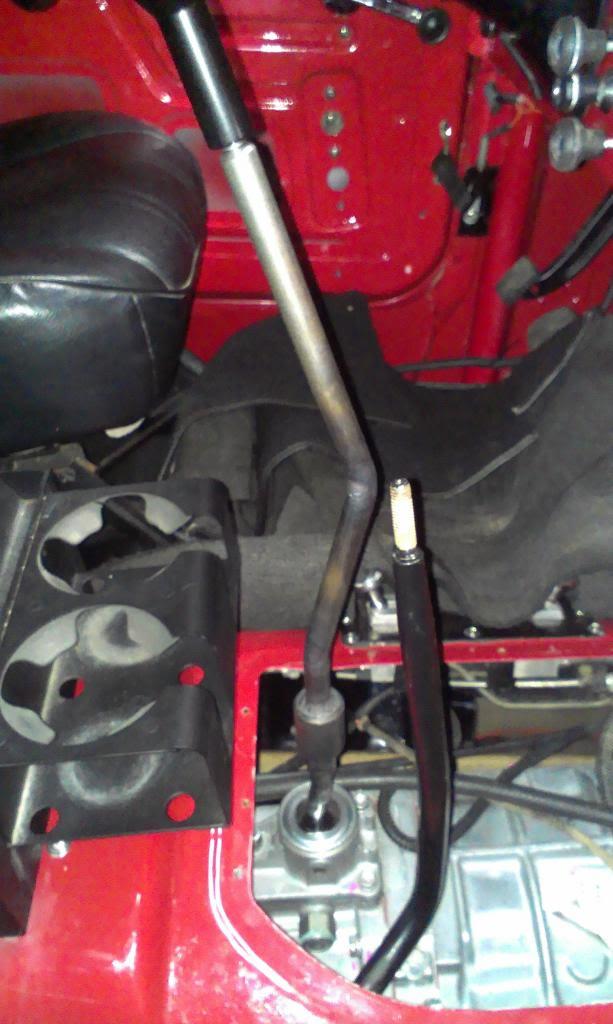
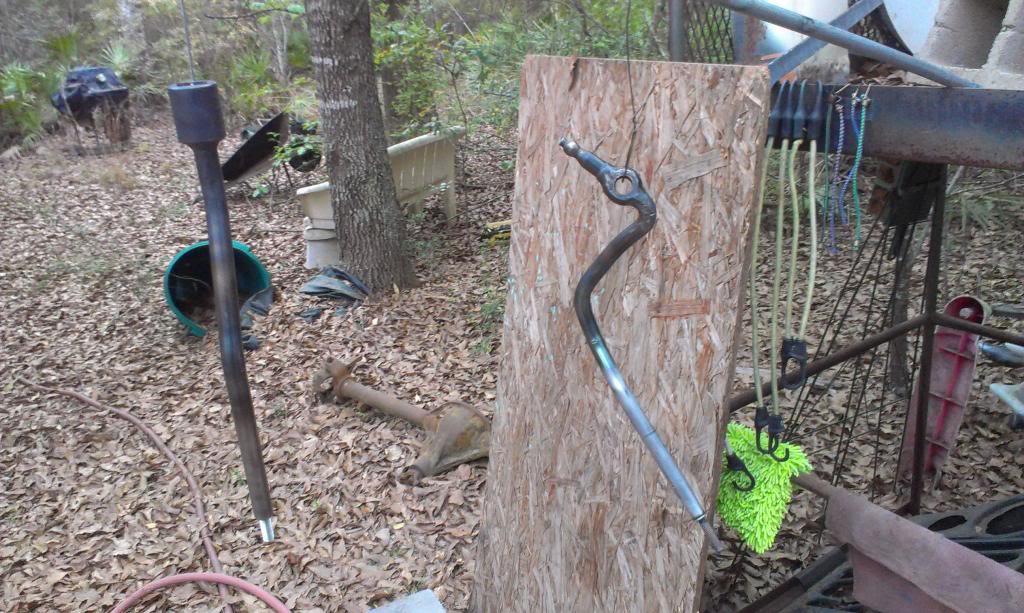
I next shifted my attention to the shifters. I ordered this new part from Rough Country. It fits TJ Ax15's, made to use with 1" body lifts. I bought it because it was straight, but it wont work. My AX15 has a short tower, so this new piece is too long:

IMAG3145_zps234ceba7-1.jpg


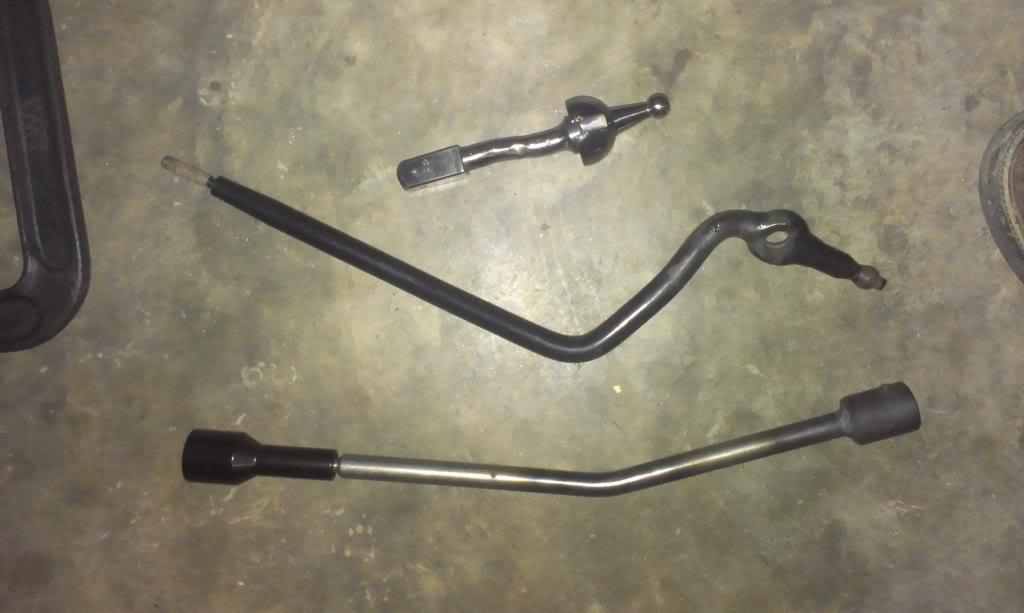
I tried using my map gas torch to bend the shifters, no dice, it would not get them hot enough to bend. So, I went to work and used a oxygen/acetylene rig, no problems with heat.

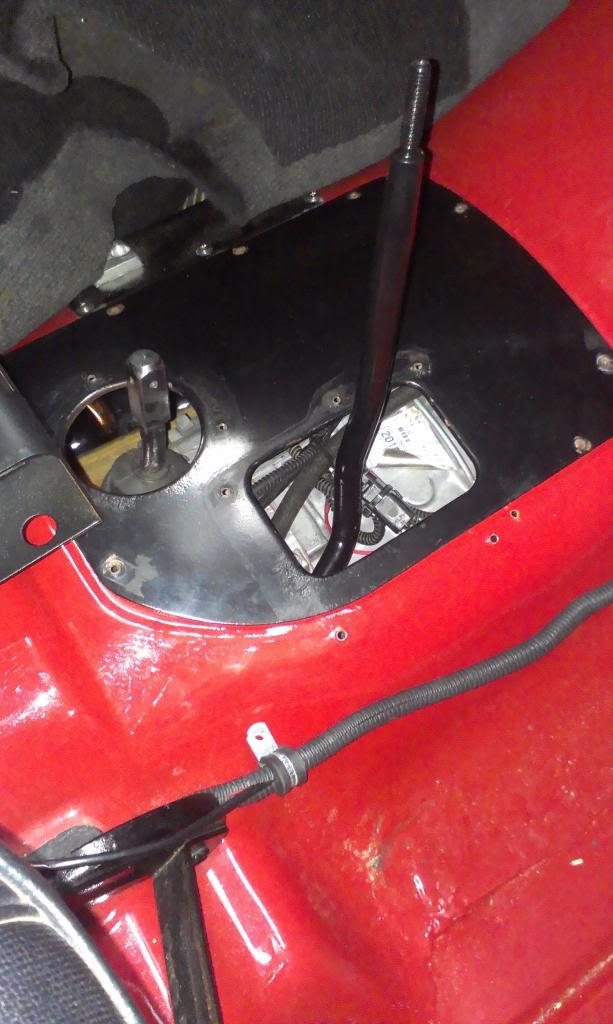
I bent the AX15 piece first. It was bent in two different dimensions. It was hard to get it perfectly straight, but I did the best I could.

IMAG3149_zps1ac3a71d-1.jpg


The transmission shifter was much easier, one simple bend. I also did some preliminary bending on the transfer case shifter:

IMAG3148_zpsfce4d320-1.jpg


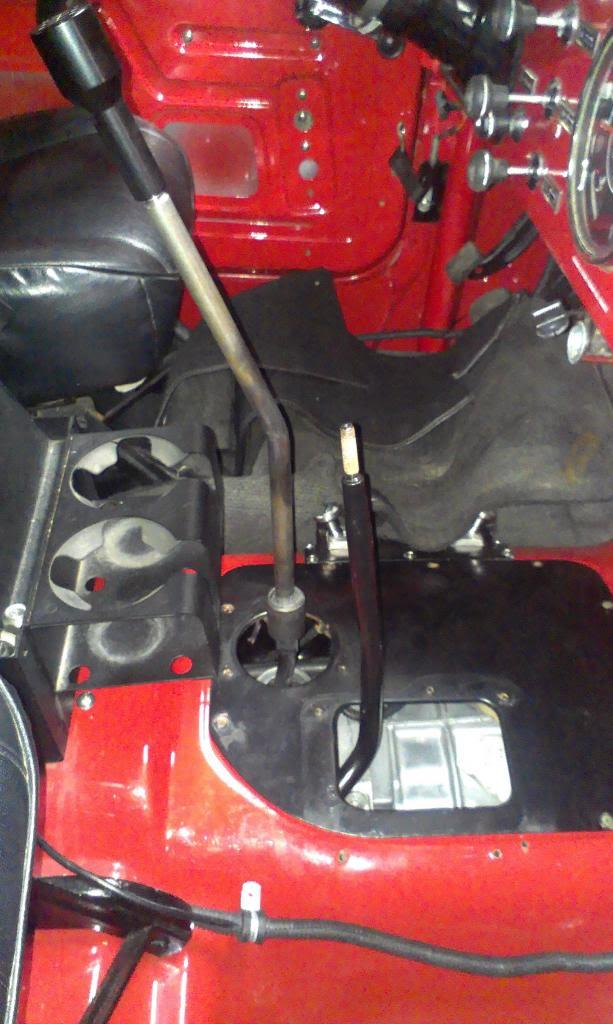
And a quick test fit:

IMAG3153_zps8f11f00b-1.jpg


IMAG3156_zps07de6be7-1.jpg


IMAG3154_zps00f8a696-1.jpg


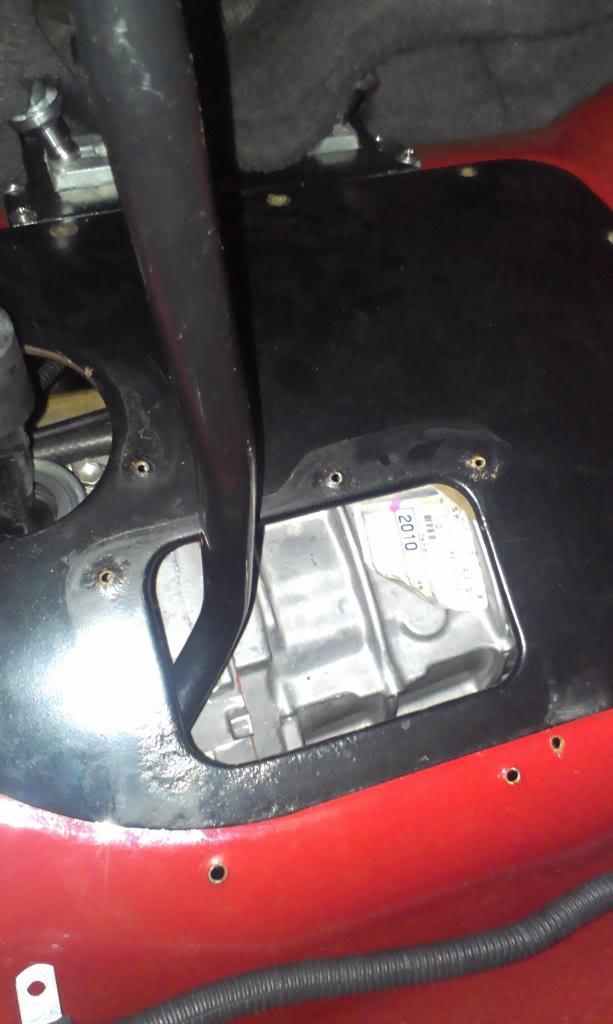
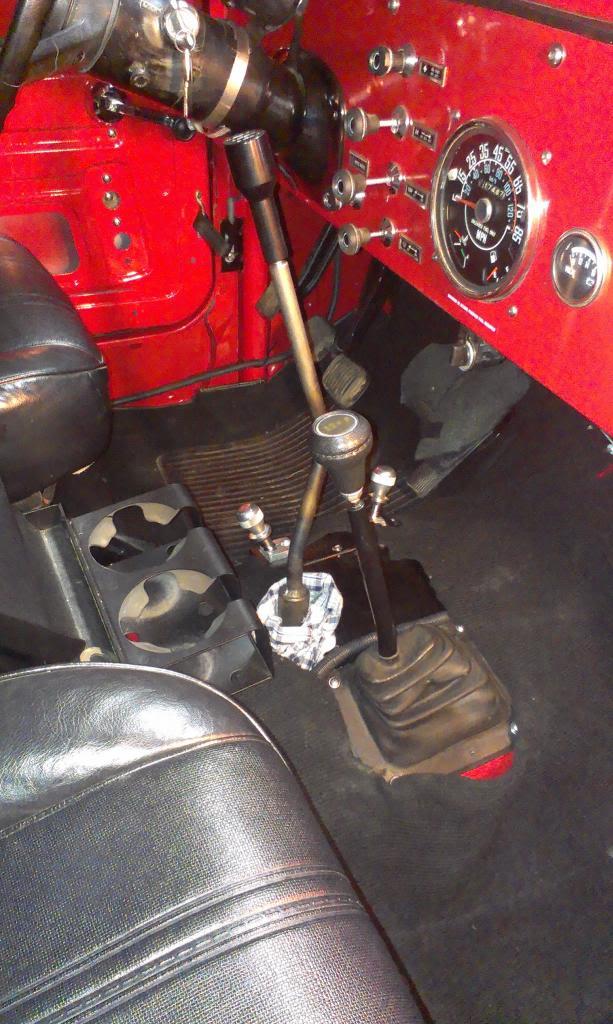
The lower transmission piece fits perfect, dead center of the floor pan. I still need to bend the transfer case shifter a pretty good bit.


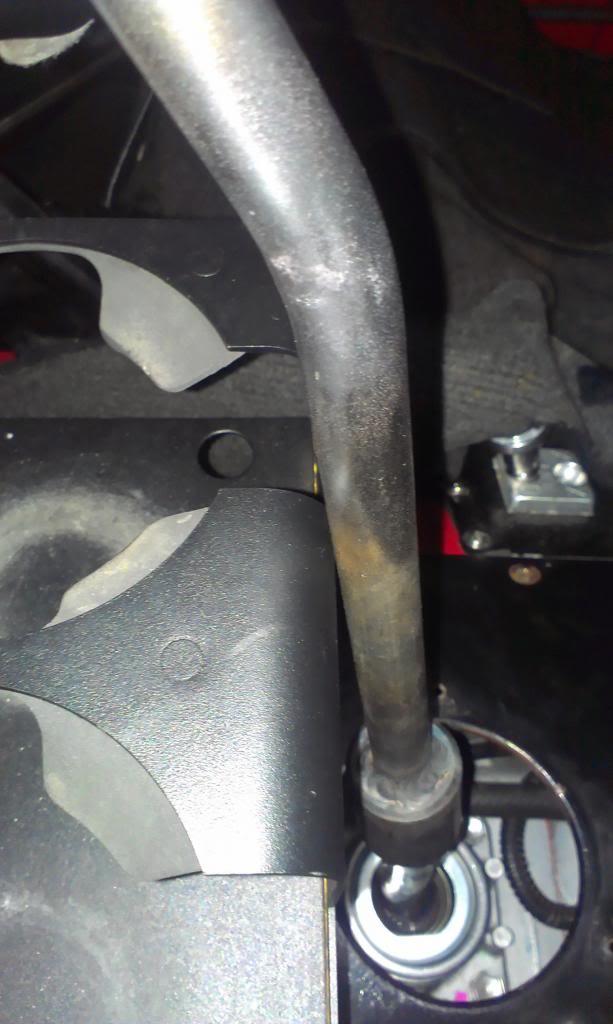
The transmission shifter hits my cup holders in 2,4, and reverse, so I need to bend the transmission shifter a bit forward.

IMAG3155_zpsaebec857-1.jpg


A few more bends, some wires, and two boots, and I will be finished.

That's it for now.
 
I completed a few more things last night, and finally got to go for a test drive:bacon:

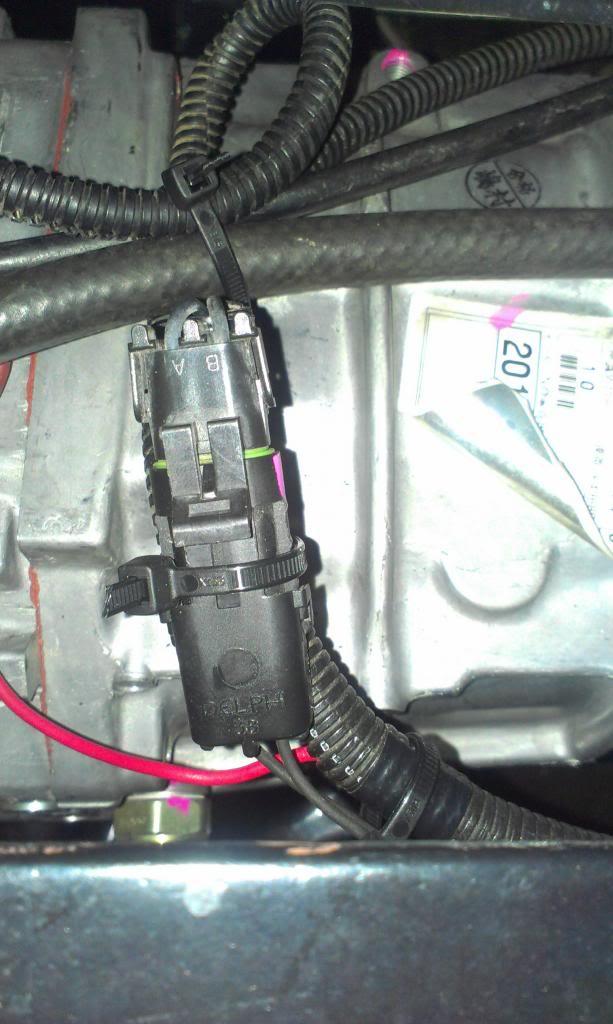
I lengthened the orange "4wd Indicator light" wire, so I have that light on the dash working again. I still need to hook up the reverse lights, but that should be easy. I plan on cutting off the factory T5 reverse light connector and splicing on a male "weatherpack connector", so that way my harness will plug right into the AX15.

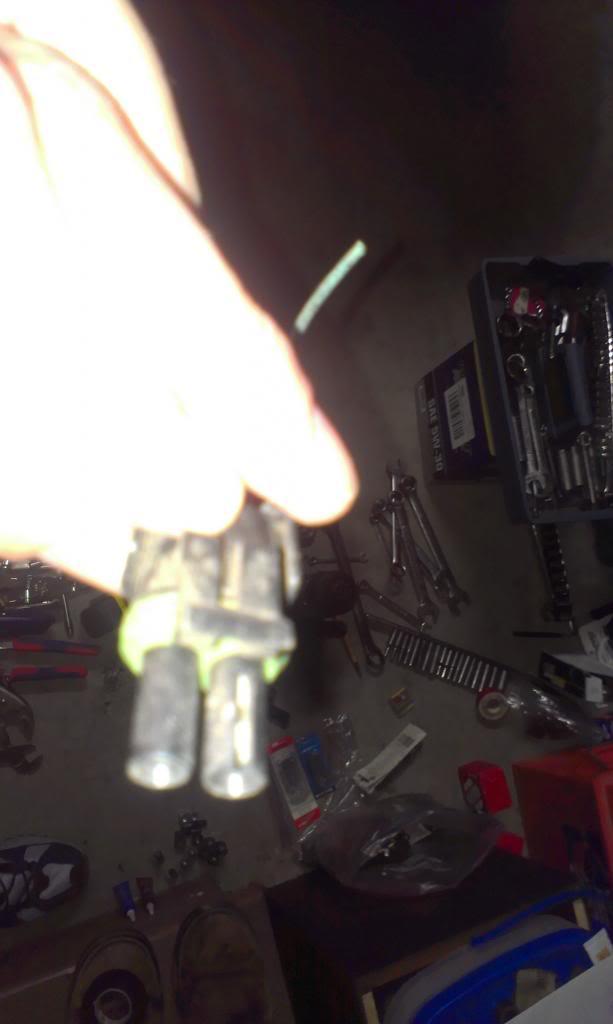
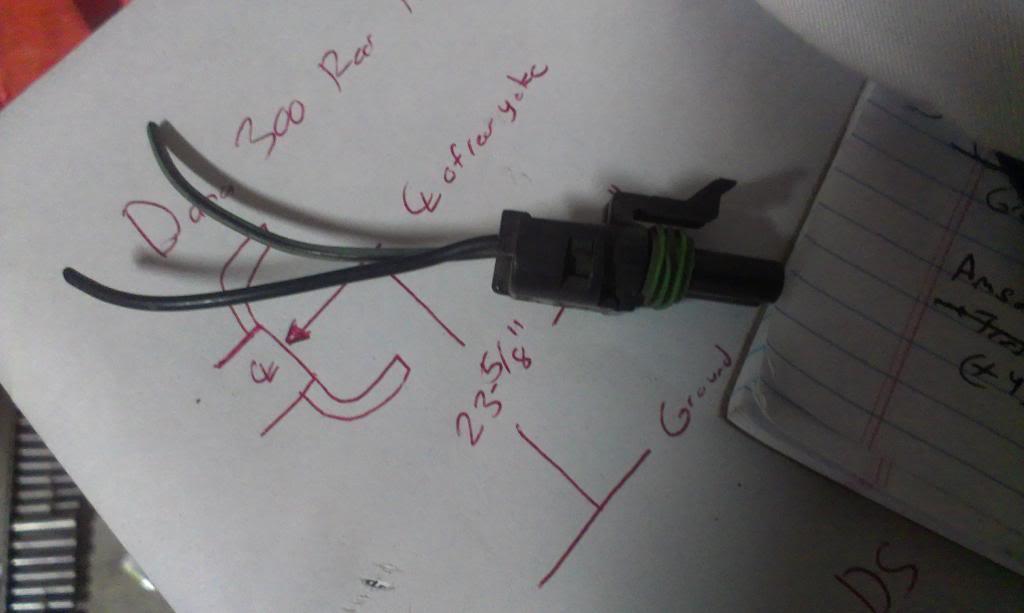
Two quick picturse of the female plug that came with my AX15, for reference:

IMAG3163.jpg

IMAG3164.jpg
IMAG3163_zpsb19a9c74.jpg


IMAG3164_zpsb0ecf86f.jpg


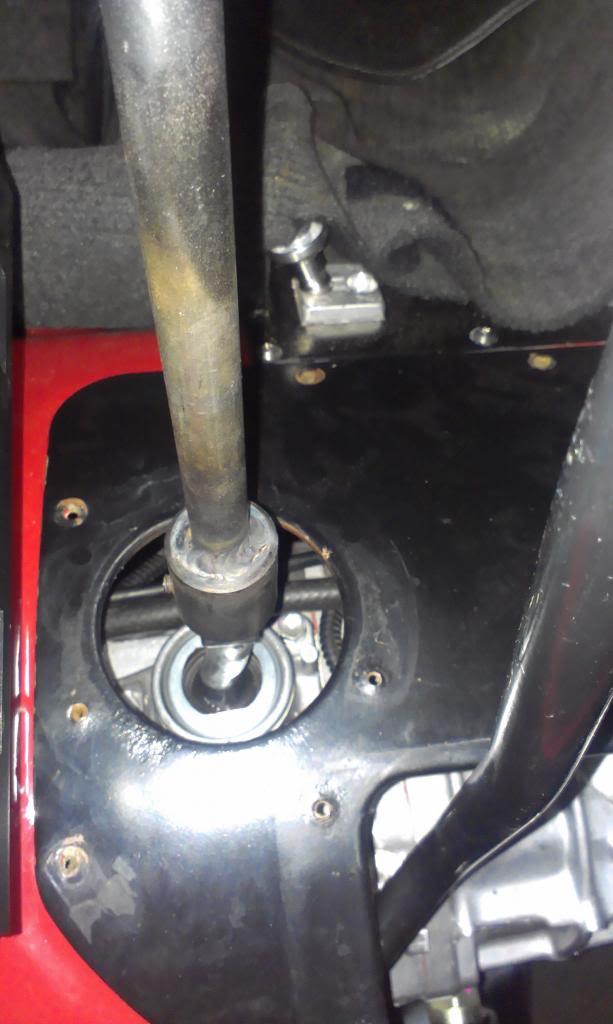
I was able to bend my transmission shifter some more, so I can now access all gears. I am going to bend it a bit more, to get some more clearance at the cup holders, just in case:

IMAG3159_zps54180790-1.jpg


IMAG3160_zps603df019-1.jpg


In my previous pictures, my transfer case shifter wasn't all the way bolted in. I took the time to actually bolt it in fully, and I can access 2wd, N, and 4Low. I will need to bend it a bit more to gain 4Hi:

IMAG3161_zps12f699e2-1.jpg


I bolted the floor plate down, and installed an old transfer case shifter boot. I am waiting on a new T5 shifter boot, so for now I stuffed an old rag in the transmission shifter hole. Once I finish bending the transfer case shifter, install a new transmission shifter boot, and change the transmission shifter knob out, it will look close to stock:

IMAG3166_zpse1d44fcd-1.jpg


After I completed the above mentioned minor tasks, I started the Jeep up. At first, the Scrambler would start to move, with the clutch down while trying to shift into gear. I was bummed. But, after letting the engine run a bit more, the transmission lube got spread around, the synchronizers freed up, and everything works fine.

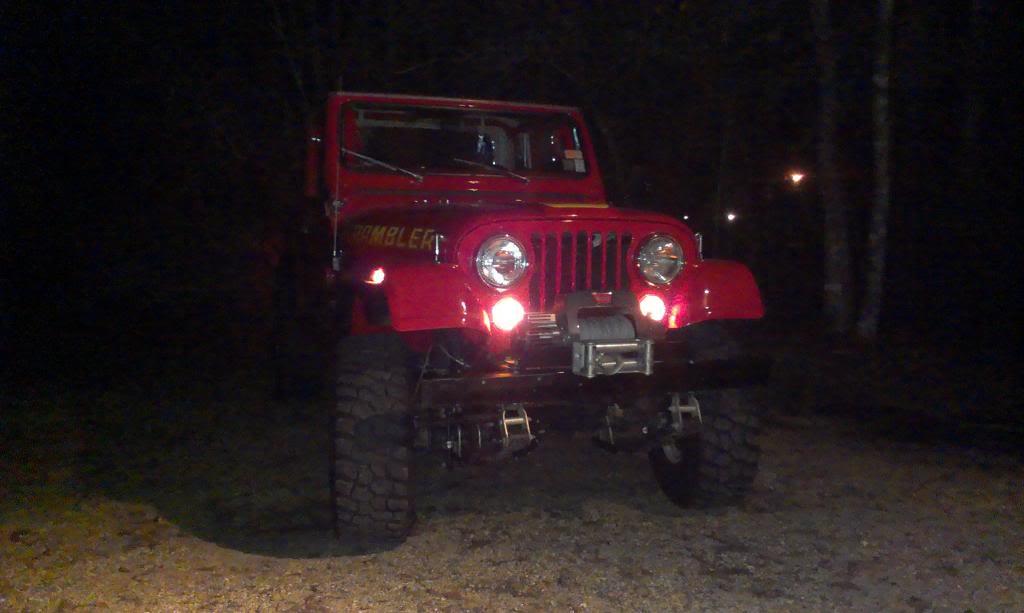
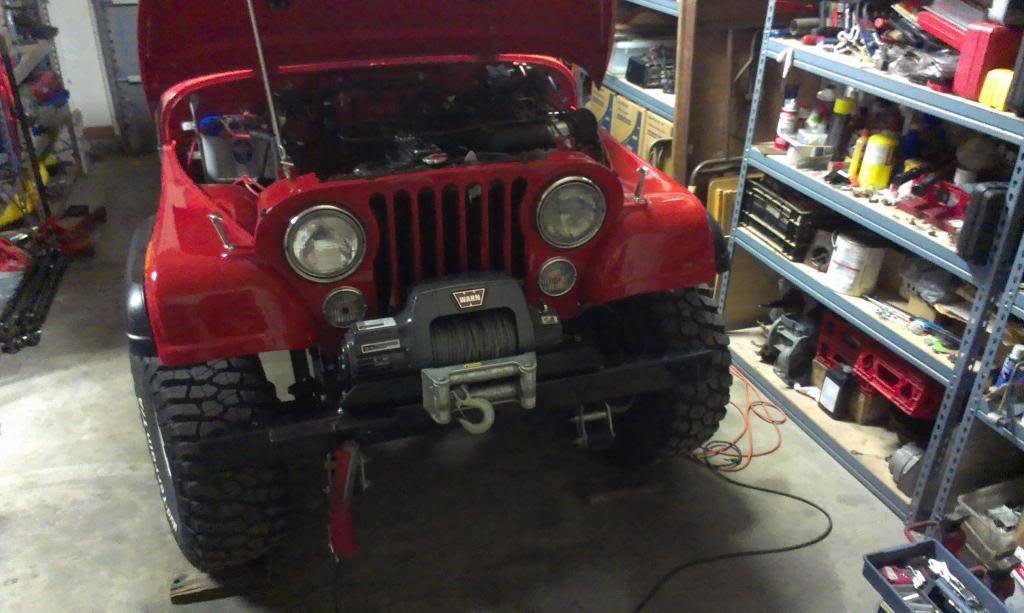
Backed it out of the garage, I have been waiting for this picture:

IMAG3168_zpsb9686ffd-1.jpg


I drove the Scrambler around for about 45 minutes, taking it easy. It shifts perfectly, up and down, through all the gears. The ratios of this AX15 are close to a stock T5's, so it drives similar, but, and maybe its just me, the ratios "feel" better. The whole Scrambler feels really solid, no funny noises, no leaks, and no vibrations. I drove it through town, lots of stop and starts, and drove it on the highway, briefly. The Overdrive ratio is close to a T5's, but it does not feel as steep. I am spinning a bit more RPM then the T5 at the same road speeds, so I am happy.

So far, I am very happy with this transmission. More testing to come.

That's it for now:wave:
 
Last edited:
Another great job with awesome documentation. :thumbsup:

Your sure you wouldn't like a complete refund of purchase price? I know they are NEVER done, but this one is getting close. :wave:
 
Another great job with awesome documentation. :thumbsup:

Your sure you wouldn't like a complete refund of purchase price? I know they are NEVER done, but this one is getting close. :wave:
Appreciate it Toby:cheers::thumbsup::wave:

It was a fairly easy swap, and so far, I am very happy, but it needs much more testing, like a road trip to Moab:thumbsup:

As far as being "done", nope, still need to install door panels, Dana 300 "sight glass", shifter boots, fix bouncing speedo head, replace torn suspension bushings, change bent u-bolts, etc. etc.......................:rotfl::rotfl::rotfl::wave:
 
Not the most exciting update, but I hooked up the reverse lights last night. So, besides some new shifter boots, and a bit more shifter bending, this swap is almost complete.

My AX15's reverse light switch came with a female GM style "weather pack" connector on the end. I was going to buy a new corresponding male plug, but the parts stores want like $16 for one of these things:crazy:

But, before I threw an old TBI wiring harness away, I cut off all the little plugs and kept them in a box. So, I was able to reuse an old pug.

IMAG3172_zpsce43eaf9-1.jpg


IMAG3173_zps3c7a5d23-1.jpg


IMAG3176_zps5230b718-1.jpg


Not the most exciting update, but I am happy to have working reverse lights again.

That's it for now:wave:
 
I did some more work to the transfer case shifter. It finally fits through the factory floor plate hole, and works fine, but I forgot to take some pictures, will have to update on this later:shrug:

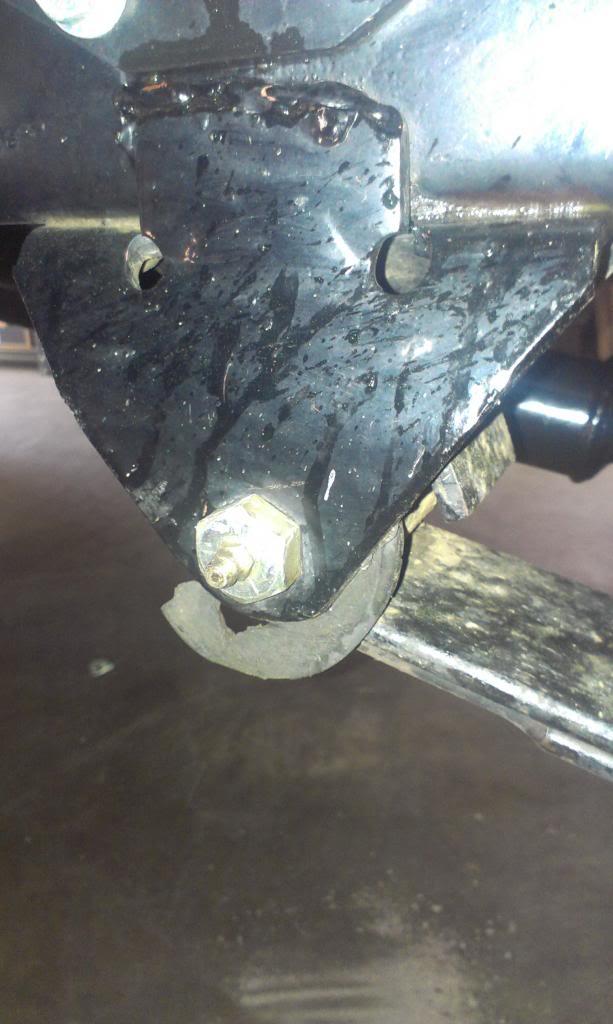
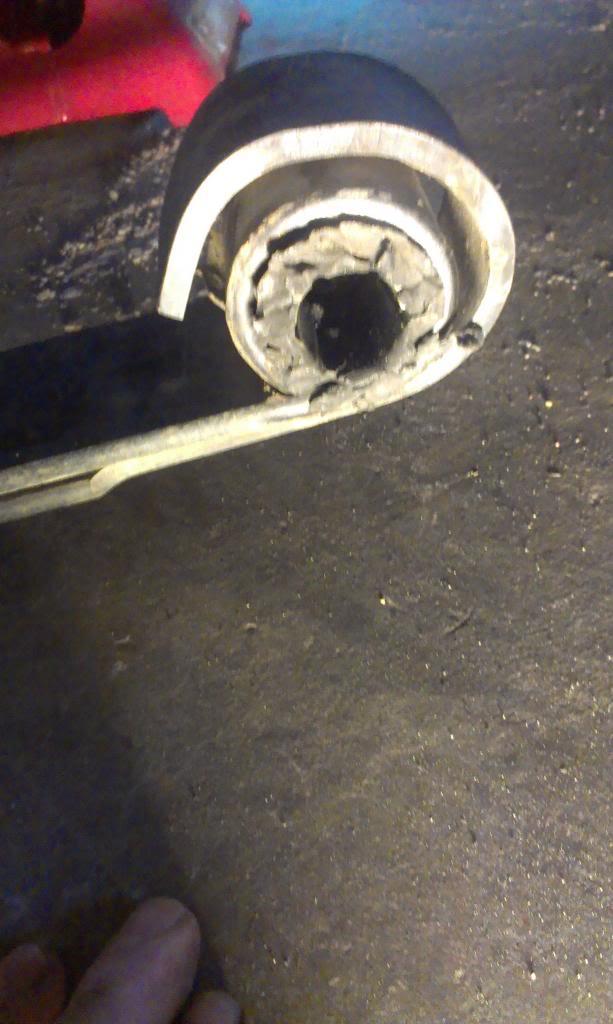
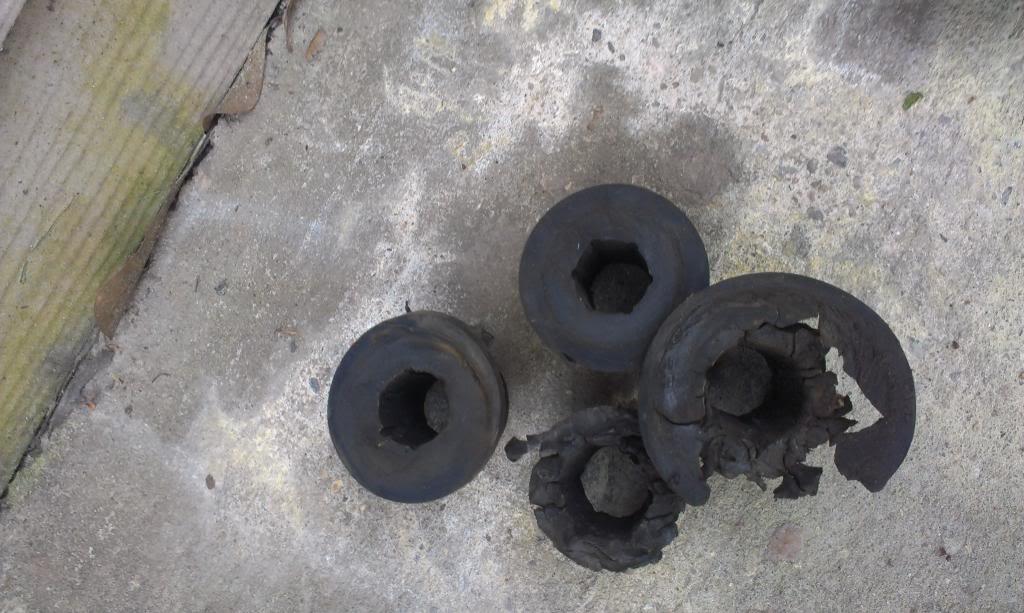
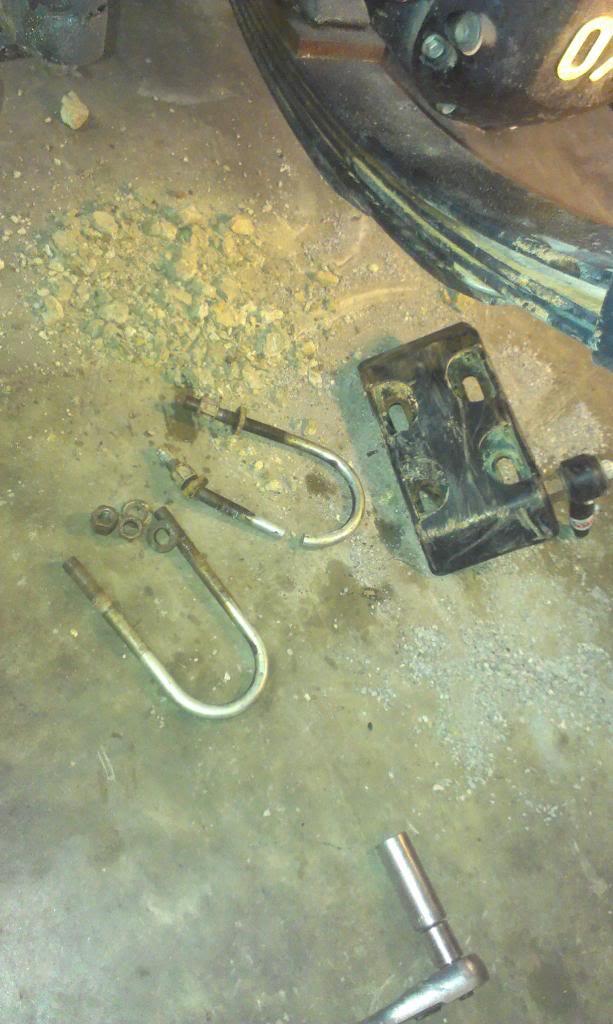
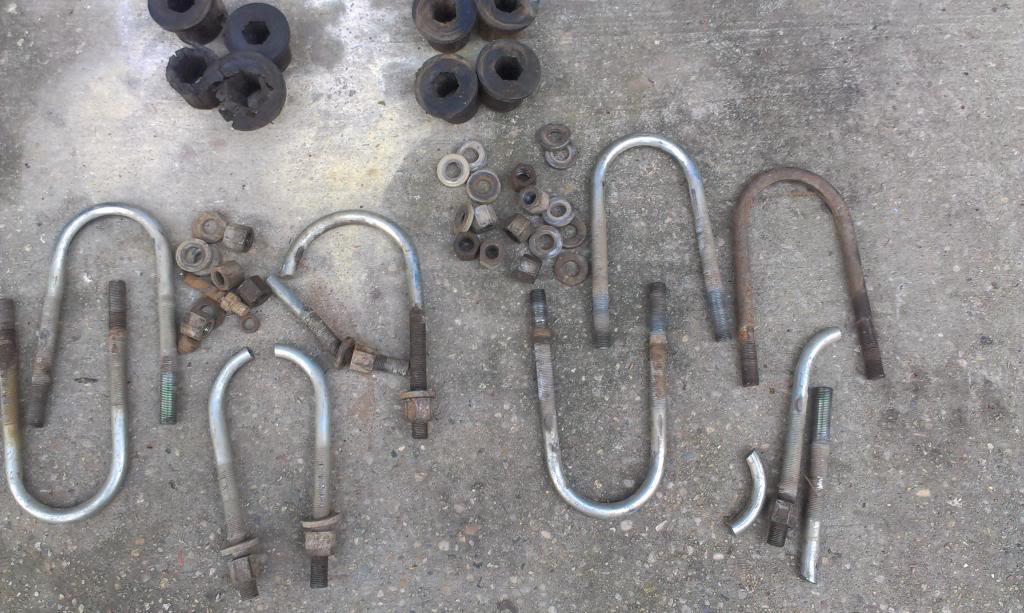
I decided to finally change out my tore up leaf spring main eye bushings, and u-bolts. I'm not too sure why these bushing are tore up, I guess from all the flexing off road? As for the U-bolts, I have "re-used" them a few times, and I forgot to trim them, so they got smashed up pretty good.

The front bushings were tore up more then the rear bushings. Besides the obvious damage, the bushing center holes were all wallowed out.

IMAG3186_zpsbddb7e1c-1.jpg


IMAG3190_zps737695f9-1.jpg


IMAG3192_zps0142f5be-1.jpg


I do like the little u-bolt skid plates, but they do trap dirt/mud!!!!!!!!!!!!!

IMAG3187_zps0a71d845-1.jpg


Quick picture of all the tore up hardware:

IMAG3191_zps5ac149bd-1.jpg


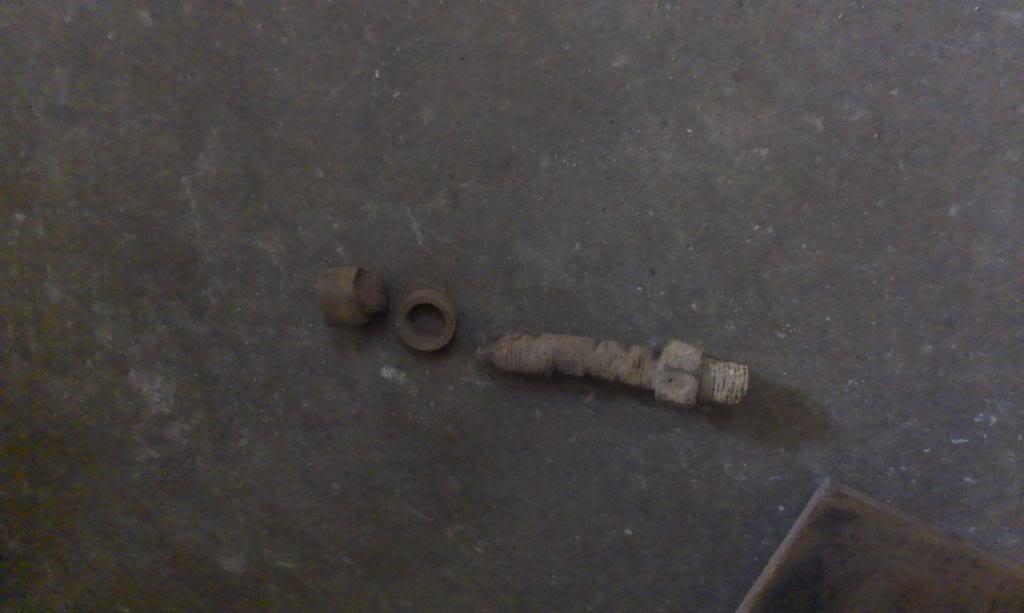
And I only had one little surprise, the driver side front leaf spring center pin was broke in 1/2!!!!!

IMAG3189_zps173578bd-1.jpg


Luckily, I had a spare. The stock center pins are too short to use with the RE leaf spring packs. In a pinch, I guess you could just use a bolt, and grind the edges off of the hex head.

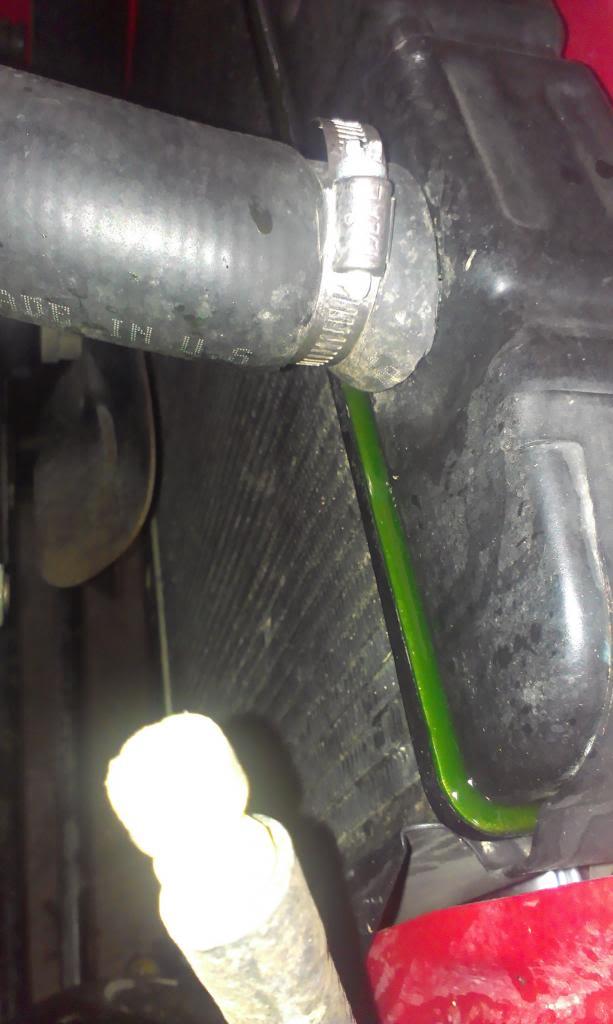
One other problem. Just like clockwork, before a Utah trip, the radiator starts leaking!!!!!!!!!!!

IMAG3185_zpsb17e3fec-1.jpg


This will be my third NAPA radiator. They all start leaking at the tank to core interface, like the solder/weld isn't holding up. I went through three NAPA radiators on my green Scrambler, before I finally had to get one from some place else.

Hope the new one lasts longer then two years:fingerscrossed:

Hopefully, this will be the last bit of work that is needed before the Moab trip:fingerscrossed:

That's it for now!!!!
 
Where do you get your Ubolts for the springs? Have a set of Rancho springs I need to put on the Tan CJ7 so I can scrap the longer shackles.
 
Where do you get your Ubolts for the springs? Have a set of Rancho springs I need to put on the Tan CJ7 so I can scrap the longer shackles.

Go to a truck spring shop. They will bend them for you, usually on the spot and to your specs.
 
Unfortunately, in my town of 4000, we have exactly one muffler shop, and that's it.
 
Where do you get your Ubolts for the springs? Have a set of Rancho springs I need to put on the Tan CJ7 so I can scrap the longer shackles.

Go to a truck spring shop. They will bend them for you, usually on the spot and to your specs.

Unfortunately, in my town of 4000, we have exactly one muffler shop, and that's it.

I just looked up the Rubicon Express part#, ordered them through either Quadratec, or 4WDH:thumbsup:

A truck spring shop would be nice to have nearby:drool::thumbsup:
 
If you order through 4wd.com dont forget to mention the Scrambler Owners Association to get your 10% discount! :thumbsup: :wave:
 
If you order through 4wd.com dont forget to mention the Scrambler Owners Association to get your 10% discount! :thumbsup: :wave:
Yes, that is correct:thumbsup:

Too bad I bought this stuff last summer, before the discount, just now getting around to installing it :crazy::crazy::crazy:
 
If you order through 4wd.com dont forget to mention the Scrambler Owners Association to get your 10% discount! :thumbsup: :wave:
You have to call, and be sure to tell them upfront about the SOA discount. Preferably have your card handy. There is a customer number on it that makes it easier for the guy on the other end of the line. Really painless.
 
One final post on the AX15 swap. I finally got around to installing the shifters/boots.

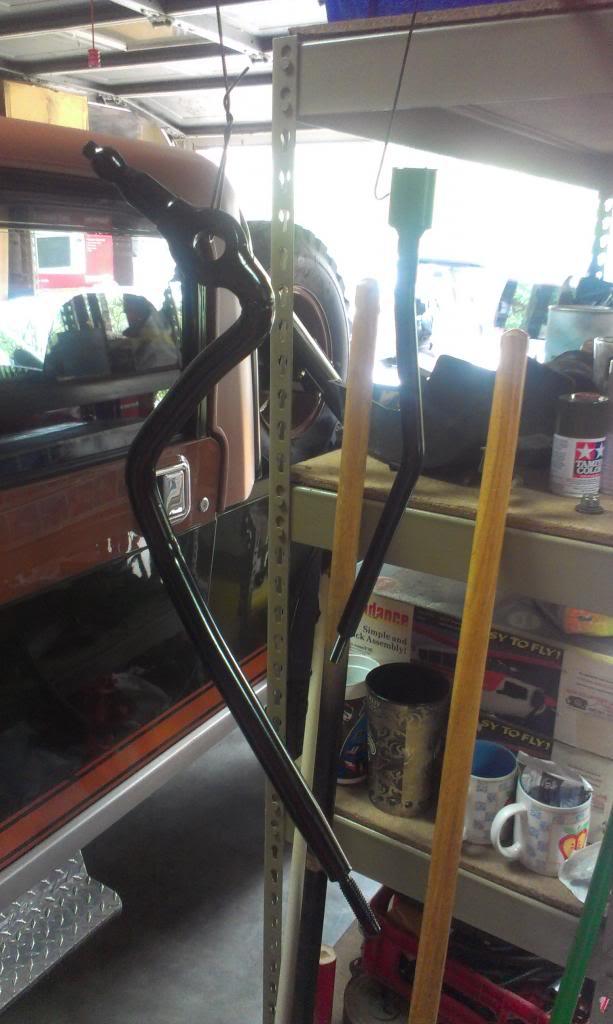
After heating/bending the shifter, I stripped what paint was left on them off:

IMAG3204_zps40cf73ad-1.jpg


Hit them up with some primer/paint, good as new:

IMAG3214_zpse60e7e42-1.jpg


There is not much clearance between the transfer case shifter/floor pan. This Scrambler has a 1" body lift, it is still tight. You can see where I have rubbed the paint off of the floor just by installing the shifter/nut. I will have to check for contact while the vehicle is driving, but the transfer case shouldn't move that much!!!!!! I had to space/shim the shifter rod over toward the center with some washers, and then spaced the shifter itself back over with a washer. I had to use a thinner nut, and I need to replace the nut I am using with some type of self locking nut. For now, I will just carry some extra nuts.

IMAG3216_zps8871a8b7-1.jpg


And how the shifter exit through the floor plate. Not 100% happy with the forward lean of the transfer case shifter, I might revisit this, but it does work.

IMAG3215_zps55ebb2a1-1.jpg


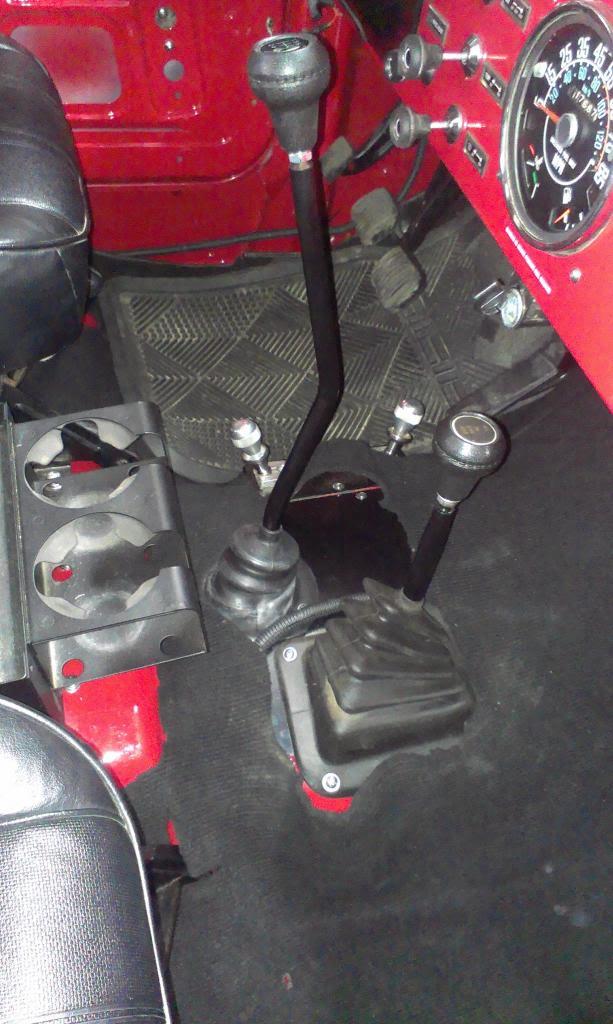
I was able to install factory shifter boots on both of the shifters. I also installed a repro shifter knob, after I re-tapped it to fine thread to match the AX15 shifter. It all looks fairly stock, which I like. I still need to install some inner door panels LOL!!!

IMAG3220_zps207011ab-1.jpg


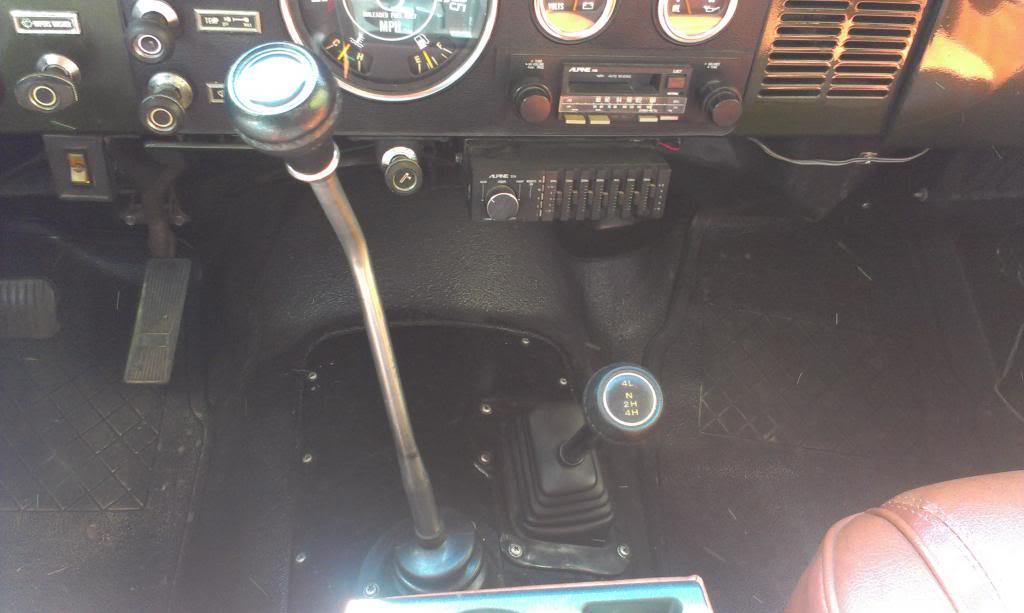
Compared to my Green Scrambler's factory T5/Dana 300 combo:

IMAG3201_zps365c1f1b-1.jpg


I have made a few short test drives, and everything is working properly. One small "issue" - the T5 shifter boot I am using is almost too tight for the super wide range of motion the AX15 shifter takes to switch gears. The first few times I shifted to first, the boot almost kept the shifter from engaging fully. It has since loosened up some, but I feel a B&M shifter install coming soon!!!!

I also installed another new radiator, and for now, no leaks!!!!!

IMAG3206_zps8691213f-1.jpg


Depending on the weather, plan on the first "long" test drive this Friday, up to Choccolocco Mountain ORV, which is in North Alabama, about 6 hour ride from my house. This will be the first long highway run/off road trip for the new AX15.

That's it for now:wave:
 
Nice country around there. I used to do a lot of deer hunting on Choccolocco Management Area a little NE of there. When I was over in that area around Christmas someone had a really nice FC-150 for sale maybe you will see it on the trails there.
Enjoy the trip.
 
Back
Top