• Notice for iPhone users: DO NOT use the image size reduction option when uploading photos to the forum. This causes portrait images to post as landscape. We have added a warning to the image insert pop-up as well.

Carpet Replacement...More One Thing Leads To Another...

John N

Addicted....Ex-SOA VP
Lifetime Member
SOA Member
City
Rockville
State
VA
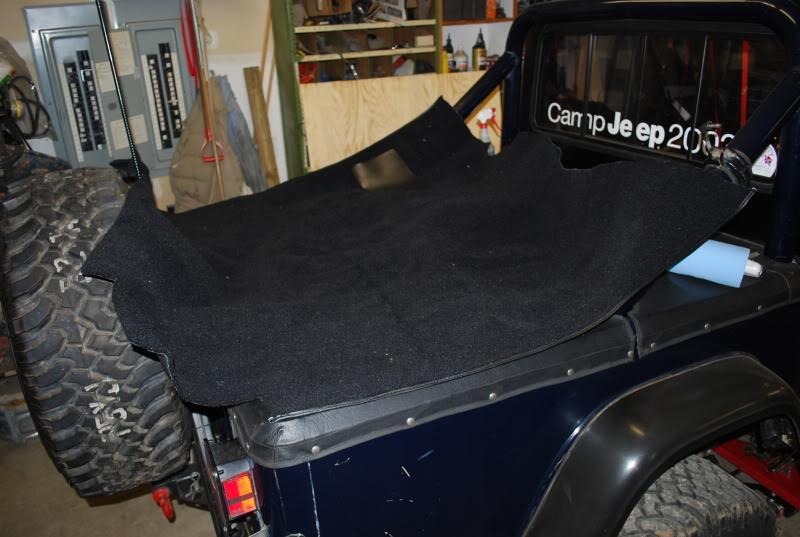
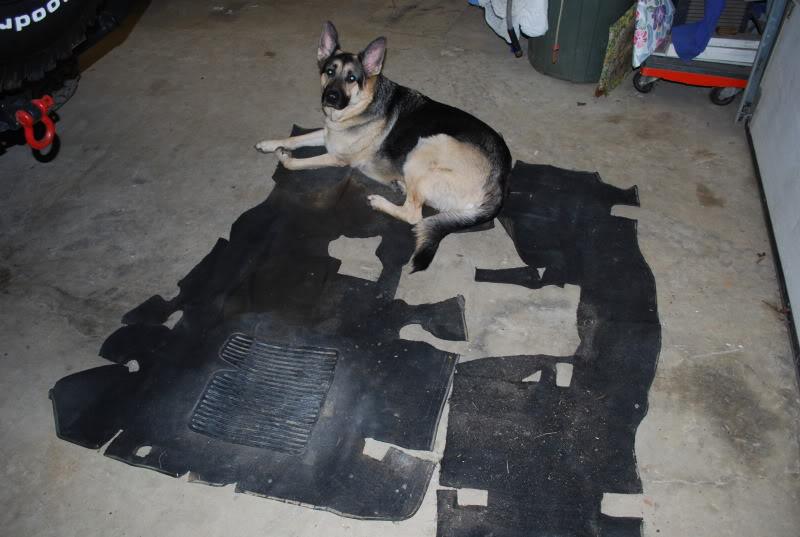
I finally decided to replace my carpet. I know some people hate carpet in CJs, but I like that it insulates the floor for noise and temperature and just prefer the look. My old carpet looked pretty bad and probably was responsible for that classic "old vehicle" smell in the cab. This is the old carpet and Max, my garage helper...too bad he can't weld.
DSC_0284-1.jpg


The new carpet..........
DSC_0286-1.jpg


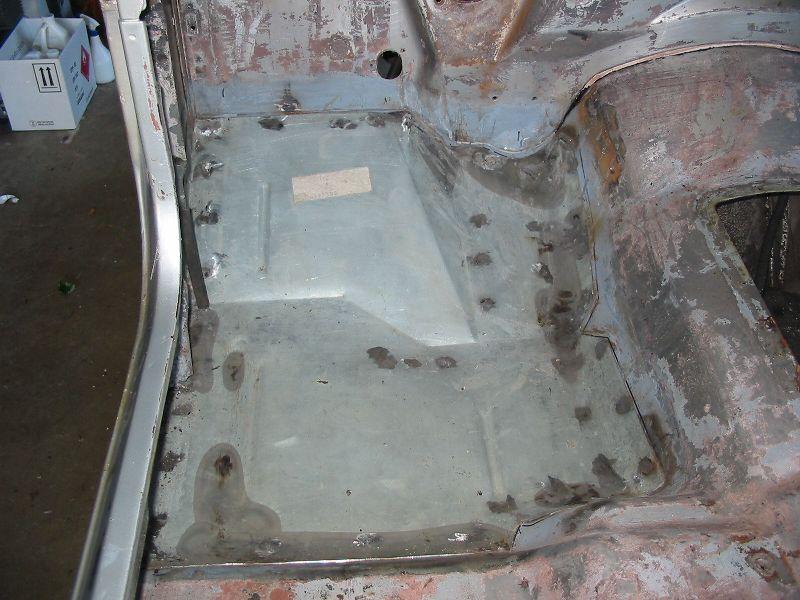
The floor, overall, is in pretty good shape. The Tuffy is suspended so I don't have to cut all of the stereo wires, they will get cleaned up a bit though.
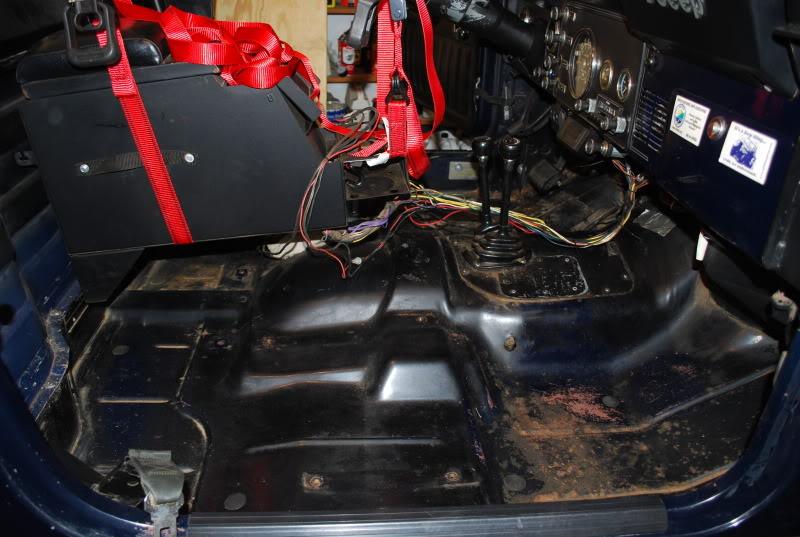
DSC_0280-1.jpg


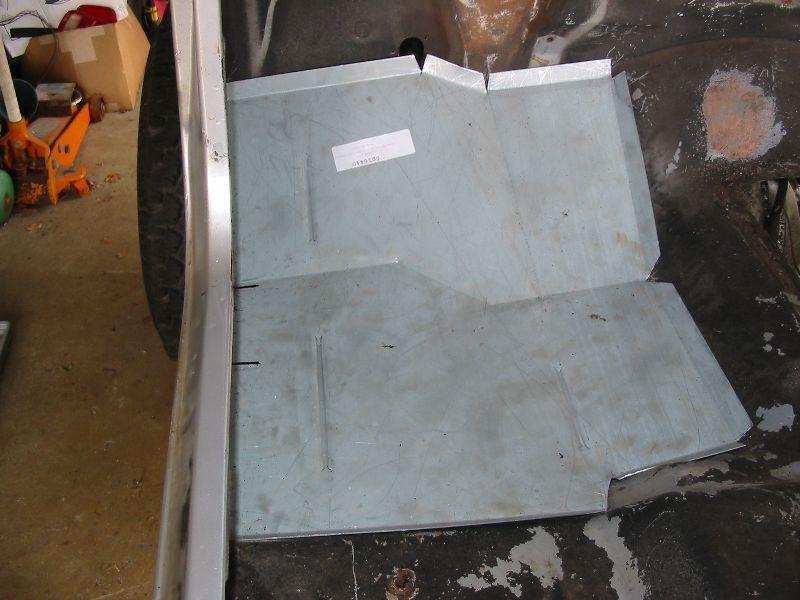
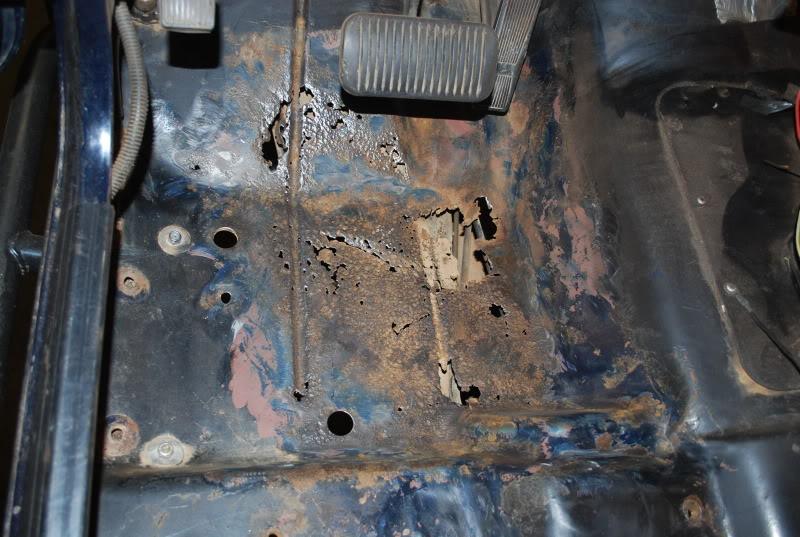
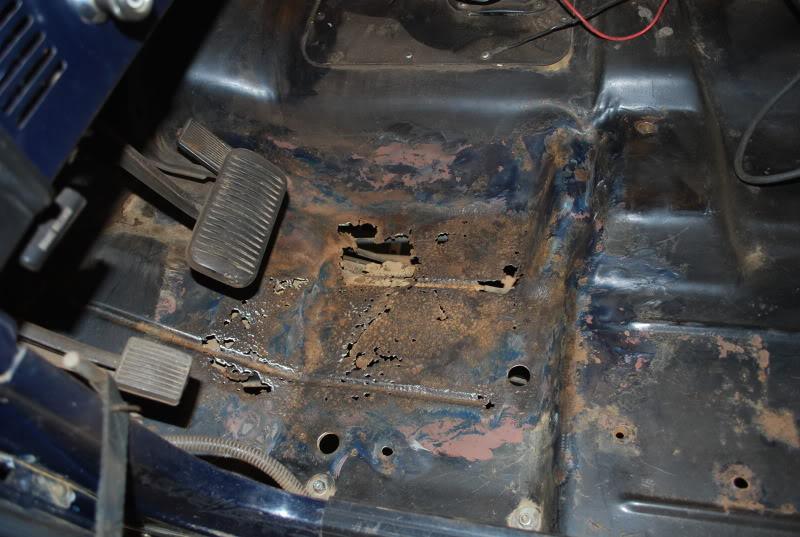
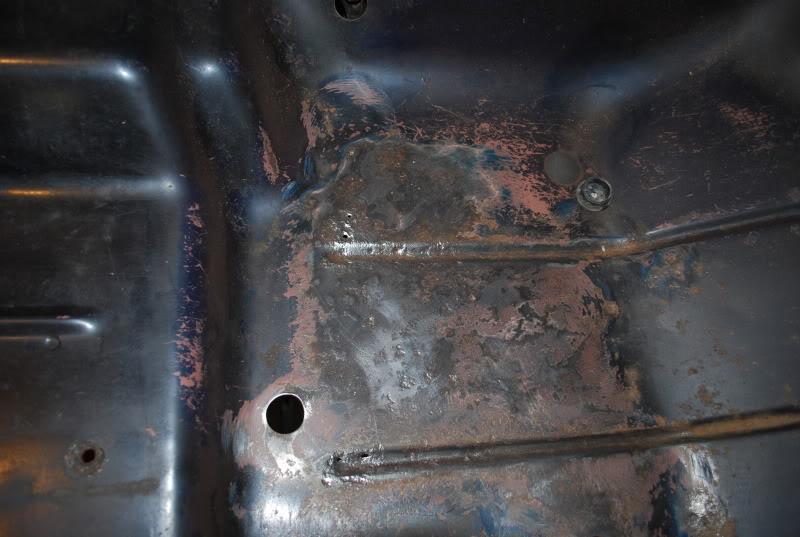
In the spirit of "one thing leads to another"...the driver's side footwell has a "previous owner" fiberglass patch that is coming loose. Rather that throw some silicone sealer or something else at it, I just ordered a replacement footwell from Classic Enterprises. I not sure if I'll weld it in or try some of that pannel adhesive that Jeff S talks about......suggestions are welcome here, I'm not a bodywork person. I haven't pulled that patch out, so I don't know the real extent of the damages there.
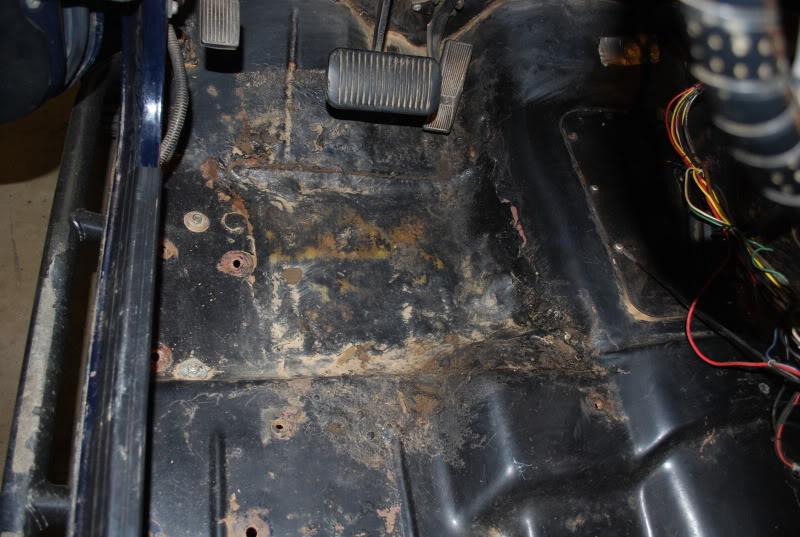
DSC_0282-1.jpg
 
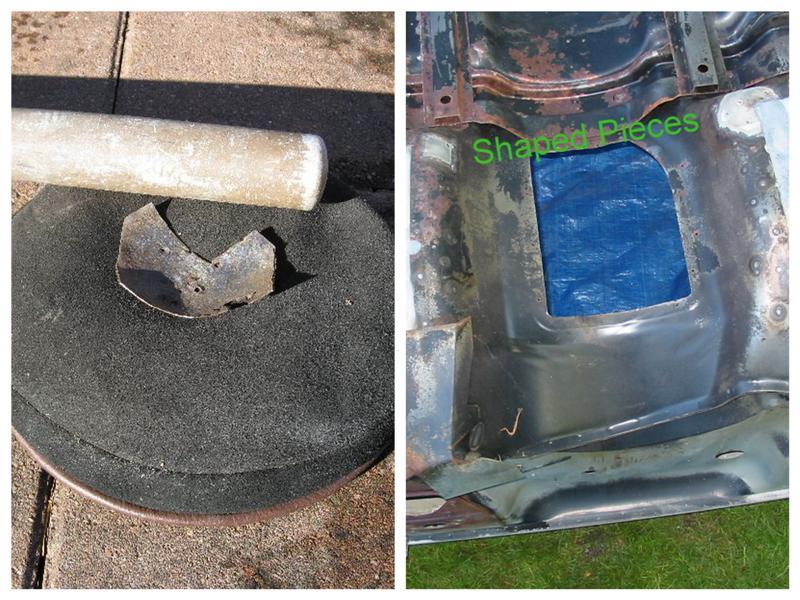
I will be interested in how well that panel fits and what the outcome of your repair is. I too had a similiar looking patch and when I removed it the damage was further than I had expected. I went with the one that Quadratec sells and it was not even close to the fit that I wanted. I ended up reshaping the whole thing and spot welding from the top and stitching on the bottom. That back corner looks like it could be like mine was and beyond the panel. I had to make a small filler piece for it. I think one of the most important things is to have a good seal on the bottom and top to not allow any water to get to any lapped metal. The panel adhesive may be a good alternative if it is a good sealer between the two layers, but have never used.

DriverFloor_PanJPG-1.jpg


DriverPanNewJPG-1.jpg


Shotbag_bat-1.jpg
 
I desperately need to start on rust repair... interested to see what you end up doing.
 
The most respected body shop in town here recommends the panel adhesive. Just don't use it on exterior panels where a seam will show, it reads through for some reason.
 
The most respected body shop in town here recommends the panel adhesive. Just don't use it on exterior panels where a seam will show, it reads through for some reason.

I've been told by the local auto paint shop that if you seal everything with epoxy primer before painting, the seam will not show. Apparently only epoxy primer will prevent this, the adhesive will show through ordinary paints/primers.

I used structural adhesive extensively in the Gaucho build. I replaced a floorpan using it, see post 184 of that thread. I especially like panel adhesive for things like floor pans, because you can completely seal the joint from water, which is much harder to do with welding in this application.
 
The damages....

Pannel adhesive sounds like the way to go, on this. Any special type or brand? Do you prime the metal first or will that hurt the bonding process? I figure since this will be covered with carpet I'll be finishing it with some POR 15 and topcoat with some Rustolium. I'm not cutting anything out until the footwell piece comes, so I can see how far to go or not go.

Here what I found when I pulled the fiberglass patch out of the floor....
DSC_0287-1.jpg

DSC_0288-1.jpg

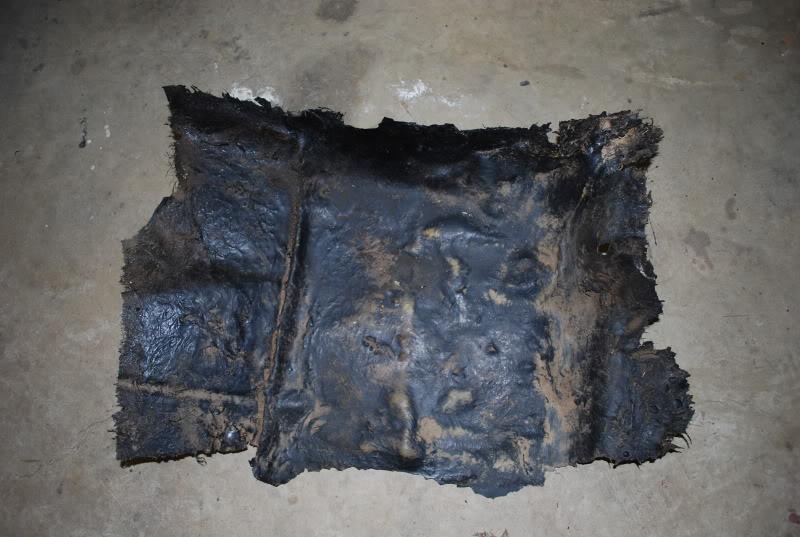
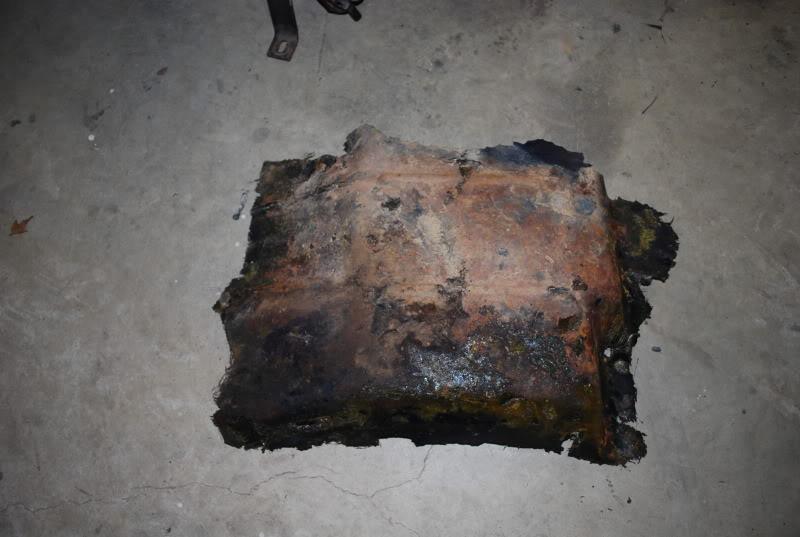
Here's what the patch looked like.....
DSC_0290-1.jpg

DSC_0291-1.jpg


This is the passenger side, it's a lot better, but has some small pinhole issues. What's a decent way to fix these? Overall, it's plenty solid and shouldn't need to be replaced.
DSC_0289-1.jpg
 
Pannel adhesive sounds like the way to go, on this. Any special type or brand? Do you prime the metal first or will that hurt the bonding process? I figure since this will be covered with carpet I'll be finishing it with some POR 15 and topcoat with some Rustolium.

I use Norton Speed-Grip. http://www.nortonautomotive.com/speedgrip-auto.aspx. You should be able to find it at an auto paint place that caters to the body shops. It takes a special gun, see if you can get them to lend you one. I borrowed a gun so many times from my local place that they finally gave me one :)

The metal must be bare and clean, no primer.
 
I figure since this will be covered with carpet I'll be finishing it with some POR 15 and topcoat with some Rustolium.

This is the passenger side, it's a lot better, but has some small pinhole issues. What's a decent way to fix these? Overall, it's plenty solid and shouldn't need to be replaced.

It looks like you will be just filling the pitting and a few pin holes. Maybe try the other POR 15 products like the filler or putty. At least you know it will be compatable.
 
I ended up getting the 3M panel adhesive product and their gun, I couldn't find the Norton products locally. I also got some type of epoxy filler to use on the pinholes.

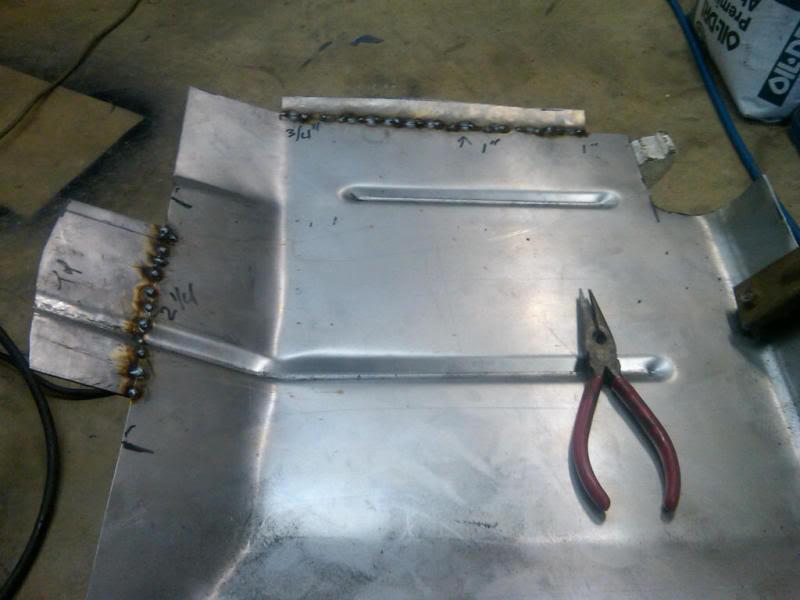
Tha patch panel came in and is taking some massaging to fit in there. It doesn't cover near as much as the one above from Q'tec. I'm having to take pieces that I cut off and extend the panel to cover all of the holes. I'll be tacking that together tonight or tomorrow. I figure I'll cut out the worst of the rusted out part and grind on the rest to bare metal. I wanted at least an inch of overlap beyond all of the holes, but that's just not possible with where some are.
 
I ended up getting the 3M panel adhesive product and their gun, I couldn't find the Norton products locally. I also got some type of epoxy filler to use on the pinholes.

Tha patch panel came in and is taking some massaging to fit in there. It doesn't cover near as much as the one above from Q'tec. I'm having to take pieces that I cut off and extend the panel to cover all of the holes. I'll be tacking that together tonight or tomorrow. I figure I'll cut out the worst of the rusted out part and grind on the rest to bare metal. I wanted at least an inch of overlap beyond all of the holes, but that's just not possible with where some are.

Which 3m adhesive did you get and how much was the gun? The real fitting and shaping will probably be after you cut the metal out. I thought I had mine tight until then, but it was easier to tell when you could see the gap underneath after the metal was cut out. You also will have the spot welds to break on the brace if you remove the metal there, that wasn't to bad though. How do you plan on clamping?
 
Which 3m adhesive did you get and how much was the gun? The real fitting and shaping will probably be after you cut the metal out. I thought I had mine tight until then, but it was easier to tell when you could see the gap underneath after the metal was cut out. You also will have the spot welds to break on the brace if you remove the metal there, that wasn't to bad though. How do you plan on clamping?

Other than to say it's the 2 part epoxy panel adhesive, I'm not sure. It was a little more than $70 for one tube and the gun.....about $35 each. Once I get the panel fitted right, I was going to weight the patch panel to hold it down, once the adhesive is on there. Another thought to hold it in place, use a jack and some wood to put pressure on it.
 
Other than to say it's the 2 part epoxy panel adhesive, I'm not sure. It was a little more than $70 for one tube and the gun.....about $35 each. Once I get the panel fitted right, I was going to weight the patch panel to hold it down, once the adhesive is on there. Another thought to hold it in place, use a jack and some wood to put pressure on it.

That is what I was thinking would be the best. I have read where others have used screws and then epoxy fill the holes, but I do not think that would be the best. The floor does not flex that much even with the metal removed. I also had to support or jack the brace up from the bottom too.
 
I used aluminum pop rivets to hold the new floor panel in while the adhesive was curing. That way I was sure it'd get it exactly in the spot it was supposed to be because the pop rivet holes registered it correctly. Also that made sure the entire panel was "clamped" closely to the original floor panel for a good bond, I wasn't confident weights alone would provide a perfect fit for bonding. And since the rivets are aluminum and will never rust, and also set in place with the adhesive, I left them in permanently.
 
I used aluminum pop rivets to hold the new floor panel in while the adhesive was curing. That way I was sure it'd get it exactly in the spot it was supposed to be because the pop rivet holes registered it correctly. Also that made sure the entire panel was "clamped" closely to the original floor panel for a good bond, I wasn't confident weights alone would provide a perfect fit for bonding. And since the rivets are aluminum and will never rust, and also set in place with the adhesive, I left them in permanently.

Good info...I can do that.
 
Patch panel prep....

Here's the patch panel with 2 pieces I formed and have tacked in place....
ScramblerfloorpatchII-1.jpg


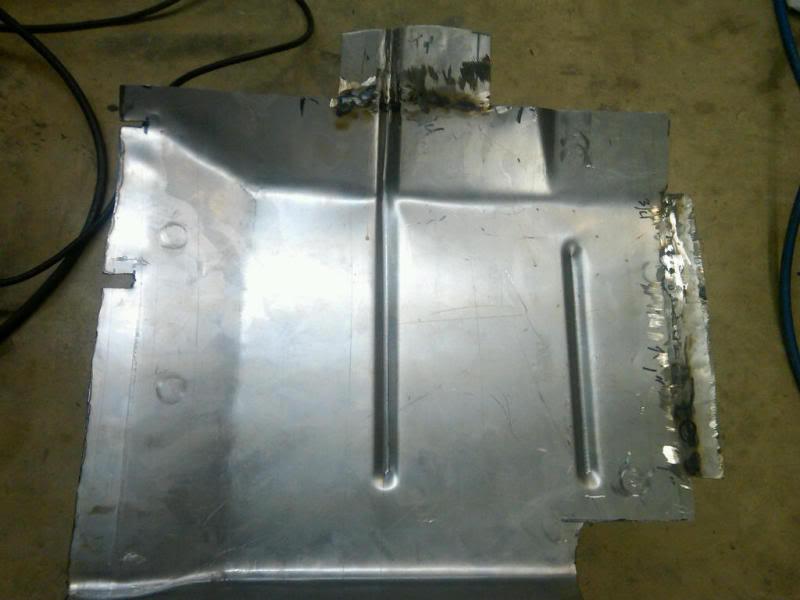
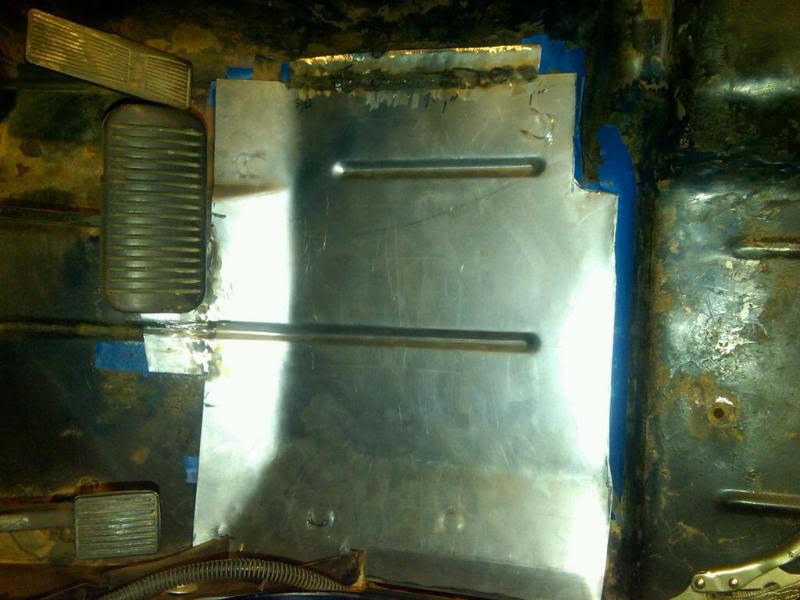
Here's the panel, pretty much done. The welds are ground down and you can't see light through any of the seams. It took about 4 times going over them, letting it cool and gringing down the tack welds to get it "right enough" to use. It doesn't look real pretty, but once it's in place and painted it should look fine....
Scramblerfloorpatch-1.jpg


Next, I start cutting out the rusty floor where this is going.
 
Trying to get this done....

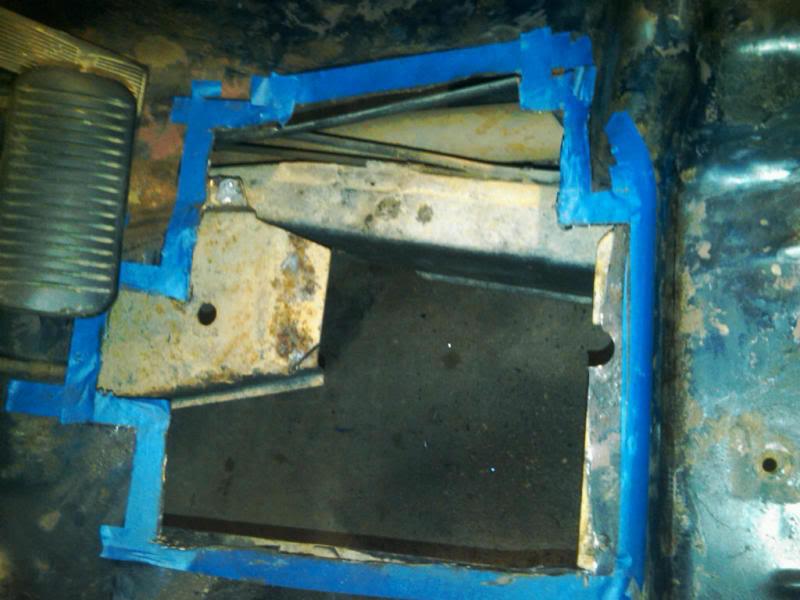
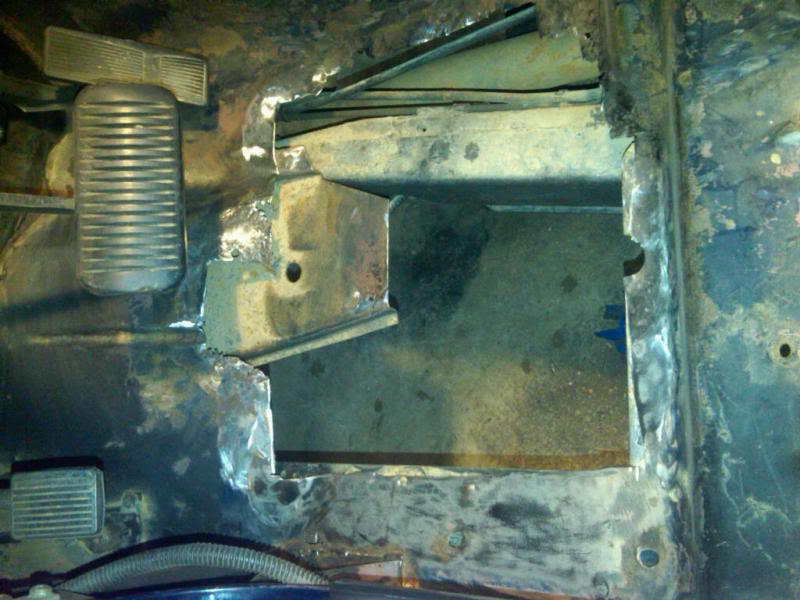
Here's the hole I cut, trying to get rid of most of the rusted out stuff. I used the tape to give me a border to cut out, it leaves, at least, one inch for the patch panel to sit on. Some of still isn't great surface, but it's what I have to work with.....
Holeoutlined-1.jpg


Tape removed and started grinding on the surface. Everywhere the patch sits, needs to be clean, bare metal for the adhesive to bond. I'm not sure just how perfect it has to be, but I don't want to have to dig into this again, so I'm spending some time here. I'll use the adhesive to replace where the spot welds held the body brace to the floor, too ...
Holeinfloor-1.jpg


Here's the patch panel...checking fit and trimming, over and over. It seems to be getting close...
Patch-1.jpg
 
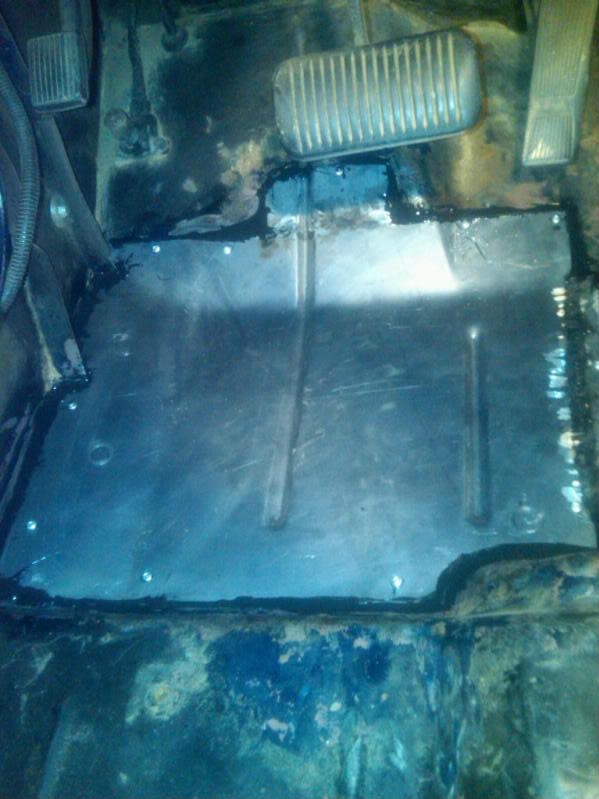
OK...glued and riveted in place. If all of this adhesive sets up solid, this piece will definitely stay in place.
Floorpatchglued-1.jpg


Next, coating all of this with some paint.
 
Back
Top