• Notice for iPhone users: DO NOT use the image size reduction option when uploading photos to the forum. This causes portrait images to post as landscape. We have added a warning to the image insert pop-up as well.

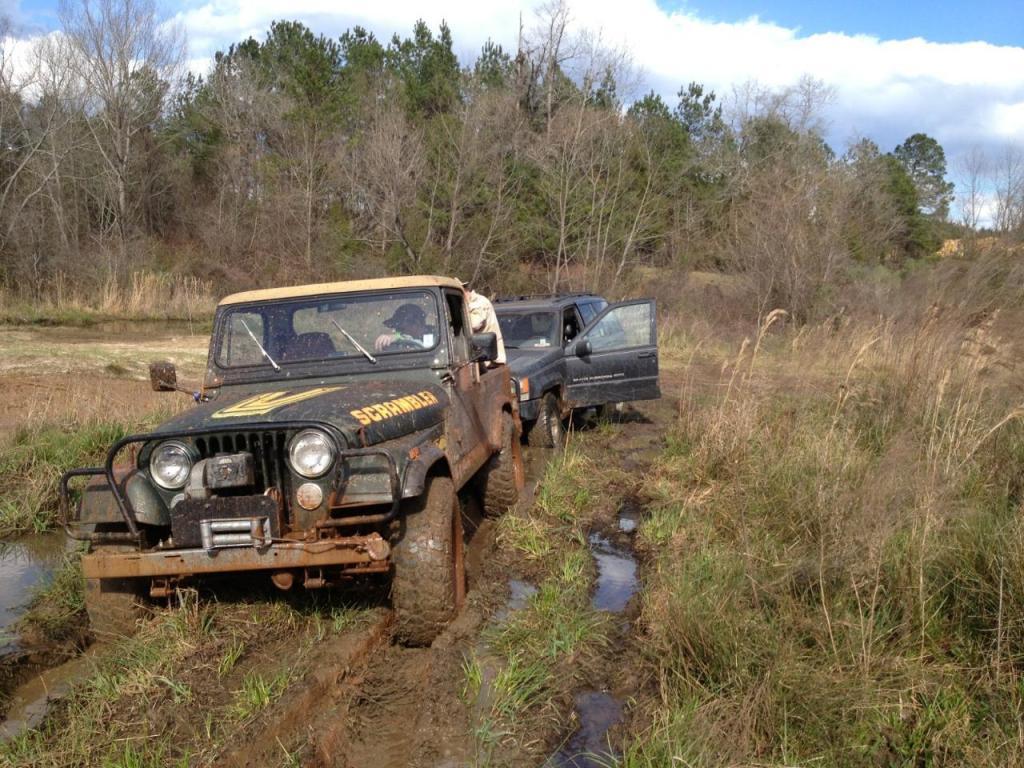
Mud Scrambler - Must be Red Dents are fine, some rust fine

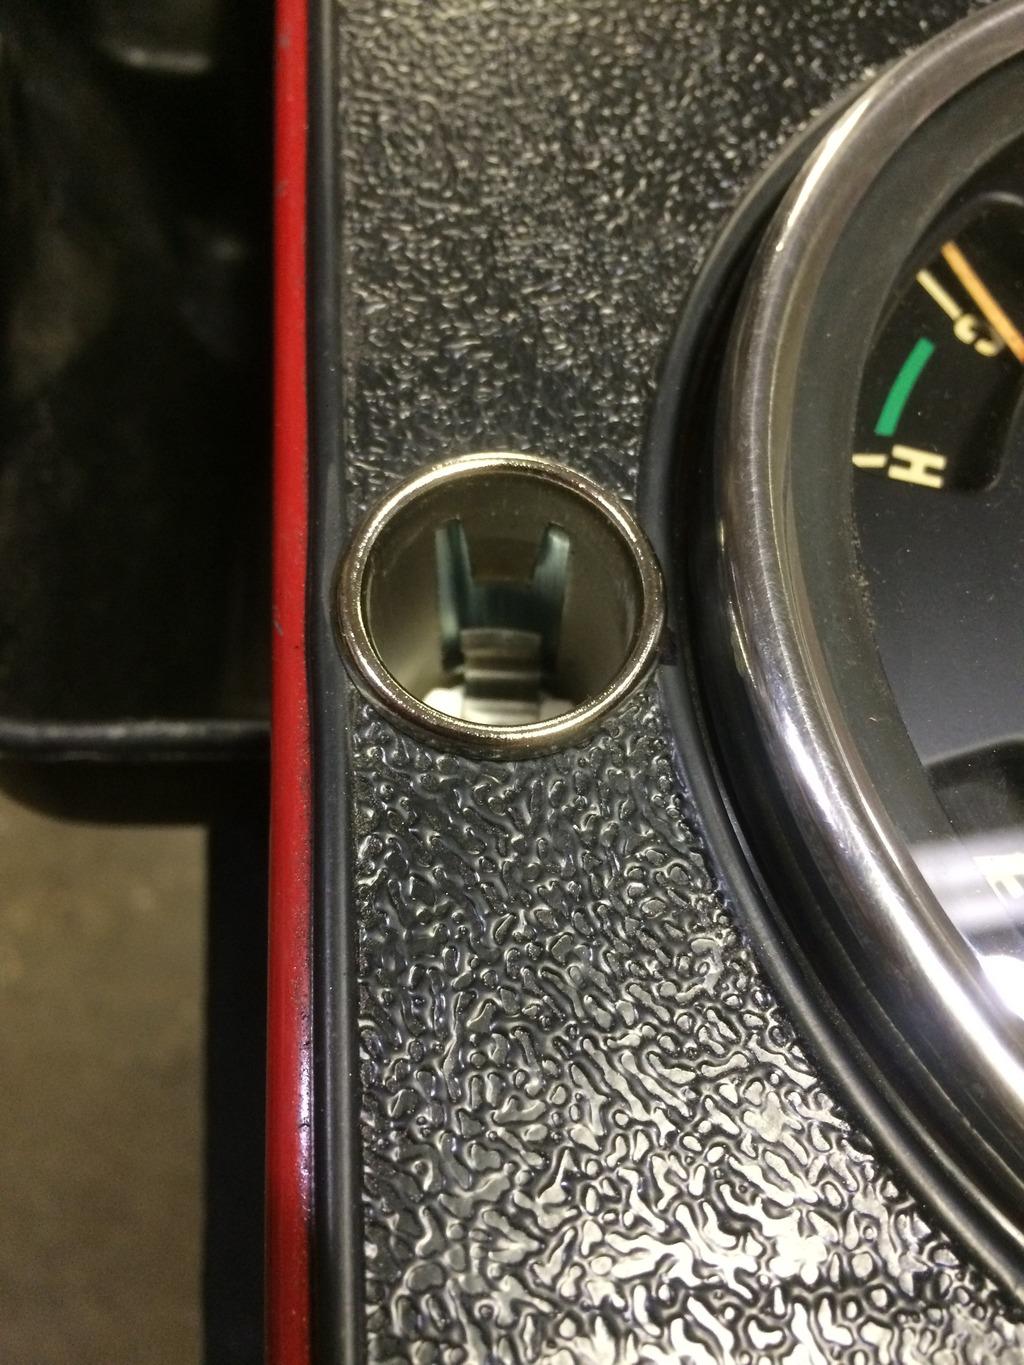
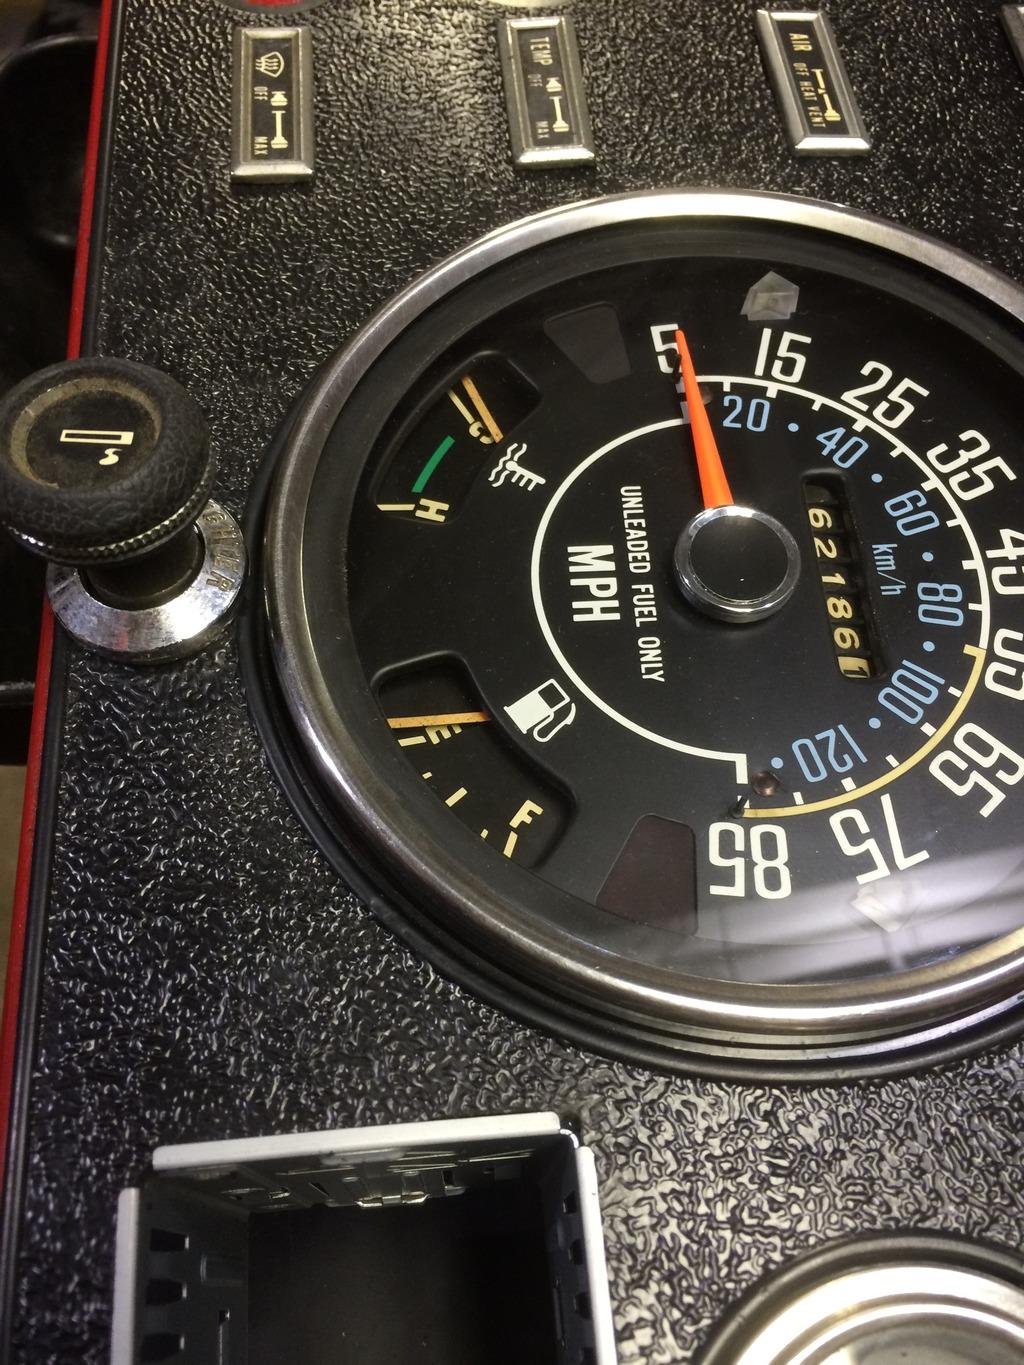
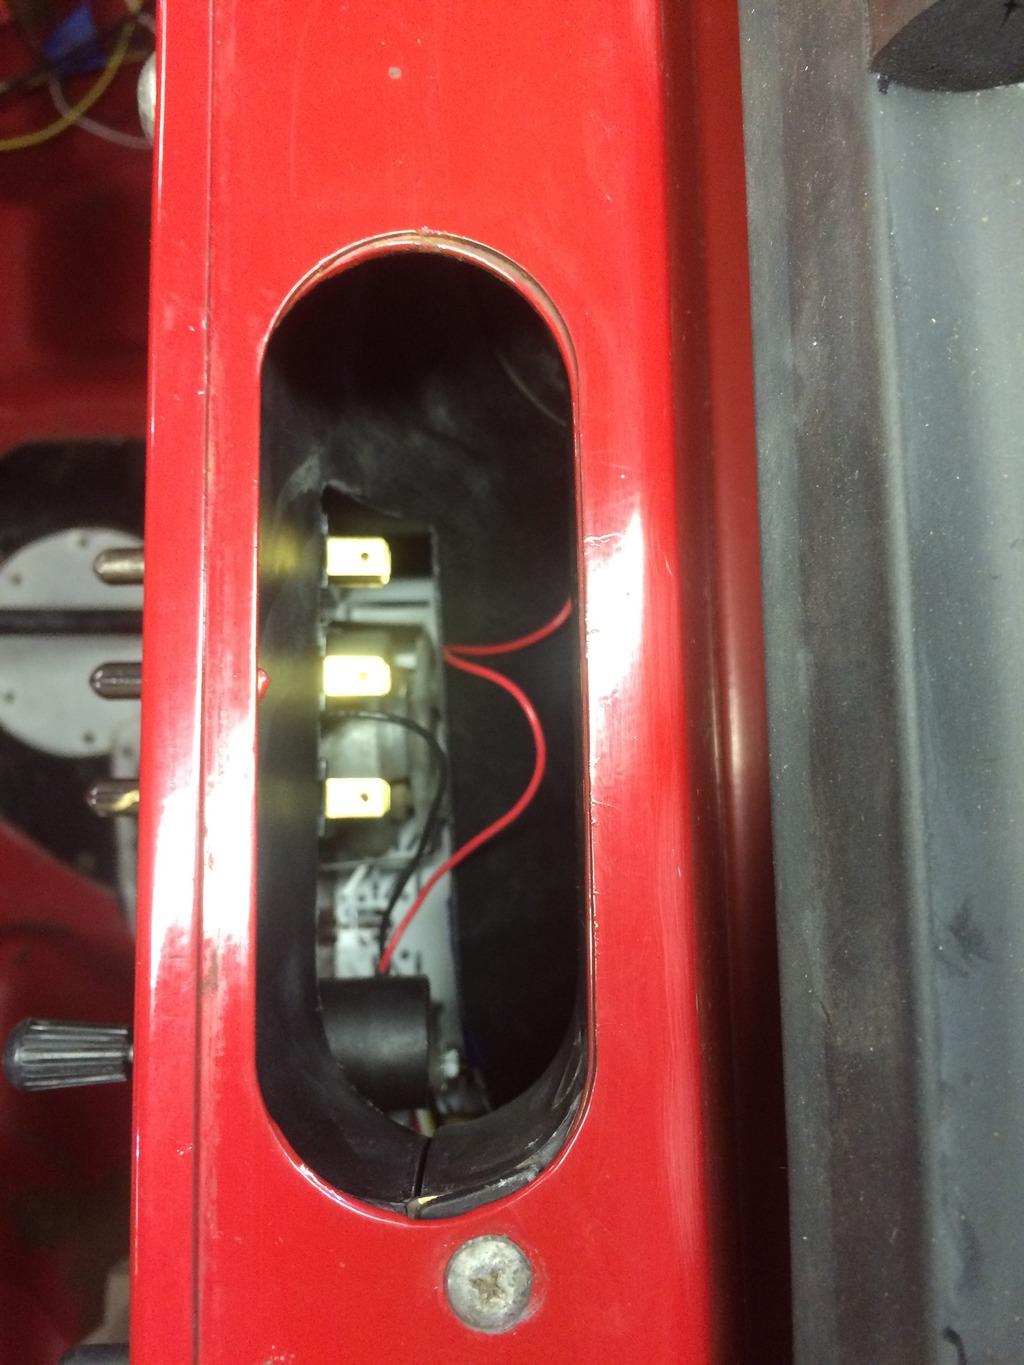
Since I had hole saws out decided to mount the cigarette lighter (12V power for phones etc..)

On a stock CJ the OEM under dash mount works, but once you add the under dash mounted A/C evaporator.... it's in way.

So I looked at how & where I installed on big modified Scrambler in 1999.

Right under speedo so it's centered in the Jeep for driver or passenger use...Barely fits.

IMG_1498_zpstixjv3tl-1.jpg


IMG_1497_zps5dxwq5m0-1.jpg


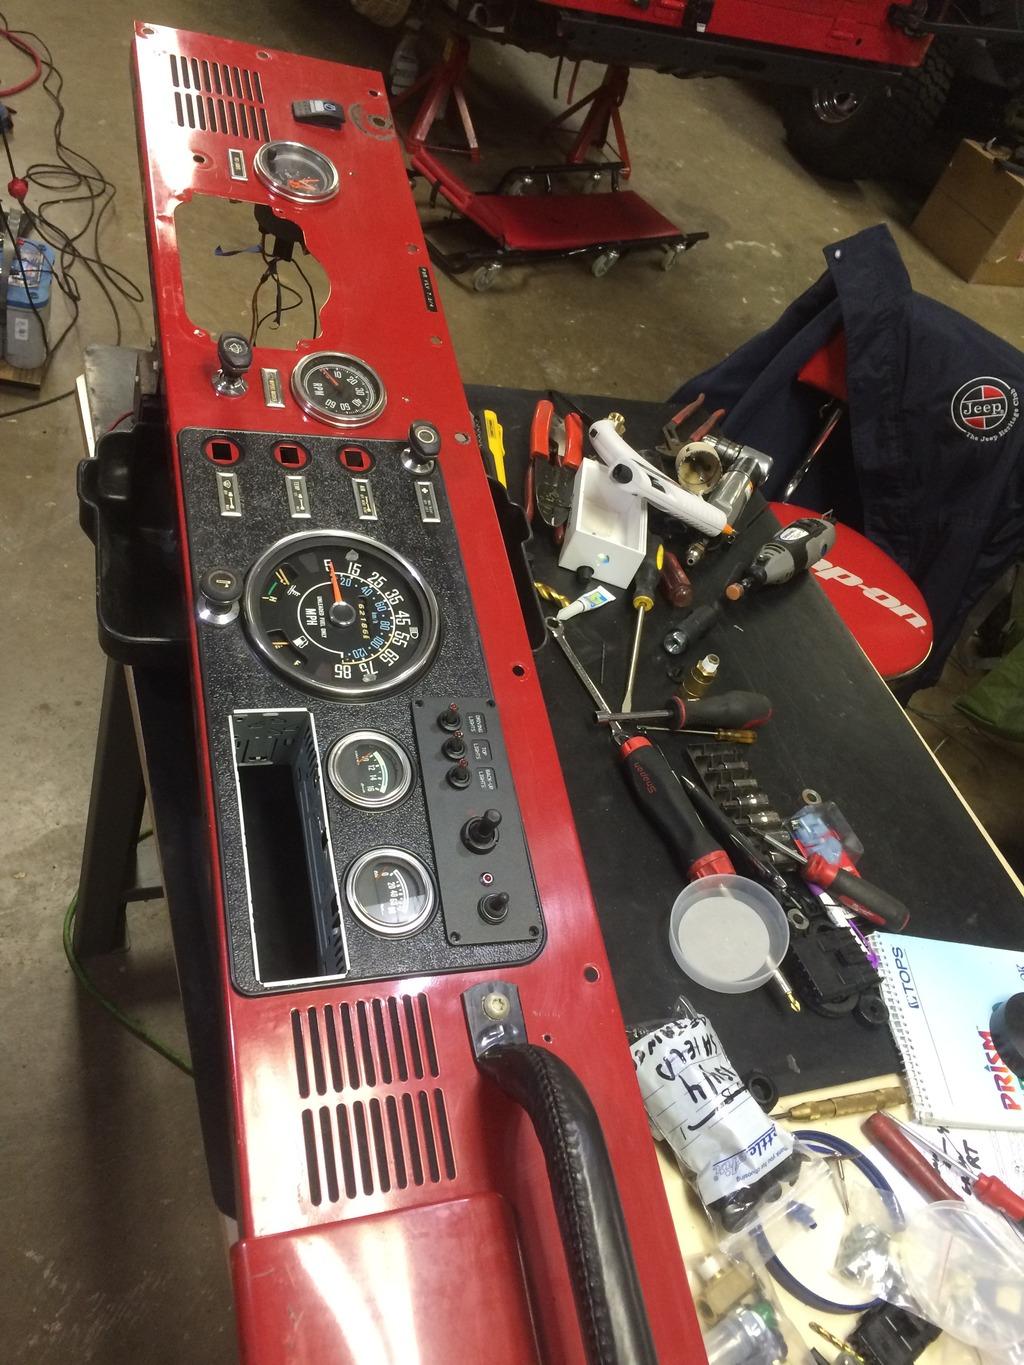
Also finished up mounting all the dash items with new bulbs (no cheapie China crap)

And ARB compressor came in so cut rectangle hole for switch.
Made sure it was in good spot with the metal dash-n-store from BTB products.

Hot glued black speaker covers to backside of dash from wife's dress :)

IMG_1496_zpsnseeq9dt-1.jpg
 
Glad to see you working hard on Jeeps, Red! Hope to see you soon again. Always a pleasure.
Talk soon. D
 
Anytime, don't forget next time need help from World's best all around Jeeper... installing NOS rear tailgate glass in Chero.

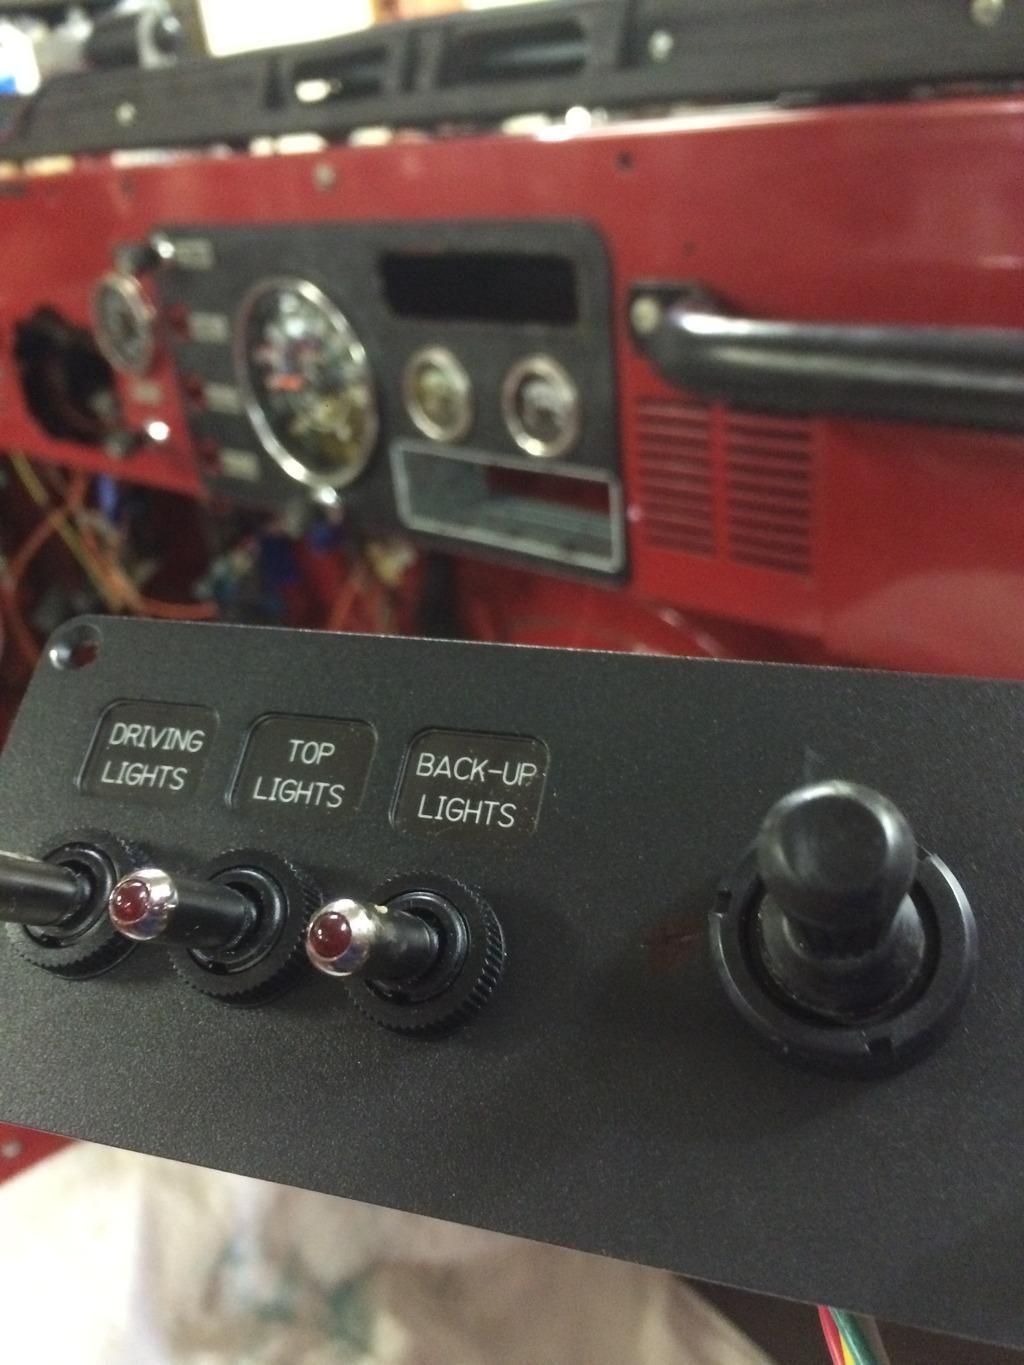
More stuff finished.
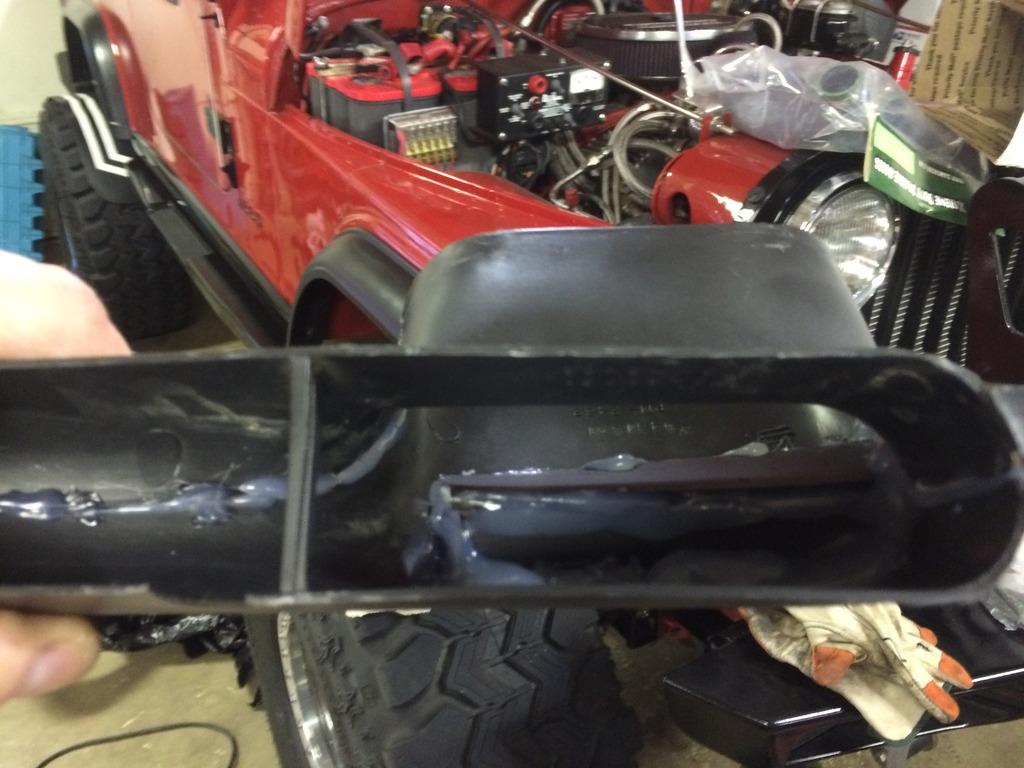
I knew that this switch panel would interfere with defroster duct as I did same on 83 Modified Scrambler.
Not many in dash options for CJ.
Hot glued plastic parts cut from old basket ball stand that I found on side of road.
All the curved angles of the stand helped make good fitment.
Also glued all the seams.

IMG_1499_zpsy7am3k34-1.jpg

IMG_1503_zpsca3uu5f5-1.jpg


Solution is kinda bubba ... but gives necessary clearance.
Boxed in part takes up about 1/3 of defroster duct.

IMG_1522_zpstasvtt2h-1.jpg


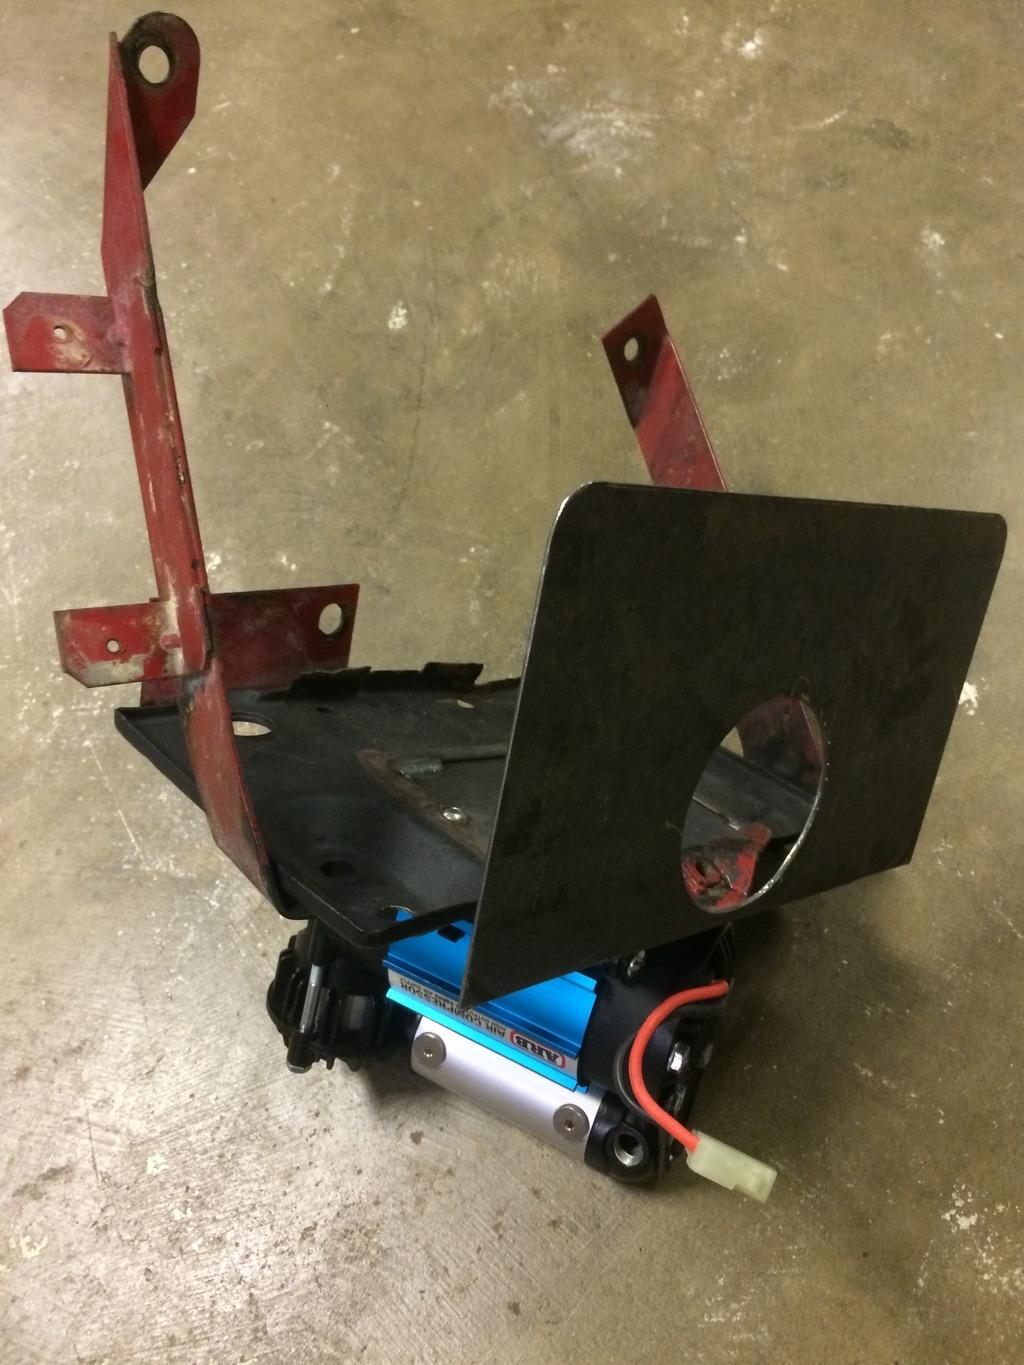
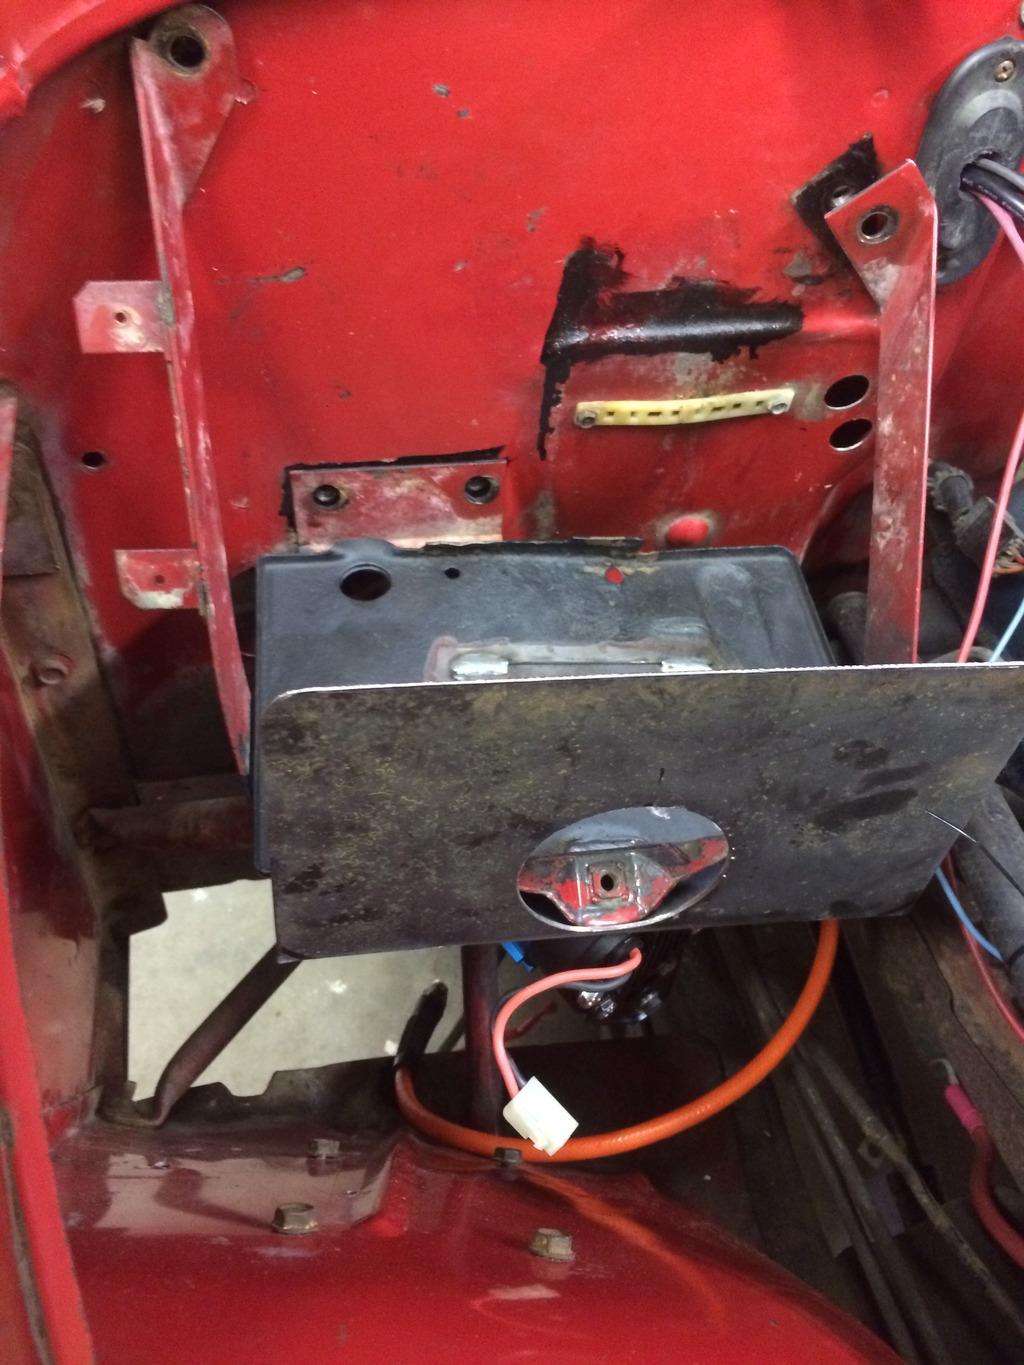
Made this battery tray (similar to 83 modified Scrambler's) for ARB compressor and the + and - buss bars for winches.
Had to cut bottom of tray and then recess it so bolts wouldn't hit on bottom of battery.

Trying to keep passenger side fender clear in case I want to add Tuffy underhood safe later.

IMG_1528_zpsemfgxmta-1.jpg


IMG_1529_zpsbfg3bk7q-1.jpg


Routed ARB compressor intake to where it draws air inside under glovebox.

Had to R&R the OEM computer mount AGAIN (shorten height) , so the MSD 6AL would fit.
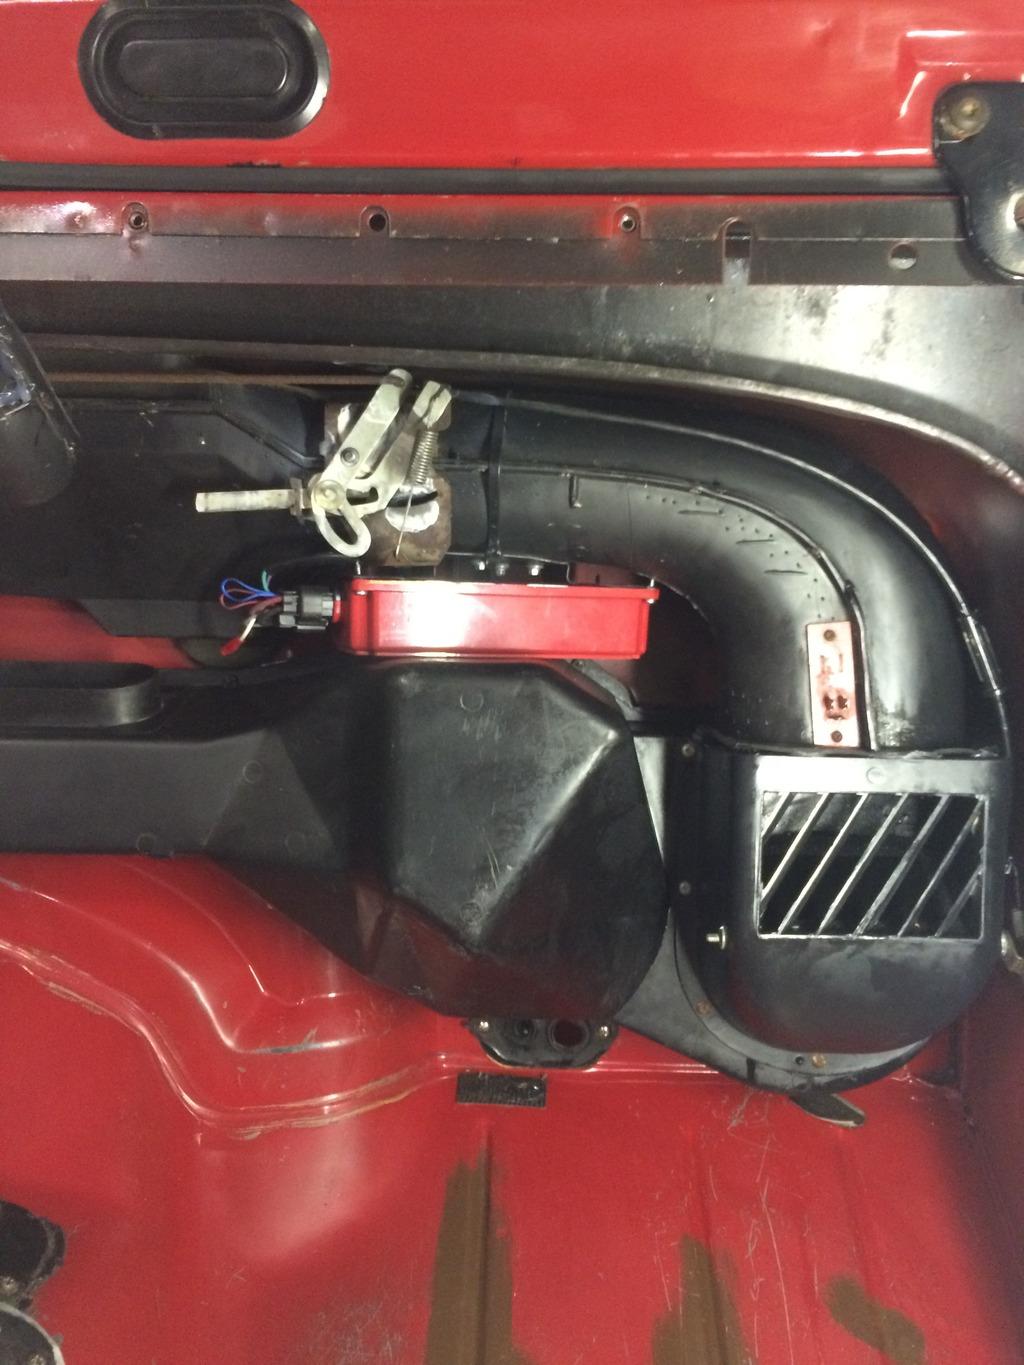
Hot glued the gasket on heater box so the fresh air vent would fit tight,
And installed the heater box and the YJ A/C bulkhead gasket (fit perfect)


IMG_1530_zpsixuu8oya-1.jpg
 
I just reconnected the 6AL on my wagon and I can hear it clicking at a really fast rate, obviously same rate as ignition. If this is normal I think it's something you might hear inside the cab especially up against a resonator like the air box. Just a thought.
 
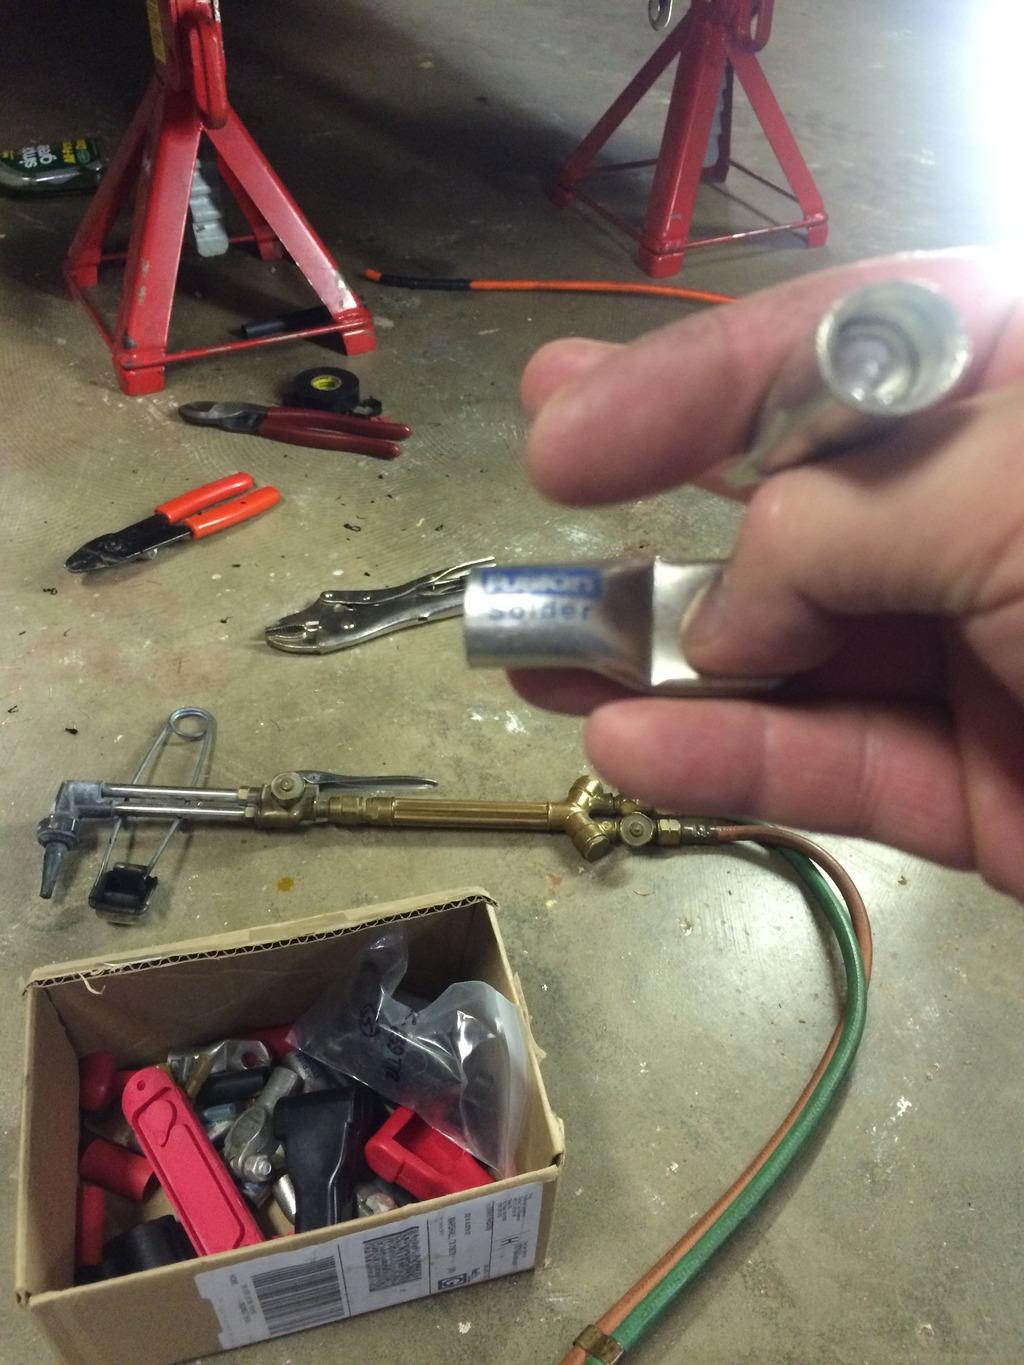
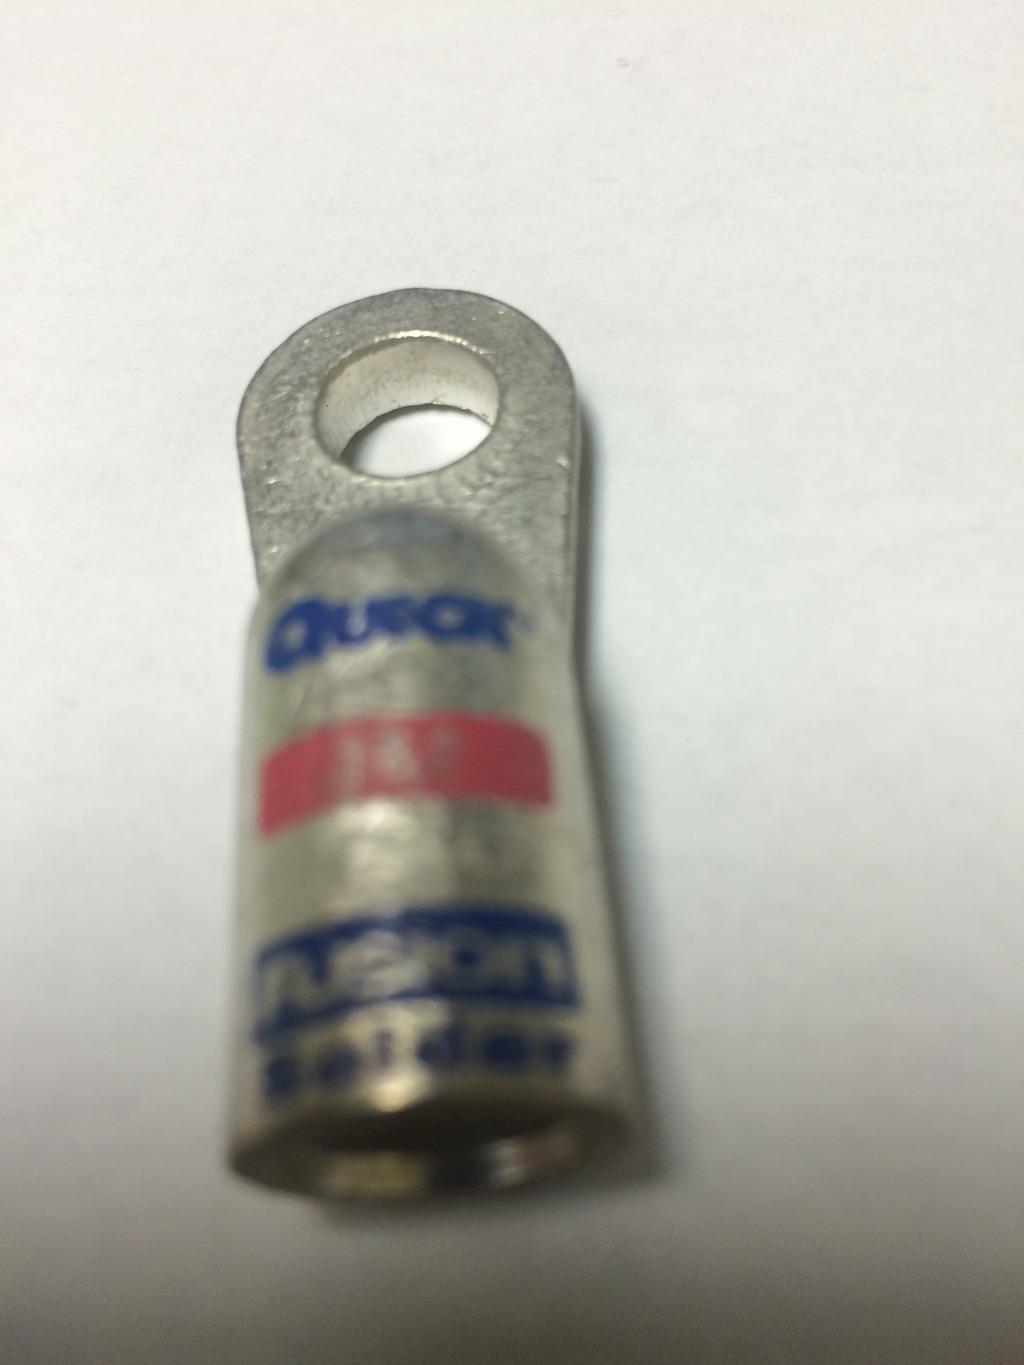
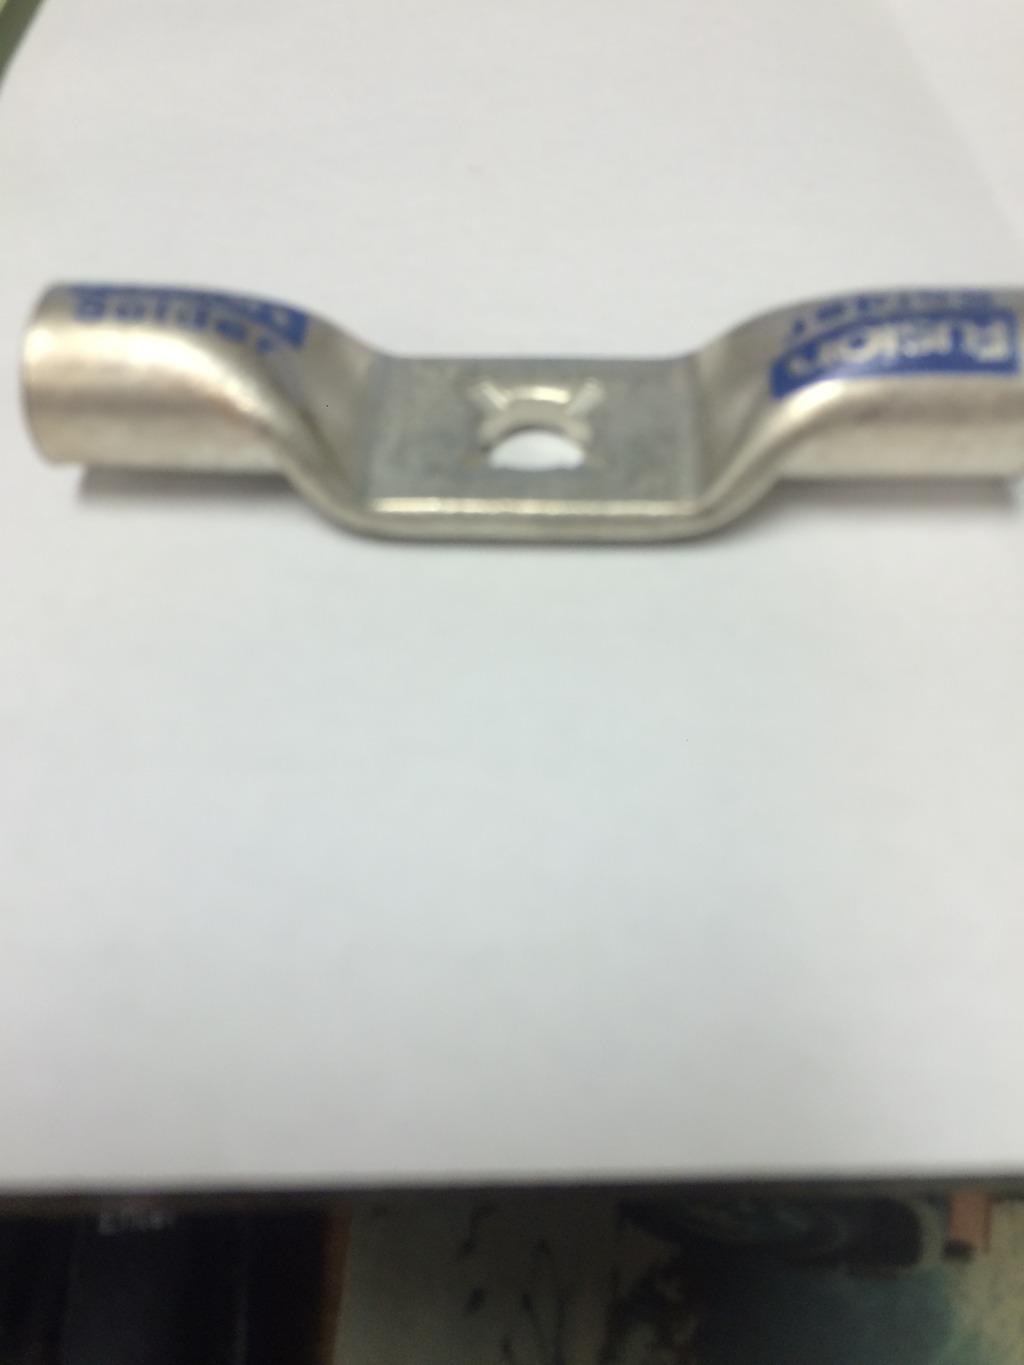
Fusion cable connectors soldered on with small torch.
Could only do the ground cable as need... 90 degree offset lug to handle the 2/0 heavy power wire so will fit the Warn solenoid properly.
Takes weeks to get from them :ZZZ:

Oh well got plenty of other stuff to do.
But so ready to get the rear winch installed to see results and get it out of my way.

IMG_1519_zpssqyozn9b-1.jpg
 
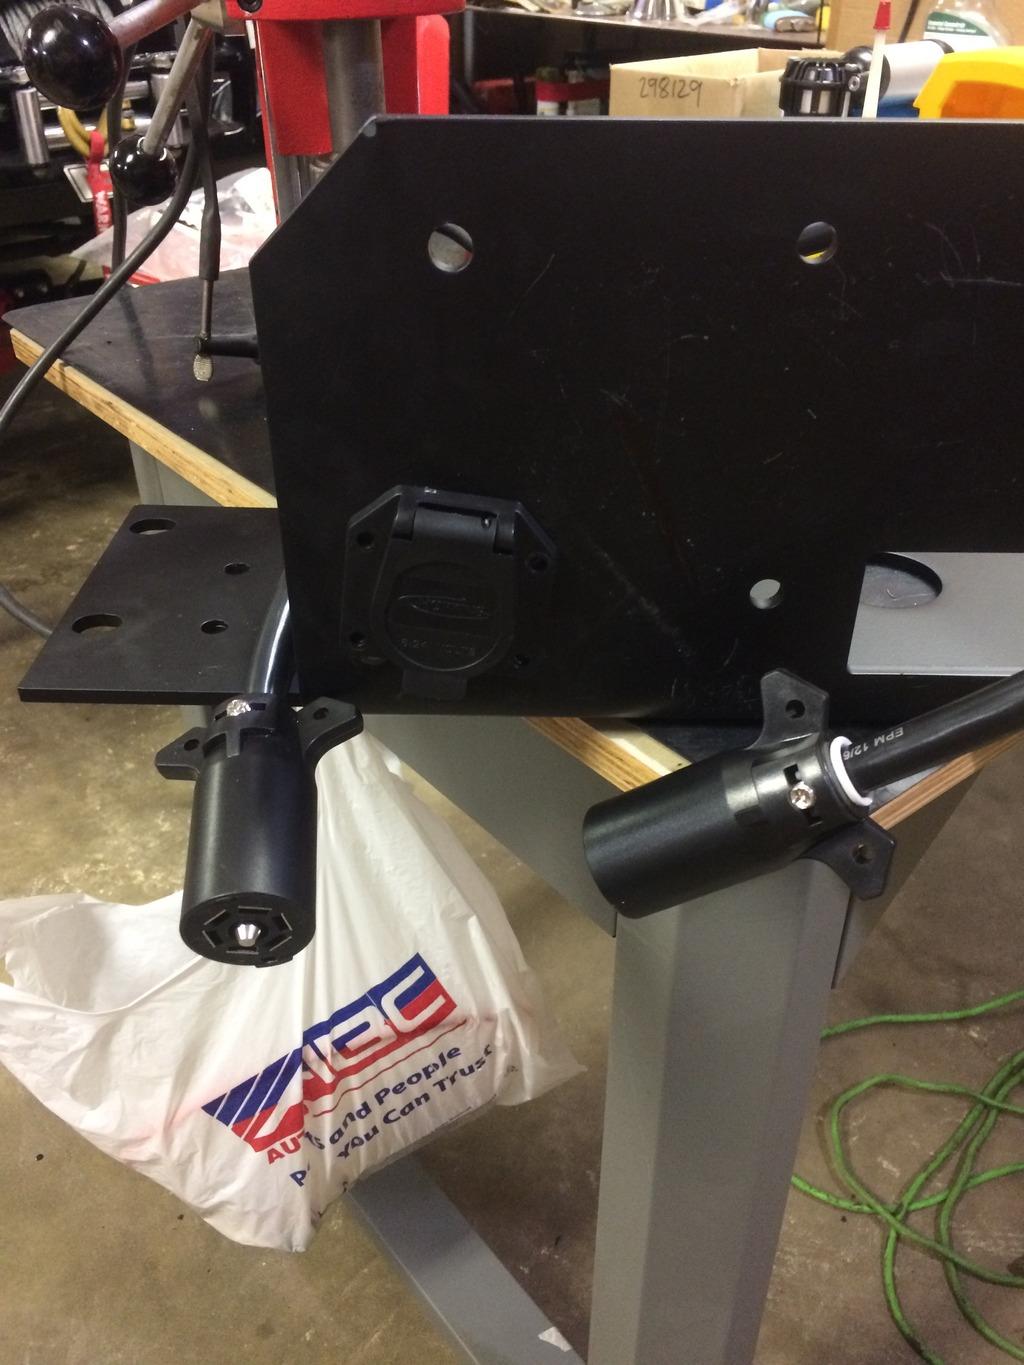
Towed vehicle wiring:
Didn't want to just have a 4 foot trailer wire hanging from front of Mud Scrambler.... so decided on a plug.
Middle section of front bumper not good place to mount plug as would have to drill corresponding hole in front crossmemeber.
Also I mounted an aux. transmission cooler underneath crossmember.
Would be kinda funky with plug mounted to front bumper on either side as would see back of plug and possible tire contact.

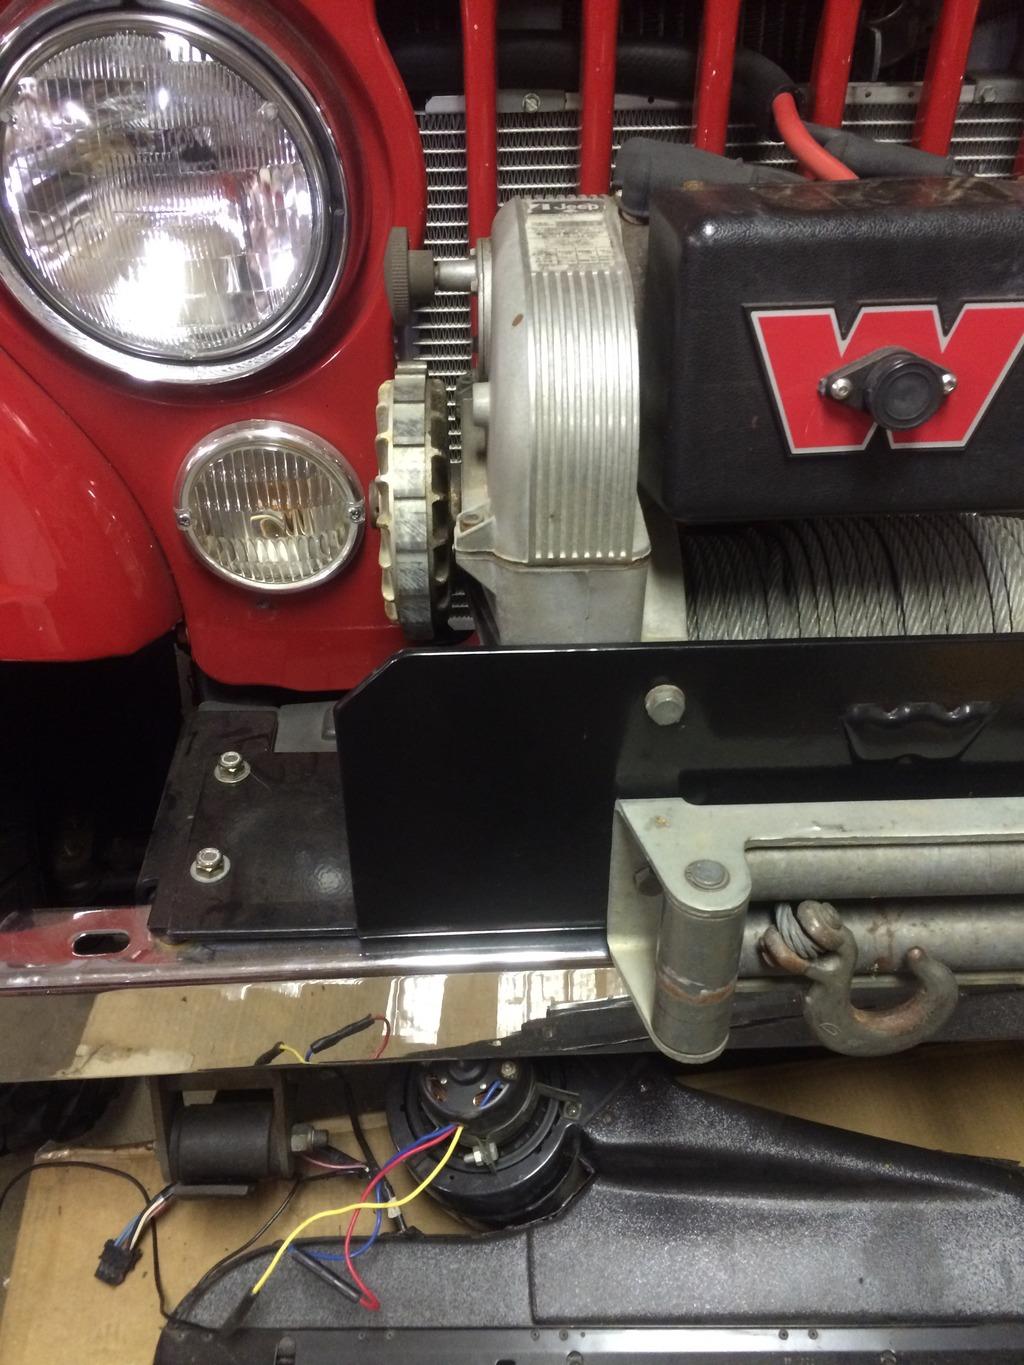
Was thinking where ? Then saw the CJ-7 Warn 8274 mount and bingo.

IMG_1541_zpsarnwgmmn-1.jpg


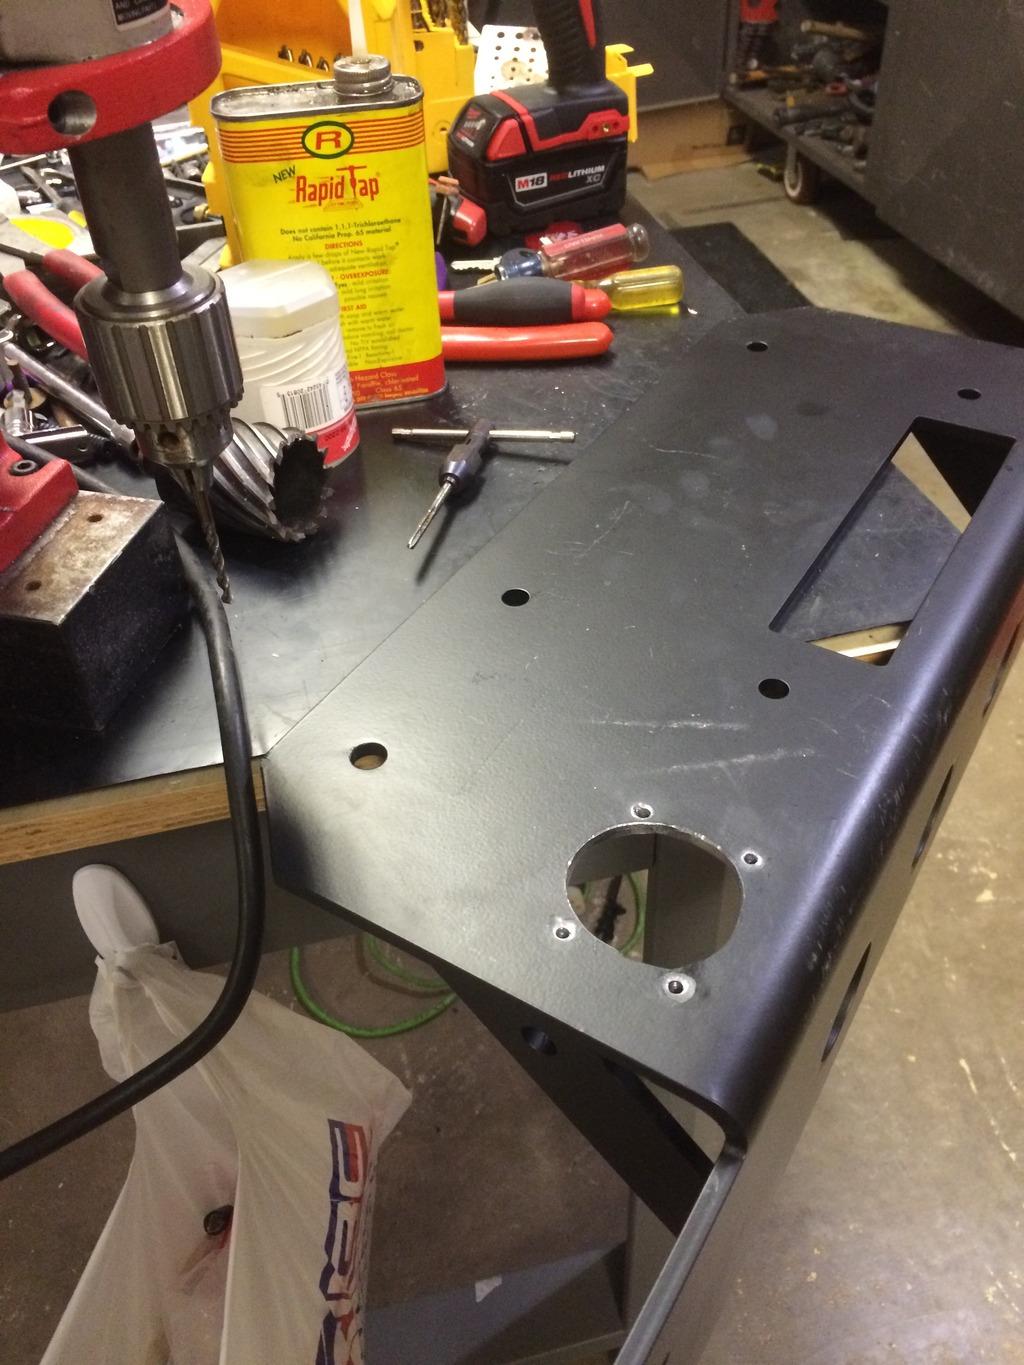
Hole is centered with roller fairlead holes and as close as possible to the left gusset.
Annular cutter makes such a smooth hole.
Drilled and tapped for a 10-24 button head machine screw to hold plug.

IMG_1537_zpsig1bvz9p-1.jpg


Cord with plugs for easy flat towing now complete.

IMG_1538_zpsxdhq0zzo-1.jpg


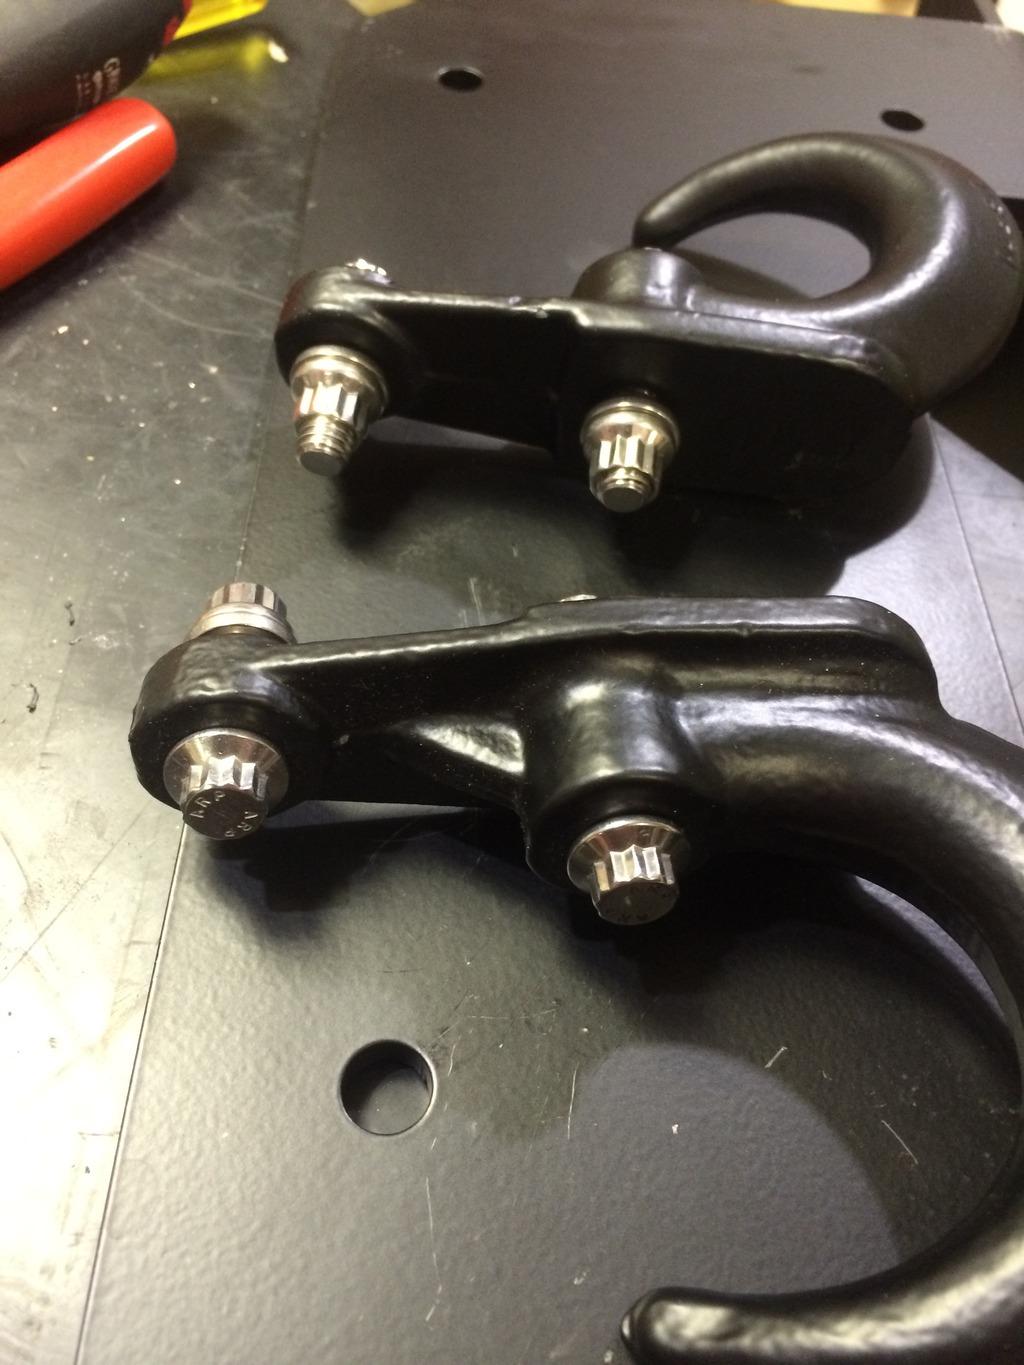
Got some nice jewelry for the early style CJ tow hooks.

IMG_1542_zpsqjmv8acj-1.jpg
 
Great idea on the tow plug :thumbsup:

Are the bolts and nuts stainless? They look awesome. :wave:
 
This Scrambler is awesome. I'm totally pleased with the presale. Can't wait till its done. :cheers:
 
Great idea on the tow plug :thumbsup:

Are the bolts and nuts stainless? They look awesome. :wave:

12 point ARP wide flange grade 8 stainless bolts & ARP grade 8 stainless nuts.

I started to weld CJ tow hooks on to the Warn winch mount... but I think hooks are forged and welding weakens.

This Scrambler is awesome. I'm totally pleased with the presale. Can't wait till its done. :cheers:

It's a nice Scrambler, kinda too nice for a kick around hunting rig.
Ready to sling some mud, shuck ducks and blast hogs.
Thinking about mounting ATV winch high on roll bar to drag up big pigs & deer. (maybe later)
Dig the yard Scrambler out and lets go play. :headbang:


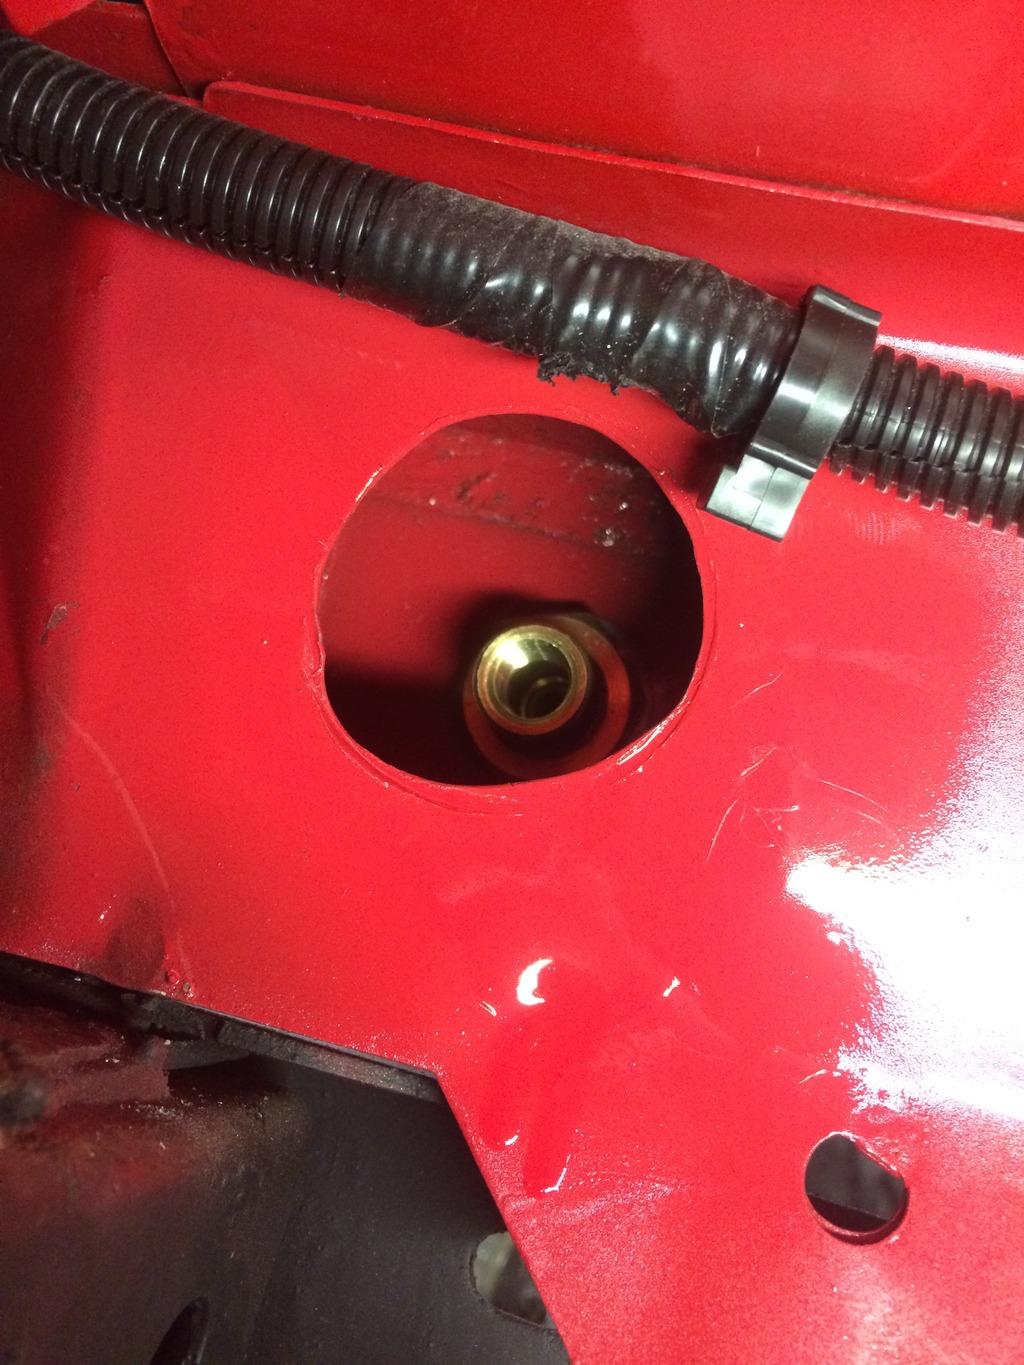
Got the hole drilled for air. Ended up buying a 3/8" hole saw chuck with 1 1/2".
15 bucks for new hole saw is lot easier than a broken hand with right angle hole hawg.

deburred edges and painted.

IMG_1545_zpsgjsfir9z-1.jpg


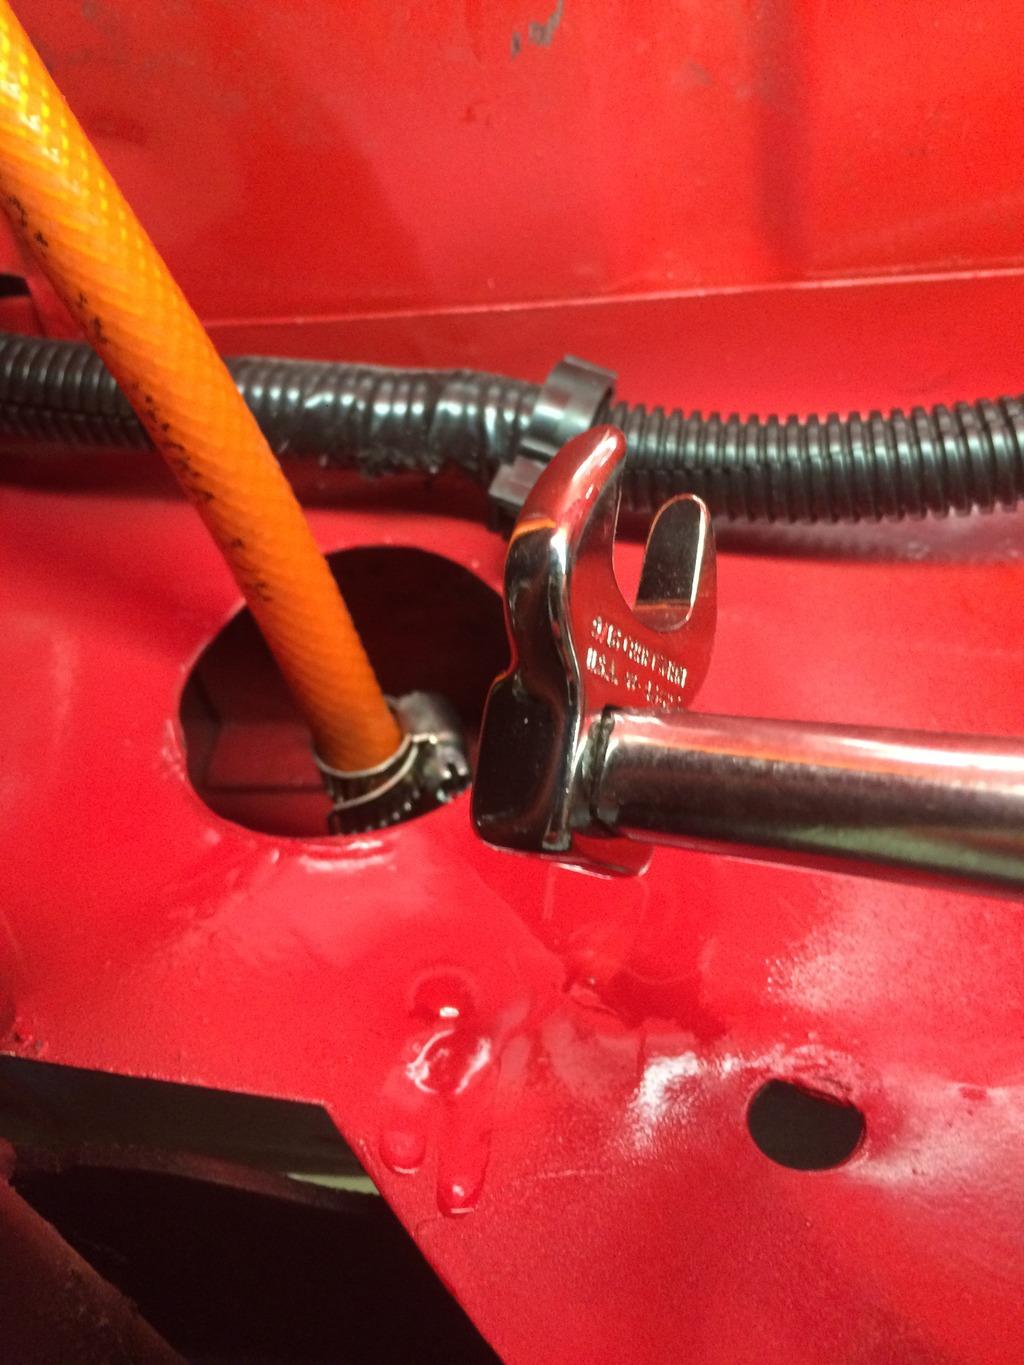
Crows foot wrench to tighten hose barb.

IMG_1547_zpsn0gjmjaz-1.jpg


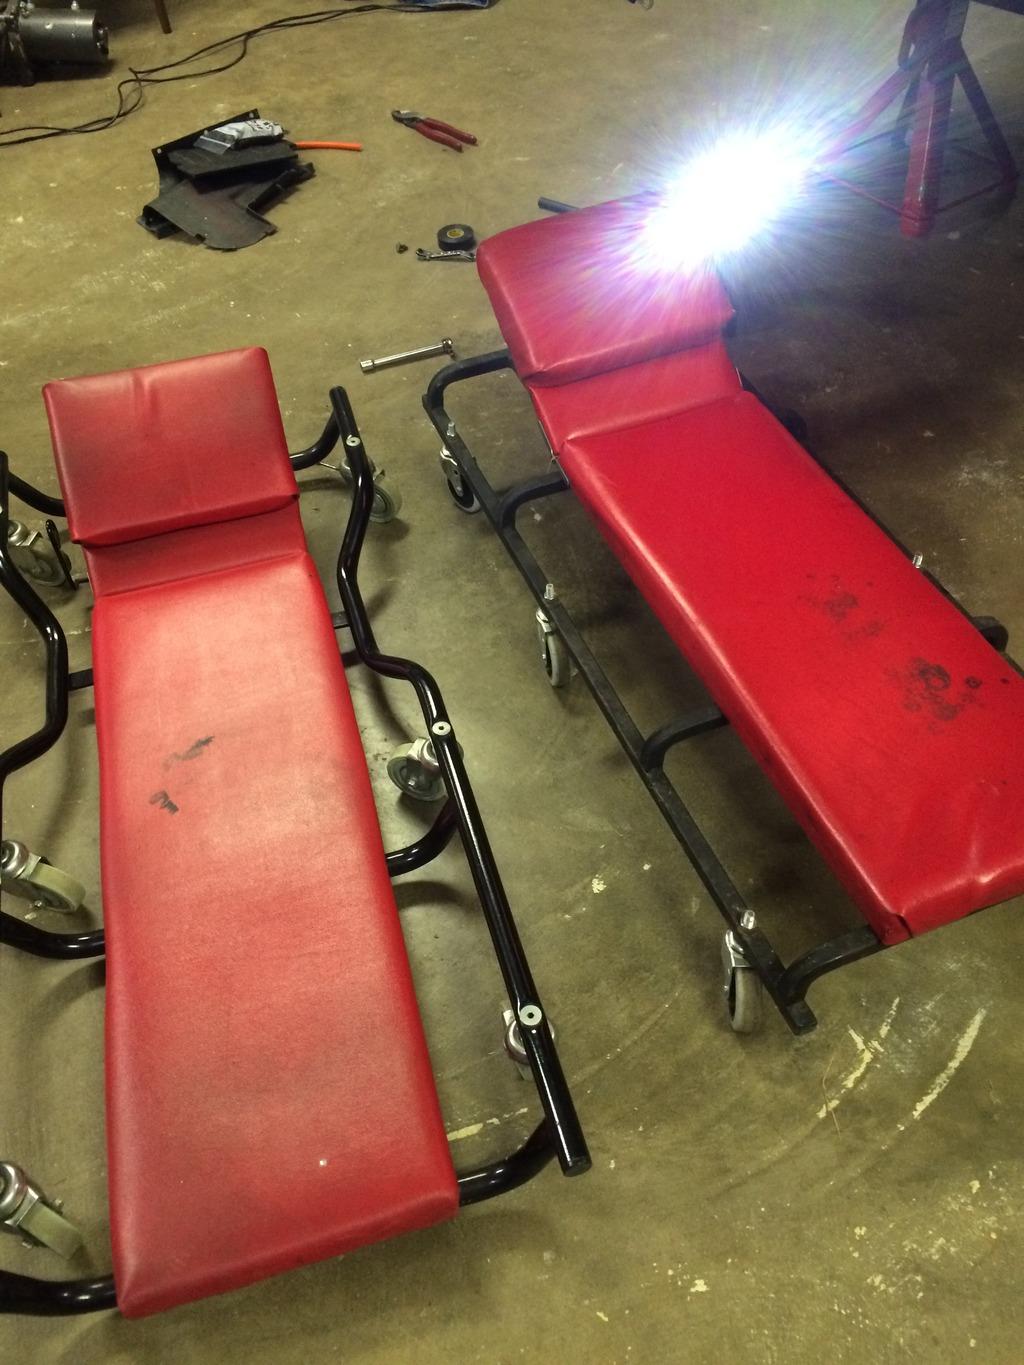
Had to break out the spring over creeper to see what I was doing.

IMG_1546_zpstk9sj9sy-1.jpg


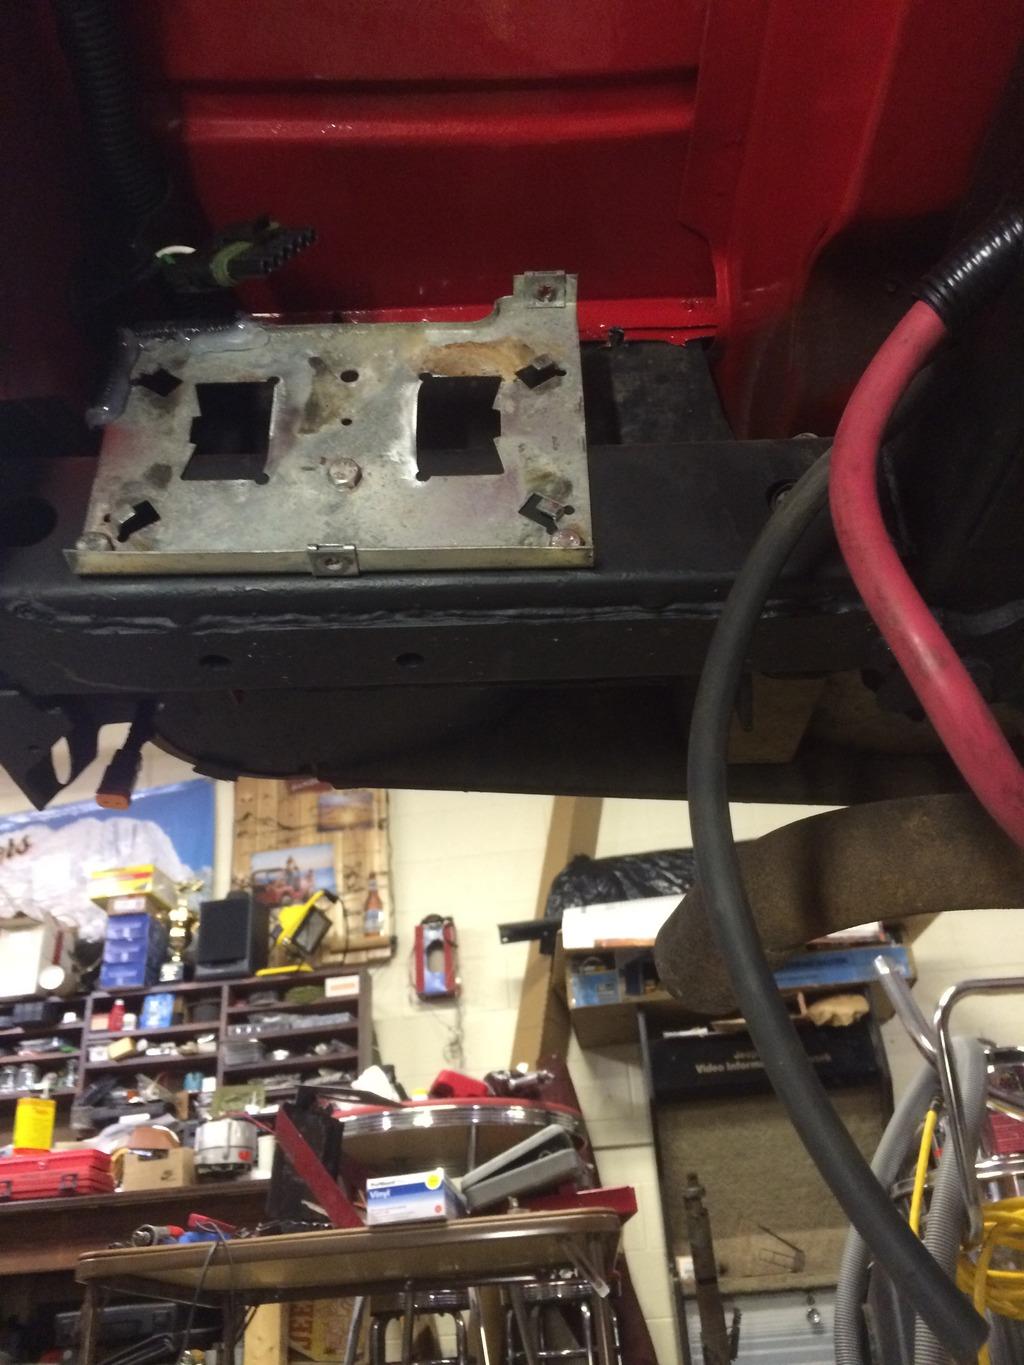
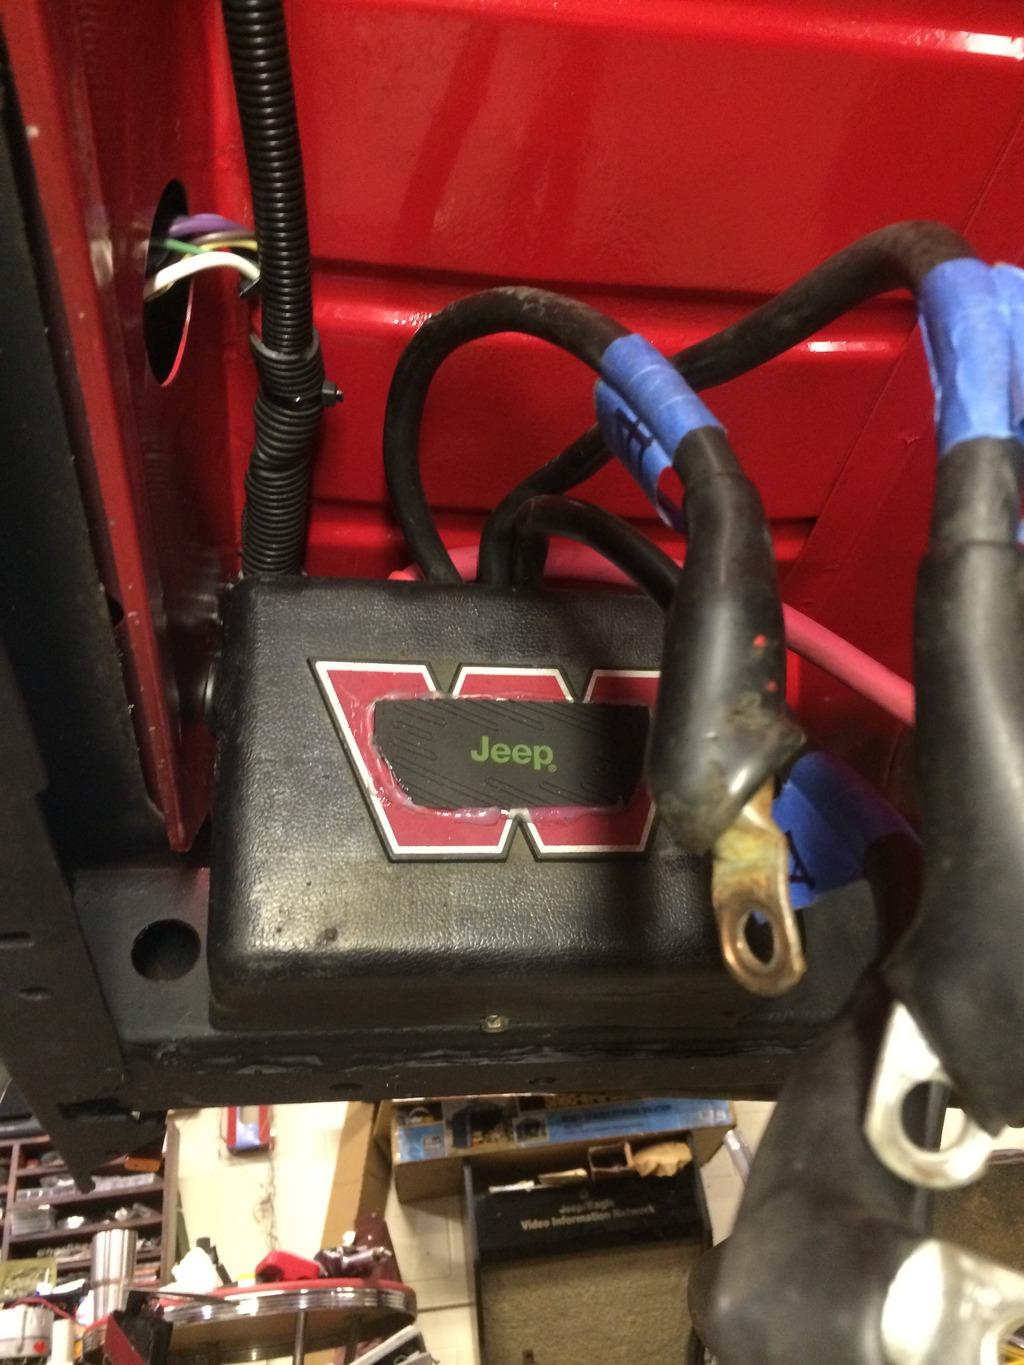
Also mounted the rear winch solenoid pack.

Grainger had the Quick cable fusion solder battery lug 2/0.

Waiting on ground cable 1/0 lugs. Then time to mount up rear winch bumper and install backup lights. :bacon:

Important on electric winches to ground to frame and straight to battery.

IMG_1544_zps327du9jk-1.jpg


IMG_1548_zpsyeroimsl-1.jpg
 
32x11.50 BFG KM2 Mud Terrains, can't remember, but I think on 7" rims:cheers:
 
Got the Tuffy boxes installed behind the seats.
Used angle iron that bolts to bottom and roll bar brace.
Box has to be jammed up tight to seat belt retractor for the bolts to fit in factory location.

POR 15 missing paint around roll bar. After wire wheel and metal ready application. No rust at all ! :bacon:

IMG_1568_zpse2pf5ozf-1.jpg


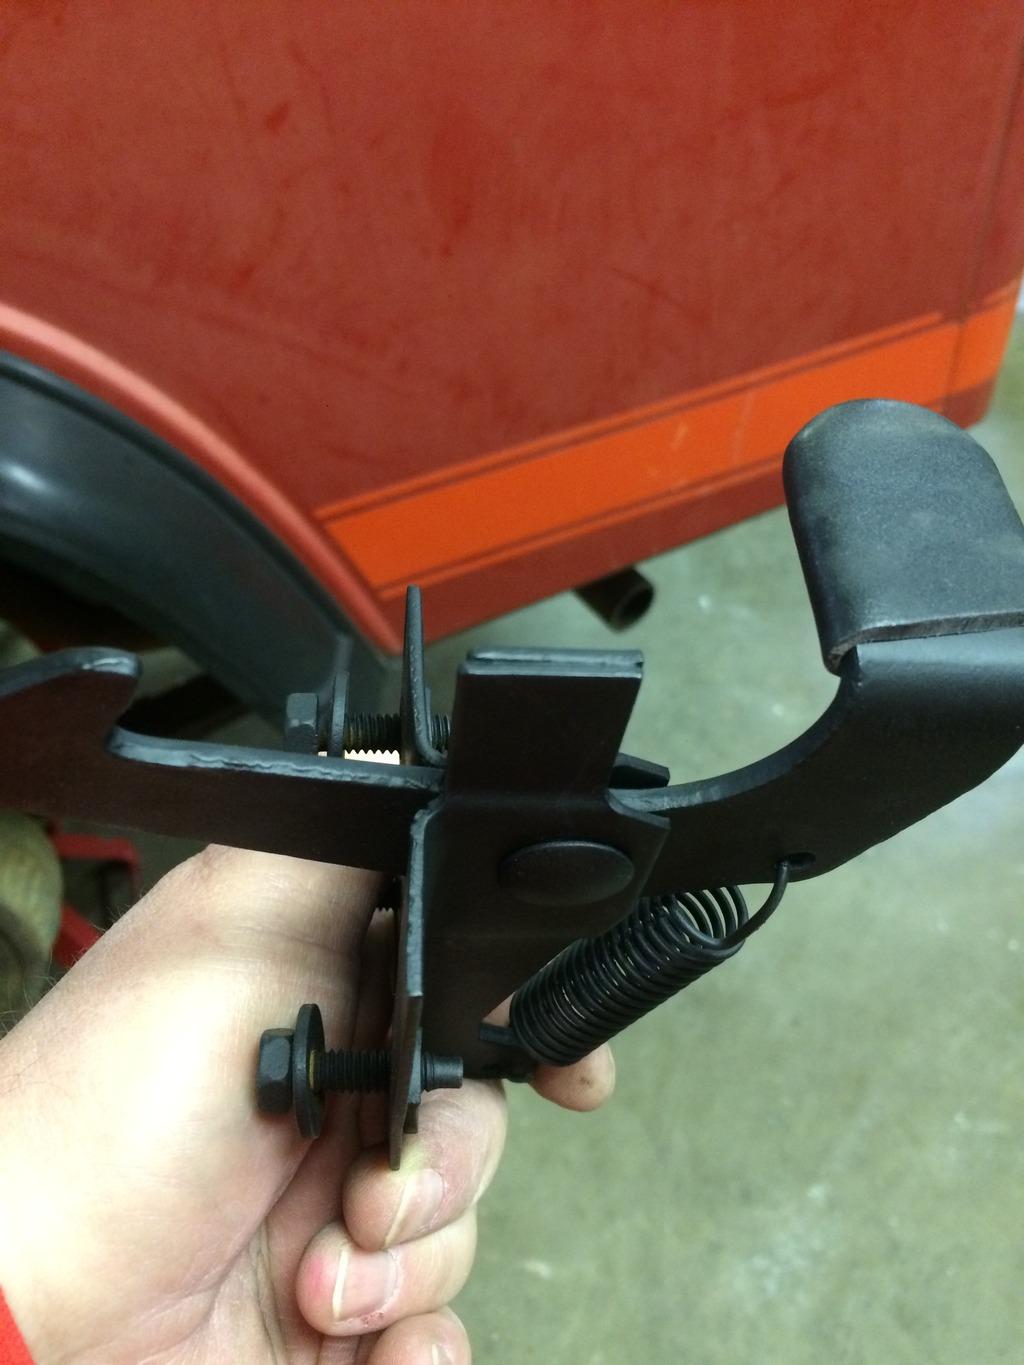
While thinking seats, I always like to add the rubber grommet found on seat sliders to the hood latch.
Easier to find by feel in dark and not as hot as bare steel.

IMG_1572_zpsmgtzhkfp-1.jpg


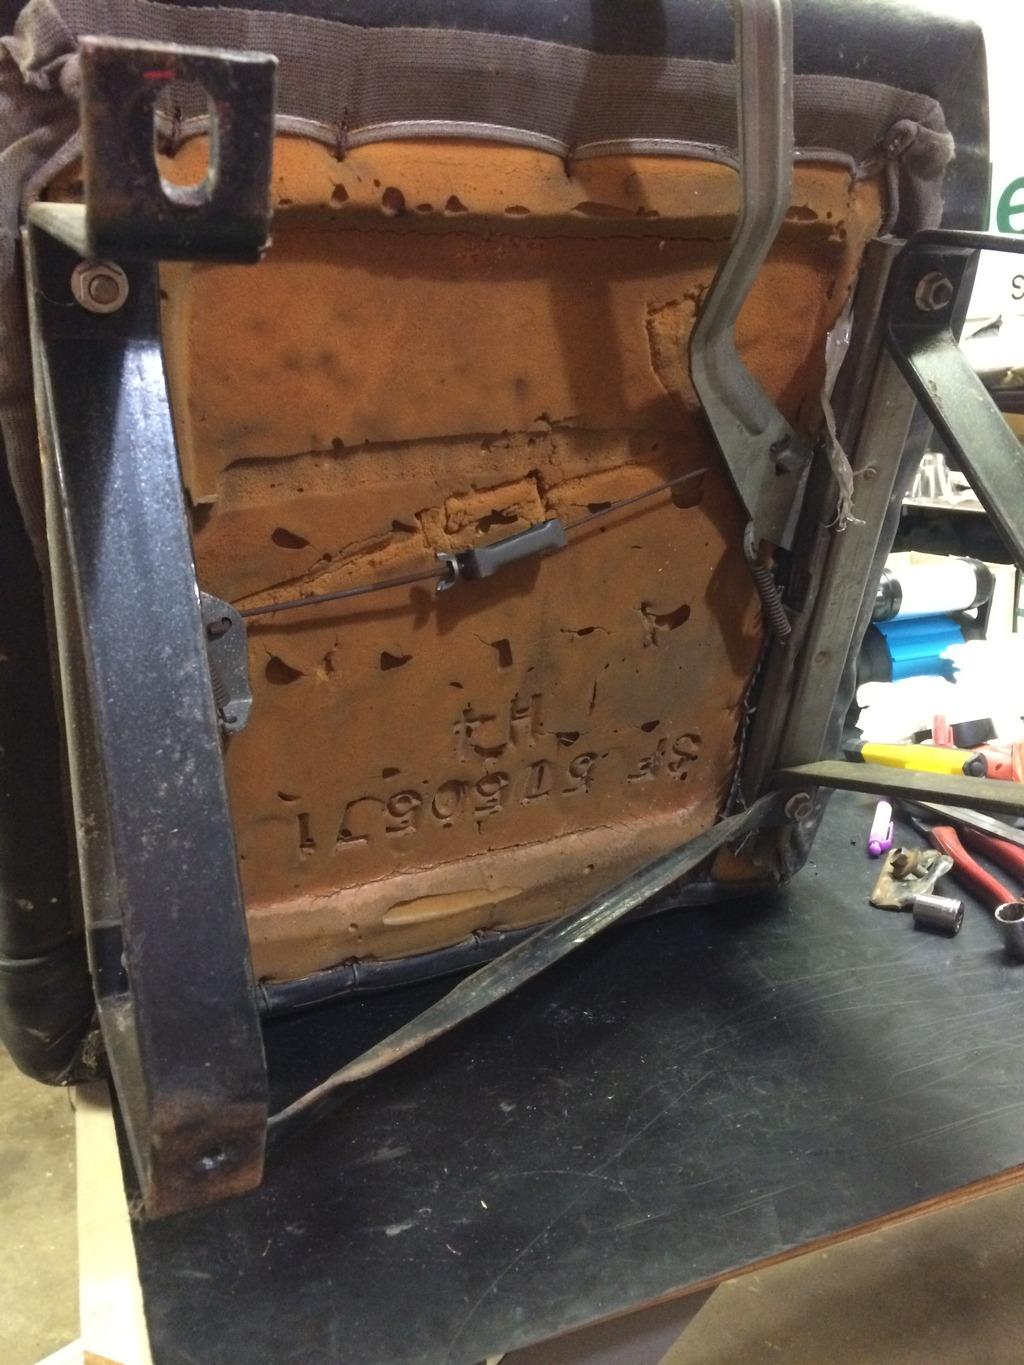
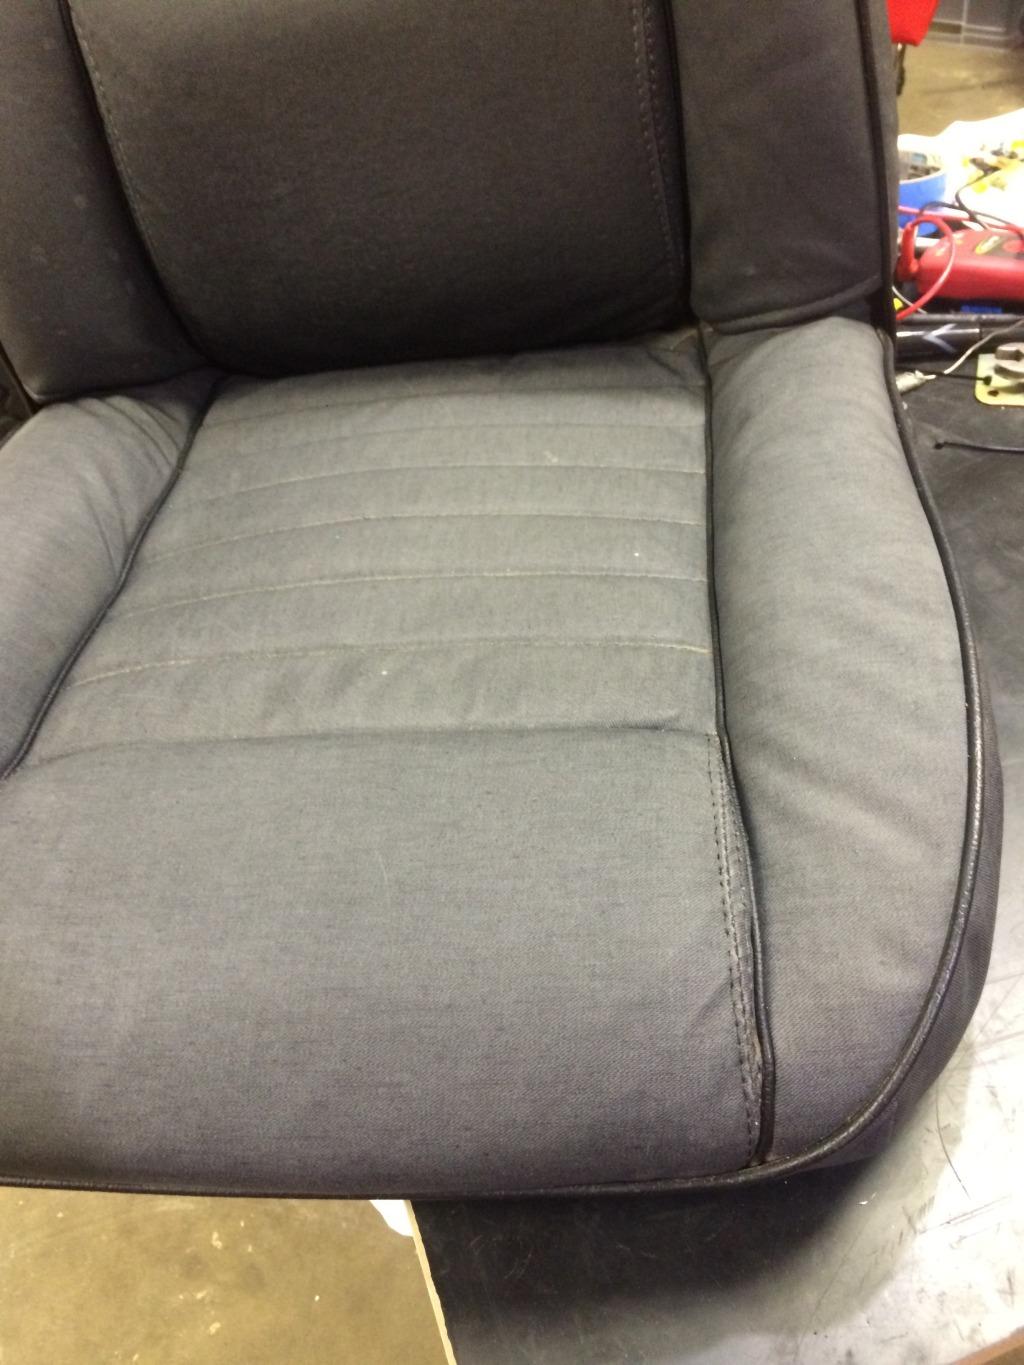
soaked seat base bolts for removal to install covers from 82 Oriental that are good. Hope those bolts come out without a fight.

IMG_1570_zpsqdli8dlr-1.jpg
 
Seat mounting bolts all came out.
Swapped out the bottom
IMG_1587_zpsfizzbgja-1.jpg


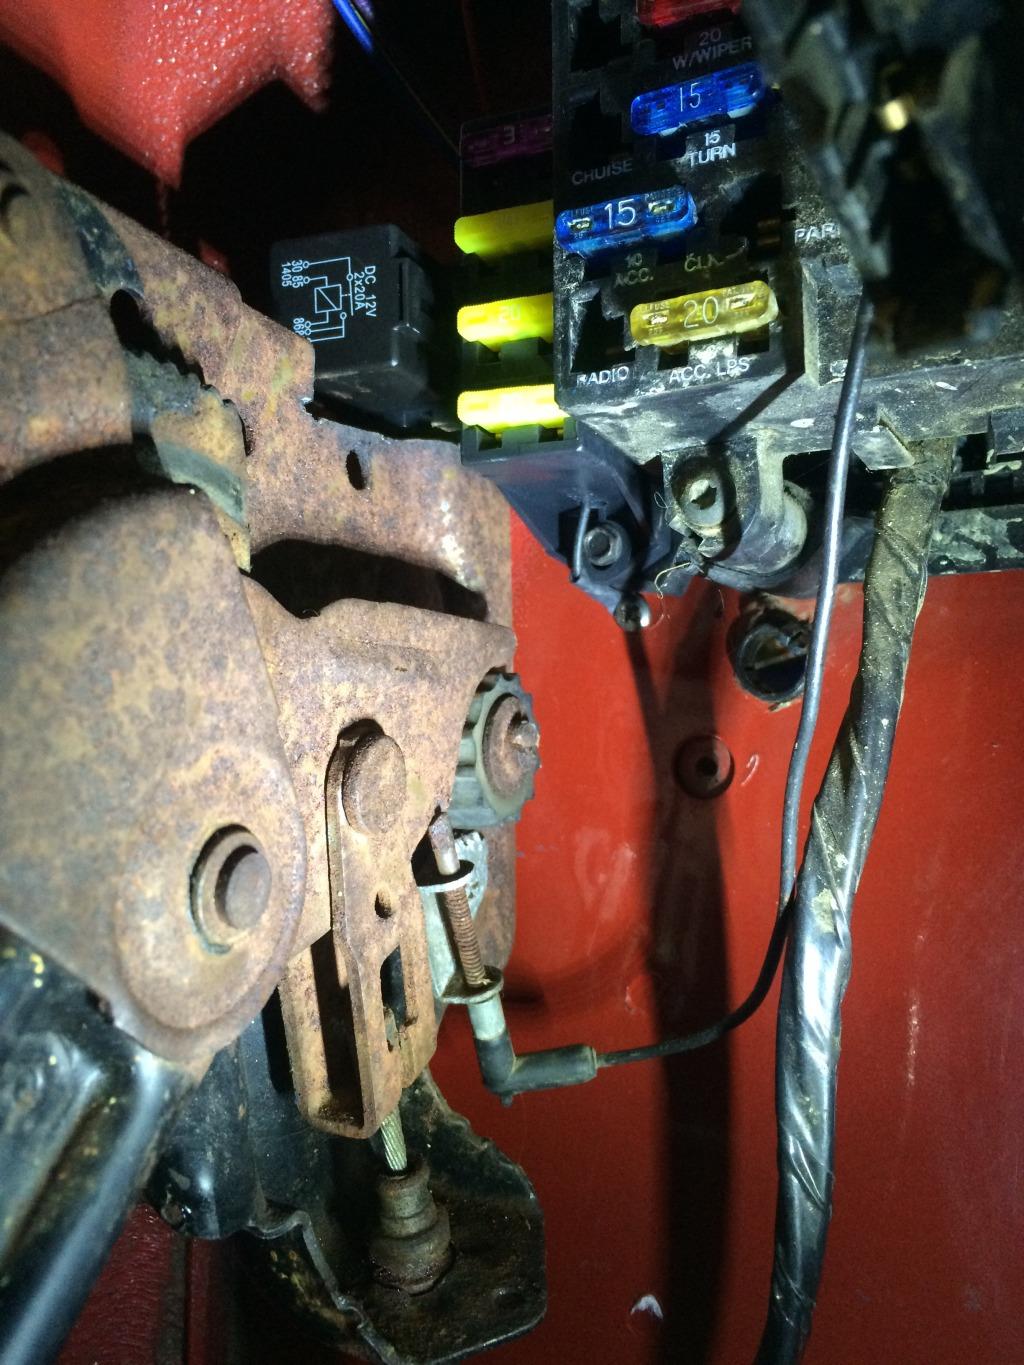
Got painless add on fuse block mounted & piggybacked.
Had to trim e-brake just a little.
IMG_1583_zps3olrdsol-1.jpg


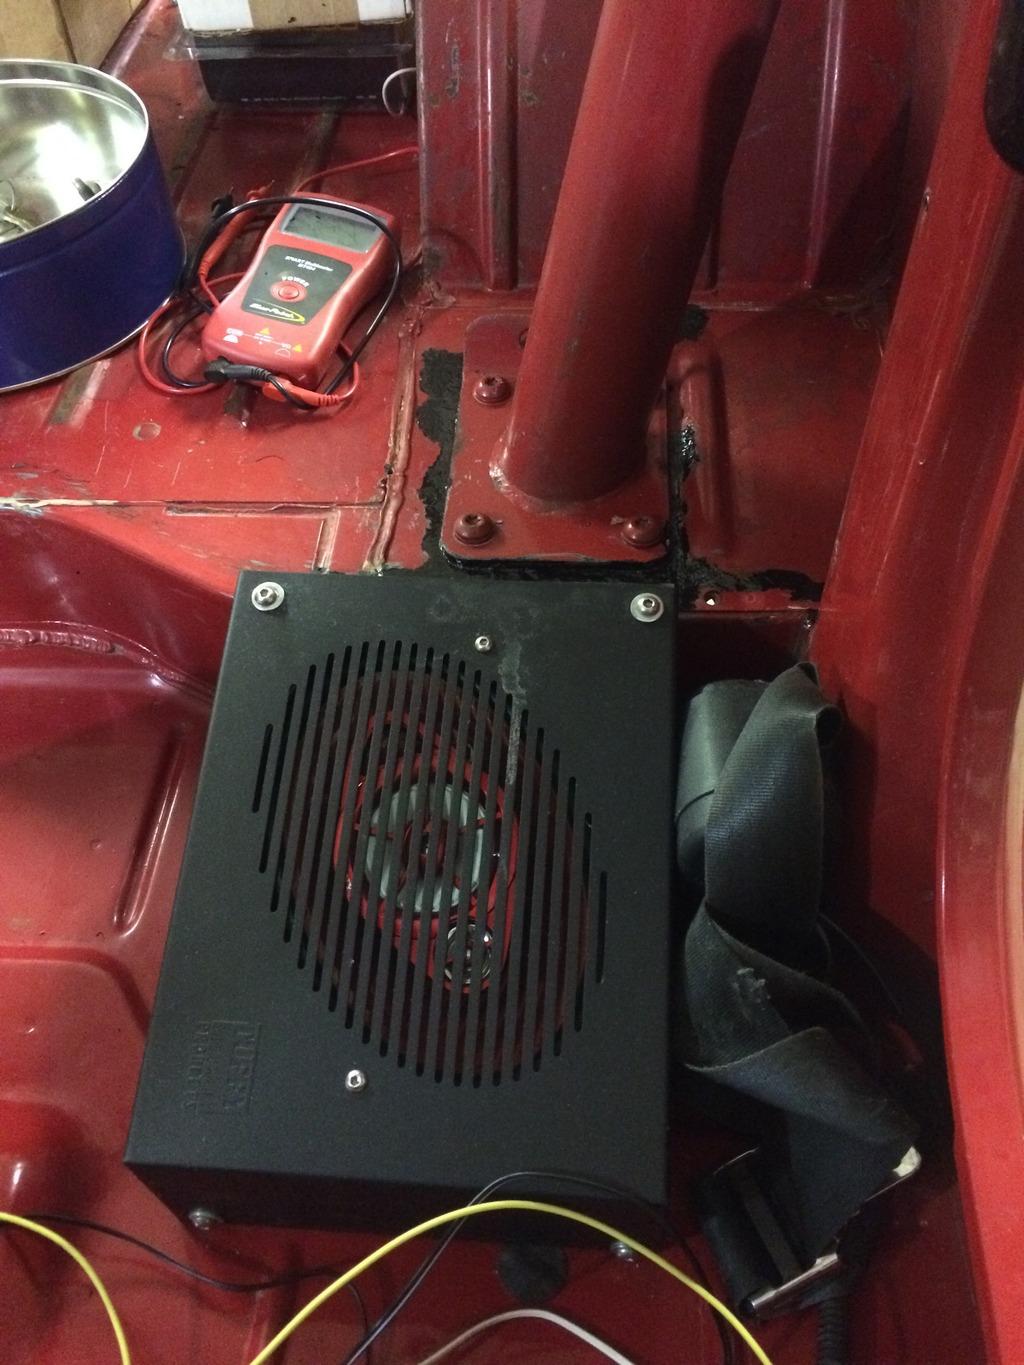
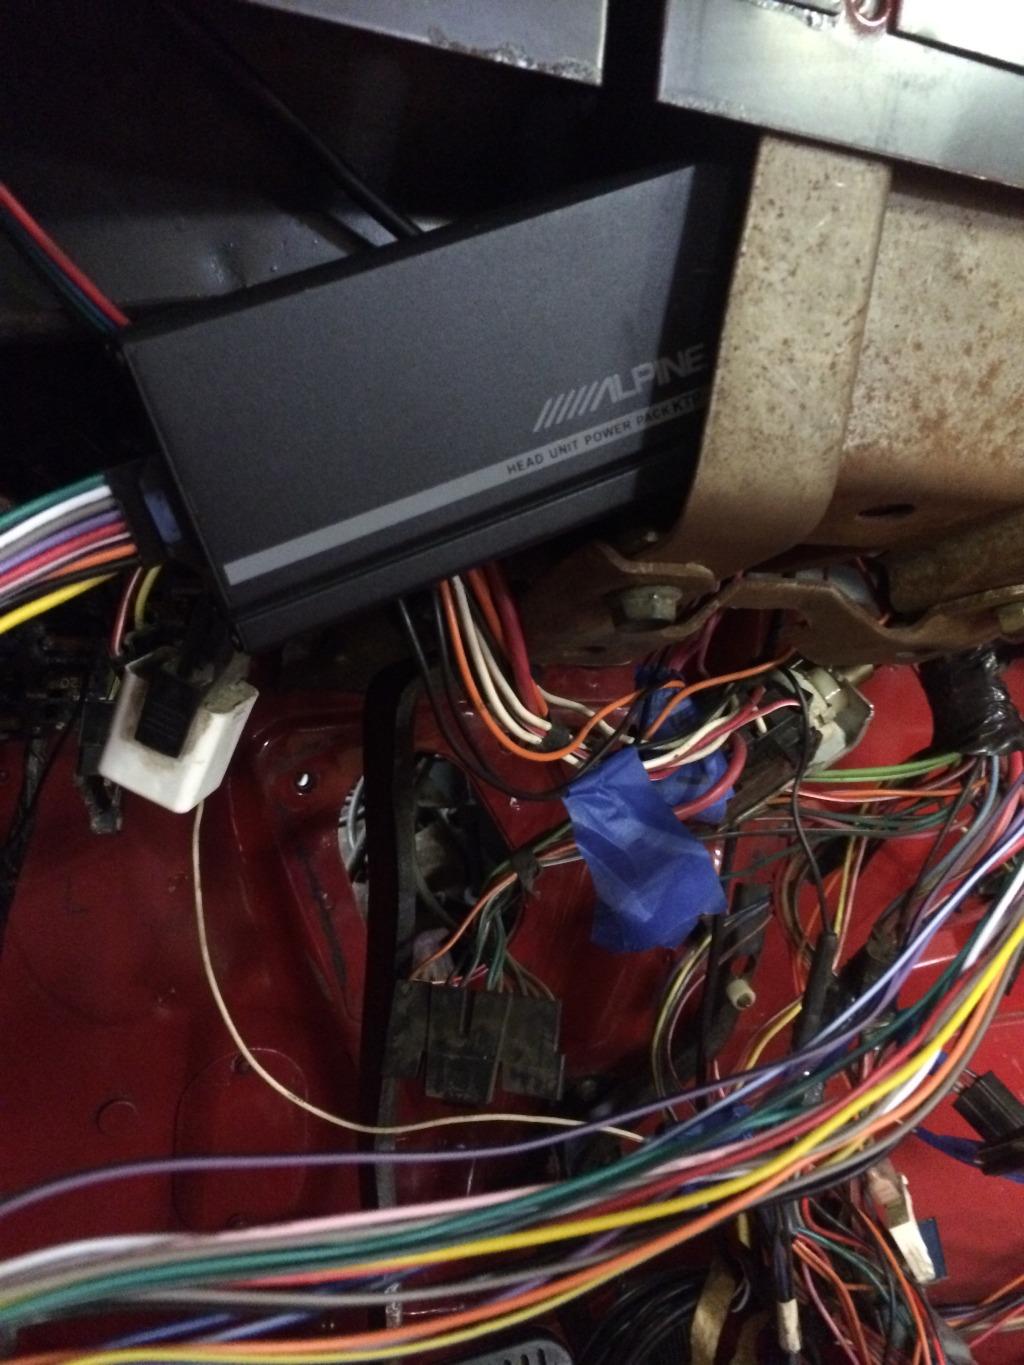
Found good place for Alpine amplifier.
Used some 1' wide adhesive back truck topper foam 3/8" thick and fits snug.

IMG_1584_zpsqr93xx96-1.jpg


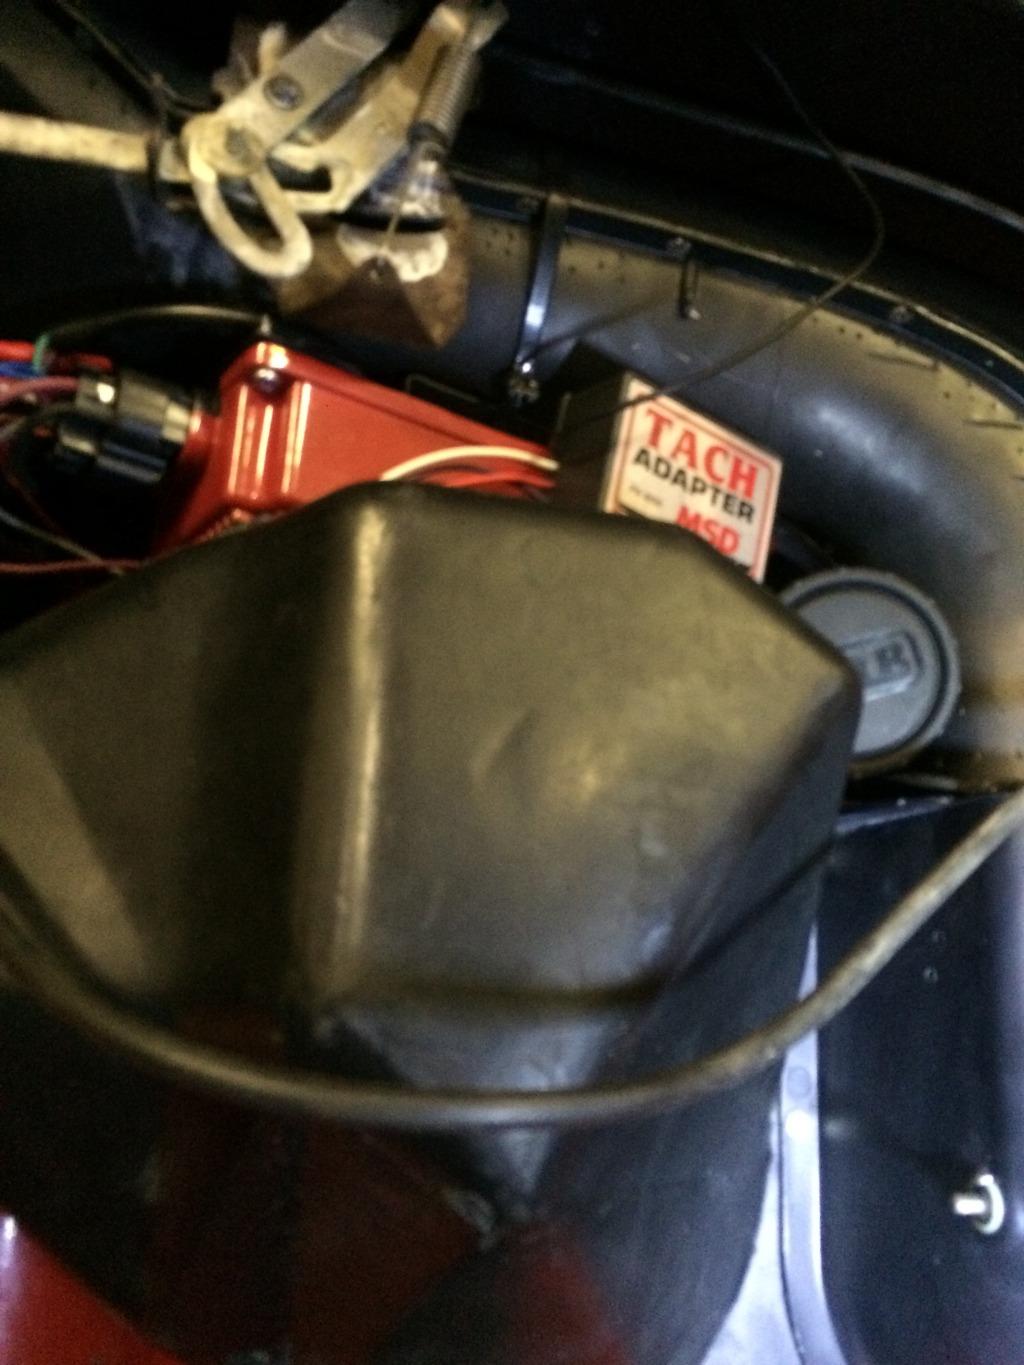
Tach adapter all wired up & installed, had to cut plastic mounting feet off and used Velcro to hold in place.
ARB air compressor intake routed to inside

IMG_1585_zps93vwxuoj-1.jpg


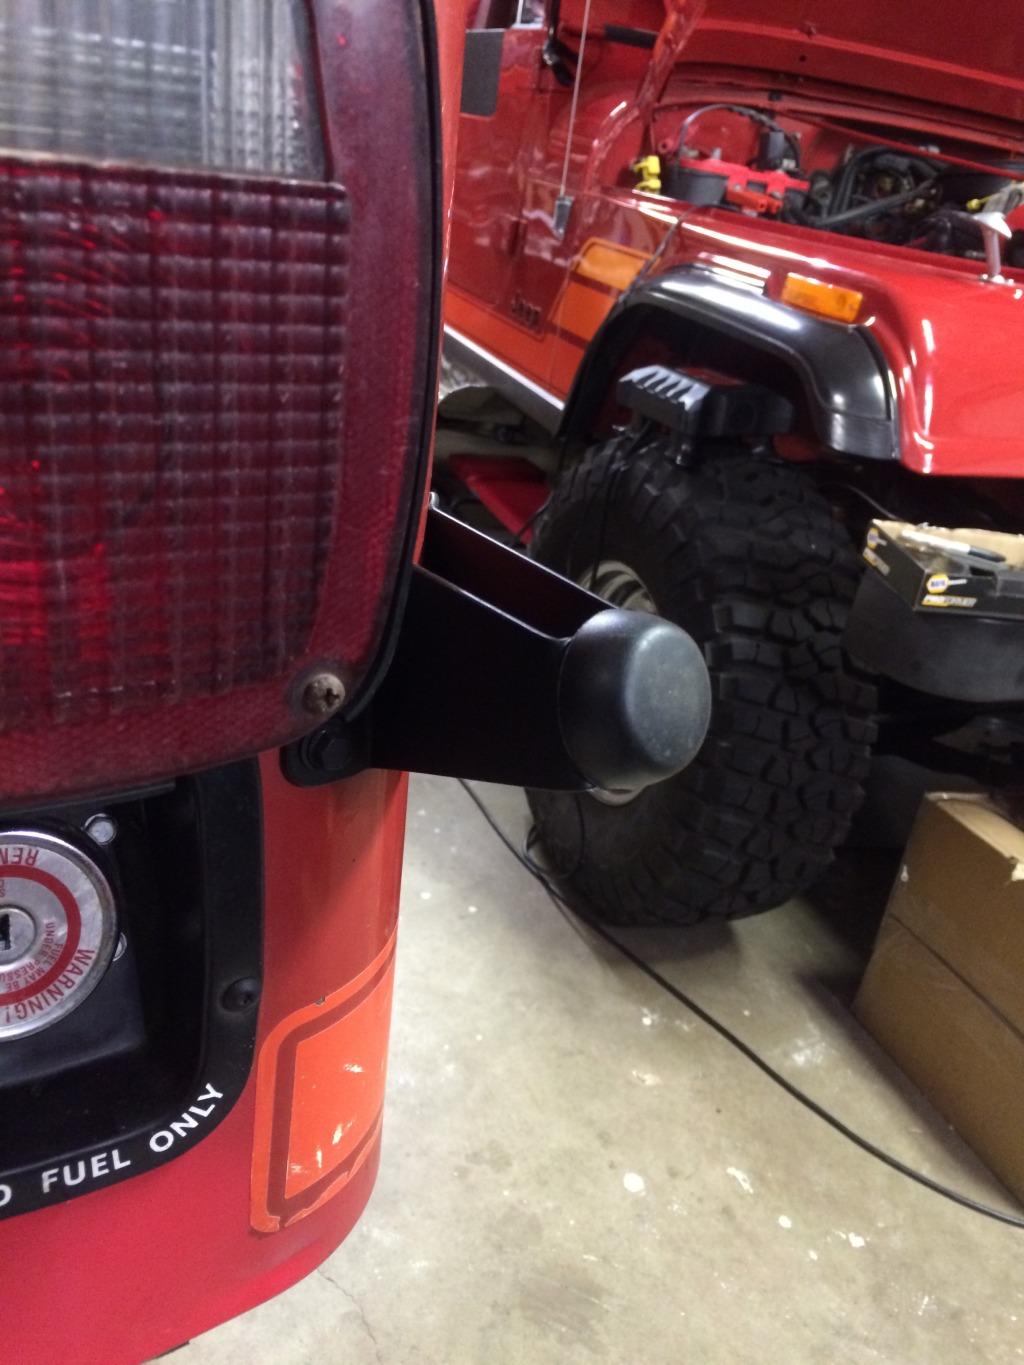
Raised the spare tire mount up on swing bracket 1.5"
With 33" tire it was hitting taillight.
Noticed the hood bumper on LJ and that works and looks perfect.

IMG_1586_zpsrajjwc0k-1.jpg


Still waiting on Quick Cable fusion lugs so I can get rear winch installed.

Next up.... LOTS more wiring, figuring out A/C lines, condenser and wiring for the YJ under dash evaporator.
 
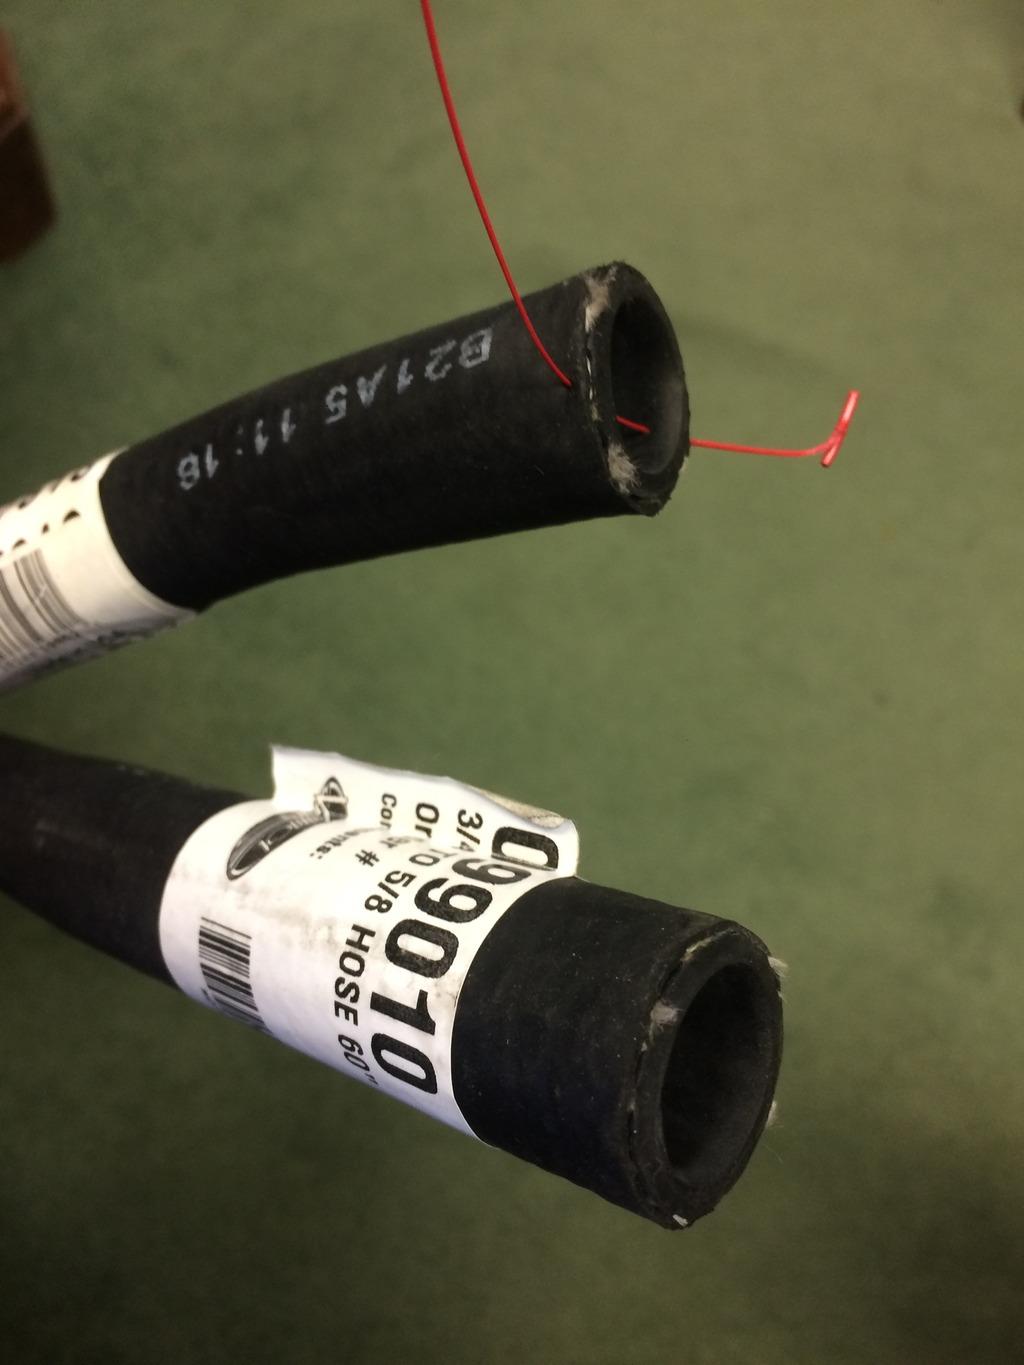
The Flowcooler water pump on AMC 360 has a 3/4" outlet. CJ heater core is 5/8".
I know NAPA has an adapter reducer.... but that causes you to cut hose and 2 chances for leak / blowout.
So... I asked few guys and everyone said just use the reducer.... but found a moulded hose with 3/4 on one end for few inches and rest is 5/8".

IMG_1608_zpsbzwffrgs-1.jpg


Quick Cable fusion lugs came in so can finally install rear winch.

IMG_1611_zpsvrue3uo2-1.jpg


IMG_1612_zps5nrdt3xs-1.jpg
 
Back
Top