• Notice for iPhone users: DO NOT use the image size reduction option when uploading photos to the forum. This causes portrait images to post as landscape. We have added a warning to the image insert pop-up as well.

My "new" dream Scrambler

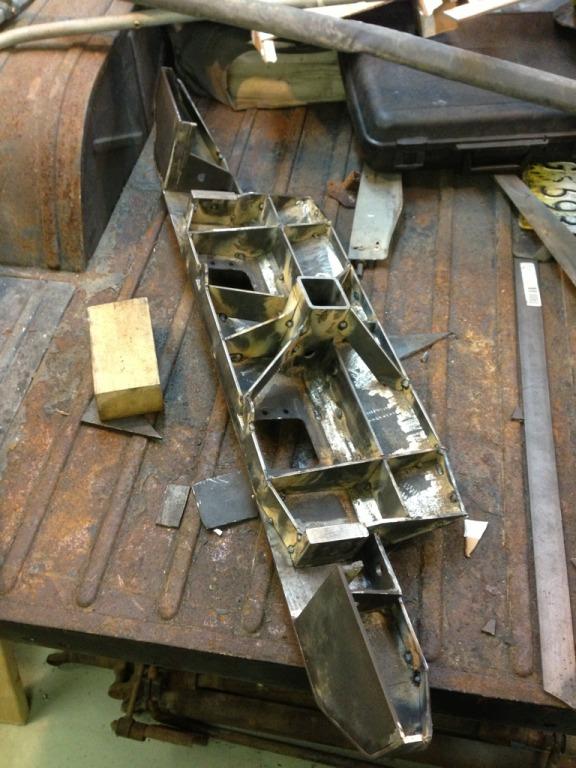
With my wife gone, I took her ZJ wheelin' yesterday instead welding, and then when we got back I got invited to a dinner, so this only represents about 5.5 hours of work today.
162AFD38C3F142AA8A6E35EC1956429D17644000-1.jpg

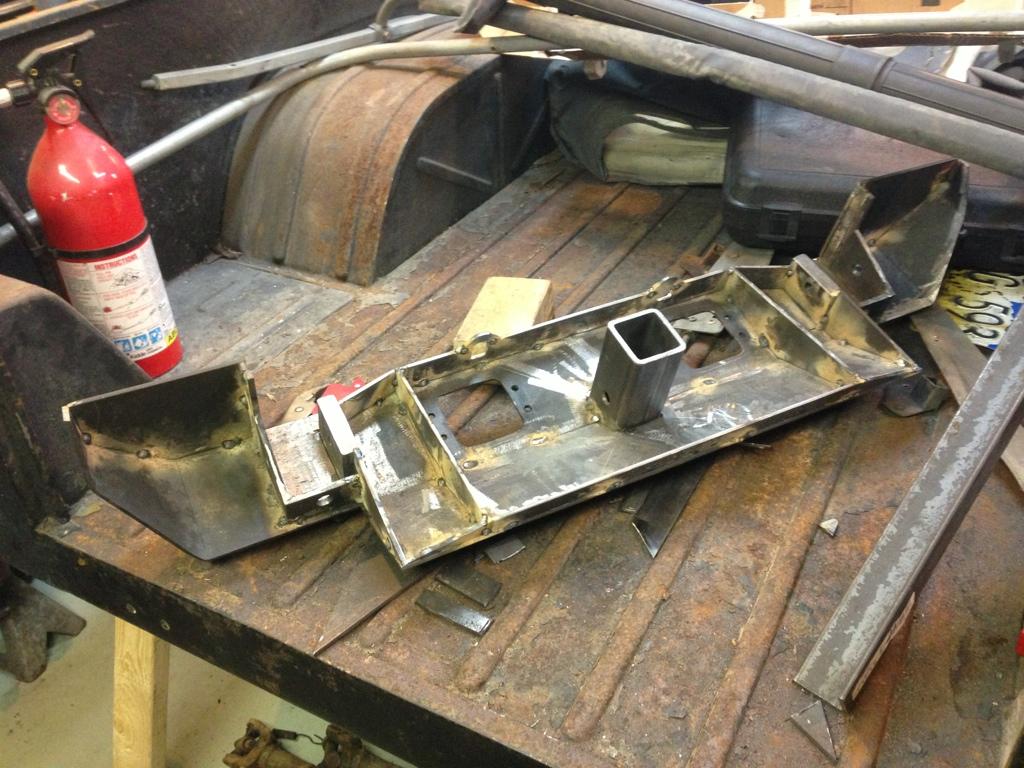
Structure is more than 50% finished. Still need to cut some gussets for the receiver and run another rib more-or-less in the middle.

6CC56B013E7C42F99085459F7EED493117644000-1.jpg

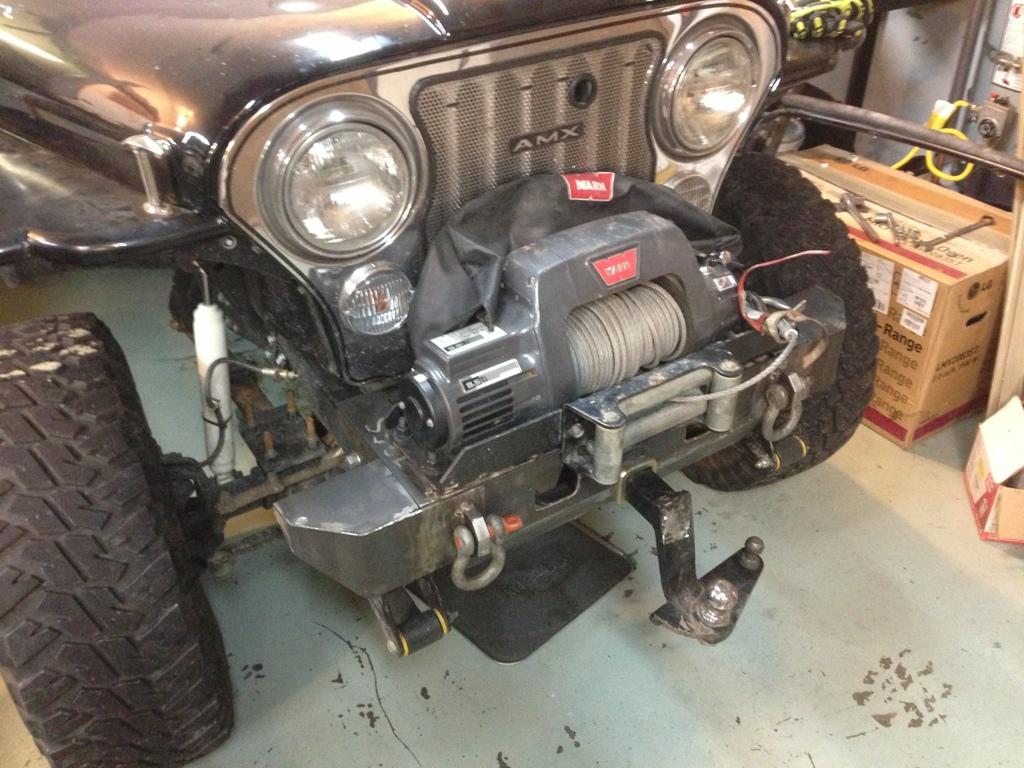
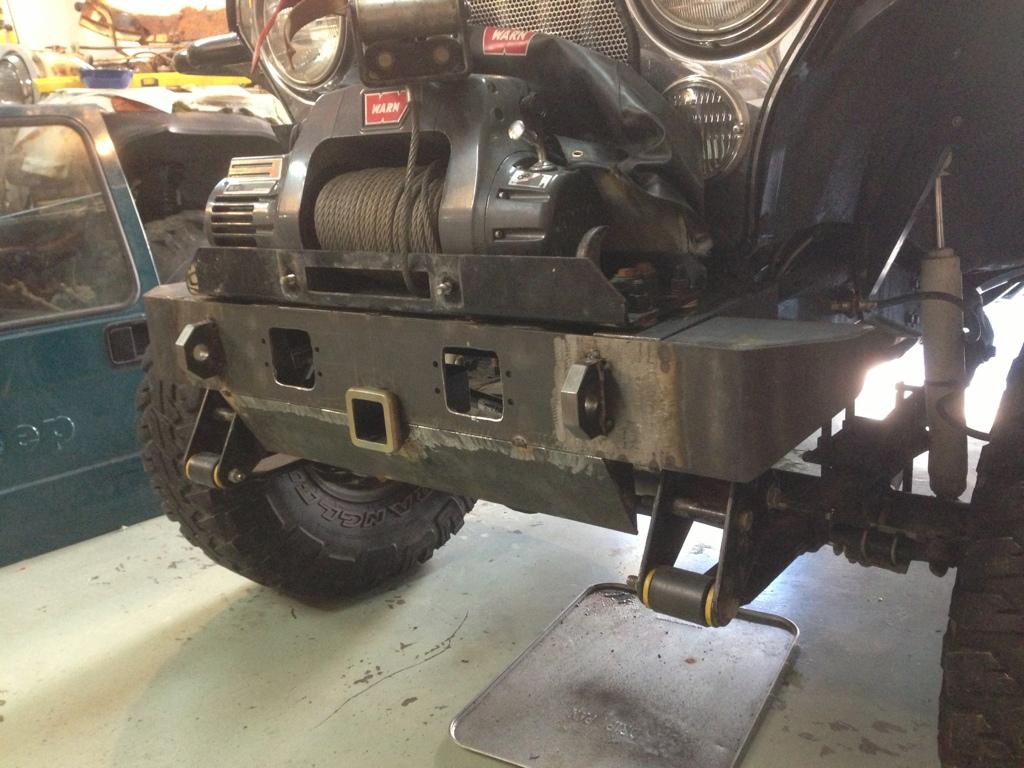
What it looks like with the caps. The rest of the work will all be on the back side.
 
I was wondering what you were going to do with the "wings". Looks good.
 
7B804A144F904A3D9C84D0A9C9F63A8021942000-1.jpg

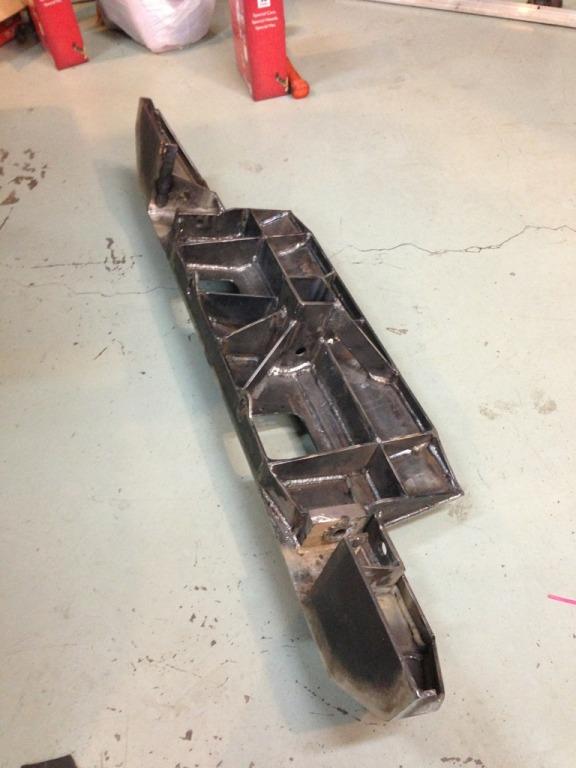
Structure finished. Tomorrow I'll hand it off to a buddy currently finishing a welding class who has access to expensive welding tools to burn everything in.


E982A725C67E41E5866EB01D28CBB94121942000-1.jpg
 
I like it. Looks good and sturdy> :thumbsup: :wave:
 
My buddy had the bumper for nearly two weeks burning everything in. It turns out that the Lincoln flux-core that I bought from Home Depot has a high nickel content, and isn't compatible with 90% of the "other" wires out there. He literally spent hours upon hours tacking, grinding out my flux tacks (he said I got good penetration), and re-welding with conventional wire.

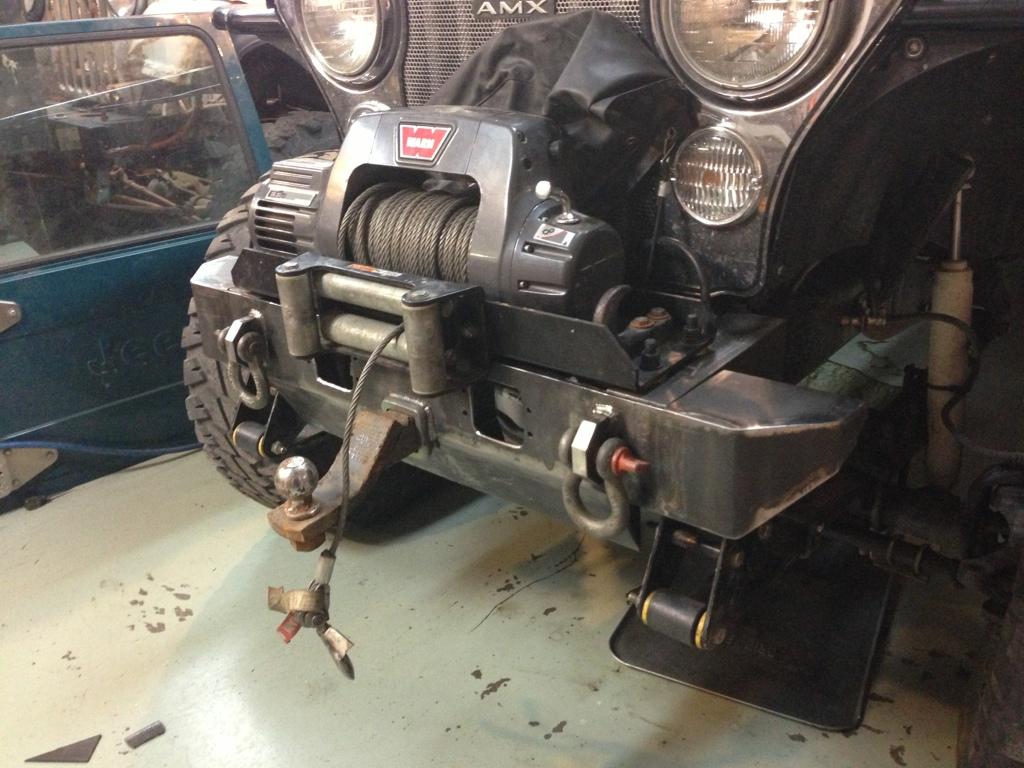
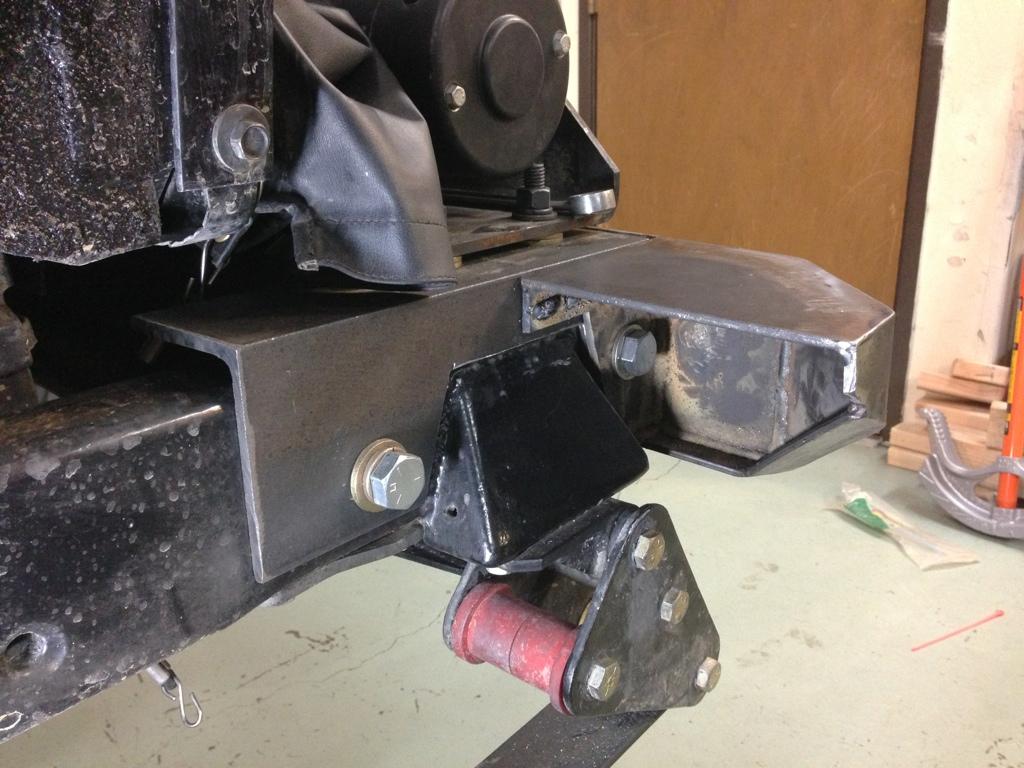
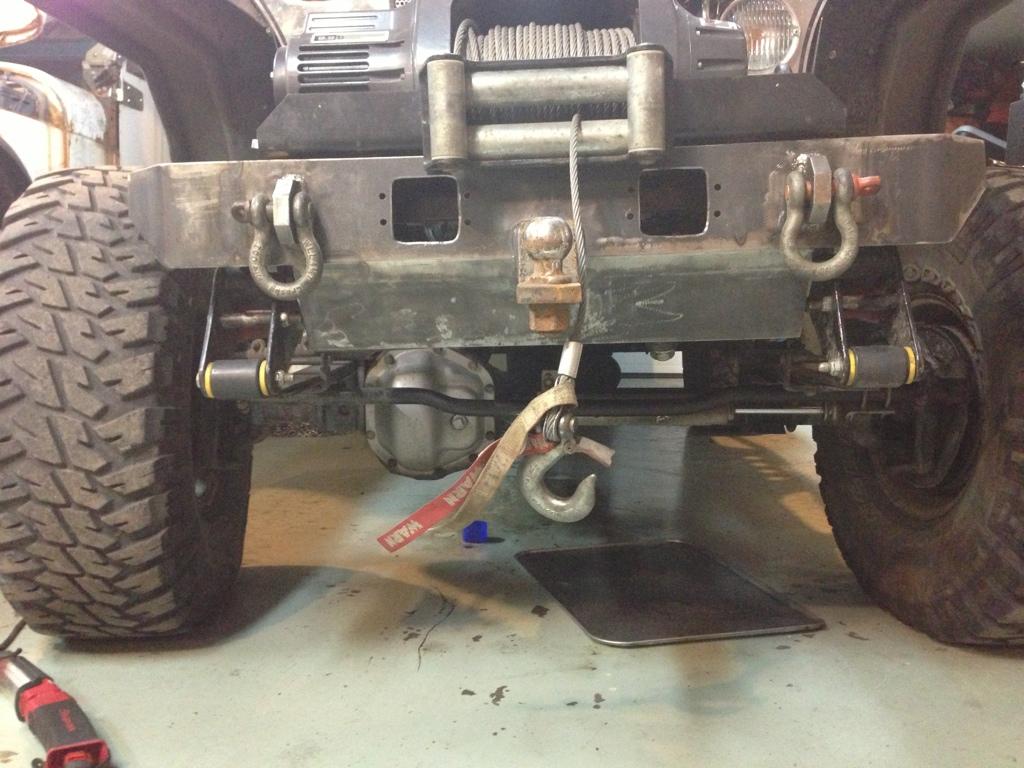
When he brought it over, we both expected to toss it on and sit back with a beer to admire our collective work. It also turned out that I designed and tacked it together with tolerances that were too tight, and the heat from fully welding everything tweaked it slightly. After a couple hours with a die grinder, we called it a night. I bought some of my own expensive bits the next weekend and took down the 1/4" L-brackets on the inside edge of both sides by about 1/16" and eventually it slid on. I also found one set of welds that he missed, and needed to tack on some washers to serve as spacers on the inside of the shackle-tabs. Here's what it looks like:

2A2077A5C43241FDBB6B67273D99DC4792380000-1.jpg

C9B82DDA788548CA9DB8507F14036D9292380000-1.jpg

399A2873143F4286A081A3757BB4C2CF92380000-1.jpg

3A9C5C7C33F04E4EB1F590B25FA685B592380000-1.jpg

B4CB74136AFE4B1598B95B3E5982C06192380000-1.jpg

55A98F75A7F549FBB06866B0263479D292380000-1.jpg


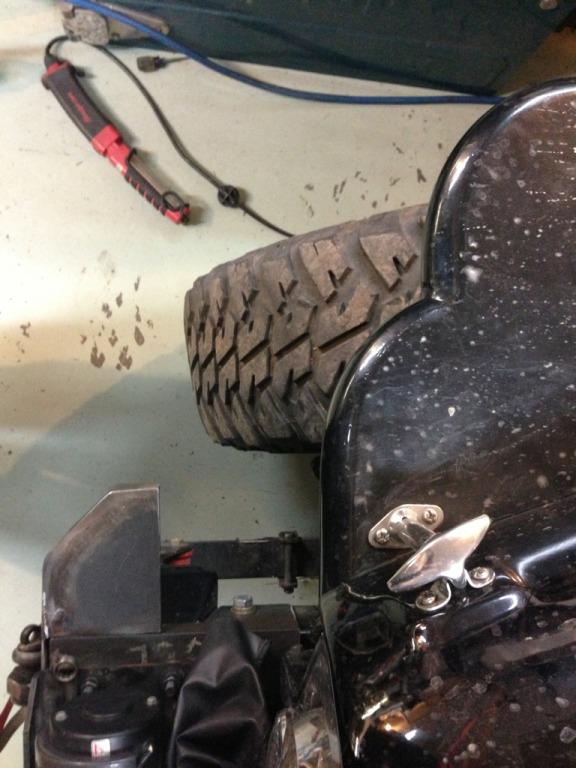
No worries with tire clearance, and I really like how it protects the front of the steering gear box. I feel like most other aftermarket CJ bumpers leave it exposed. There are steering gear box skidplates for the TJ, but not for the CJ. I've never liked seeing them exposed to potential impacts.
 
I like it! Looks great! Those corners are a lot further away than I initially thought.
 
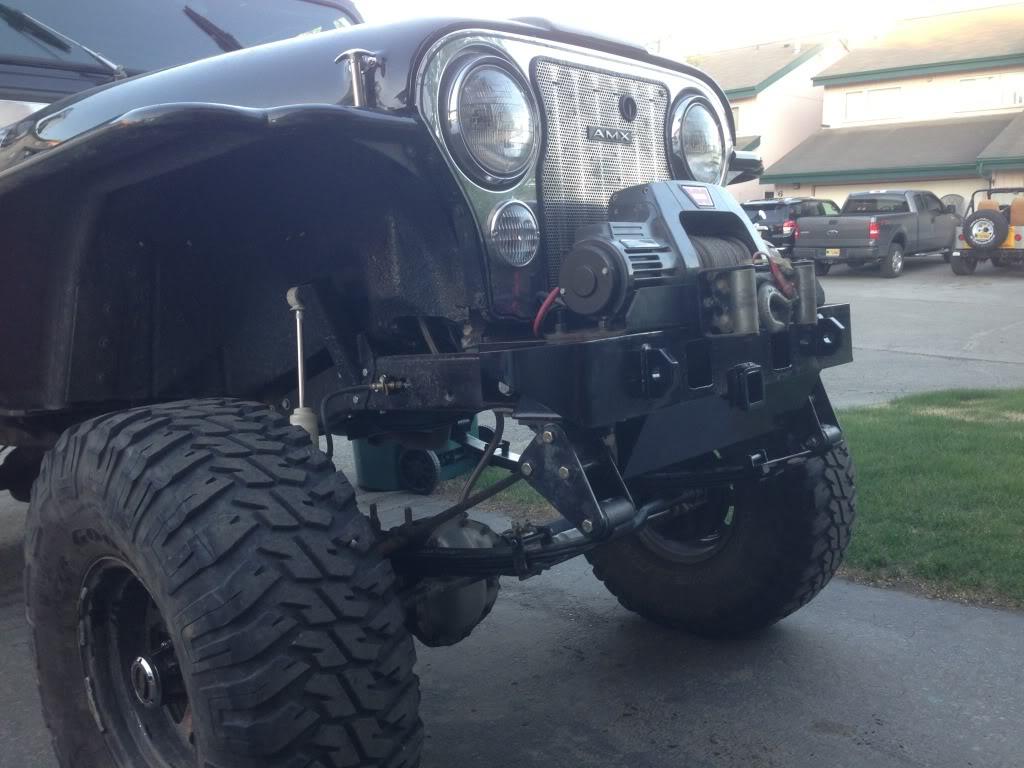
A friend came over tonight and we banged out a lot of work in three hours. Got the old springs out, pulled a leaf from each, opened up the hole for a larger pin, put each leaf into each new RE pack, opened up corresponding holes for the larger pins in the perches and plates, installed the new packs, and did final installation of the bumper (which I picked up from powder coating today).

96CCF57EED79453E9C7E38D77135B55C35370000-1.jpg

9719C57D6F664F1B9BCA54A6DE7CC29D35370000-1.jpg

398ADAD4E52549948E0D4D64038BD5B235370000-1.jpg


It settled very slightly just driving around the neighborhood, but it still has a noticeable rake. My plan is to use the other three leaves from each former front pack and insert them into the rear, but I think I may need a new set of rear springs too. Either way, I'll be able to use it at our annual Meet & Greet this weekend!
 
What did you open up the holes in the leafs with? I tried that to fit new spring friction pads with larger pegs and destroyed a number of bits without making a dent.
 
I think I used a uni-bit when I had to open up a set of springs to add in some shims for the Tom Woods driveshaft I put in a CJ7 I was working on.

cb
 
What did you open up the holes in the leafs with? I tried that to fit new spring friction pads with larger pegs and destroyed a number of bits without making a dent.

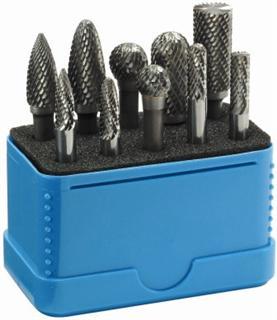
Carbide die-grinder bit. (And a die-grinder.) Like these:
ALP77600-1.jpg
 
I hope you kept the WBCN and Rusty Jones sticker in the glove box. There is no more WBCN so that is a true collectors item. My brothers CJ-8 had the Rusty Jones package.
 
I hope you kept the WBCN and Rusty Jones sticker in the glove box. There is no more WBCN so that is a true collectors item. My brothers CJ-8 had the Rusty Jones package.

I have. WBCN got me through college! The stickers are my final reminder of where this project truly started: fall semester of my senior year, and turning wrenches behind my fraternity brownstone in the Back Bay. The back of the glovebox also still has the original sherwood green from the CJ-7 Renegade it came from. A prior owner put the 'BCN sticker on, and I honestly don't know anything about the undercoating package other than I think it was a waste of money given the amount of rust I bought in 1997. The OEM parts that still remain from that Jeep are: glovebox door and catch, hood, inner fenders, speedo, voltage gauge, wiring harness, passenger seat frame, right-side fuel filler neck, wiper motor, heater/air boxes, the little crossmember under the engine, headlight buckets and rings, hood release latch, door striker pins, and the guts of both full hard doors. I've got pictures of how it was in college that I can probably dig up somewhere.
 
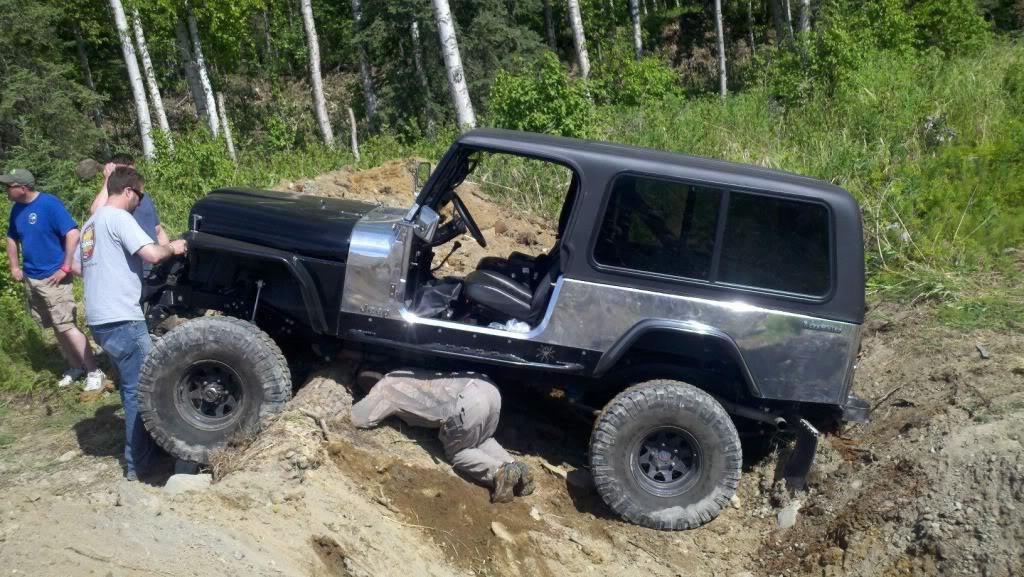
Went out to the Alaska 4x4 Meet & Greet at the Museum of Alaska Transportation and Industry. Started the course taking the semi-hard to hard route. Ran the first "obstacle" without issue. Wasn't sure about this one, but decided if I got hung up, I'd just back out:
B83EE27D820D449A9E535719B66B127830900000-1.jpg


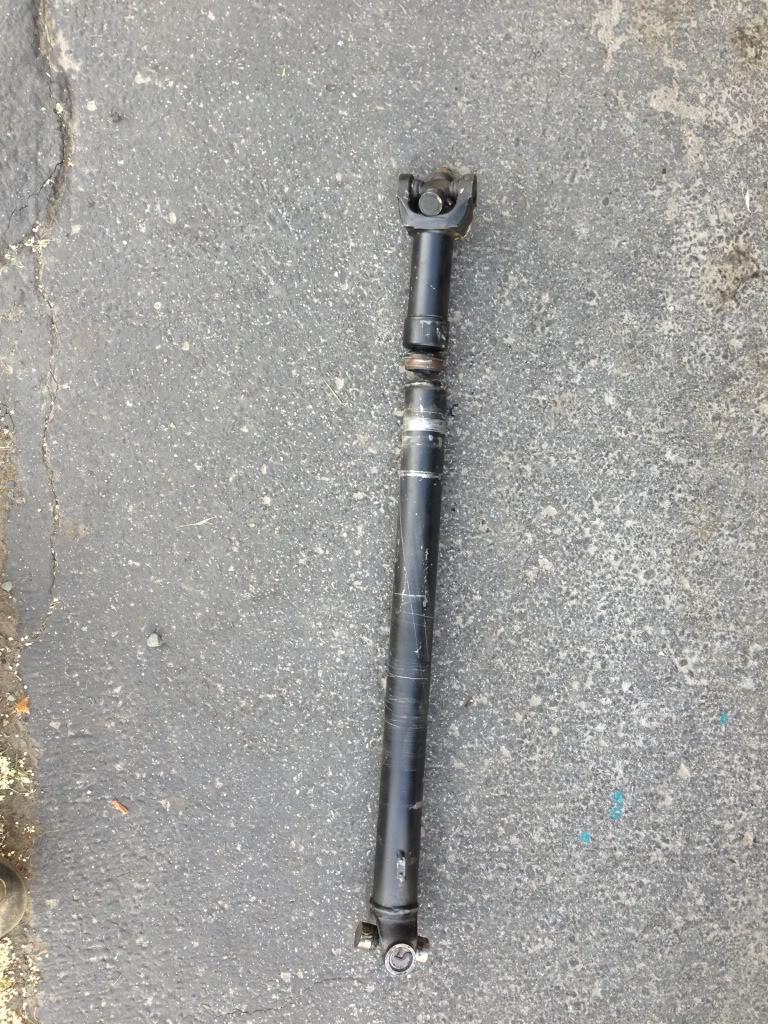
I wasn't even hard on the throttle or anything. Very slowly dropped the the tires, and when I saw all four tires turning, I promptly put it into reverse to back up, and heard a light "tink." Not a loud, horrific, OMG something broke sound, just a light, "tink." And I saw this:
87294EE7BFC546D18DA19FCB7C87ABEB30900000-1.jpg


It popped clean. I had several experienced/certified welders come over to look at it and offer to weld it up on sight. They said the shop who made the shaft up for me had zero penetration 90% around where the slipjoint part welds to the tube. It still fits tight, but they just didn't get it welded! GRRRRR!
613CC255C9124DE5A6A687C167793F5030900000-1.jpg
 
Back
Top