• Notice for iPhone users: DO NOT use the image size reduction option when uploading photos to the forum. This causes portrait images to post as landscape. We have added a warning to the image insert pop-up as well.

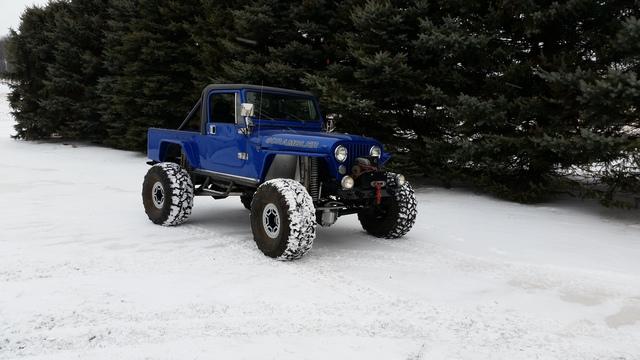
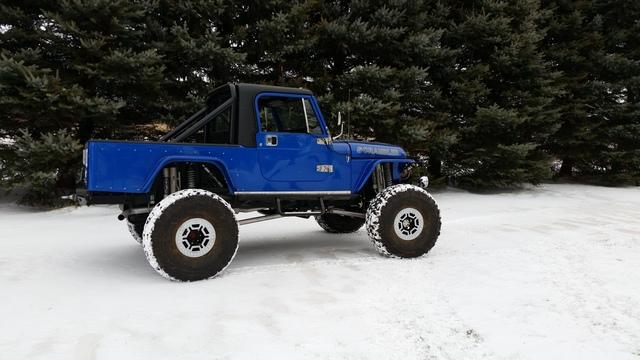
My old 1981 SCRAMBLER returns 25 years later

These are the valve covers, they are from summit
http://www.summitracing.com/parts/cal-196192
They work............not bad for the price. the biggest problem is the gasket won't "stick" in the groove on the cover. So I had to glue my reusable gaskets with silicone to be able to install them.

I did get the Jeep out today and did a test run in the little snow we have. It seemed to run good, has more HP, and felt great too have it out again.

No action shots of the 4WD power slides or 60 mph corn field runs, but here's some poser shots.
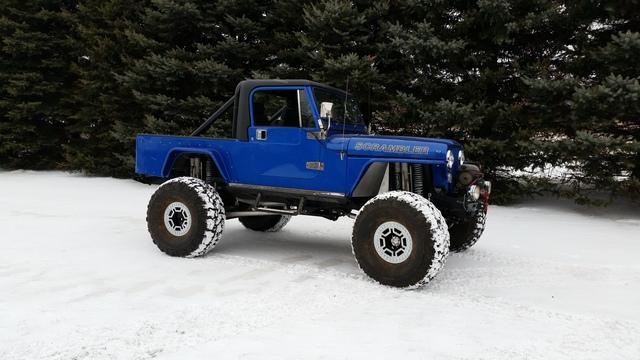


I do have a oil leak on the back of the engine somewhere. I dried it all off and ran it in the shop again......no leak. I guess I'll have to take it out again.
 
Not a exciting update, but I did figure out the oil leak. I pulled the intake back off, the Silicone was bad on the rear off it. I should have known. The Silicone that came with the intake gasket set was grey and the consistency was not normal. I debated on using it or not, should have pitched it in the trash. It didn't cure like it should, kinda like slimy clay. luckily it was a easy fix. :thumbsup:
 
Last night I finished running the in cab winch wiring. I put in a somewhat protected toggle for on and off, a taller toggle for in and out, and a bright LED for a indicator light.


Since I was done with the motor and wiring I remounted the holley computer, and put the "gloce box" cover back on.


And.........put the red LED's behind it :rolleyes:
 
Had a few minutes today, so I installed the real spacers under the A/C compressor. Which got rid of the three pipe spacers that were there and added the 4th bolt over the valve cover.

 
That is as clean as I've seen. love the notch bracket. :thumbsup: :wave:
 
My A.D.D. is flaring up again............:huh:

Put a new brake shaft retainer plate in my 8274, my had shape to it. I didn't realize it was supposed to be flat until it was back together. so I order one and replaced it it.


Also picked up a 300w light bar just in case it gets dark

Did a test fit.

Made some stainless brackets to mount it

Hooked the booster pack to it, just for fun


Started putting the JB conversions HD front out in the tcase


Started on the in cab cage


Haven't had much shop time, but I did get a little more done on the cage.

top bars are in, dash "sandwich" brackets are in.


Still need to put in the grab handles and a gusset on the rear side corner.


Since I can't put any "X" bracing in the back and still have kids climb through. I'm trying to gusset as much as I can in the corners.
 
Nothing to exciting...............:popcorn:

got most of the cage welded


And then this...............:huh:


and no spare roll :banghead:
 
I've got a spare, I'll be right there. wait.....I'm 7 hours away....dang! Wish I was a little closer. Be there around May 27. Come on April first! :wave:
 
Cage is bolted in :woot:

There was warping that went on when I welded it..............it took 4 ratchet straps to get it reinstalled. :confused:
The worst 2 bolts were the body bolts that go up from the bottom. through the body mount and into the bottom of the b-piller hoop. :banghead:


This is were the original seat belts bolted to the roll bar. I made a insert the new cage and a steel spacer so the two can be bolted together. It should work with the kid cage too. The other benefit is when the half cab is on the new spacers will fill the grommets where the seat belts used to bolt.


Now I have to make the bars to go behind the dash to tie the front hope through the floor to the frame.
 
2nd update in one day.................it was a good shop day :headbang:

made up the "behind the dash" tubes.

If you plan to do cage this way make sure there is no one around that doesn't like bad language. I'm not one to use much...........but fitting these and taking them in and out I used a lot of it. Notice the grooves in the fiberglass floor. :eek:


The tubes


Passenger side


Drivers side


Next is the frame tie in's
 
Looking good. I would consider a couple layers of masking tape to protect all those purdy exterior finishes.
 
Looking good. I would consider a couple layers of masking tape to protect all those purdy exterior finishes.

I have to admit, I'm not as consistent as I used to be with masking tape as I used to be. :shrug: (and I've been very lucky)

Right now the Jeep is cover in shop dust on the outside, and the inside is full of steel shavings and fiberglass dust from drilling and die grinding. I don't dare touch, lean on, or rub anything :banghead:

On another note...............I wonder if I can put a couple layers of masking tape on the whole exterior to protect it when I go to Windrock in May :headbang:
 
Back
Top