

You are using an out of date browser. It may not display this or other websites correctly.
You should upgrade or use an alternative browser.
You should upgrade or use an alternative browser.
Project "AZZ DRAGGER"
- Thread starter Bad Karma
- Start date



- City
- Cobourg, Ontario, Cana
- State
- da
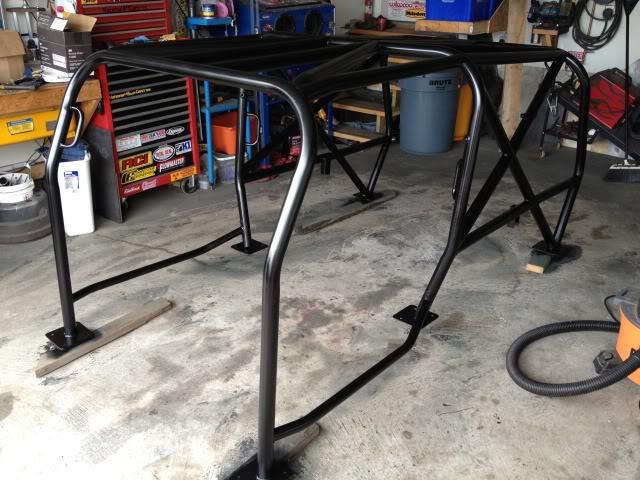
Been busy adding to the roll cage. Originally I was just going to add enough tubing to allow me to mount 3 point seat belts in the back. Since I borrowed my buddies notcher, I thought, what the hell, might as well finish the cage.
added the diagonal for the upper seat belt mount.
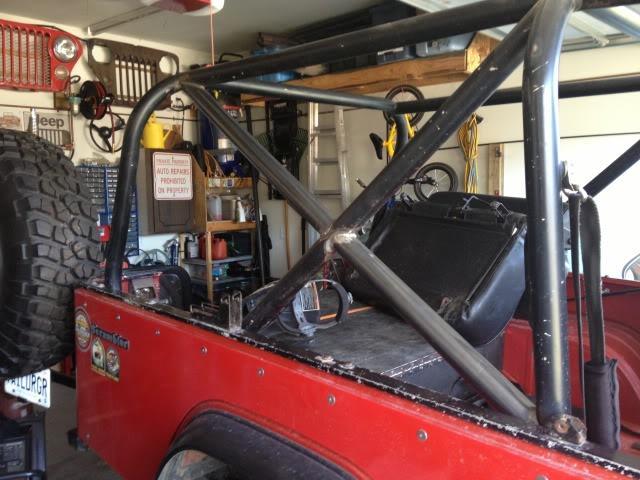
also added horizontals under the side Xs for lower seat belt mounts and to strengthen the cage. The back hoop has a bend in it that if rolled are enough, the cage would fold in. The horizontal should fix that issue.
Added a few tubes in the top. There were none before.
Here is where I am at now. More tomorrow.
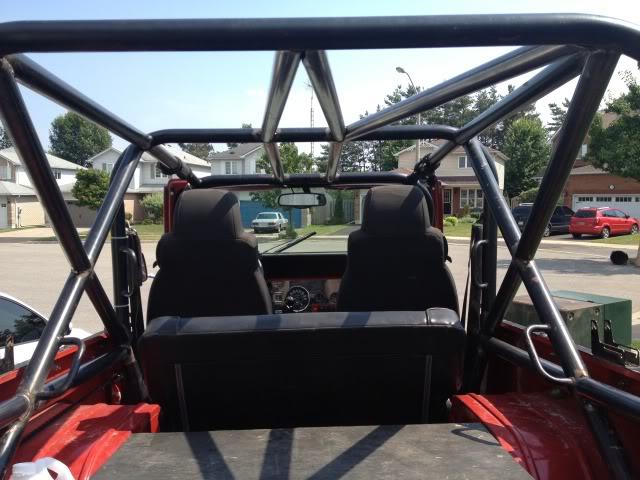
Had to quit. Too hot. 38*C plus humidity. For all you Mercans, thats 100*F with humidity, about 129*F.

added the diagonal for the upper seat belt mount.

also added horizontals under the side Xs for lower seat belt mounts and to strengthen the cage. The back hoop has a bend in it that if rolled are enough, the cage would fold in. The horizontal should fix that issue.
Added a few tubes in the top. There were none before.
Here is where I am at now. More tomorrow.

Had to quit. Too hot. 38*C plus humidity. For all you Mercans, thats 100*F with humidity, about 129*F.

- City
- Cobourg, Ontario, Cana
- State
- da
forgot to add pics of my exhaust wrap and heat shield install...
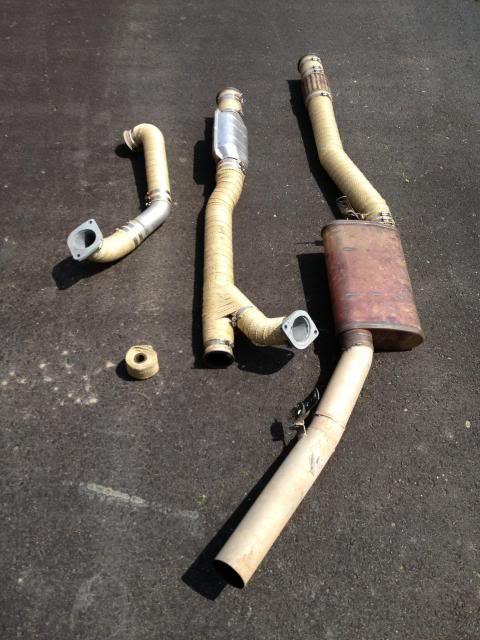
Heat shield. Looking up at drivers floor, top of pic is front of Jeep. Its just stick on insulation that I got from Summit.
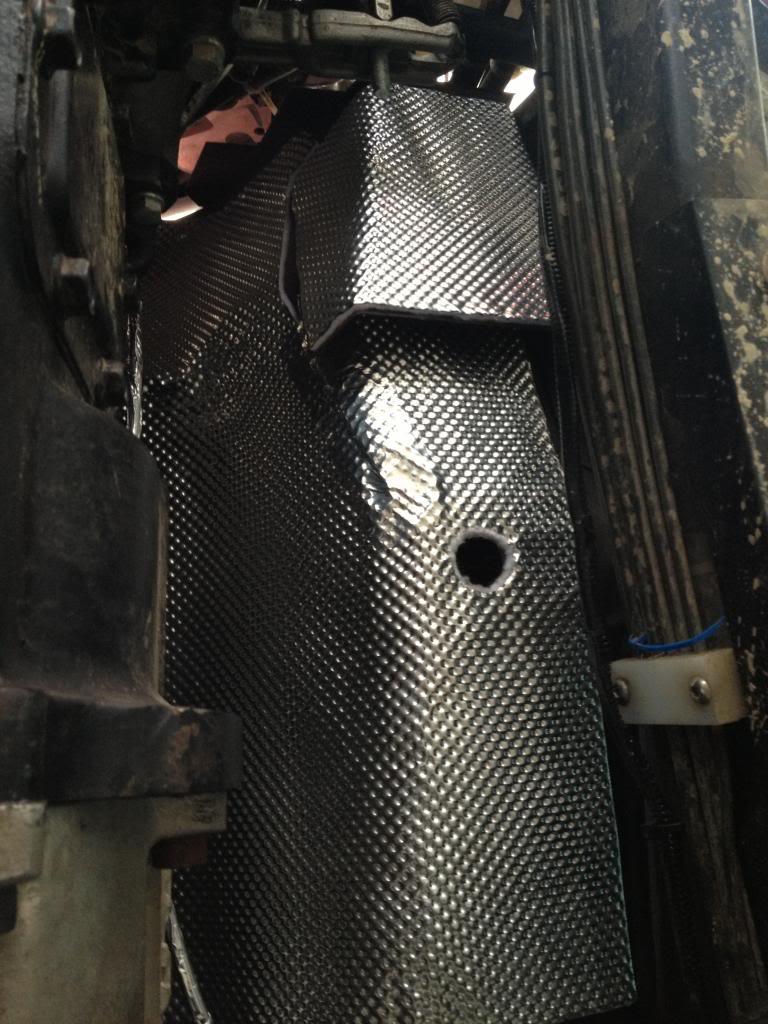

Heat shield. Looking up at drivers floor, top of pic is front of Jeep. Its just stick on insulation that I got from Summit.


- City
- Cobourg, Ontario, Cana
- State
- da
It should/will be back together tomorrow afternoon. Have to wait for my buddies to finish working so they can help lift the cage back into it.
The only Michigan sand i hope the cage sees is from sand flying off the tires!
2
The only Michigan sand i hope the cage sees is from sand flying off the tires!
2


- City
- Cobourg, Ontario, Cana
- State
- da
sorry, Jeep was back together. now I took off the windshield hinges and fixing a little surface rust. Will be back together tomorrow. Have to test out the booster seat with the seat belts...
- City
- Cobourg, Ontario, Cana
- State
- da
Working in her again...
Changed out the Dana 300 today with the one that used to be in her in 2012. It leaked, so i pulled to and put my spare 300 into her. It leaked even more and it popped out of 4 low at the worst possible moments.
So i changed all the seals in the original one and swapped it back in today.
Installing cruise control for the long drive to Moab. Got a universal kit from Dakota Digital.
Got the module mounted today.
Tomorrow I'll work on the wiring and installing the control stalk.

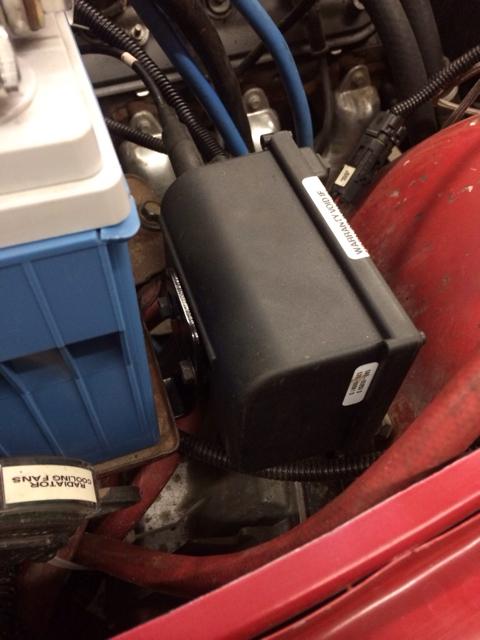
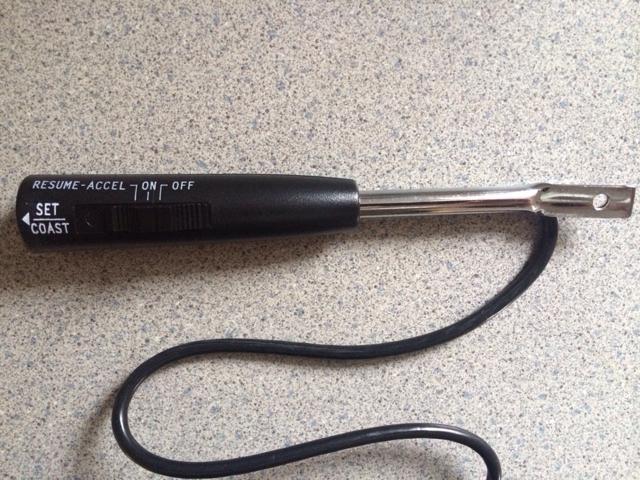
Once i get this buttoned up, I'll start the gauge swap.
Changed out the Dana 300 today with the one that used to be in her in 2012. It leaked, so i pulled to and put my spare 300 into her. It leaked even more and it popped out of 4 low at the worst possible moments.
So i changed all the seals in the original one and swapped it back in today.
Installing cruise control for the long drive to Moab. Got a universal kit from Dakota Digital.
Got the module mounted today.
Tomorrow I'll work on the wiring and installing the control stalk.
Once i get this buttoned up, I'll start the gauge swap.
- City
- Cobourg, Ontario, Cana
- State
- da
Busy day today...
Before...

After... Very easy to install, only took about 20 minutes including having to make a tool to get a snap ring off when taking the steering column apart.
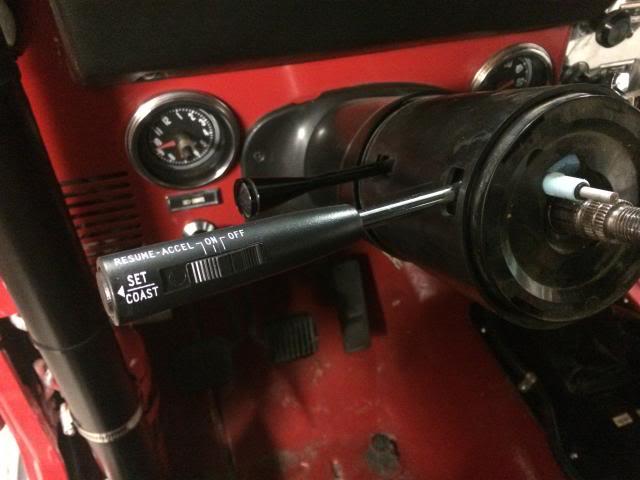
Didnt bother wiring any of the cruise control up yet, Speedhut gauges first.
Before...
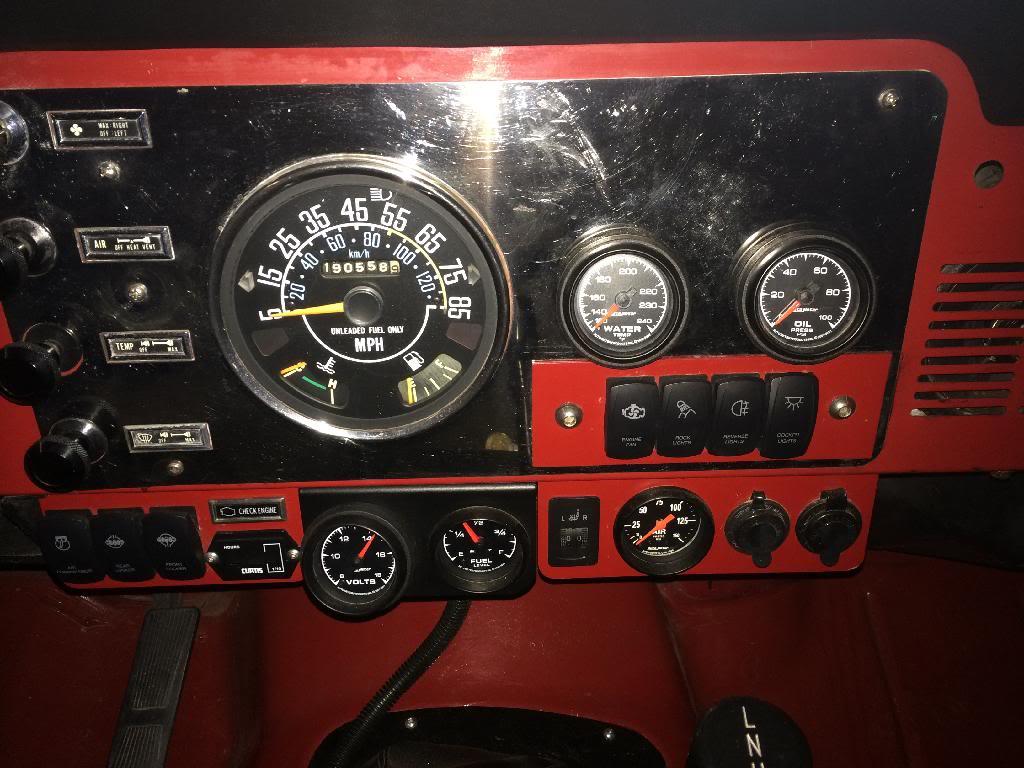
During... I had to pull the dash off to get the upper right hand nut off the speedo. What a pain in the a$$..

Installed but not totally wired up.

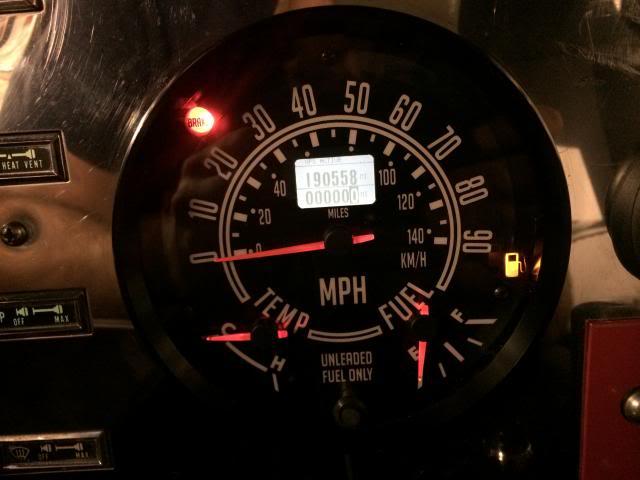
Going to put a dimmer in for my Autometer gauges (thanks for the idea BW). The Autometer gauges are way brighter than the Speedhut. Also, the needle lights are not wired up in this pic...
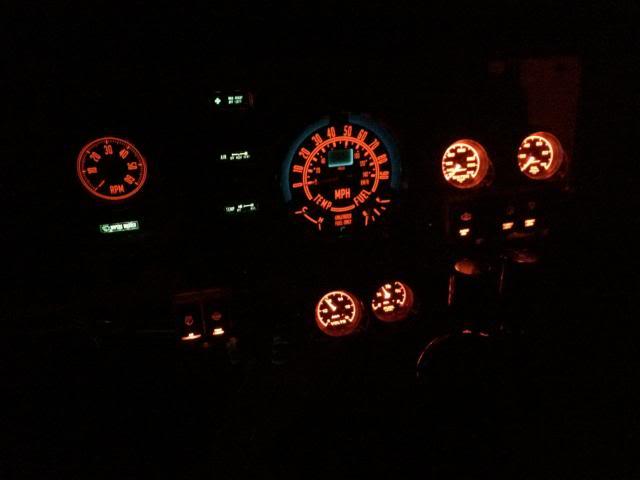
Powered on... I set my actual mileage too. Jeep looks alright for 190000 miles.
Video...
Before...

After... Very easy to install, only took about 20 minutes including having to make a tool to get a snap ring off when taking the steering column apart.

Didnt bother wiring any of the cruise control up yet, Speedhut gauges first.
Before...

During... I had to pull the dash off to get the upper right hand nut off the speedo. What a pain in the a$$..

Installed but not totally wired up.

Going to put a dimmer in for my Autometer gauges (thanks for the idea BW). The Autometer gauges are way brighter than the Speedhut. Also, the needle lights are not wired up in this pic...

Powered on... I set my actual mileage too.
Jeep looks alright for 190000 miles.
Video...


- City
- stafford
- State
- va
Wow, I've said it before an awesome rig

- City
- Manhattan
- State
- NY
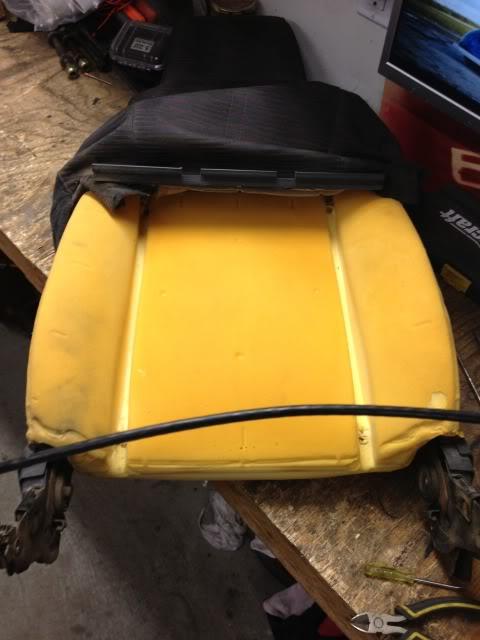
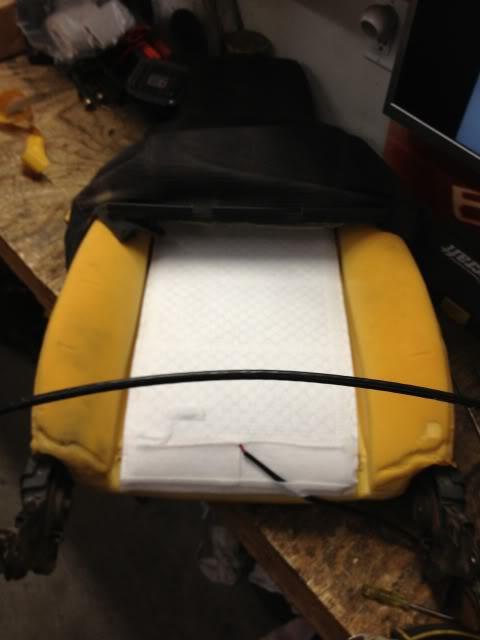
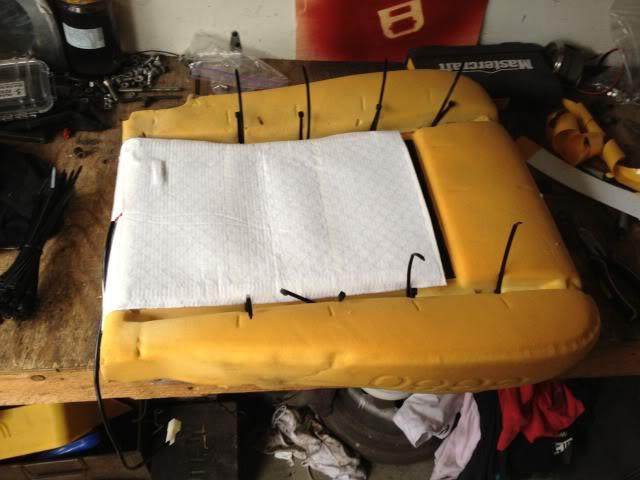
Heres a few pics of the seat heater install. Easy job, only took about 40 minutes a seat. The wiring was the time consuming part.

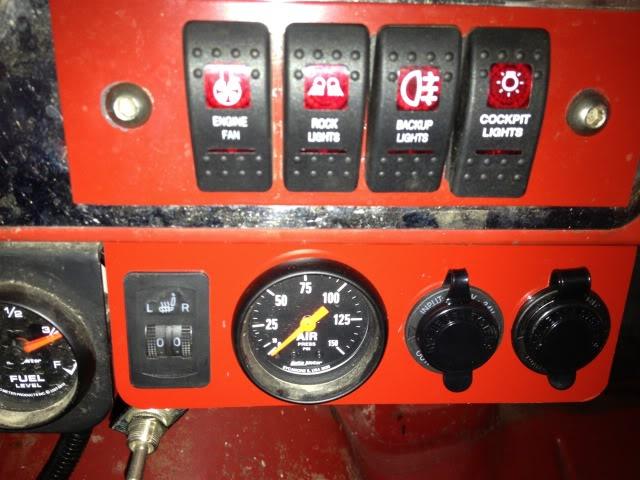
Heres what I did today. Made a panel for the seat heater switch, air pressure gauge and 2 power ports.
Dont mind the switch hanging below the new panel, its for the rad fan. The switch I have in the dash is the wrong one. Its only temporary, mind you I its temporary since last July... (shouls have a new switch before the Nationals, I hope)
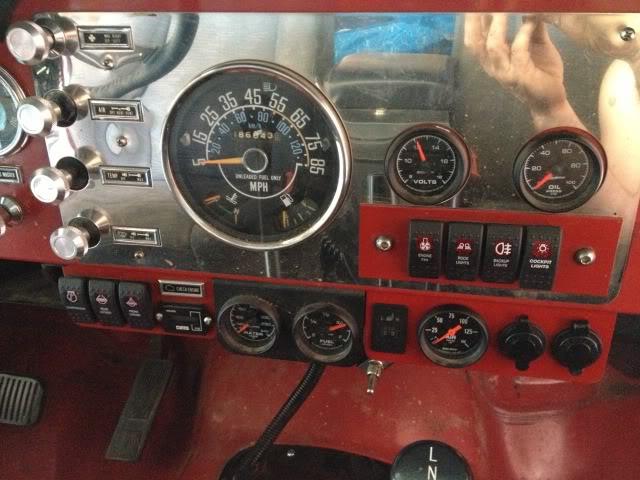
I would have made just one big panel and mounted the fuel and water temp gauge in it, but it a mechanical water temp gauge. I didnt feel like draining the engine to get the probe out.
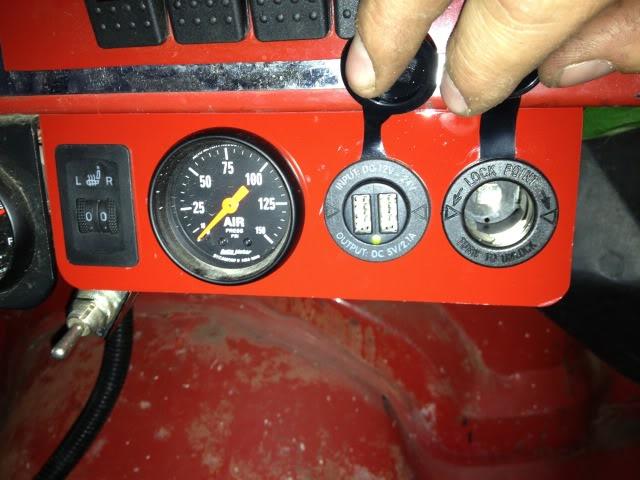
USB and regular power outlet
Wow, what an amazing build. I jsut went through all of it, hats off to you.
 One thing I wanted to ask you, what's your take on the seat heaters? I was thinking of going that route but am unsure how they perform and have heard mixed reviews. If you like them, please provide me with a part number to I can add that to my list of mods!

- City
- Landing
- State
- NJ
It's amazing. And so powerful and perfectly setup up. I got to drive it once 
- City
- Cobourg, Ontario, Cana
- State
- da
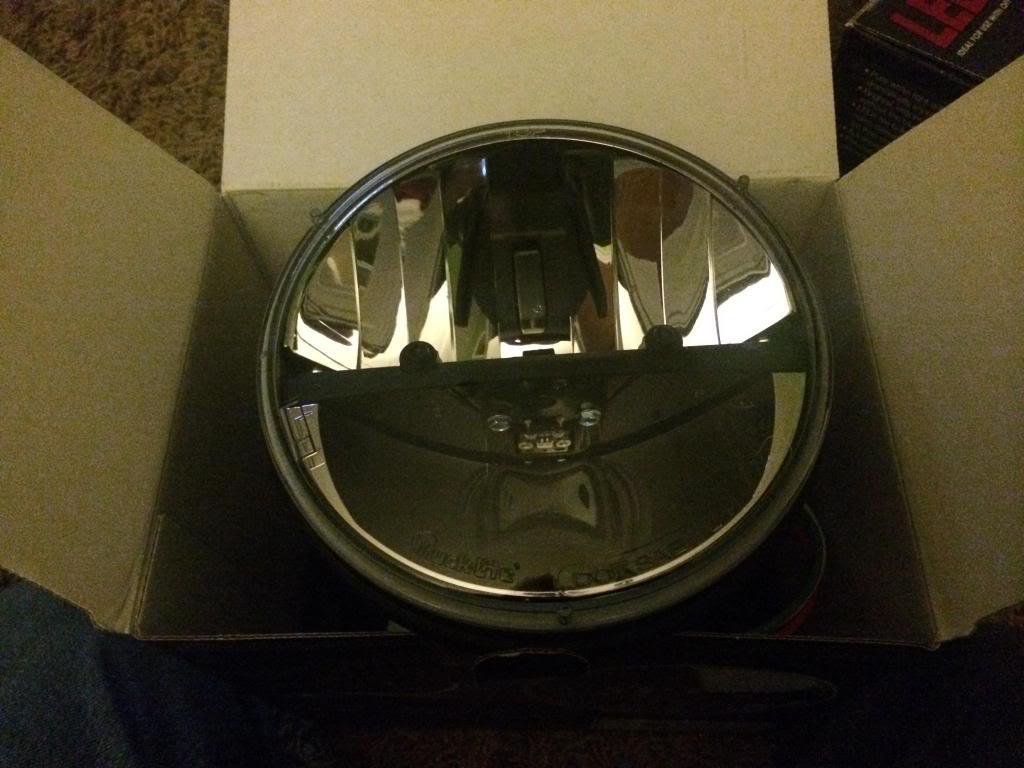
Got these in the mail today... Trucklite LED headlights.
I prefer the look of the sealed beam headlights. But the light output from these lights are insane. Unfortunately, no comparison shots or ever beam pattern shots. Jeep is still getting her beauty sleep for the winter. These pics will have to do.
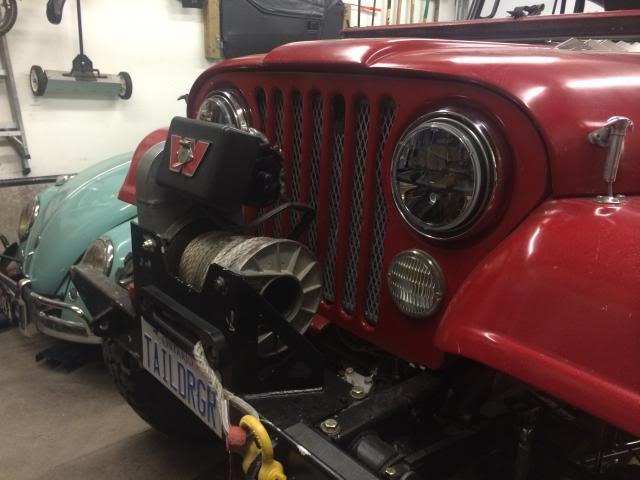
Low Beam
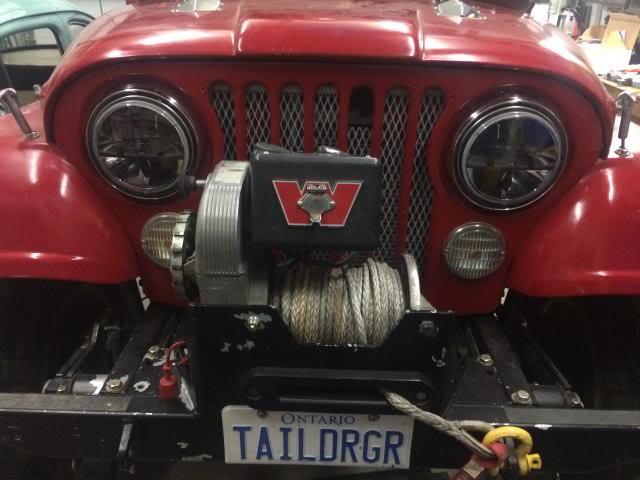
High Beam

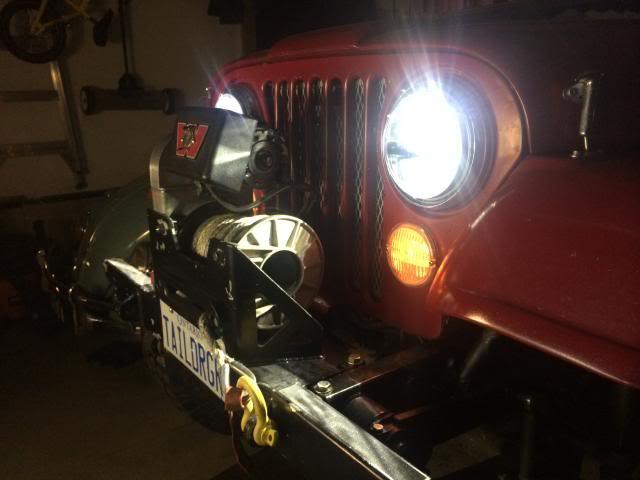
I prefer the look of the sealed beam headlights. But the light output from these lights are insane. Unfortunately, no comparison shots or ever beam pattern shots. Jeep is still getting her beauty sleep for the winter. These pics will have to do.


Low Beam

High Beam

