- City
- Redmond
- State
- OR
This thread has saved me so much work and I want to thank you very much for posting it. I am doing the same build but mine is a cj 7 (I'll get an 8 someday) I am at the starting point with mine, got another frame and prepping it now. My 5.3/4L60 is out of an 01 yukon. Can you give me some details on your motor mounts? It would save me a ton of work. I know you used the MORE units. Do they come with holes in them to mount to the frame (if so did you use those in any of the stock frame holes)? If I knew how/where you placed them on the frame and the details of you conversion plates it would save me from pulling the body on my running cj to do the setup. I am not runnig a/c. Is your motor still offset to the driverside as I know with these mounts that is how they are set up? I hate to bother you at this stage of your build. You mentioned selling the conversion plates awhile back, if you are i would be interested just so I know I would get it right the first time. Also looking for the same set of exhaust manifolds if you know of any. Any help would be MUCH appreciated! Also where can I find you on ebay? Thanks again, dave
Thanks for the compliments! On the motor mounts I used the stock MORE mounts and then welded/bolted on the homemade adapter plates. The MORE mounts bolted up to the stock location on the frame, but on the passenger side I used a 1/4" spacer between both the top and the side of the frame and the MORE mount- this was to adjust for a frame and possible mount issue that caused the motor to sit lower on the pass side. You may not need to do this. I both bolted and then welded the More towers to the frame. This ended up positioning the motor dead center in the frame. Both exhaust and steering clearances are good. I have plenty of room between the motor and the firewall, but the AC compressor dictated how far I could move the motor back with the MORE mounts. Without the AC compressor I could have gotten at least another inch back. Here's a plan of the mount adapters that should work perfectly without the AC compressor-
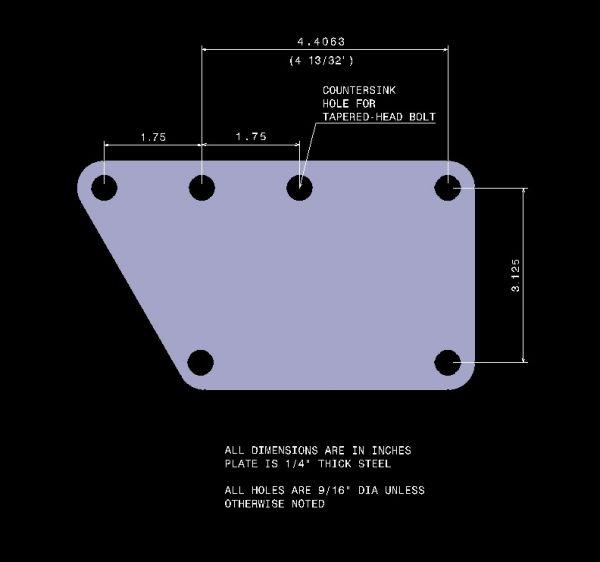
This drawing has one error- the countersunk hole should be the one to the left of the one indicated, or simply drill another hole in the MORE bracket and use a longer through bolt.
I used a modified version of this plan- actually mine places the mount closer to the one above.
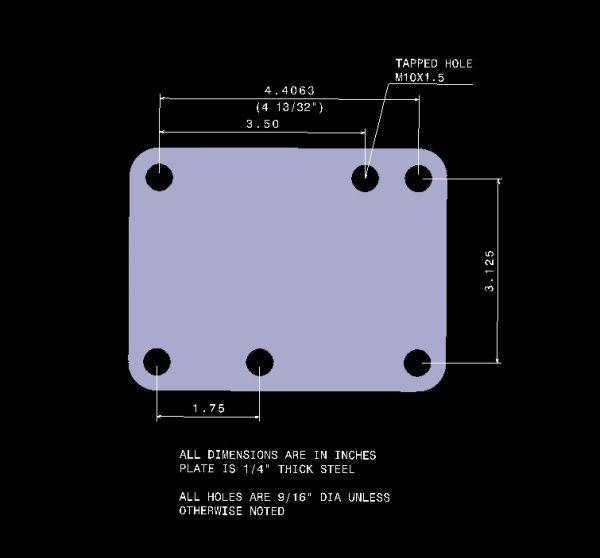
My final version-
I have no immediate plans of making these at this time. Someday...but first I need to get the Scrambler running, by summer I hope.
Here's a link to a current Ebay auction for the manifolds- $49.99 for a pair.
http://cgi.ebay.com/ebaymotors/LS1-...ptZMotorsQ5fCarQ5fTruckQ5fPartsQ5fAccessories
I think the exact application is Corvette LS2 2006.
I'm excited about the color too, H2_recovery. I'm hoping I'll be able to find a way to afford getting it painted before I get much further in reassembly. Still working on finishing touches on the cage, and waiting for parts.
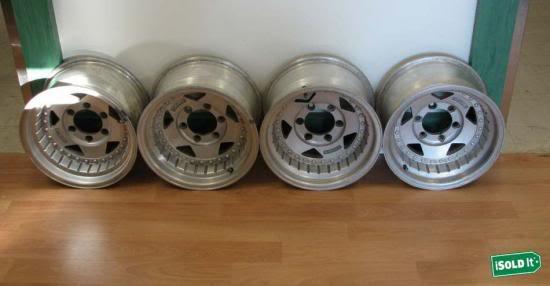
I did find a set of my all time favorite wheels for super cheap- Centerline HT's. I've wanted a set of these from the first time I saw them on a desert racer... and EBay provided last week with a set for $50.00
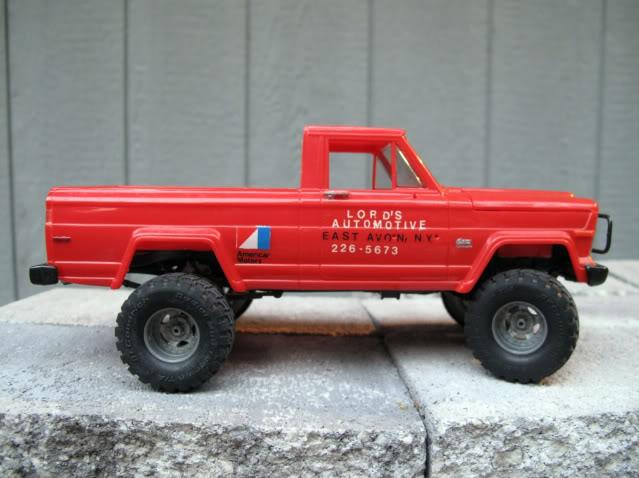
 So now I have 3 sets of wheels...


Last edited:

 )


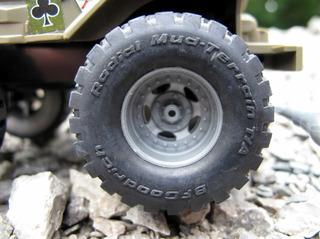
 If you need other 1/24 scale wheels other than the bullets, let me know so I can check my stash or be on the lookout.